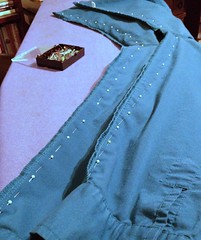
So I took in a bit along each side and sleeve, maintaining the original cuff size.
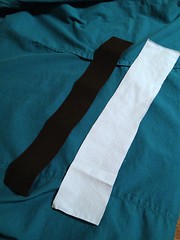
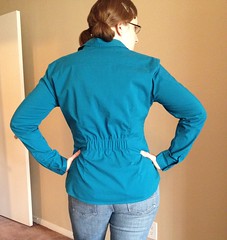
But it was still a bit too large in the waist to be flattering. I grabbed a bit of wide elastic leftover from a vest-to-skirt project, and a strip of light blue fabric from part II of this series, and I created an elastic casing across the back of the shirt from dart to dart.
And now my favorite button-up shirt can retain its title.
I've got one more trick up my sleeve (pun very much intended) for taking in a button-up blouse. So stop back by soon to see the finale!


This is my favourite so far, so neatly done.
ReplyDeleteDid you attach the elastic to the shirt or make the casing then thread/attach the elastic through casing
Thanks! I made the casing first - sewed the light blue strip to the inside of the shirt with two horizontal lines. Then I threaded the elastic through and closed up one end of the casing by sewing a vertical line through the light blue fabric, the end of the elastic, and the inside of the dart. Then I stretched the elastic a bit and closed up the other end of the casing the same way. So the only stitching you can see from the outside of the shirt are the two horizontal lines of the casing.
ReplyDeletei was wondering the same thing as emma, but figured it was as you described. love this idea! i agree, this is also my favorite of the series! i think i'll have to give it a go as well! :) lisa
ReplyDeleteThis entire series was so awesome!!! Thanks for the inspiration!!
ReplyDeleteOmg! That actually looks great! Better than store bought!!
ReplyDeleteThanks, Susanna!
Delete