


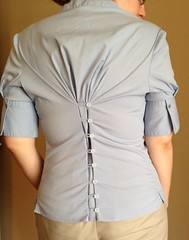
In this installment, I'm going to turn this big, blue, button-up blouse into a top-notch top!

I saw a top recently on Pinterest that looked like a men's dress shirt that had been buttoned up the back to make it fit a woman. This clearly wasn't a DIY though since the pin linked back to Banana Republic's site (though the top in question was no longer in the catalog apparently). I thought I could recreate this with one of my old too-large shirts. First, I picked out some buttons from my stash and some yarn leftover from a pair of socks. Ideally, I would've used some ribbon, but I didn't have any that matched the fabric, so yarn it is! I also picked out the stitches of one of the darts in the back of the shirt.
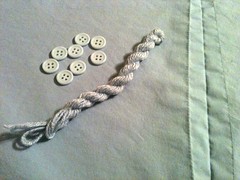
For each button loop, I cut a piece of yarn about 10 inches long. I folded it in half and held the two ends between one thumb and forefinger and the folded center between the other thumb and forefinger. Then I twisted and twisted and twisted. I folded it in half again and let it twist up on itself. Now I had a length of yarn about 2 inches long, made from four individual strands.

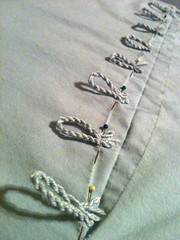
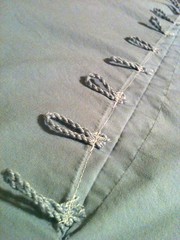
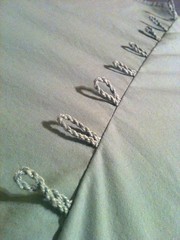
Continuing to hold on to the ends so it didn't untwist, I folded it in half one more time and carefully pinned the loop to the edge of the unpicked dart. I repeated this process for the rest of the button loops (I did eight of them), making the top two and bottom two a little longer (started with a 12-inch length of yarn). This way, they wouldn't make the shirt too tight on my bust and hips. Once I got all the loops pinned down, I ran a line of stitching up the inside of the dart to secure them all. Finally, I turned the shirt inside out and re-sewed the unpicked dart to hide the ends of the button loops. Then I added my buttons along the other back dart to line up with the new button loops.
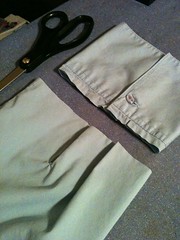
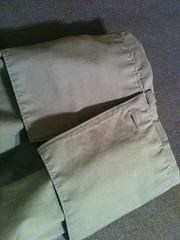
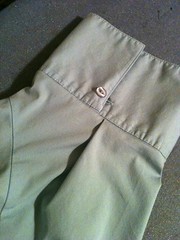
Next, I moved on to the sleeves. I wanted to shorten them a bit, so I cut off the cuff and then cut out a chunk of sleeve about 5 inches long. With the sleeve right-side-out and the cuff inside-out, I sewed around it as close to the original cuff seam as possible. I added a pleat too, since the circumference of the upper sleeve was larger than that of the cuff. Then I flipped the cuff right-side-out and realized I had made a mistake. As it turns out, the side of the cuff with the button needs to be under the side with the button hole in order for the button to function correctly. Sigh. So I ripped it out and reattached it correctly. Then I did the other sleeve too.
And with that, I was finished! Now my shirt fits much better and has an interesting design element on the back.

Check back soon for my next experimentation in alteration.


I really think it looks very nice. I saw it myself on Pinterest and didn't know how te realise. Well done! Greetings Kathi (Speycat@gmx.net).
ReplyDelete