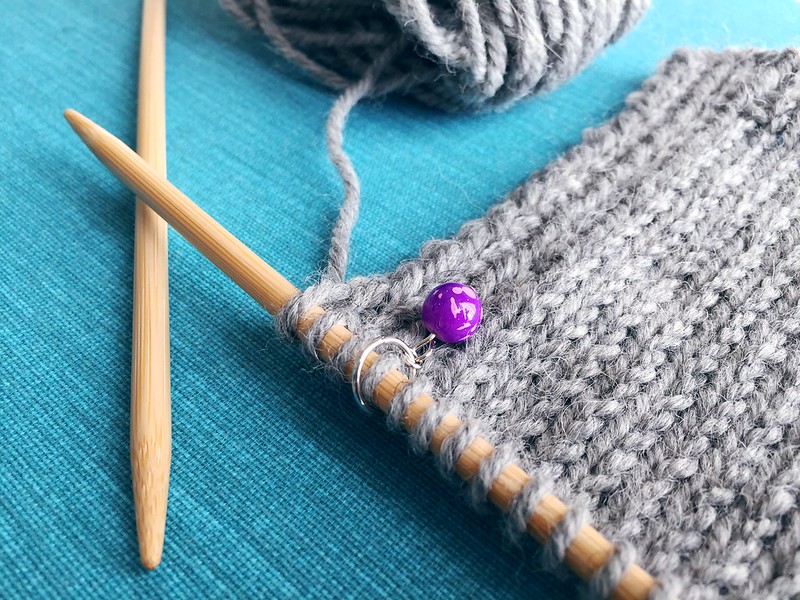
With the 11th annual DFW Fiber Fest less than a week away, it was time to prepare for this year's stitch marker swap! I participated in the swap at the inaugural Stitches Texas market back in September and am only too eager to do so again next weekend. The collection of stitch markers I brought home last summer is such a fantastic souvenir of the event, aside from the obvious yarn-binging of course. I love being able to dive into my notions tin and come up with at least one marker that matches my current project perfectly.
Six months ago, I showed you how to make your own stitch markers using fishing line and crimp beads. This time, I'm changing it up a bit with metal jewelry findings.
Supplies:
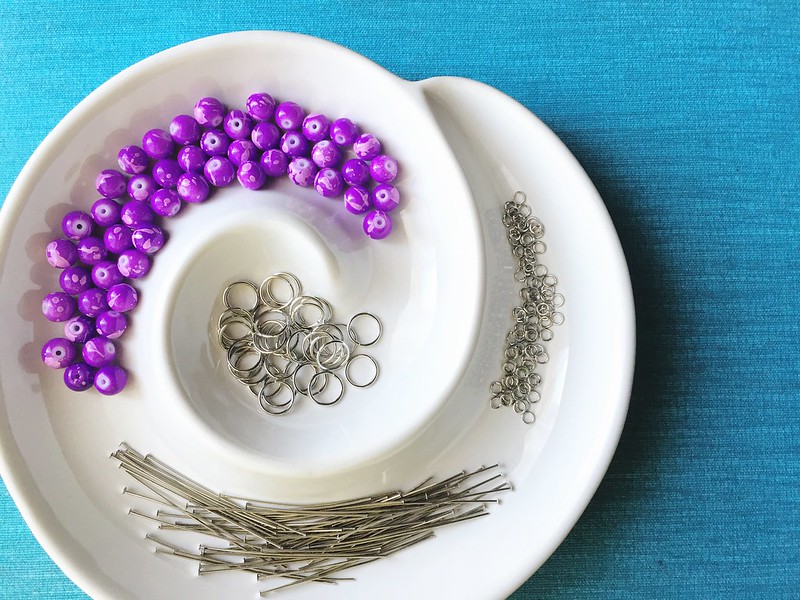
Decorative beads
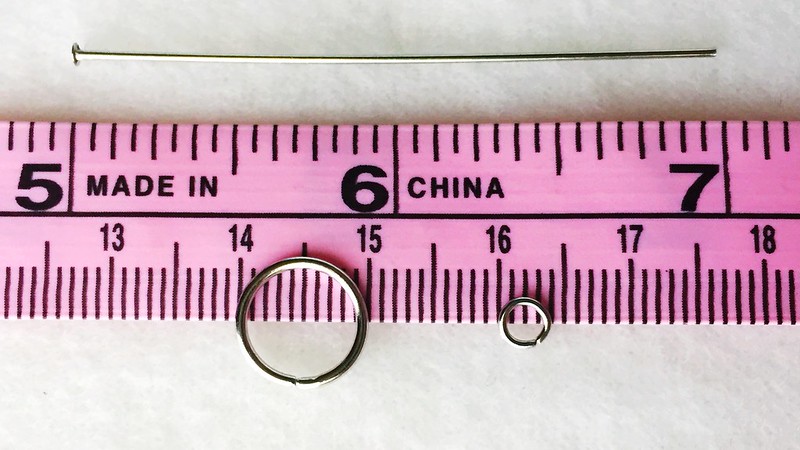
10mm jump rings
4mm jump rings
Head pins
Wire cutters
Round-nose pliers
Flat-nose pliers
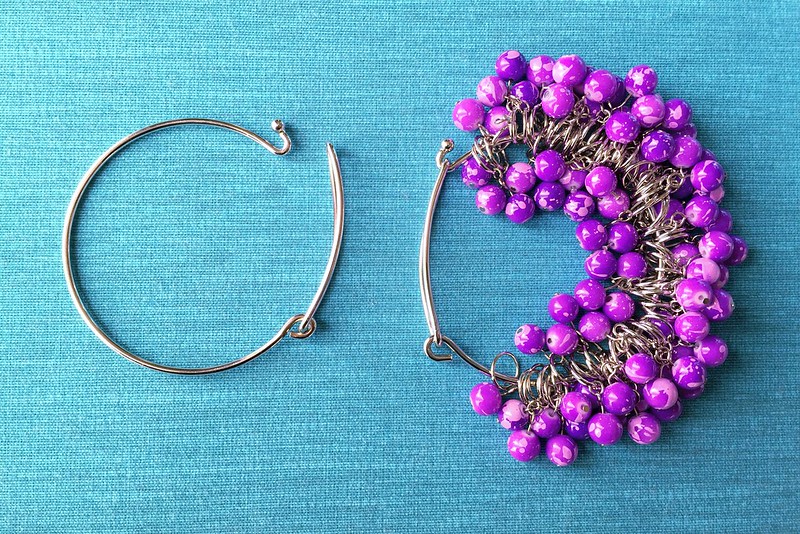
I found these purple glass beads on the clearance rack for just $0.99 per package (28 beads per package). The larger jump rings will be able to accommodate needles up to a US size 11 (8mm). The head pins I had on-hand were 2 inches long, but I snipped them down to about 3/4 inch, so if you can find shorter ones, go right ahead.
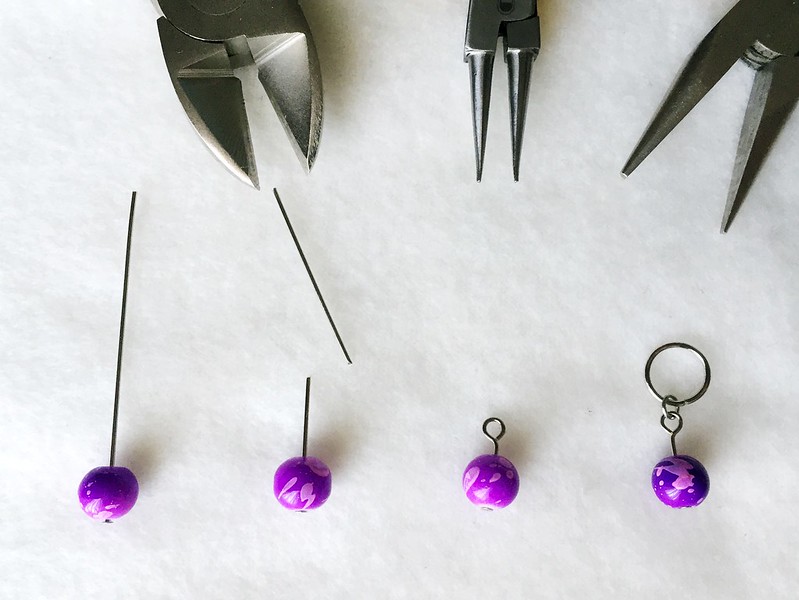
First, I placed a bead on a head pin and made sure the head of the pin was larger than the hole in the bead. If not, you can use a smaller bead on the bottom as a stopper of sorts. Then, I snipped off the excess length of head pin with my wire cutters, leaving about 1/2 inch above the top of the bead. I used my round-nose pliers to make a loop at the top. And finally, I used my flat-nose pliers to open up one of the smaller jump rings and connect the head pin loop to a larger jump ring.
And that's all there is to it! Rinse and repeat until you have a few markers for your own use or 75-100 for a swap, depending on the event and how many participants are expected. Since I was making so many, I set up a little assembly line. I would snip a bunch of head pins down the size, then add beads and make loops until my hand hurt, then add jump rings until my hand hurt in a different way, and so on and so forth until I had them all completed.
While in the jewelry making section of Michaels, I also found them bracelet blanks, two to a pack. I think they'll be the perfect solution to carrying these stitch markers around the vendor area, with my handmade markers on one bracelet and another ready to receive all the glorious stitch markers from the other swappers. I can't wait to see what everyone comes up with!
Saturday, March 26, 2016
Tuesday, March 22, 2016
Done, Done, and Done
I don't know about you, but my weekend was crammed full of crafty goodness! I knitted. I sewed. I cross-stitched. I made a shawl, a dress, a future family heirloom.
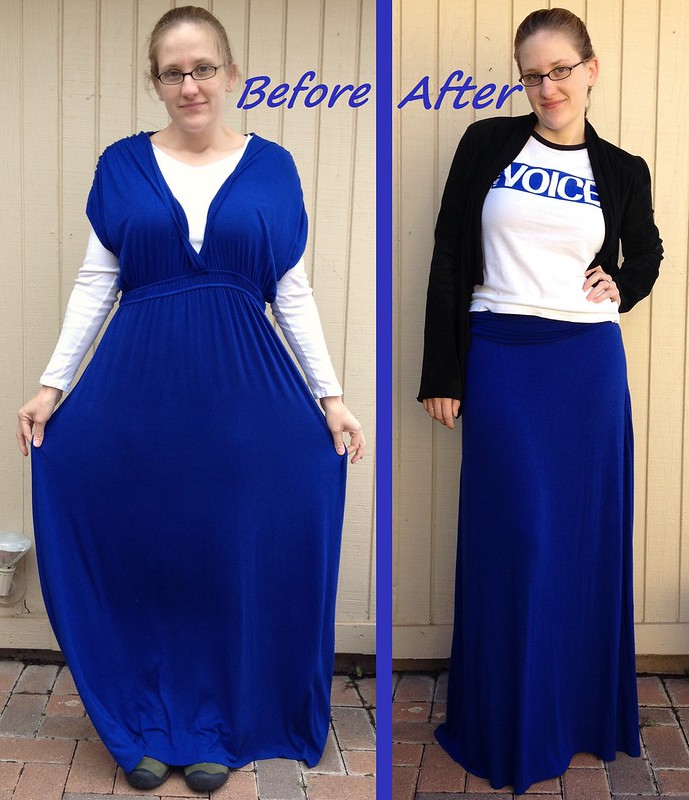
For my first trick, I started with this deep blue maxi skirt, which I previously refashioned from a huge maxi dress. It's been over two years, and I could probably count on one hand the number of times I've worn this skirt. No matter how comfy they seem, I just don't wear maxi skirts. It's just not my thing. But a knee-length jersey dress is perfect for working from home, running to the grocery store, or accessorizing for a night out with The Dude.
For my first trick, I started with this deep blue maxi skirt, which I previously refashioned from a huge maxi dress. It's been over two years, and I could probably count on one hand the number of times I've worn this skirt. No matter how comfy they seem, I just don't wear maxi skirts. It's just not my thing. But a knee-length jersey dress is perfect for working from home, running to the grocery store, or accessorizing for a night out with The Dude.
Tuesday, March 15, 2016
Twinkle Twinkle Little Shawl
Shawl light, Shawl bright
Stitches knit and purled just right
I wish I may, I wish I might
Wrap you 'round my neck tonight
Stitches knit and purled just right
I wish I may, I wish I might
Wrap you 'round my neck tonight

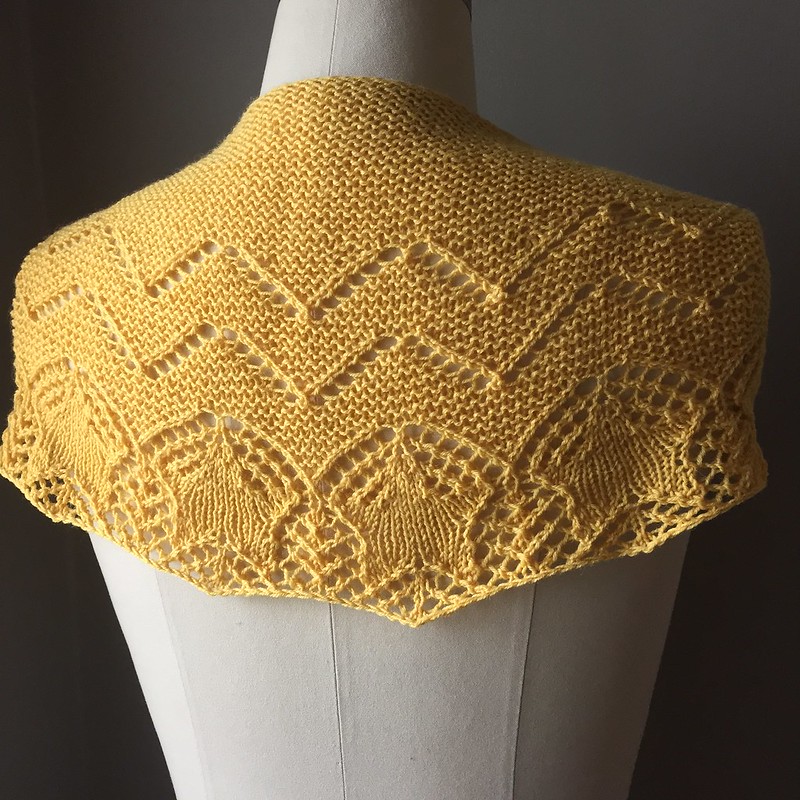
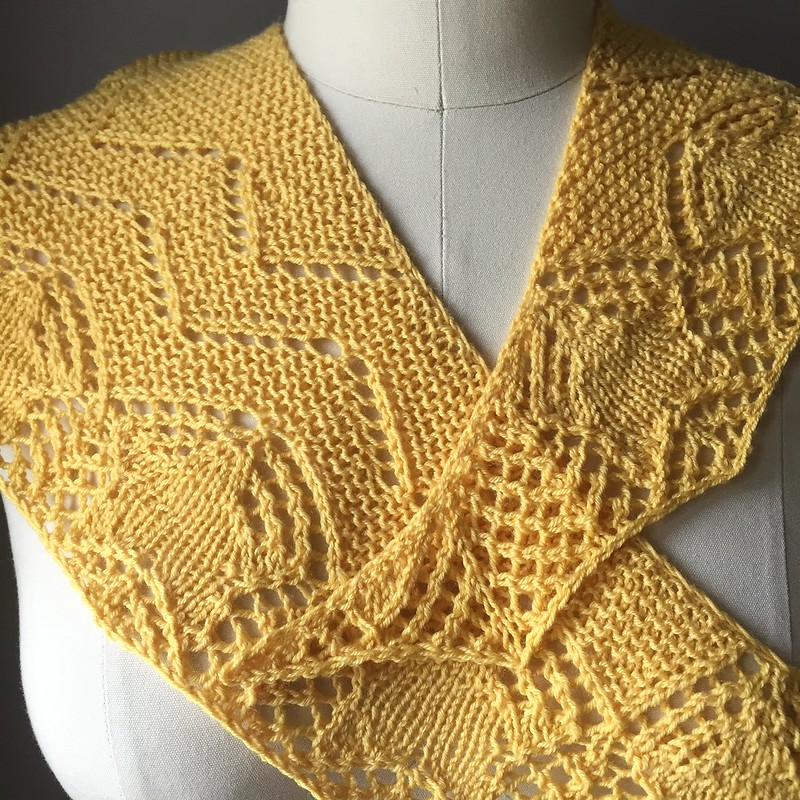
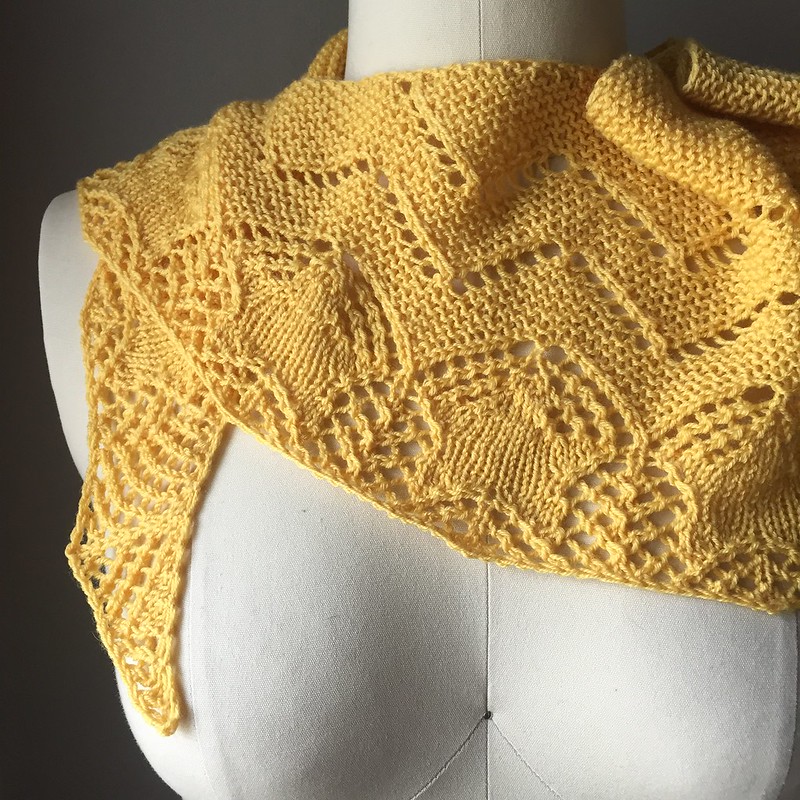
As winter turns to spring and the weather begins to warm, so too should our knitted accessories. My newest knitting pattern - Twinkle Twinkle Little Shawl - is the perfect thing to brighten your day and warm your nights. It's a quick knit using less than one skein of sock yarn, with the instructions primarily in chart form.
FINISHED MEASUREMENTS
Span: 48 inches
Height at center: 10 inches
MATERIALS
Spud & Chloe Fine [80% wool, 20% silk; 227m/248yd per 65g skein]; color: 7811; 1 skein
US #5/3.75mm needles
Tapestry needle
GAUGE
18 sts/40 rows = 4 inches in garter stitch
BUY IT NOW!
Sunday, March 13, 2016
New Adventures in Cross-Stitching
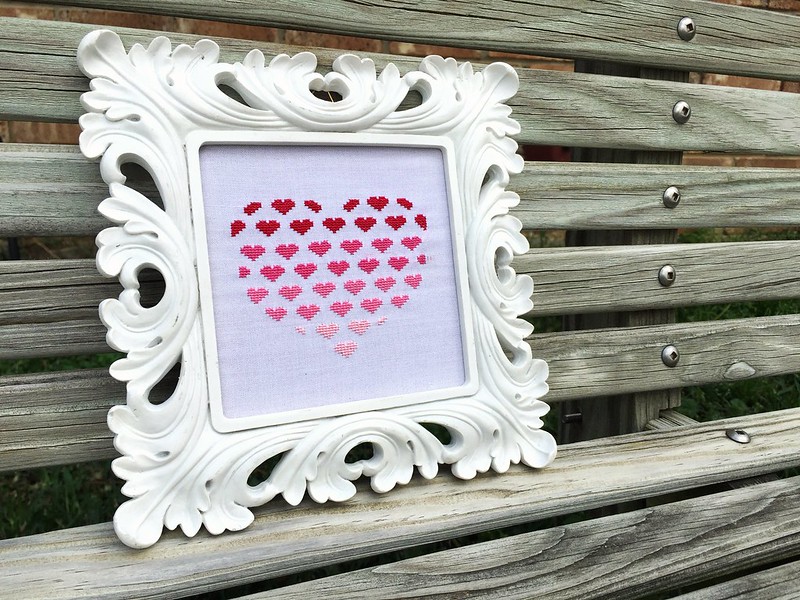
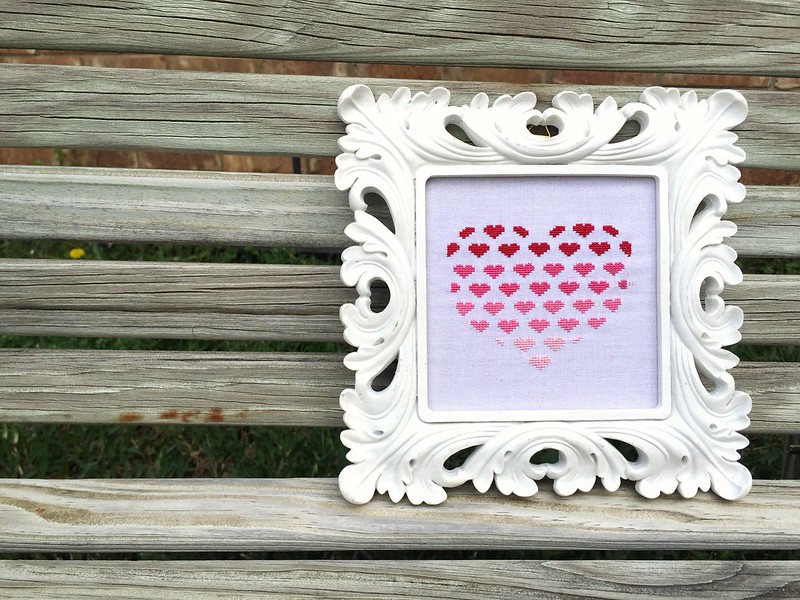
After additional research, I can confidently say that, yes, I do in fact love cross-stitch. I've now completed my third project and have thoroughly enjoyed each of them. I finally made it to the thrift store yesterday and picked up some cheap (but cute!) frames for them. My very first project from a few weeks ago, the Hearts in a Heart pattern from Leah Lintz's book Cross-Stitch to Calm, found its way into a little ceramic frame of white scroll work.
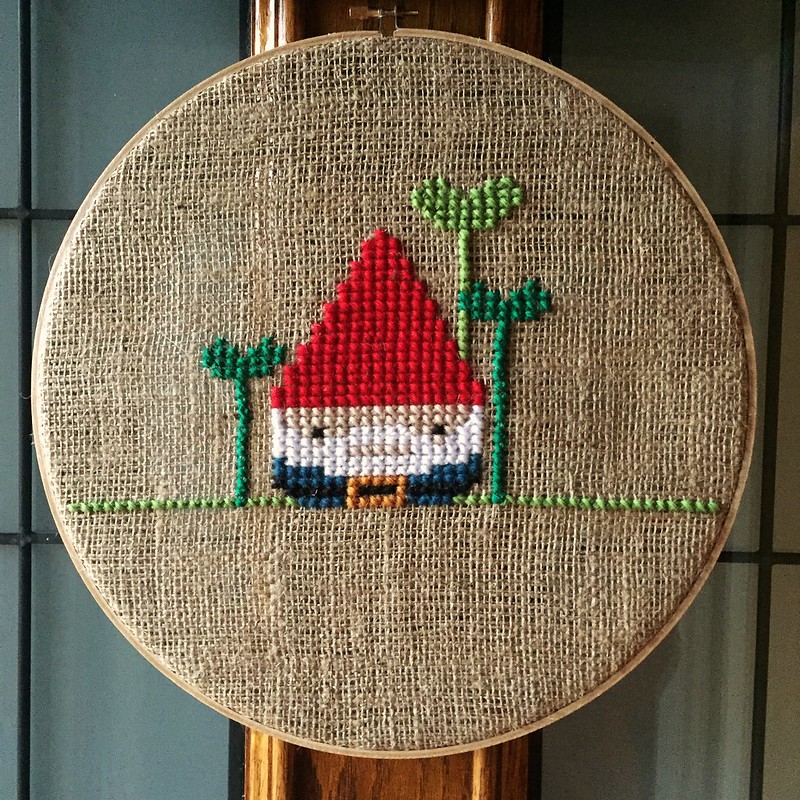
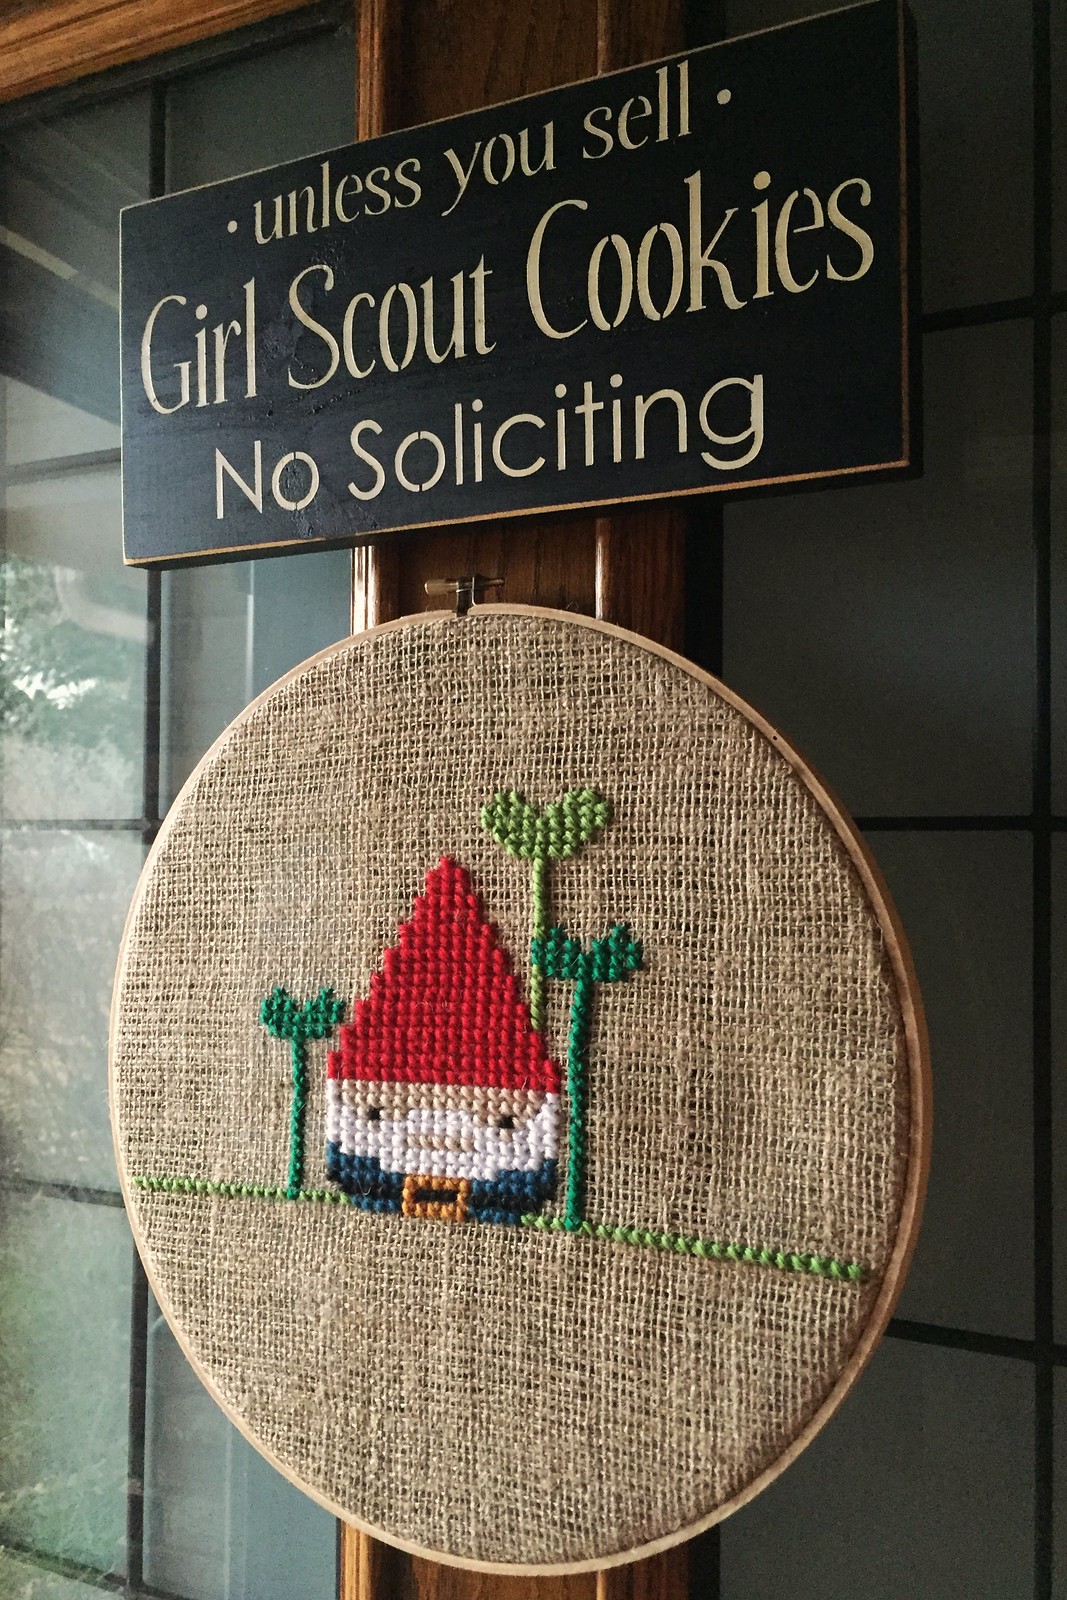
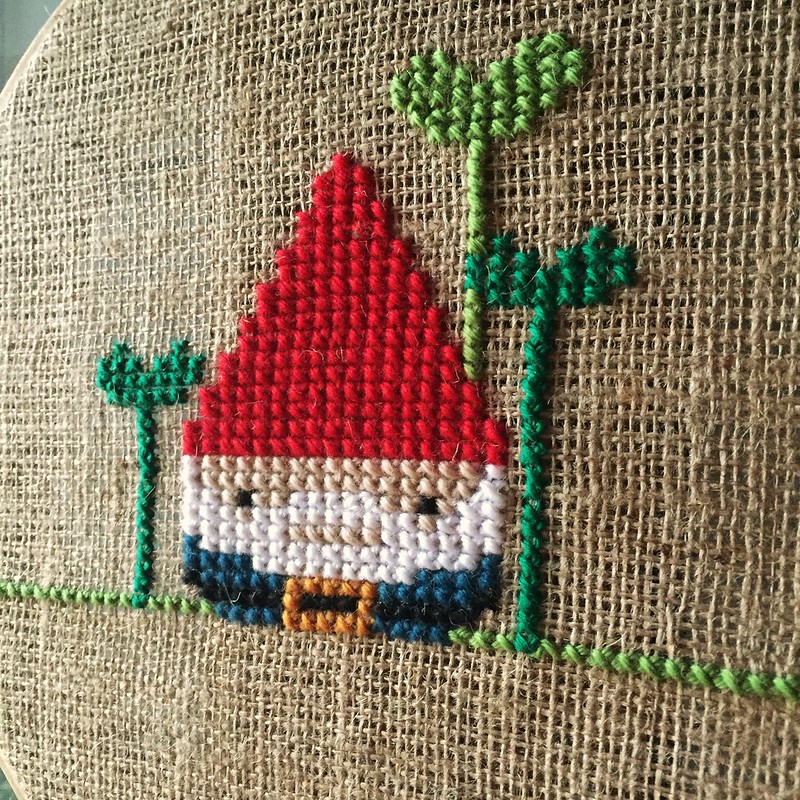
My second completed project was a new wreath-esque decoration for our front door. The ruffled winter wreath was still hanging in hopes that winter was not truly over yet, but alas, I have given up waiting for snow. It's just not going to happen this year. Time to enjoy the lovely spring weather before the inevitable summer heat descends upon us. And what better way to greet our guests than with a friendly gnome on the door?
I found the gnome here (but it's apparently from the Frosted Pumpkin originally), and I tweaked it a little. I bought a bit of burlap from the fabric store and used scraps of worsted weight yarn from my stash and a big darning needle. I left it in the embroidery hoop for that round wreath-ish-ness. Like our No Soliciting sign? Me too! I got it on Etsy.
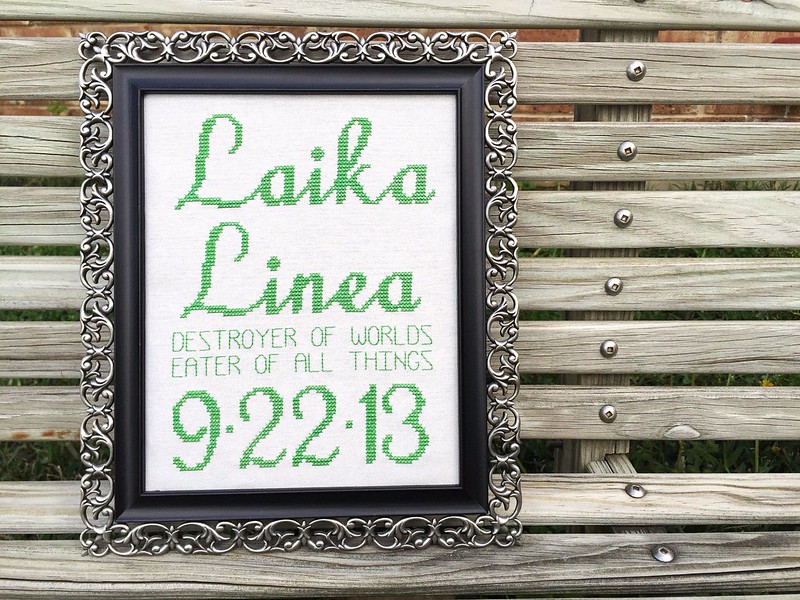
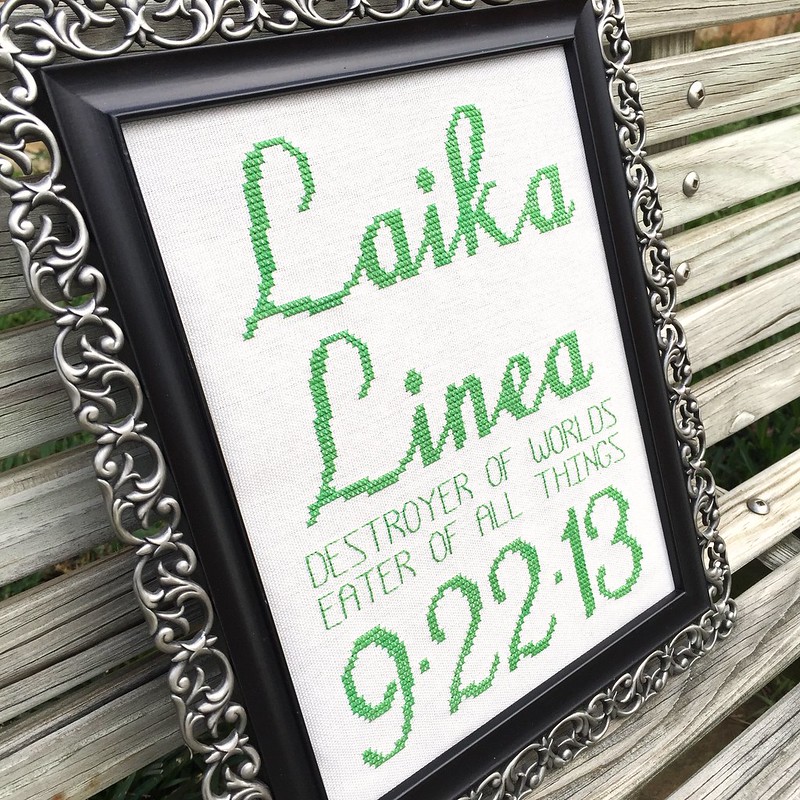
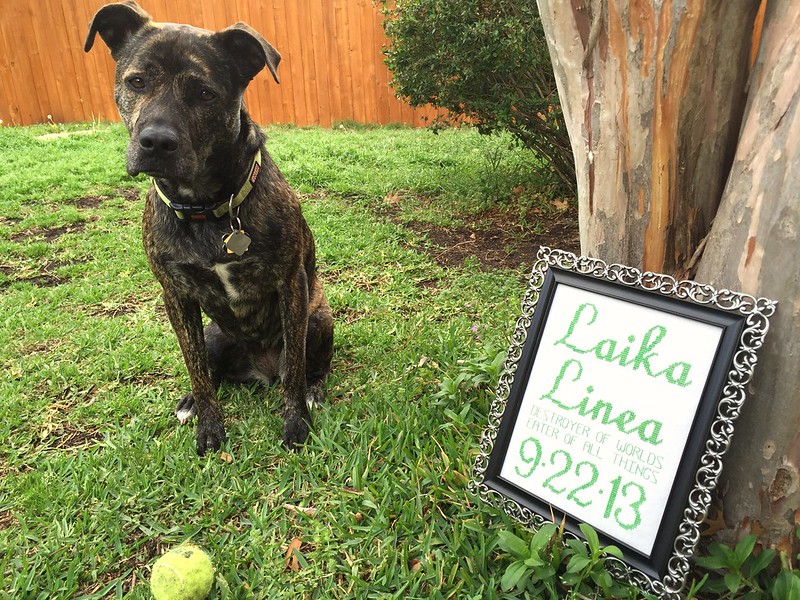
And finally, the pièce de résistance... The project I teased at the end of my earlier post... My proudest cross-stitching accomplishment to date! (Not that that's saying much I suppose) Behold, this ridiculously awesome birth announcement (2.5 years late) for our dogther, with her full title and birthdate! That's pronounced "LI-kuh li-NAY-uh" in case you're wondering.
I charted this up using some free alpha-numeric cross-stitch fonts I found online, with the help of my knitting design software, which, as it turns out, works quite well for cross-stitch too. I even worked in a new skill: back-stitching! The frame is a really cool black one with silver filigree around the edges.
If you look very closely, you can actually see her questioning my sanity.
The thrift shop provided lots more frames, too, for future projects. I can't wait to fill them all with handmade goodness and make a crazy, mis-matched collage on my wall!
Tuesday, March 08, 2016
Cotton Candy Zickzacks
We've been enjoying some gorgeous spring weather lately (albeit far too early in the year, in my opinion). All that sunshine means yard work, grilling, hiking, and a plethora of other outdoor activities that drag me away from my sewing machine. I haven't sewn a stitch in over two weeks. It's insane. But I also know I should enjoy the weather while I can because it'll be ridiculously hot before we know it.
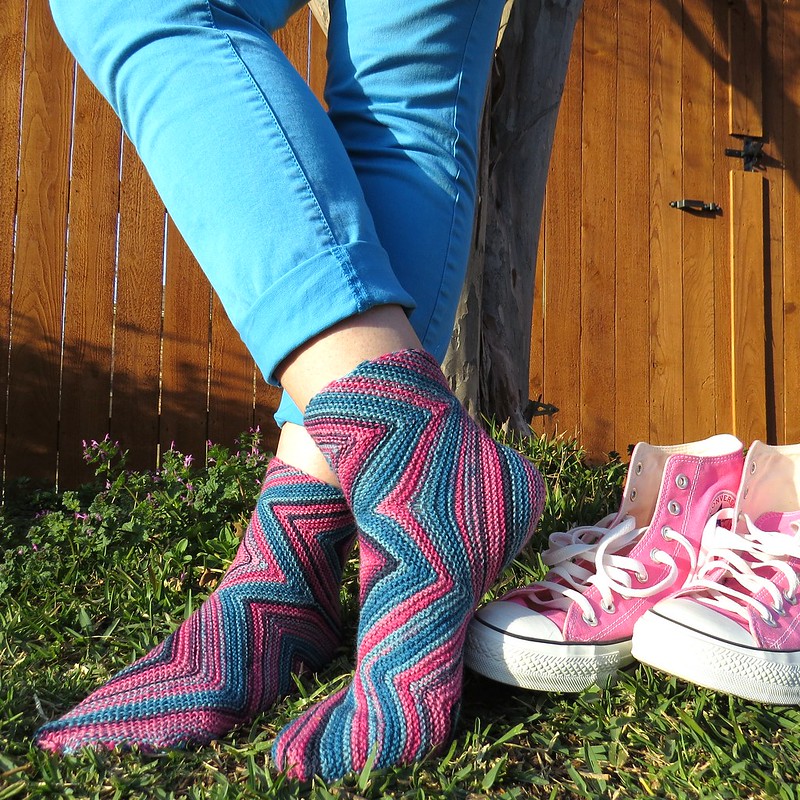
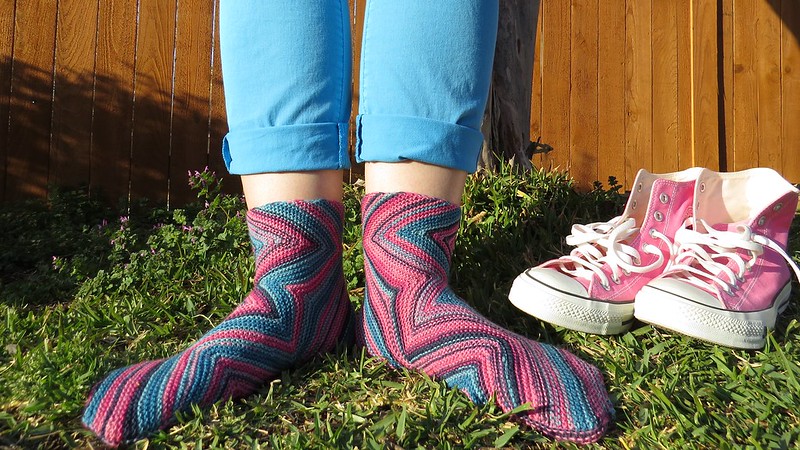
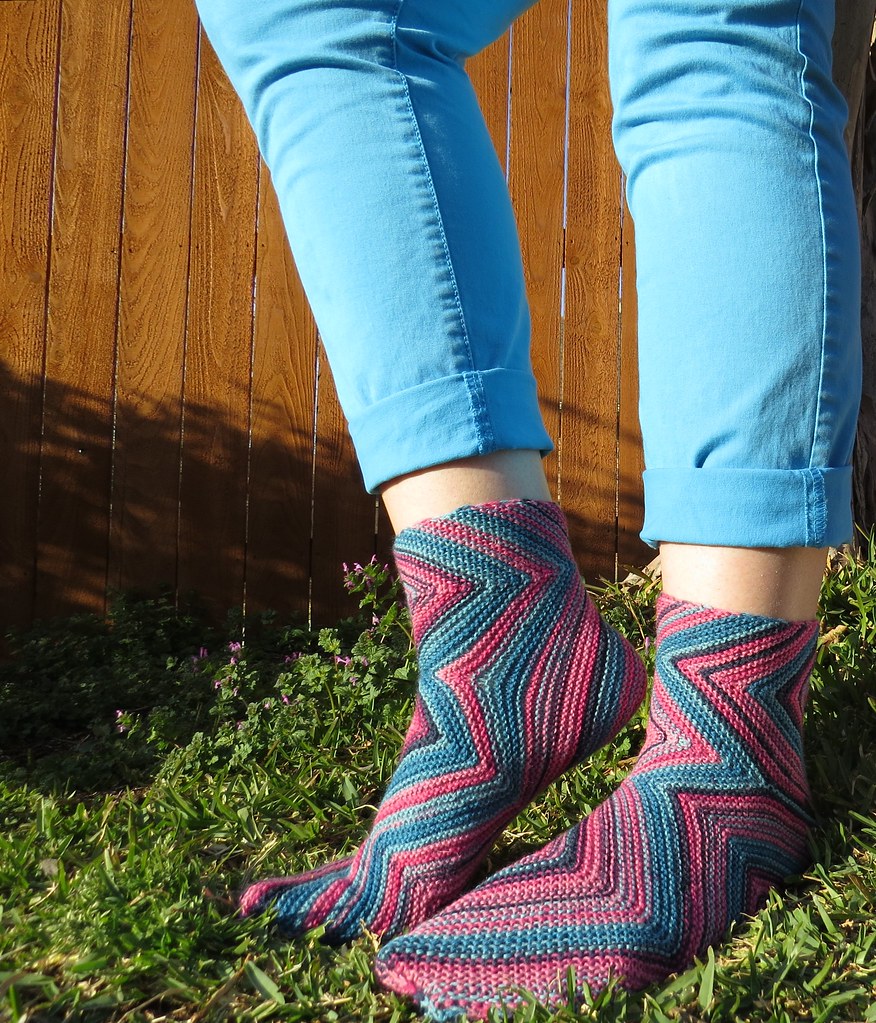
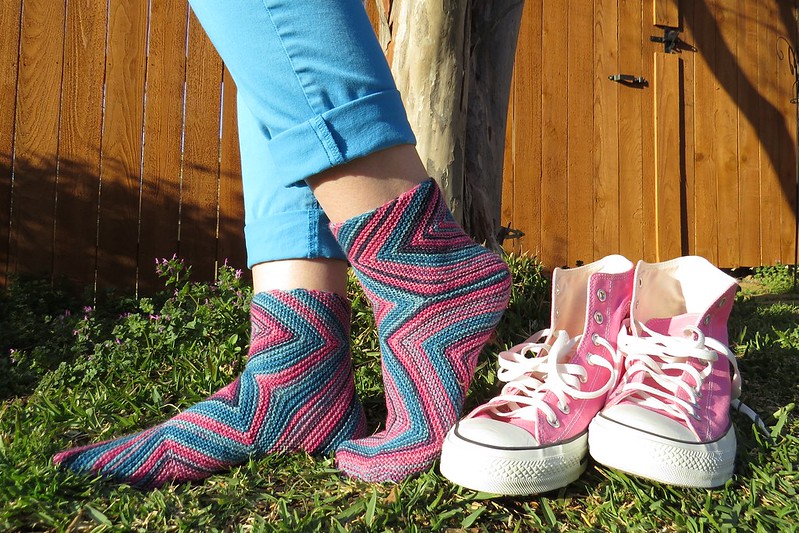
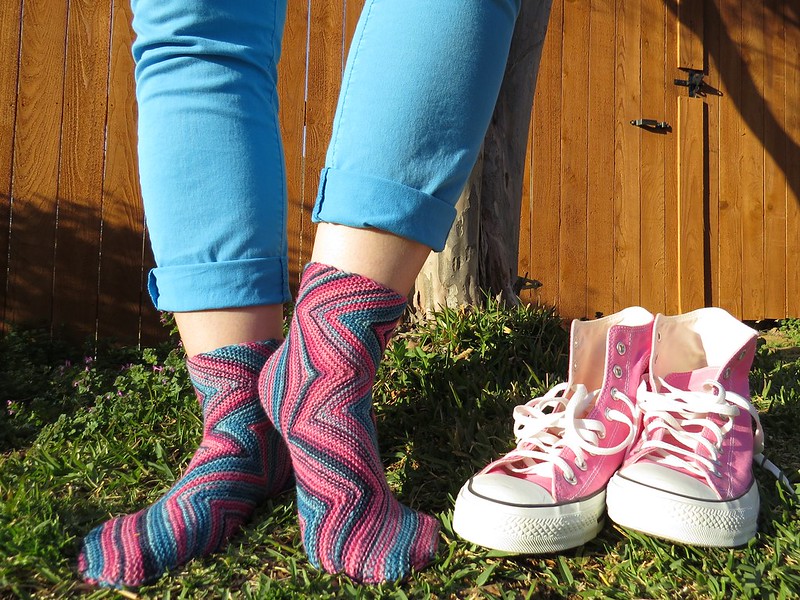
Something I can do while hanging on the patio with friends, however, is knit. I finished up these beautiful socks recently, and I just adore them! The pattern is the Smokey Zickzacks from New Directions in Sock Knitting, the same book that contains a couple of my own designs. I can't take credit for this particular pattern though; that honor belongs to Natalia Vasilieva.
I used an old, discontinued sock yarn that's been in my stash forever - S.R.Kertzer On Your Toes in color #KOF.3825. I picked it because its self-striping pattern produced stripes of a similar width to the yarn used in the sample socks in the book. I think a variegated or hand-painted yarn would look good too, but might not accentuate the chevrons as nicely. Ditto for a gradient yarn. A self-striping yarn, I think, would do this pattern the most justice.
I had some issues with fit along the way, the largest size being too big around and the next size down being too short for my freakishly long, narrow feet. But after I'd knitted one full ill-fitting sock, I understood the construction much better, and with advice from Natalia herself, I was able to modify the second-to-largest size to lengthen the foot by simply adding a few stitches to either side of the double increase nearest the toe. I did have to sacrifice some leg length though, to make sure I would have enough yarn for a second sock. I just omitted a pair of increases and decreases between the cuff and the heel. But I actually like a shorter leg anyway, so that was fine.
The original pattern has the zigzags spaced out a little differently on the second sock than on the first, but you know me - symmetry is crucial. So in addition to my sizing modifications, I also shifted the increases and decreases on the second sock so the zigzags would match up.
All in all, I thoroughly enjoyed this pattern (enough to knit three full socks, after all!) and have already added several more of Natalia's designs to my knitting queue. This one is not for the faint of heart though. A very long provisional cast-on, as well as a mid-row provisional cast for the heel, and the grafting of over a hundred stitches to finish each sock, make this pattern more suitable for an experienced knitter. But those with the chutzpah to try it will not regret it!
Subscribe to:
Posts (Atom)


