


Today brings us a not-so-drastic change. This black button-up was a little large on me, but not as much as some of the others I've redone recently.

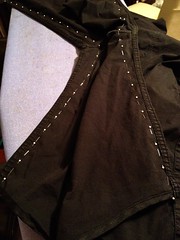
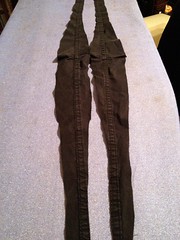
I decided that I wanted to try adding a little belt/tie to pull in the waist a bit. So I laid out the two strips I just removed from the sides and sleeves. This shirt had french seams everywhere, which would make a convenient tie. So I trimmed the excess fabric as close to the seams as possible and then stitched the two long strips end-to-end.
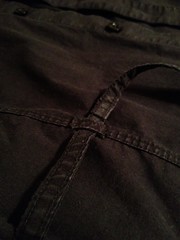
Now that I had a belt, I needed some belt loops. After trimming my scraps to salvage the french seams, I was left with the little nubbins of seam that were perpendicular to the long pieces (these little pieces were originally part of the seams that joined the sleeves to the body, if that makes sense). Anywho, I sewed these four little nubbins over the existing darts (also french seams - two in front, two in back).
I threaded my new belt through my new belt loops, and I was ready to go!

Keep your eyes out for Part V coming soon...


No comments:
Post a Comment