


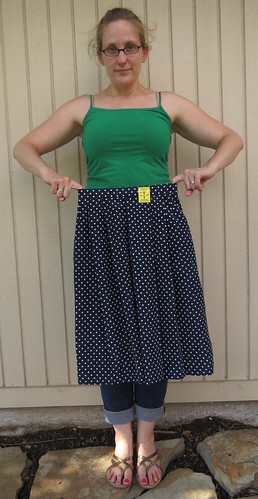
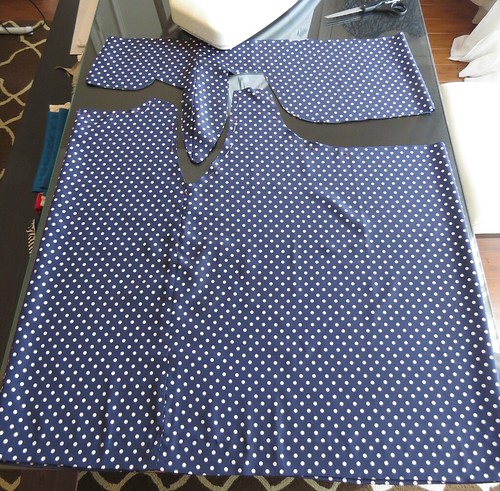
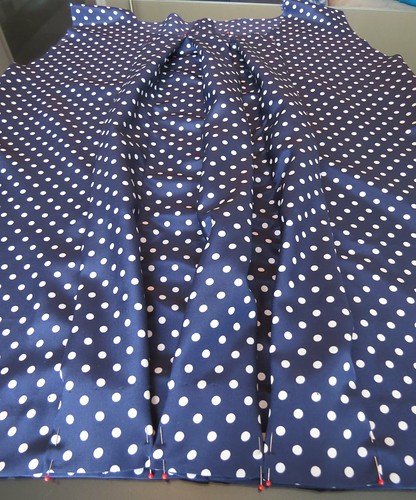
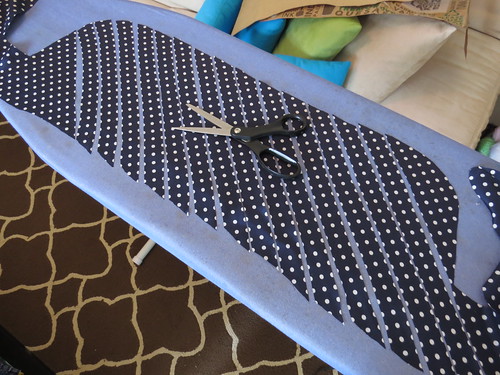
Although it may appear as those I am wearing a skirt that is too large for me, I am actually holding in front of myself a skirt that is too small for me. But with those pleats, I had no doubt there would be plenty of fabric to make something cute.
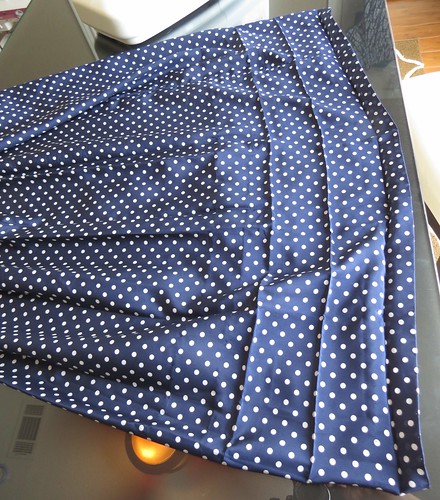
Upon closer inspection, I discovered a sizable hem, as if the previous owner had shortened the skirt at some point. Picking out those stitches gained me another 7 inches of fabric! I left the original manufacturer's hem intact though.
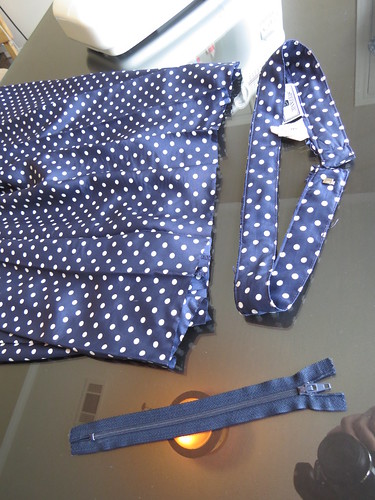
Then I carefully removed the zipper and snipped off the waistband.
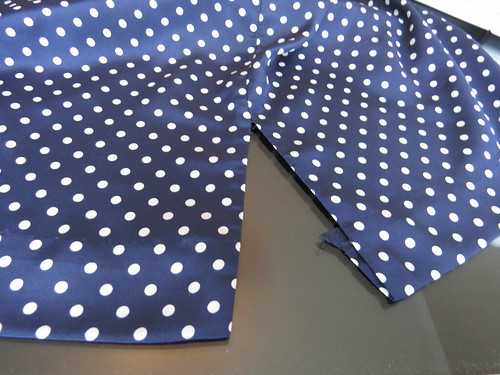
With the pleats and the super-sized hem pressed flat, I finally got a real sense of how much fabric I had. A lot.

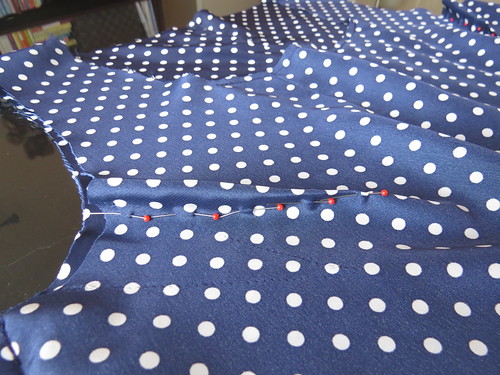
I folded the skirt-tube in half front-to-back (i.e., with the side seams held together) and pulled out my go-to tank top pattern. As luck would have it, the back of the skirt was exactly as wide as I needed for the back of my tank top.
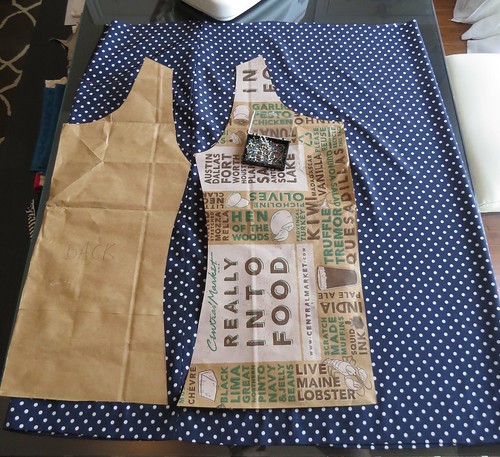
Since the fabric is pretty slick, I used pins to trace out my pattern. Then I cut straight across from the front neck edge to the fold in the fabric. I plan to create some pleats on the front, a sort of homage to my tank top's former life as a pleated skirt.
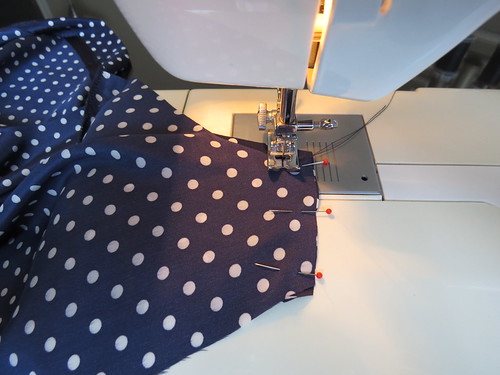
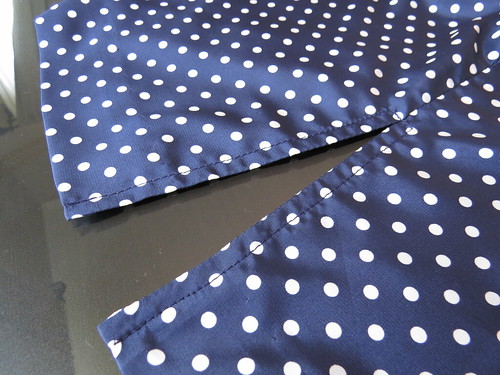
I sewed up the top of the center back, which used to be the bottom of the zipper.

I stitched the shoulders together, right sides facing.
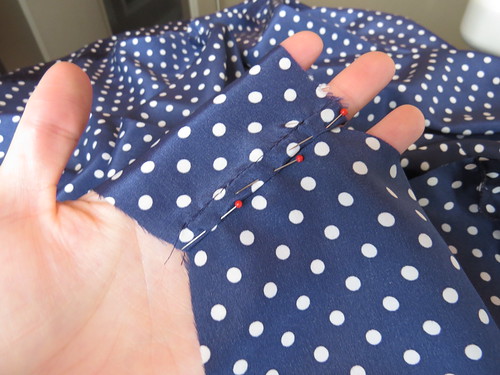
The seam allowances were folded under and the fold was stitched down to encase the raw edges.
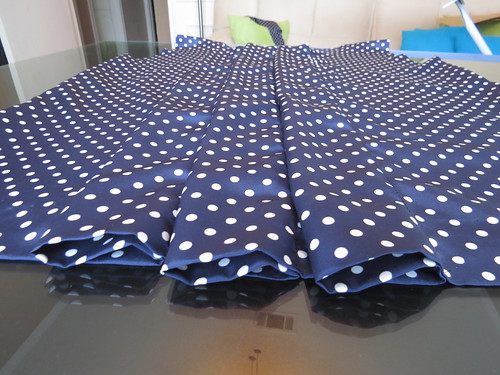
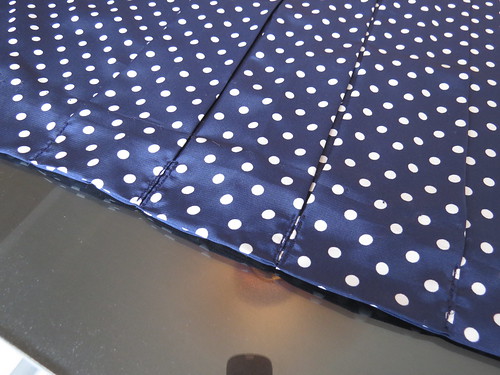
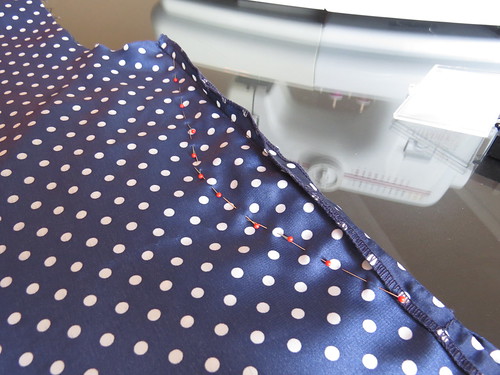
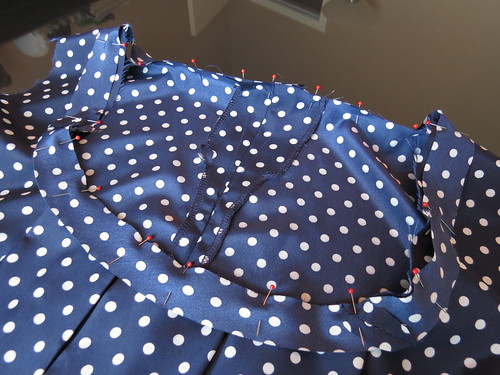
Then it was time to make those front pleats. I folded along the center front line, wrong sides facing, and pinned 2.5 inches from the fold. Once that was sewn, I measured 5 inches from those stitches to one side, folded along that line, and pinned and sewed 2.5 inches from it. I repeated the process 5 inches to the other side of the center pleat as well.

When I was finished, I had three flaps of fabric down the front of my shirt.
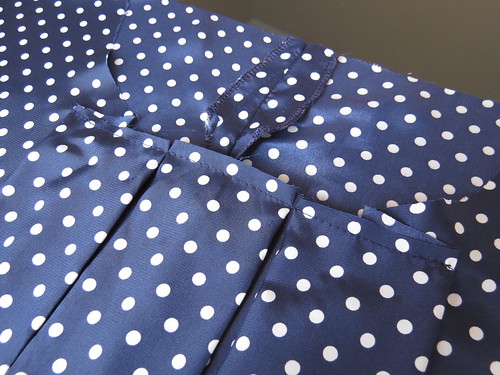
I open each flap and flattened them against the body, pinning the in place at the top and bottom edges.
The bottom hem got the tack-down treatment...
... while the neck edge got a simple straight stitch across. Now that the basic body of my top was complete, I was able to try it on and see what tweaks were necessary.
I lowered the neckline a bit and re-cut the scoop neck. I also re-stitched the pleats in place.
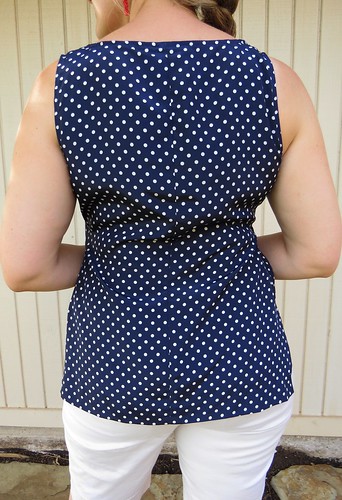
The bottom of the shirt was a bit too tight on my hips, so I decided to split the side seams and make it a little tunic-y. I used my seam ripper to open up about 6 inches of side seam from the bottom edge. This would be more difficult if the seam allowances on the original skirt were serged together, but luckily, they were pressed outward and serged separately.
Then I top-stitched the edges to secure the serged seam allowances.
Another tweak was to cut the armholes a bit bigger and add some bust darts.
I also decided to take in the sides in a curve rather than leave the side seams straight. I thought I might have to re-use that salvaged zipper in one side seam, but fortunately, I was able to just barely get it over my chest.
From the scraps, I cut what seemed like miles of bias stripes. One good thing about an offset polka dot pattern is it makes for easy diagonal cutting.
The bias strips were joined together...

...and pressed flat.

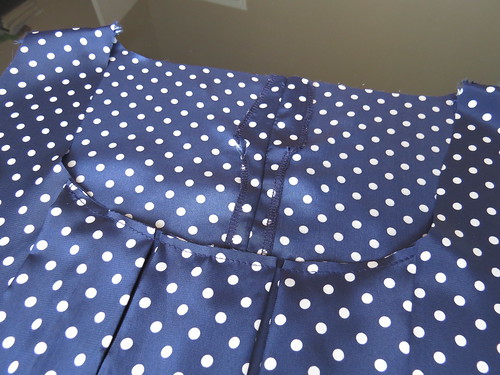
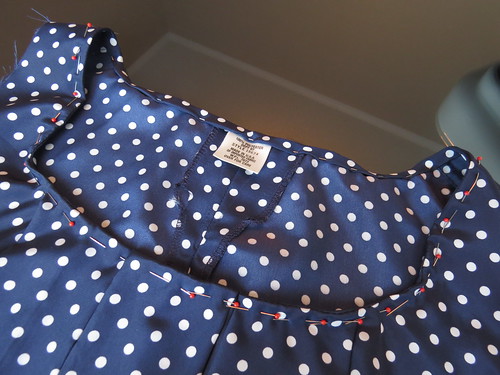
Next I pinned the bias strips to my neck edge, right sides together, and sewed it on.
Usually, I would then fold the edging over the edge of the body fabric to create a binding, or a thin border around the edges, visible on the outside of the garment. But this time I decided to try something new. I actually folded the edging over at the seam I just sewed instead and created more of a facing, visible only on the inside of the garment. This was the polka dot pattern flows uninterrupted all the way to the edge of the collar. (I also reattached the laundering tag.)
I repeated this process on the armholes, and I was finally finished (just in time to go to bed last night!)
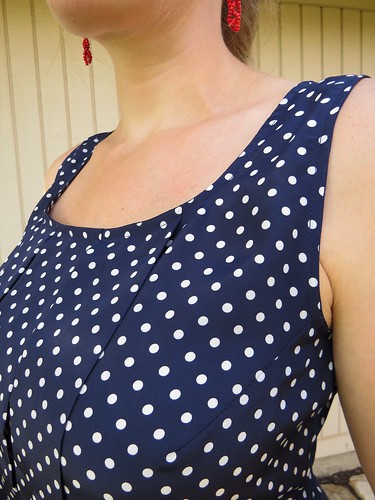
Then I got some good pics in the daylight today.
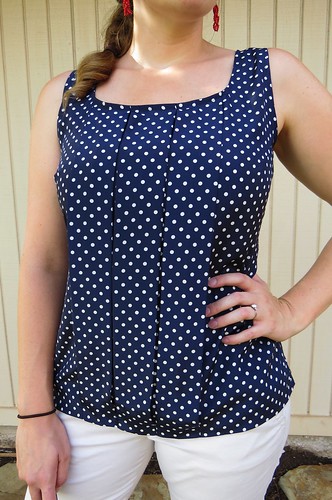
For a little patriotic flair, I paired this with some red earrings, my red glasses, and a pair of red strappy wedges I picked up at Goodwill this weekend for $5.


The shorts (also a $5 thrift find) are really a very pale khaki, though they look almost white in these pics.


I'll be all set for the barbecuing this weekend!


What a lot of work! But it was worth it.
ReplyDeleteP. S. As you're the one who actually DID the work, I hope you think it was worth it, too :)
ReplyDeleteOh yeah, definitely worth it!
Deletegorgeous--and so intelligent!
ReplyDeleteThanks!
DeleteLOVE IT!
ReplyDeleteThank you, Athena!
Deletejust MAGIC ! It's so amazing !!!
ReplyDeleteMerci!
DeleteYou have such an eye for design! This top is so versatile - sophisticated for dress and also cute with jeans or shorts. I love the pleats - they, along with the side vents- really partner well with the fabric
ReplyDeleteThanks! I really like the side vents too, even though they weren't part of the original plan.
DeleteYou're amazing.
ReplyDelete*blush* Thanks!
DeleteWell done you have made a lovely top.
ReplyDeleteWhat a helpful post. This blog has a lot of interesting stuff, and the post is quite helpful. Thank you for sharing your knowledge and expertise.
ReplyDeleteIndian Divorce Lawyers
bankrupty attorney near me
Excellent piece! The clarity and engaging style of your writing truly stand out. Thanks for sharing these valuable insights. Eagerly awaiting your future content. Keep up the fantastic work! Your blog is a gem in the vast sea of information. Looking forward to becoming a regular reader.
ReplyDeleteReckless Driving Lawyer Middlesex County
When buy binoculars online, it's important to consider factors such as magnification power, lens quality, durability, and price. Reading product descriptions, customer reviews, and product specifications can help you make an informed decision. Many online retailers also have customer service representatives who can provide assistance in choosing the right binoculars for your specific needs.
ReplyDeleteFurthermore, take advantage of the various payment options available and look out for any discounts or promotions to ensure that you are getting the best value for your money. With the convenience of online shopping and the wide range of options available, buying binoculars online offers a hassle-free and efficient way to find the perfect pair of binoculars without having to leave your home.