


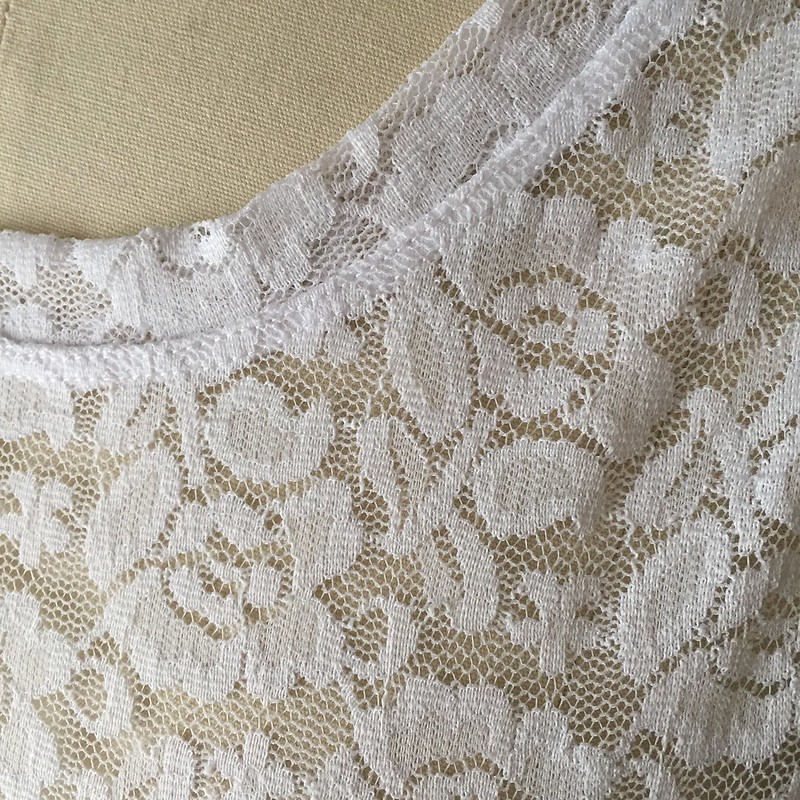
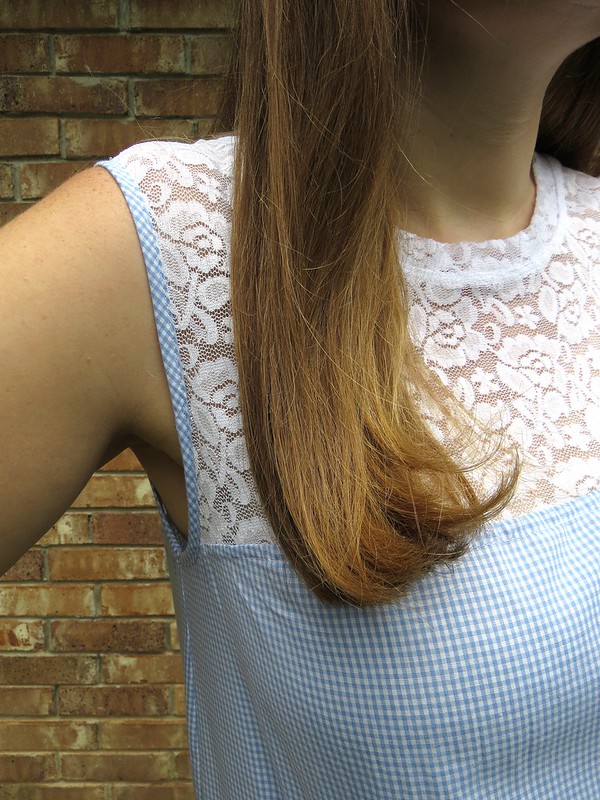
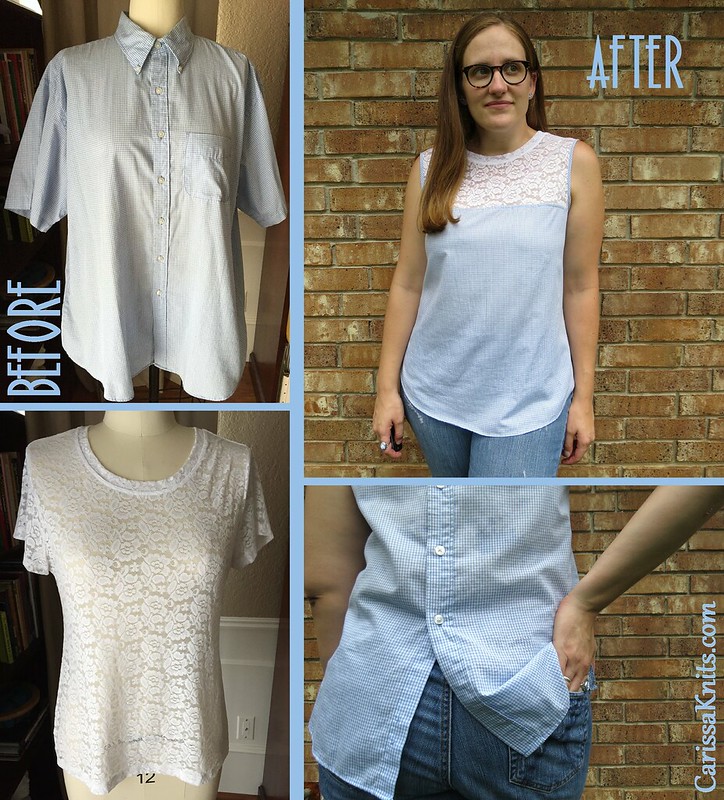
I also knew I didn't want this to be just another men's shirt refashion. So I grabbed this lace tee, another shining example of a previous refashion that turned out to be less than practical. I just don't like to layer in warm weather. But just look at that lace!

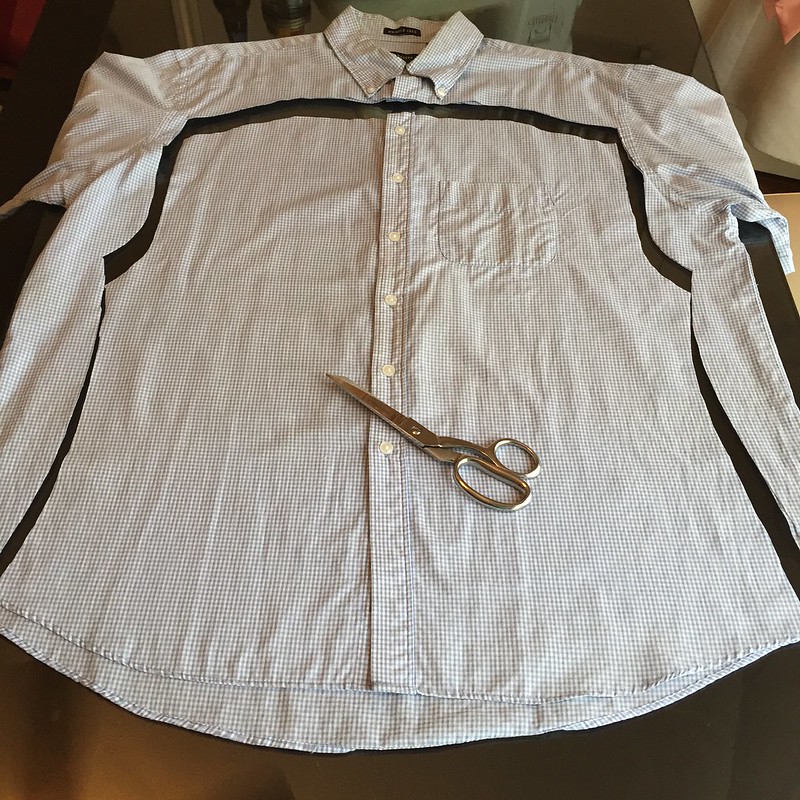
First, I used an existing well-fitting top to cut out my new front and back pieces.
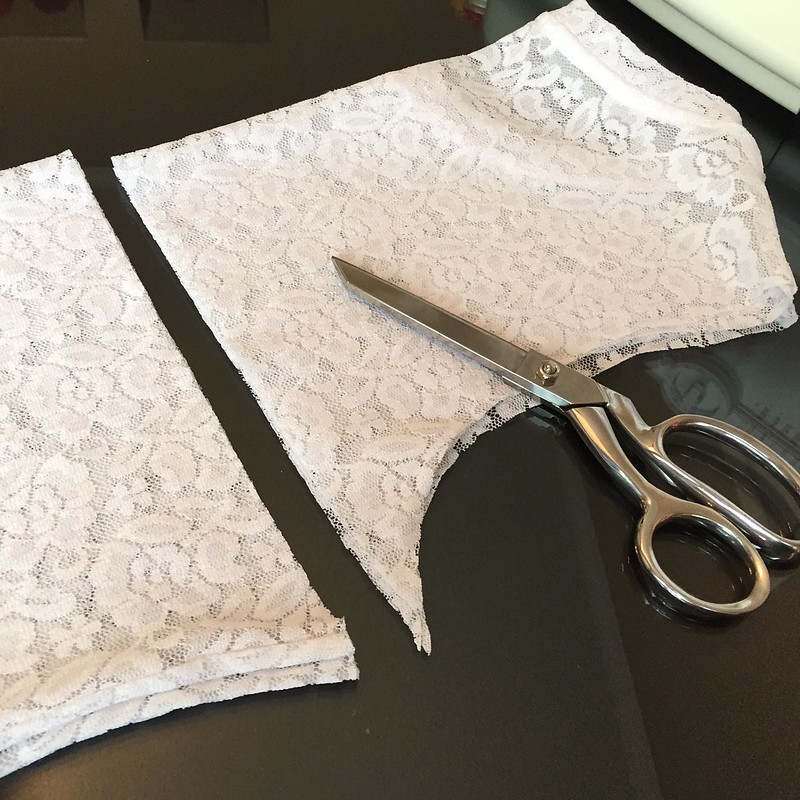
Then I cut the sleeves and torso off the lace tee. They'll be saved for another day since I'm only going to use the lace yoke for today's remake.

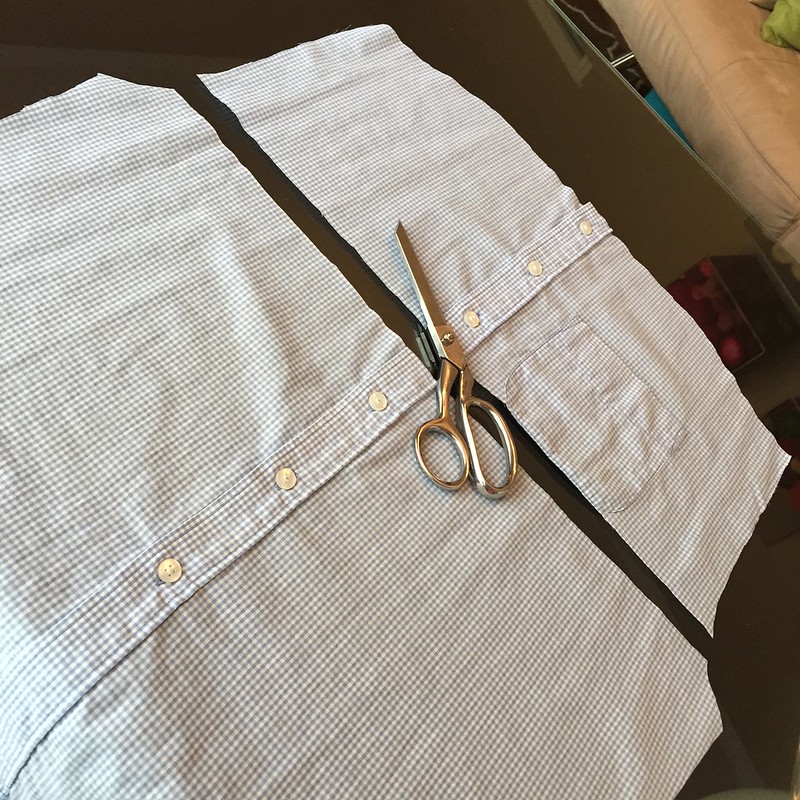
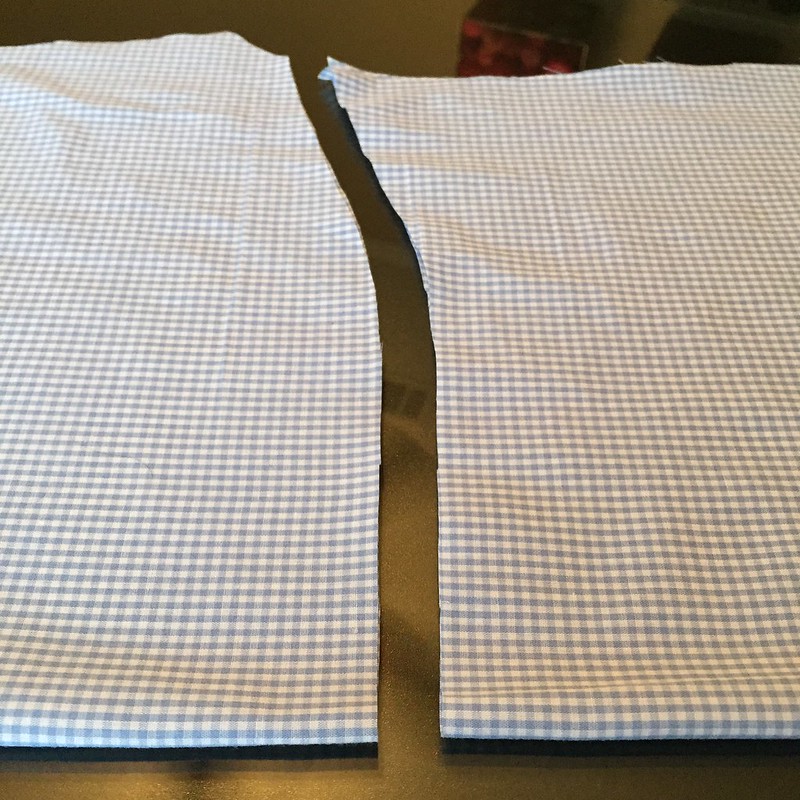
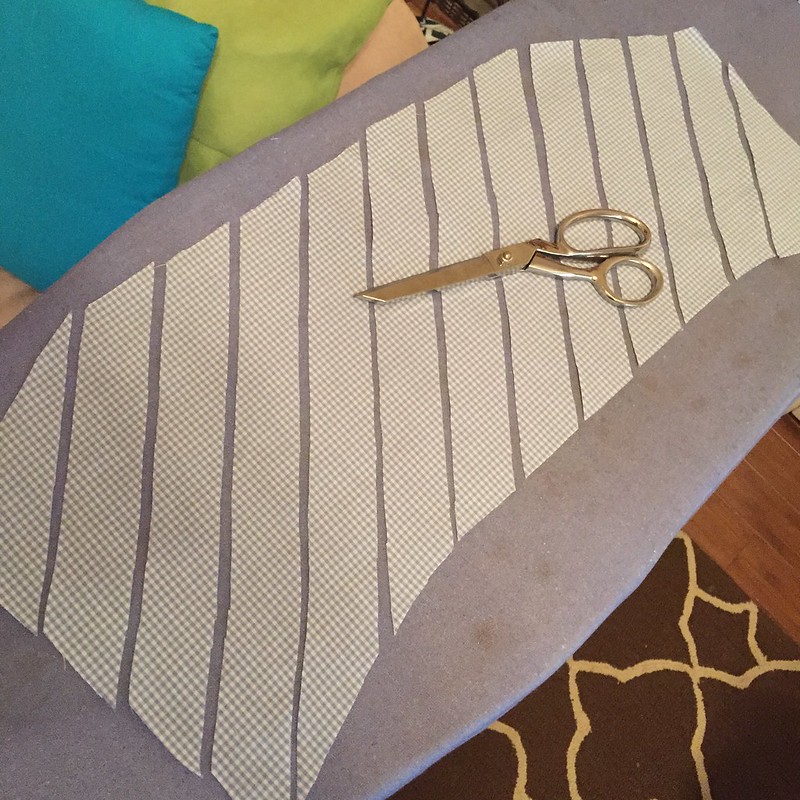
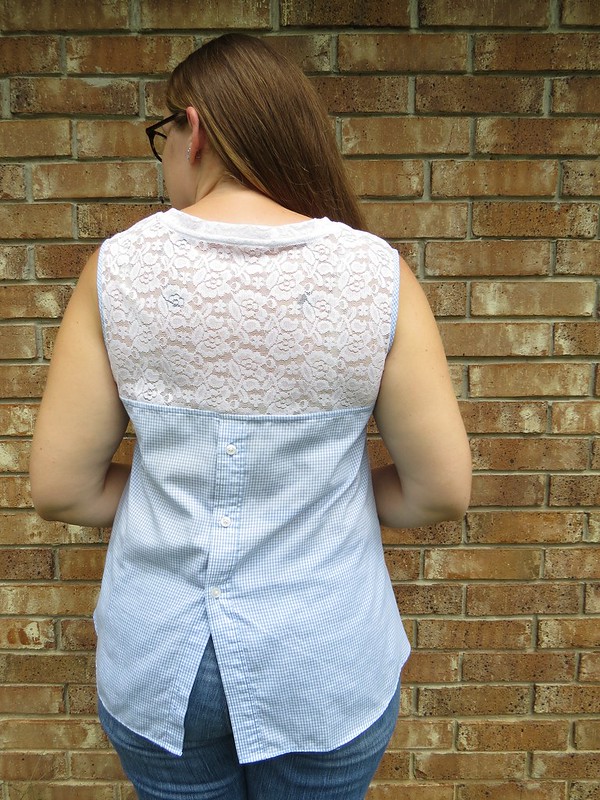
For the back panel (formerly the front of the men's shirt), I cut just below the pocket. For the front (formerly the back), I cut a little higher straight across the middle, then curved downward toward the bottom of the armholes. I did this with my fabric folded in half to make sure the sides were symmetric. These curves on the side, when attached to the straight edge of the lace yoke, will act a bust darts of a sort.
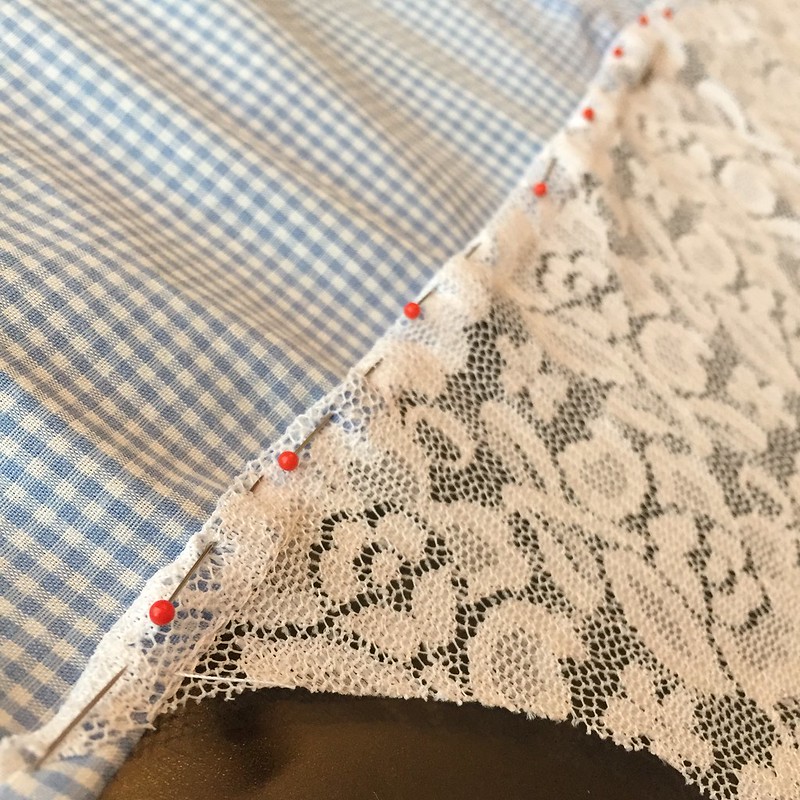
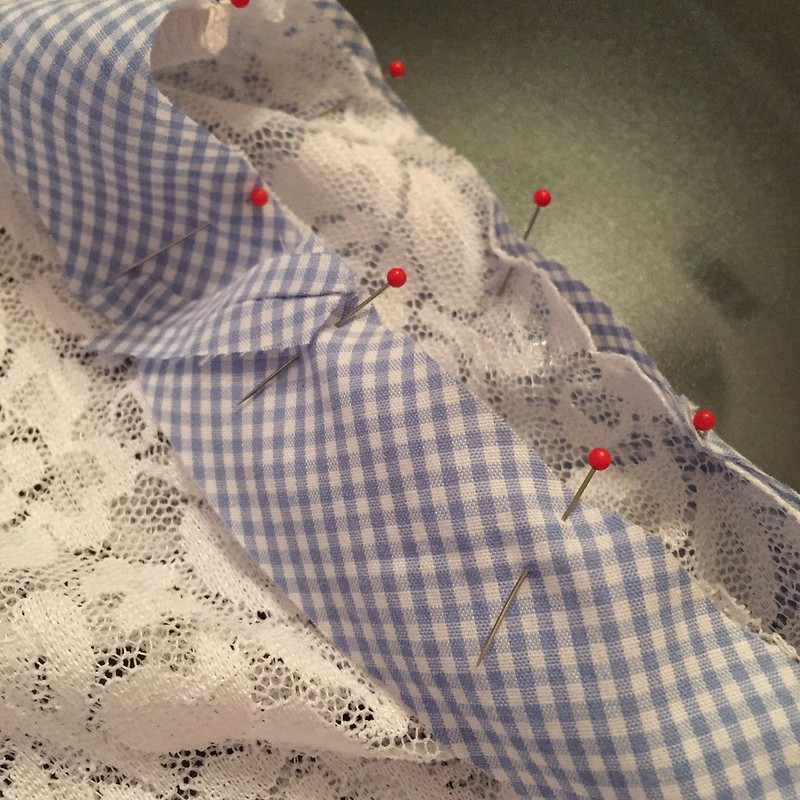
To join the lace and gingham, I lined up the back panels with right sides together and with the lace hanging over by about 1/4 inch. Once that I was sewn, I folded the lace over the gingham, then folded them both downward again to hide the raw edges.
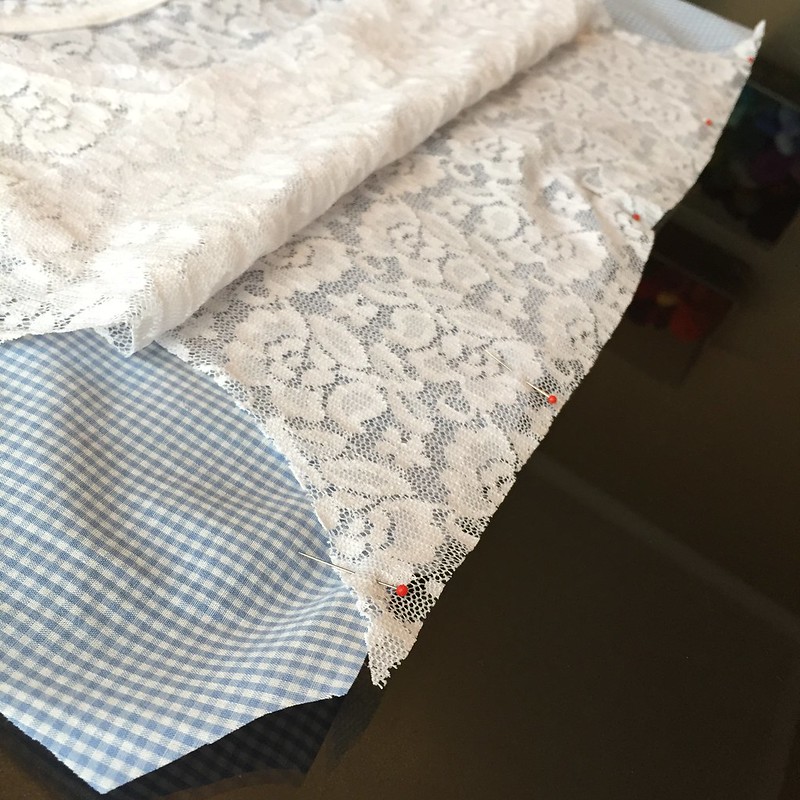
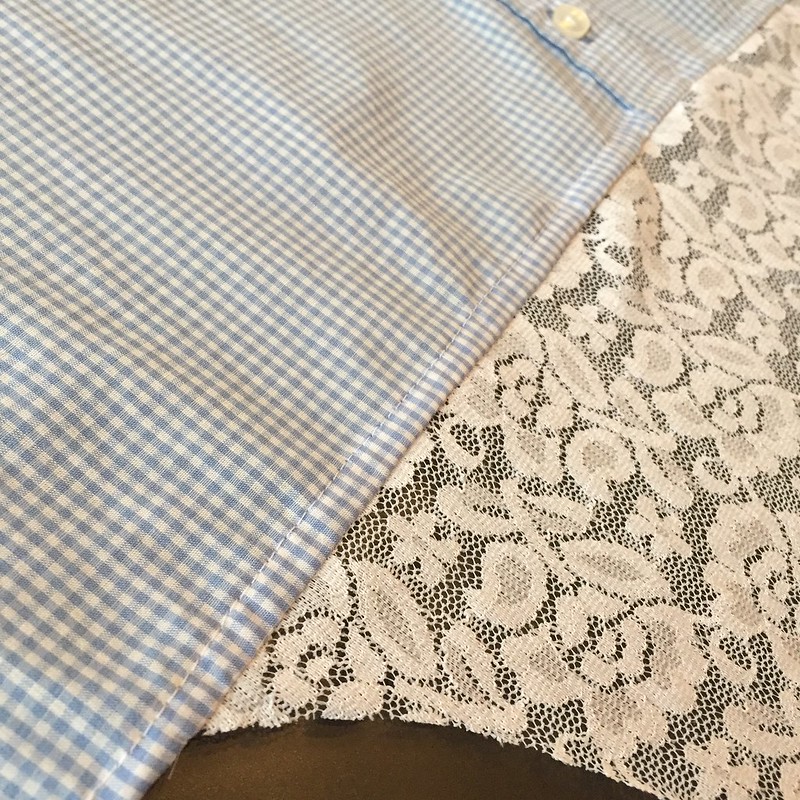
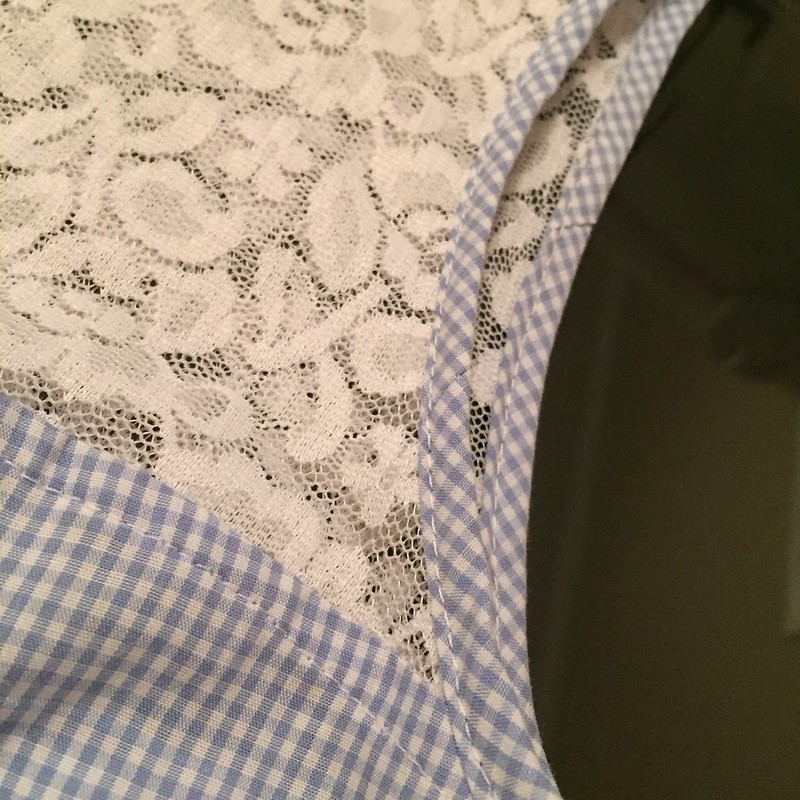
Once that was top-stitched, the seam had a nice, finished look. The front lace and gingham panels were attached to one another in exactly the same way.
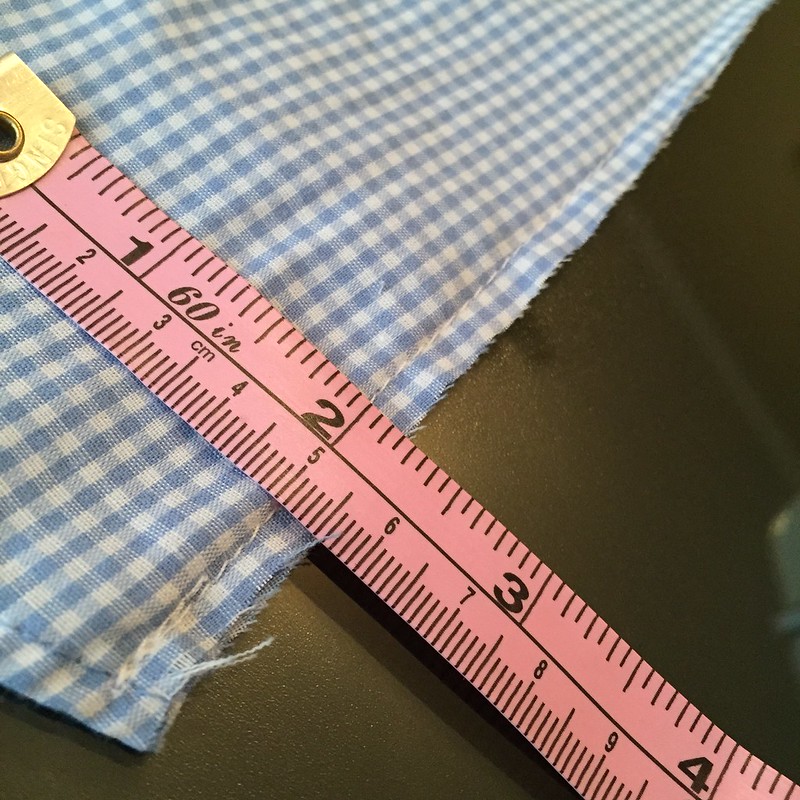
The side seams were sewn with wrong sides together and as close to the edge as possible, about 3/16 inches is what I managed.

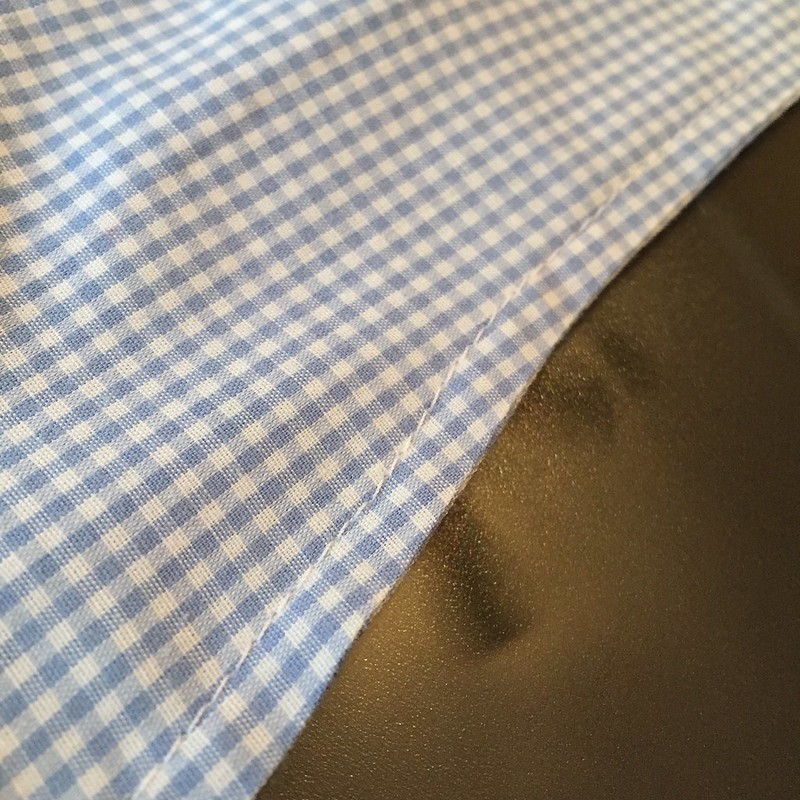
Then the shirt was turned wrong side out, the seams pressed and sewn again about 1/4 inch from the fold. Again, the raw edges are now nicely encased so I don't need to worry about fraying fabric.
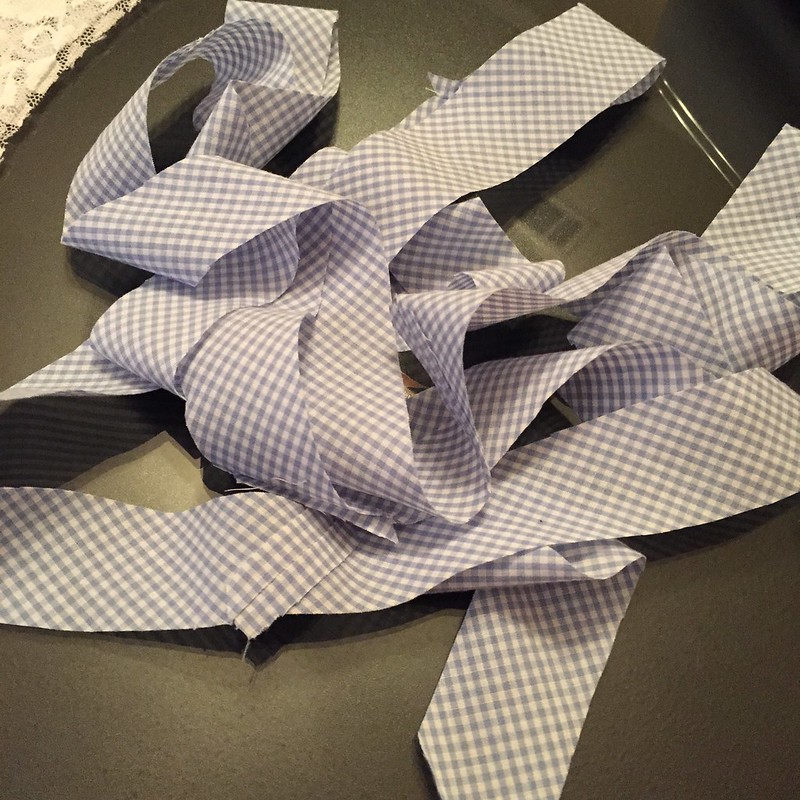
To finished the armhole edges, I cut bias strips from the trimmed-off yoke portion of the front gingham panel. Then I joined the strips end-to-end to make my own matching bias tape.
I pinned my tape around the right side edges of my armholes. Once it was sewn, I pressed the tape outward, then folded it around toward the inside and pinned and sewed again.

Lastly, I gave my bindings one final press.
All finished!

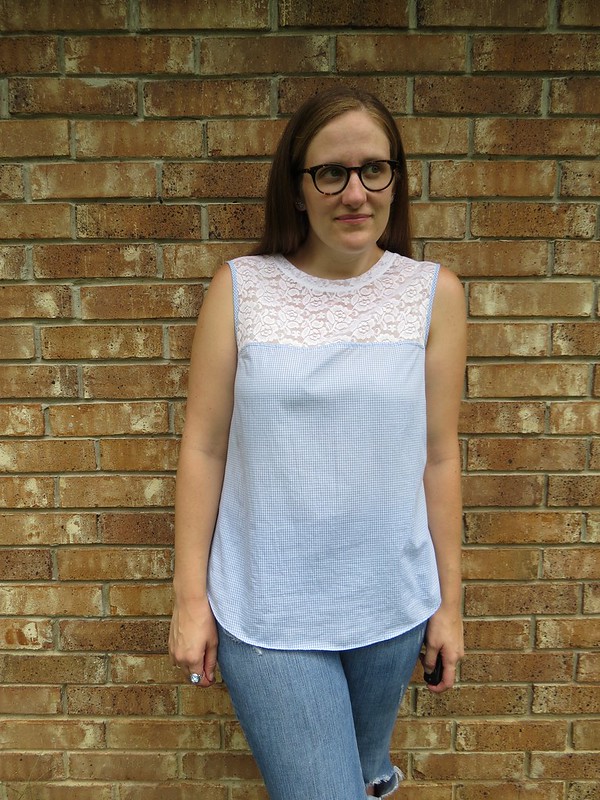
I'm contemplating cutting off the original lace collar and using some of the leftover bias tape to make it match the armholes. What do you think?


Cute! I really like it as is, but I'm sure it would look great with the gingham binding around the neck as well.
ReplyDeleteThanks! I'm leaning toward re-doing the neckline...
DeleteBrilliantly done! I say redo the neck with the binding. You can lower the scoop a little at the same time.
ReplyDeleteI really appreciate the time you take to do french seams, cover your raw edges, and finish with bias tape. Such nice work in refashioning!
If you can't do something right, don't do it at all, huh? ;) I'm thinking I am going to redo the neckline. Thanks for the feedback!
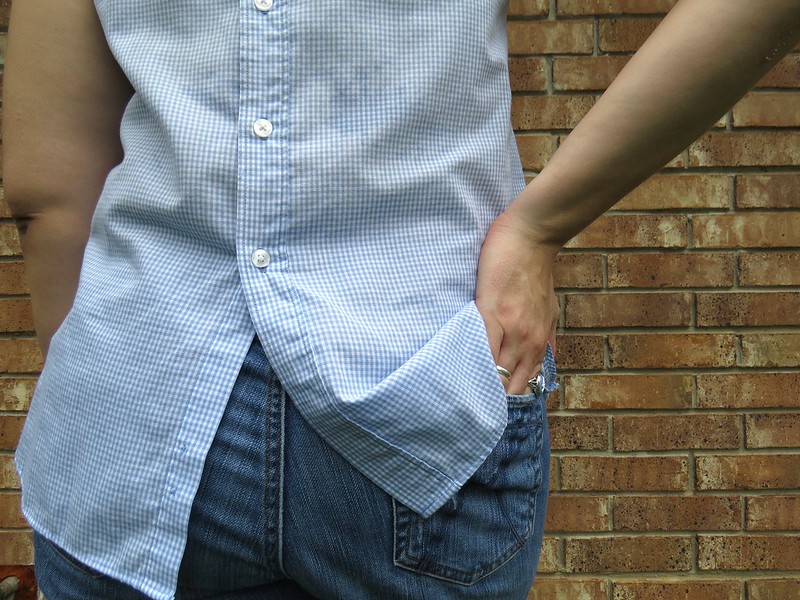
DeleteBlue/white checks and Lace - What a combo ! I like that you switch the front to back and then allow the buttons and split bottom to finish it - very attractive. Maybe Annie and Christina have a good eye to "see" a scoop trimmed with the bias tape at the neck and then, maybe, add a lace pocket near the front hip. I am anxious to see how the lace scraps will be used in the future.
ReplyDeleteI had thought about using part of one of the sleeves, with the bottom hem facing upward as the top edge of a front hip pocket. But when I pinned it in place and stepped back to take a look, I felt like it might come across as a little girl's dress being worn as a shirt by an adult. Too weird. Pretty sure I will redo the neckline this weekend though. Update to follow!
DeleteWith the current collar the top has a great laid back feel. You know, comfy tee, but way cuter! (I don't think that's a word) :o)
ReplyDeleteJJ
www.dressupnotdown.blogspot.com
Yeah, I like it as is. That's why I stopped there. But there's that nagging thought, "What if I took it a step further?" When that happens in my refashioning, I'll usually stop, wear it once as is, and see if I still think I should make that final change. This time, I'm thinking yes, I will redo the neckline.
DeleteGreat idea!! I've got a Craft Gossip post scheduled for tomorrow afternoon that links to your tutorial:
ReplyDeletehttp://sewing.craftgossip.com/?p=83152
--Anne
Thanks, Anne!
DeleteWell done! I love the split tail at the back. I put that photo on my Inspiration board.
ReplyDeleteAw, thank you! I'm so glad to hear it inspired you. :)
DeleteWhat a great refashion! You have all the best ideas, & I may try this one myself (I'm a self taught amateur)
ReplyDeleteHey, I'm a self-taught amateur as well. But practice makes perfect, right? Well, maybe not perfect, but better everyday!
DeleteSuper cute use of two shirts! I love this so much I just may have to try it!
ReplyDeletePlease do! I'd love to see your version!
DeleteThis is terrific! Thanks for the great tutorial.
ReplyDeleteYou're very welcome! :)
Delete