


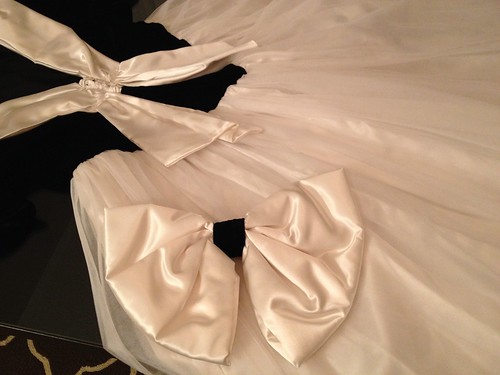
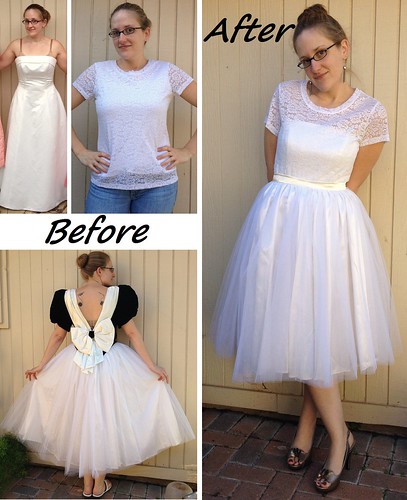
When I saw this dated prom dress at the thrift shop for $6, I knew I had to have it. I am seeing lovely tulle skirts all over these days and have been wanting one of my very own. The bottom half of this dress will do nicely.
But wait, there's more! I'm going to need something to wear with fancy new party skirt. You may remember this wedding dress from my Halloween remake (and if you don't, you may want to see a doctor about your short-term memory loss). Well, I've still got the bodice from it laying in my scrap pile. That should come in handy.
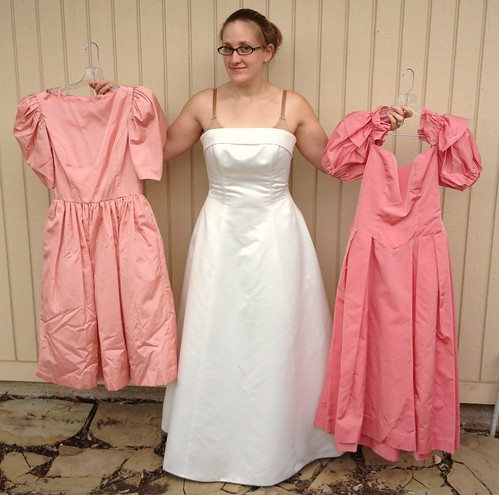
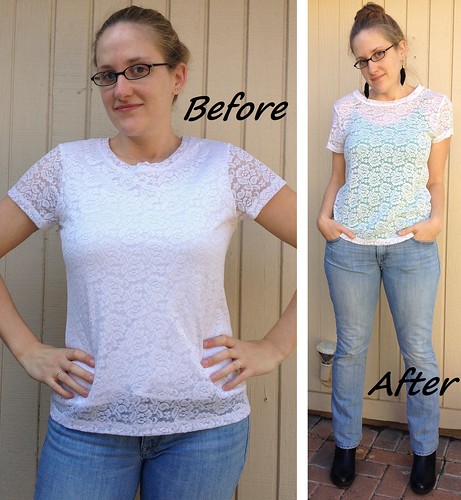
But no, that's still not enough! Let's add a little lace to the tulle and satin, shall we? Enter this $4 thrifted lace t-shirt. It's not terrible as it is, that's true, but I've got a quick way to make it more versatile.

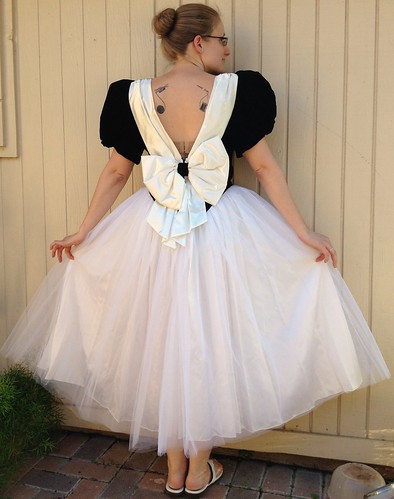
So which piece should we start... How about that skirt, huh? First we'll get that ginormous butt-bow out of way.
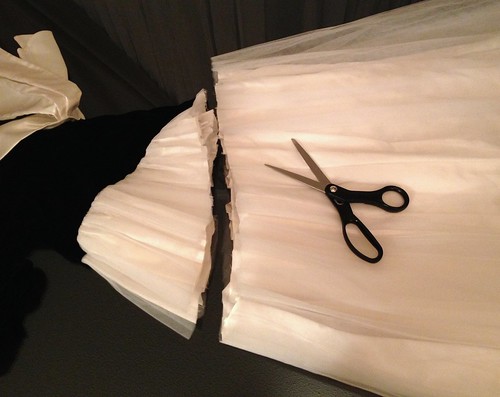
Next we'll separate the skirt from that heinous black velvet bodice with sleeves that never end.
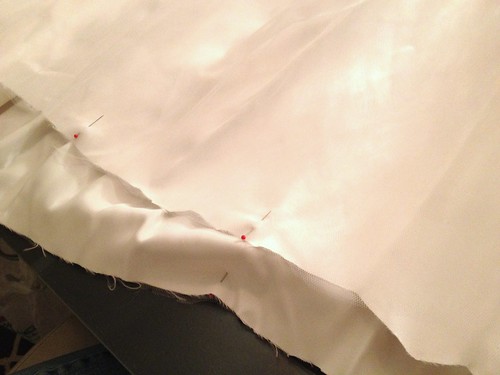
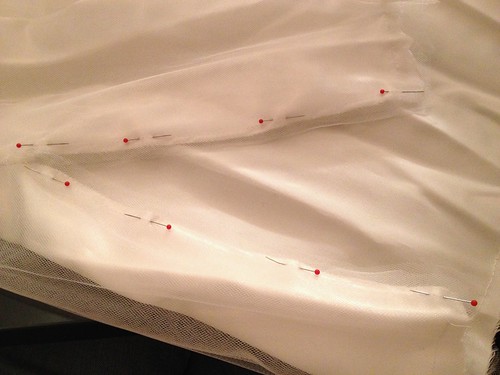
Next I pinned and sewed the three - count 'em THREE - layers of tulle to the satin skirt, just to keep it all together nicely.
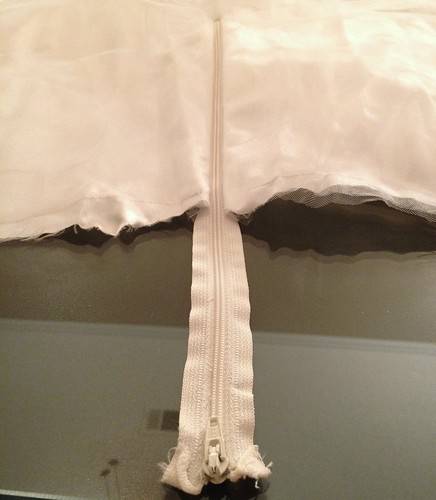
I used my seam ripper to pick out about 9 inches down the back seam through all four layers of skirt.
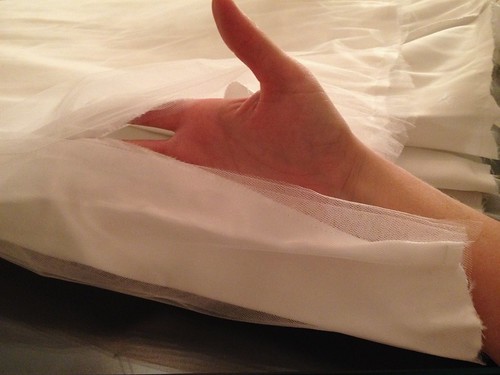
I also sewed those edges together so as not to go insane.
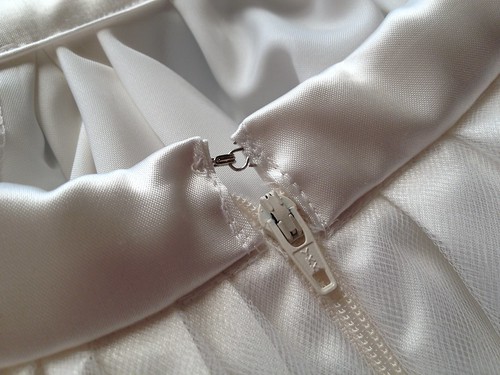
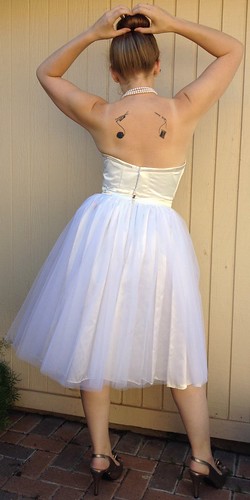
Then I installed the zipper salvaged from the wedding dress.
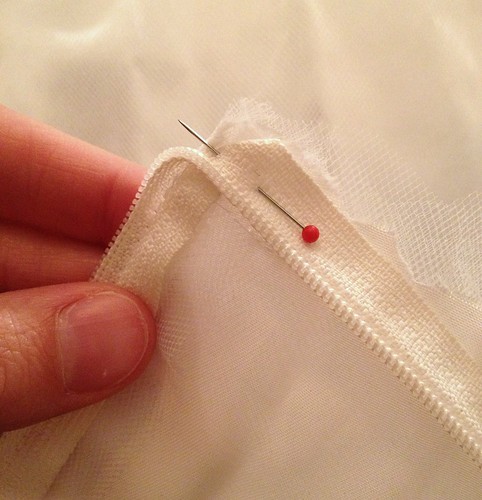
Now, listen carefully here, okay? Learn from my mistakes, as I have tried to do. I can't tell you how many times I've cut a long zipper to the correct length and then promptly slid the zipper head right off. Unless you have some mad zipper skills, you're not getting the puppy back on. So here's the deal: fold over each side of your zipper at a 45 degree angle. Give it a few stitches to keep it that way, then trim the excess. With each top edge turned outward (and hidden inside the waistband eventually), your zipper head won't be able to escape. Got it? Good.
Now on to that waistband I mentioned. I removed the sash and tails from the back of the dress.

I ironed out the creases.
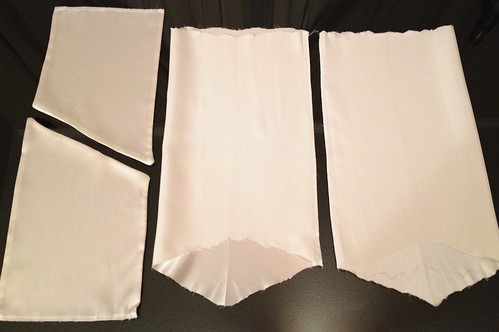
Then I cut them into nice rectangles.
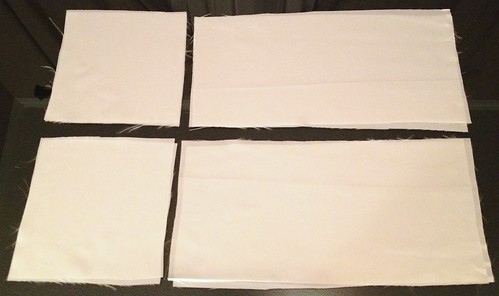
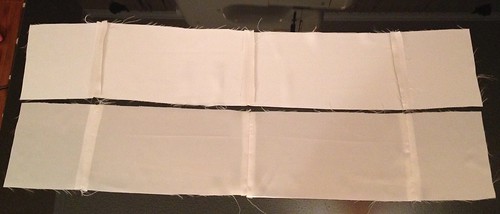
I joined those rectangles together. One will be my waistband; the other will come into play later.
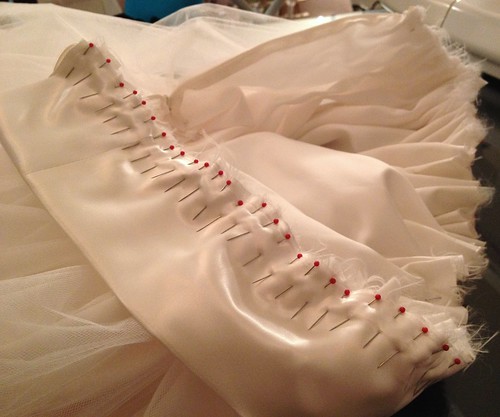
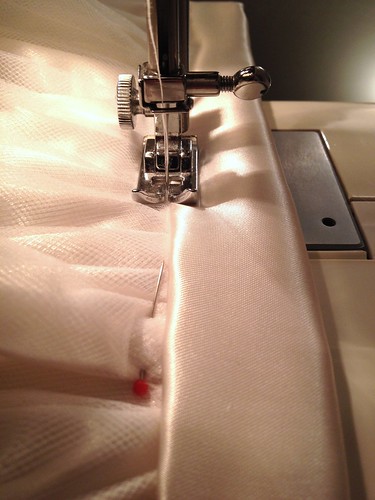
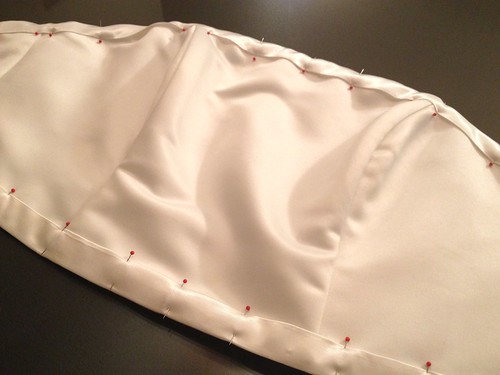
I folded the waistband in half, wrong sides together, and started pinning it to my skirt. As with the Cinderella skirt, I started with a pin on each zipper edge, one on each side seam, and one in the center front. Then I grabbed the midpoint between pins on the skirt and the midpoint on the waistband and pinned those together. And I kept doing that until I had a pin every half-inch or so. This is gonna be a very full skirt.
After that was sewn, I folded the waistband over toward the inside of the skirt, so it came down slightly lower on the inside than the outside. I sewed "in the ditch" so my seam wouldn't be terribly noticeable.
Finally, I hand-stitched a little hook-n-eye at the top of my zipper, and my skirt was finished.
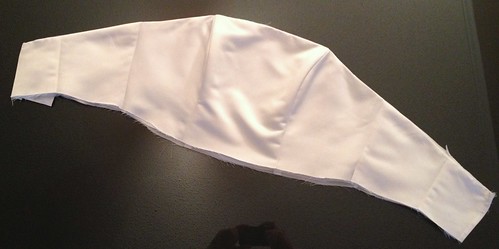
BUT before I it to show you, let's talk about the bodice from the wedding dress. I'm going to turn it into a little bustier-type thing. Here's what was leftover from Cinderella:
Then I took that second piece made from the prom dresses' back sash, and I cut it straight down the middle. One half will be the binding on the bottom edge of the bodice (where I cut off the skirt for Cinderella); the other will be the binding on the top (where I cut off the flappy thing for Cindy's straps and headband).

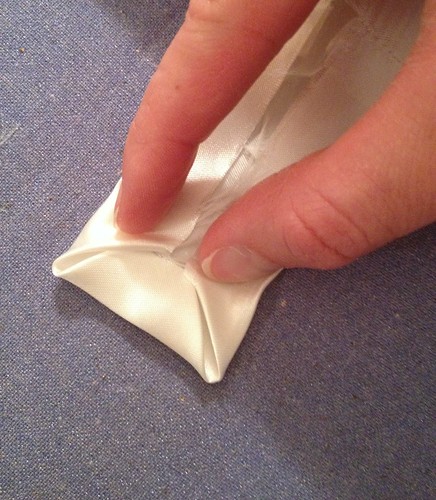
I pressed the edges inward, making 45 degree angles at the ends.
I pinned my binding to the top and bottom edges.
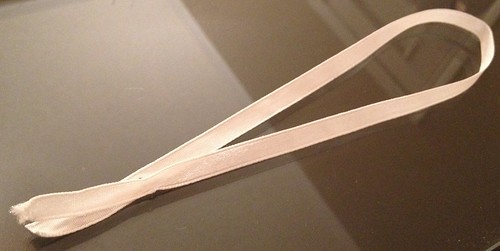
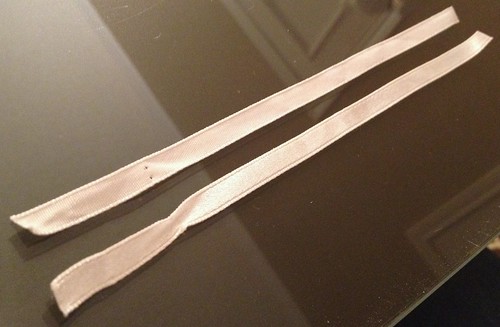
I paused for a sec before sewing the binding though. You see, there was only one hanger strap inside the wedding dress. The other had been ripped off at some point. So I snipped off the remaining one and cut it in half to make two smaller, but still perfectly adequate hanger straps.
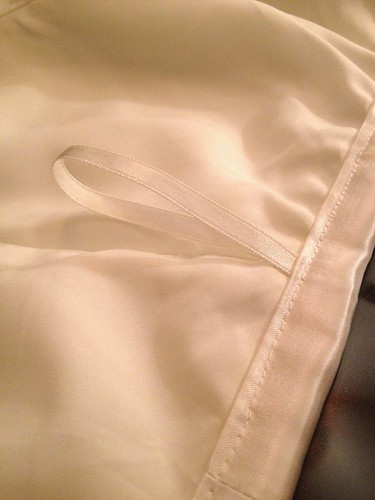
So I slid the hanger straps under the top binding on the inside, near the side seams. Then I sewed the length of the binding, making sure to catch my hanger straps too.
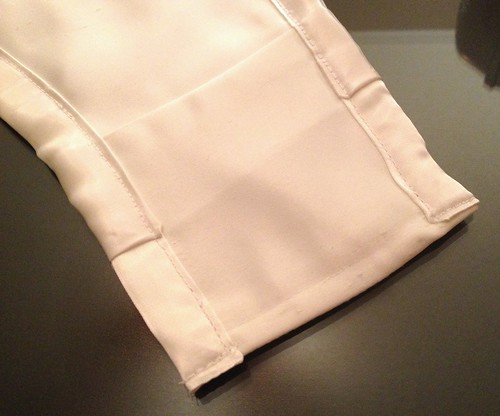
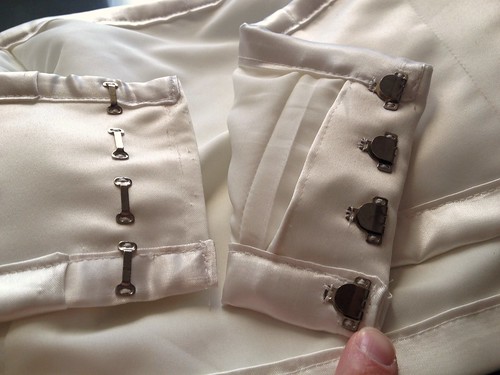
I had to do a bit of a patch job when my binding turned out to be not long enough. My fault for guesstimating. I had taken it in too much to the point it did quite fit when I tried to put it on. So I picked out the ends of the binding, unfolded the excess I had folded under, and added a couple extra pieces of binding. This part will be under the other end, as it will overlap in the back, so no biggie.
I hand-sewed on four of the heavy-duty hooks I had salvaged from the pale pink pre-Cinderella bridesmaid dress. Notice the other end of the back is still folded under to make it fit, but as I said, the back overlaps, so no one will ever know... unless they read my blog. Drat!
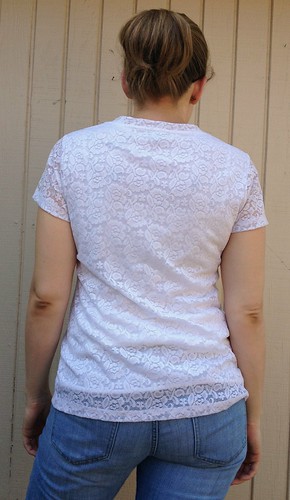
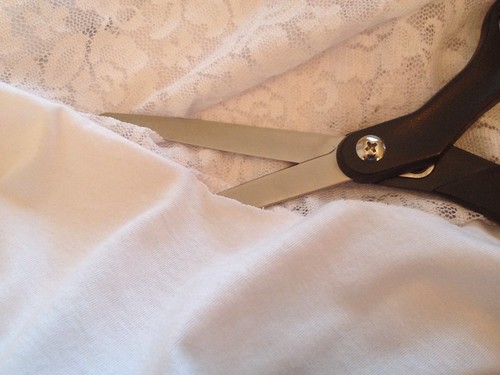
I realized you're probably getting impatient now, so I'll make this last piece quick, k? For the lace tee, I took my scissors and carefully cut as close to the armholes and collar as I could, to sever the solid white lining fabric from the lovely lace. Now I care wear the lace tee over different colored tees and tanks, and not necessarily have to stick with white-on-white.
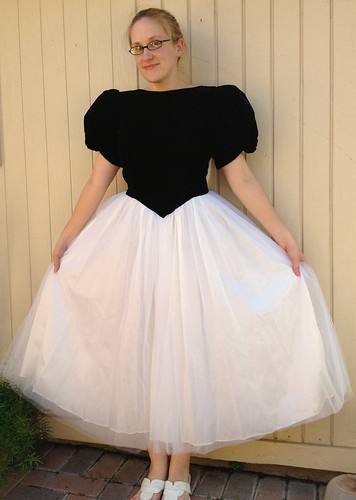
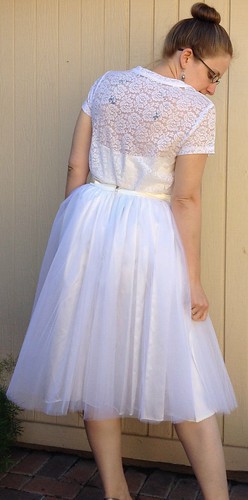
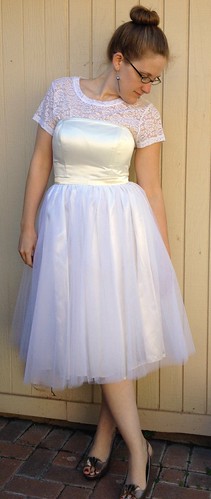
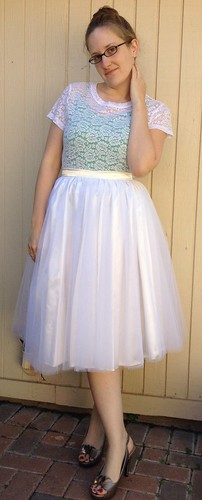
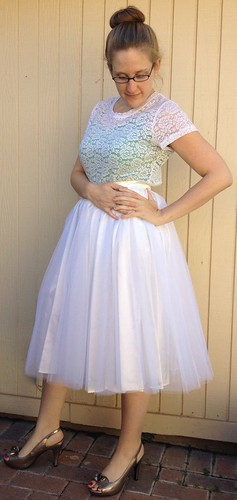
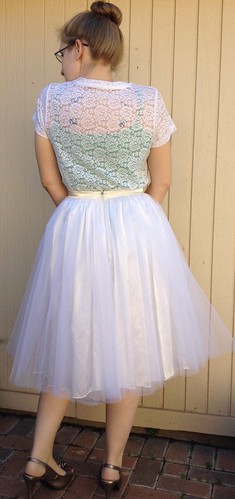
Okay, you've waited long enough. Check it out! With all three pieces together, I've got a sweet little party dress. Fun fact about Texans: we crank the AC when it's hot outside, and we crank the heater when it's cold. So a short-sleeved holiday part dress is perfectly acceptable.
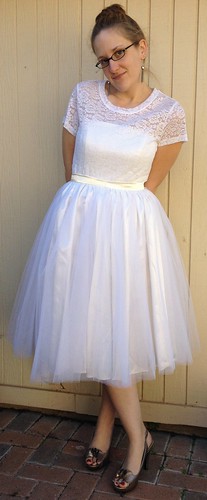
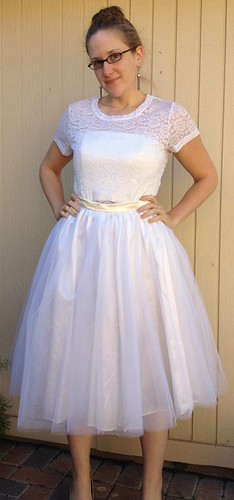
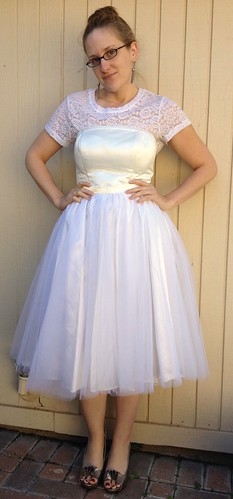
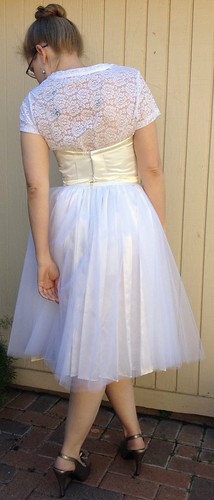
I also tried it with the bustier on the outside. I can't decide which I like better.
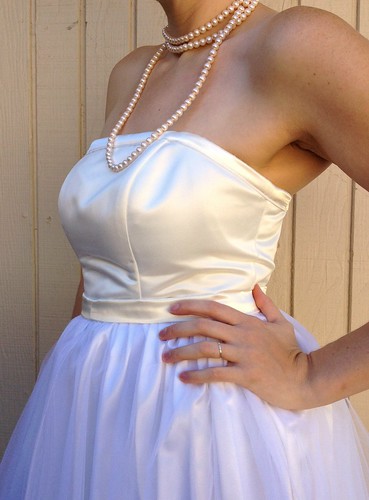
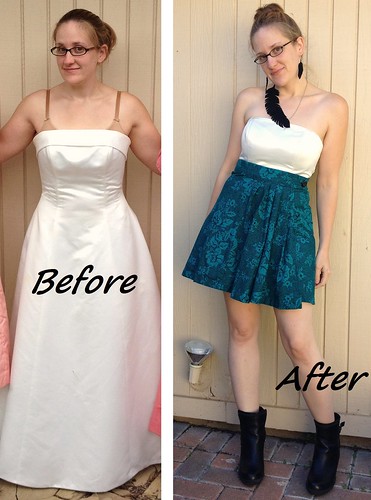
The beauty of keeping all three pieces separate is that I can mix and match! For outfit #2, removing the lace tee turns the sweet party dress into a sexy party dress!


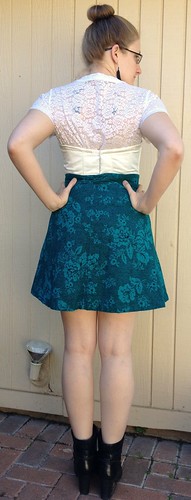
#3 I tried pairing the bustier with something completely different. (Hey look, it's my bonus emerald and leather projects!)


#4 Lace plus bustier. I kind of like the way the lace top echoes the lace-like print in the skirt.


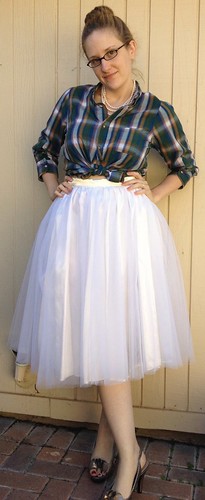
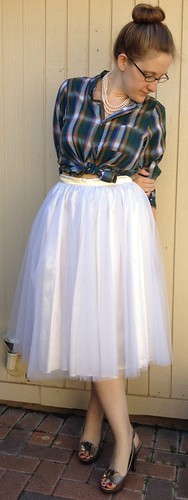
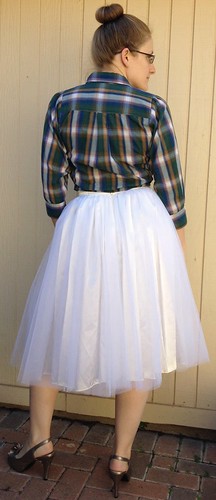
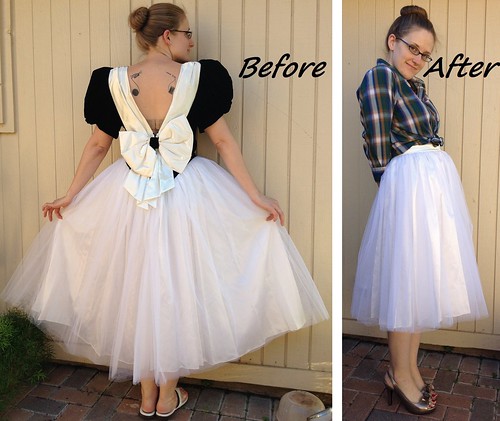
#5 I never would have thought to put a plaid shirt with a frilly tulle skirt were it not for Pinterest, but I seriously love this outfit. (oh hey there, bonus plaid refashion, how you doin'?) Also is anyone else having flashbacks from the whole shirt-tied-at-the-waist thing?


#6 Tulle and lace with a pop of color peaking through. This is what I meant about making the lace tee more versatile. Sure, I could still wear it with a white tee/tank under and it'd be pretty much what I started with. But removing the lining means I can put any color I want underneath!
#7 Jeans casualize the lace and the lace fancies up the jeans. A perfect balance!


So that's $10 worth of materials, plus scraps from a previous project, to create 3 new pieces, which can be arranged in 7 different combinations. Add in different skirts/pants/tops/accessories, and the possibilities are endless!


Fabolous! I really wish people still had big fancy holiday parties so I could refashion some formal dresses like this :) I have my prom and winter formal dresses still so I can see them being the first under the scissors. Great refashion!
ReplyDeleteBonnie MS
I know, right!?! I was asking myself yesterday if I could get away with wearing this to my work holiday party, since you can see my tattoos through the lace. We'll see how daring I feel that day.
DeleteWonderful post showing how to think a project through and do it while giving us a bunch of ideas to think about putting outfits together. Congratulations!
ReplyDeleteThanks! I was afraid I might overwhelm with all the 'after' pics. :)
DeleteOmg this is so clever. What a vast array of outfits,
ReplyDeleteThanks! I could probably find a way to pair any one (or more) of these pieces with every single thing in my closet!
DeleteCarissa --- You are so entertaining!!!!!
ReplyDeleteMy favorite is the strapless party dress. I really do love to follow the full tutorial of your projects and to have a close up of your finishing touches. And, what do you do in your 8 to 5 life?
Thank you, Linda! I think either the strapless or the plaid/tulle combo would be my fave too. Can't decide!
DeleteBy day, I am a data analyst. Tedious number-crunching and spreadsheets, and I love it. But I also love coming home and letting my creative side run free in the sewing room! Life is all about balance. ;)
that is super-clever! I love the adaptability of the pieces. great job and thanks for the inspiration.
ReplyDeleteYou are very welcome, Dee! :)
DeleteYou are amazing Carissa! You've got mad skills and are so creative! I LOVE it all... 3 pieces and endless possibilities! Genius!
ReplyDeleteOnce I had the same problem with the zipper, and I had to finish the garment that night and shops were closed and I had no extra zipper that would fit it, so I exautly searched online how to put the zipper's head back again. also, I also gather my fabric with the pin method, just like you. Good luck!
I should have known the internet would have the answer. Still, I'd rather train myself to be more careful and not do that to begin with. But if I ever do slip up again, now I know Google's got my back! Thanks, Magda!
DeleteThis refashion is perfect for a winter party! I like how you showed several options. Very cute!
ReplyDeleteThanks, Trish! Your wedding dress redo this week was fabulous too! I wish I had learned to sew before I donated my wedding dress, so I could have made something special out of it like you have.
DeleteI love the skirt with the plaid shirt! I was already contemplating making a tulle skirt, but now that I've seen yours I HAVE to get one made ASAP! :o)
ReplyDeletewww.dressupnotdown.blogspot.com
Thanks! I agree - you HAVE to have one. I've barely even had a chance to wear mine yet, and I already know I'm gonna love it!
DeleteGorgeous pieces! I like how you've left them separated so you can use them in so many ways. Excellent plan :)
ReplyDeleteWhy, thank you, Jenny! I don't have much occasion to wear a party dress, so being able to wear everything individually was paramount.
DeleteI am absolutely in LOVE with the plaid shirt paired with the tulle skirt!!!! Im inspired to make one of my own!
ReplyDeleteHooray! Tulle skirts for EVERYONE!!
DeleteCarissa, wonderful job on your dress this week...so many possibilities! Isn't it interesting how similar our looks were this week with lace tops and gathered skirts! I guess we both had the same idea when it came to dressing winter white for the holidays. I don't know about you, but if I just had a party to go to... Good luck!
ReplyDeleteThanks, Susan! It's amazing how different people can interpret a vague theme in such different ways. And while ours have similar elements this week, they are still completely separate styles! That's one of things I've loved the most from this competition - seeing everyone's creative spin on the same challenge. It's been so great, and I'm not ready for it to be over yet! :(
DeleteThis is beautiful, Carissa! I am in love with that tulle skirt...and paired with the plaid shirt, perfect!! Now you have me itching to make one of my own. I think I liked the bustier on the outside verses the lace on the outside-- you see the detail and fabric of the bustier better that way. :) Great job! (Oh, and I totally get you on the AC/ heater thing...I own lots of sweaters that I hardly ever get to wear.)
ReplyDeleteThanks, Desarae! You totally should make one. They're so much fun to twirl around in!
DeleteI think I've decided I like the bustier inside and outside equally, depending on my mood. It's amazing how a tiny styling change like that can have a completely different vibe - cute and sweet vs a little sassy! Just depends on how I'm feeling at the moment. :)
Wow, that's amazing! I loved that you kept them all separate so you can mix and match! The plaid shirt and tulle skirt is my favorite outfit!
ReplyDeleteI just went and voted!
Thank you, Heather! The plaid and tulle is my fave too!
DeleteI hope you're still refashioning/sewing…because you're GREAT at it!
ReplyDeleteOf course! Refashionista for life!
DeleteThanks for your post. It's very helpful post for us. You can also visit sally poppy london for more Victor Steel related information. I would like to thanks for sharing this article here.
ReplyDelete