


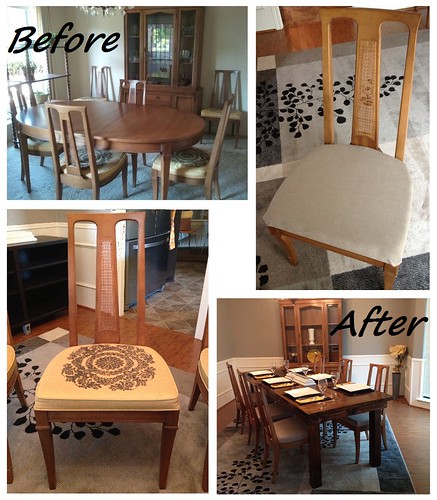
A few weeks ago, when I posted pics of our dining room makeover, I promised to supply further details on those reupholstered chairs.
As I said then, this set (including a table we did not keep) was purchased on Craigslist from a local woman (actually her son) who was downsizing after moving from her longtime home to a retirement facility.
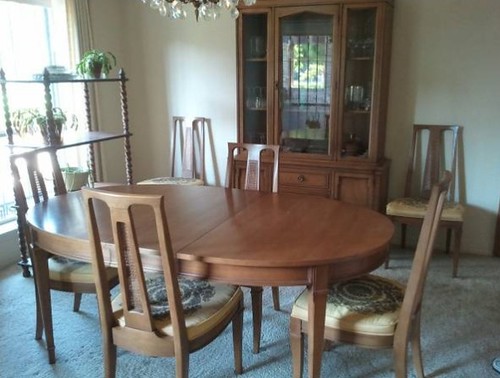
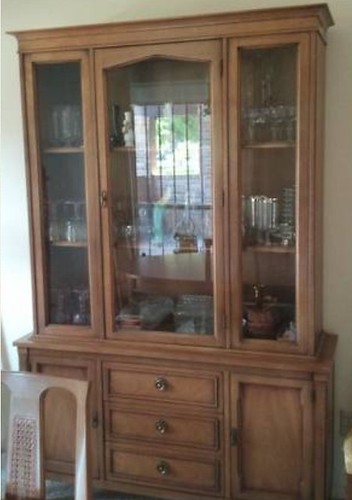
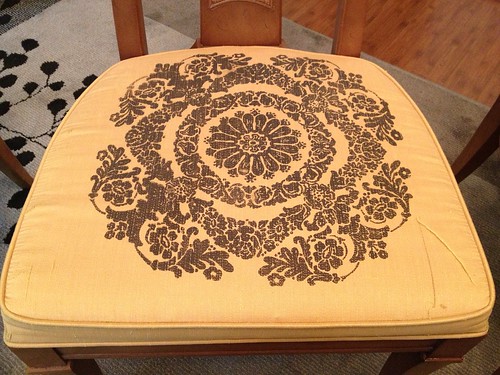
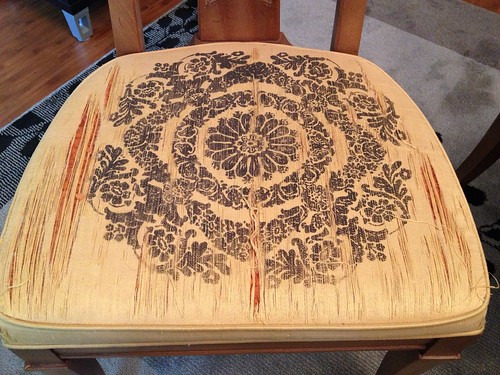
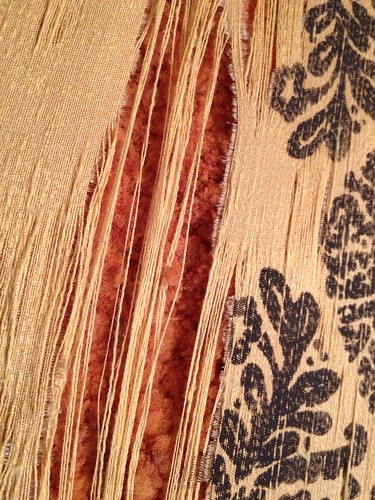
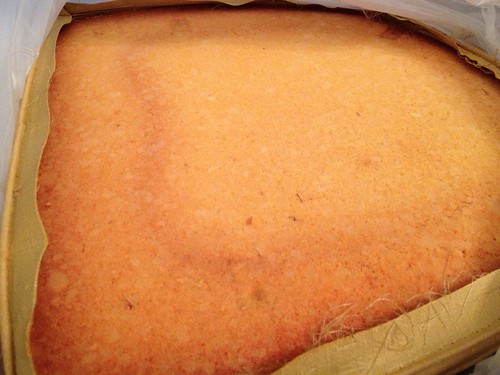
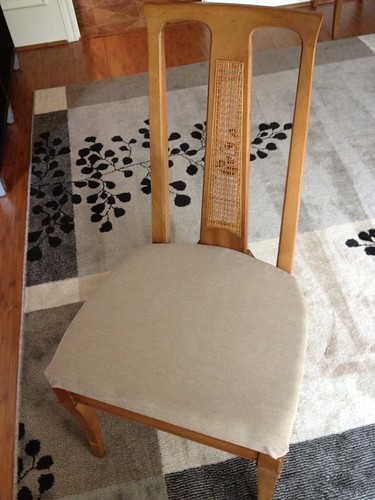
She and her husband had bought this beautiful pecan wood dinette set back in 1952, and it still had the original seat cushions and fabric! Some were not too bad looking considering their age...

To do this I used:
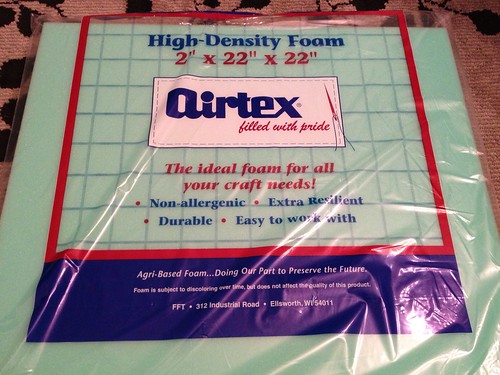
*Foam - I got mine at Joann's when it was half off, but depending on the condition of your chair cushions, you may not need to replace the foam
*Fabric - Again, Joann's when all their upholstery fabric was half off. I bought 3 yards and used about 2.5.
*Screwdriver
*Pliers to remove any stubborn stables
*Good scissors to cut fabric
*Crappy scissors and/or serrated knife to cut foam
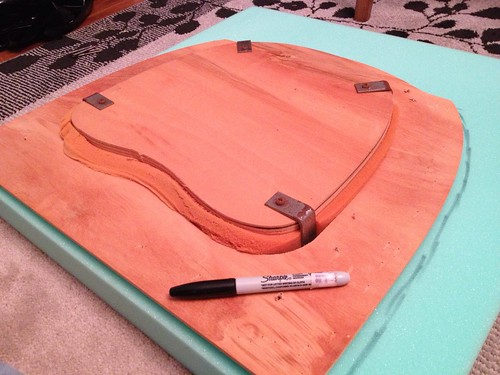
*Permanent marker
*Staple gun
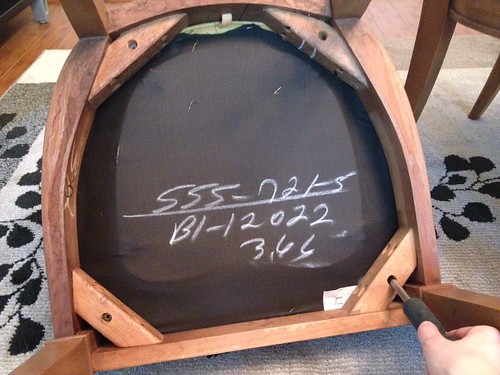
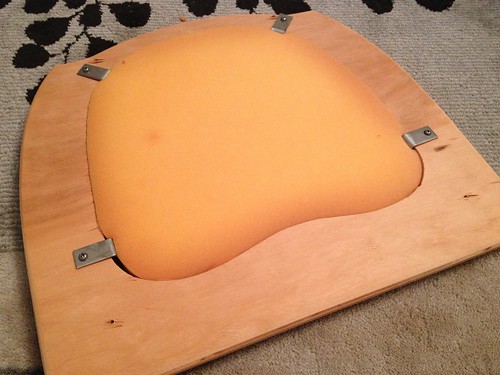
I flipped one over and removed the four screws holding the seat on. Be sure to keep each seat with its respective chair as you go. This way, you know the screw holes will line up when you go to put the seat back on.
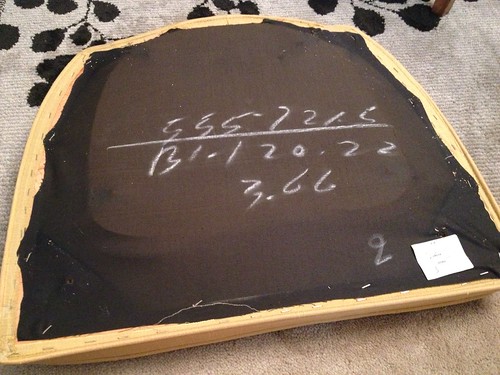
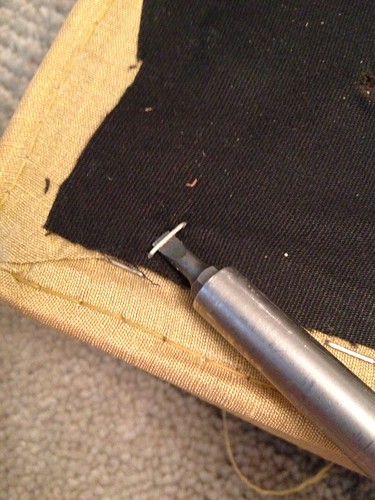
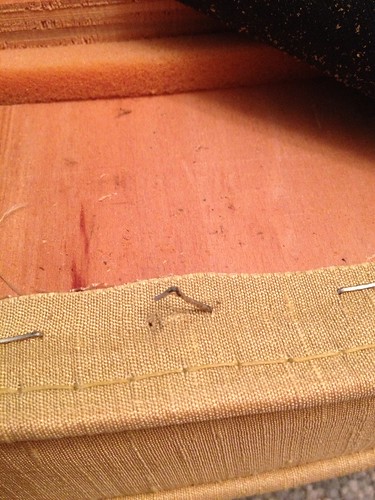
I used a flat-head screwdriver to remove the staples holding on the backing fabric.
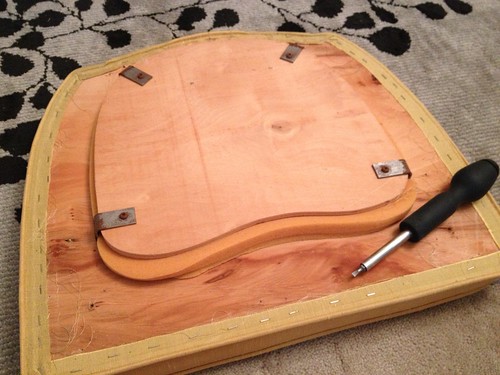
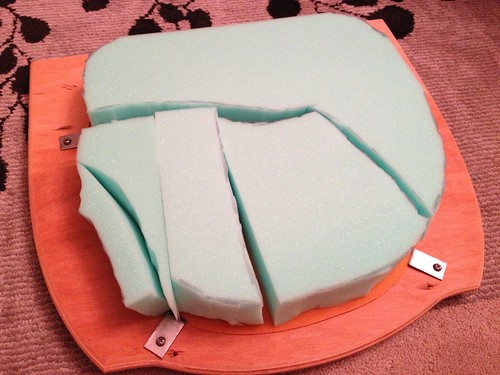
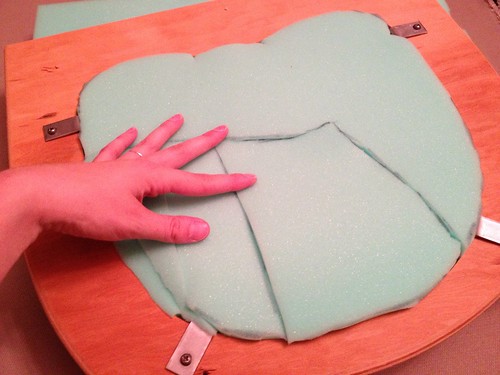
I hadn't realized when we bought them that these seats had a little bump-out in the middle, so there's more cushion under your tooshie.
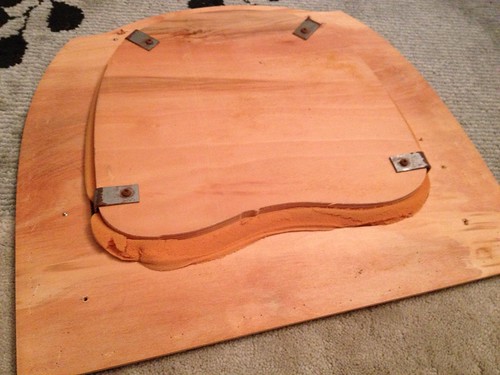
So I set my board on top of my foam, traced around the edges and cut it out.

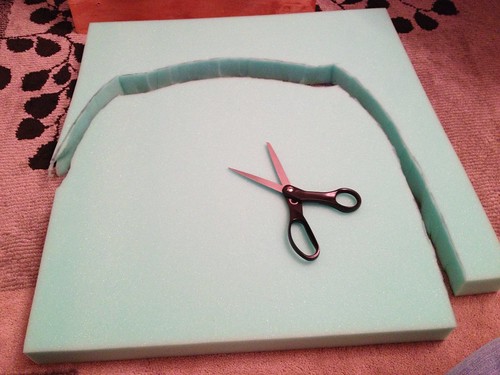
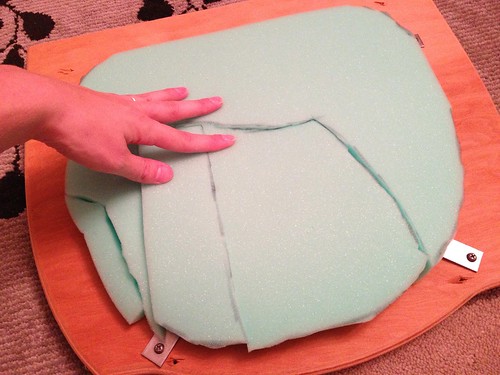
So I used a long bread knife to cut my puzzle pieces in half cross-wise. This was tedious, let me tell ya. And it gave me lots of blue dust to go with the yellow dust. Yum!
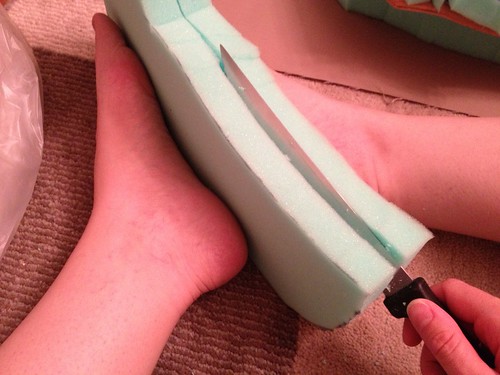
But eventually, I got my pieces to fit into the bump-out and I could use the other halves of the pieces on the next chair.
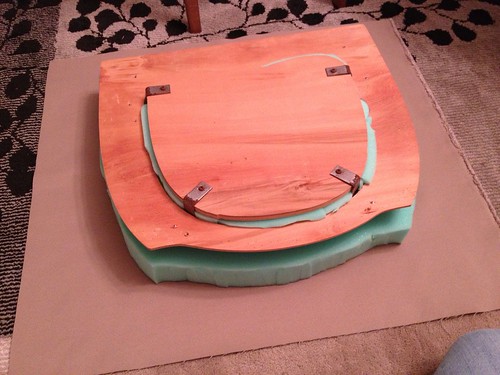
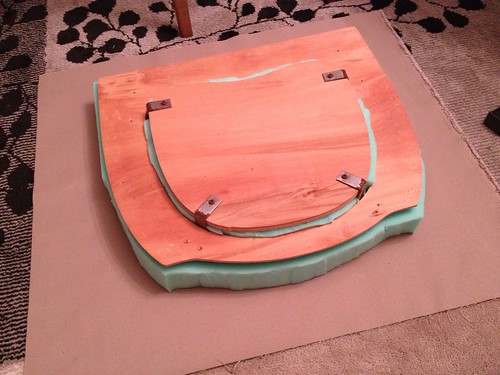
Then I layered my board, bump-out foam, main foam, and then fabric face-down. Since my foam was two inches thick, I gave myself a good four inches around the edges for wrapping around the board.
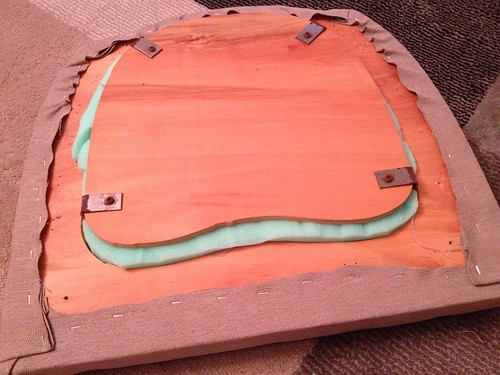
Next I attached my new fabric, starting along the straight front edge, then curved back edge (you'll want to do opposite sides to keep the fabric taut). Then I worked my way around the other sides and corners. Honestly, I have no advice on how to handle the corners. I googled and youtubed a whole bunch and found lots of different suggestions. I tried several until I found one I liked. Feel free to do the same.
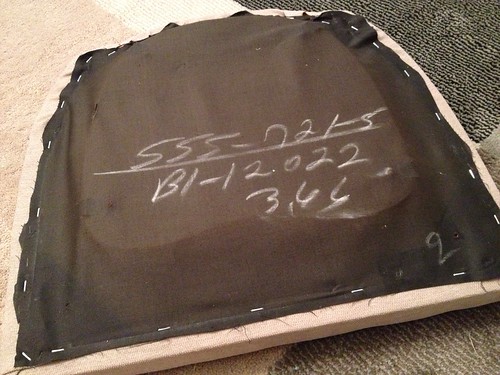
Now it was time to reattach the backing fabric to the seat and the seat to the chair.
And last, but not least, put your butt in that chair and feel how awesome you are!

Hi Carissa!
ReplyDeleteSimple and classic! Love it!
Wouldn't it be easier to cut the foam with an electric knife?
I like this table better than the other!
kisses from Portugal!
It absolutely would've easier, yes... if I owned such a device. :)
DeleteThe table was custom made by James+James, a couple of great carpenters here in the States. We are so happy with it!
I am certain that many readers will find it very useful. Thank you for putting forth such an educational post. I have learned a lot from reading this. Continue your outstanding work! I am eager to read your forthcoming posts.
ReplyDeleteI am certain that many readers will find it very useful. Thank you for putting forth such an educational post. I have learned a lot from reading this. Continue your outstanding work! I am eager to read your forthcoming posts.
ReplyDeleteArc fault Breakers buyers in San Diego