


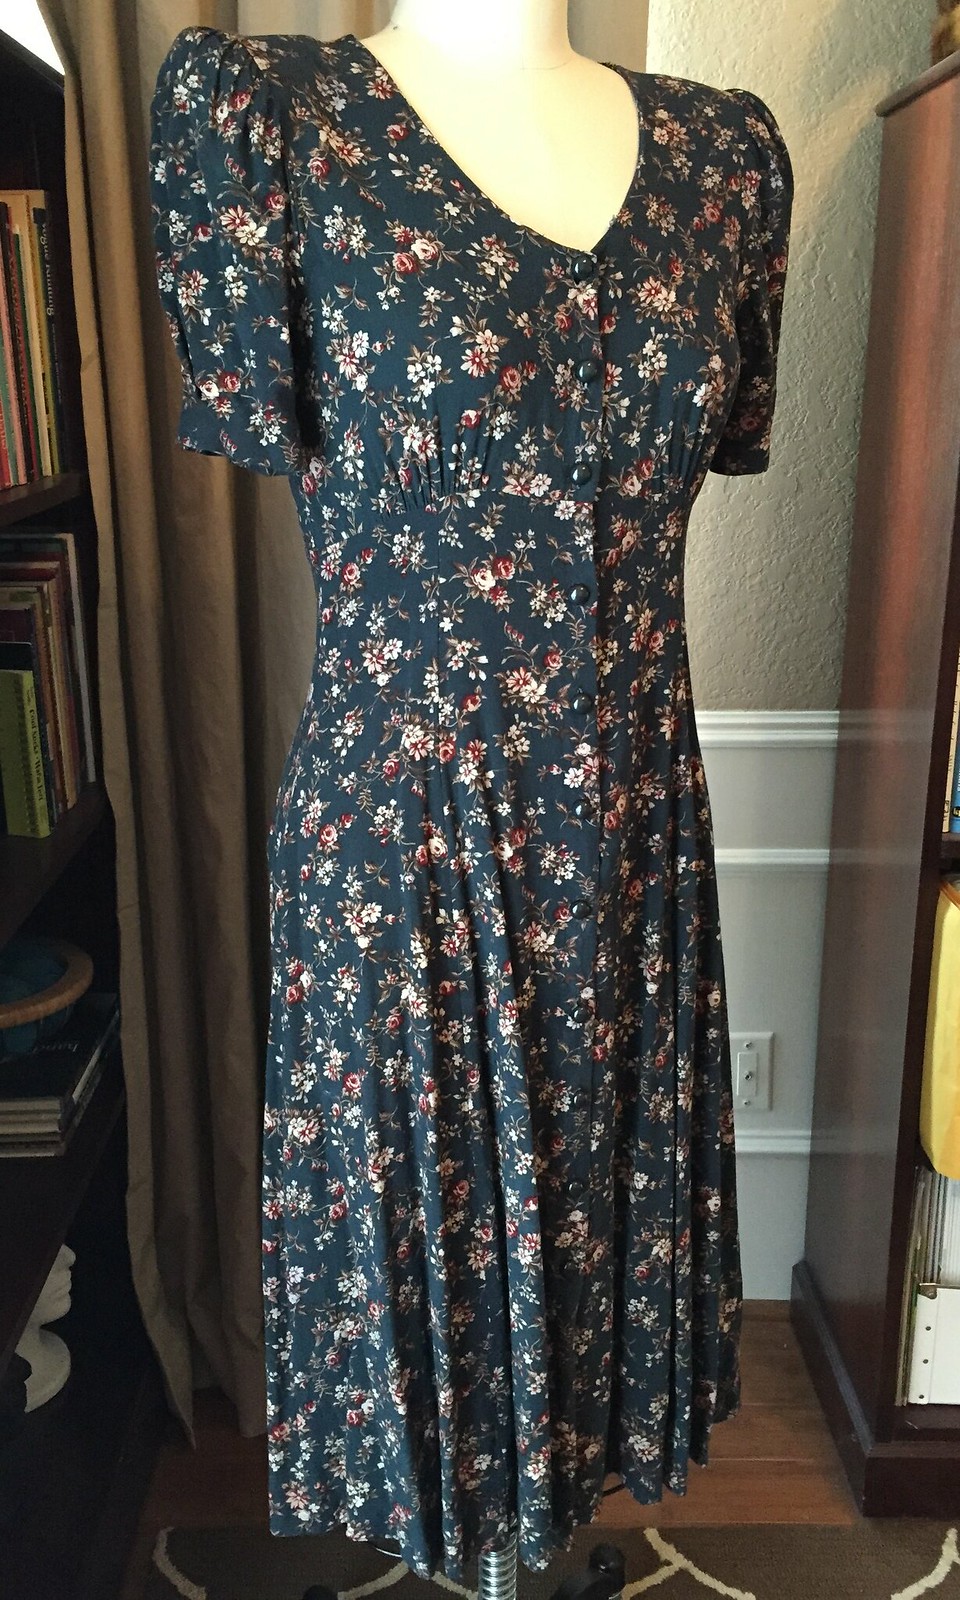
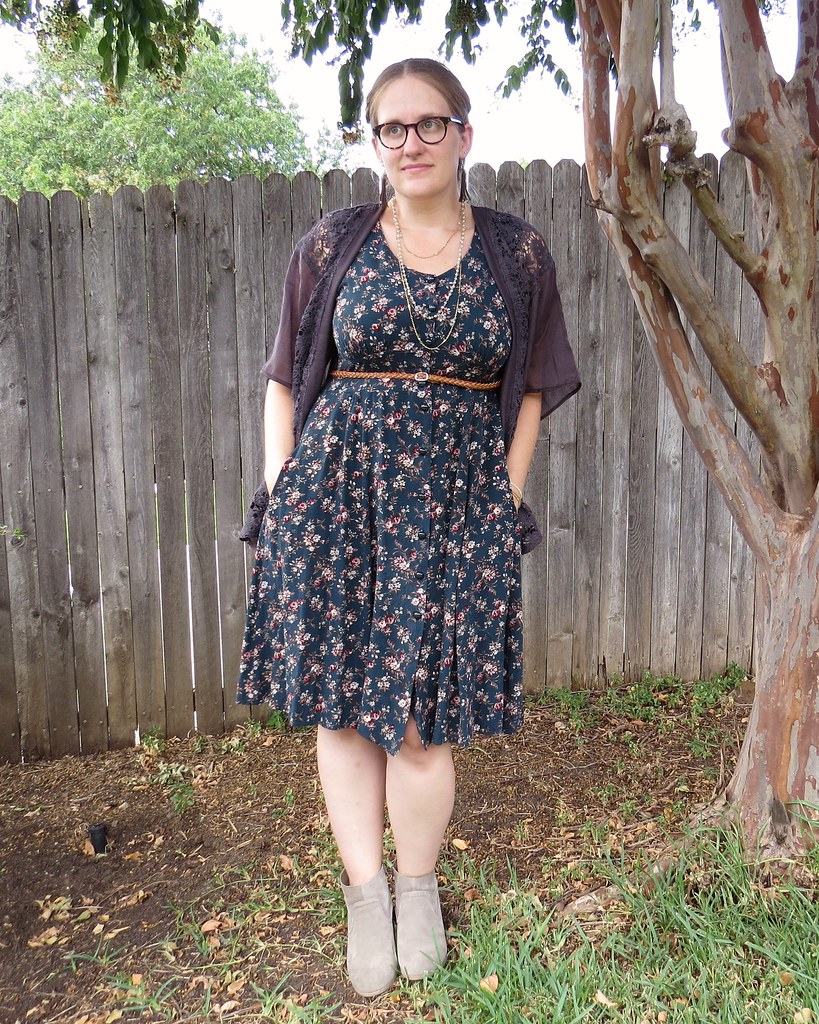
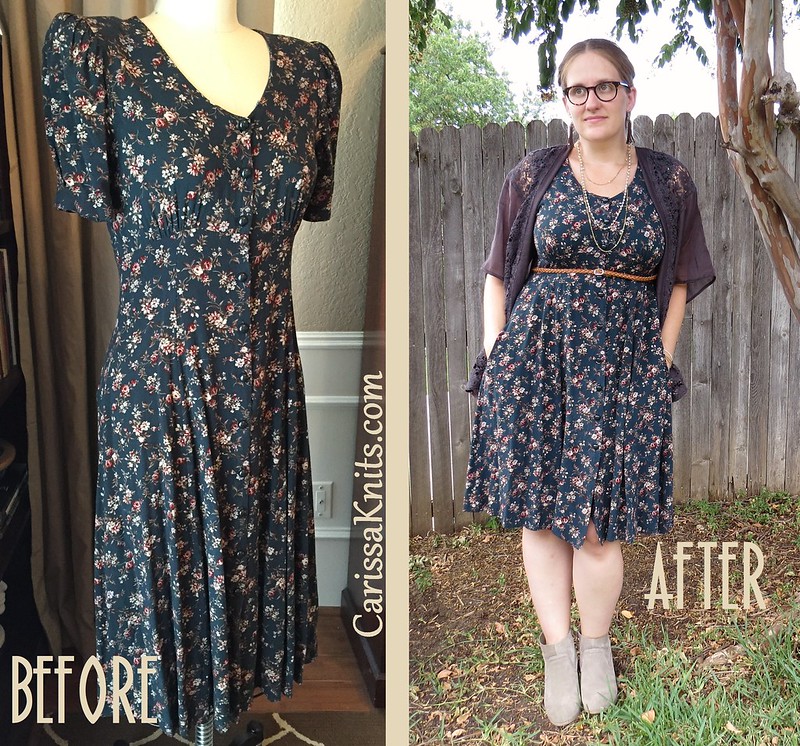
First we needed to get rid of those giant shoulder pads and ridiculous mutton sleeves! Then I snipped out a few inches of the midsection to create a more well-defined waist and also shorten the skirt a smidge.
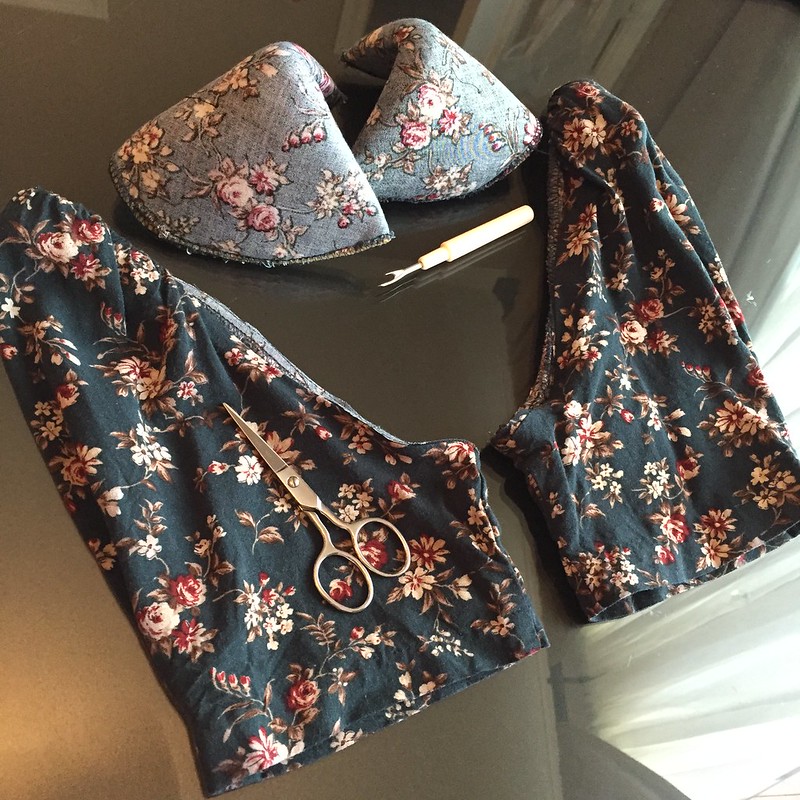
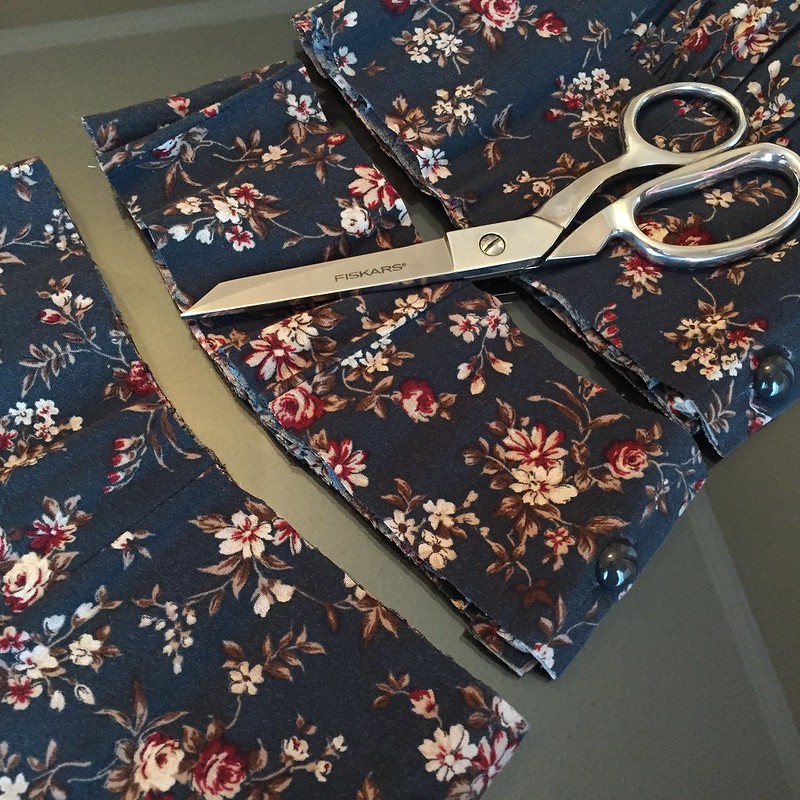
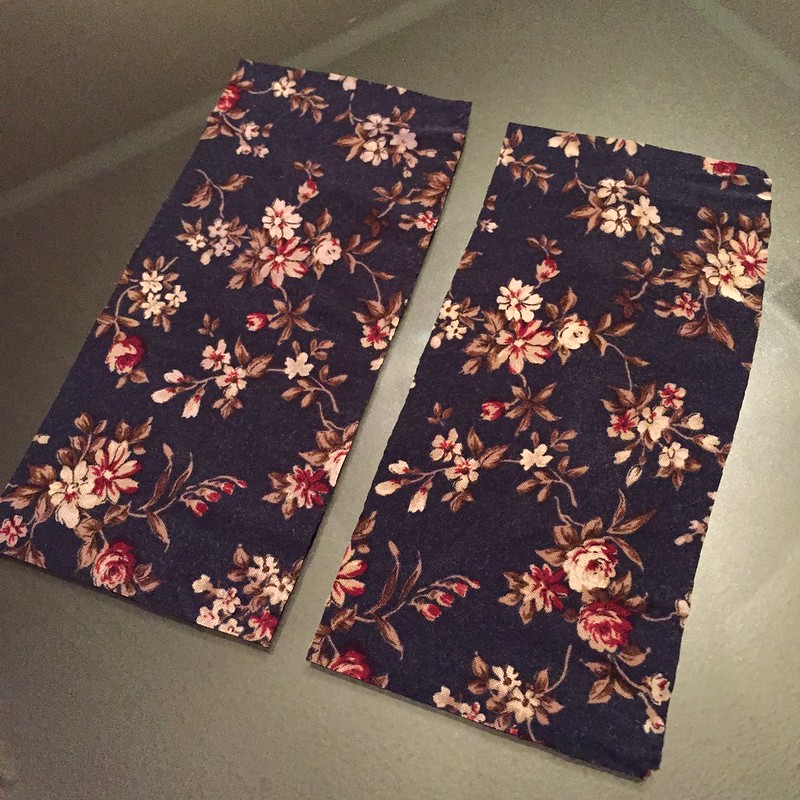
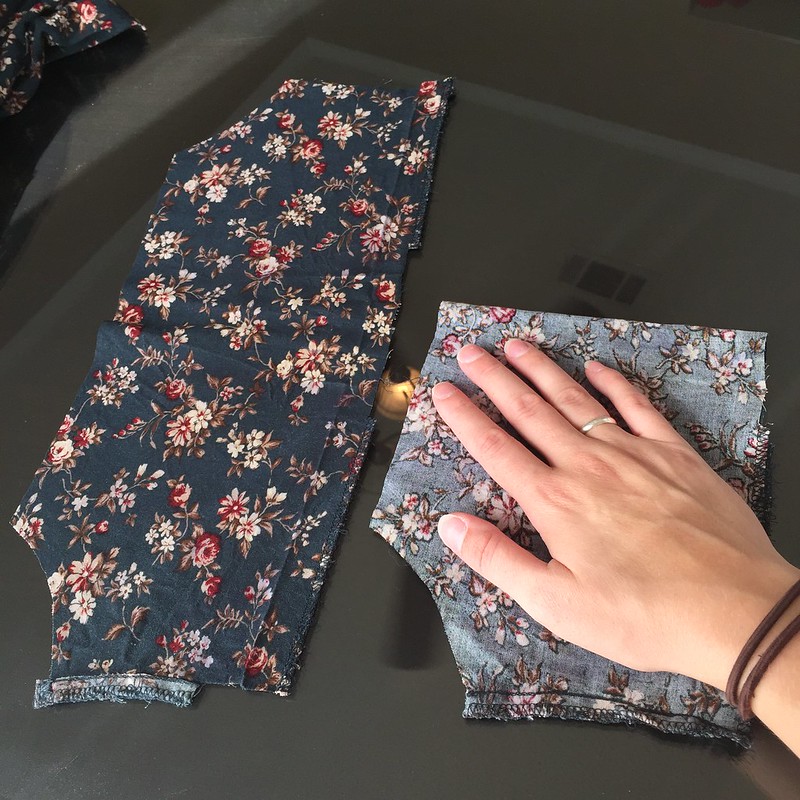
In order to enlarge the bust a bit, I cut two rectangles from the sleeves to insert into the side seams.
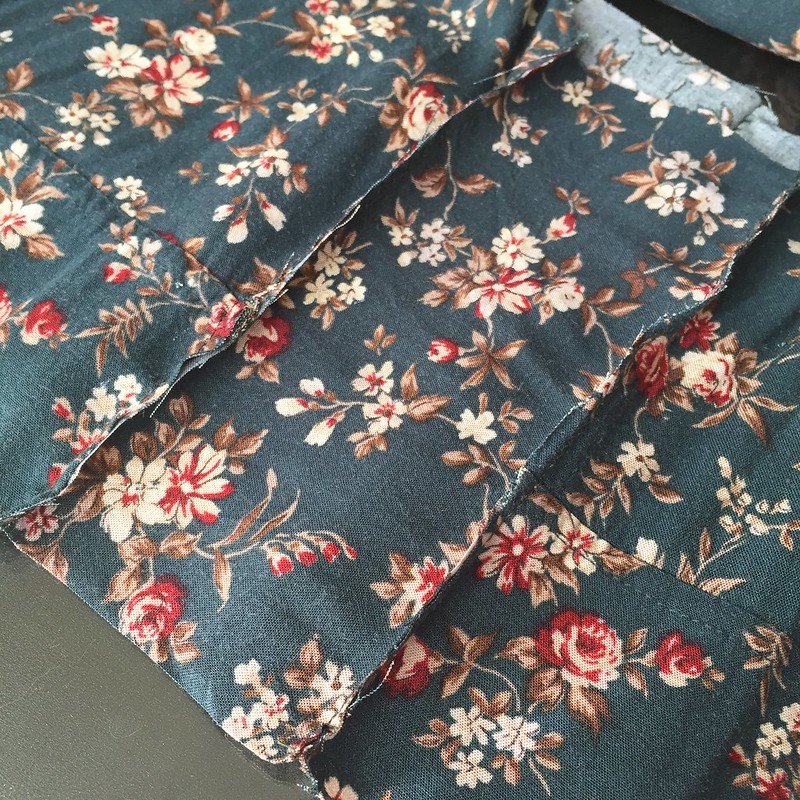
I attached the inserts using French seams to avoid fraying edges.
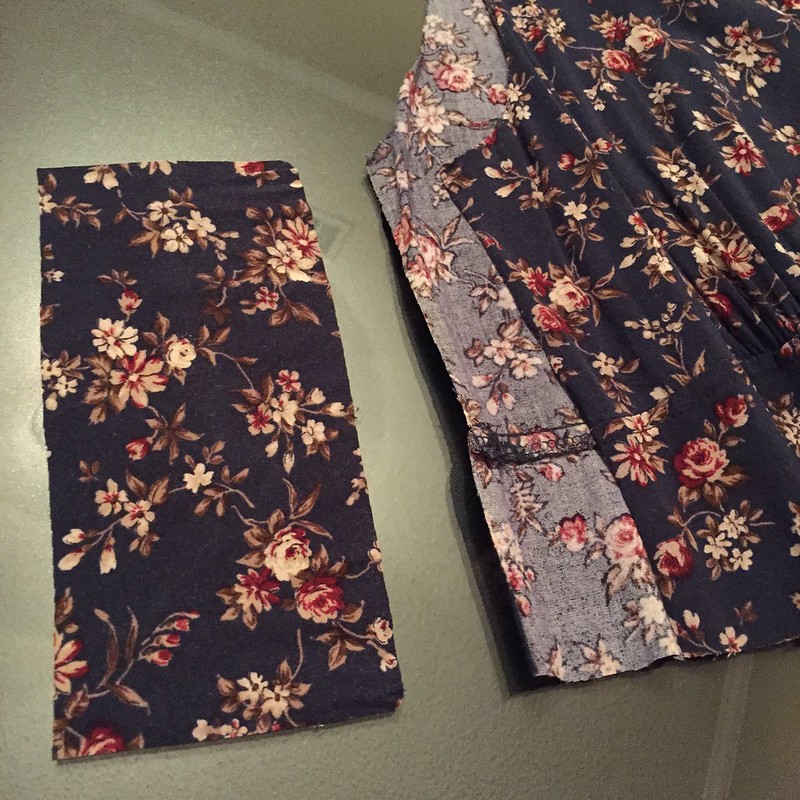
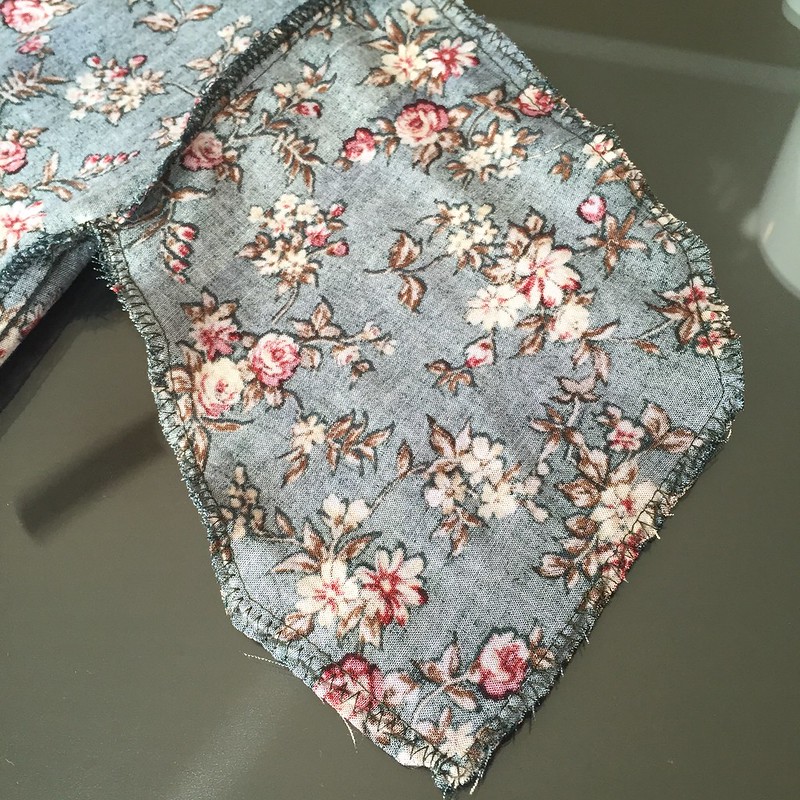
I folded the remainder of the sleeves in half and cut out pocket-y shapes.
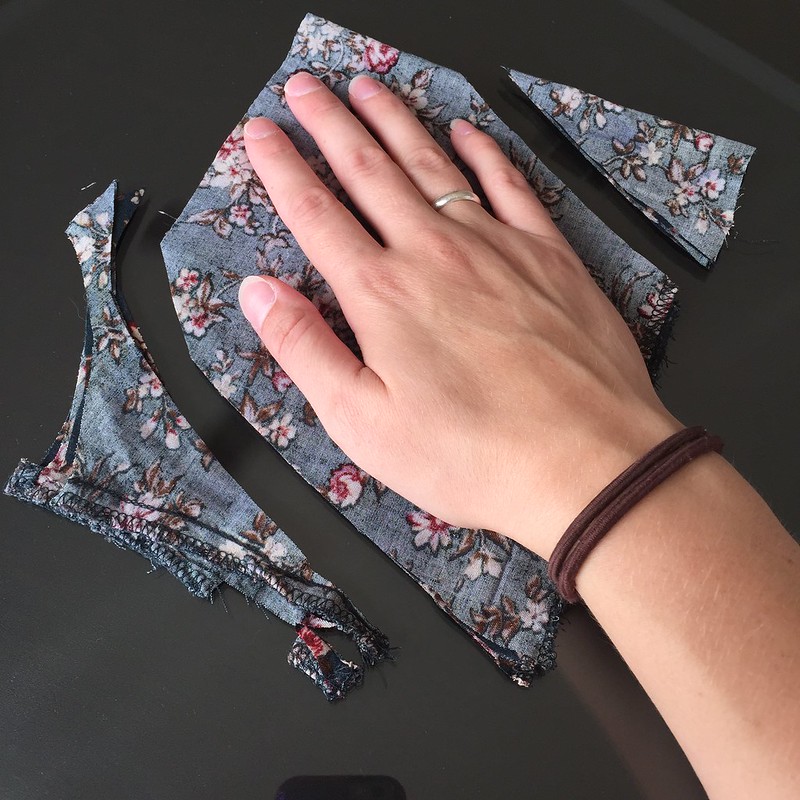
I used my seam ripper to carefully open up the side seam of the skirt the same length as the pocket pieces, and then attached each of them to the skirt.
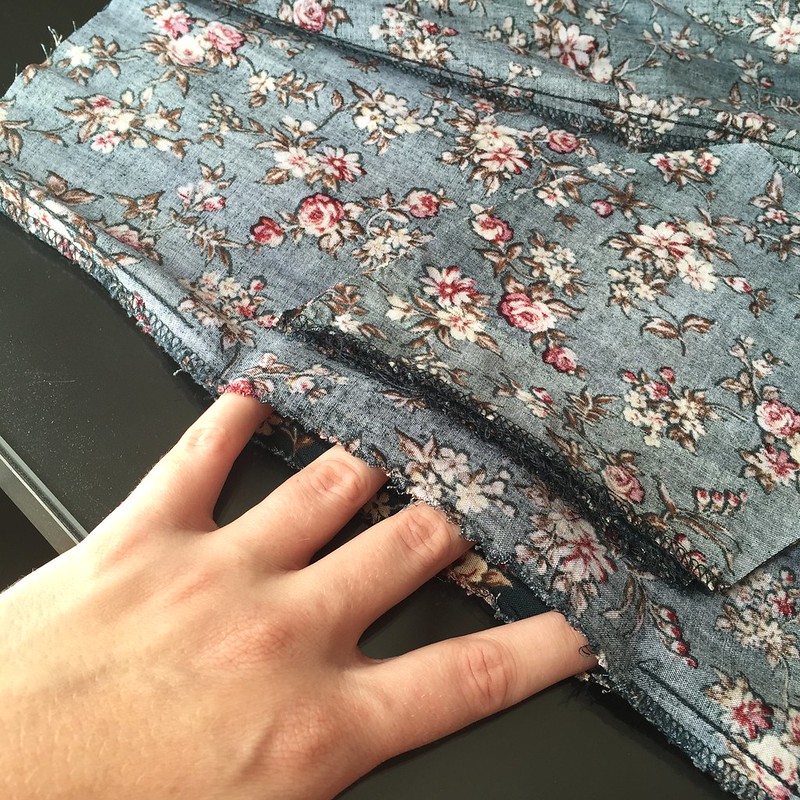
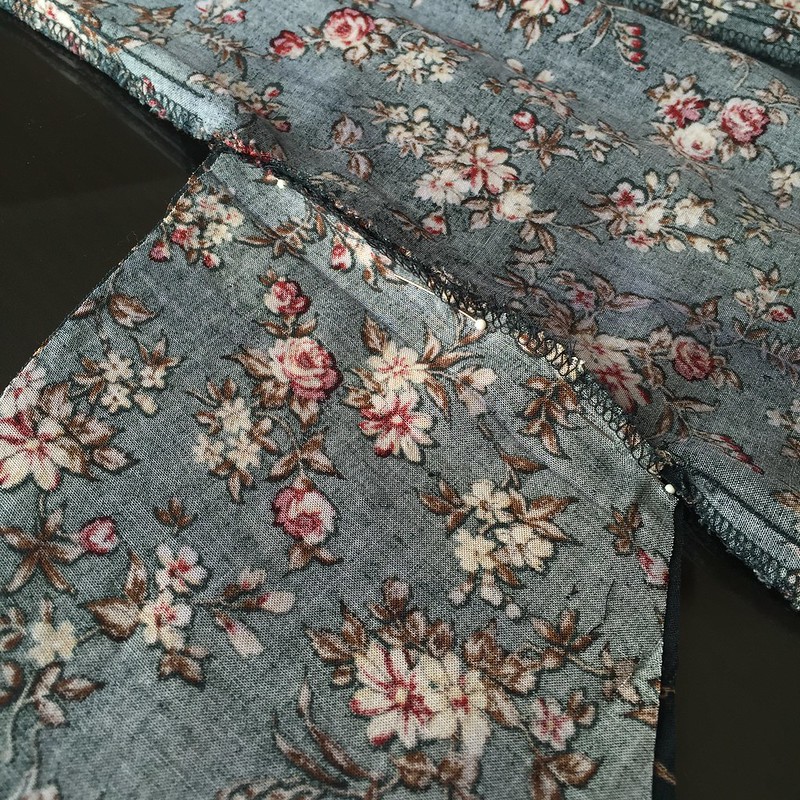
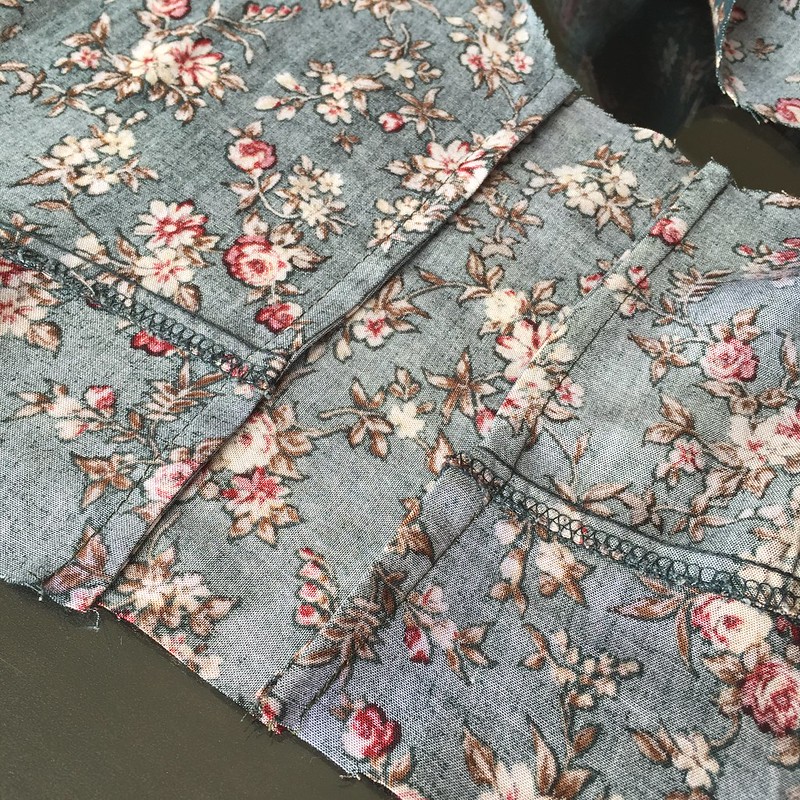
Then I sewed around each pocket, first with a straight stitch and again with a zig-zag to "serge" the edges.
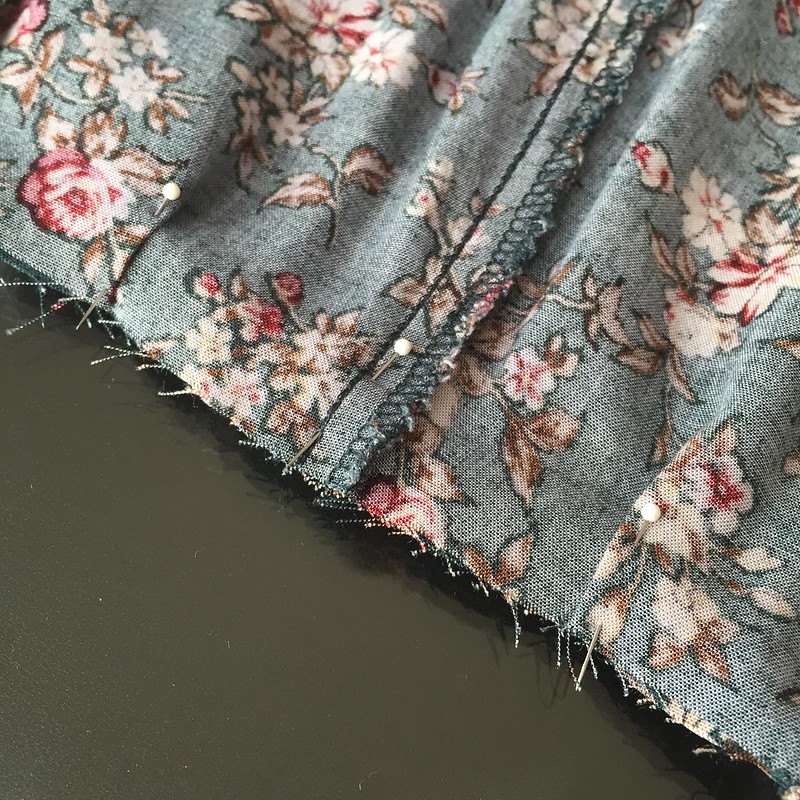
Then I reattached the skirt making tiny pleats to absorb the excess fabric. I also used French seams here, but my photo of that seems to have disappeared somehow.
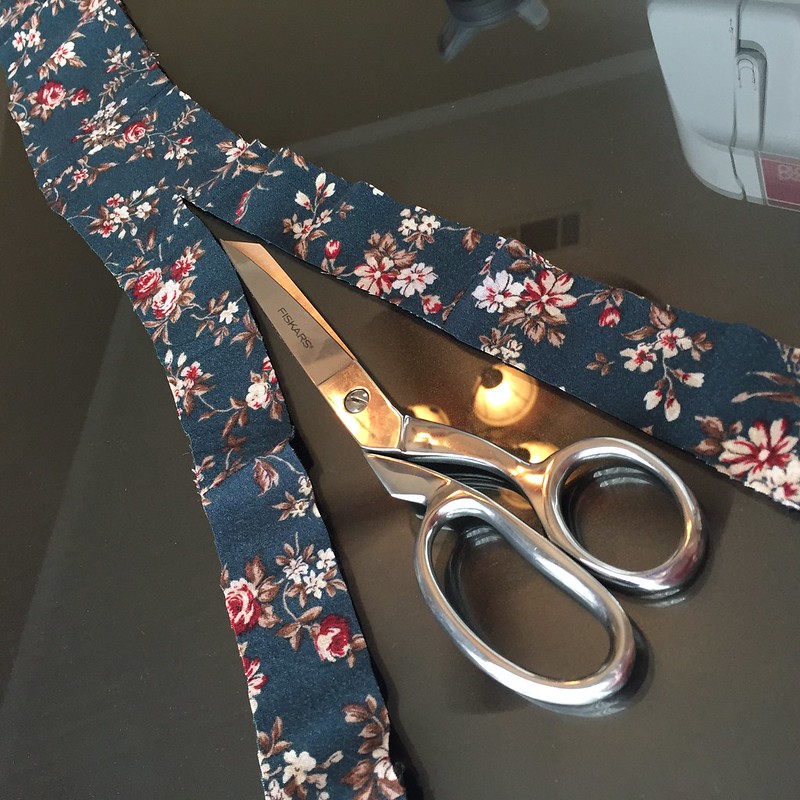
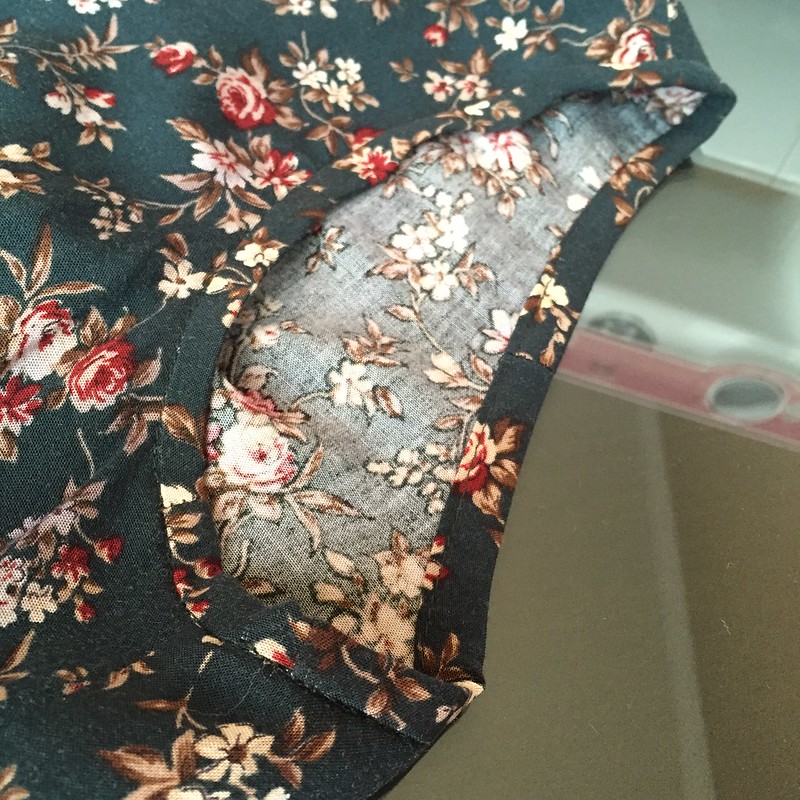
Finally, I took the strip of fabric from the midsection of the original dress, cut it in half lengthwise, and used it to bind the armhole edges, making this a near-zero-waste refashion!
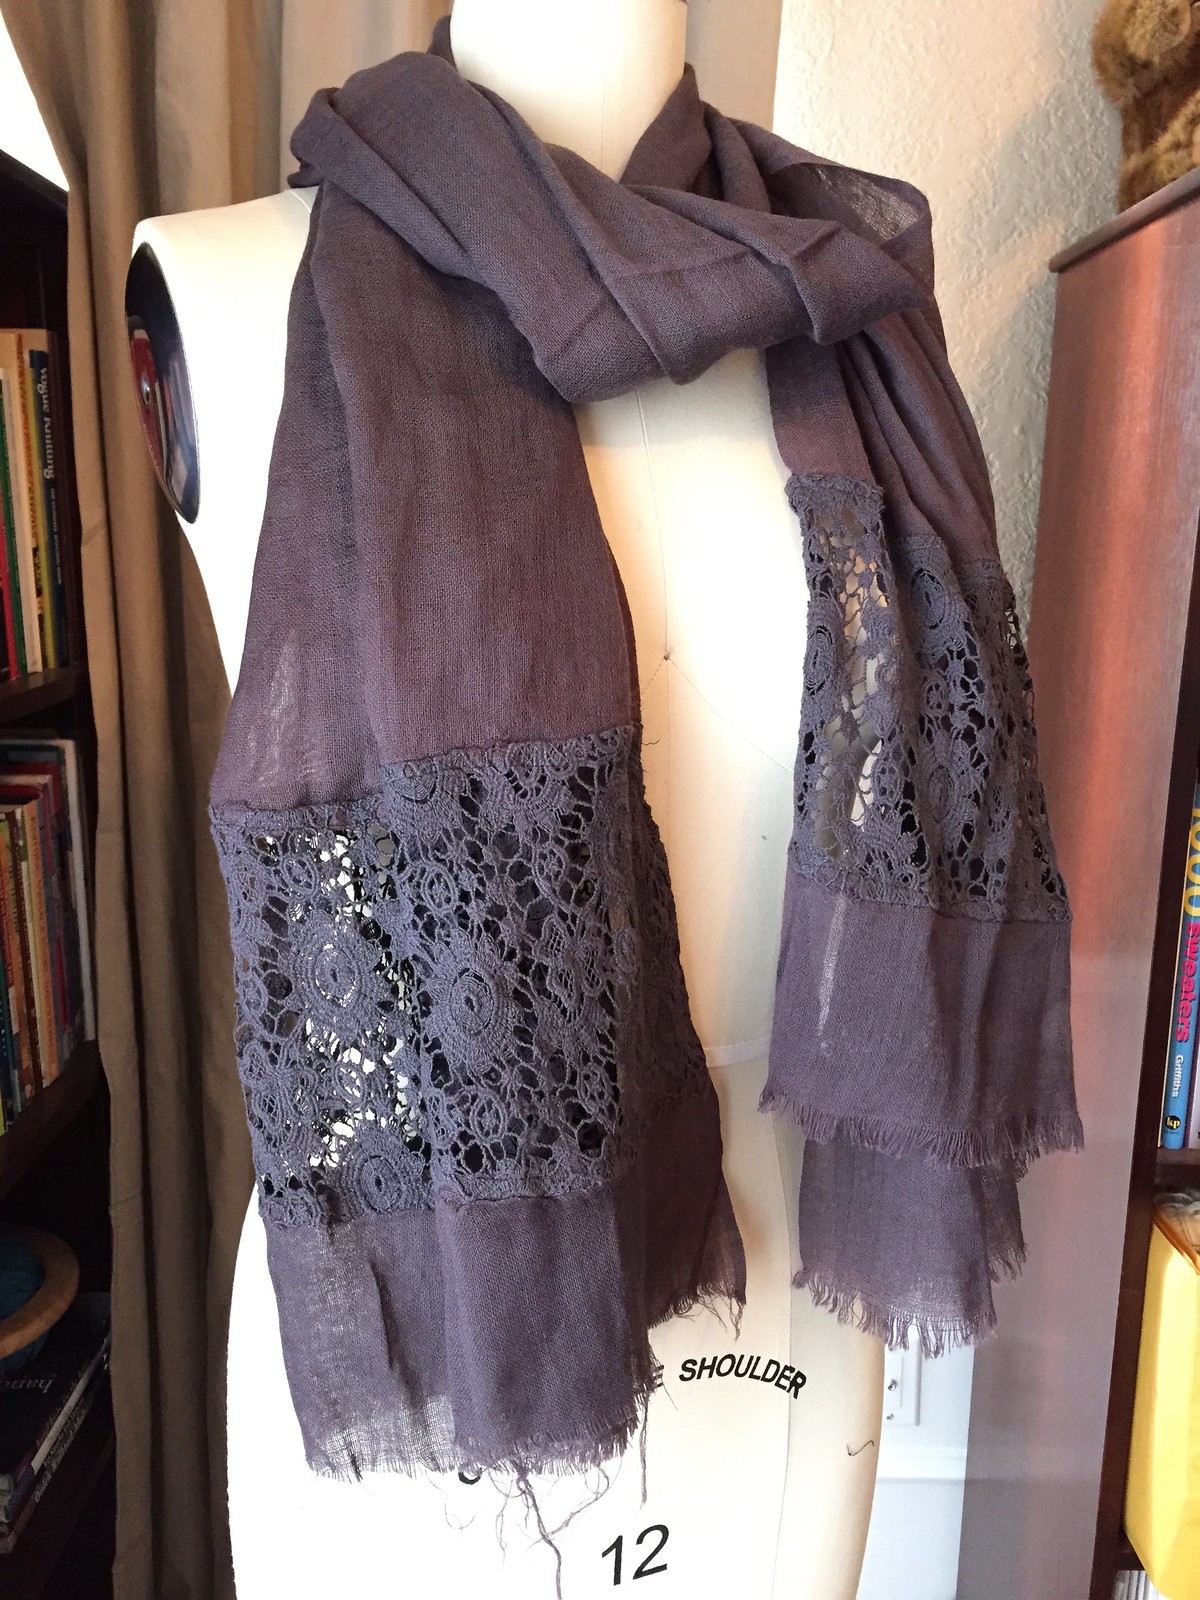
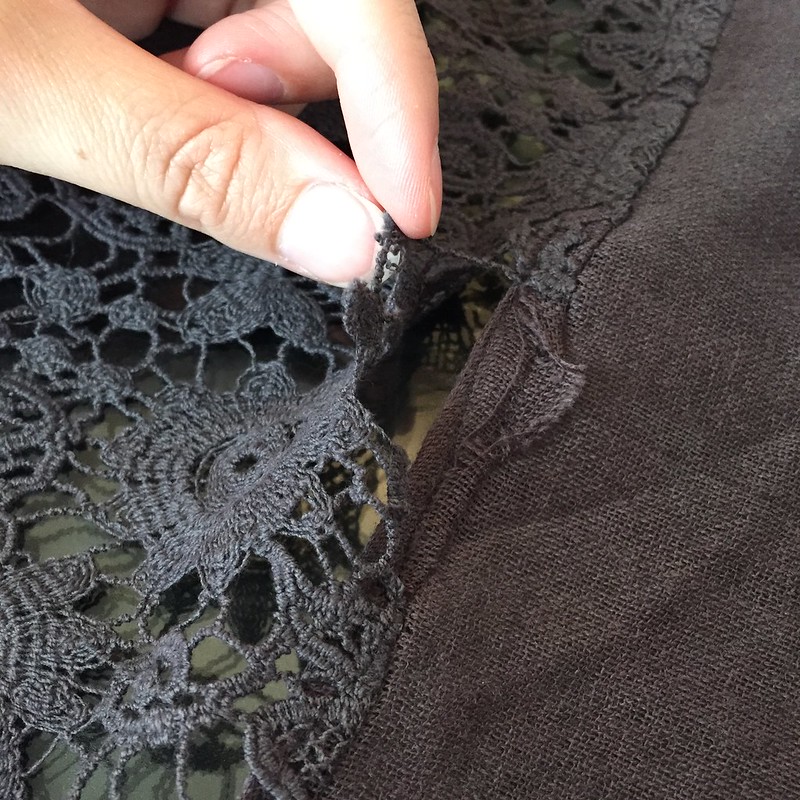
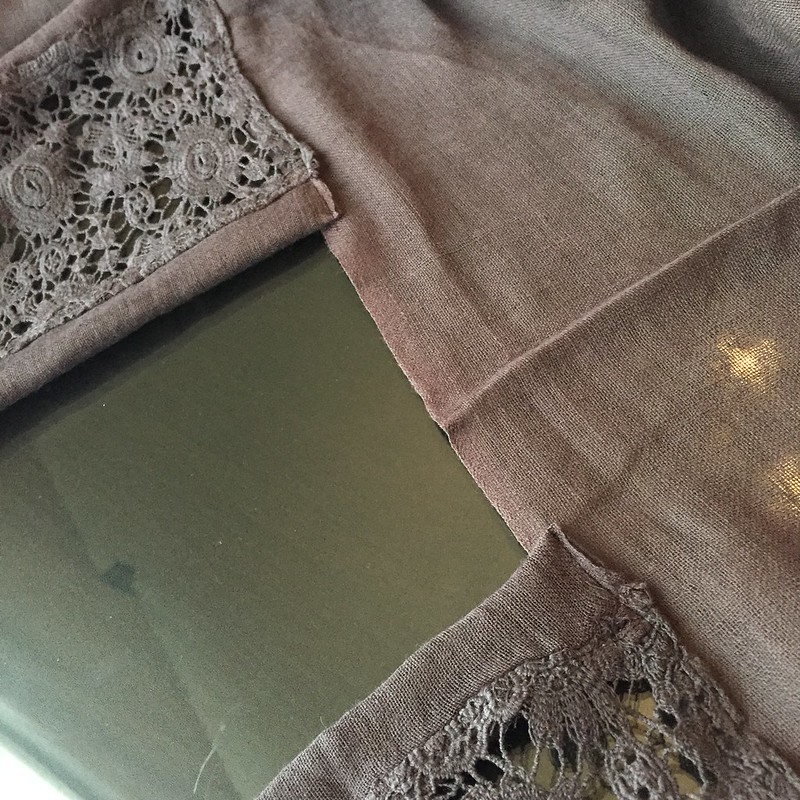
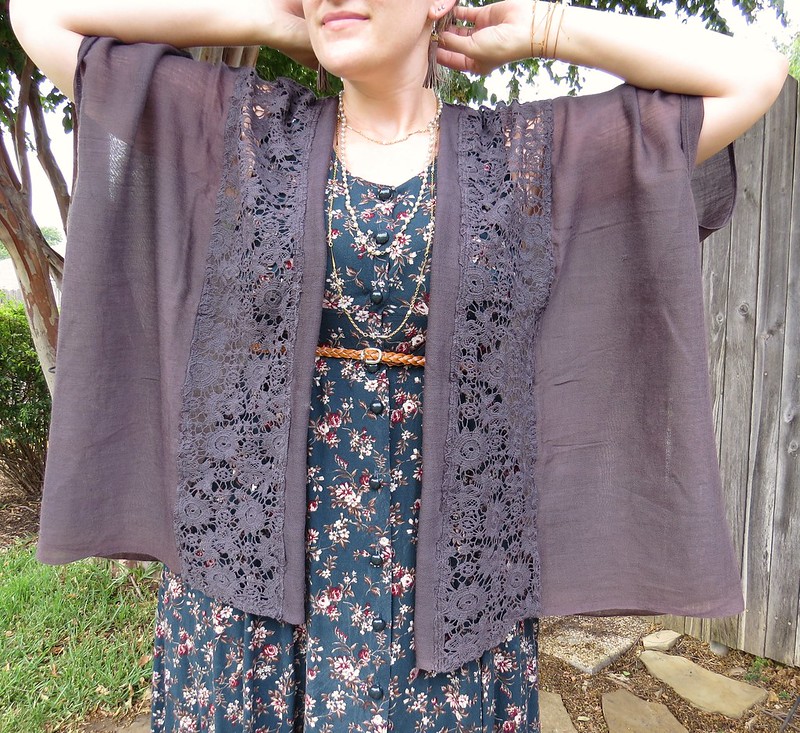
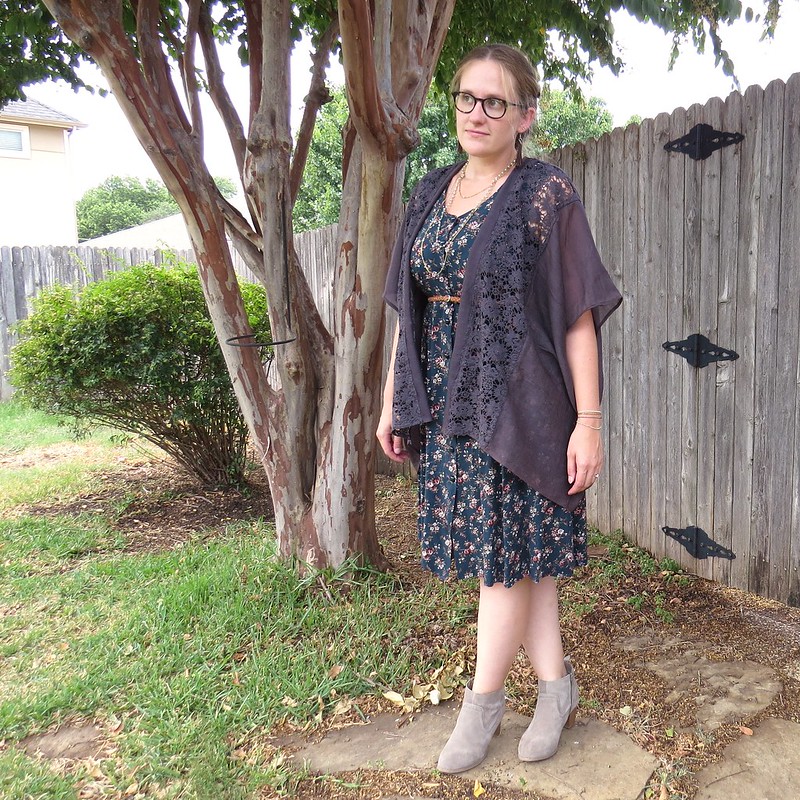
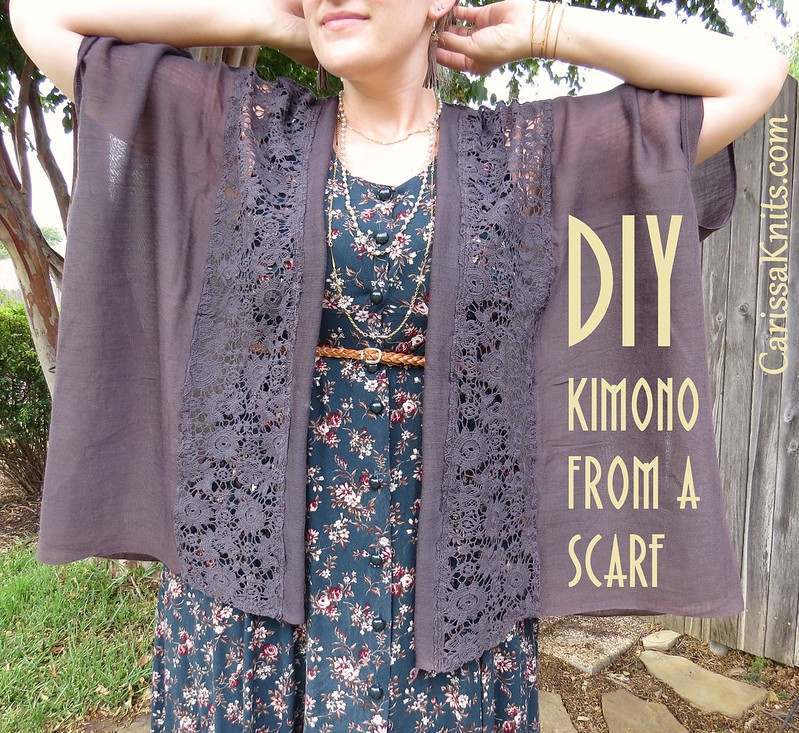
To add a little lace to the outfit, I started in on transforming the scarf into a breezy kimono-style jacket. The lace had come undone in one spot, so first, I stitched that back down.
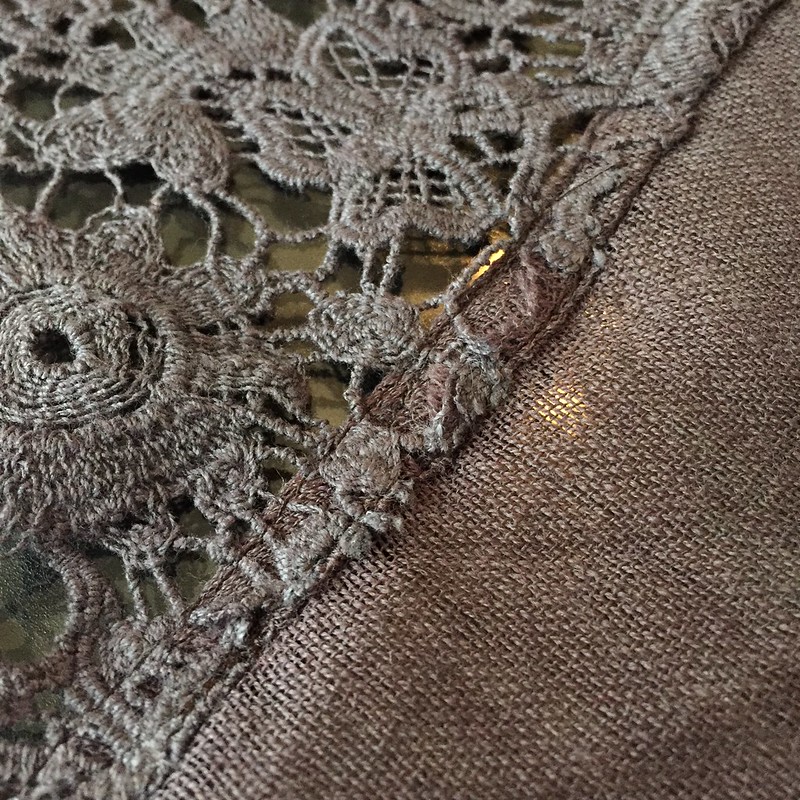
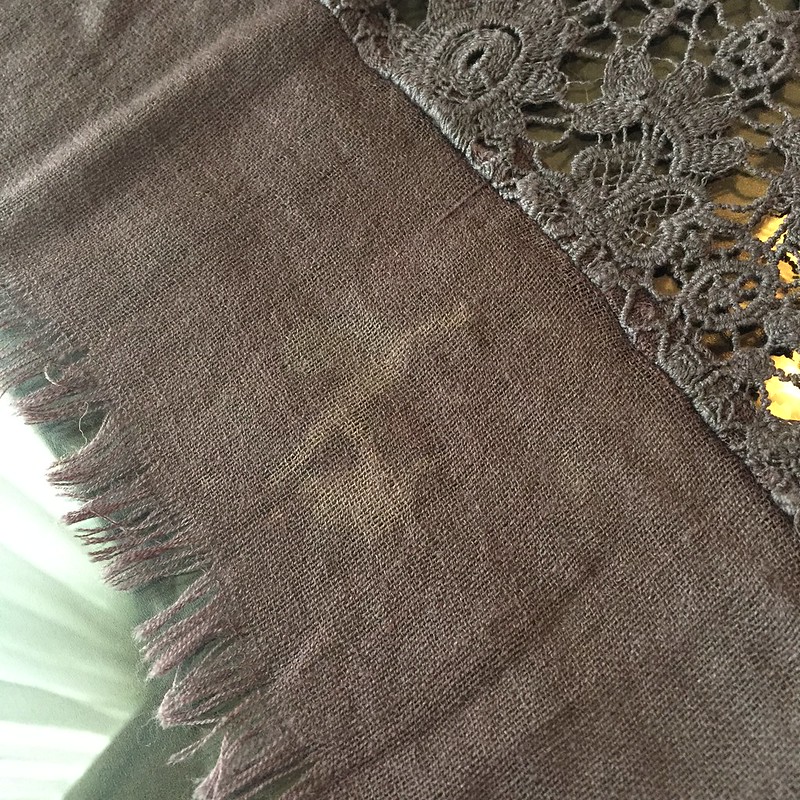
The unfinished edges were unraveling quite a bit, and there was a faint stain on one end. Hemming the ends solved both issues!

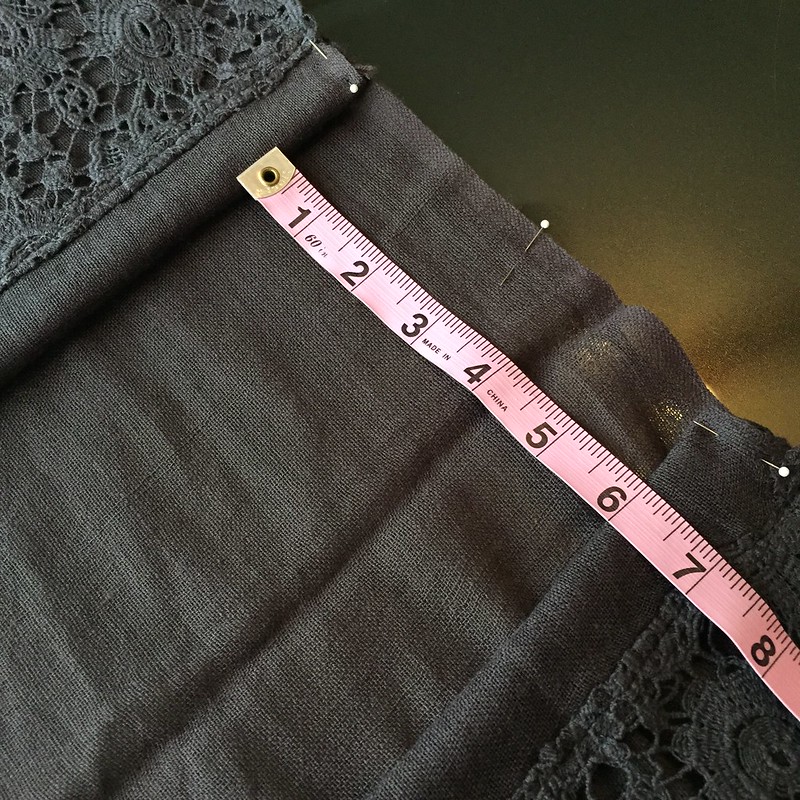
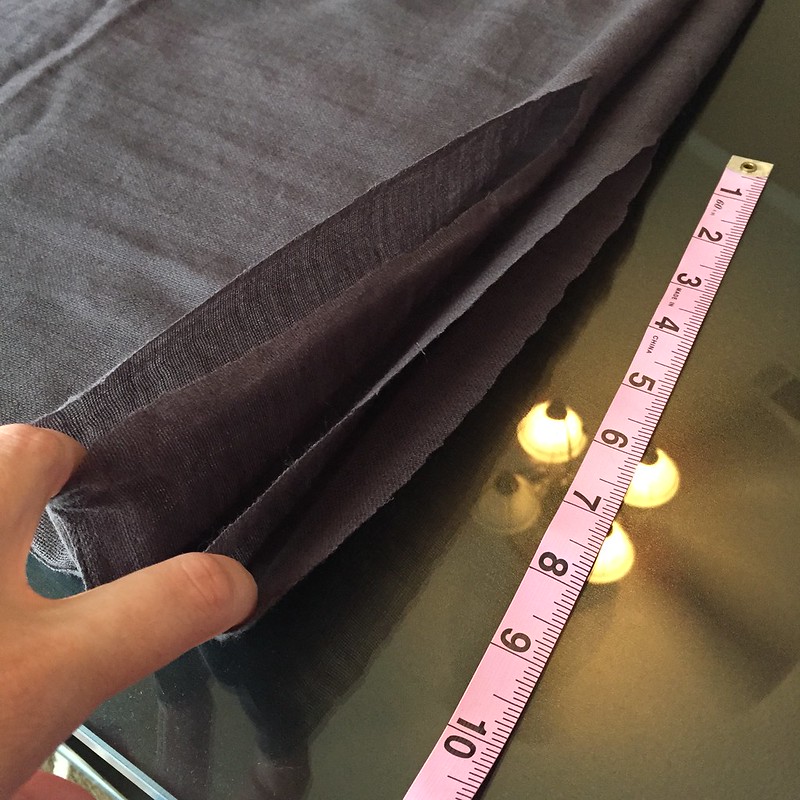
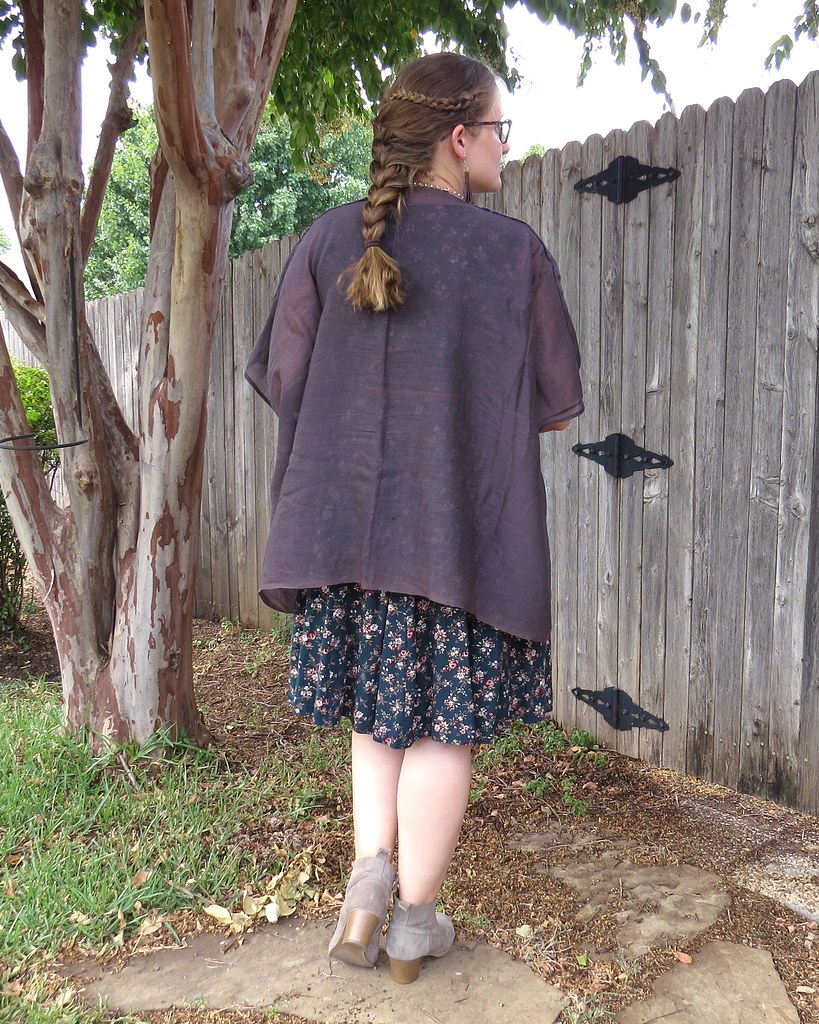
I found the halfway point of the scarf and folded the ends toward it, leaving about 3 inches on either side of the center pin. That 6-inch gap in the middle will become the back of the neck. Then I overlapped the two layers and stitched what will become my shoulder seams.
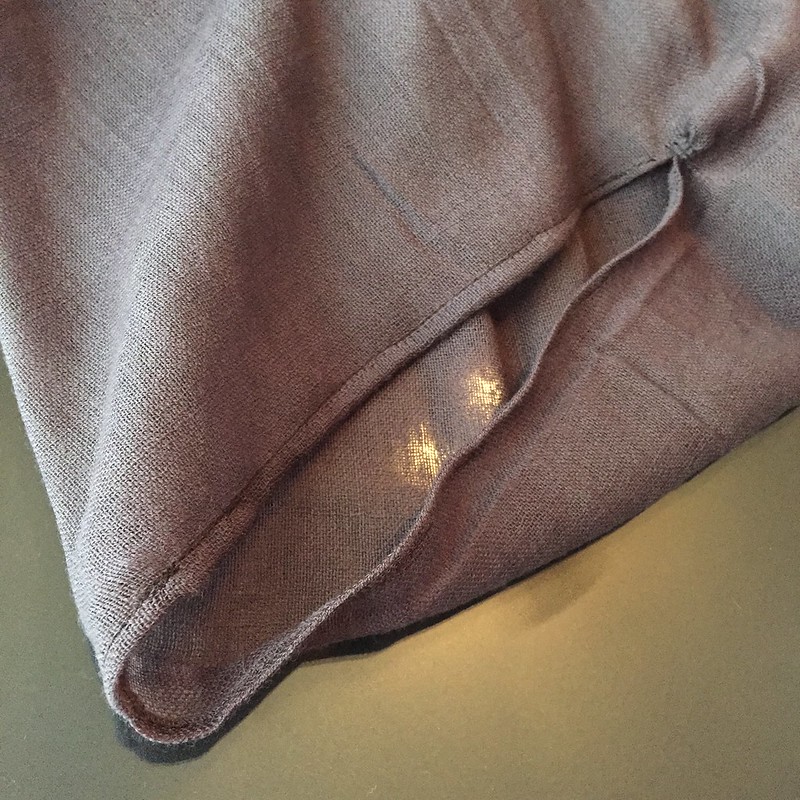
Along both folds, I cut about 10 inches down from the shoulder seam for a couple generous armholes. Lastly, I hemmed the armhole edges, which was a real challenge with this super gauzy fabric!
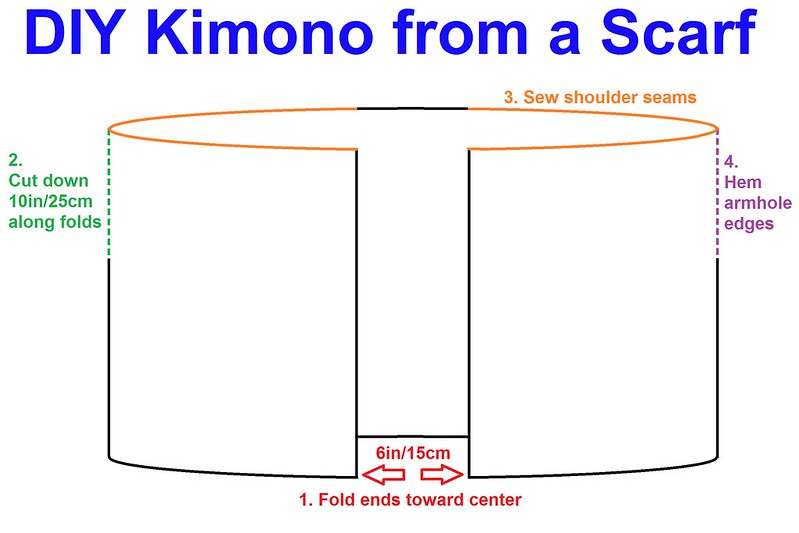
And if that didn't make sense, here's a friendly little diagram to better illustrate what I did. I sewed the shoulder seams first and then cut the armholes, but in hindsight, it'd be easier the other way around. My scarf started out around 80in/200cm long and 28in/70cm wide, but you should be able to do this with any large rectangular scarf/shawl.

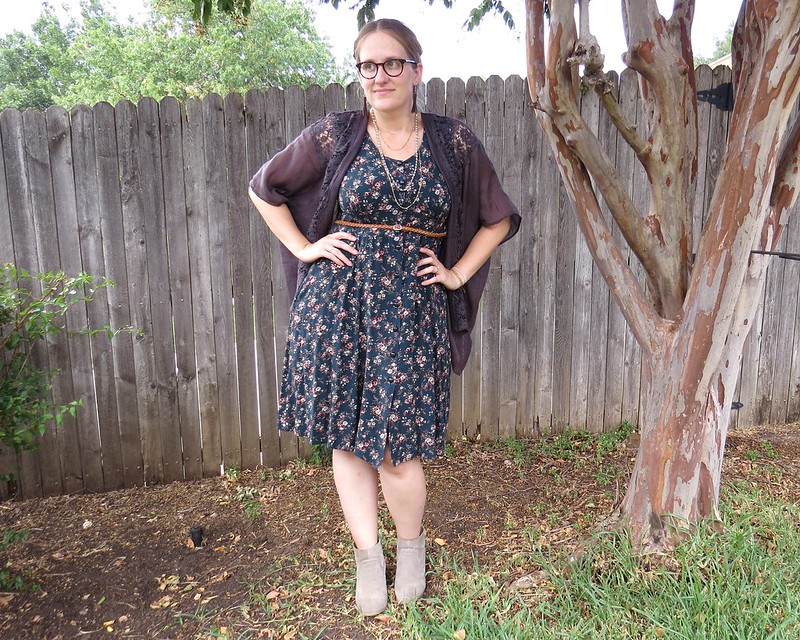
I can't wait to wear this with my burgundy tights when it gets cooler! Mostly I just can't wait for it to get cooler!


Carissa - I am so pleased that you have created the kimono jacket. I have a wide scarf that will work very well and I can just follow your instructions - Thanks You ! This is such a nice recreation of both the dress and the scarf. I also like how you have braided your hair - very attractive.
ReplyDeleteI hope you do make one! It's such a simple -- but high-impact -- project. I just added a bit more information to this post as well, with a handy little how-to diagram, if it helps. Happy stitching!
DeleteOh wow, what a transformation! The dress looks great, but what I love most is the kimono! Total genius! And you look amazing in the outfit. Wonderful job! :) Lisa
ReplyDeleteThank you, Lisa! I'm so glad you liked it!
DeleteThank you, Lisa! I'm so glad you liked it!
DeleteCute Jacket
ReplyDeleteThank you!
DeleteLinda beat me to complimenting your hair! Oh well. :o) The double braids are definitely boho chic and I want to copy them right now. You really nailed this challenge...if you were competing this year this would win hands down. The color tones are perfect, the laid-back pretty vibe is perfect, yep this is perfect!
ReplyDeleteJJ
www.dressupnotdown.blogspot.com
I do so love to play with braids. What can I say? I guess I'm just a hippie at heart. :)
DeleteLove, love, LOVE the kimono! It's perfect with the floral dress.
ReplyDeleteThanks, Laura! I can see myself wearing this kimono with lots of different outfits this fall - floral dresses, tees and jeans, maybe even over a sweater dress and tights as it cools off more!
DeleteHi, what was the size of the scarf you used to make the kimono? Love what you did for the dress and the hair-do is perfect for Boho.
ReplyDeleteGreat question, Cathy! I started with a roughly 80in/200cm by 28in/70cm scarf. I just added a bit more information to this post as well, with a handy little how-to diagram, if it helps. Happy stitching!
DeleteI love your kimono! Thanks for the tuto.
ReplyDeleteThanks! And you're welcome! :)
DeleteLove it! You look great in both and I liked your styling with the boots and the braids too. Very useful information and photos on both projects and the kimono is especially useful along with how you made the top on the dress roomier. Thank you!
ReplyDeleteThanks, Paige! Glad you liked it!
DeleteLove the kimono!
ReplyDeleteThank you, Kathryn!
DeleteLove this outfit so much... great how you make the dress so wonderfully chic... and the kimono top is to die for! You make it look so easy to do that I want to try it myself, if something should come my way... Keep up the great work. You are totally inspiring!
ReplyDeleteAw, thanks! I hope you do give it a try!
DeleteCould you do a You Tube video on the kimono? Let me know if you do. caroldbeck@gmail.com
ReplyDeleteWonderful Job. I can't wait to try it soon.
ReplyDeleteI have a bunch of scarves that I never wear, this is a fantastic idea that I look forward to doing so that I can wear some of them in the spring and summer. Thank you!
ReplyDeleteJust awesome! The whole ensemble is gorgeous and you look good in it. Love your braided hair too. Thanks for sharing.
ReplyDeleteThank you, great kimono and very clear instructions. Inspired me to make one too...
ReplyDeleteJanome is a Japanese maker of sewing machines that bought American organization NewHome in 1960.Sewways.com
ReplyDelete