


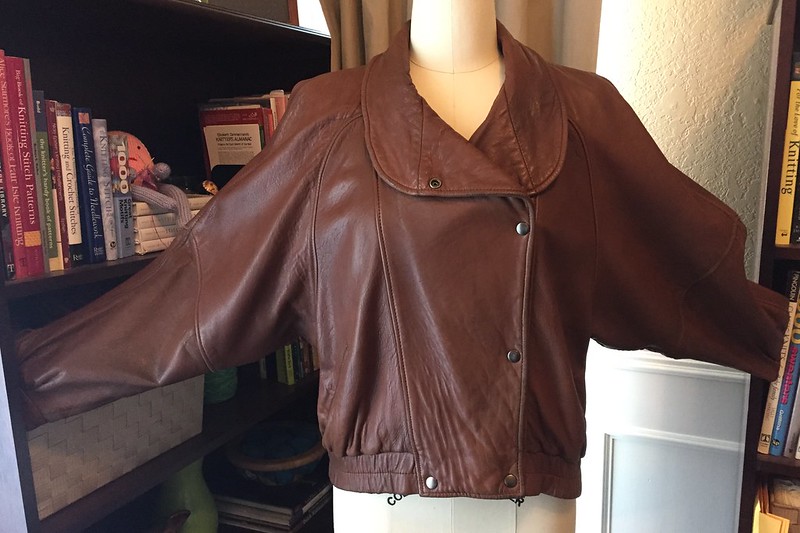
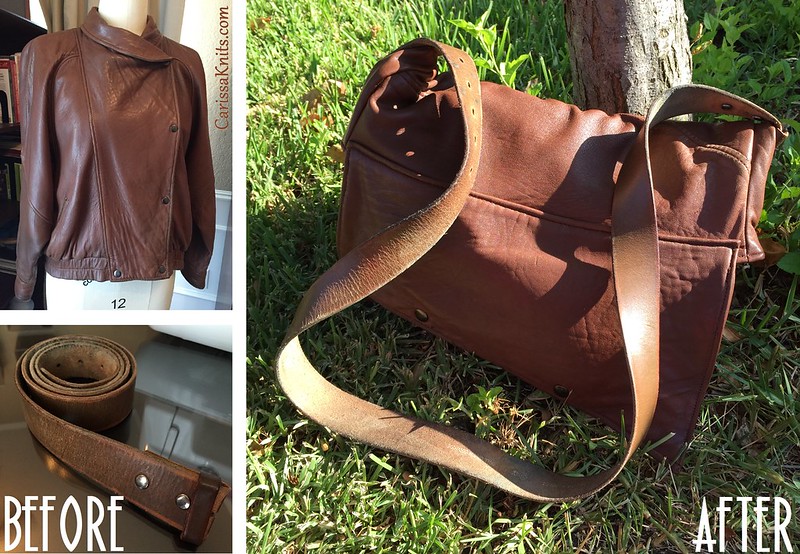
I pulled out this old leather jacket I got for free last year, left over from someone's garage sale. It was incredibly soft, well-loved leather, but in an extremely dated form with completely worn out elastic at the waist.
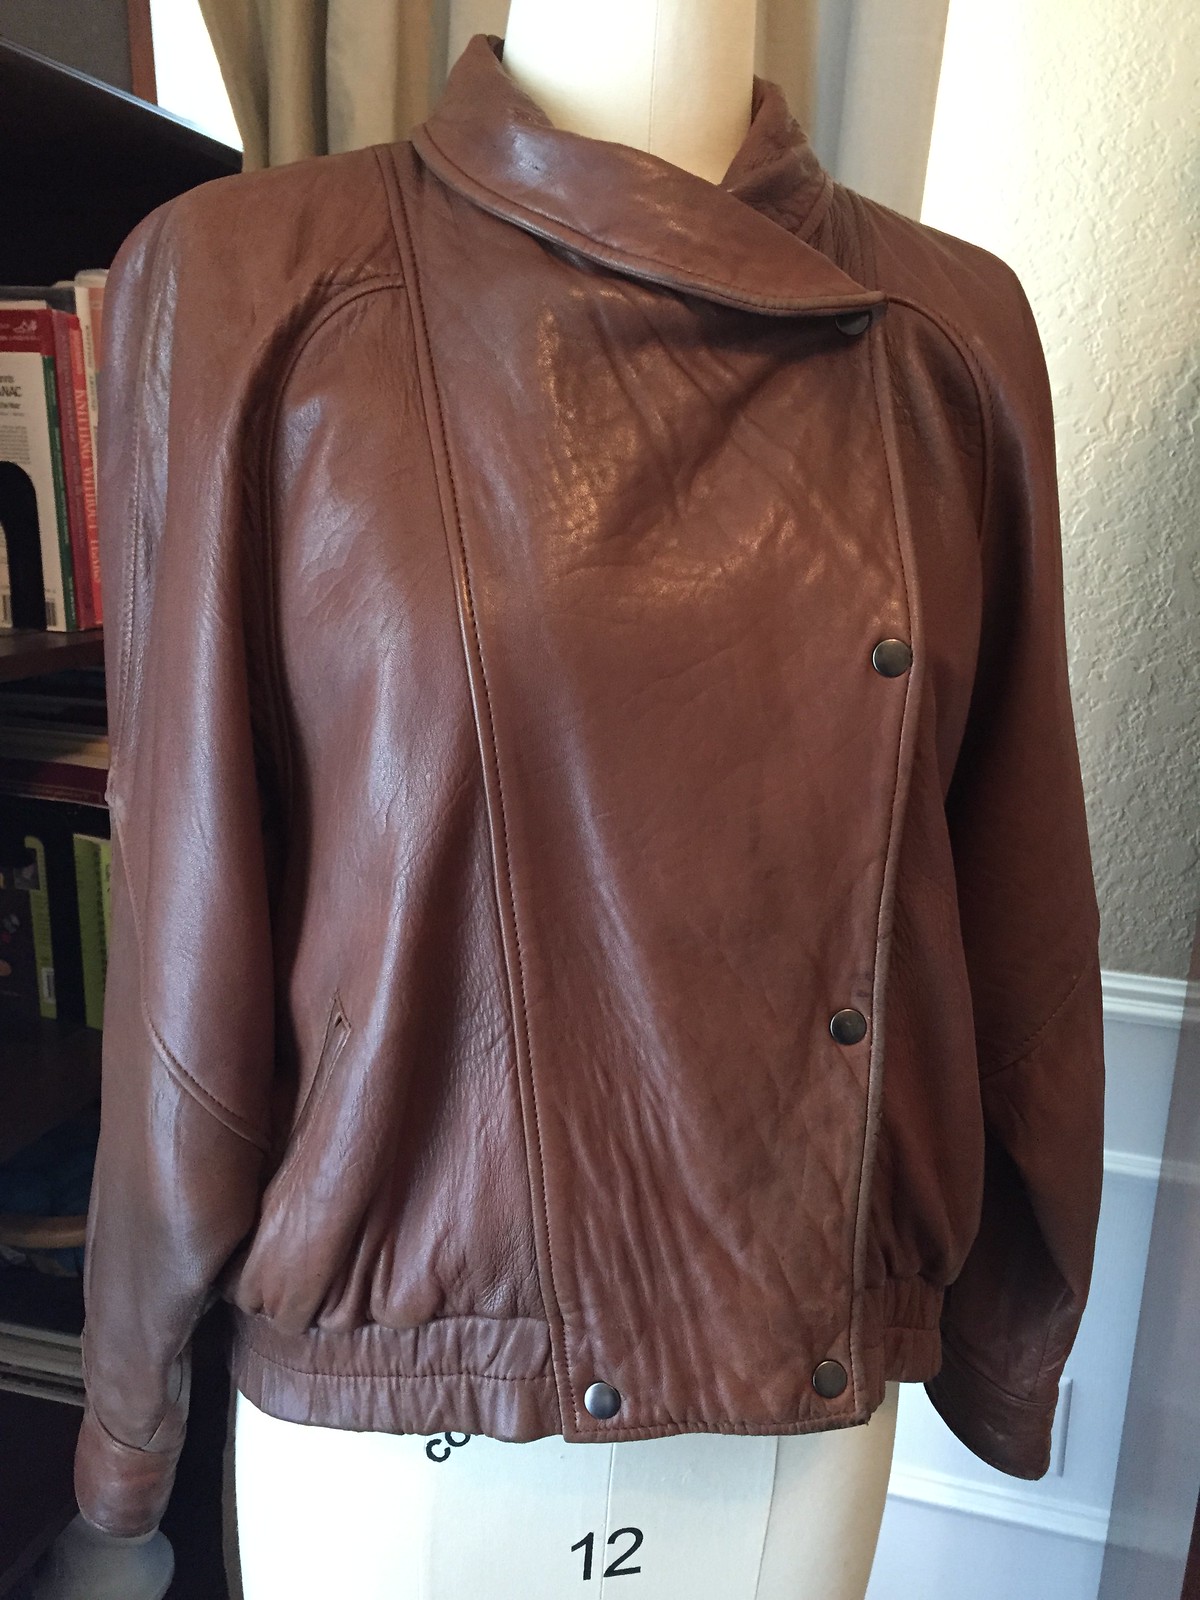
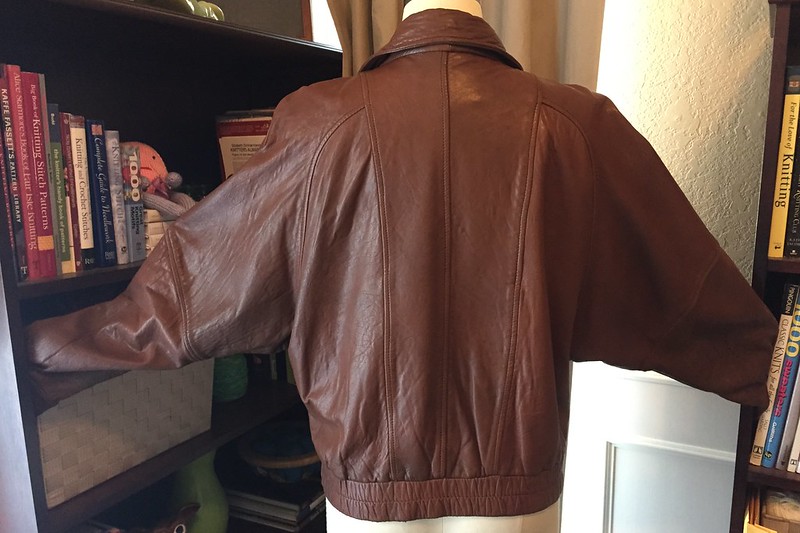
Just look at those batwings! All that leather! For free!
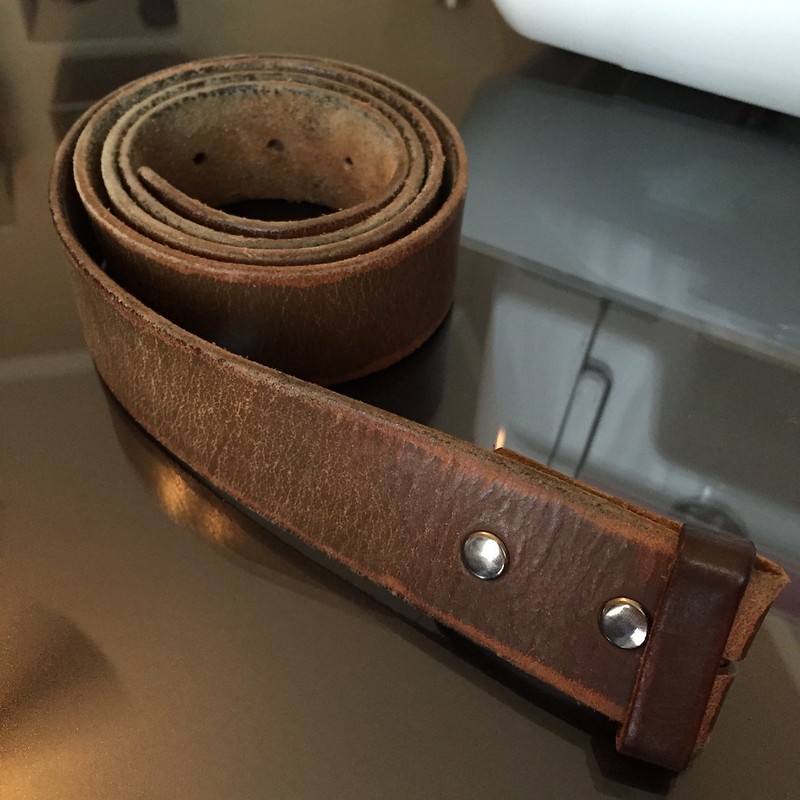
I'm also going to need a strap for my new bag, so I dug out an old leather belt (sans buckle).
My first step was to remove those substantial sleeves.

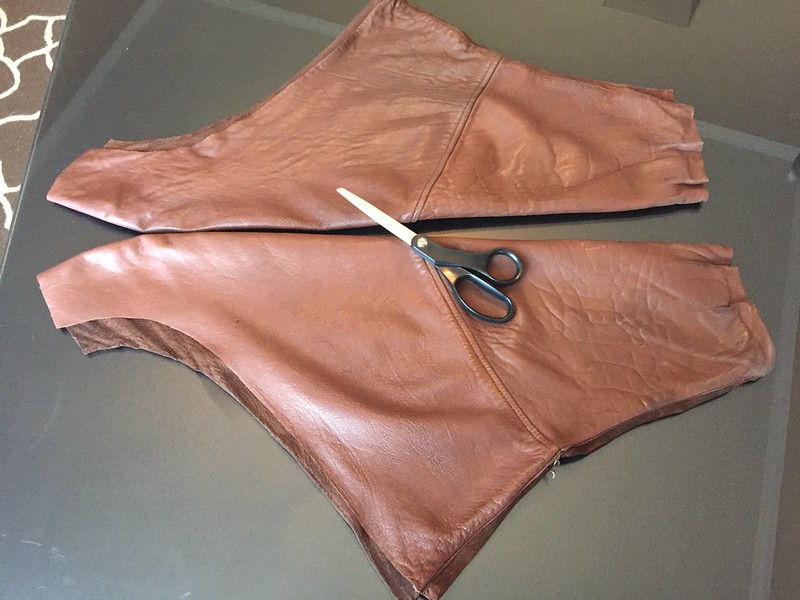
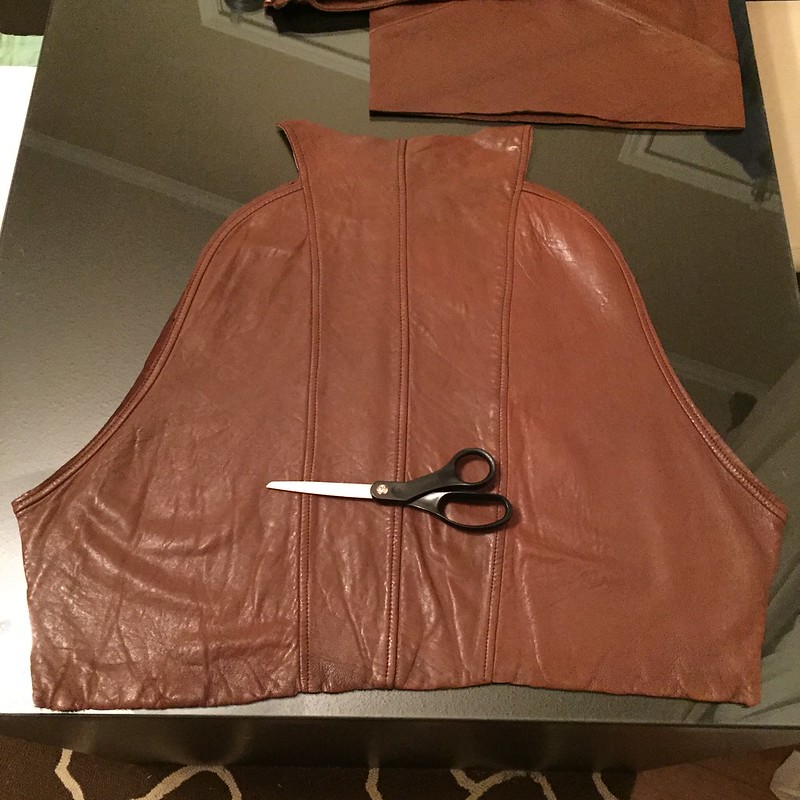
I cut up the inner arm and spread it out. Then I snipped along the curved should seam a little at a time until it laid flat. I repeated this on the second sleeve and then cut as big a rectangle as I could from both. These will be the front and back of my new bag.
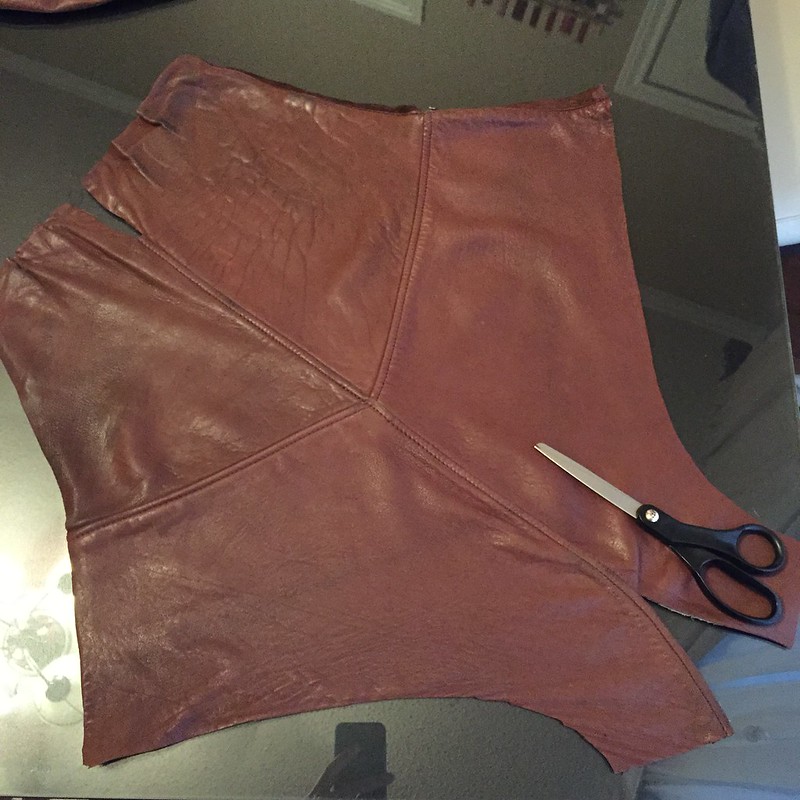
I also cut off the double-breasted panels from the front of the jacket.
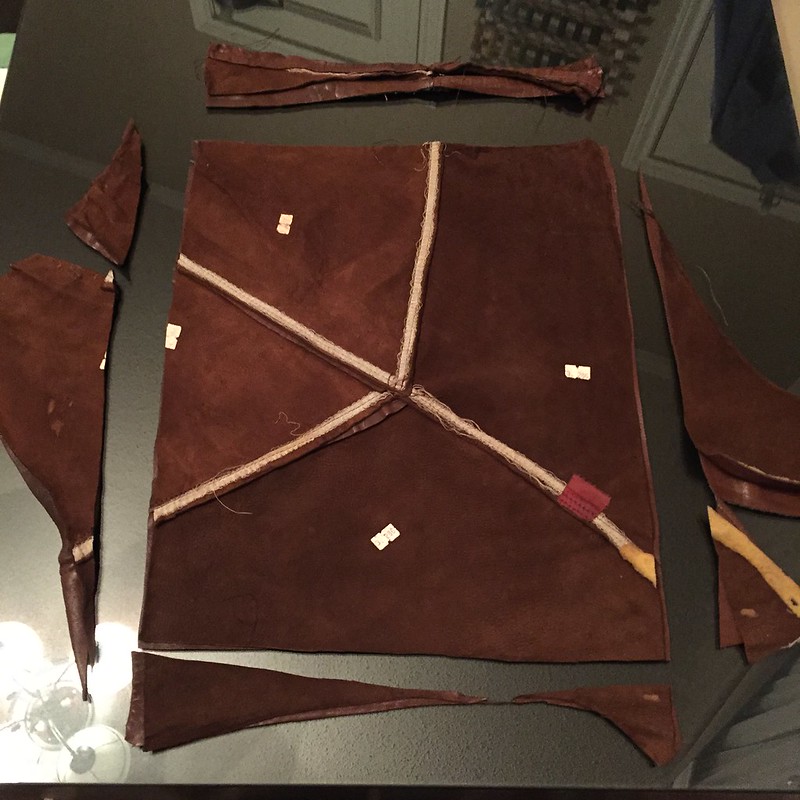
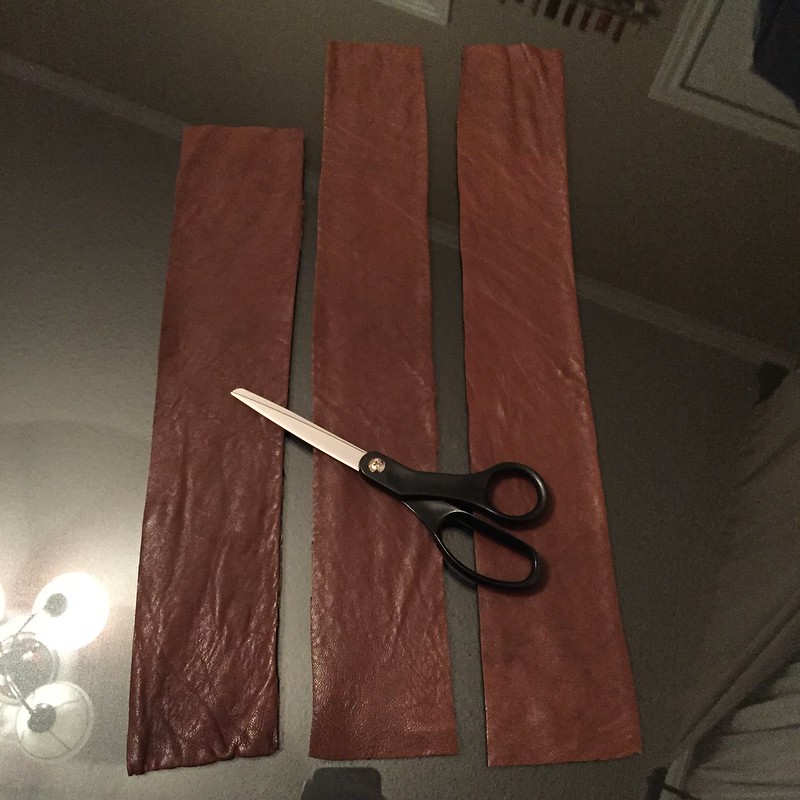
And I removed back panel and cut three long rectangles, which will become the sides and bottom of my bag.
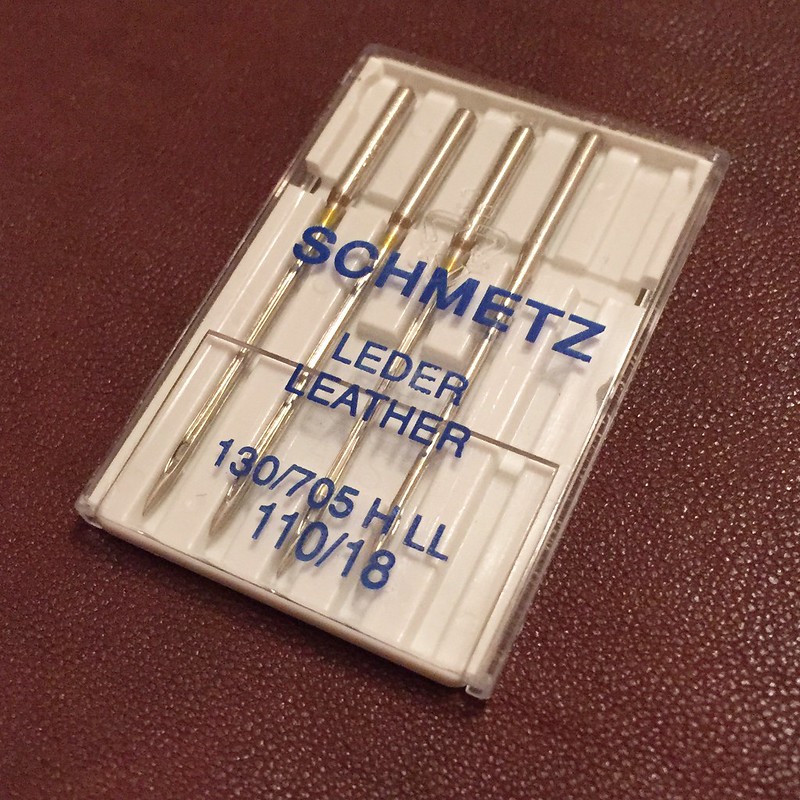
Before I started the real sewing, I did a few test runs on some leather scraps. I got out my leather needles, purchased for the black leather jacket two years ago. I experimented with my Simplicity machine (my first sewing machine, been with me since college, and it's just what I'm used to) as well as the Brother sewing machine I got from a friend a year or two ago (more powerful, can handle multiple layers of leather a bit better, sensitive foot pedal thus harder to go slowly). The Brother definitely had the umph I needed, so that decision was made.
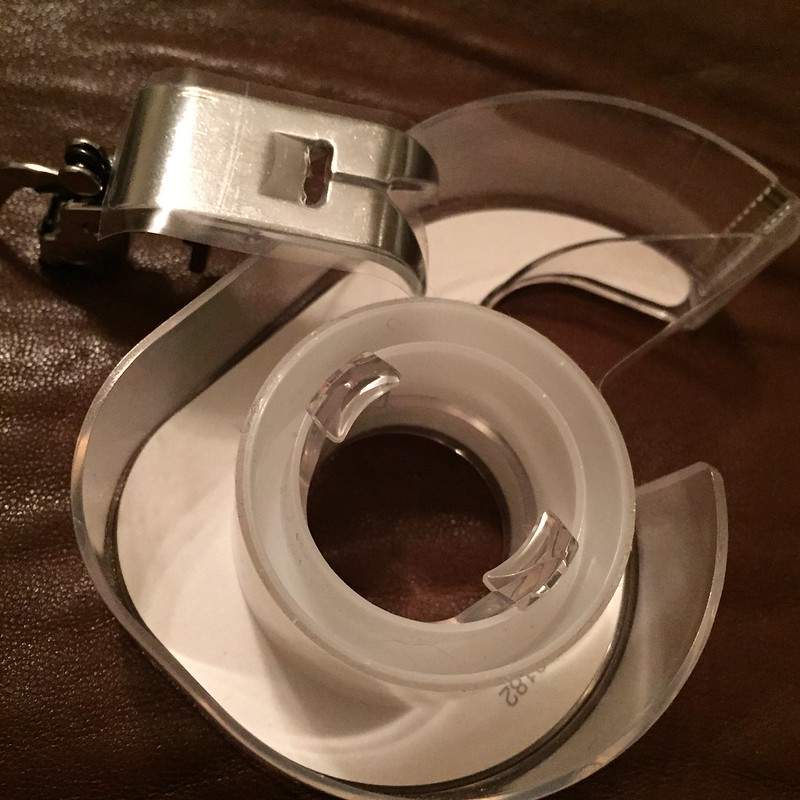
I also put a piece of clear tape on the bottom of my presser foot. I had seen this recommended on Pinterest as a substitute to buying a teflon, walking, or roller foot. Unfortunately, I found this didn't do a damn bit of good, so I nixed that idea.
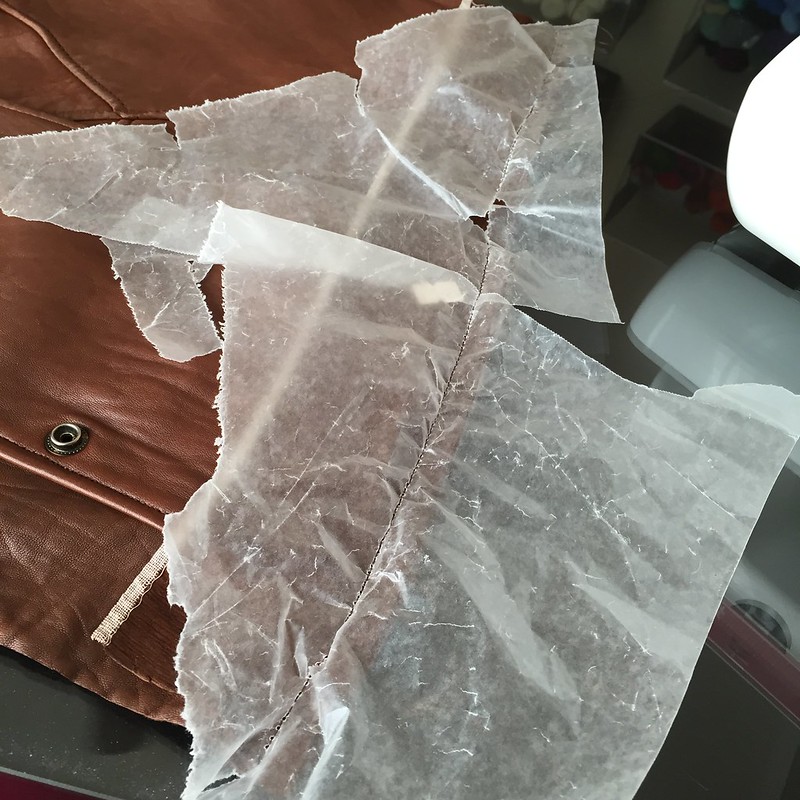
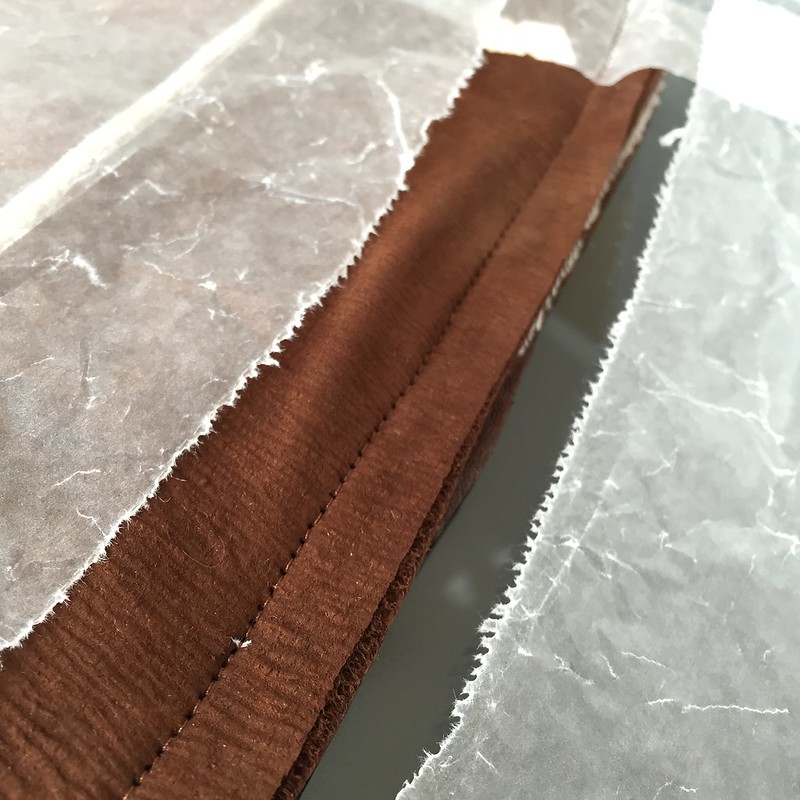
Pinterest suggestion number 2: Waxed paper. This is fiddly and annoying, but it was a vast improvement over the tape or nothing at all. You just stick a piece of waxed paper between your leather and your presser foot as you're sewing. It helps the sticky leather glide under the foot easily, and it's transparent enough to still make out where you need to sew. When you're finished with that seam, you just tear along the conveniently perforated line. If I decide to do more leather projects in the future, I'll probably get up off my lazy butt and go buy a teflon, walking, or roller foot though.
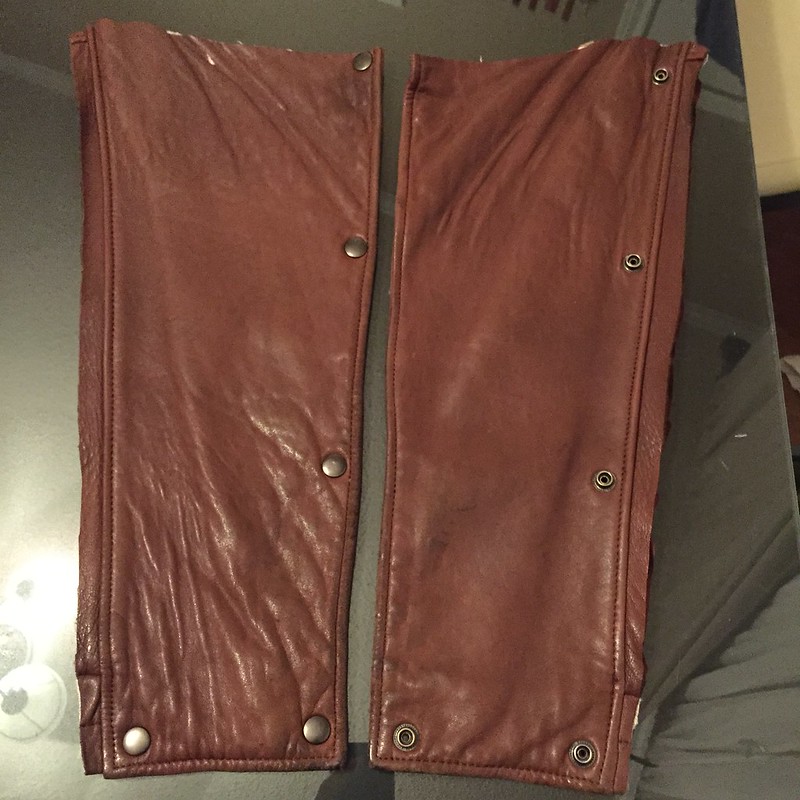
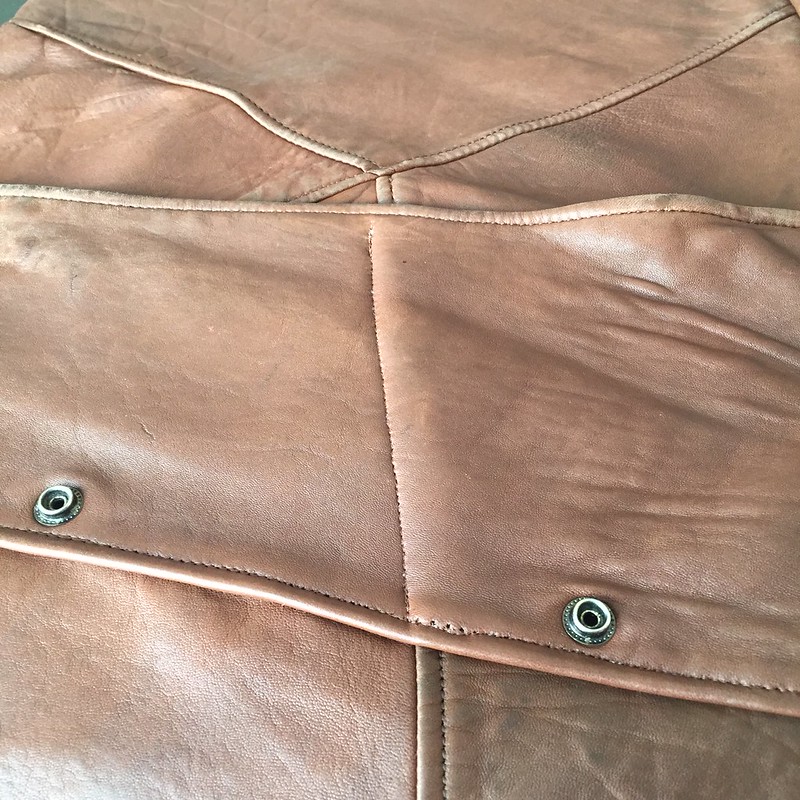
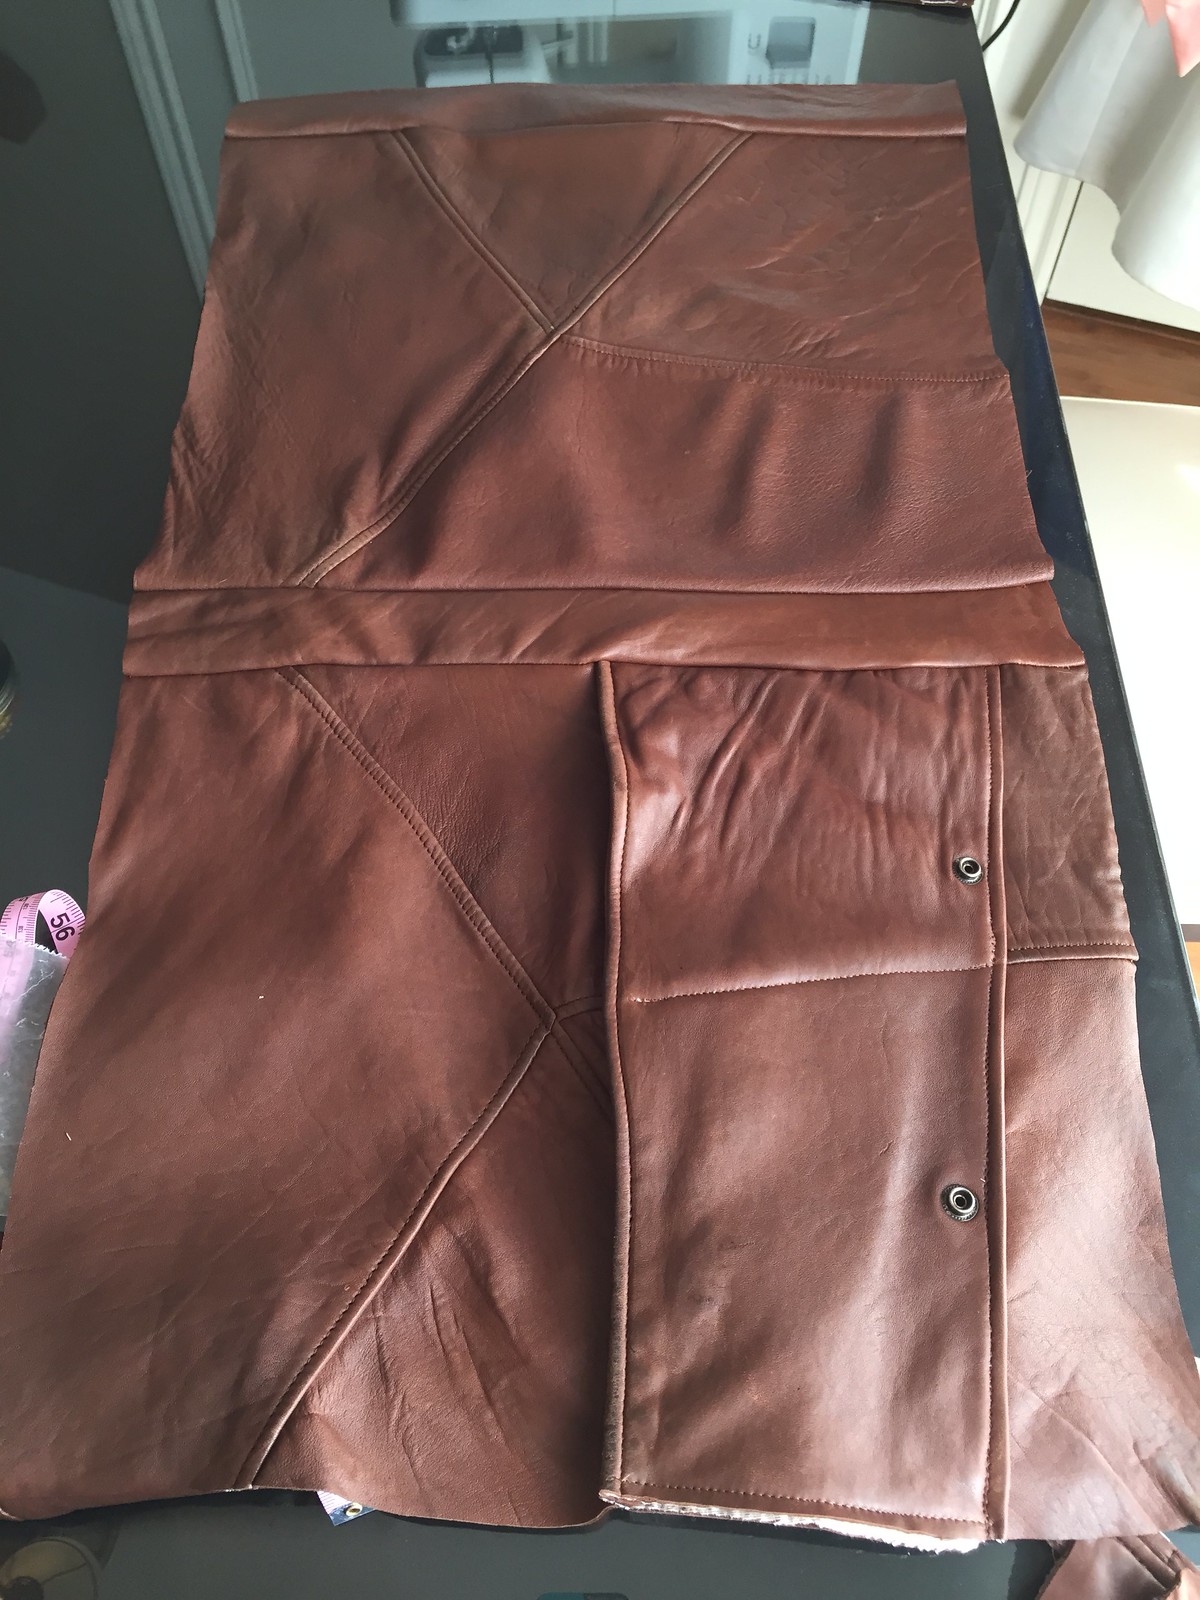
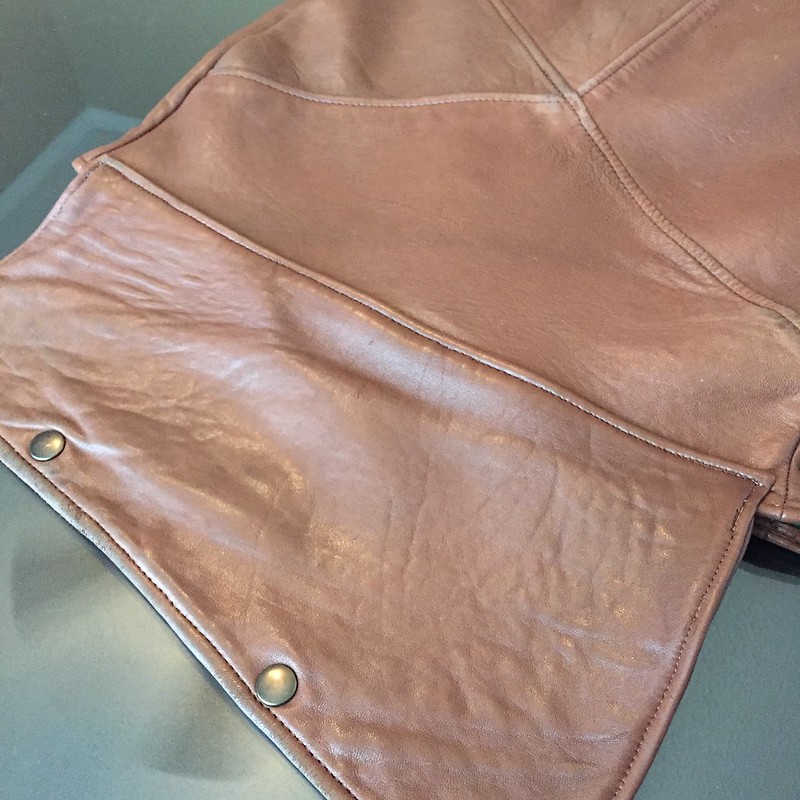
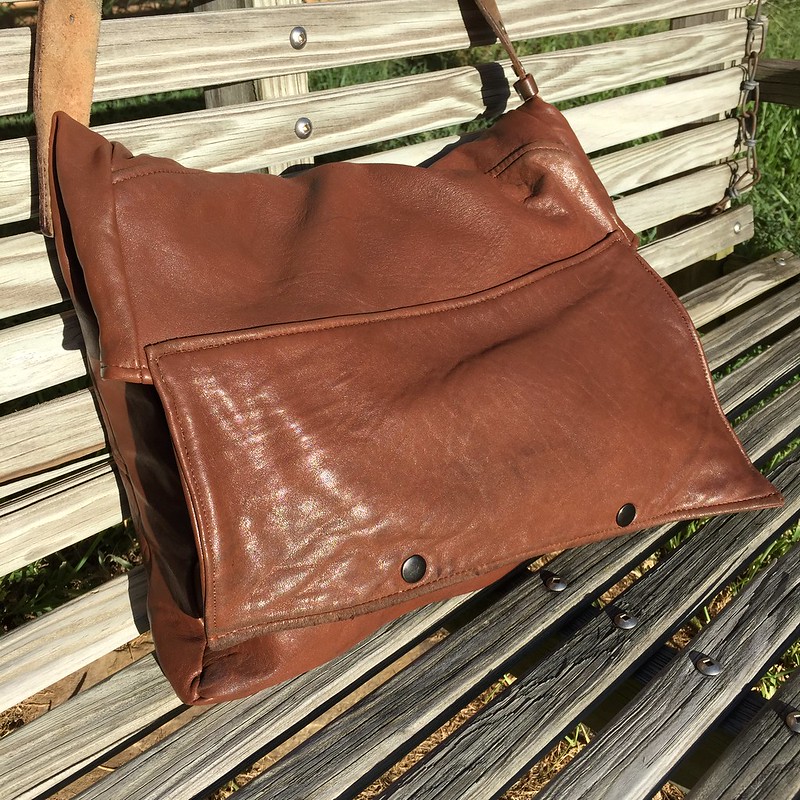
The bottom panel of the double-breasted jacket front will become two outer pockets on the front of my bag. I lined it up on my front panel so the top edge was horizontal, and I trimmed it to the same width.
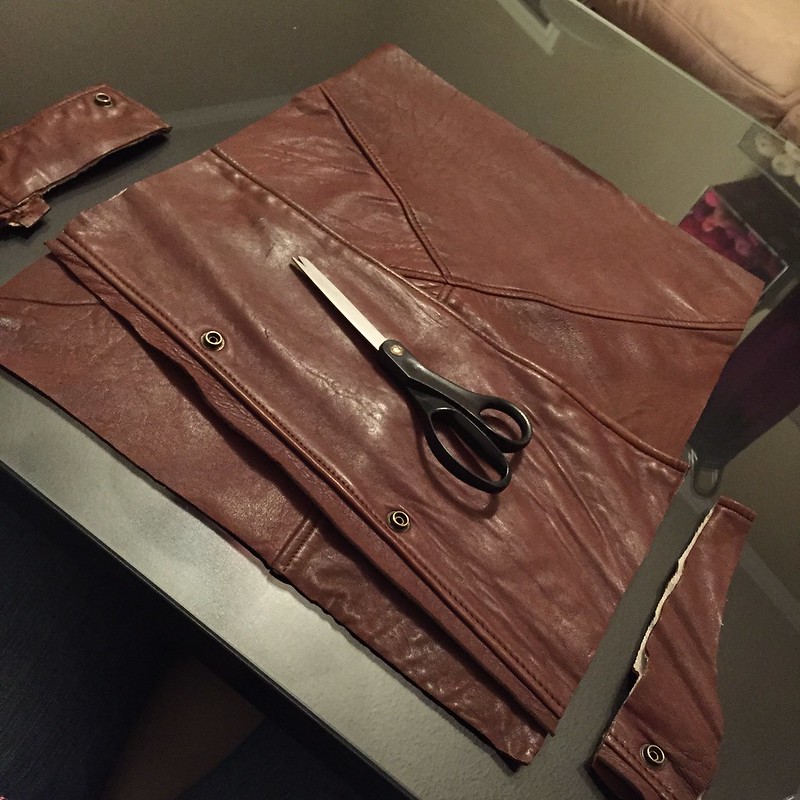
Then it got stitched down on both sides and the bottom. I also added a line of stitching up the middle, following the seam on the front panel underneath, to create to individual pockets.
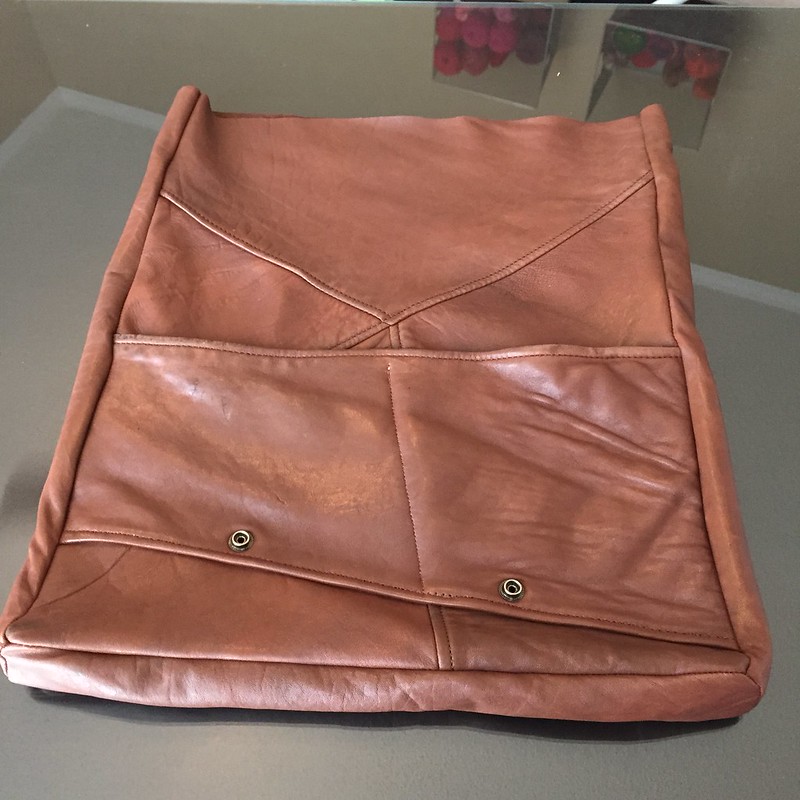
Next I sewed the front, back, and sides together. Then added the bottom piece, so my basic bag shape was complete.
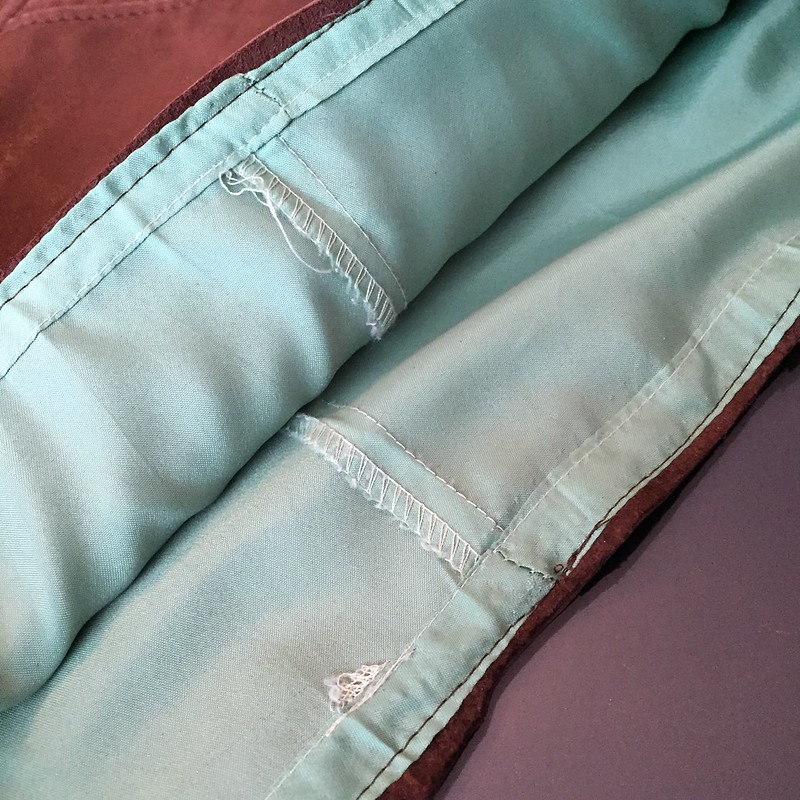
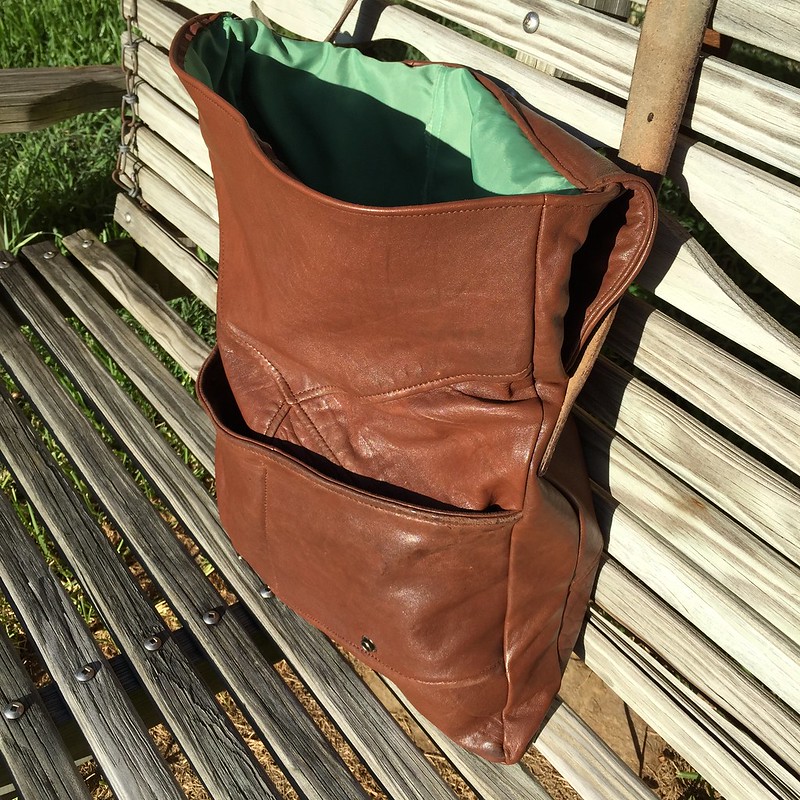
I rummaged through my remnant bin and found the green lining trimmed from the bottom of this refashioned skirt. I made a bag lining from it, then stuck it in the leather bag.
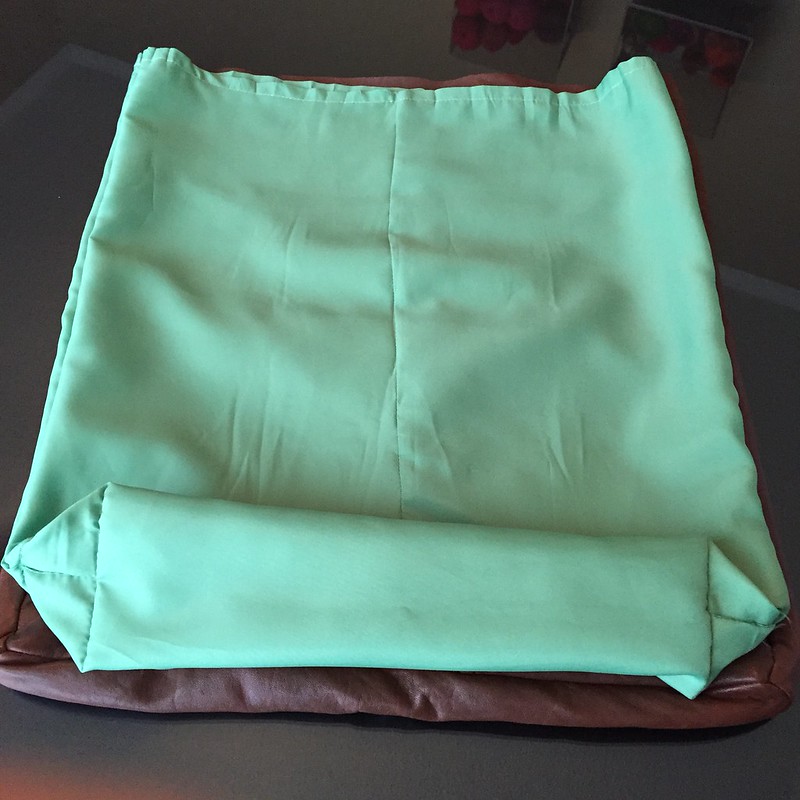
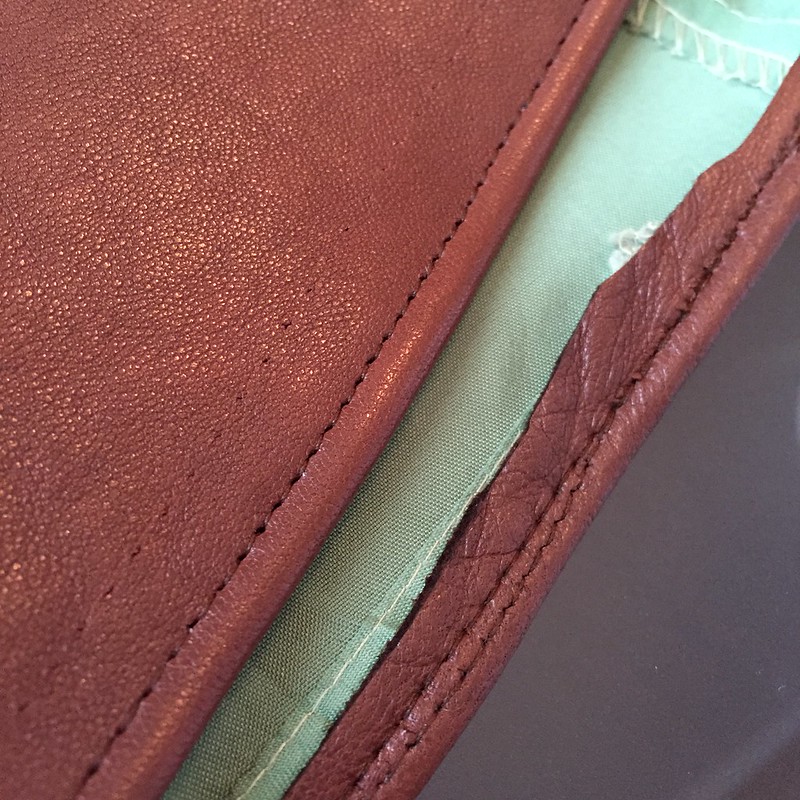
I sewed around the very edge of the green and the leather, then folded them downward once and top-stitched again. Only when I was taking finished photos this afternoon did I realize I put the lining in inside-out, but you know what? Too bad! What's done is done, and I am not doing it again.
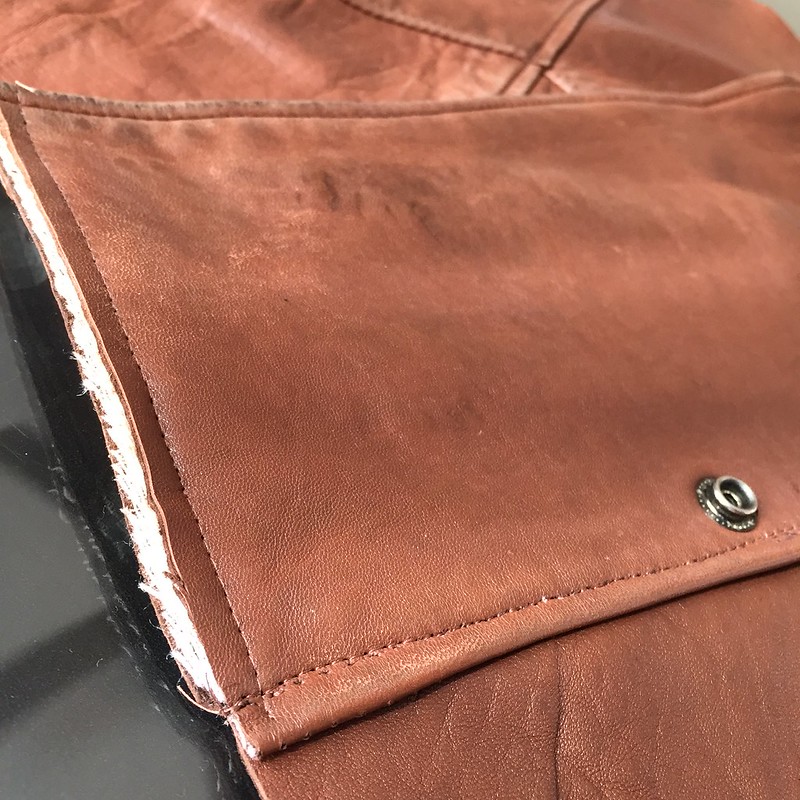
The outer layer of the double-breasted jacket front was almost ready to become the top flap of my bag! I trimmed it to the right width first.
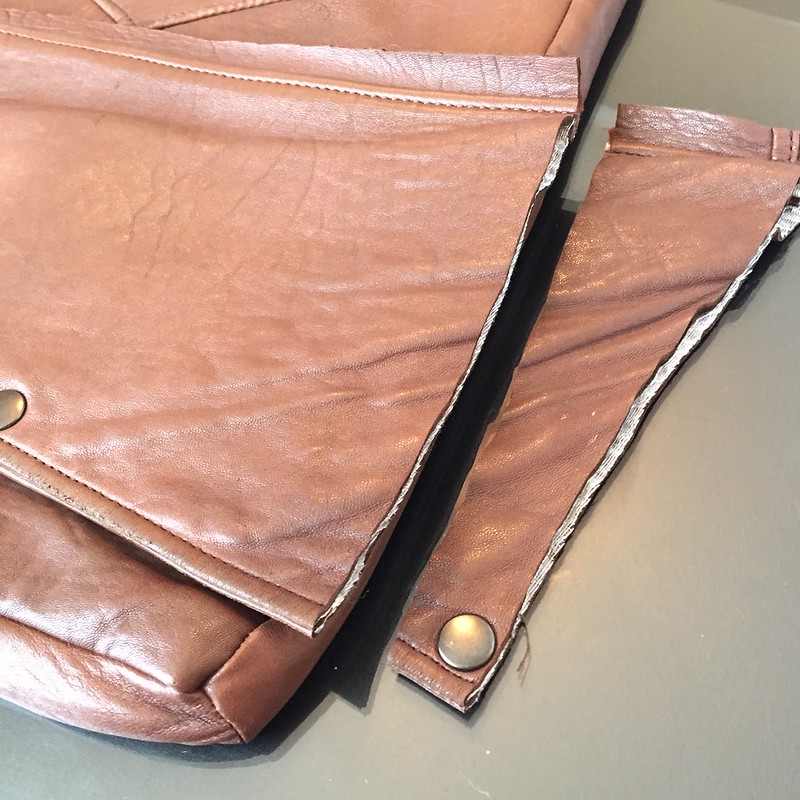
I picked out the existing seams a bit at each end, trimmed the corners at an angle to reduce the bulk, then folded the edges inward and top-stitched.
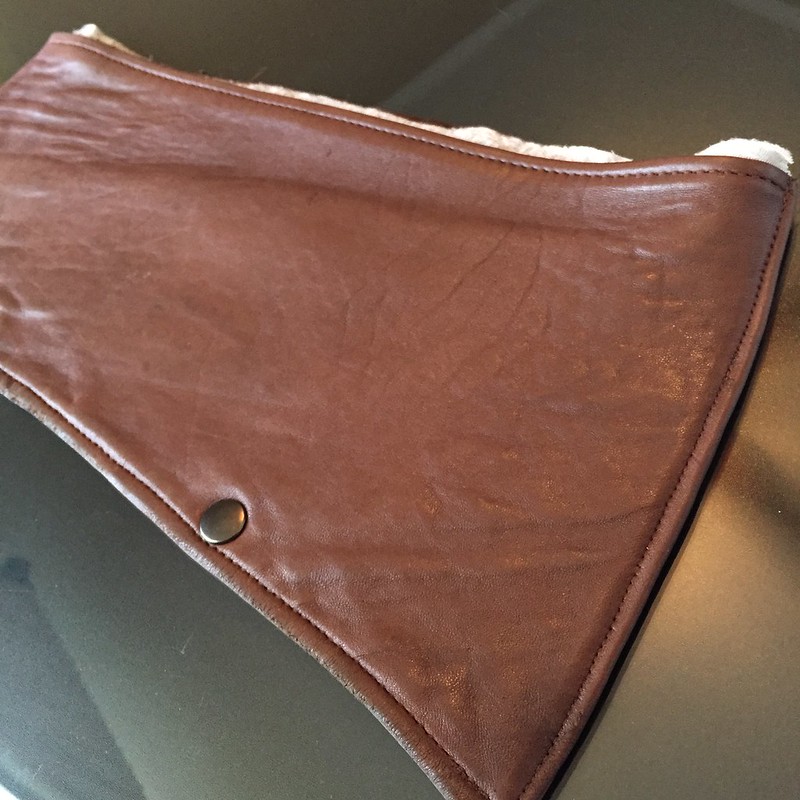
I sandwiched the top edge of the back between the layers of the top flap and top-stitched again to attach the two together.
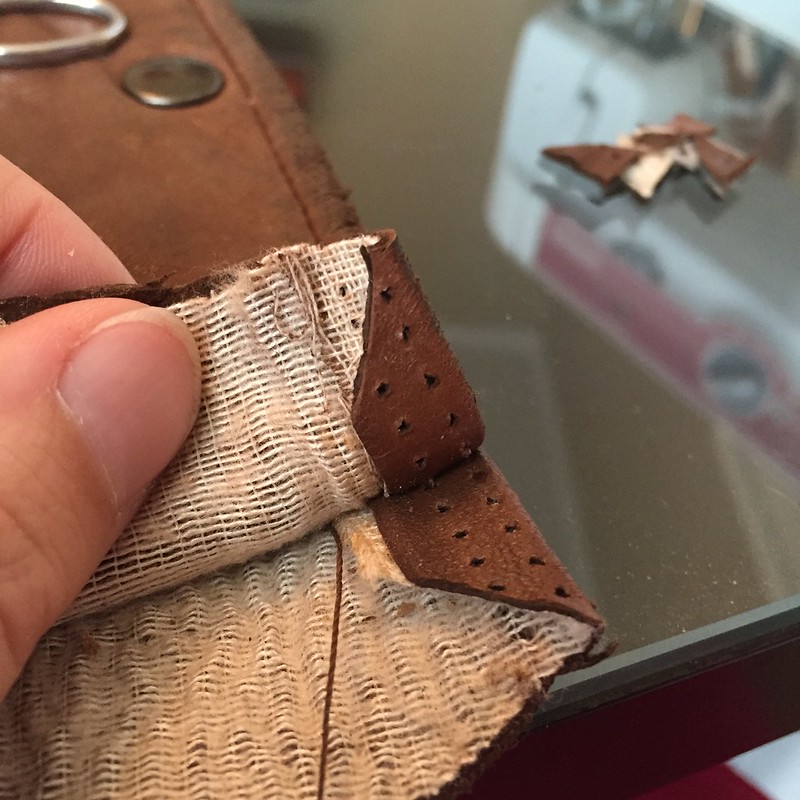
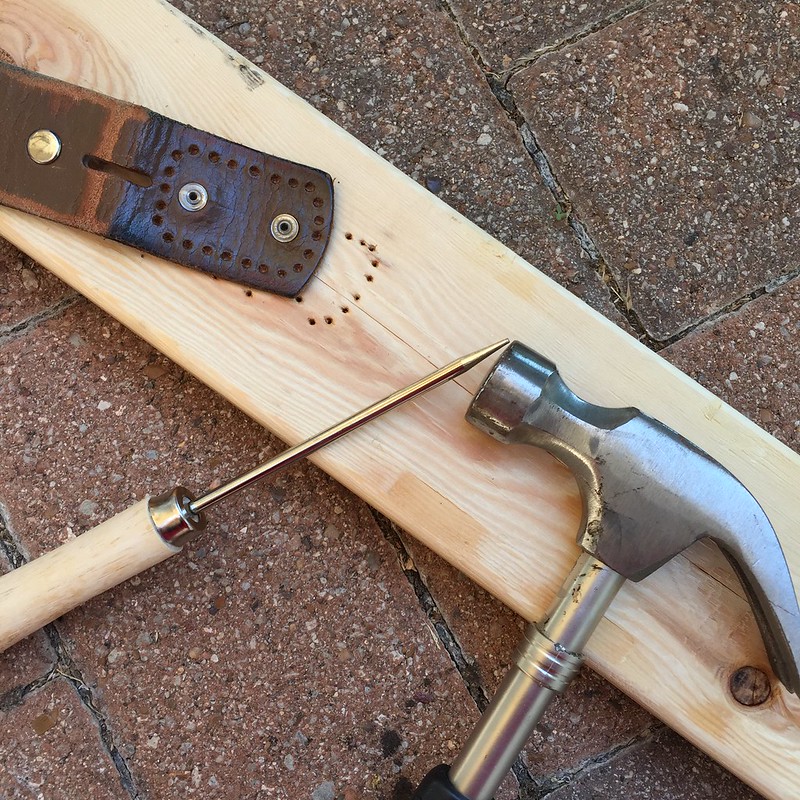
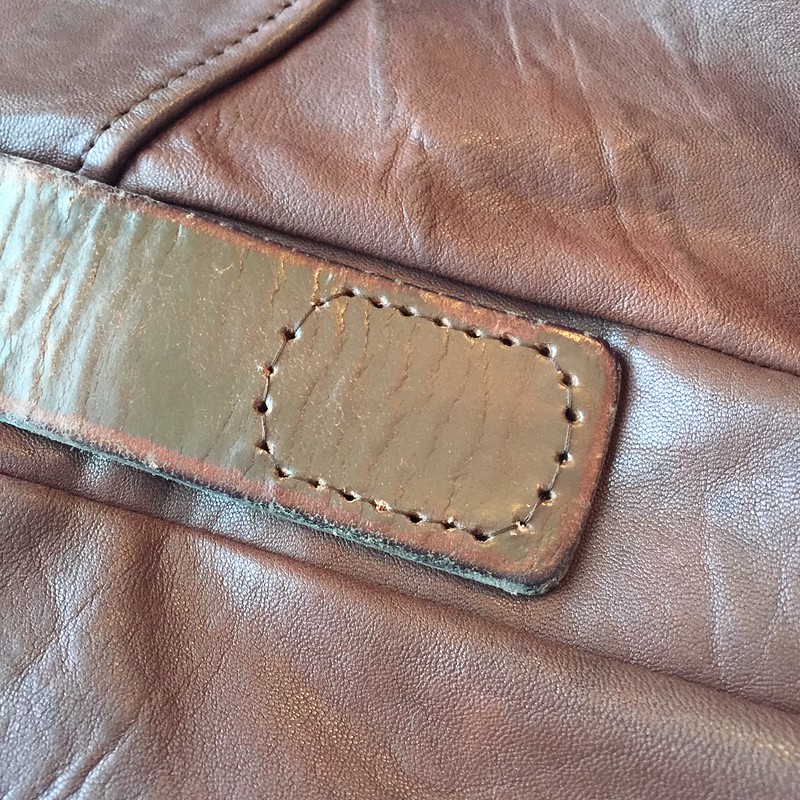
The last thing we need is a strap! I took the old belt out to the patio, along with an awl, a hammer, and a chuck of wood. A few gentle taps on the awl handle was all it took to punch some holes in both ends of the belt. Then, back into the air conditioning we went to hand-stitch the strap onto my new bag.
I love my new fold-over messenger bag! It's huge and hangs at just the right level on my hip.
It's already nicely weathered and looks loved and broken-in.

Sure, the stitching could use some improvement and the inside-out lining is going to bug me a bit, but for only my second leather project, I'm pretty stinkin' proud of myself!


If the lining ends up bugging you too much, maybe you could hand stitch (or even just glue) some binding over the seams? It would look like a Hong Kong finish I think.
ReplyDeleteJJ
www.dressupnotdown.blogspot.com
True. And at least there aren't any raw edges exposed - just the serged seams of the original skirt and my French seams.
DeleteThis looks fantastic, lucky you to get a leather jacket for free. Not one of those 'I just put this together in 30 min while the tea was in the oven' type projects though.
ReplyDeleteHehe, no, definitely not a quick afternoon project. This took me a couple hours one night and almost the entire next day. Most of that time was trying to figure out how best to go about sewing the leather though. I imagine it would be sped up significantly next time if I do get a special foot for my sewing machine.
DeleteWhat a fantastic bag! I have never even tried to sew leather. This looks so great! And I have to thank you for sharing that you inserted the lining inside out. Can I tell you how many (many, many) times I've done that on some project or another? So. Many. Times. Thanks for making me feel a lot better about that! (If the pros sometimes do it...)
ReplyDeleteHey, everyone makes mistakes! Especially when they're getting really frustrating with a project and just want to be done with the stupid thing already! :P
DeleteBeautiful, Carissa! I love the way you used the pieces, especially the asymmetry created on the front. And I agree with dannyscotland, thank you for sharing what goes wrong as well as what goes right. It helps me to keep going when I know that the road isn't always smooth for other sewists too :)
ReplyDeleteIt's true, most of the time -- on a standard non-leather project -- if I make a mistake, I'll rip it out and redo it. But I'd already ripped and redone the lining installation twice, and leather is really not a forgiving material.
DeleteThis is awesome. Wow. I'm glad you're not in this season of Refashion Runway. You'd have bumped us all out of the running with this bag! :)
ReplyDeleteThat's not true at all, Laura. I loved your men's suit bag! In fact, I have a couple men's suits I've already started eyeing for a knock-off project. Plus, my middle name is Laura, so you've already got that going for ya! ;)
Deletea beautiful bag..
ReplyDeleteThanks, Jackie!
DeleteHi Carissa! I just came across your amazing leather bag and I love it! Thank you for sharing and showing us exactly how you made it. The leather looks so soft! Sincerely, Maria.
ReplyDelete