


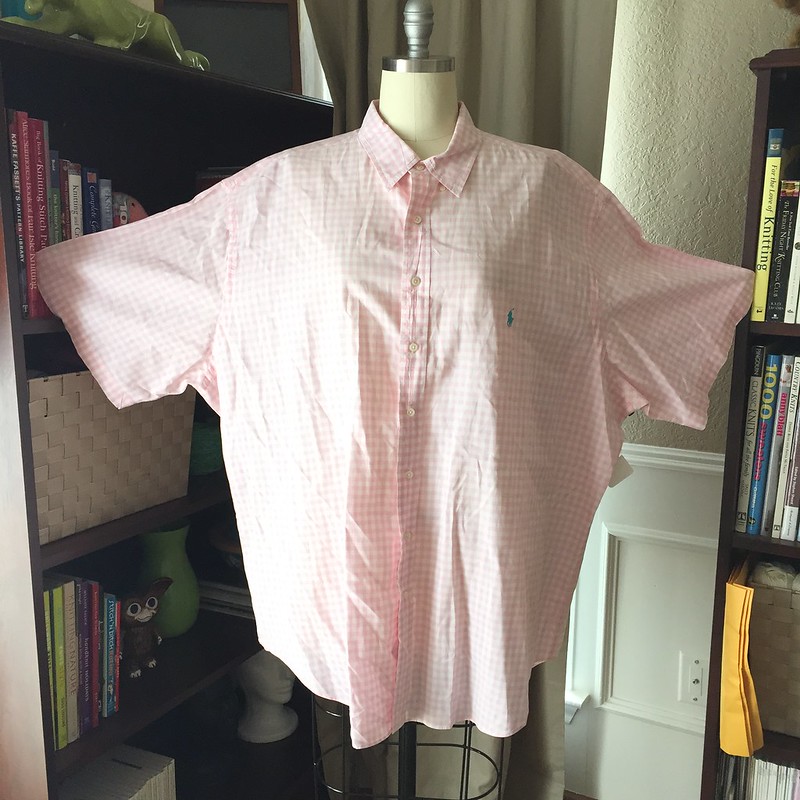
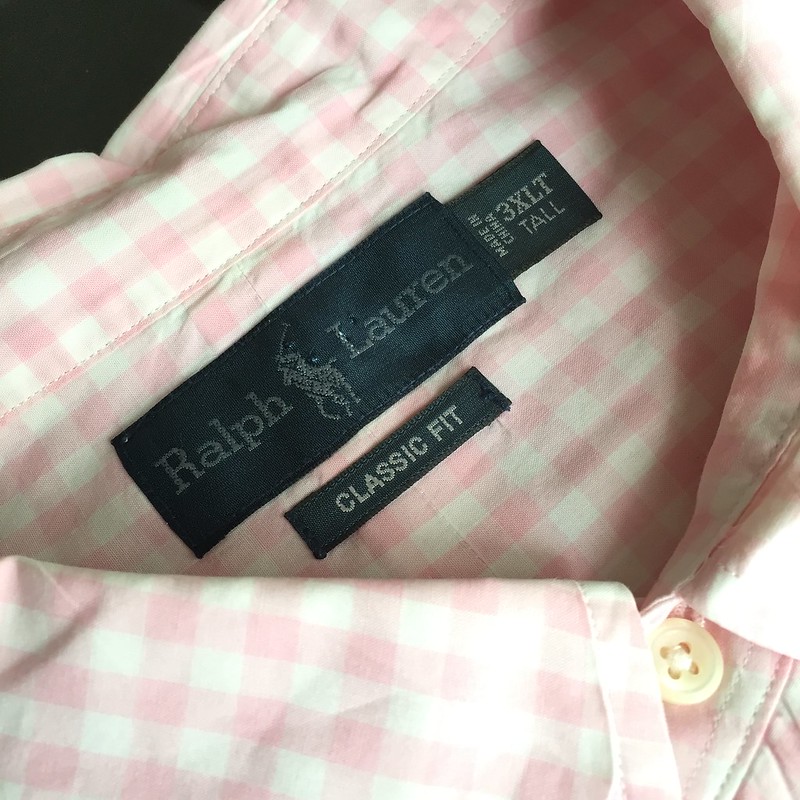
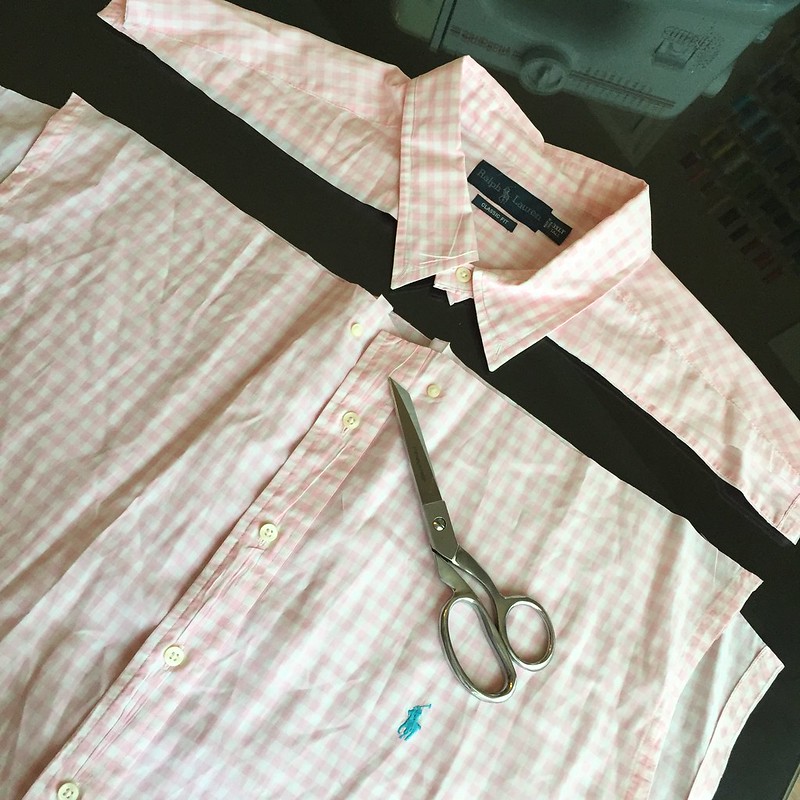
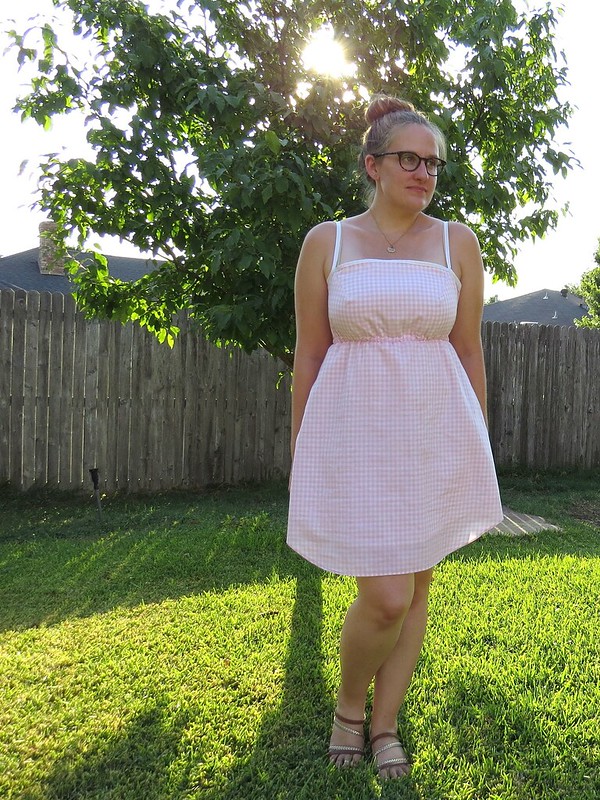
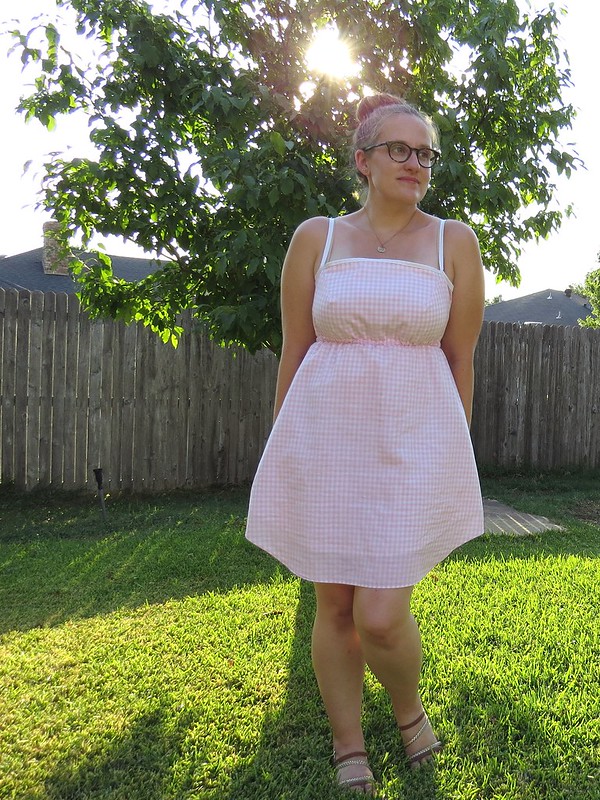
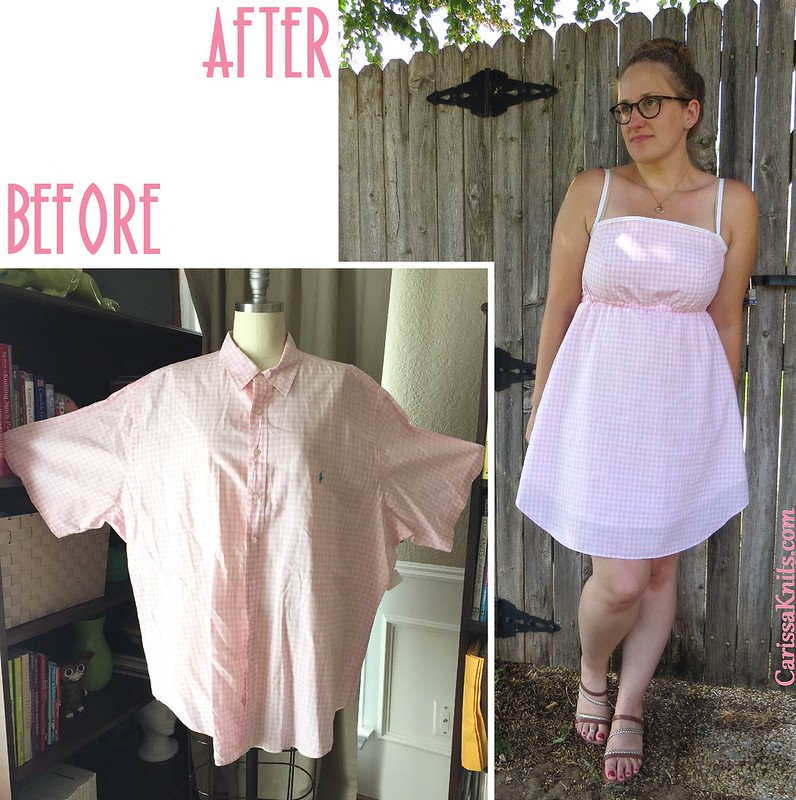
I began with this 3XL Tall pink gingham Ralph Lauren men's dress shirt, which I picked up for $6 at a nearby thrift shop, after scouring three different thrift stores for something, anything gingham. It was much more difficult than I expected.
[Yes, that means I've already broken my self-imposed, no-new-purchases challenge after only a week, but here's the deal: the only gingham thing I had my refash stash was a slightly too-small shirt. I gave it a shot, but the resulting top was... unsatisfactory. I don't even want to show it to you. Let's never speak of it again. I'm sure I'll use its components in another project down the line, but for now, it never happened.]
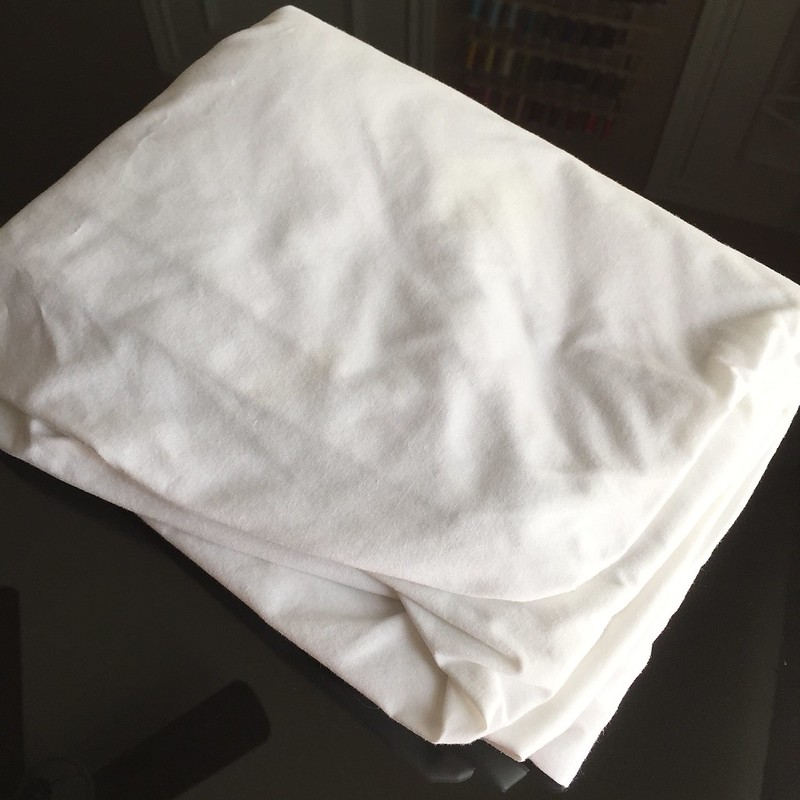
So anywho, this shirt was super thin cotton - great for a man who's going to wear an undershirt, but not so great for the dress I planned to make. So what's a slip-hating seamstress to do? How 'bout lining it with an old white cotton bed sheet? Yep, that'll do the trick.
Warning: This post is gonna be pretty picture-heavy, just so ya know...
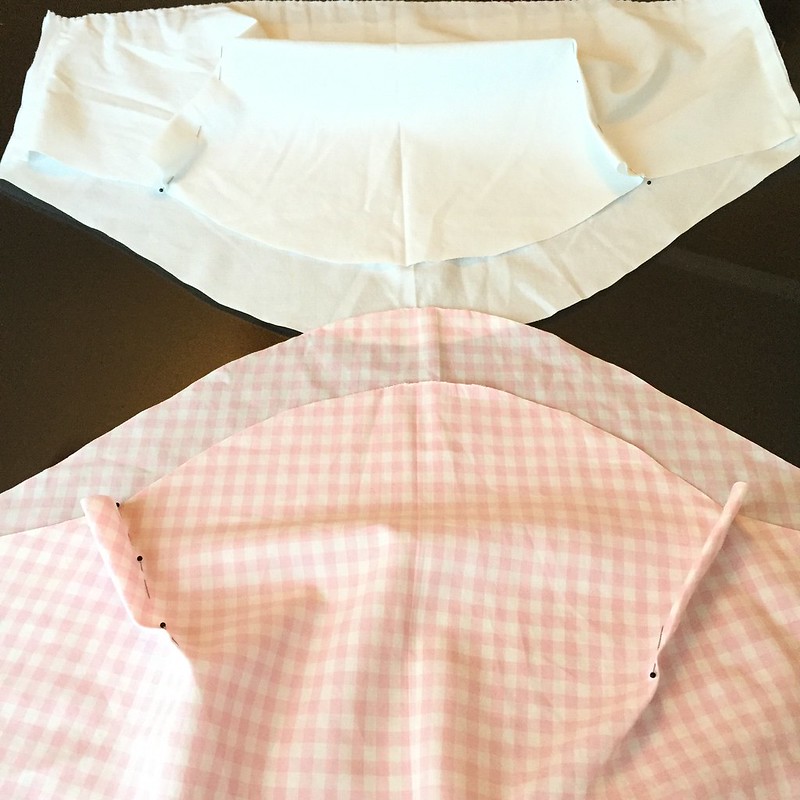
My first step was to remove the sleeves. These puppies are big enough to cover my chest (yep, that big), so they'll become my new bodice - one for the front and one for the back. I laid one sleeve on top of the white sheet and cut two lining pieces on the fold.

Then I attached the sleeves to one another at what will be my side seams. To give the front a bit of a taper under the boobs while keeping the back square-ish, I lined up the angled edge of the front sleeve with a straight vertical line on the back sleeve. I did the same thing on the lining pieces.
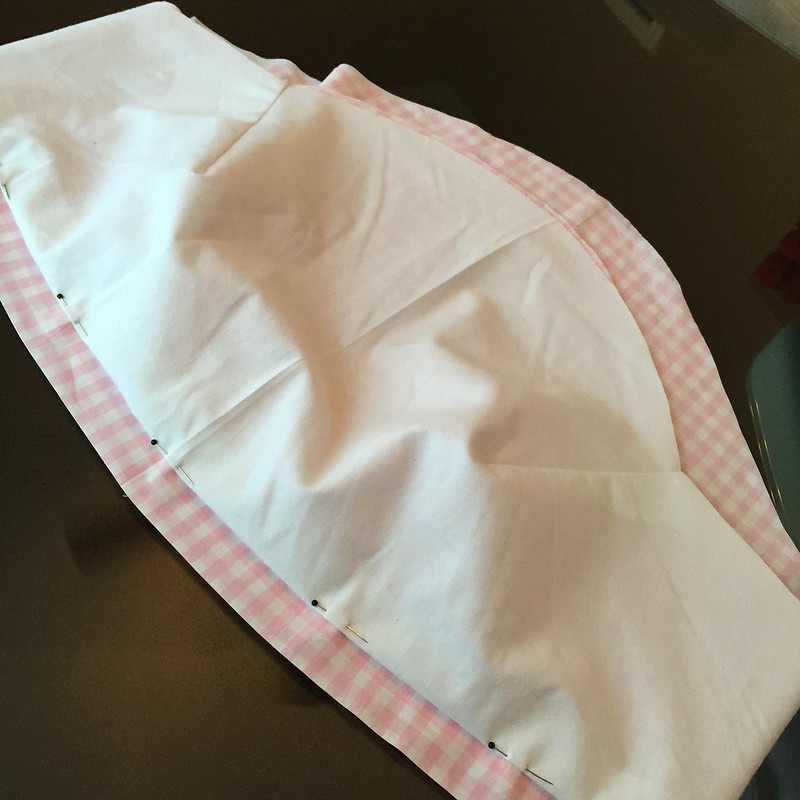
I also added a couple bust darts coming down from the top edge, and again, mirrored the darts onto the lining fabric. After a quick press, I attached the lining to the gingham, matching up the bust darts. I folded under the bottom edge of the lining and stitched it just above the original sleeve hem. That hem is going to serve as a casing for an elastic waistband eventually.
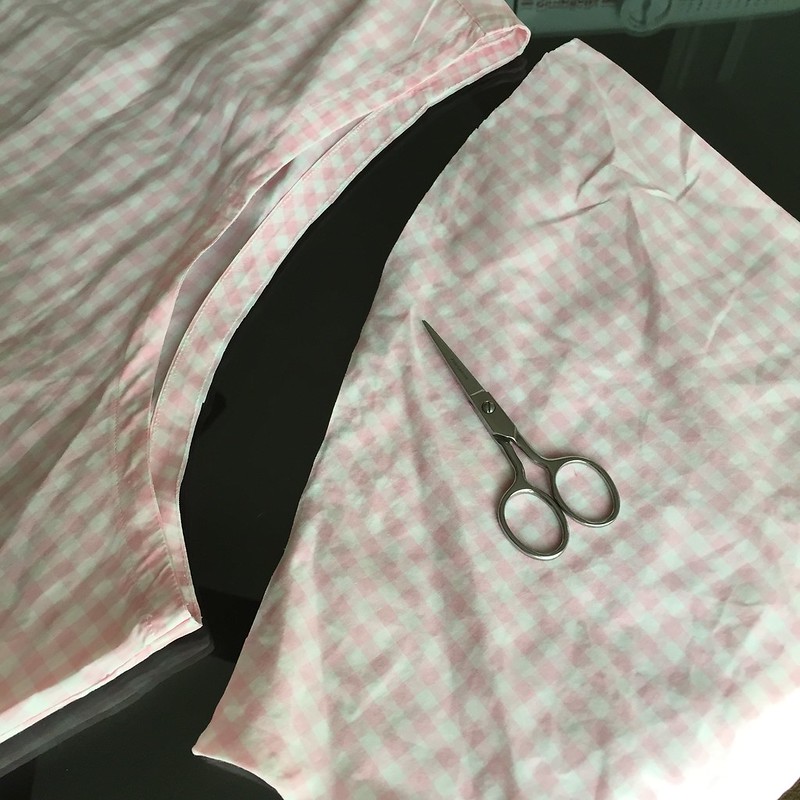
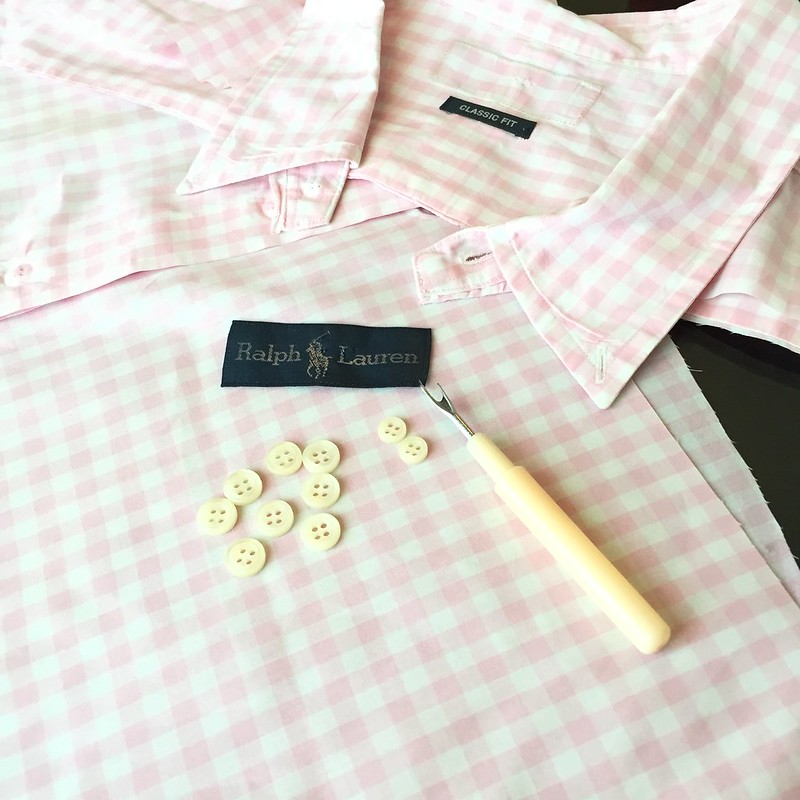
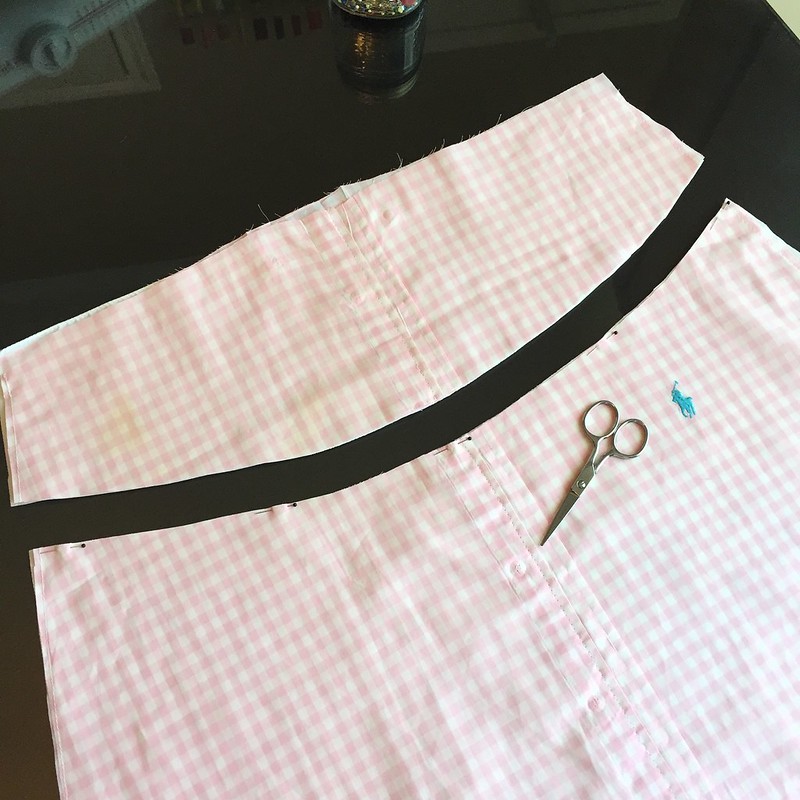
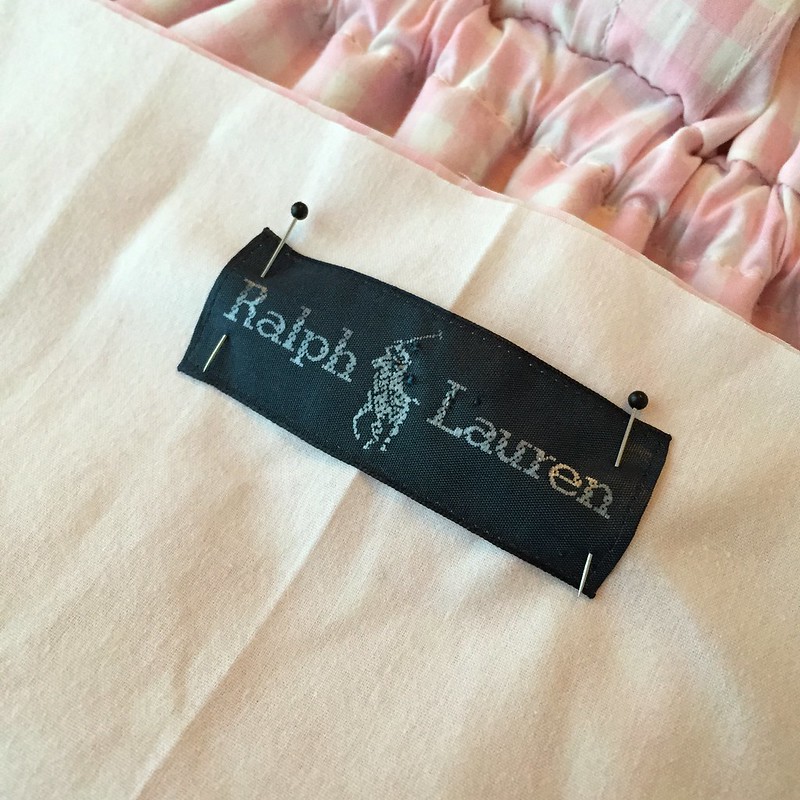
Next, I cut off the yoke and straight across the front, just below the collar. Then I gave it the pressing it desperately needed and salvaged the Ralph Lauren tag and all the buttons.
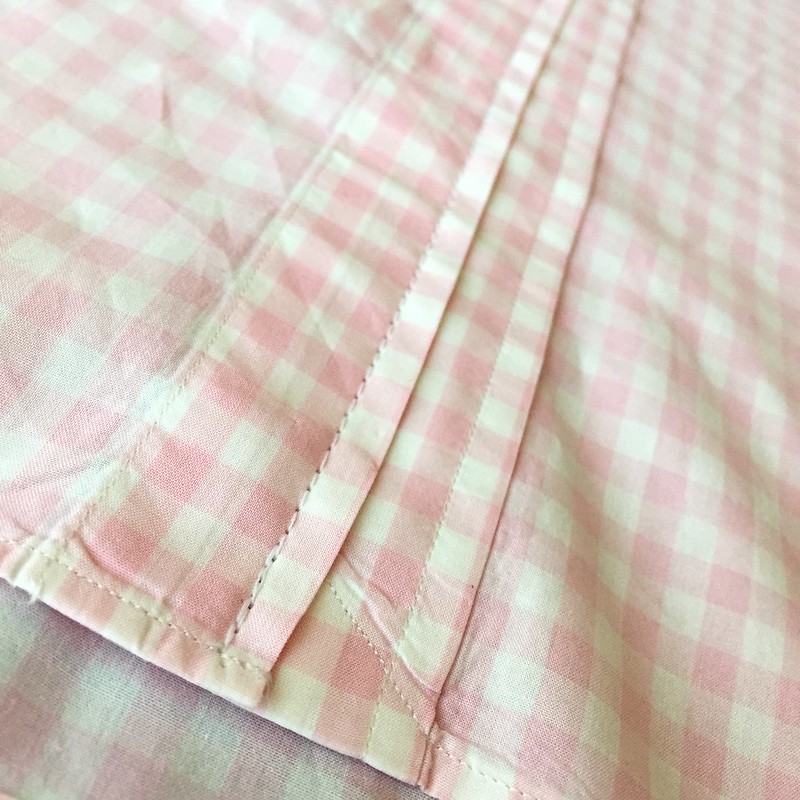
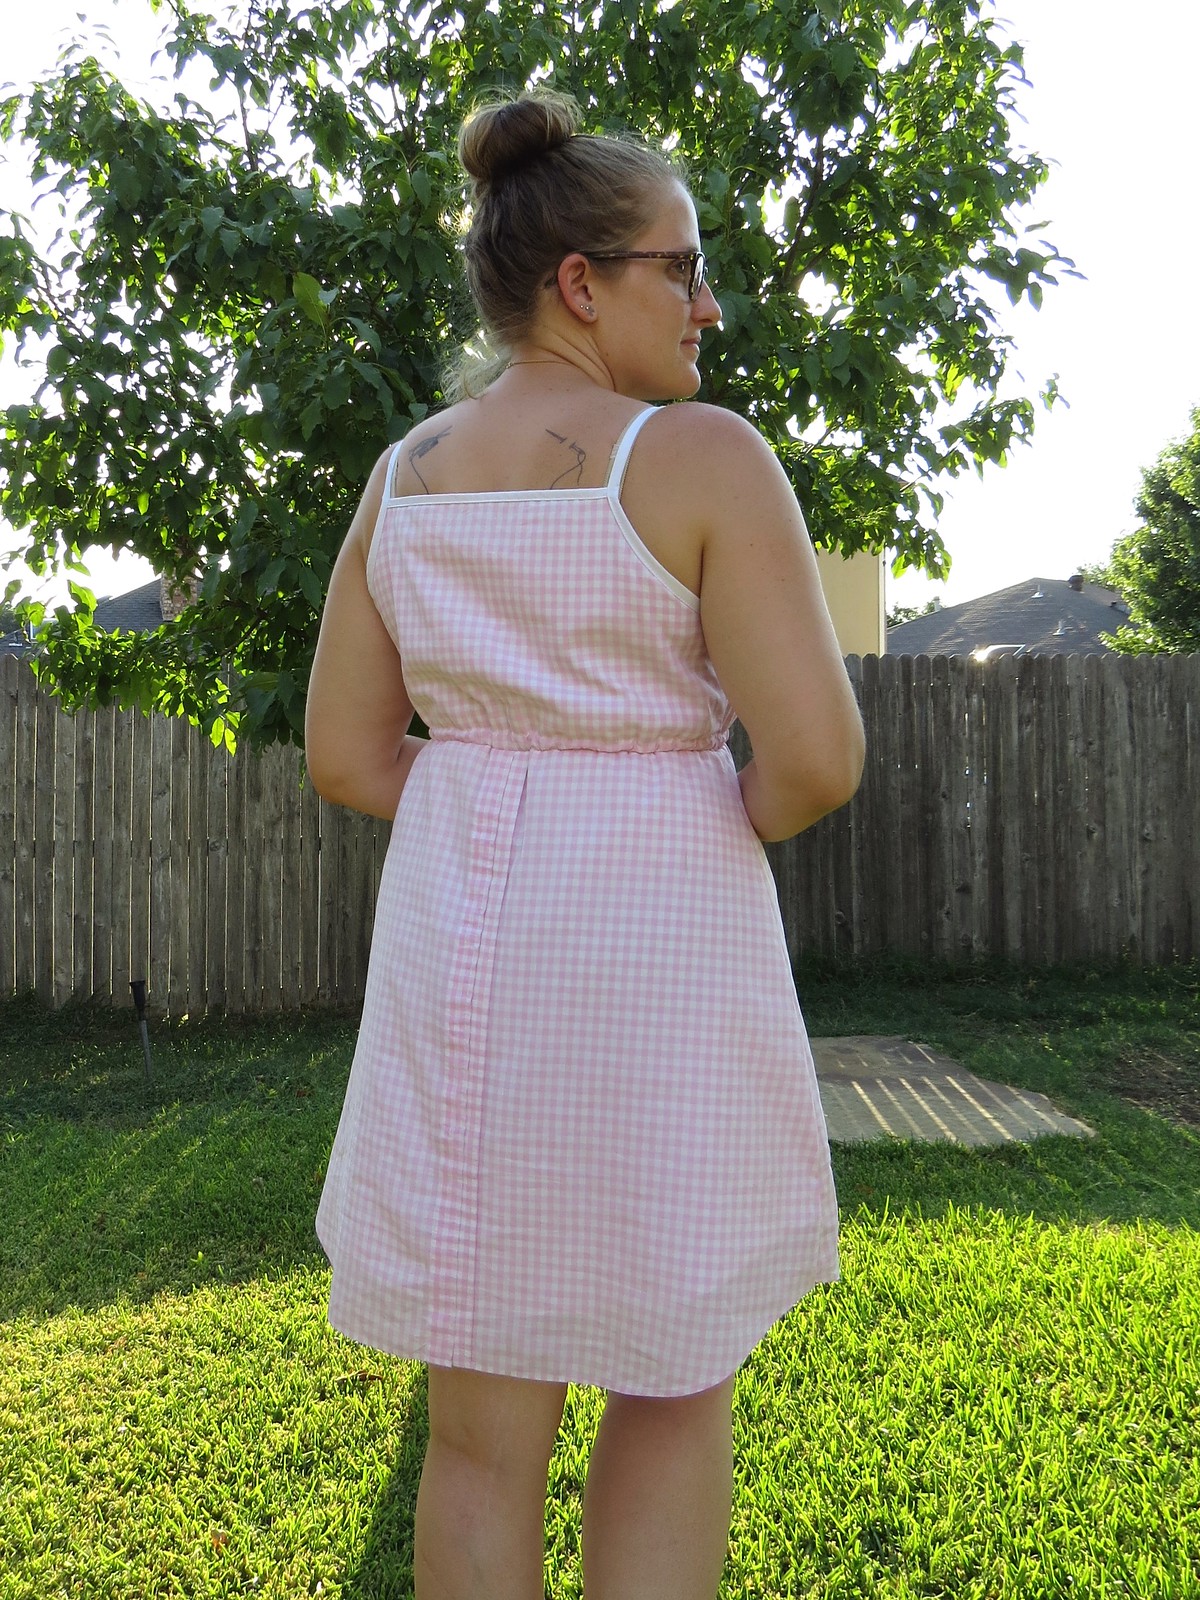
I'm not going to need my skirt to be unbutton-able, so I stitched the button band closed, with the former button side on top so as to hide the button holes.
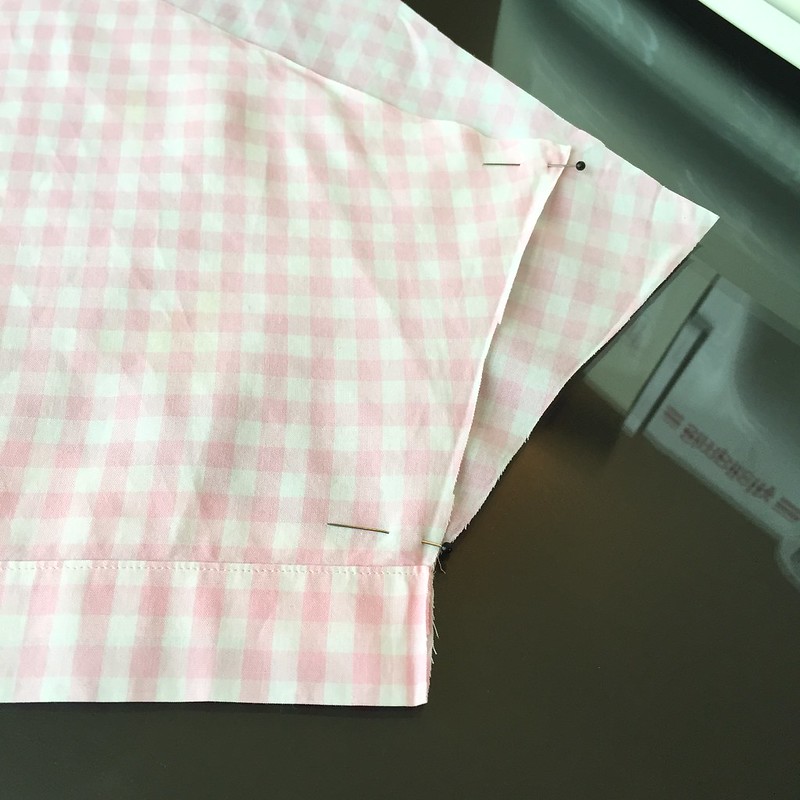
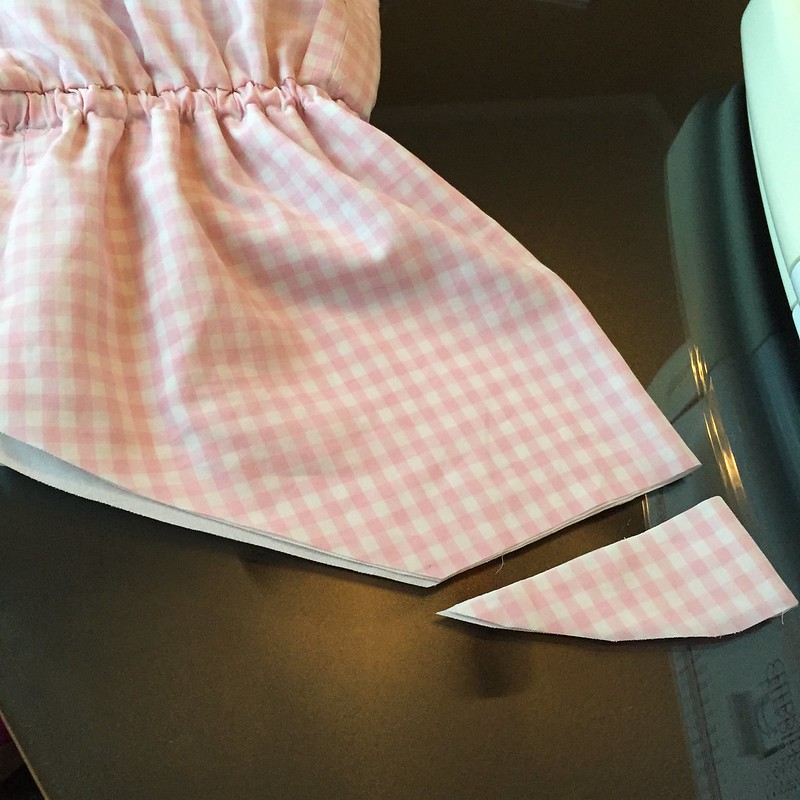
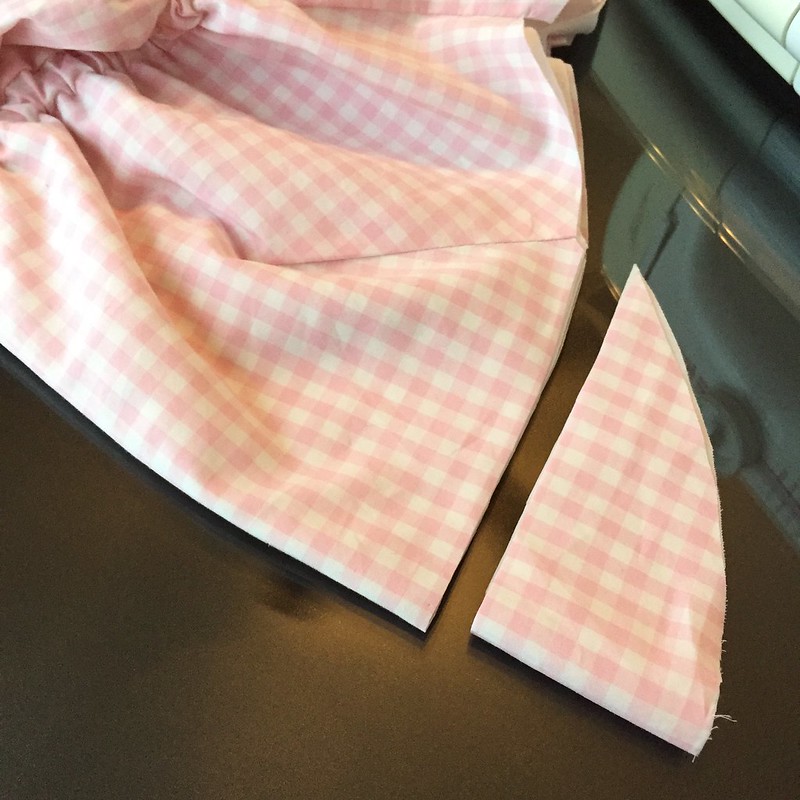
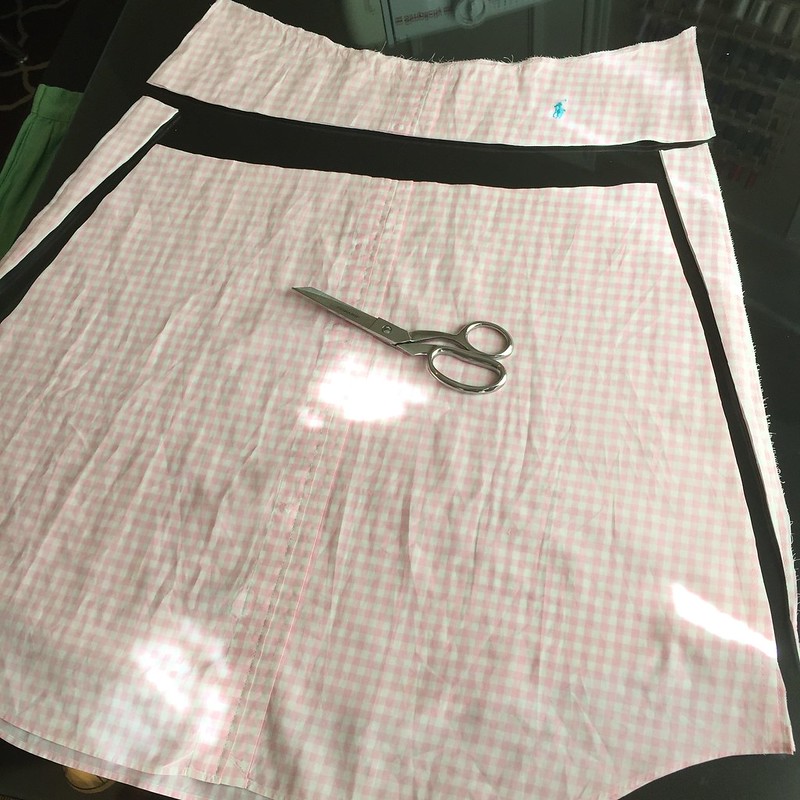
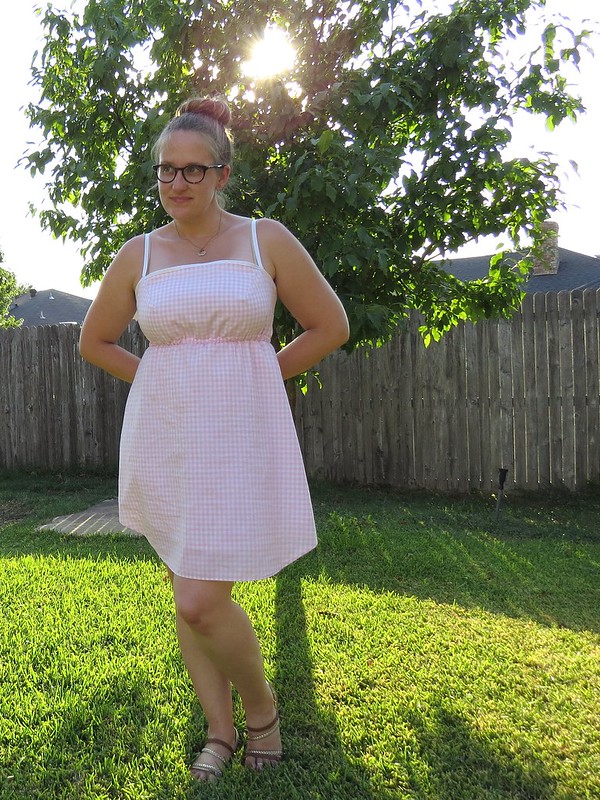
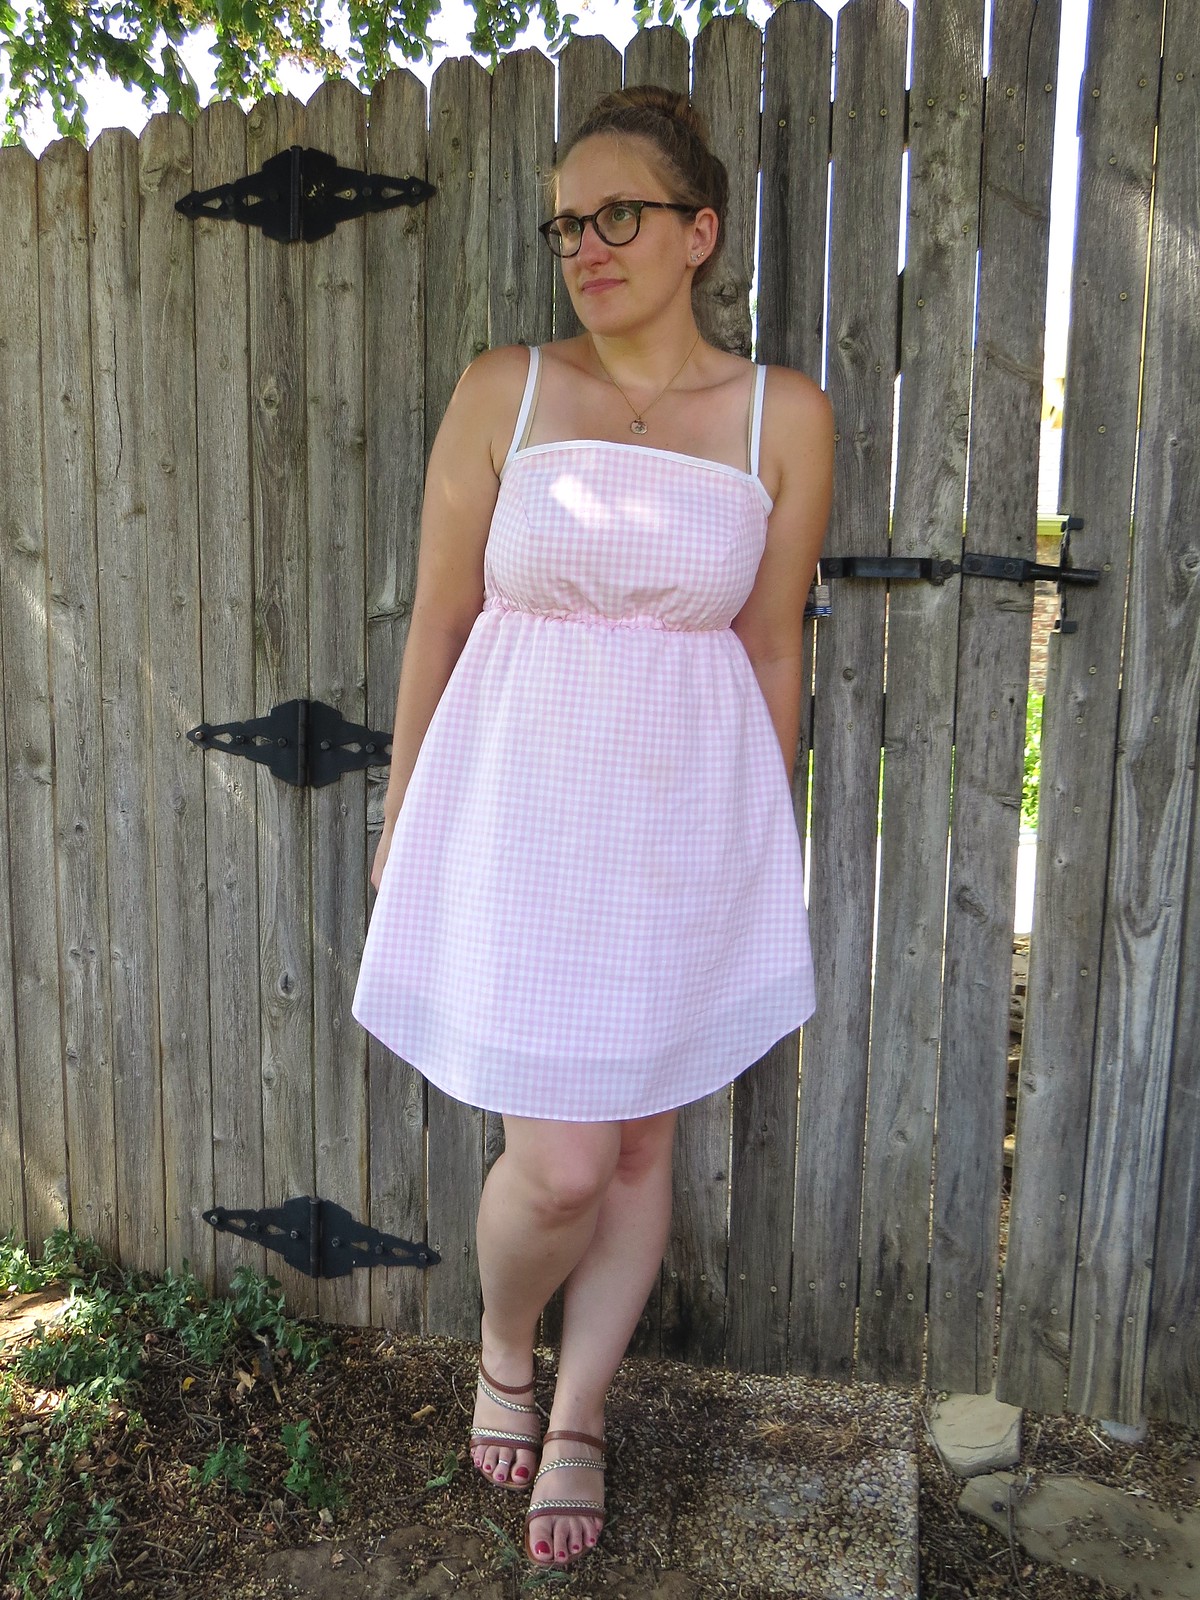
I cut an A-line shape and a slightly-curved waist line.
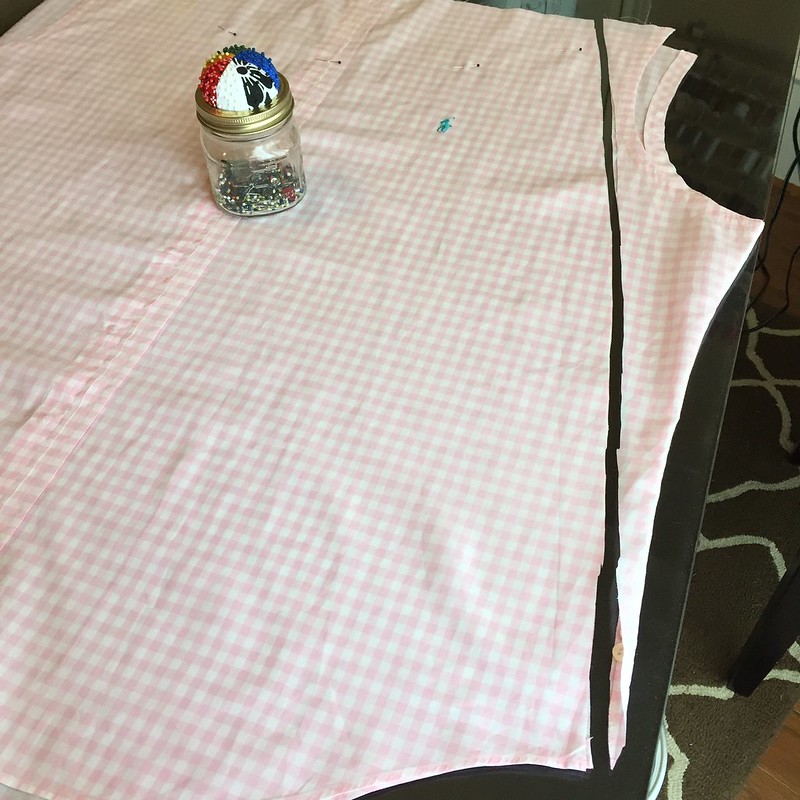
I laid my skirt on top of the sheet and cut two more layers of lining. Then I trimmed a couple inches off the bottom so the lining won't peek out below the gingham.
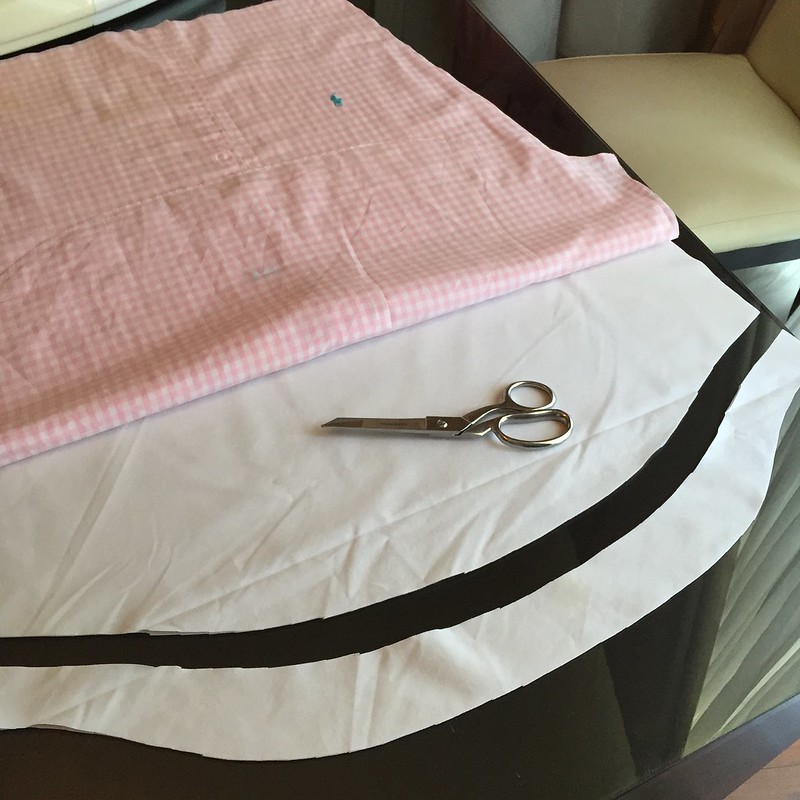
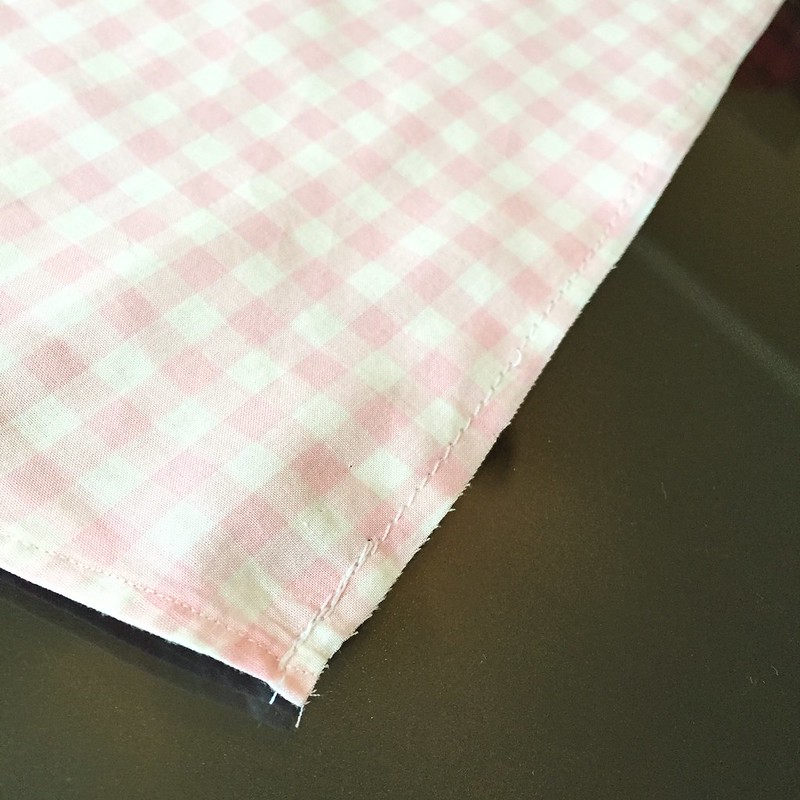
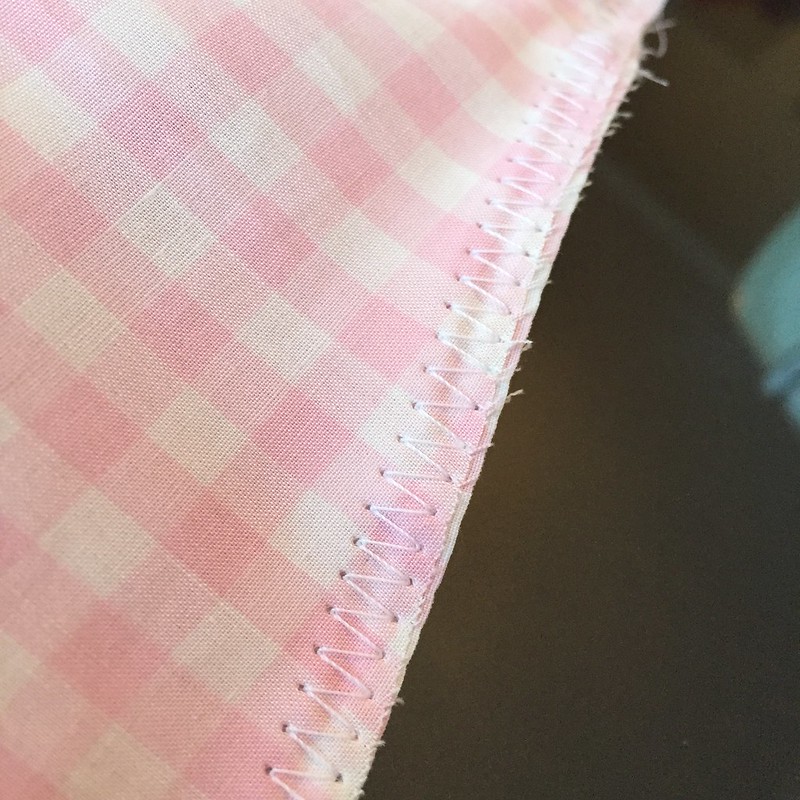
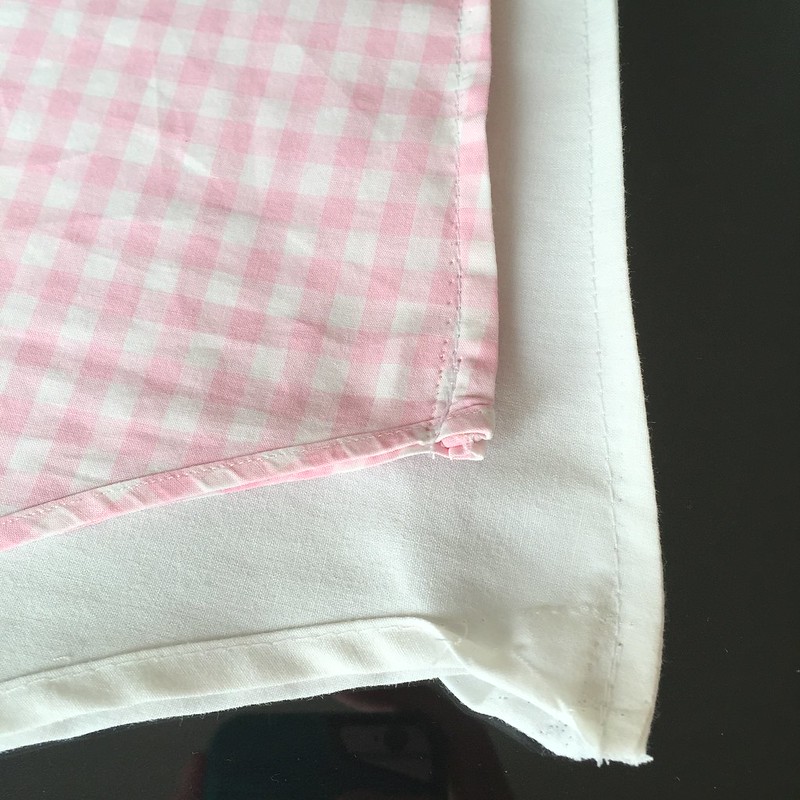
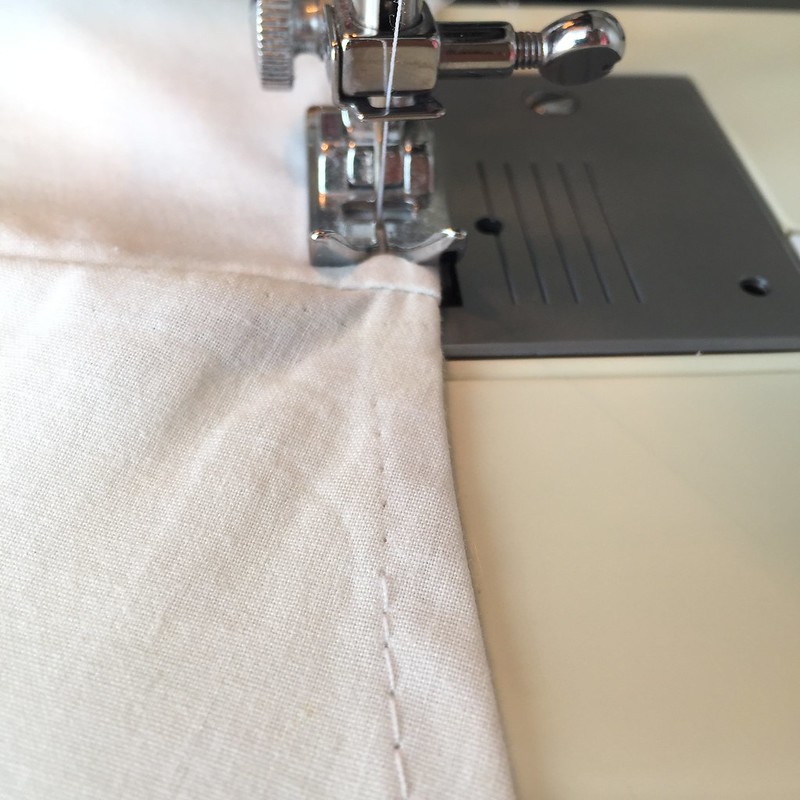
I did French seams on both sides of both the gingham and the lining, and I hemmed the bottom edge of the lining.

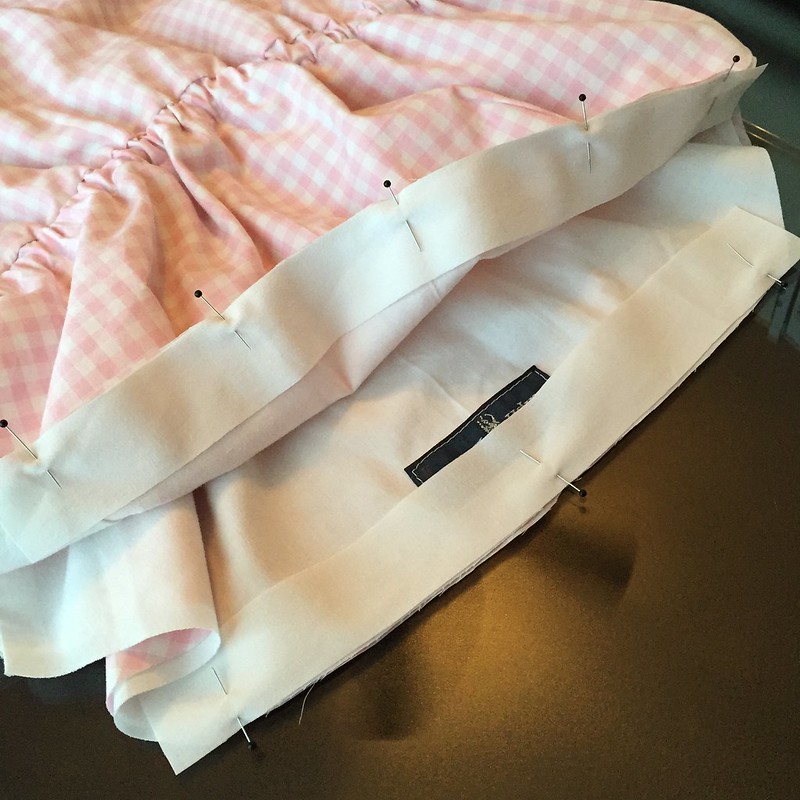
The next step was to attach the skirt to the bodice. So I inserted the skirt lining into the bodice with right sides of the lining facing, then the gingham skirt went on the outside, inside-out so its right side was facing the right side of the bodice. I used a zig-zag stitch to minimize fraying.
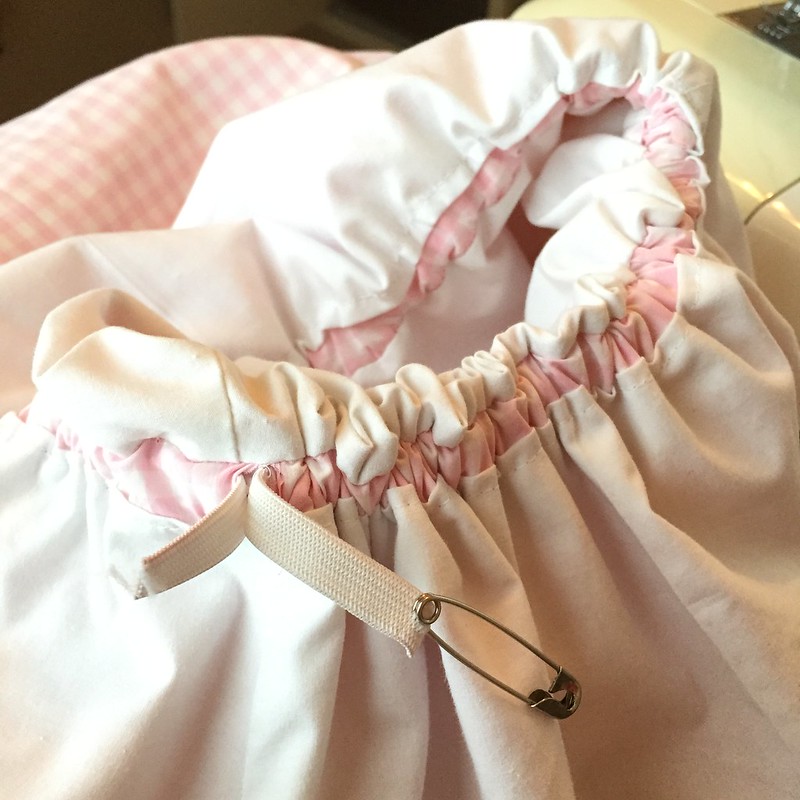
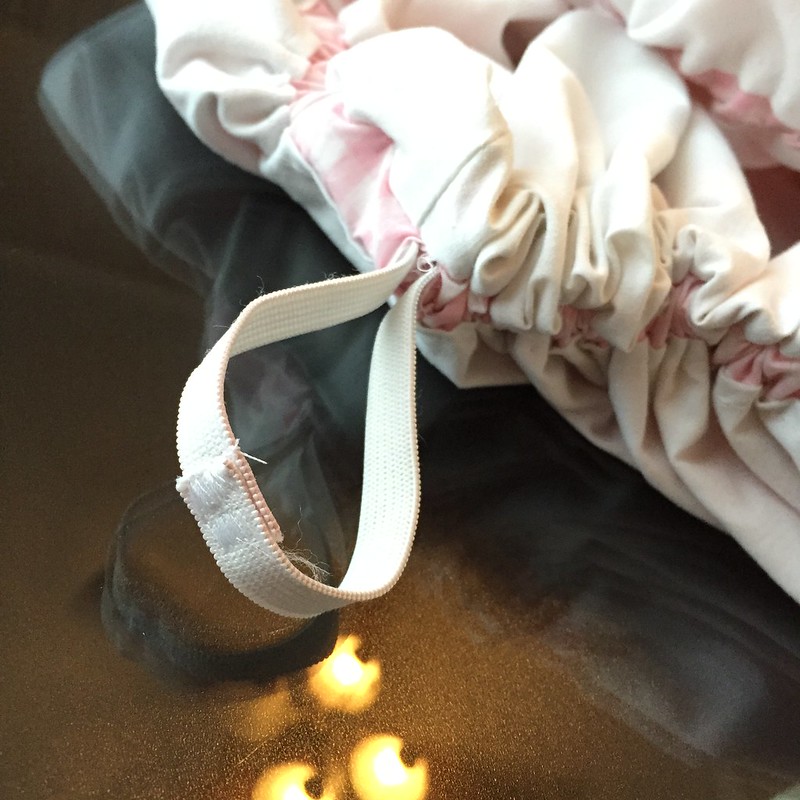
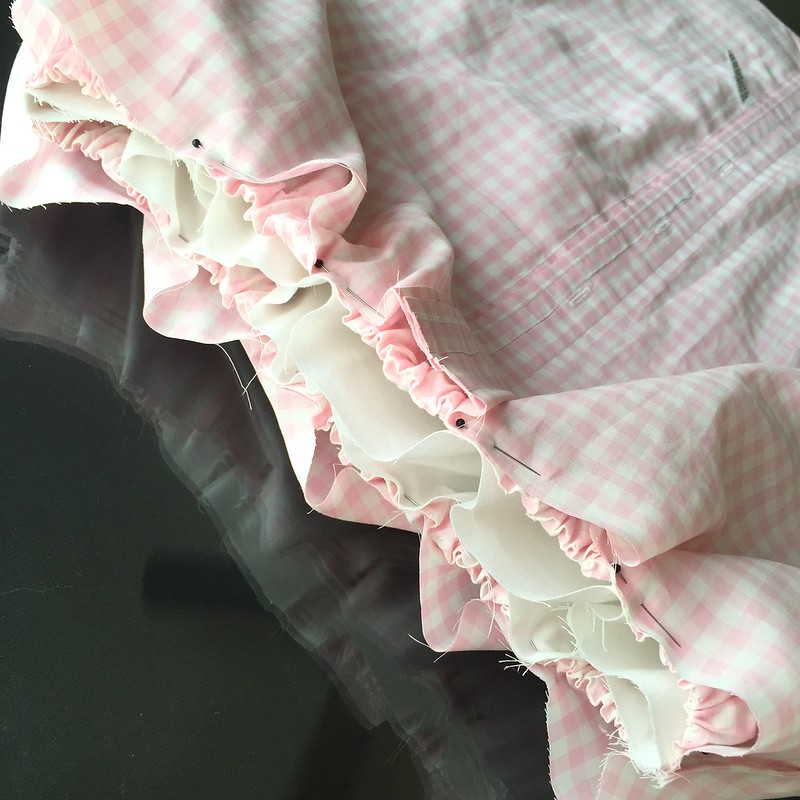
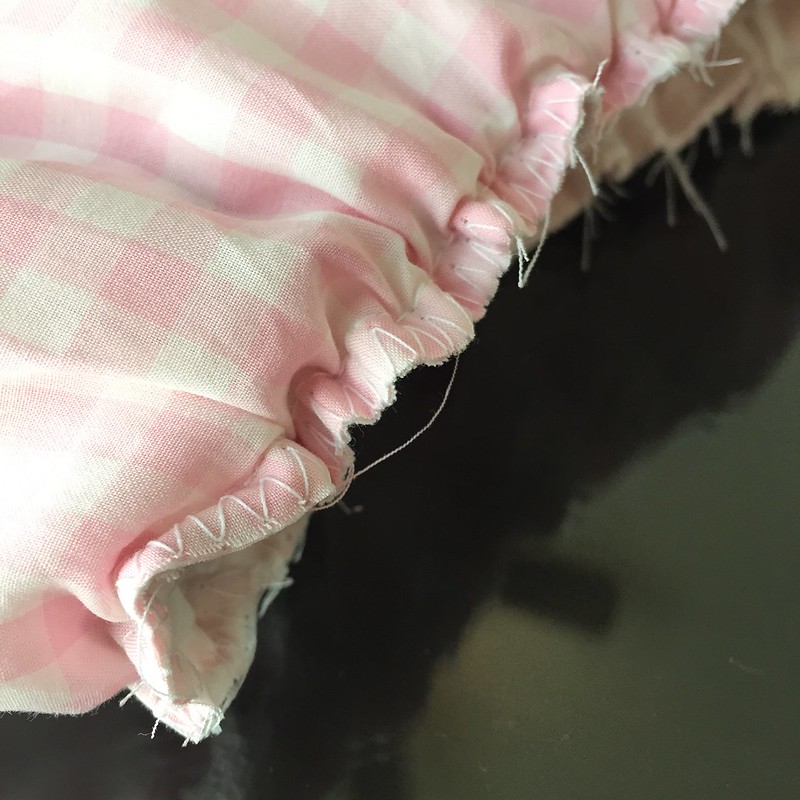
I grabbed a length of elastic to fit my waist - salvaged from another refashion I'm sure - and used a safety pin to feed it through my waistband (original sleeve hem). Some more zig-zags joined the ends securely.
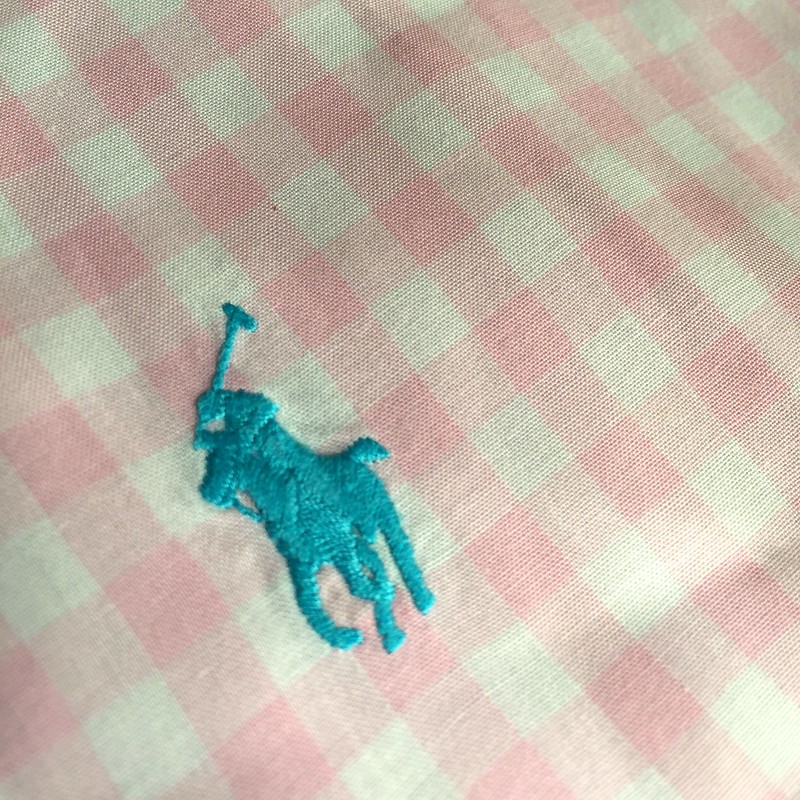
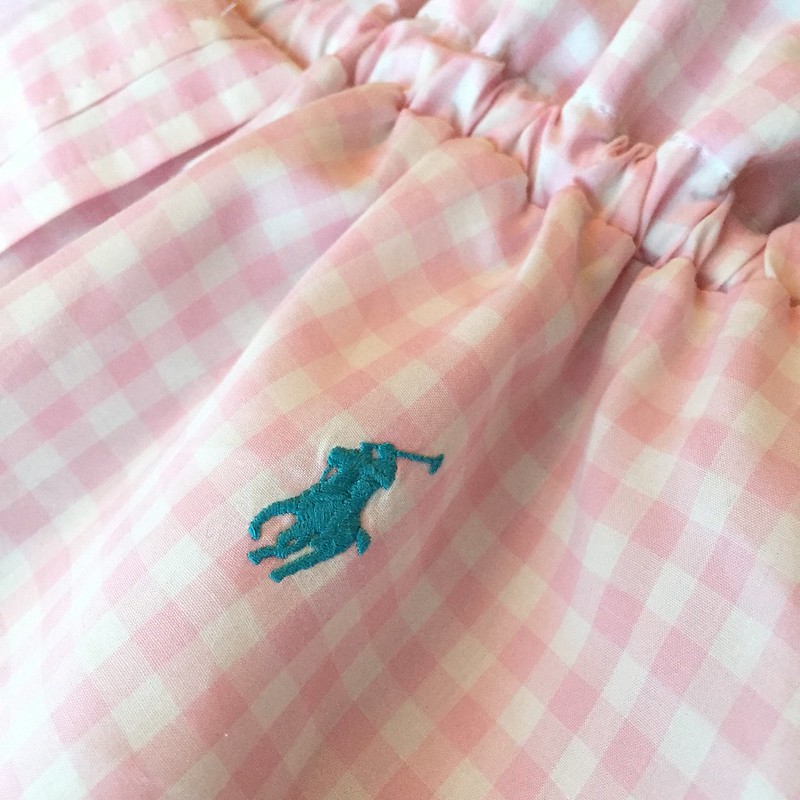
Since I wanted a clean front of my skirt, I had put the old button band in the back. This meant I now had a little turquoise polo player on my bum, which I suppose is better than Xavier Roberts' signature.
To finish out the bodice, I folded the dress in half with side seams together, and I cut a straight line across the back and across the front, just above the bust darts.
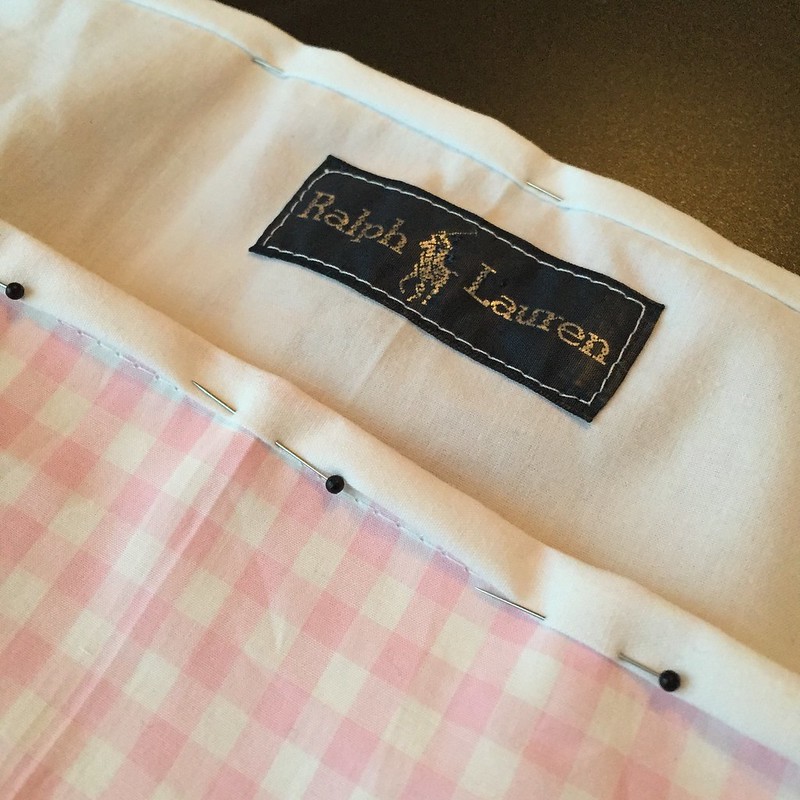
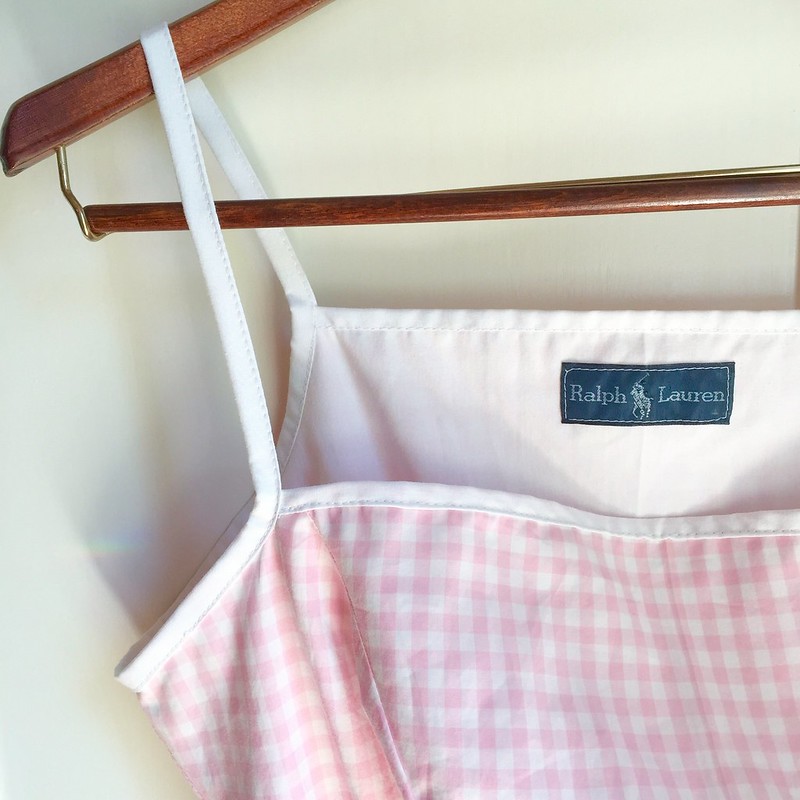
I reattached the Ralph Lauren tag to the upper back of the lining, just for funsies.
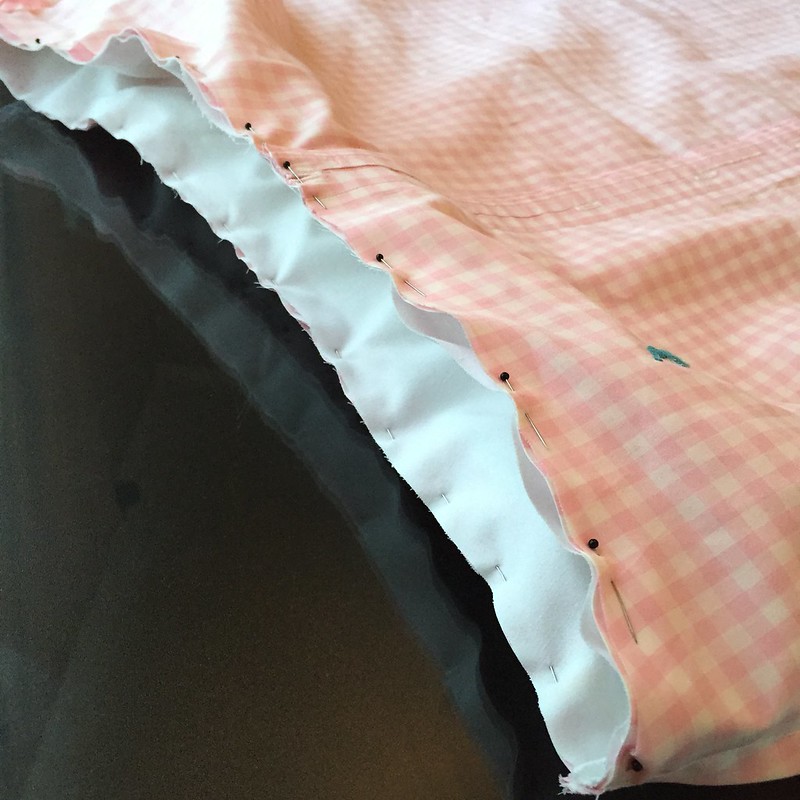
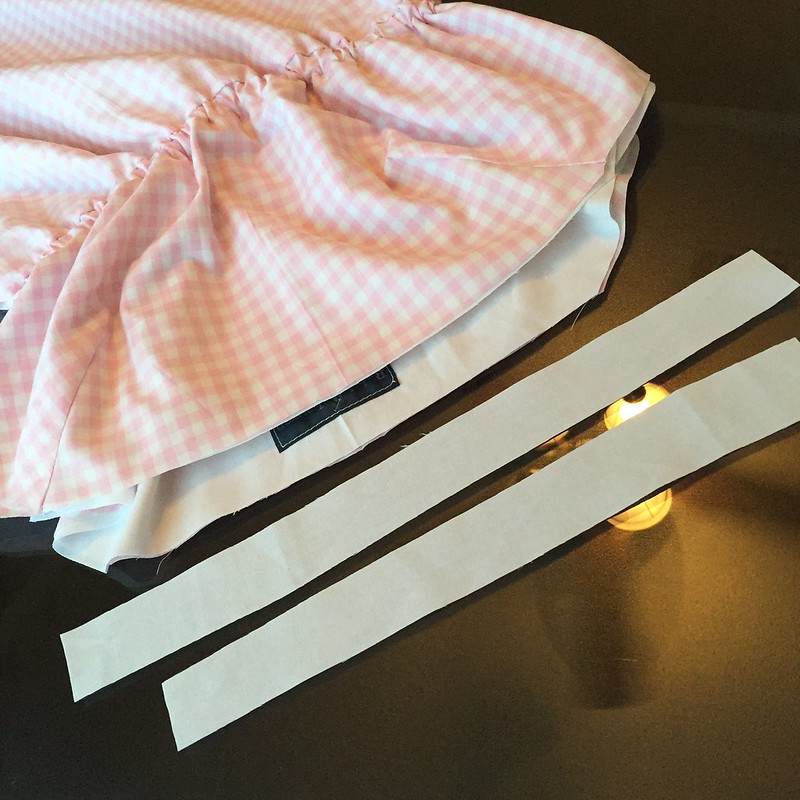
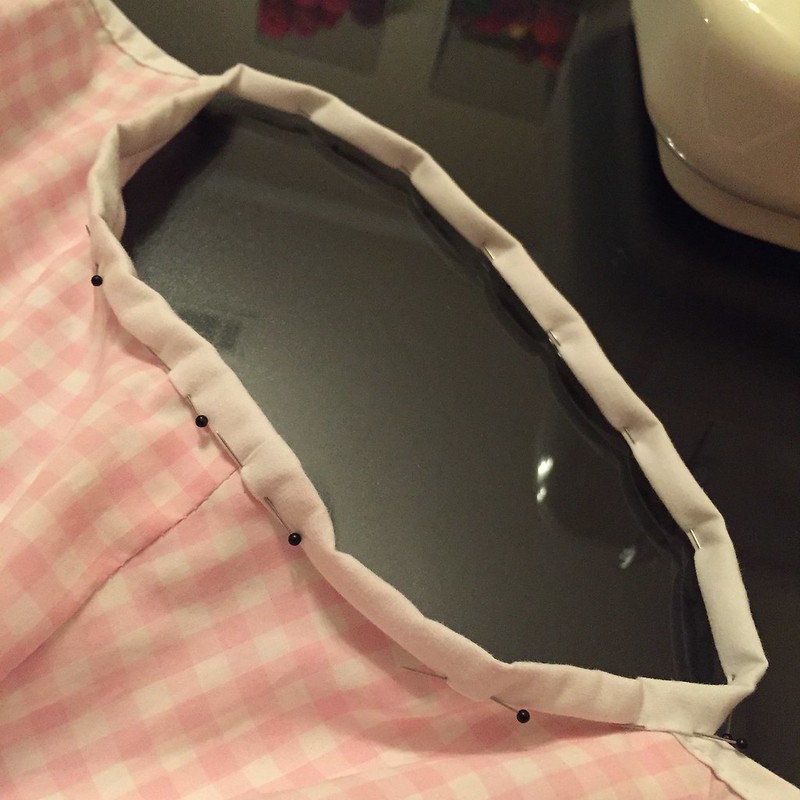
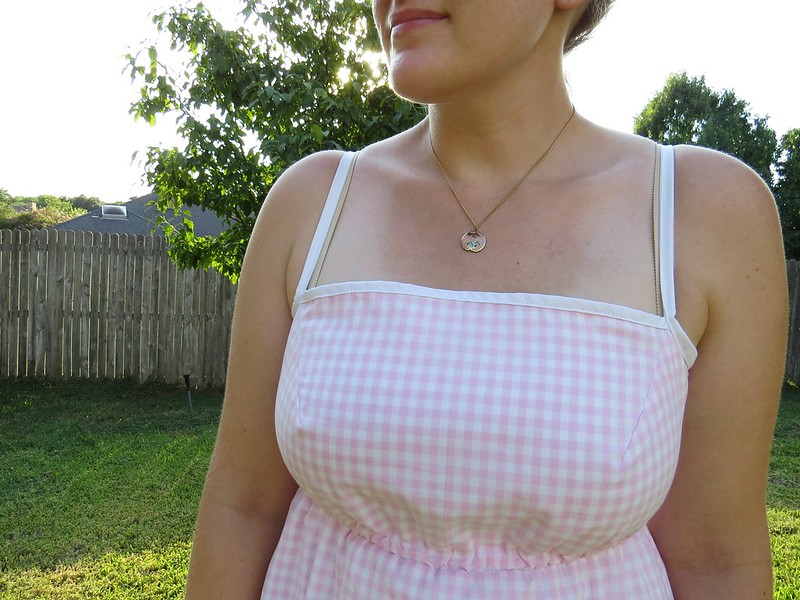
I cut two long rectangles from the white sheet for binding the top edges of the front and back. I pinned and sewed them to the inside edges.
Then they were folded around to the outside, pinned, and top-stitched.

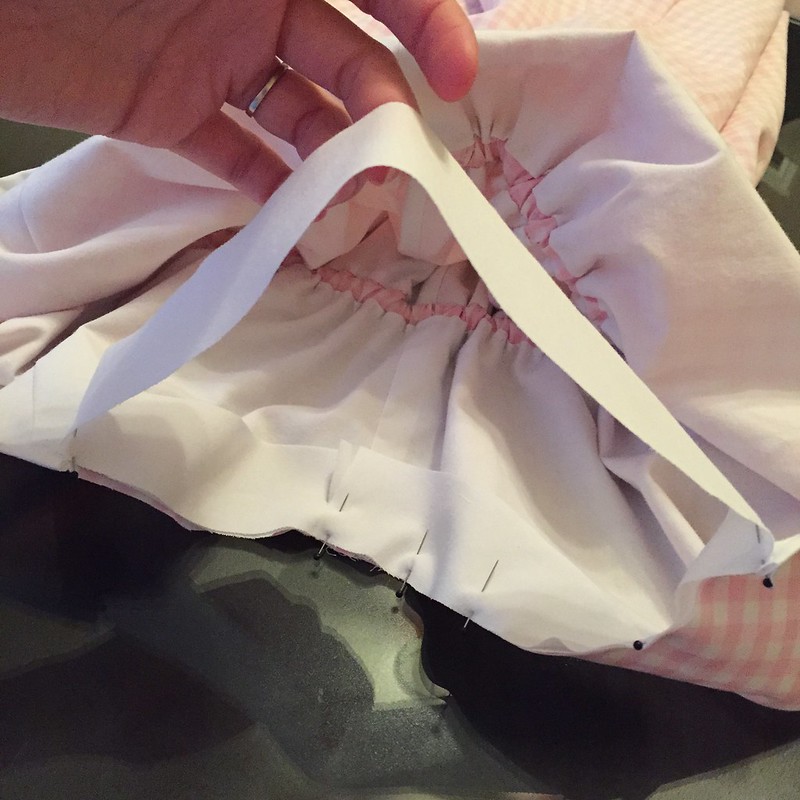
For the armhole edges and the straps, I cut two more, even longer rectangles of white cotton. Again these were attached to the inside edge of the armhole. Then they were folded around and top-stitched around the entire loop of the strap.
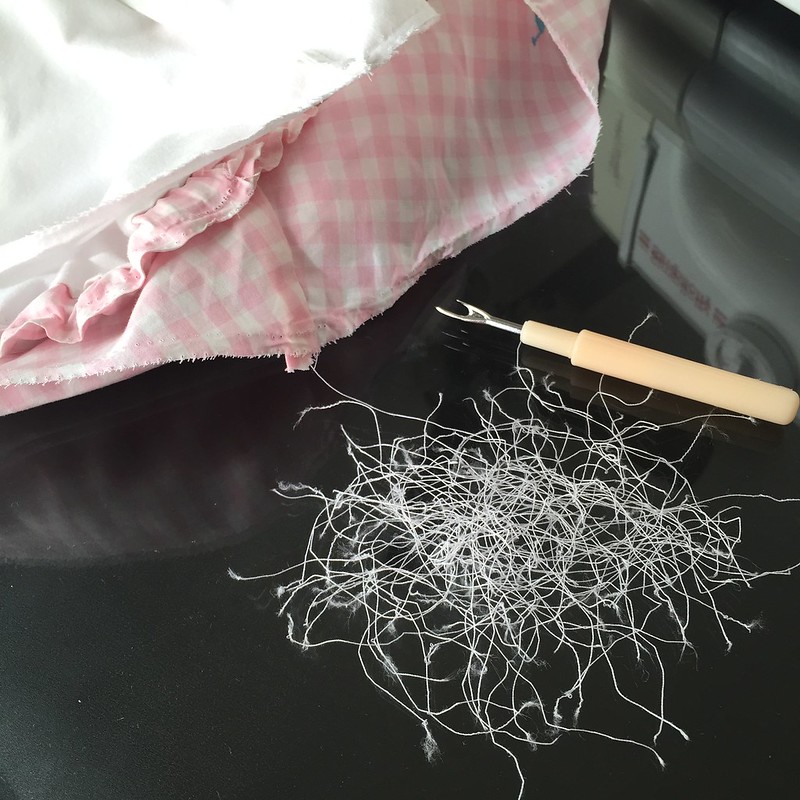
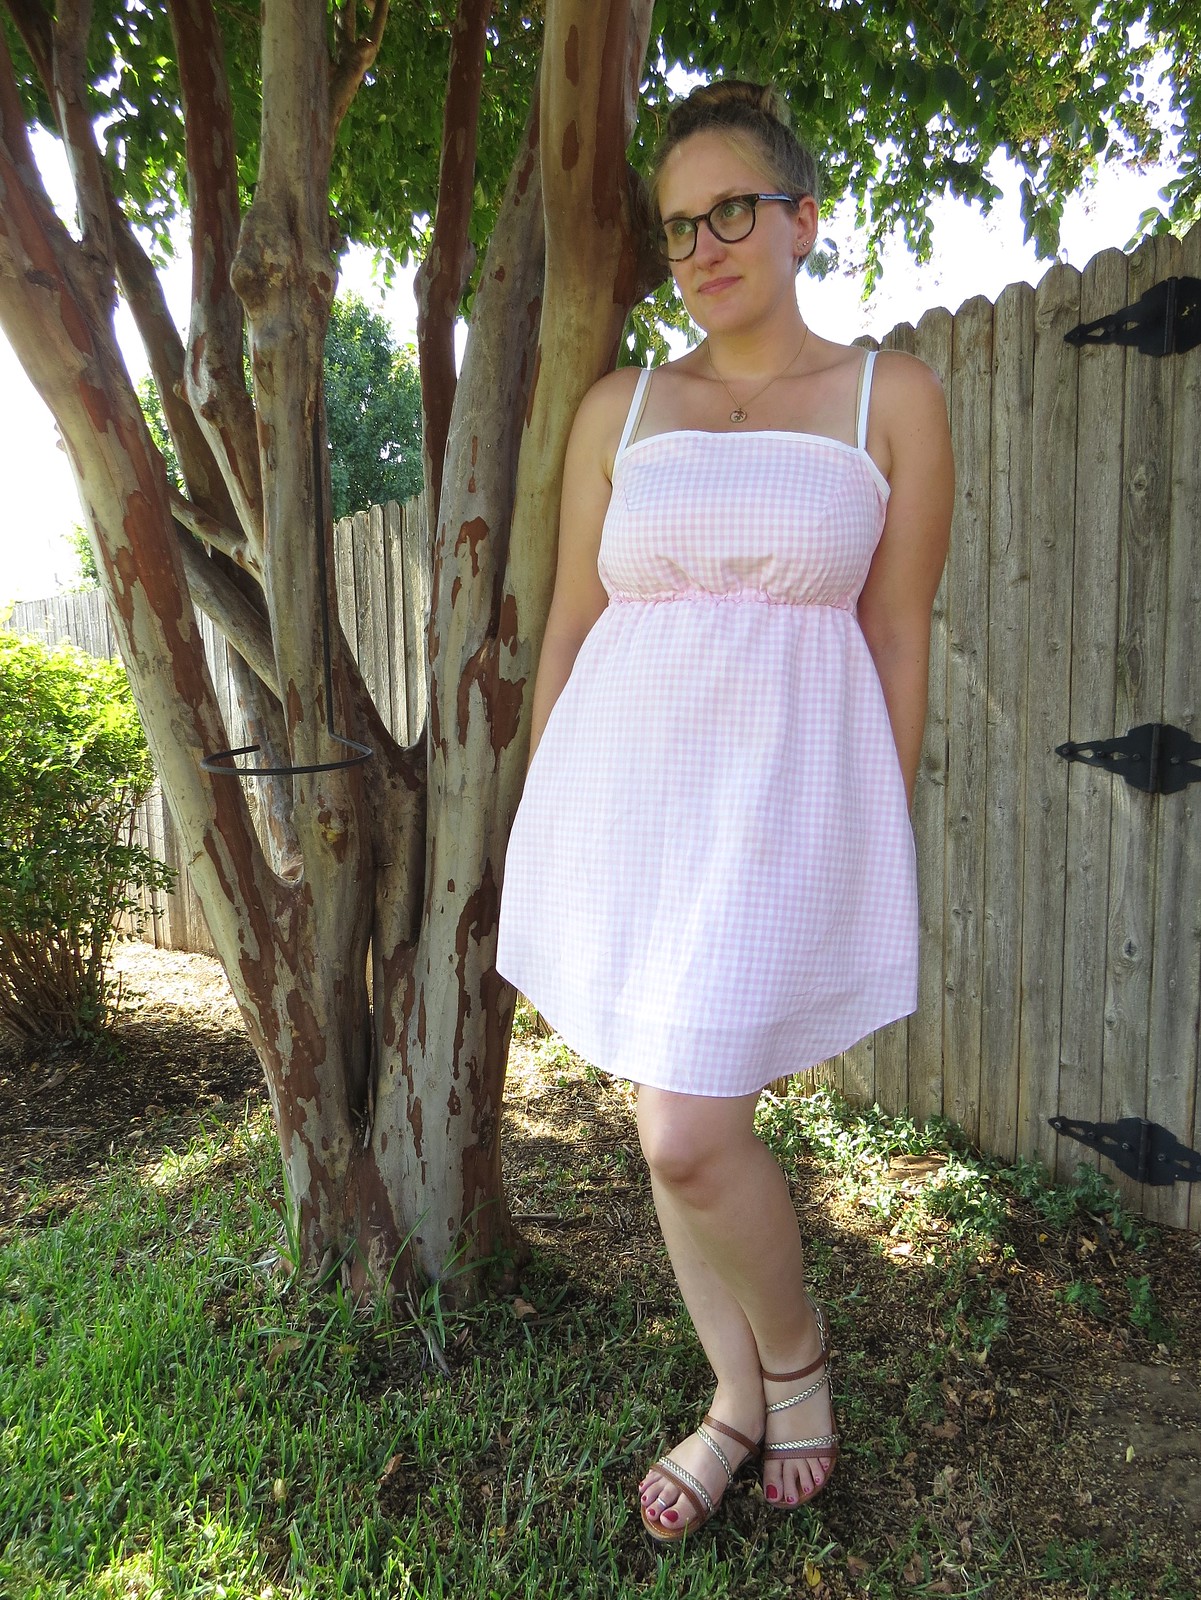
At this point, I thought I was done, but then I tried on my new dress and found it not quite to my liking. The skirt just didn't hang right at the waist, and it was a touch too long as well. I called it a night and slept on it. In the morning, I had decided to re-do the skirt. So I picked out the zig-zags attaching the skirt to the bodice. I picked out the second part of the French seams on each skirt layer, as well as a bit of hem on the lining since I'd done that after the French seams.
I cut a slightly shorter, slightly more flared A-line skirt with a slightly less curved waist line, which also meant ditching the little turquoise polo player. Farewell, Arthur! I hardly knew ye!
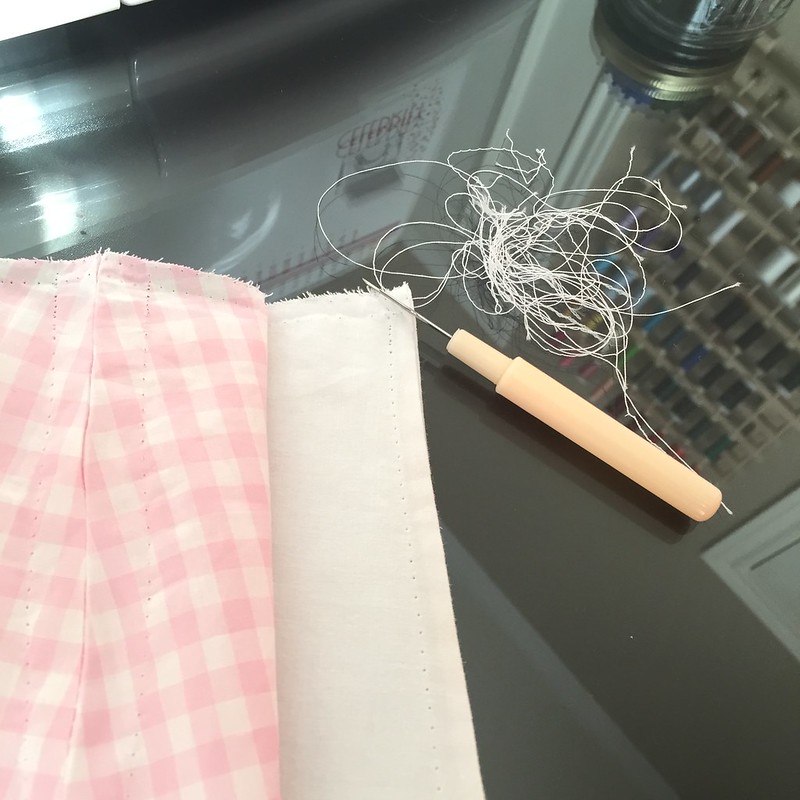
I re-did the French seams and the bit of hem I'd un-done on the lining.
I reattached the skirt to the bodice, which - with the elastic still in its casing - is a special kind of hell, trust me. Not only having to stretch the whole thing as I sewed, but also making sure the elastic was out of the way inside its pocket so I didn't accidentally sew through it. What a pain in the arse!
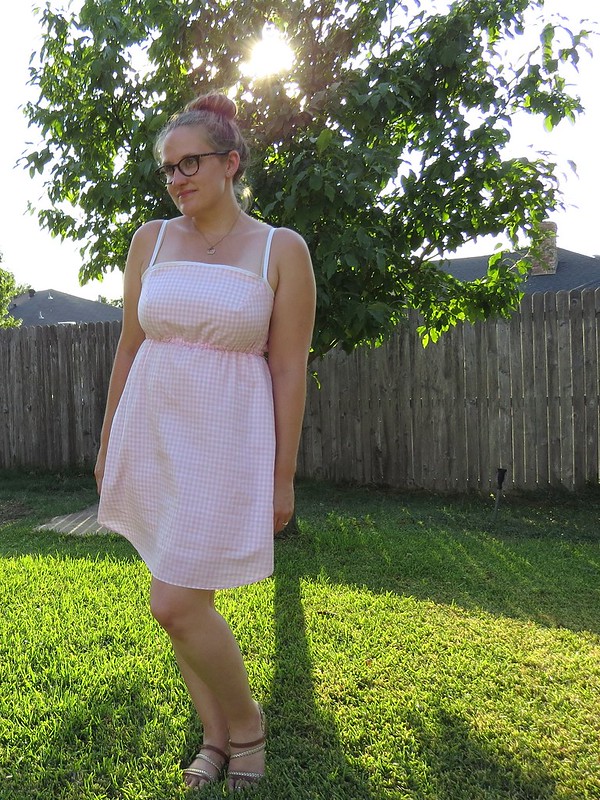
But in the end, I am so glad I re-did the skirt. I think this has just become one of my new favorite refashions ever.

What a hard weekend you had, Carissa ----- but well worth all of that thinking and work ! This sundress is really sweet and perfect for the hot temps of August. The dipped bottom of the dress adds interest. WELL DONE !
ReplyDeleteThanks, Linda! That's what I kept telling myself as I ripped out the skirt - "This WILL be worth it!"
DeleteDefinitely the perfect dress for an August in Dallas! No one would ever suspect it had been a men's shirt in its previous life.
ReplyDeleteIndeed! Since the button band down the back isn't too noticeable, and I cut out the old polo player embroidery, you might never even know!
DeleteWhat a job this turned out to be, but so well executed in the end, You've done both challenges in one re-fashion, beat that anyone!
ReplyDeleteIt did work out well, didn't it? ;) Glad you like it!
DeleteVery cool idea, looks great !
ReplyDeleteThank you, Kathleen!
DeleteWHEW...that was a lot of work. I really hate to UNSEW...it happens just like rain. Great Job Lady. I used to re-attach the maker's label. Now I note on white 1/2" wide ribbon that it is Mine and a Re-Do...and attach mine above theirs....In years past I had my own labels printed. Have to do a re-order but I like them a lot.
ReplyDeleteI've been thinking about getting some of my own labels printed. Where did you have yours done?
DeleteOOPs....Turned out very cute.
ReplyDeleteYou are so talented! Thank you so much for the insiration!
ReplyDeleteYou are most welcome, Susie!
Delete