


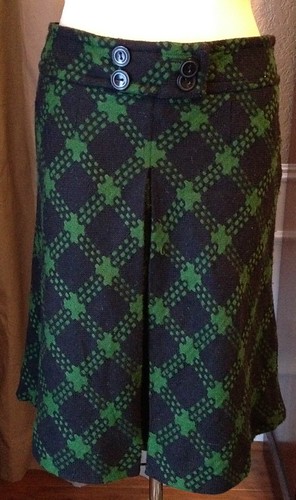
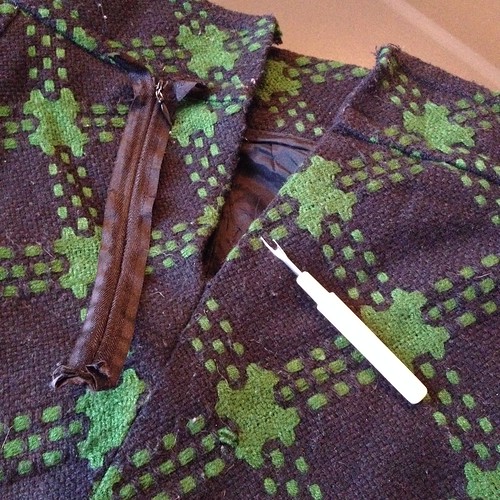
Like all good refashions, this one starting with salvaging the zipper and hook and eye from the skirt, which won't be used today.
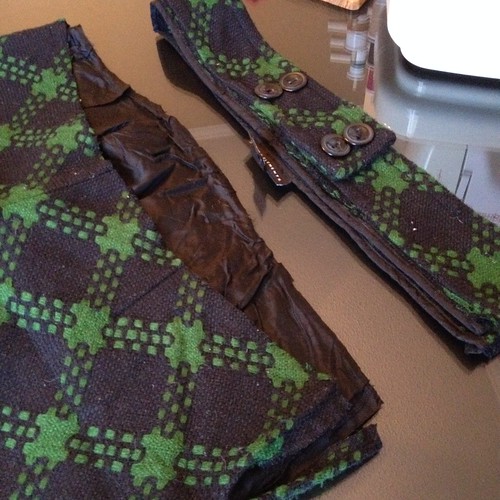
Then I cut off the waistband...
...and cut straight up the center back of the skirt and its lining. This is going to be the center front of the coat, with the pleat in the back.
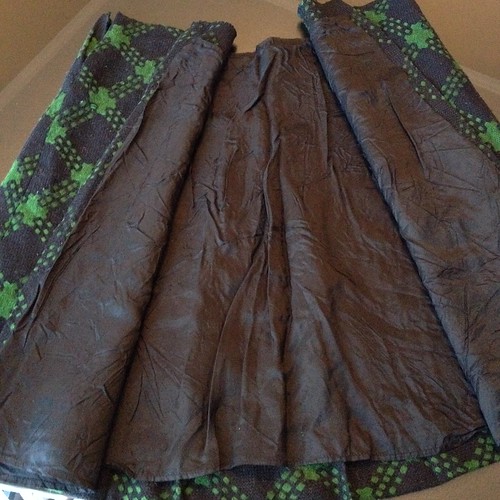
I also stitched up the side seam where the zipper had been.
Next, I turned my attention to the blazer. I folded up the lapels and marked with pins where I wanted to cut.
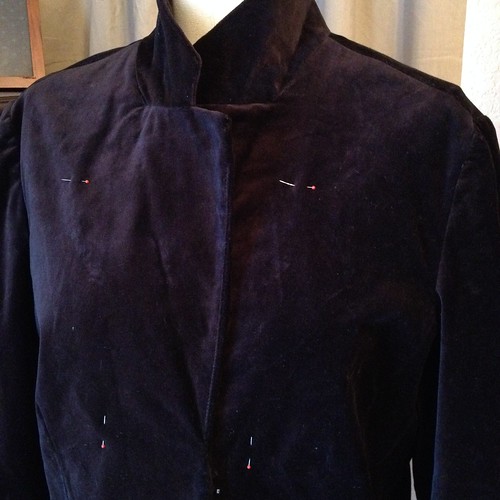
Then, not surprisingly, I cut.

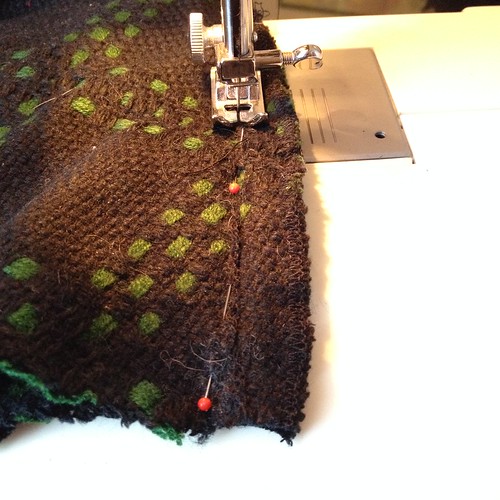
I joined the plaid skirt to the velvet yoke and the skirt lining to the blazer lining, each with right sides facing.

After the top edge of the skirt was attached to the yoke, I pinned the plaid fabric to the front edge of the jacket. Then I top-stitched up one front edge, around the yoke where the fabrics had already been joined, then down the other front edge.

Then I flipped the lining upward and around so it and the outer fabric were right-sides-facing now. Then I stitched the lining to the two front edges of what will be the button band. I did not bother joining the lining to the outer fabric around the bottom hem of the coat. That made it easier to turn the whole thing inside out when needed.

Next, I made three buttonholes on one front edge...
...and sewed three buttons to the other front edge.
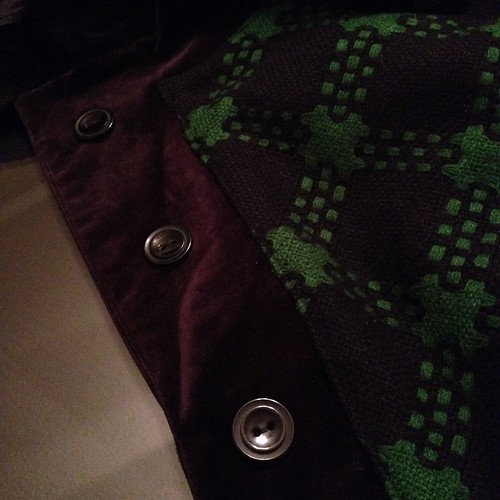
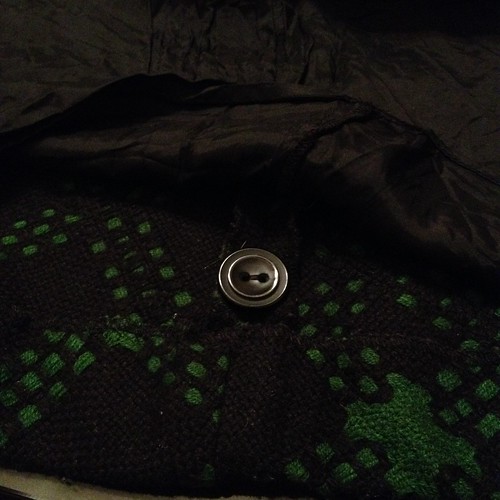
The fourth button left over from the skirt's waistband was stitched to the inside of the coat, just in case I ever lose one of the outer three buttons.
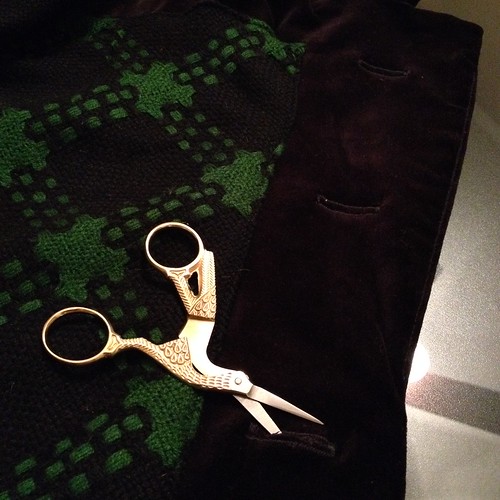
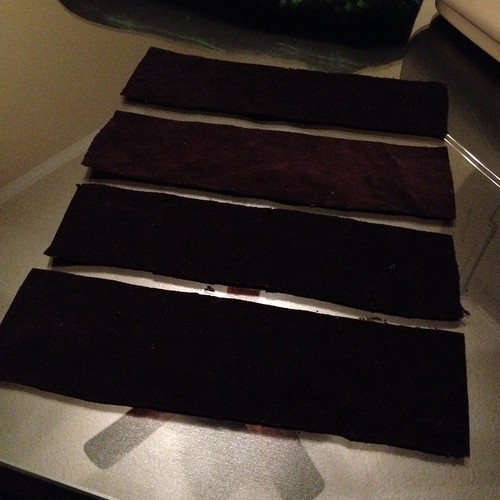
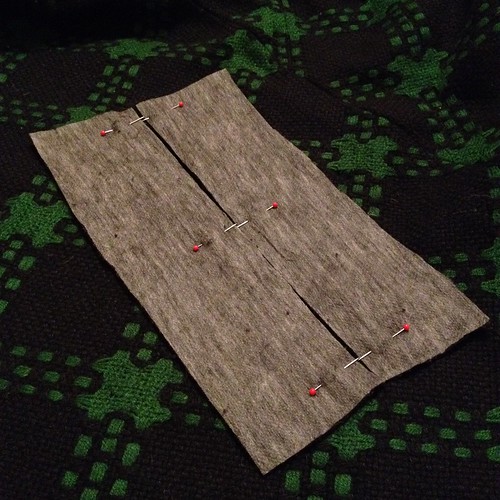
Now my cape coat needed armholes. From the remnants of the velvet blazer, I cut four rectangles, about 9 inches long and 2.5 inches wide.
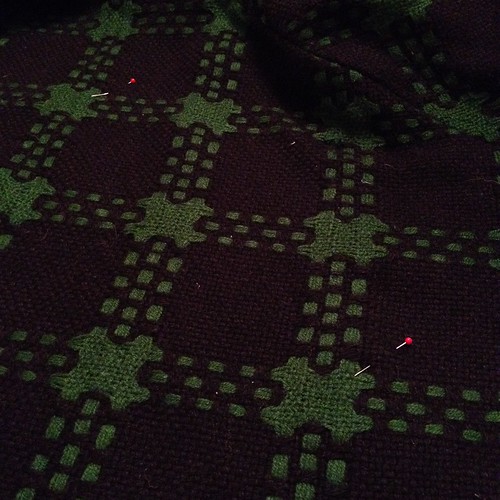
I marked where I wanted my armholes, pinning through both the outer fabric and the lining.
I placed two of the velvet rectangles (which had interfacing since they had been the front panels of the blazer - bonus!) along the future armhole edges.
Once the rectangles were sewn down, I carefully cut up the center between them.
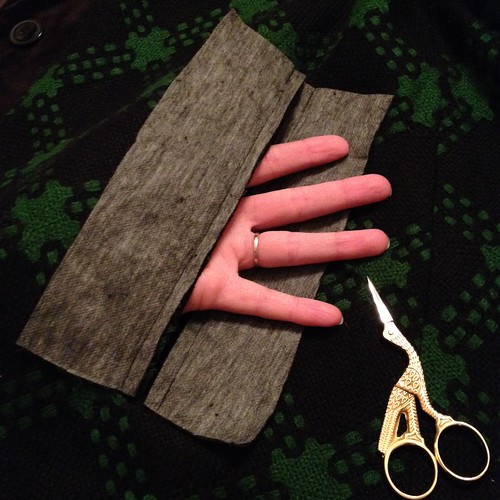
Then each rectangle was folded around the cut edge as a binding. This part was a little fiddly since I wanted one binding to lay on top of the other to help keep out the cold.
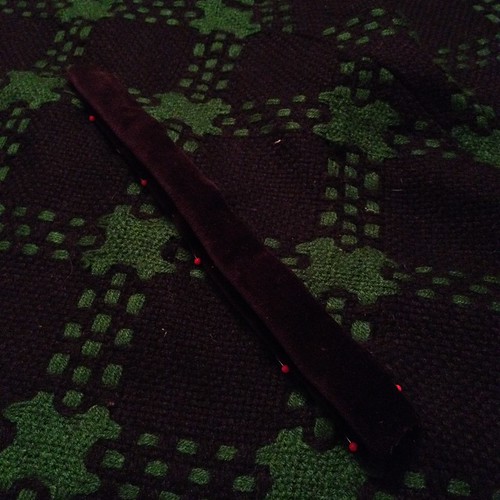
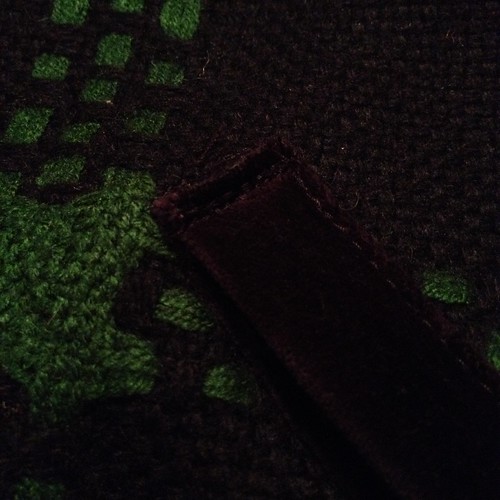
I top-stitched down the length of each binding, then I sewed back and forth across the top and bottom ends, through all the binding layers at once, for extra stability.
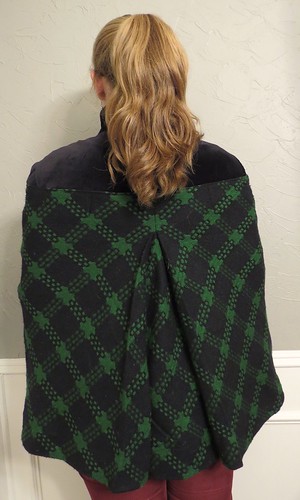
Once I tried it on, it became obvious that though the skirt had a giant pleat, the lining was much smaller and did not allow for full expansion of the pleat. I could barely move my arms. So I cut the lining from the back of the old blazer and hemmed the bottom edge.

Then I cut straight up the center back of the coat, where the pleat was.
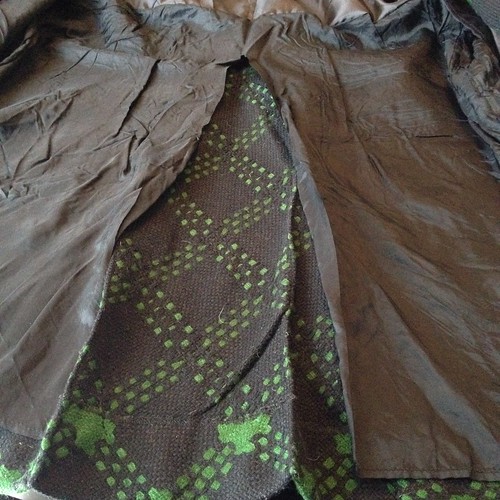
Finally I inserted the extra lining piece, echoing the pleat in the outer fabric.

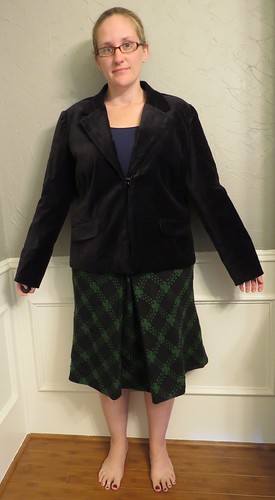
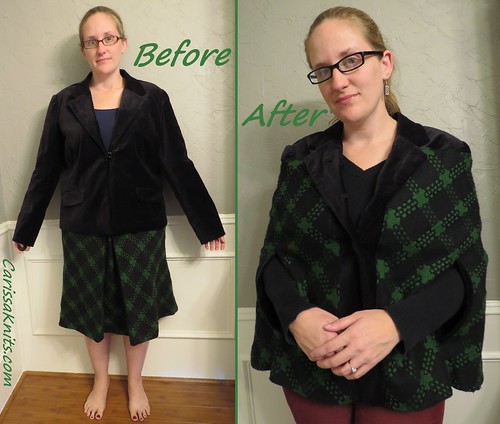
And we're done! I can just button the bottom button and fold down the lapels.

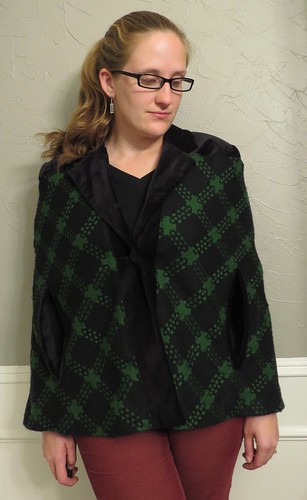
Or I can button it all the way up when it's older outside.
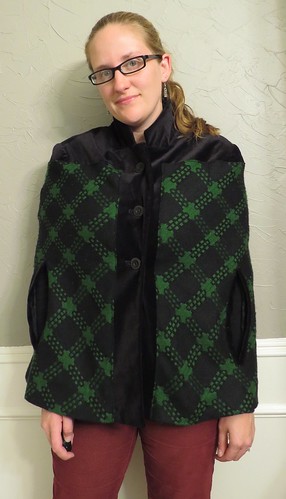
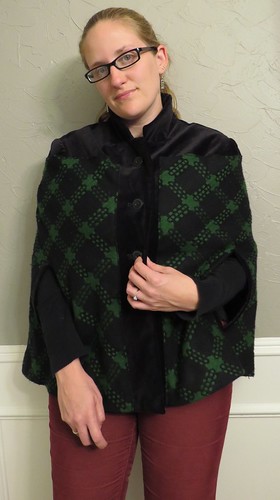
I really love how it turned out and can't wait to wear it out (when these 75F/24C days go away again, that is).


Fantastic!
ReplyDeleteThe plaid is perfect for this cape/coat and the process is very interesting to be able to watch. You do have great Vision!
ReplyDeleteDefinitely better as a cape than a skirt!
DeleteHi Carissa!
ReplyDeleteAwesome refashion!
I just LOVE what you did!
Kisses from Portugal!
Obrigada, Helena!
DeleteNice job ! congratulations
ReplyDeleteMerci!
DeleteThis is stunning! Thanks for the idea!
ReplyDeleteYou are most welcome :)
DeleteAmazing transformation! I have been studying a men's wool blazer for two years trying to decide how I want to go about turning it into a cape. :o) I think I'm leaning towards the flip it upside-down method, but we'll see...
ReplyDeleteJJ
www.dressupnotdown.blogspot.com
I have a couple blazers I was thinking of turning into capes as well, but the sleeves are slightly curved at the elbows, so that may not work as well. I'm sure I'll find some use for them though!
Delete