


I sort of suspected my sewing muscles would be super sore after that 5-week rigorous refashion regimen, and they were, but surprisingly, not as much as I thought they'd be. My machine and I only needed a couple days apart before we pined for each other's company again. Of course, I had The Refashioners community challenge and Portia's "jeanius" theme to encourage a speedy recovery. After all, I am a Texan. I may hate beans and fried things, but I do love me some denim. Hopefully, I'll have time to complete a few different ideas I have floating around in my head before the September 30 deadline.
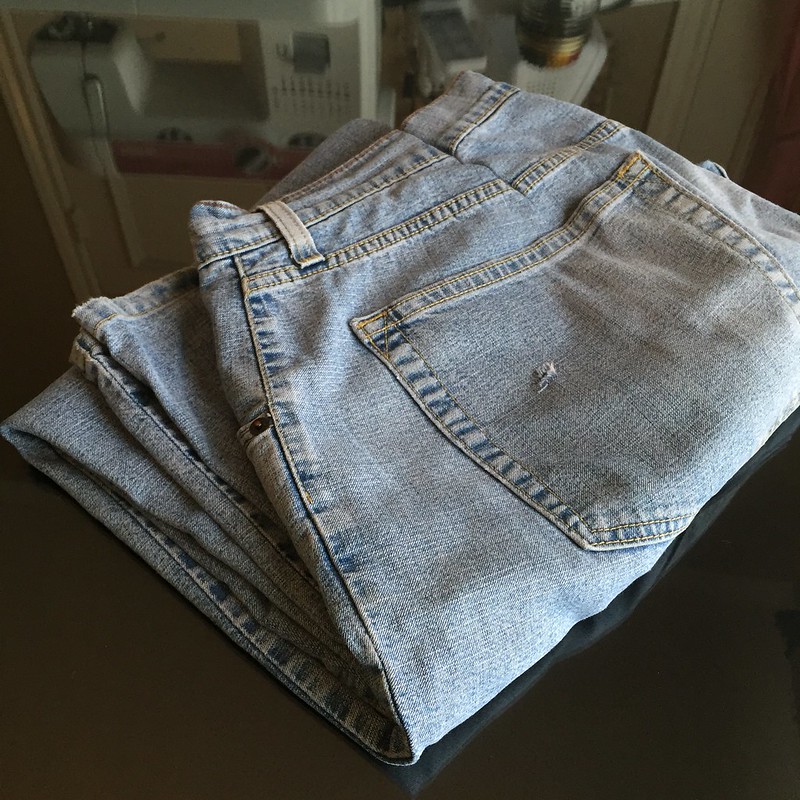
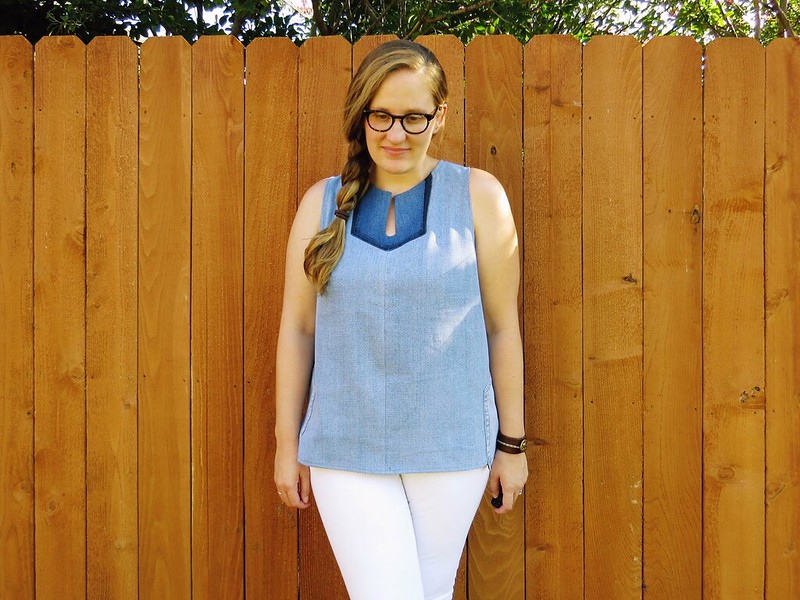
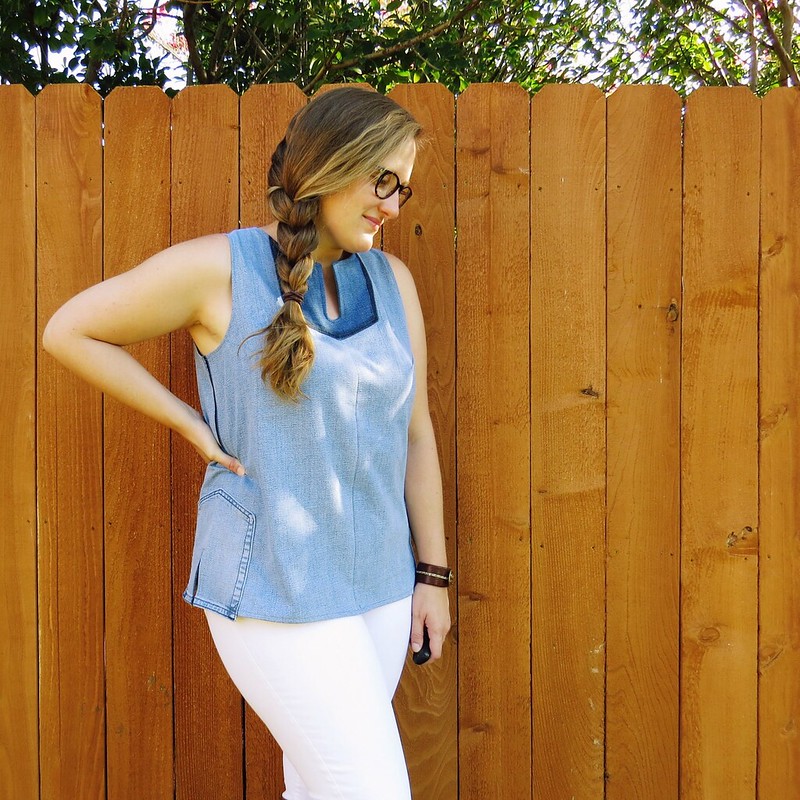
First up was another tunic. I must admit, that Refashion Runway challenge showed me the light and I am now a total tunic convert! This tunic began with a pair of jeans a friend gave me when they got too big for her. You can see where I added a couple darts for her as she began to lose weight, but soon darts were not enough and she graciously gave them to me for refashioning.
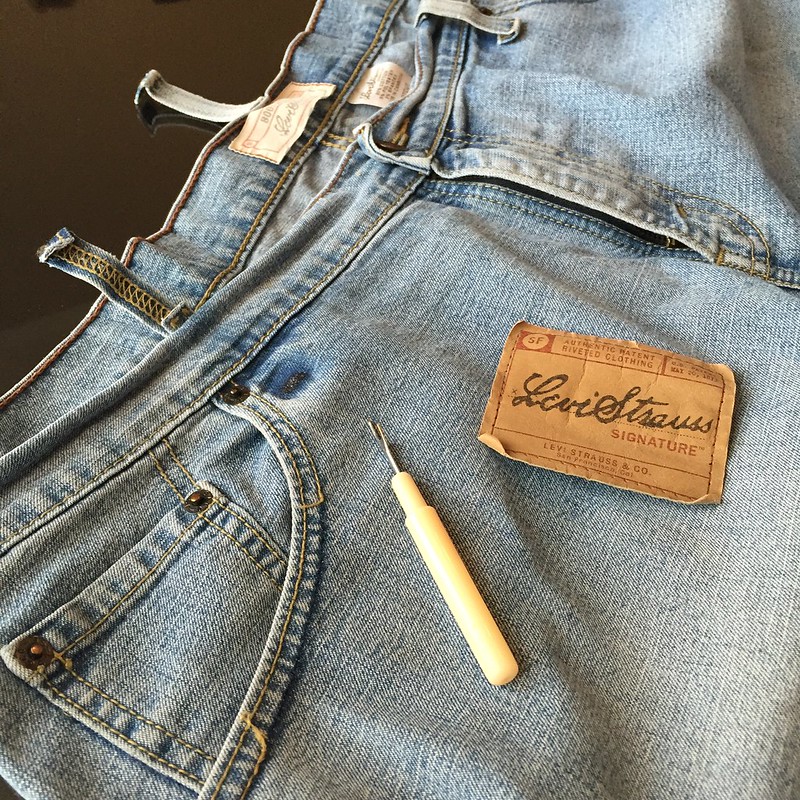
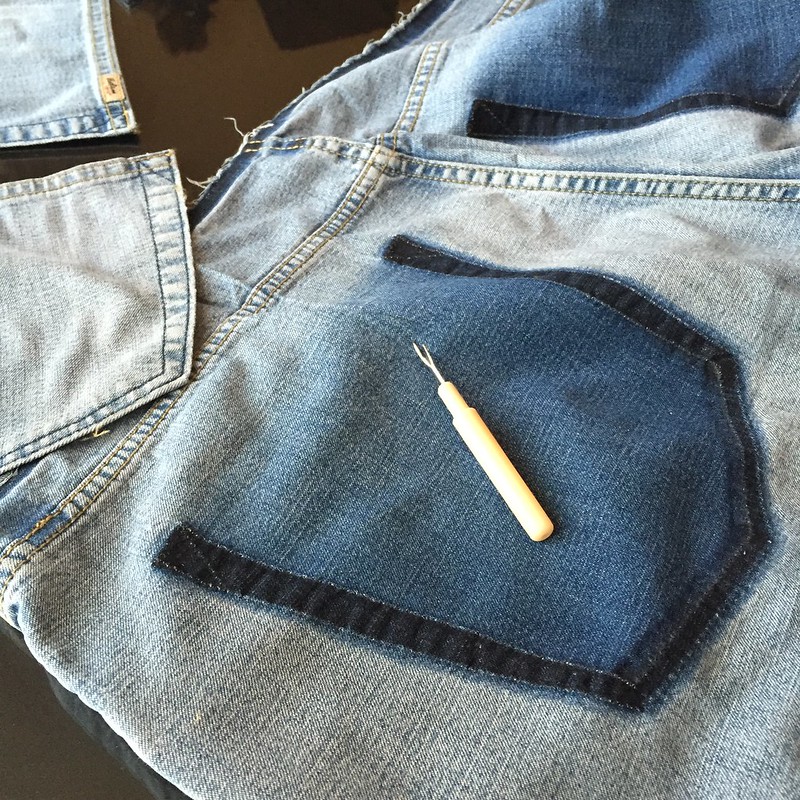
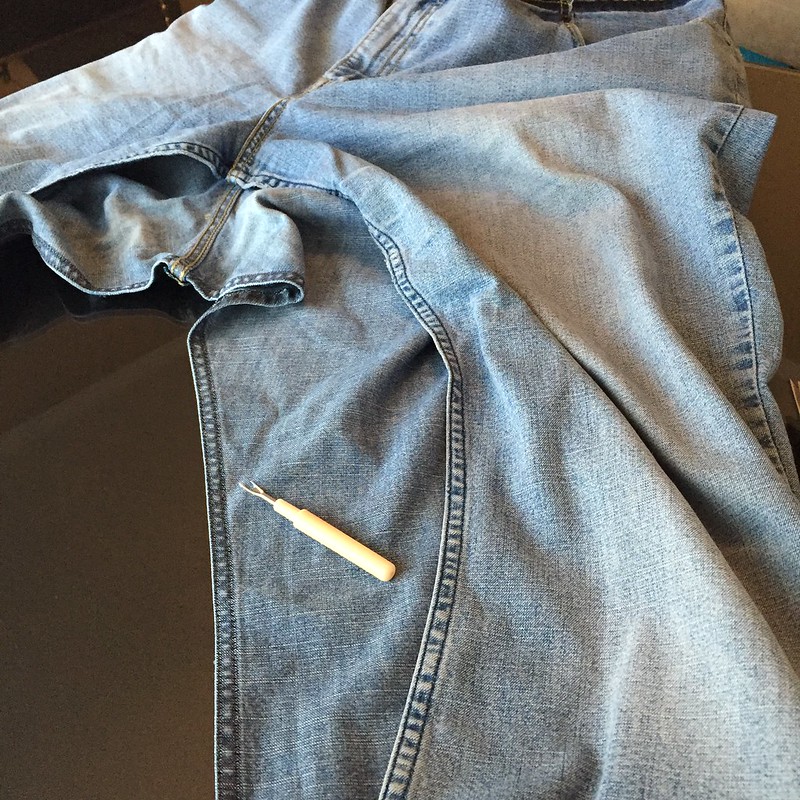
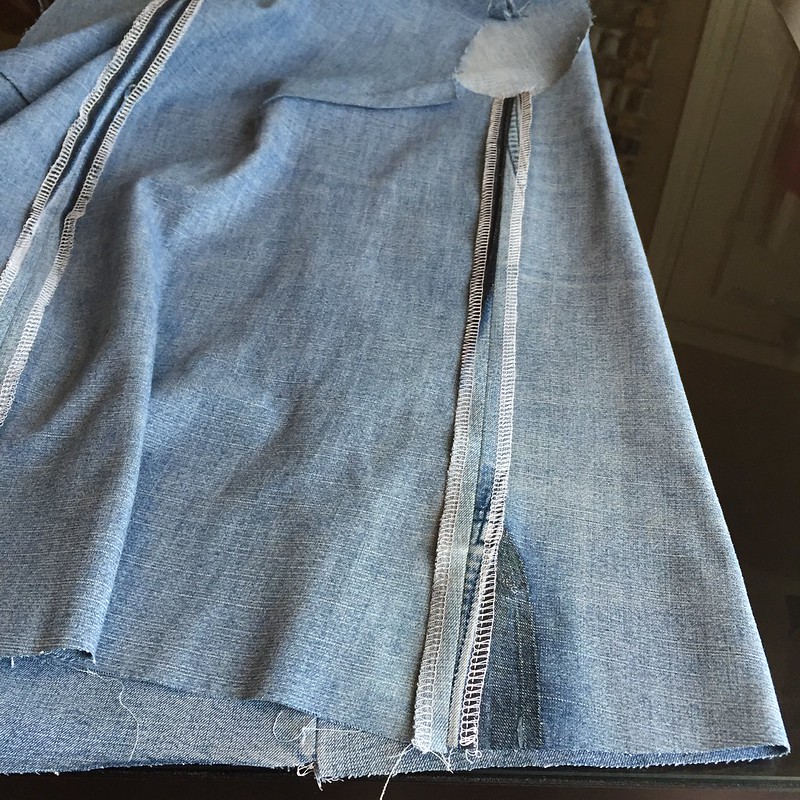
I began by picking out those darts, as well as the belt loops and Levi's label. Then the entire waistband was removed, and the back pockets too. I knew immediately when I saw that gorgeous ombre denim underneath that I had to find a way to incorporate it into my final garment somehow.
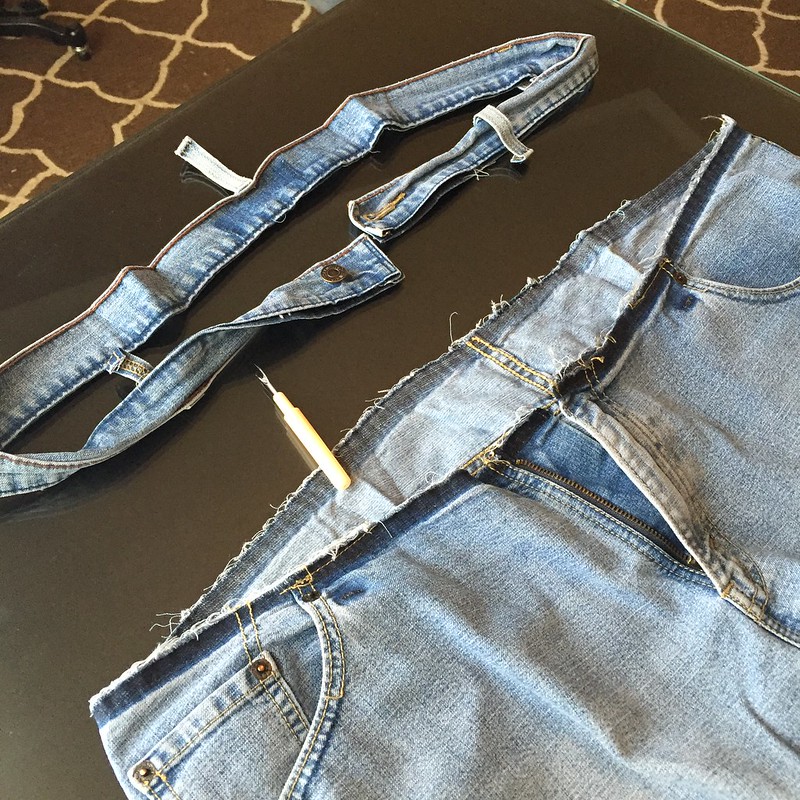
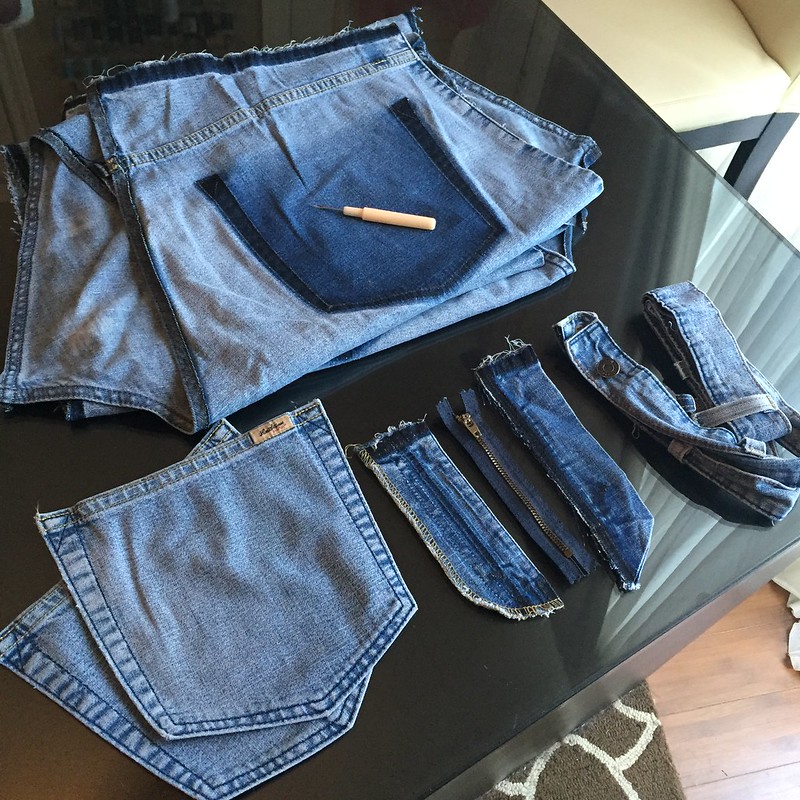
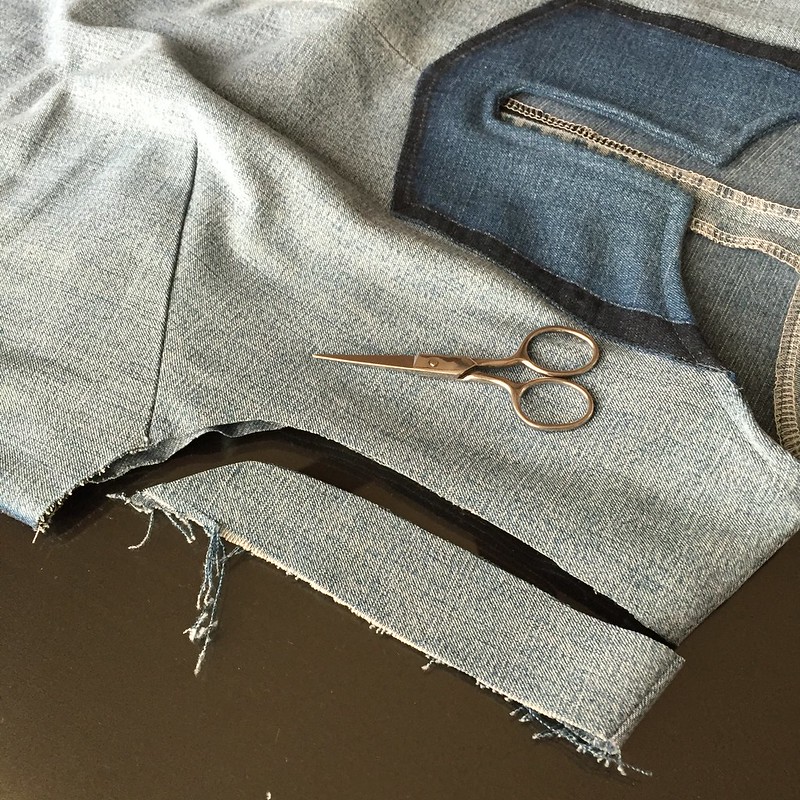
Then I picked out the inseam to open up the legs. And I just kept picking out seams - which was quite tedious and not at all worth photographing - until I had them almost entirely disassembled - four leg panels, two back pockets, two zipper facings, one zipper, and the waistband.
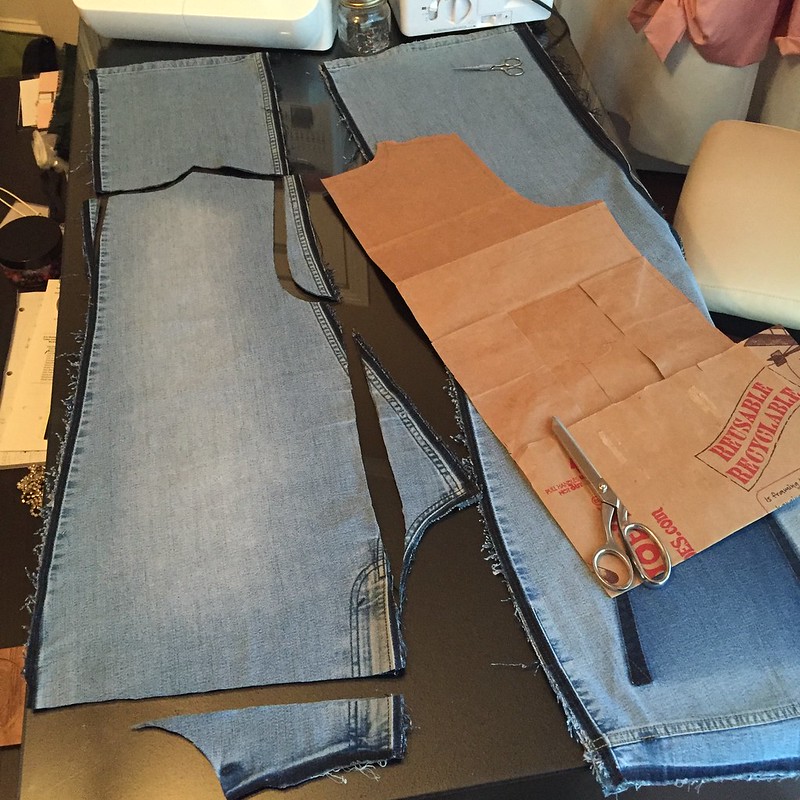
I pressed out all the seam folds and used my self-drafted tunic pattern to cut my front panels from the fronts of the legs and my back panels from the backs of the legs.
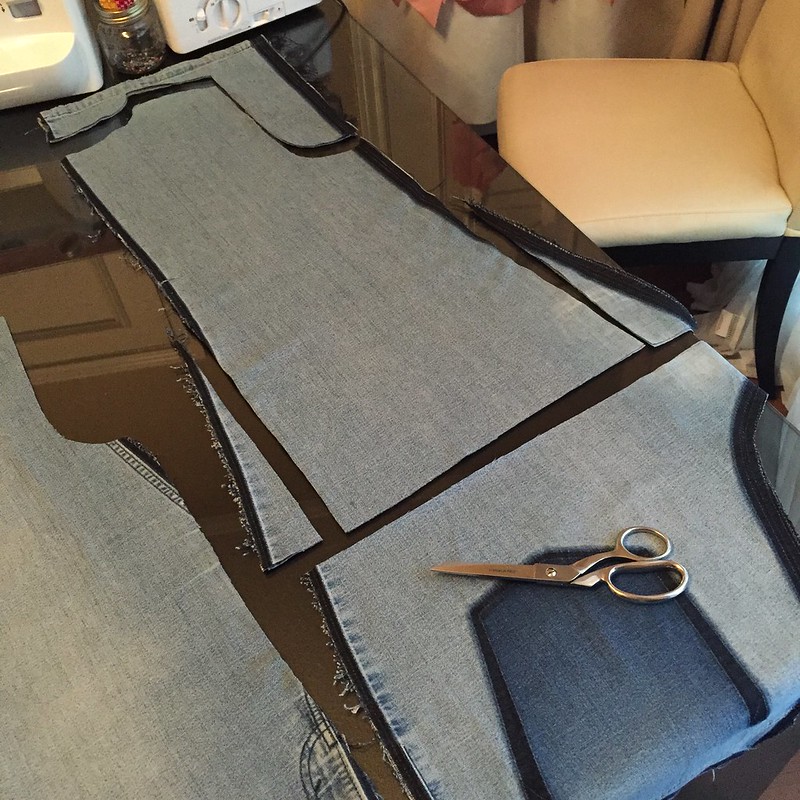
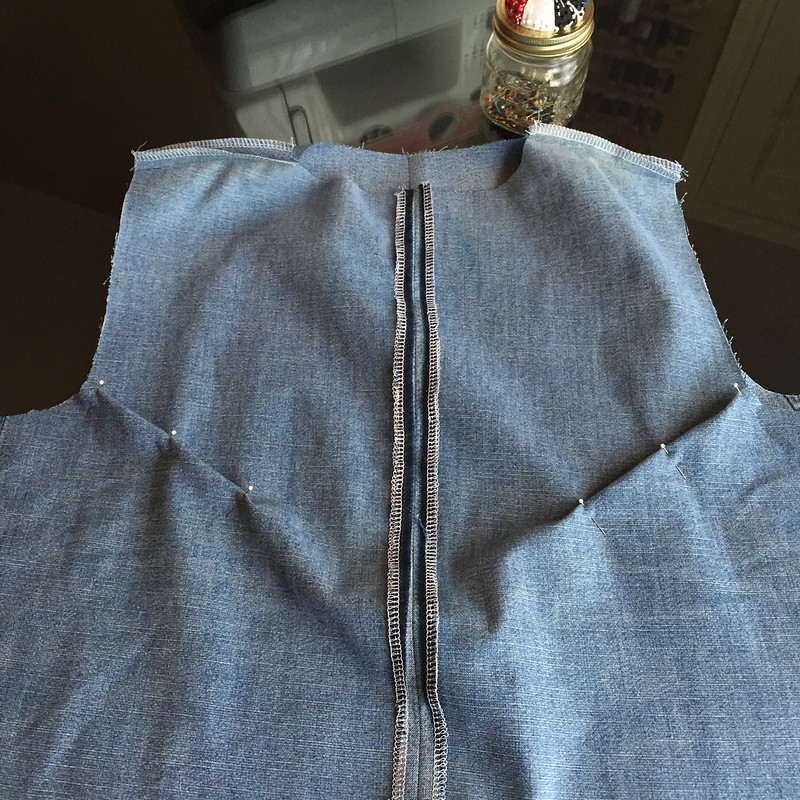
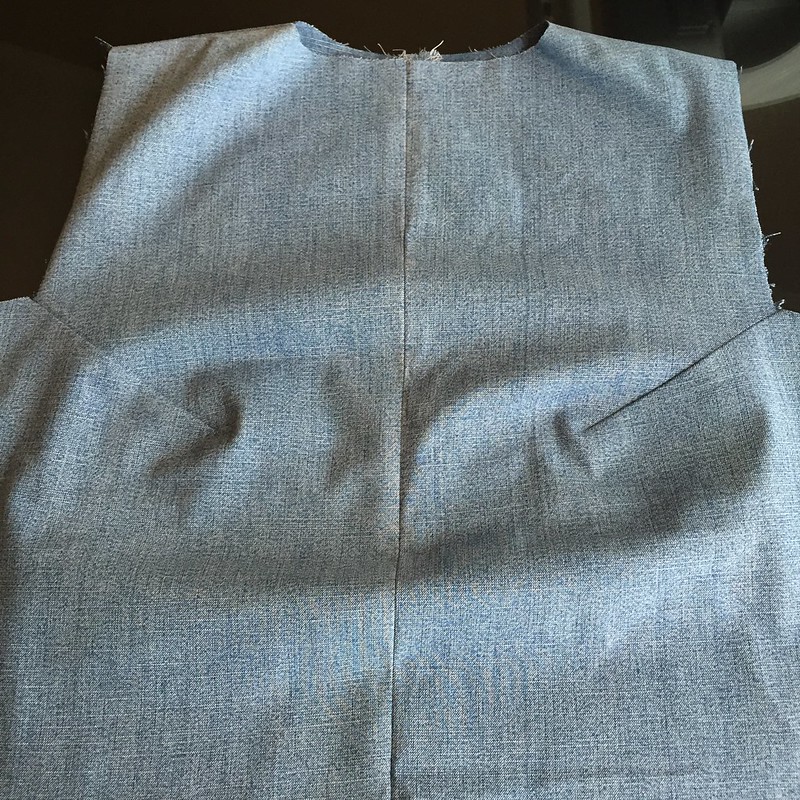
The two sides of the front and the two sides of the back were each serged, seamed, and pressed. Then the shoulder seams got the same treatment.
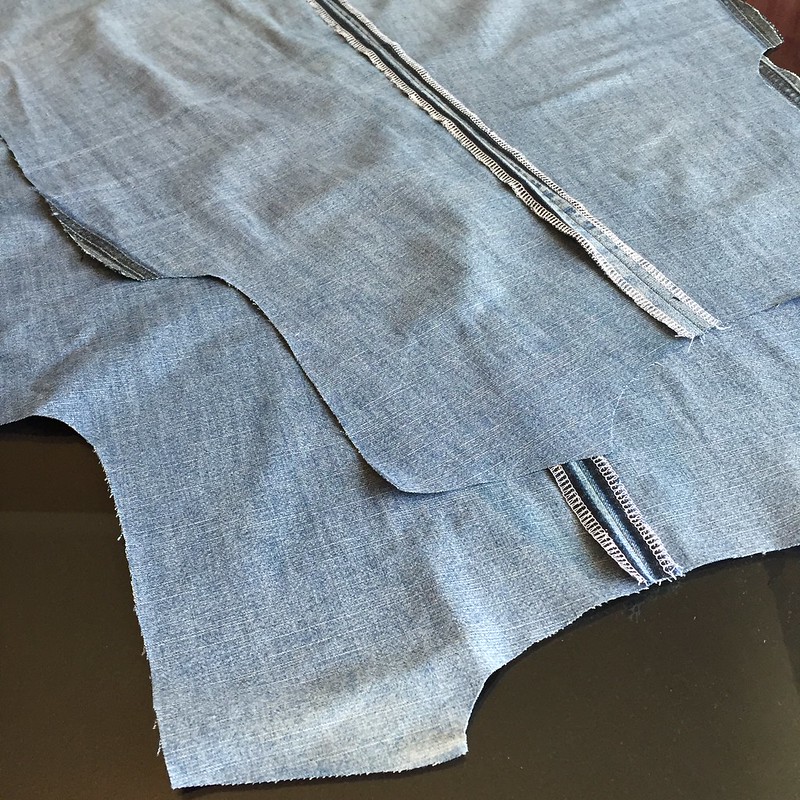
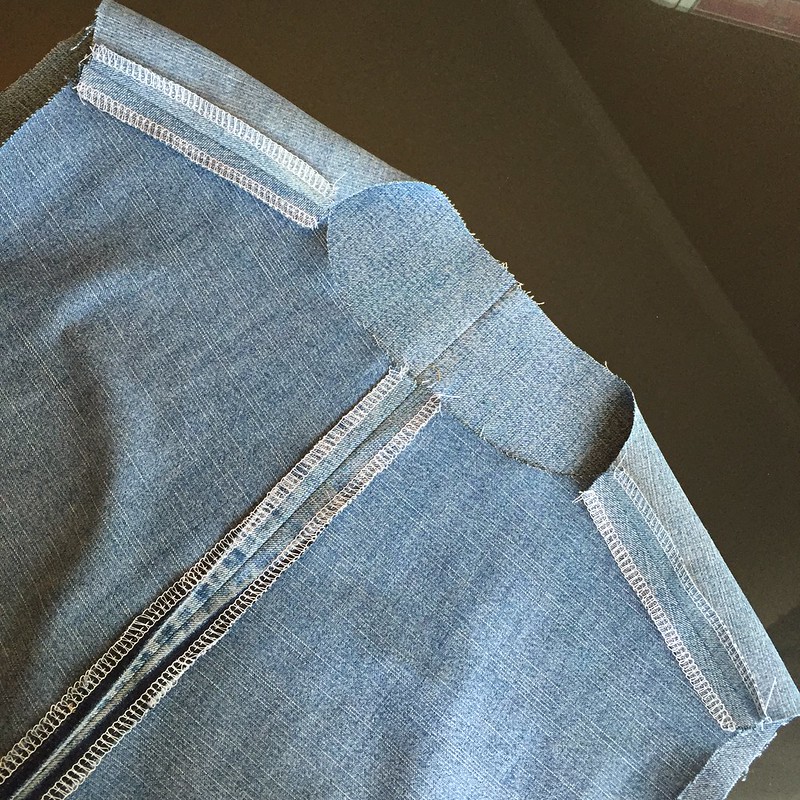
I decided to make my bust darts come in from the armhole edges this time instead of the side seams, so as to keep the front and back side seams the same length, unlike my previous tunic. So the next step was to serge, seam, and press those side seams as well.
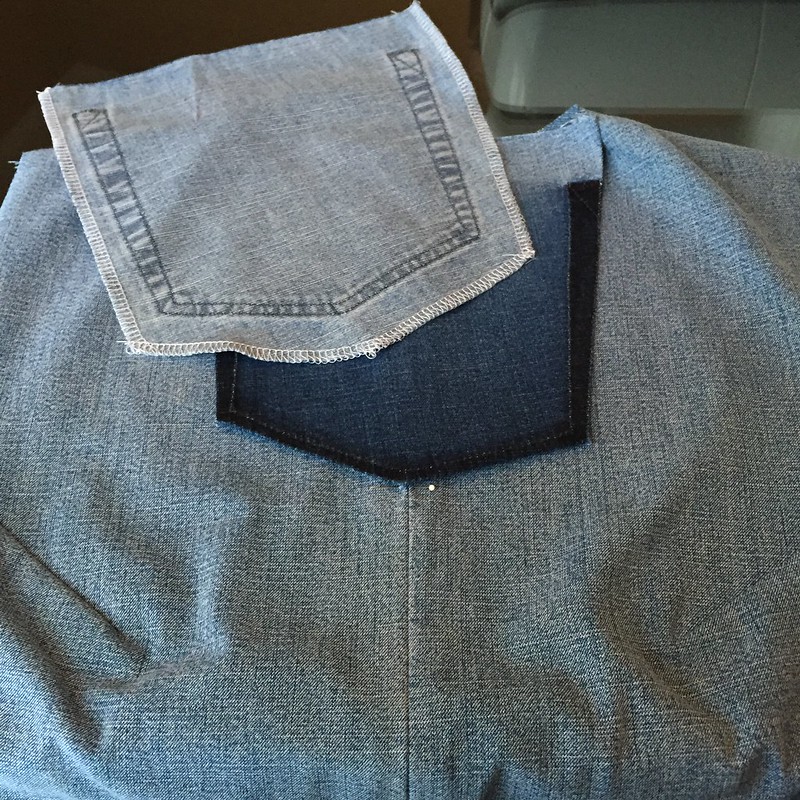
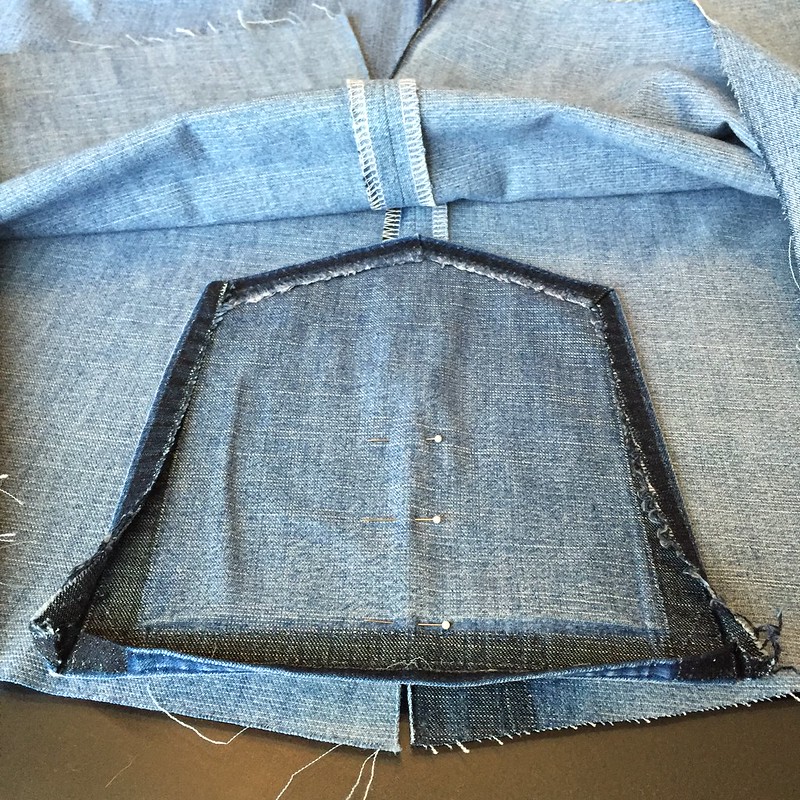
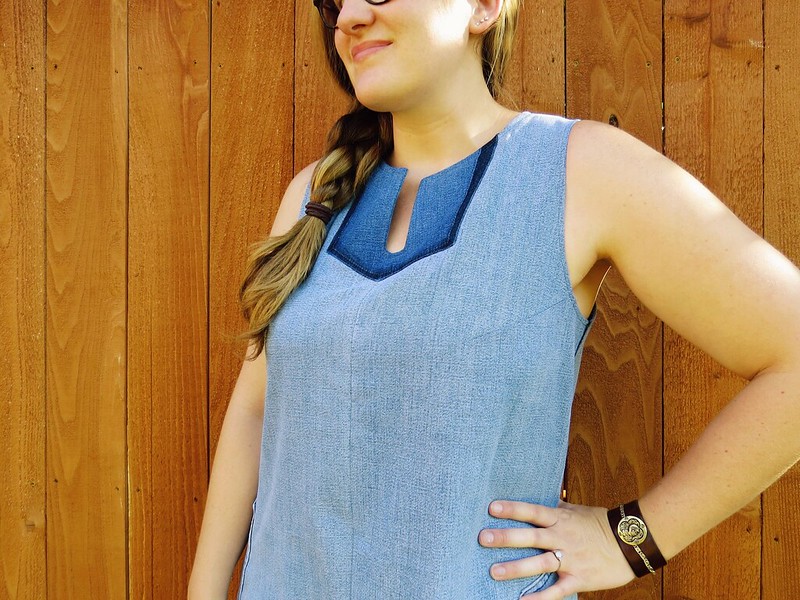
Then I cut out those ombre-faded blocks from underneath the original back pockets. One got serged along the sides and bottom, while the other had its corners clipped and edges pressed under.
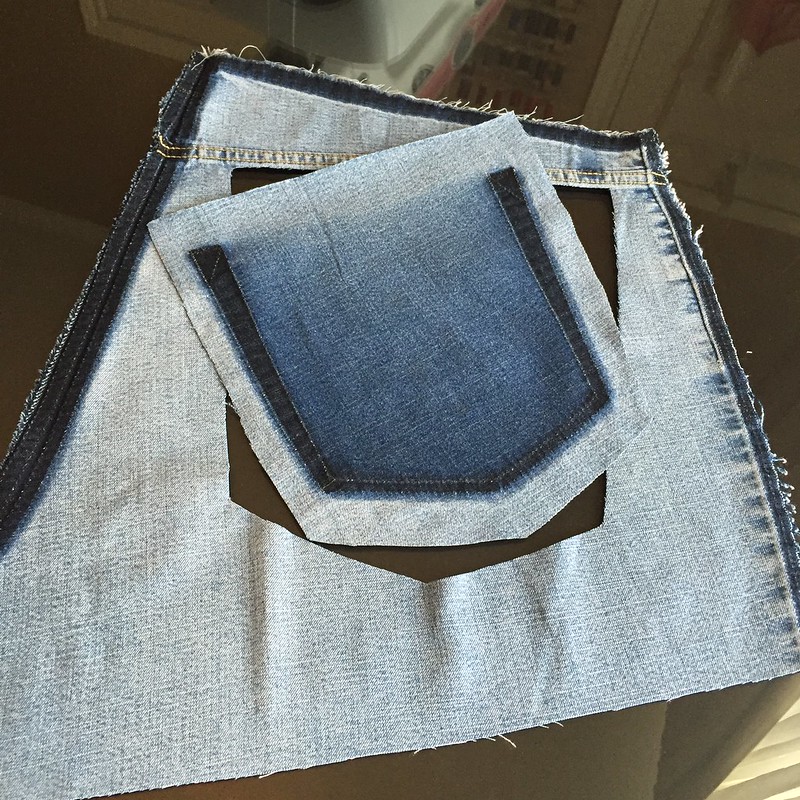
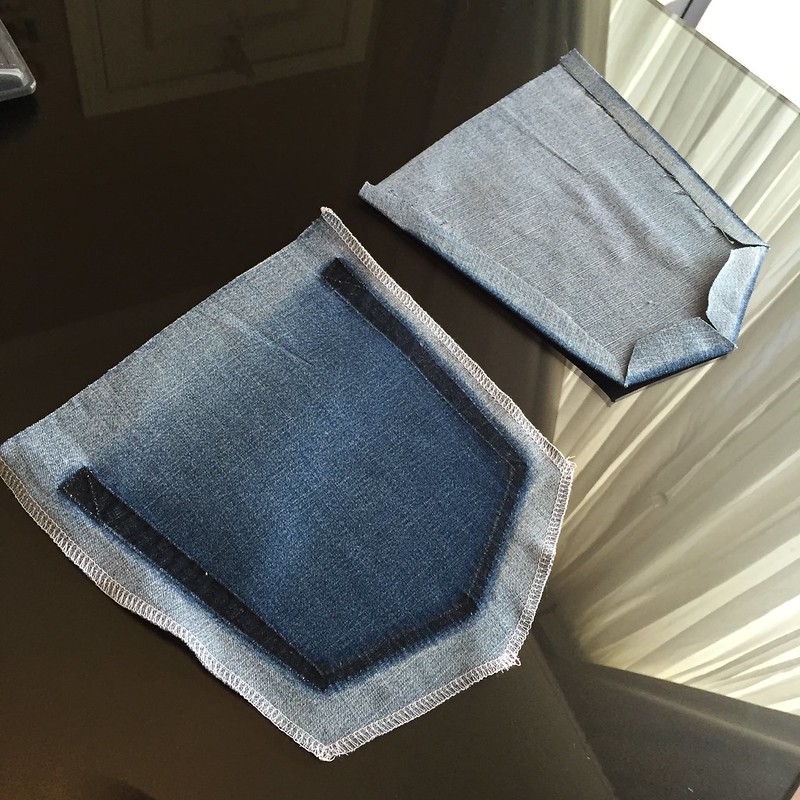
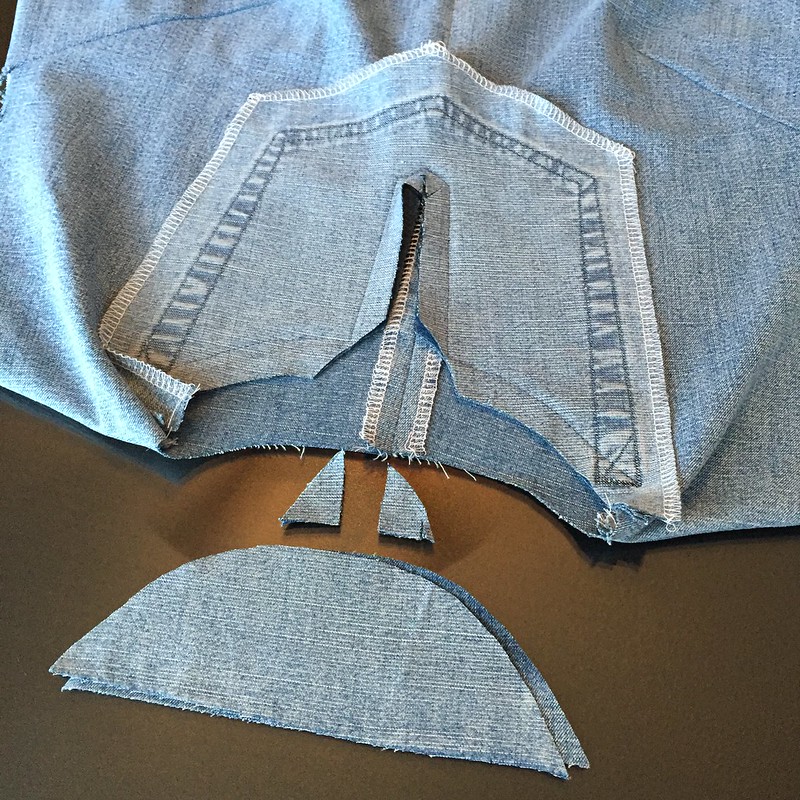
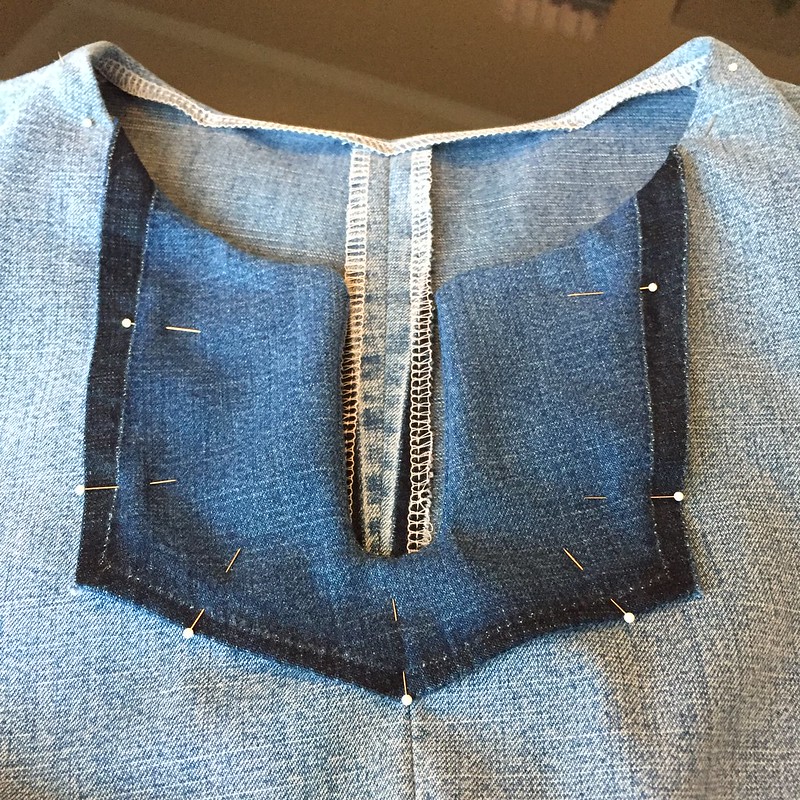
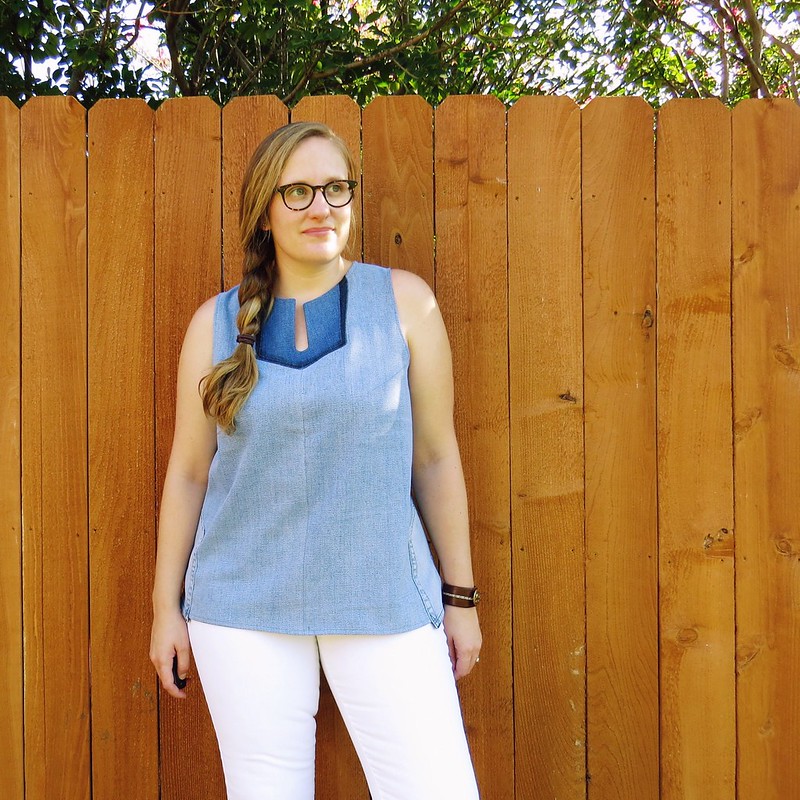
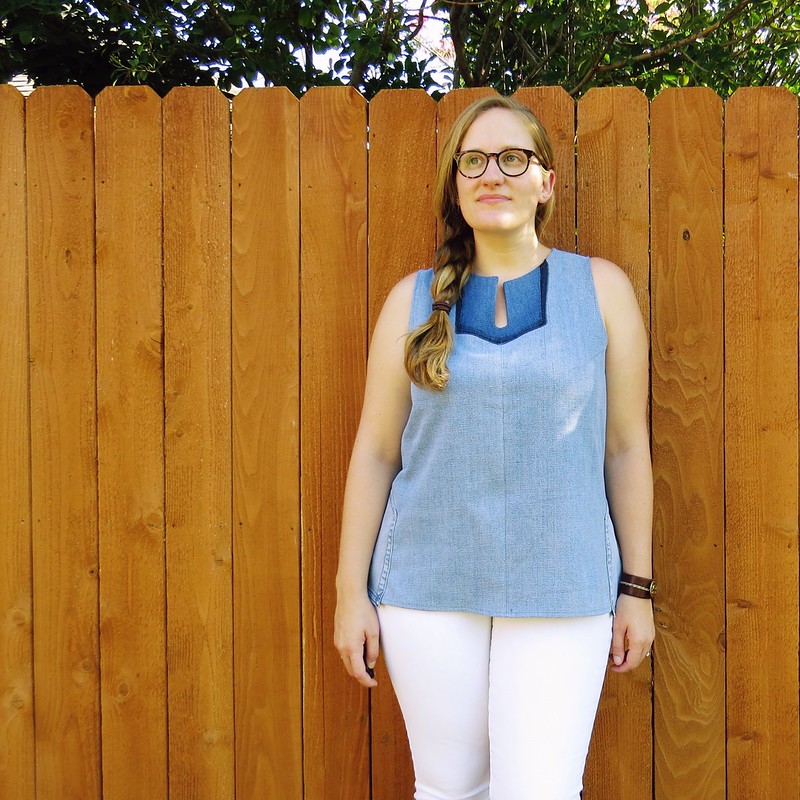
I folded my shirt in half at the center front and trimmed the front of the neckline a couple inches lower than the back. Then I layered my right-side-up shirt, right-side-up ombre patch with the edges pressed, then the serged ombre patch upside-down. Yup, that's going front and center as the tunic's bib for maximum impact. With the layers pinned in place, I traced out the cut neck edge underneath onto the back side of the serged patch, then added more lines about a half-inch in, where I wanted to sew.

After sewing, I trimmed off the excess fabric, cut straight down the center for the front slit, and snipped the corners to reduce the bulk. I also serged the rest of the neck edge along the back before flipping the serged patch to the inside of the shirt to be the facing.
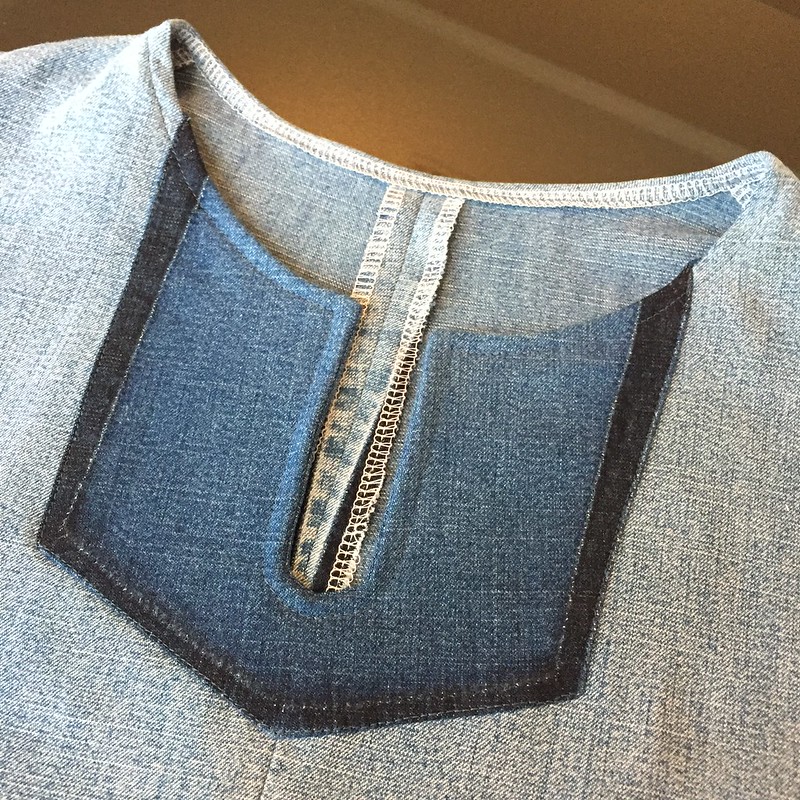
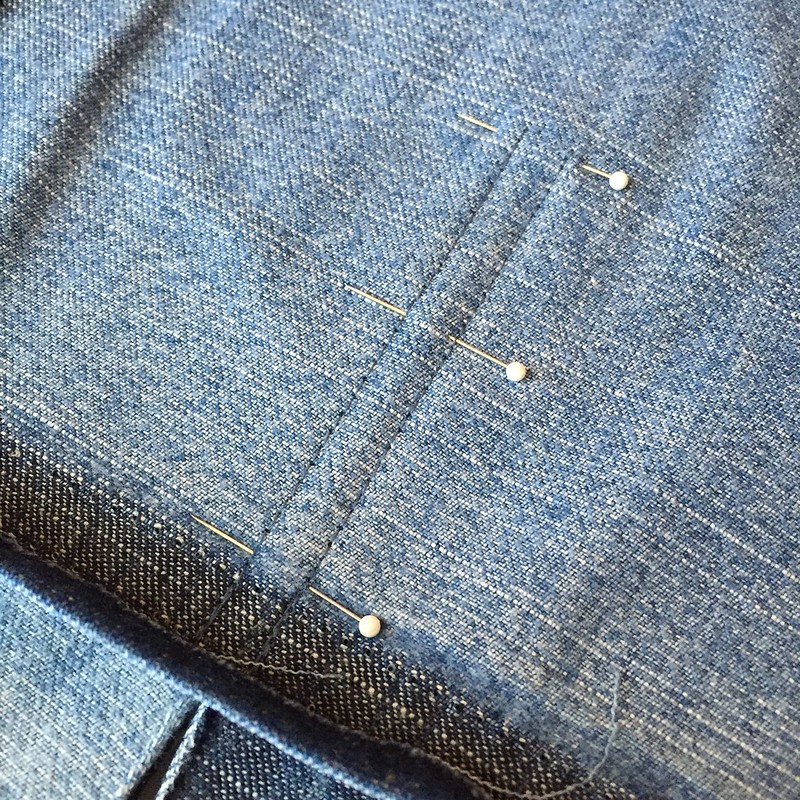
Then I top-stitched all around the neck line and edge stitched along the dark edge of the ombre patch to keep the bib in place. This also caught the facing on the inside so it'll stay put too.

Next I needed to finish off the armholes. Since my original tunic pattern had sleeves, the body fabric came out further at the shoulders than it needed to. So I trimmed off about 2 inches at the shoulders, tapering off as I approached the underarms. A simple serge-fold-sew hem helps to keep the bulk to a minimum with such thick fabric.

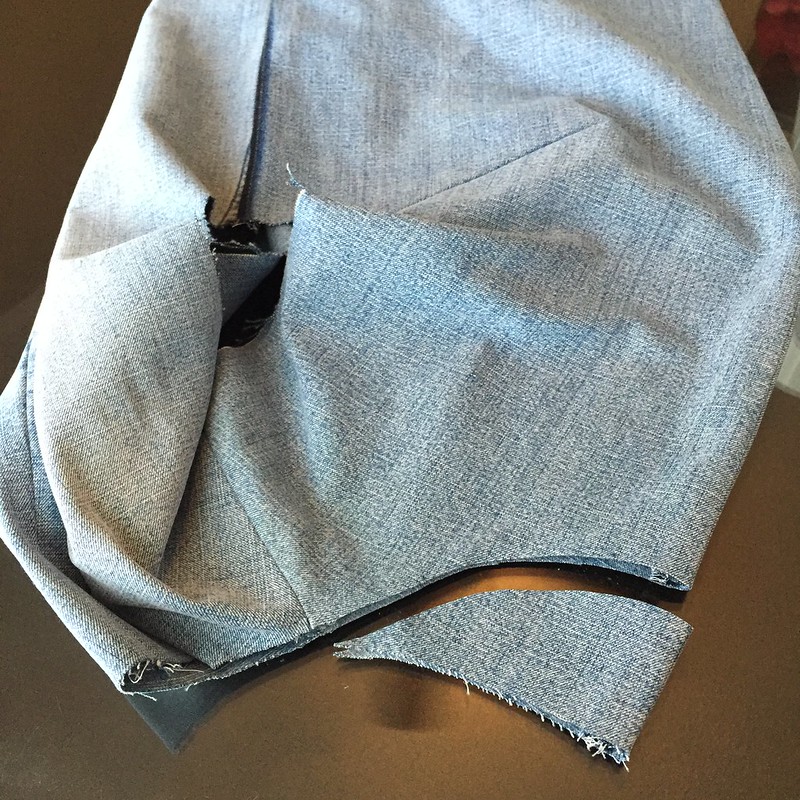
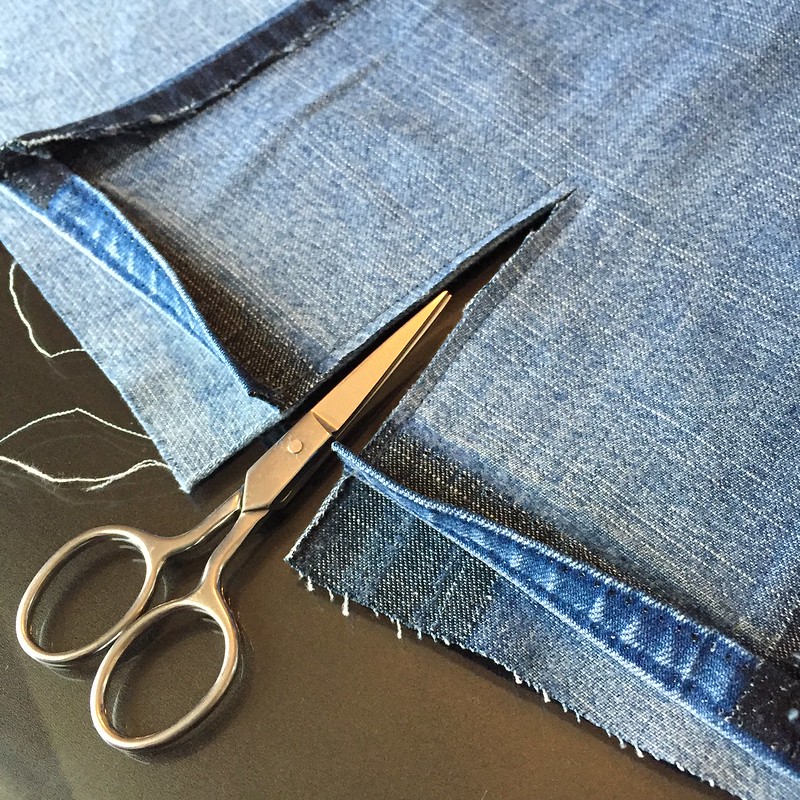
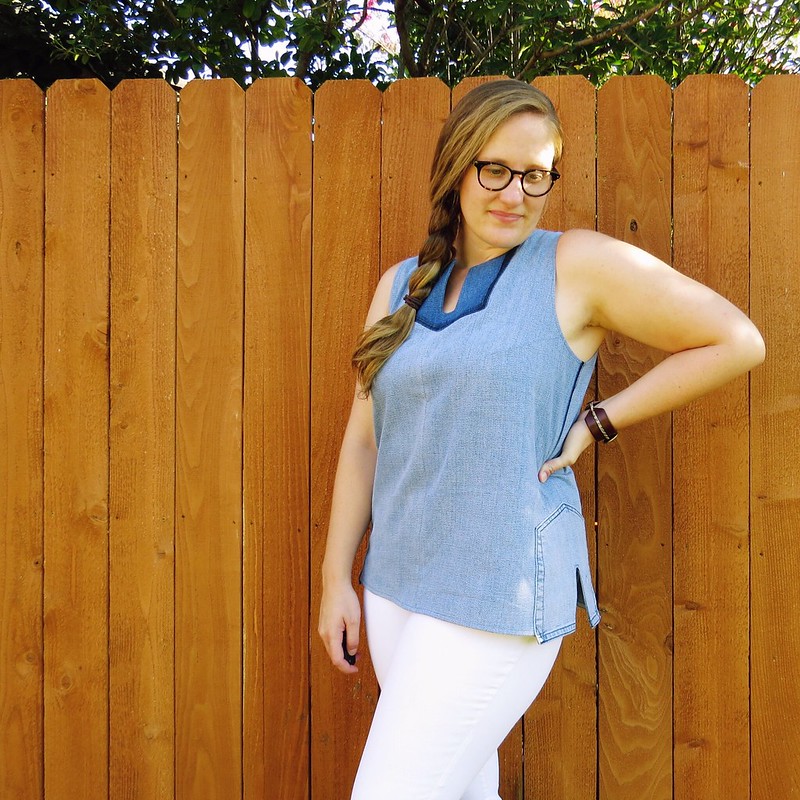
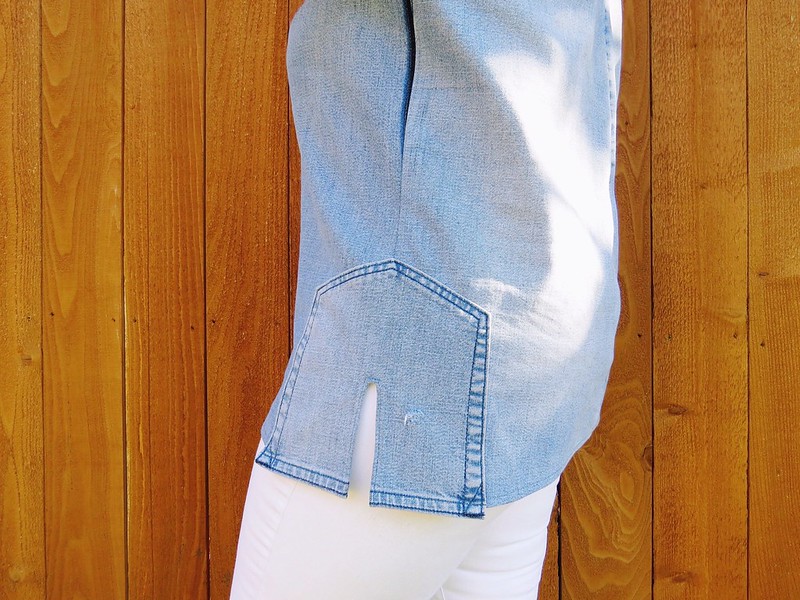
For the bottom edge, I changed course slightly from my original plan and decided to add decorative slits at the sides. I picked out a few inches of my side seams and trimmed off the serged edges - again to reduce bulk. Then I pinned one of the old pockets, face down, to the inside of the side seam.
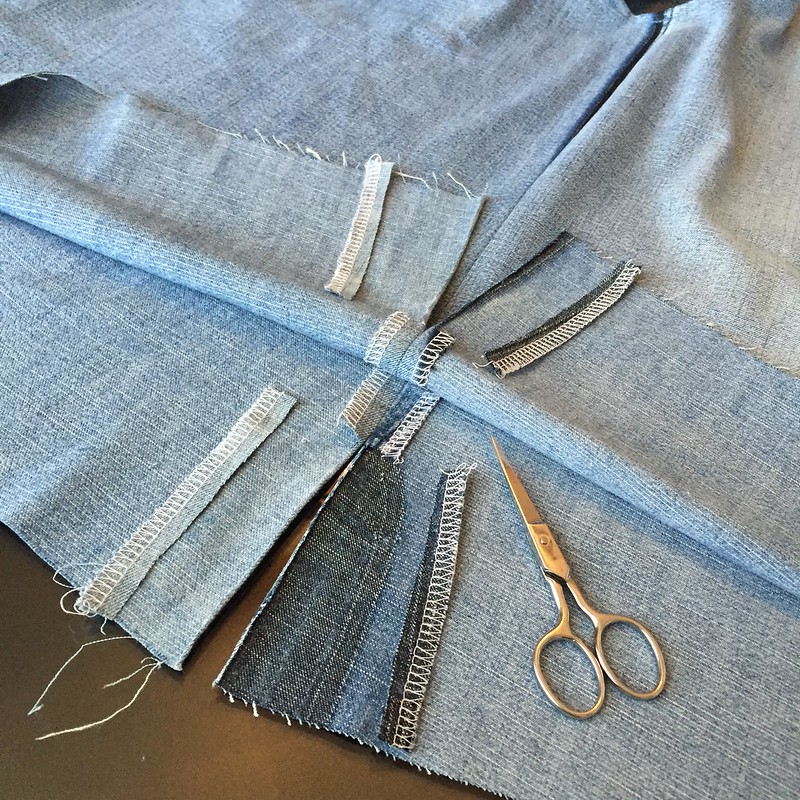
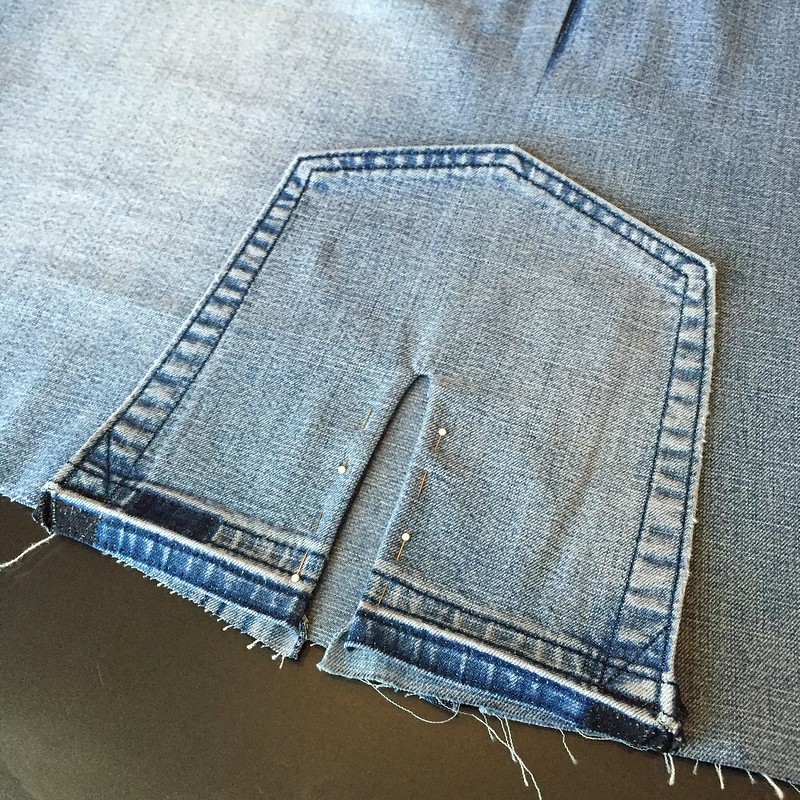
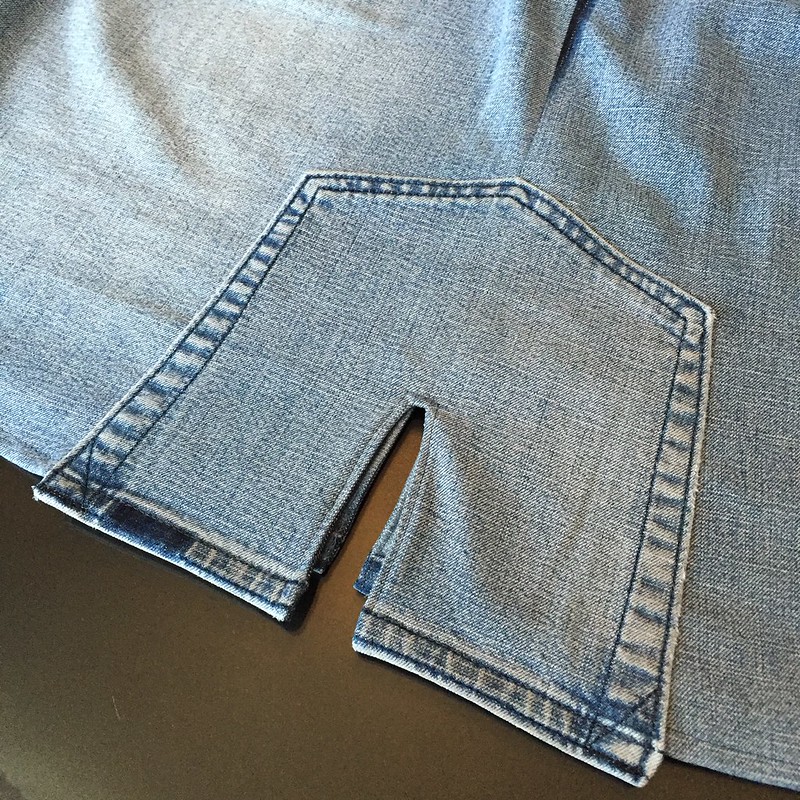
I sewed the two together in a tall, skinny U-shape to either side of the tunic's side seam, then cut straight up the center of the pocket. Then I flipped the pocket over to the right side of the shirt and pinned it in place for now. I repeated this process with the second back pocket on the other side seam.
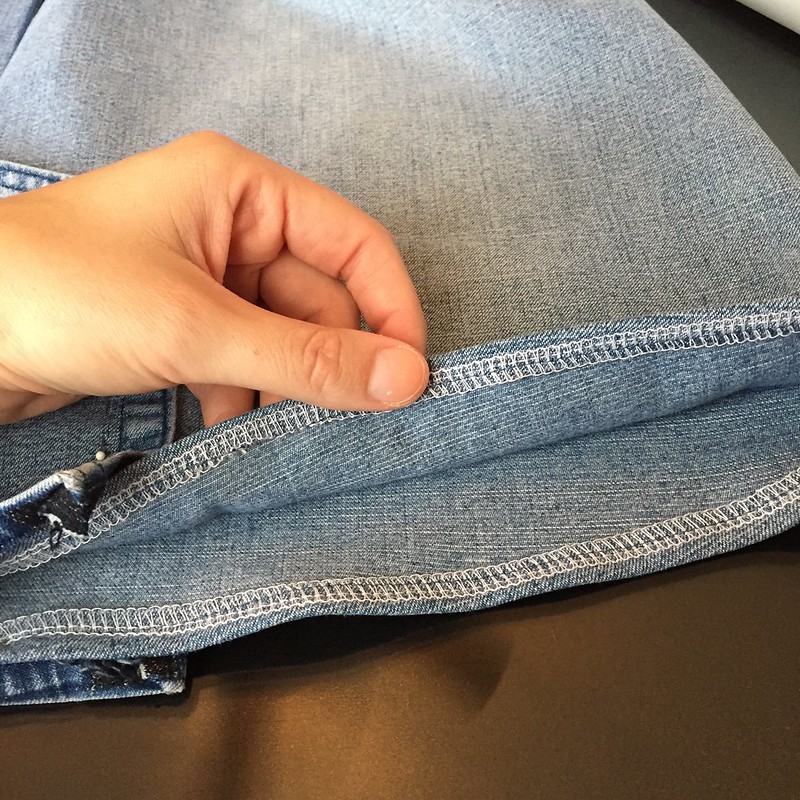
I repeated the sleeves' simple serge-fold-hem along the rest of the bottom edge of the shirt. Then I top-stitched all the way around the pockets' edges and the slits.
This top is perfect for autumn in Texas. It's a little heavier fabric, but still cotton and sleeveless. I can easily add a cardigan if I need to, but we're still probably a month away from that.

Another totally inspired, brilliant refashion! So clever, well done!
ReplyDeleteThat's awesome! Love it! I would never have thought to use the pockets, or fabric from under the pockets, this way. So cute & creative!
ReplyDeleteThanks! When I exposed that darker fabric, I just couldn't NOT use in some way.
DeleteThis is one I want to flat out copy! I love everything, EVERYTHING about it!
ReplyDeleteJJ
By all means, go right ahead! I'd love to see your version!
DeleteWow, this is beautiful! I love your refashions, you make brilliant stuff out of meh.
ReplyDeleteThanks, Vicki! I certainly try :)
Deletethis is gorgeous..... fantastic the way you used the pockets at the side also.
ReplyDeleteThank you, Eimear! That was a last-minute decision too!
Deletelove this!
ReplyDeleteThanks, Catherine!
DeleteSo clever Carissa I just love it!
ReplyDeleteThank you, Mary!
DeletePerfect! Very creative thinking!
ReplyDeleteCarissa, this is just so COOL!!! All the heart eyes! The use of the pockets as accents really is BRILLIANT. Love the two tone at the neck and the ones at the side seams. Just AWESOME!
ReplyDeleteThanks, Abbey! I like to keep subtle reminders of what the garment used to be without being too obvious. :)
DeleteCarissa, I am so impressed! You have created something casual and dressy at the same time from denim and it looks great on you. I would expect to see this tunic at a high end boutique.
ReplyDeleteWow! Thank you!!
DeleteAll I can say is WOW ! The entire tunic is AWEsome !
ReplyDeleteThanks, Linda! ;)
DeleteFrom Refashion co-op, I think you have the most hideous before shots, but your after shots are so creative ingenious and wearable. I love this denim shirt, but my favorite is when you took an ugly directional print skirt and turned it 90 degrees. You are inspirational.
ReplyDeleteSometimes you just have to think outside the box!
DeleteThat under-pocket blue--!!!!! I never would have thought even to separate the pockets, let alone that there would be something worth saving underneath. Clever, you.
ReplyDeleteThanks, Annie! I'm kind of obsessed with all things ombre right now. :D
DeleteOMG! This is creative genius!! I'm usually turned off by the way denim refashions look too handmade or "crafty" but this is fantastic and has some real fashion sense. You nailed it girl!!
ReplyDeleteThanks Cathi! I'm not a huge fan of the obvious patchwork denim look either. I prefer a much cleaner, simpler aesthetic.
DeleteA very nice project ! I love it !
ReplyDeleteMerci!
DeleteWhat happened to the tag? Or is that for some future project? I know how you are wth tags and washing instructions.
ReplyDeleteHa! You know me so well! :)
DeleteBelieve it or not, I didn't reattach the tag this time. I thought about putting it at the top center back on the inside, but the leather(?) just wasn't soft enough, and I was afraid it would irritate me. And I thought the ombre bib and pockets on the side plackets were enough of a hint at its former life, so I didn't really want to put the label back on the outside.
YOU ARE A MAGICIAN!
ReplyDeleteDenim tunics are a versatile addition to any wardrobe, combining style and comfort effortlessly. While denim is often celebrated for its durability, exploring Varieties of Fiber Wool can elevate your look even further. Mixing denim with wool layers adds texture and warmth, making it perfect for cooler weather.
ReplyDelete