


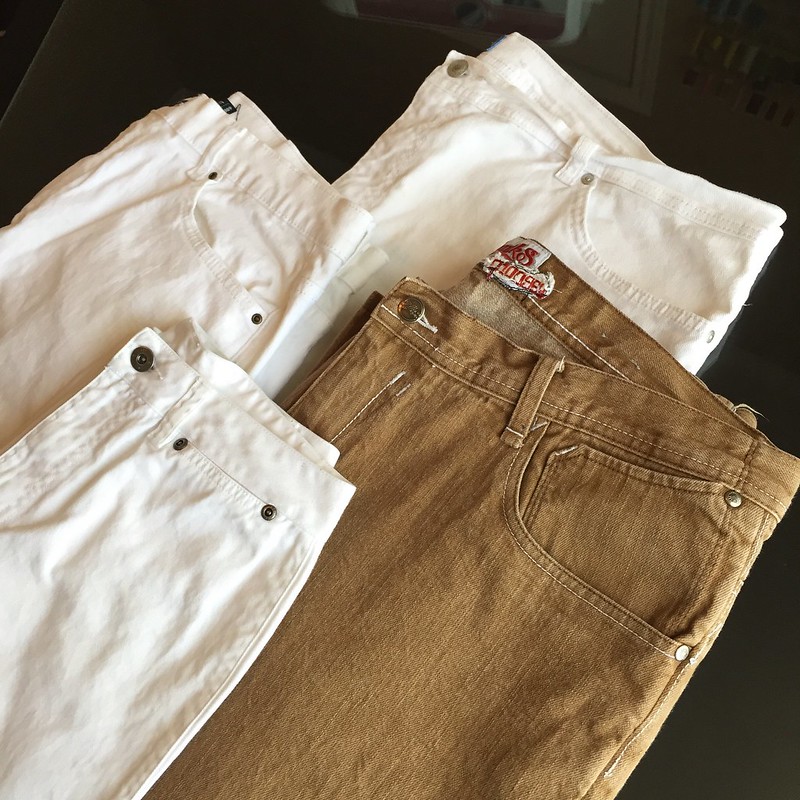
I first cut up the inseam, then the outer leg seams and just below the waistband so I could separate the four large panels. Then I picked off the back pockets. The fabric underneath was noticeably darker, but not in a super interesting way like my blue denim tunic. I knew I would need to devise a way to either cut around these sections of cover them up instead.
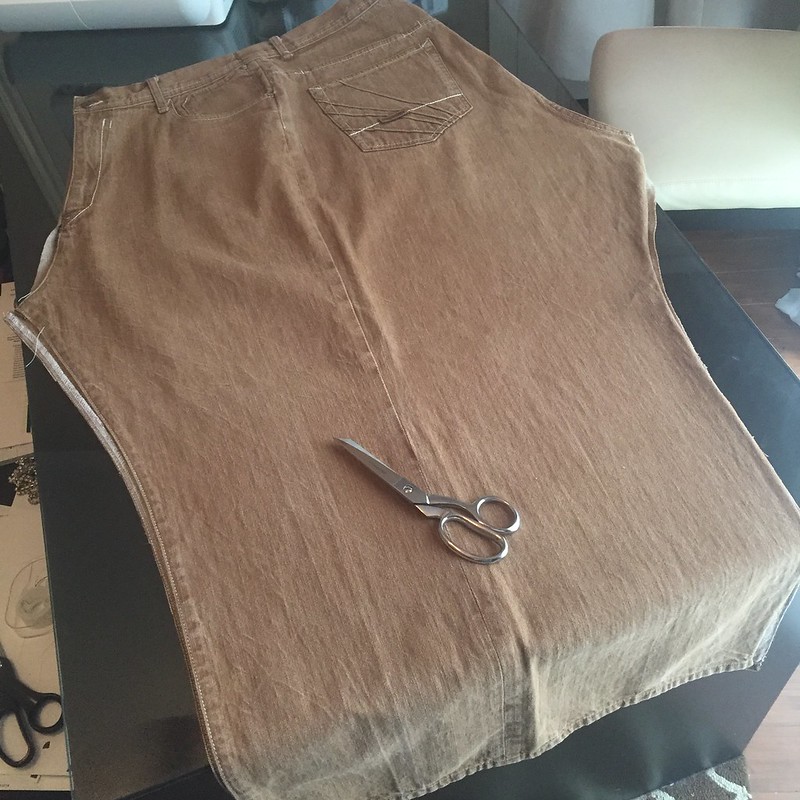
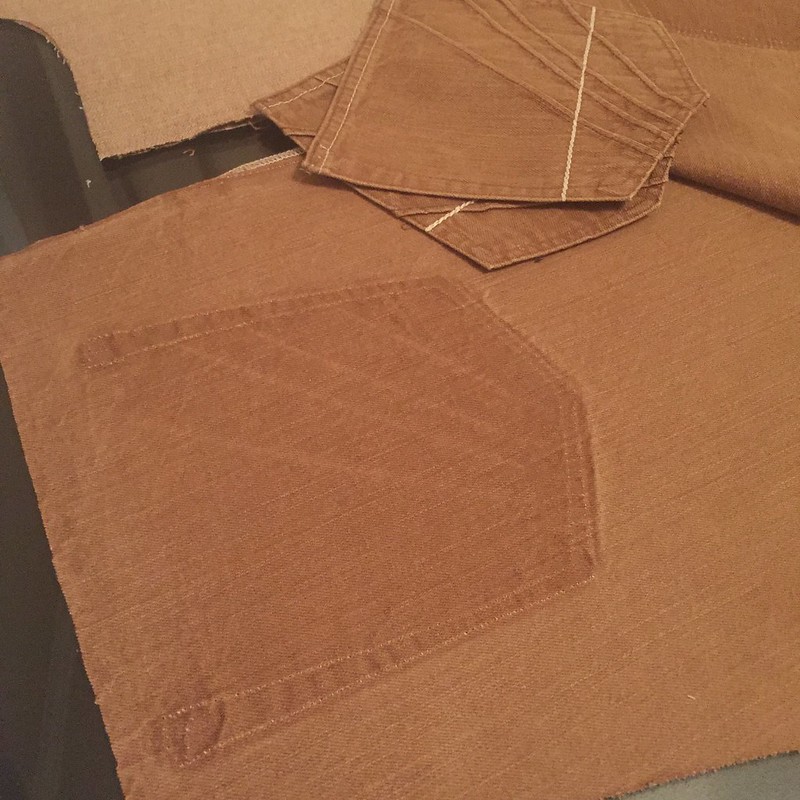
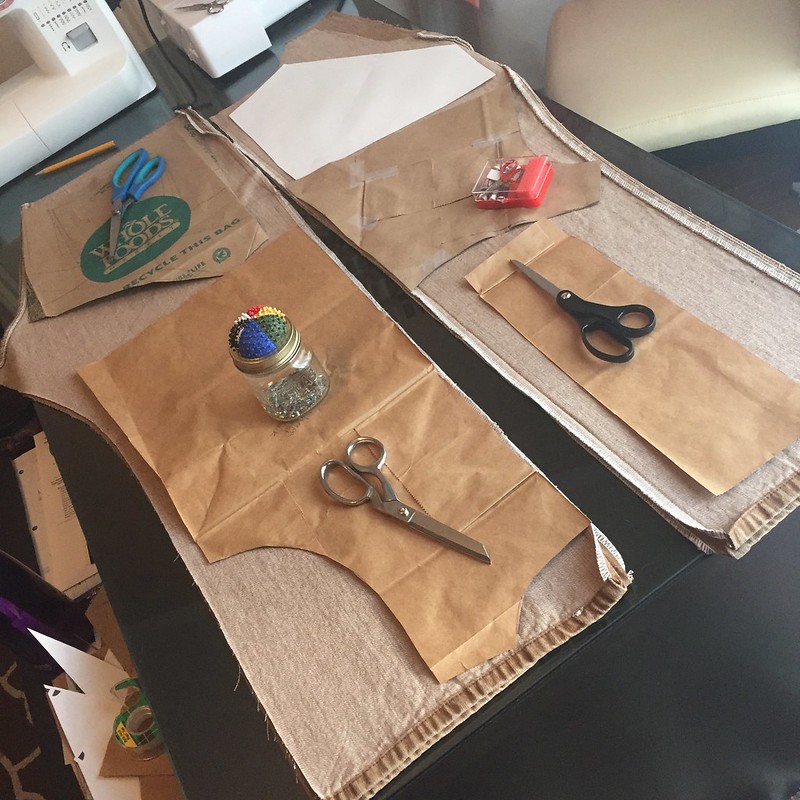
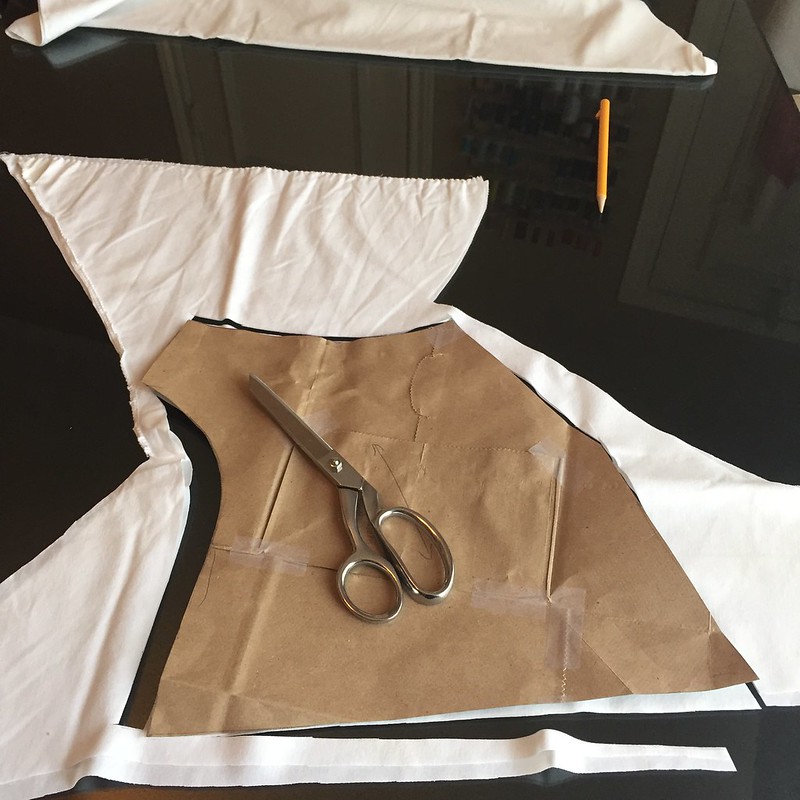
Next I spent quite a lot of time sketching and measuring and cutting out pattern pieces only to find I couldn't get them all to fit on my jeans. Eventually, I found a solution using multiple pieces for my vest's front panels, which would also allow me to incorporate giant pockets that would conceal the unfaded fabric from under the original pockets. So with my final pattern pieces figured out, I arranged them on my jeans, cut around each of them, and tossed the extra bits into my remnant pile.
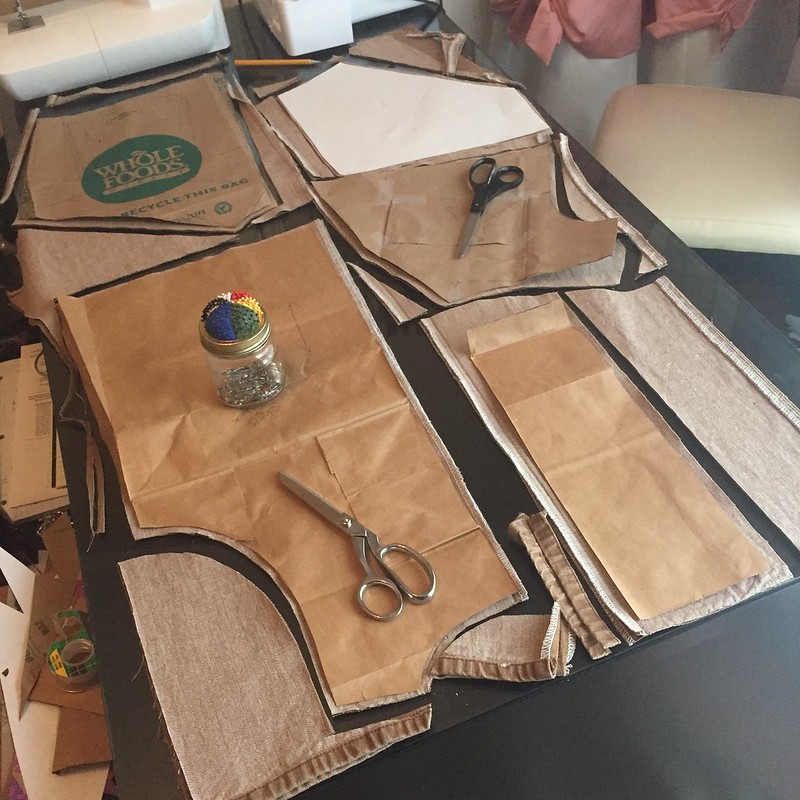
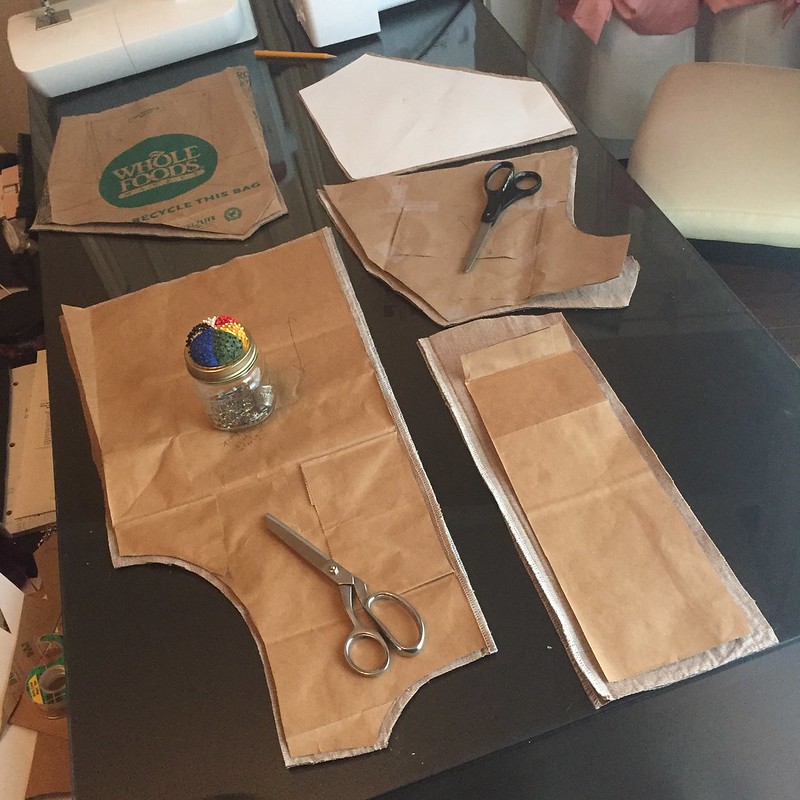
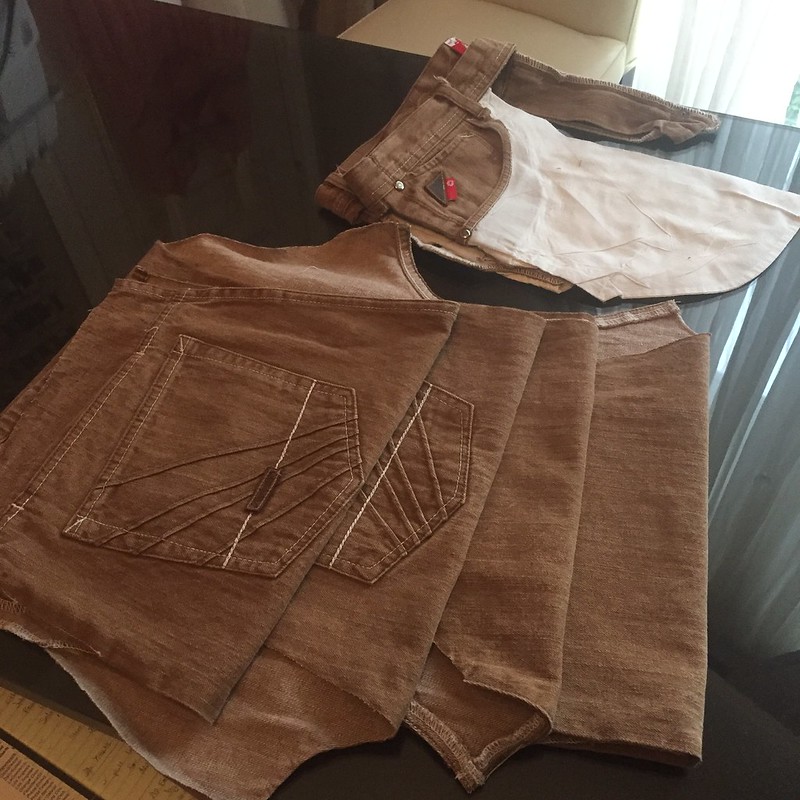
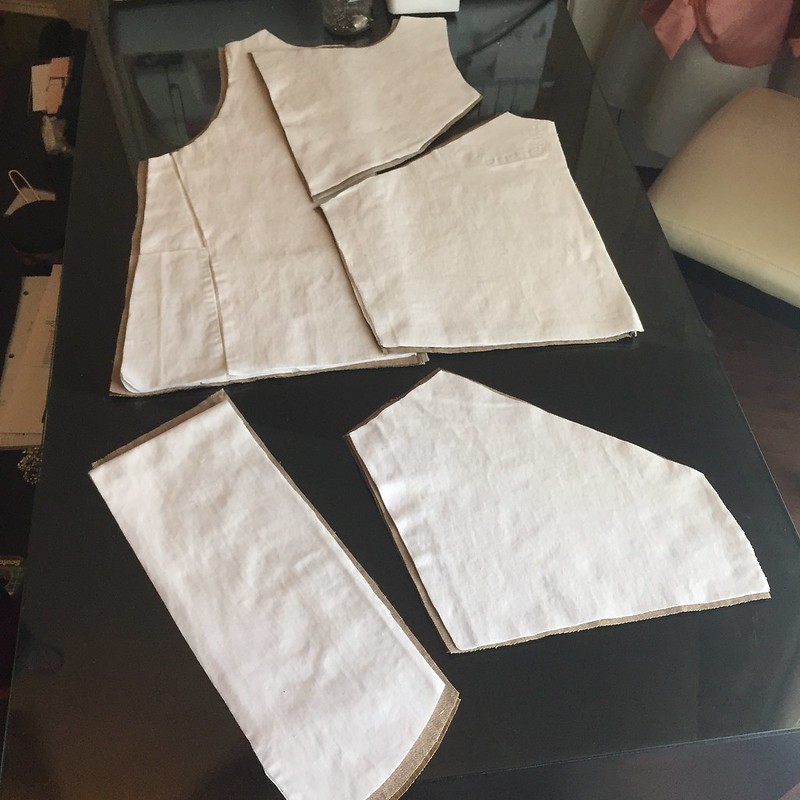
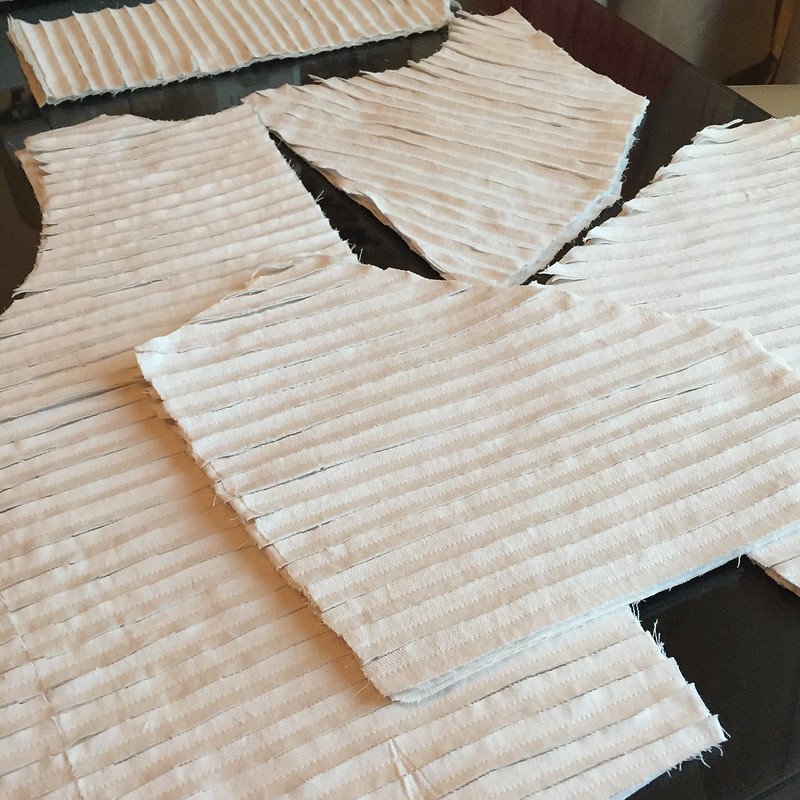
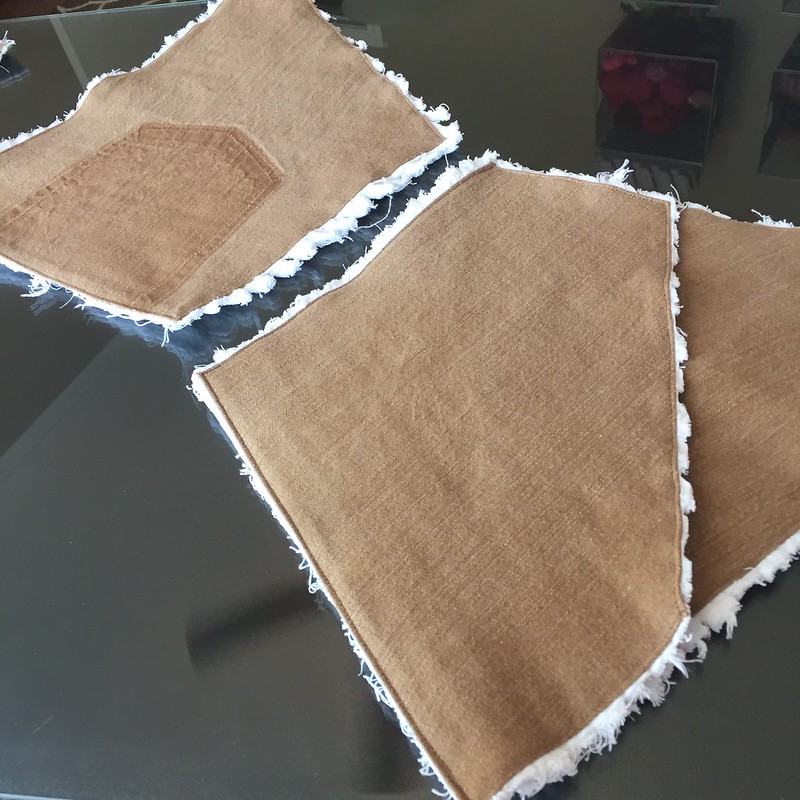
Then I repeated the process of disassembly and pattern cutting from each of my white jeans. I was able to get two white copies for each brown piece, though I did have to do a bit of splicing for the larger pieces. Not to worry though! Since I'll be cutting up the white pieces for chenilling, a few extra raw edges aren't going to matter at all. Here, you can also see all my pieces laid out in roughly the right places. The larger pieces on the left are the two halves of the back (stacked up on one another). The right shows the two sections of each front panel with an angled seam from the armhole to the center. You can see the two pieces don't quite meet at the armhole edge; that's because the angled seam has a built in bust darts for a better fit. And in front, we have the collar and the giant pockets that will be layered on top of the lower front panels.
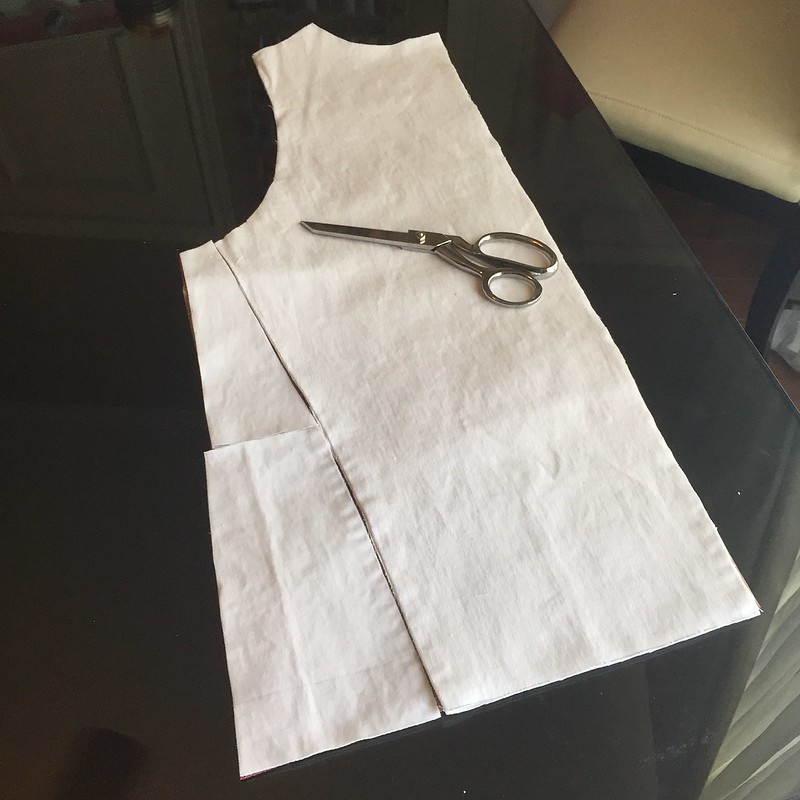
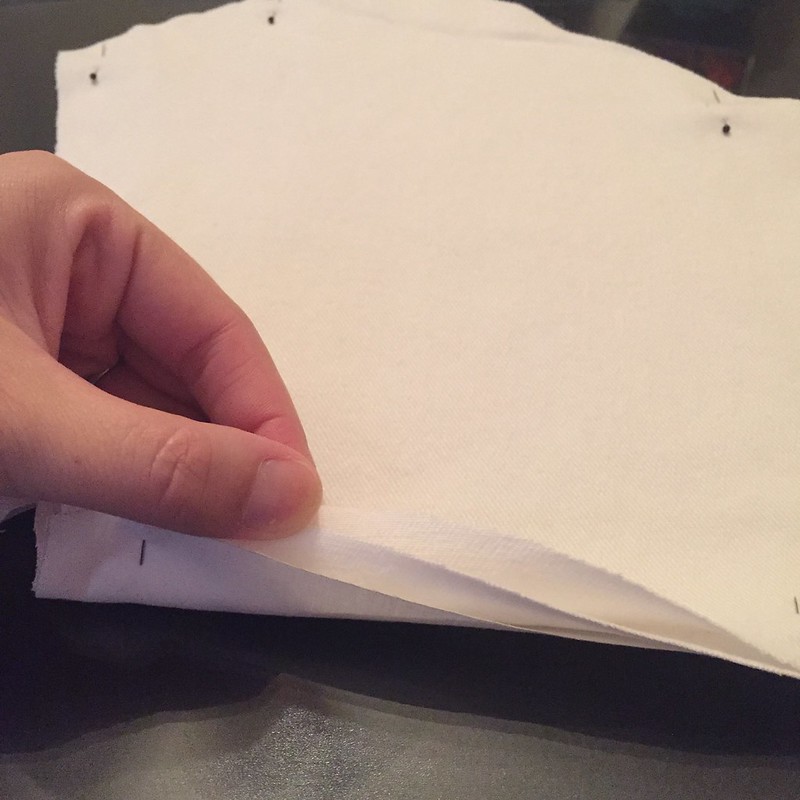
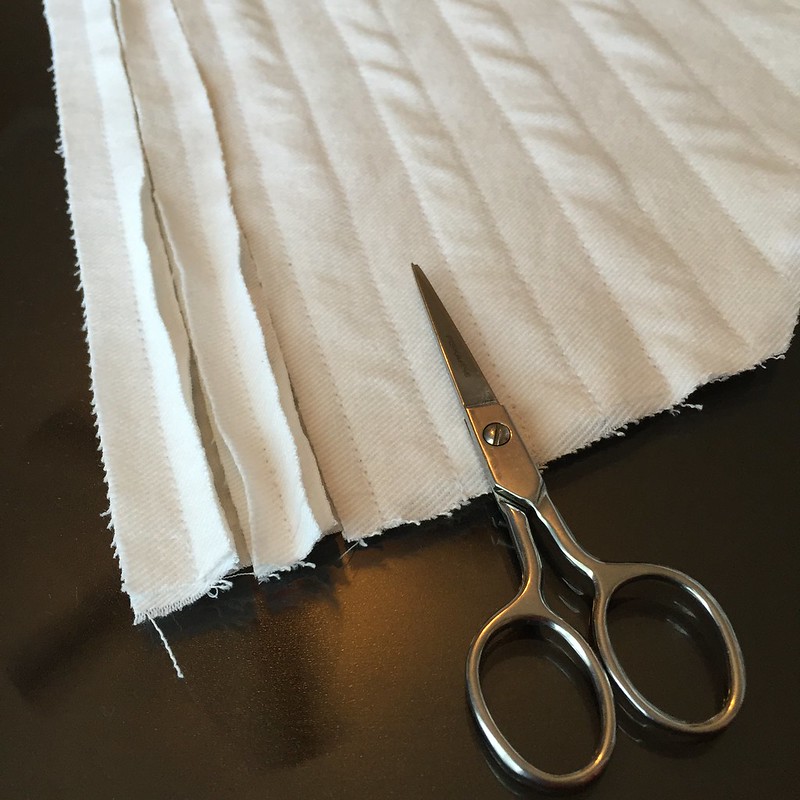
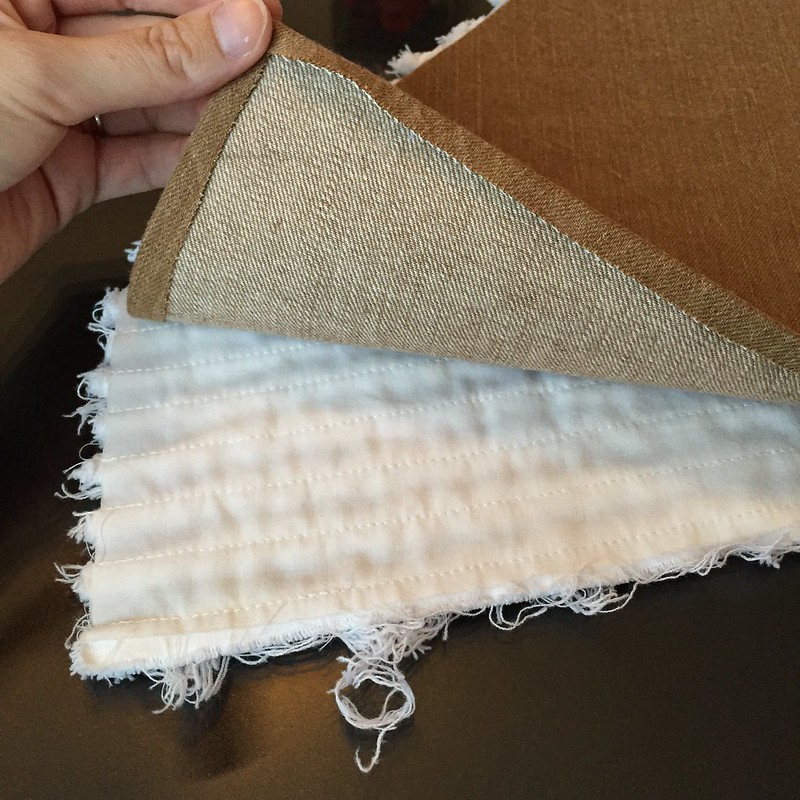
I thought about sewing my two layers of white denim directly to the back of each brown piece and then cutting up the white for the chenille, but that presented a couple different problems. Firstly, I didn't want all the little lines of stitching to show on the outside of my vest, and secondly, I was afraid the brown would still peak through the chenille on the inside and make the chenille look too sparse. Adding another white layer to attach the white denim to would solve both problems, but I was worried about adding even more bulk. So I pulled out the remnants of an old white sheet from a previous refashion and cut out yet another set of my pattern pieces. Then I layered one sheet piece and two white jeans pieces together and sewed lots of little lines straight across, about a half-inch apart and perpendicular to the grain of the jeans. Once all that was finished, I sat down on the couch with my scissors and Netflix and starting cutting up between each row of stitching, only cutting through the two denim layers, NOT the sheet layer.
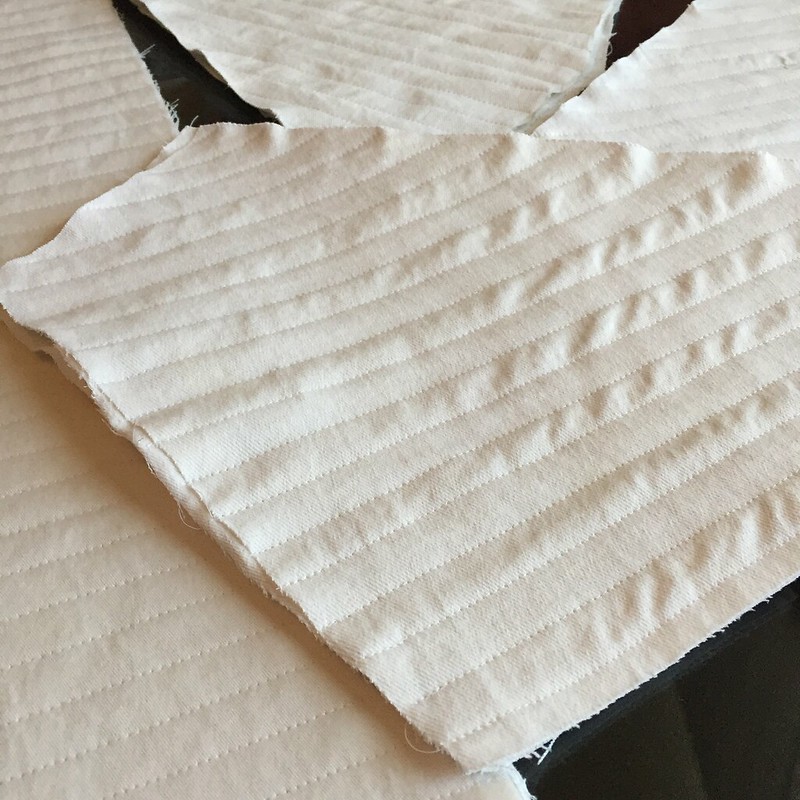
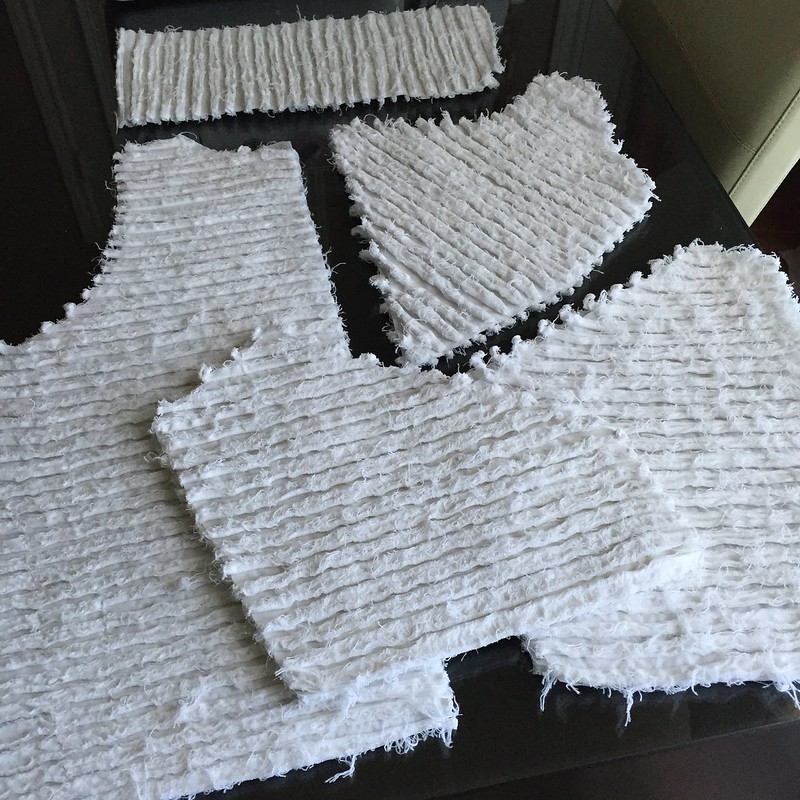
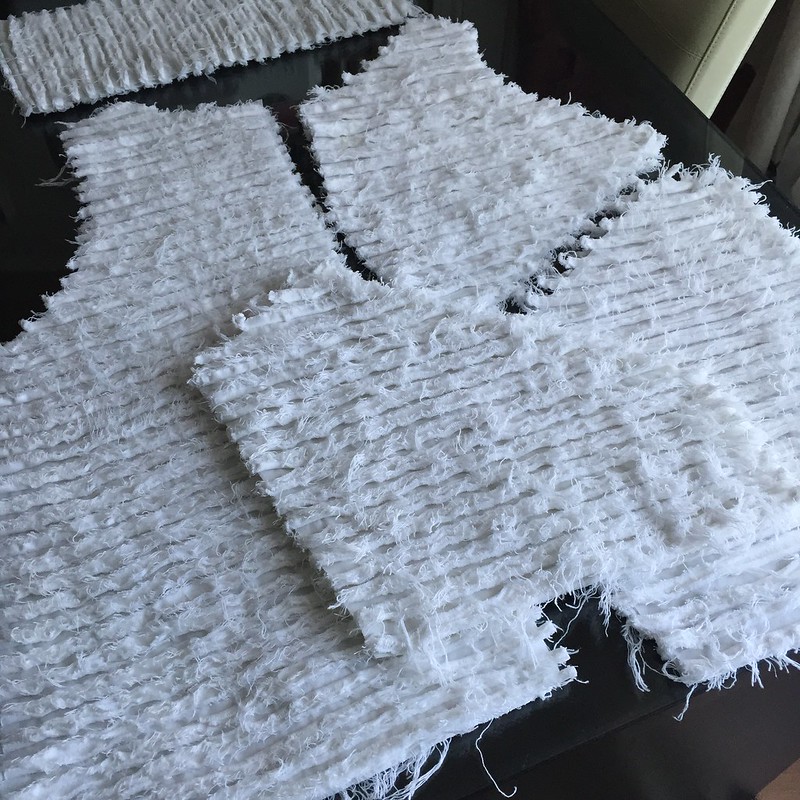
By the end, my hand was pretty sore, but I was pretty pleased with my progress. To encourage the fraying, I popped them all in the washer. I gave them a quick hair cut before they went into the dryer. Then another hair cut, another wash, another hair cut, another dry, and a final hair cut. Here they are after 0, 1, and 2 cycles. Getting pretty fuzzy!
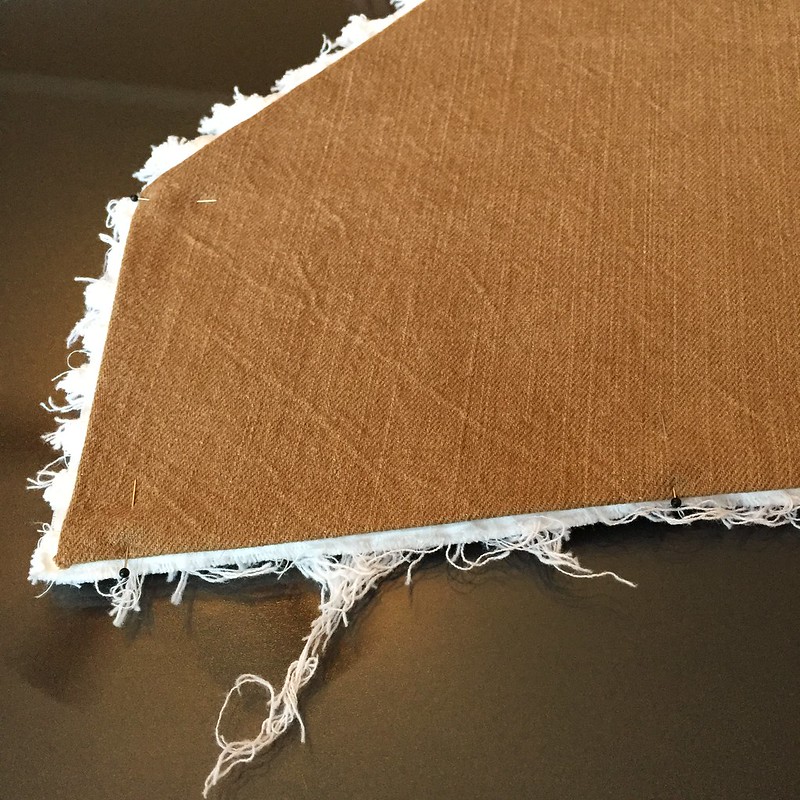
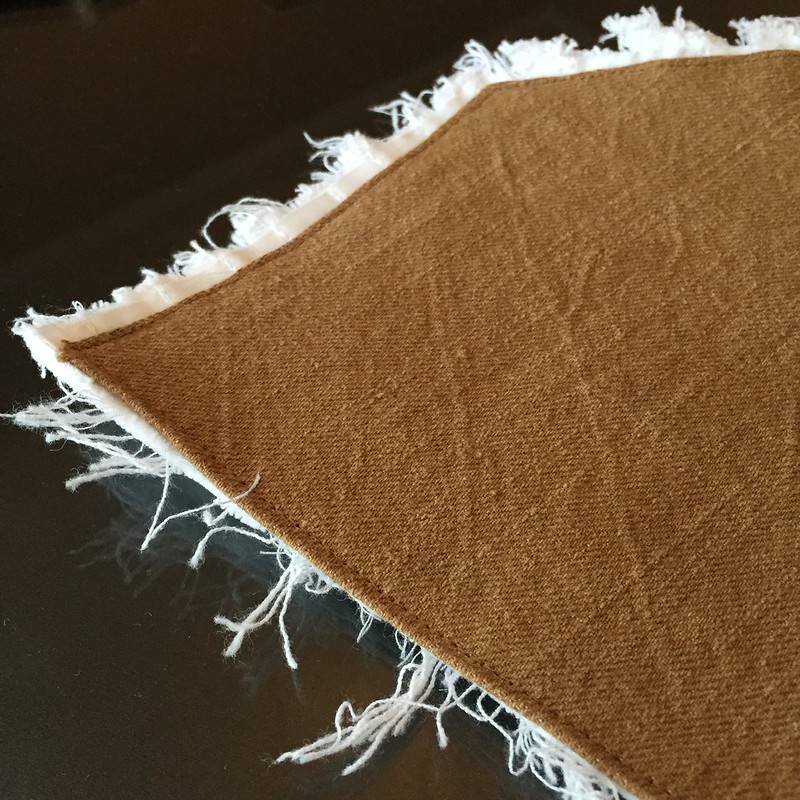
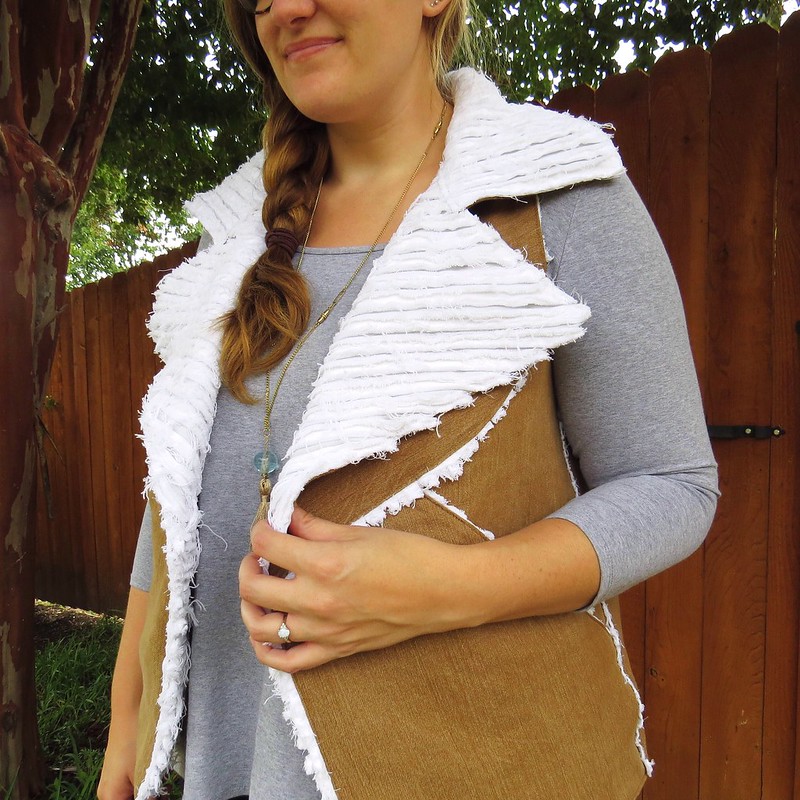
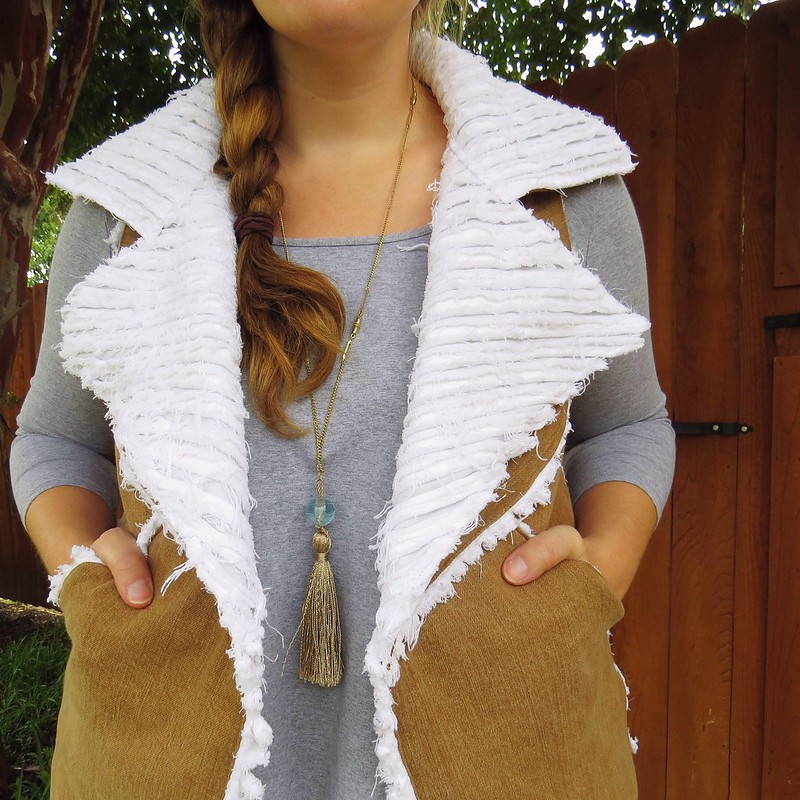
Finally, it was time to start assembling my vest! I pressed under all the edges of my brown pieces and placed them on each white with the frayed bits facing downward. Then I top-stitched all around using a brown thread on top and white bobbin thread.
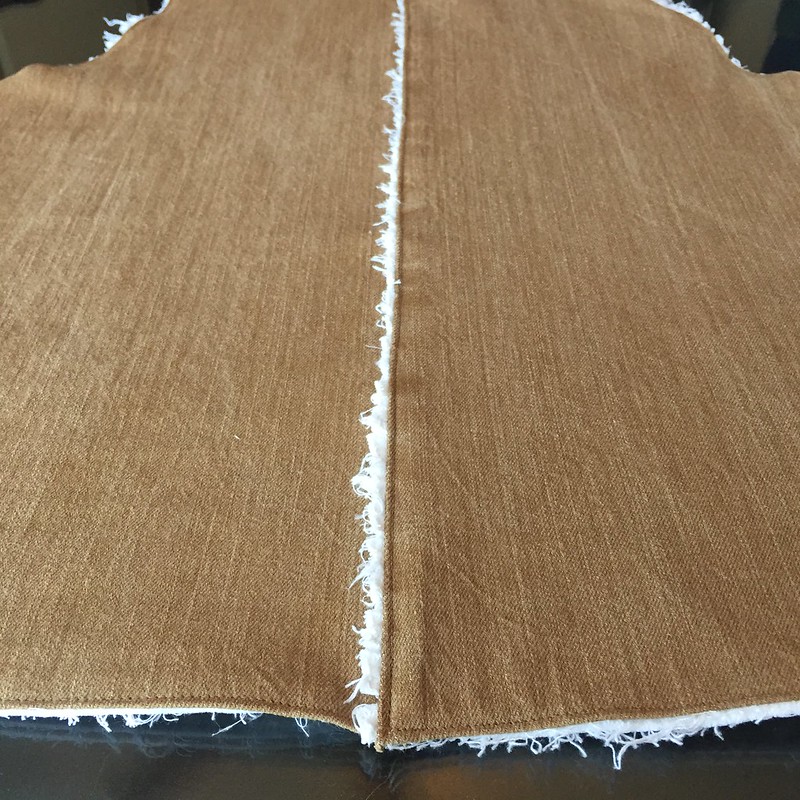
To put the pieces together, I simply overlapped them and top-stitched again. As it turns out, my beefy little Brother machine can handle 8 layers of denim and 2 layers of sheet just fine! It did groan a bit, however, on the small sections where three pieces overlapped, meaning there were 12 layers of denim and 3 sheets. These were the spots where the giant pocket panels, which I attached to the lower front panels to cover the unfaded denim, met the upper fronts at the angled seams and met the back panels at the side seams. We persevered though, and got the job done!
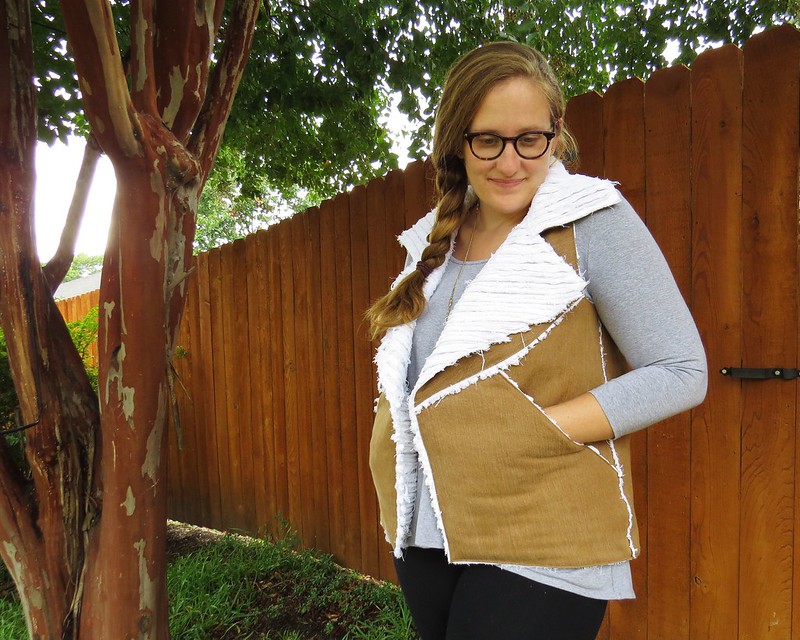
My vest is finished just in time for our first real cool front. Sure, it's been raining all weekend, but 65 degrees? Yes, please!
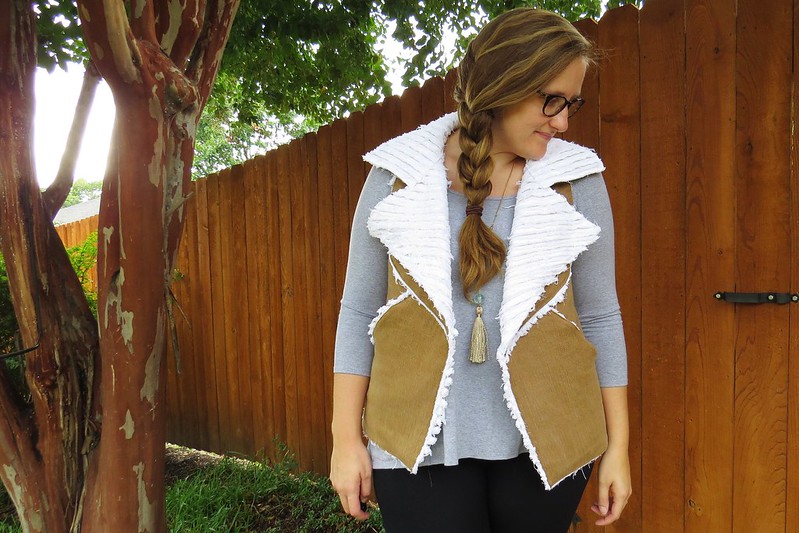
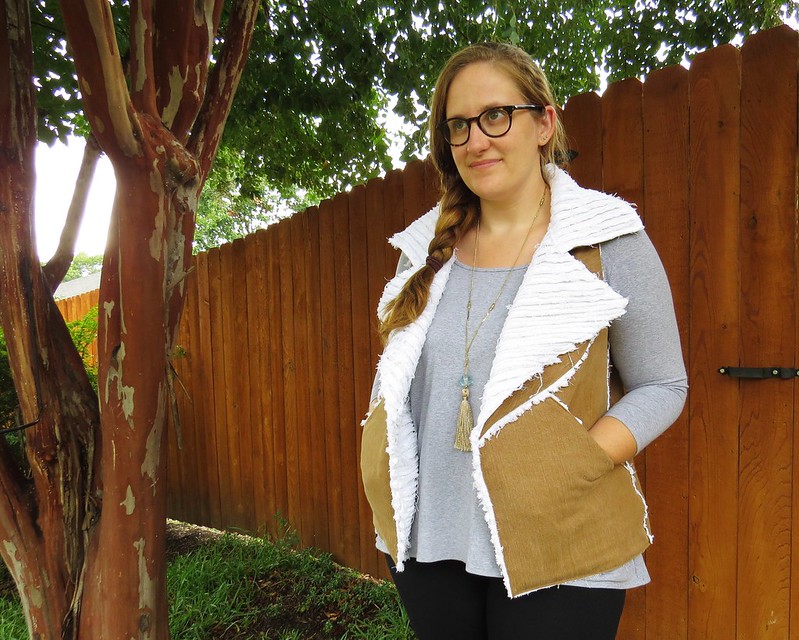
No one would mistake it for real sheepskin, but I think it still has the same feel at a fraction of the price and without harming any sheep! And the more I wear it and wash it, the fuzzier and awesomer it will become!

How do you come up with everything!? :) This is really cool!
ReplyDeleteHehe... I wish I knew! Lots of browsing Pinterest, sketching out ideas, haunting the aisles of the thrift shops. I never know when inspiration will strike!
DeleteThat looks so effective, you have a lot of patience as well as vision.
ReplyDeleteIn all fairness, I really wasn't sure my "vision" would pan out this time. So glad it did though!
Deleteso effective. Its gorgeous
ReplyDeleteThanks, Eimear!
DeleteThat looks amazing, what a great job. How did you come up with the pattern? I would love to have that vest pattern.
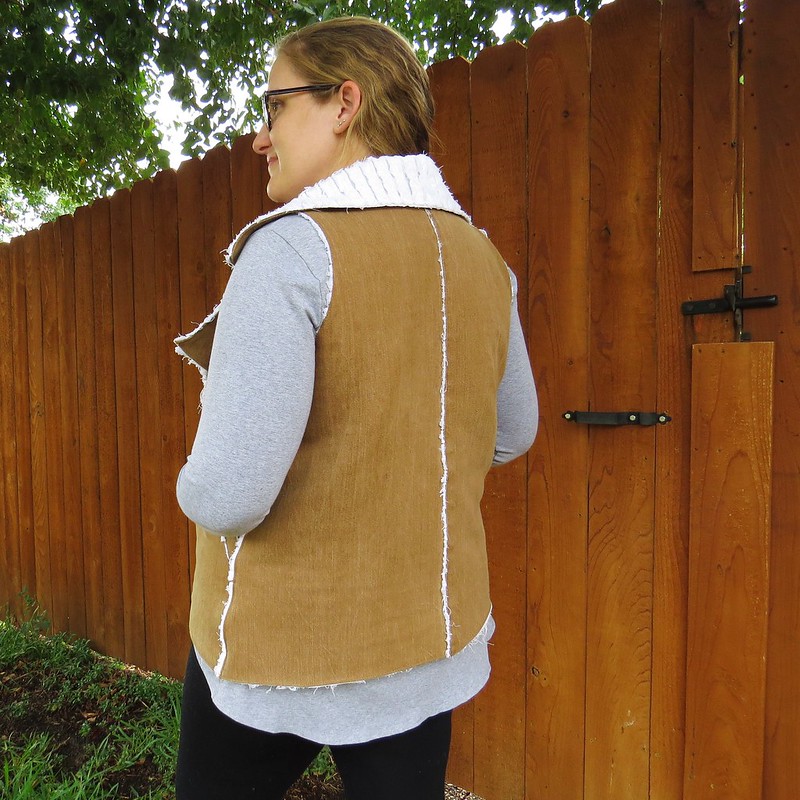
ReplyDeleteThank you! I found a photo on Pinterest that I tried to replicate by tweaking my self-drafted tunic pattern. The back halves are essentially the same as the tunic's back, but I angled the inner edge of the front panels so they would overlap, creating the lower portion of the lapels. Then I cut the front panel in half-ish along a diagonal line from the armhole to the center of the front edge. Then I duplicated the lower front panel and chopped off the corner to back the pocket piece. The collar is just a long rectangle. I'll see if I can sketch this out to make it clearer and I'll add it to the post.
DeleteOMG thank you so much for the details and explanation on the how to. I would be so grateful if you could add a sketch, how the heck do you find the time to fit all this in and still be so creative and original with all of your work, I actually live in Australia, and you are a major inspiration to me, I look at all my clothes differently now because of you. I am going to have a go at this and if the outcome is half decent I will post a pic, lol.
DeleteWow! That is an amazing transformation...very flattering finished product and attractive too. So creative :)
ReplyDeleteThank you!
DeleteI have been following your blog for a long time and can see really impressive improvement in both your designs and sewing skills! The garments you make are inspiring and I want to congratulate you!
ReplyDeleteAw, thanks! Thanks for sticking with me for so long and thanks for your kind words as well!
DeleteThat is awesome!!! I didn't know you could make chenille like that. So cute & looks great on you! Wonderful job!
ReplyDeleteThanks! I've mostly seen denim chenille used in quilts and rugs and such, but thought I'd take a chance on a completely different application.
DeleteWOW! You're a machine... I hate you lol. Totally kidding :) (Just jealous of your mad skills!).
ReplyDeleteHa! I'm a little afraid, after Refashion Runway immediately followed by The Refashioners, that I'm going to burn out and not sew anything for the next 3 months. I certainly hope that won't happen though!
DeleteWOW! What a super cool refashion! I love how you got the idea while cruising the aisles of your goodwill store. Inspiration...it's everywhere!
ReplyDeleteYep, you never know when inspiration will strike!
DeleteWhoa! Amazing job, this is so creative!
ReplyDeleteThank you, Alyssa!
DeleteGreat creative idea! This chenille vest looks so fantastic, you definitely have the mind of a designer. You have skills girl.
ReplyDelete...loving your beautiful long hair too.
Thanks, Joy!
DeleteWow!!! I think this is the best thing you have done so far and I really enjoy most of what you do.
ReplyDeleteAwesome! Glad you like it, Leila!
DeleteCarissa I have loved many of your creative refashioned pieces and each time that I think "that one" is my favorite --- You come up with with a new triumph ! This vest is Awesome ! And, you have taught us a new creative method of wearable art.
ReplyDeleteNot really trying to one-up myself, but I am pretty please with the outcome this time. :)
DeleteHoly freaking cow. You are amazing. Been following you for ages, and you just keep coming up with more amazing things. Really great work.
ReplyDeleteThanks, Lynn!
DeleteNow THAT deserves applause *applauds*!
ReplyDelete*bows* ;)
DeleteSo creative...it love it! You definitively are one talented lady!
ReplyDeleteThank you, Susan!
DeleteYou should call this "Shear Jeanius" because it is! This is your most impressive and ambitious refashion so far, in my opinion.
ReplyDeleteWow! Thanks, Maria!
DeleteABSOLUTELY AMAZING!
ReplyDeleteThank you! :D
DeleteThat is so awesome!! I've got a Craft Gossip post scheduled for later today that features your vest: http://sewing.craftgossip.com/?p=89908 --Anne
ReplyDeleteThat's great, Anne! Thanks for the shout-out!
DeleteThis is really inspiring! I may copy it someday.
ReplyDeleteGreat idea and it looks amazing.
Chickie
I'd love to see your version if you do!
DeleteLove, Love, Love! So awesome!!!
ReplyDeleteThanks!!!
DeleteI keep coming back to look at it!!!
ReplyDeleteJJ
I find myself petting it every time I walk by where it's draped on our bench in the bedroom. :)
DeleteThis is so impressive! I love it!
ReplyDeleteThanks, Angelle!
DeleteSuper creative, very inspirational. Kudos.
ReplyDeleteThank you, Ginny!
DeleteSlip into the women's blue denim jeans - an elegant classic fashion rage that has been around for ever. Fashion pundits firmly believe that every woman must have at least 2 or more blue denim jeans in their closet! A lovely fit, flattering your style with panache, they match with just about anything you will wear.
ReplyDelete