


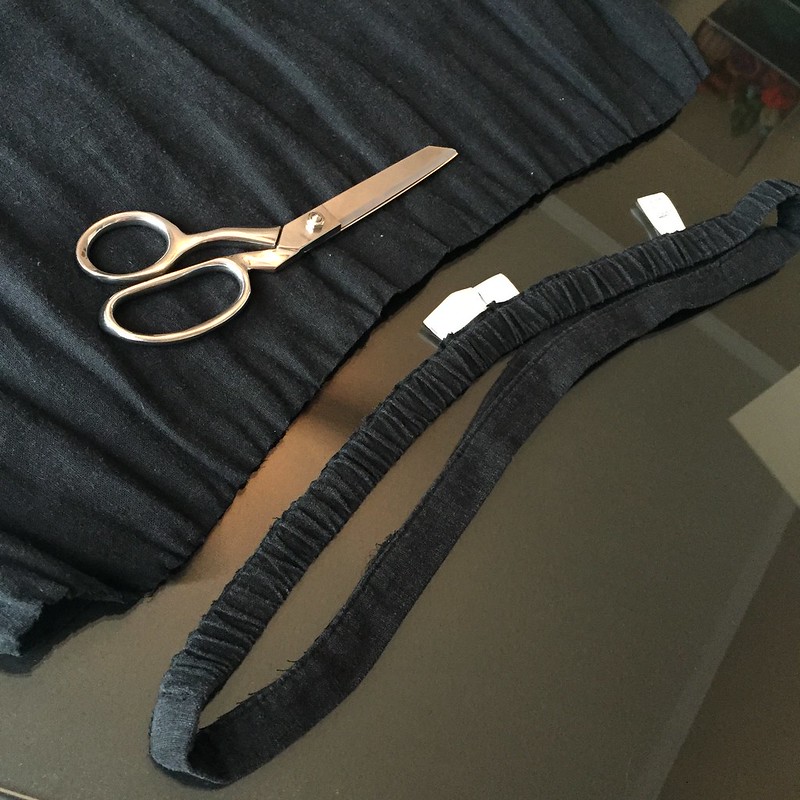
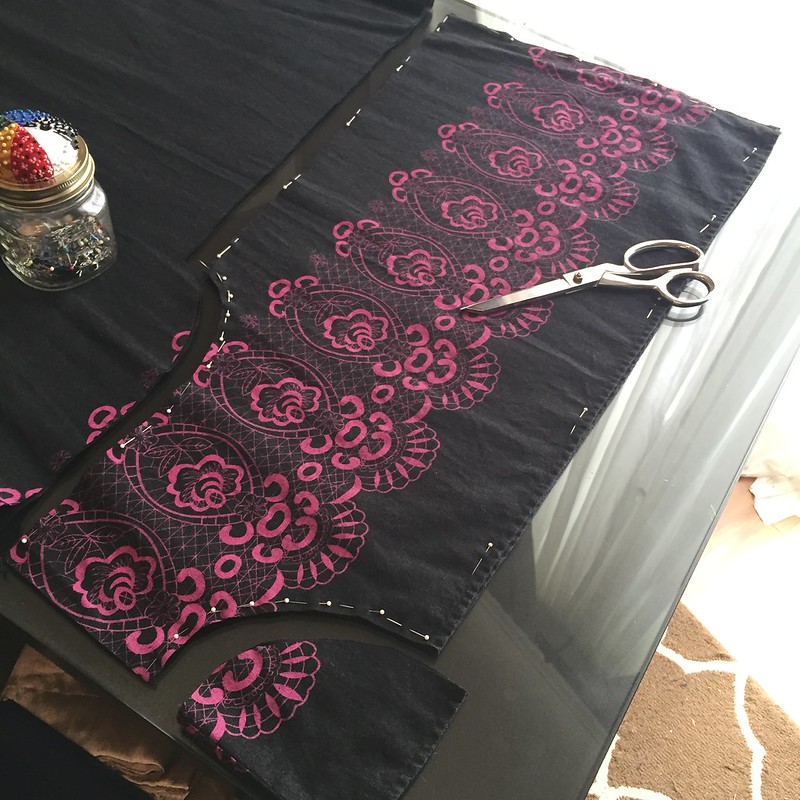
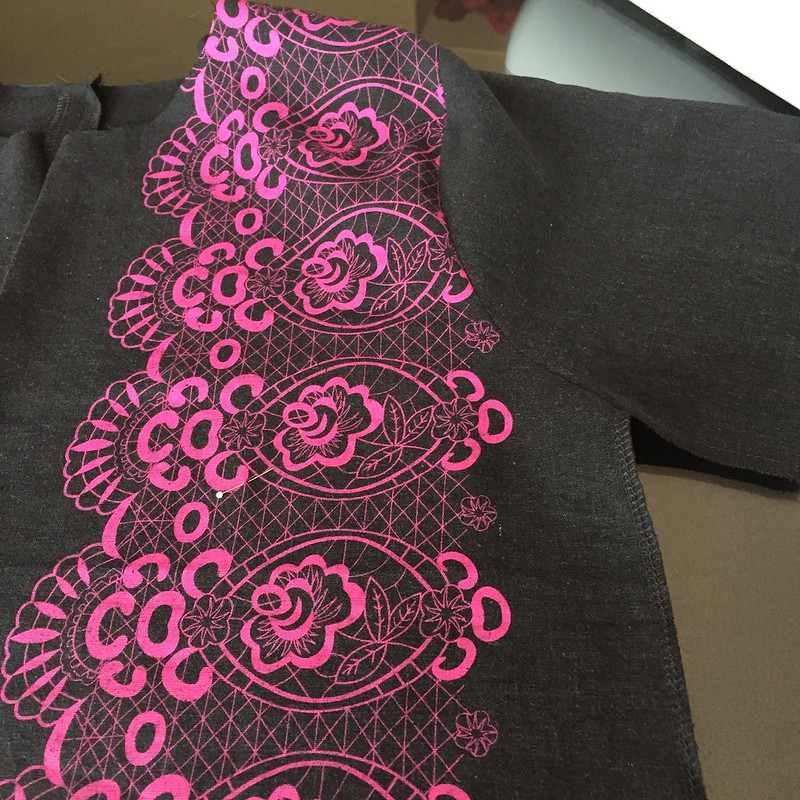
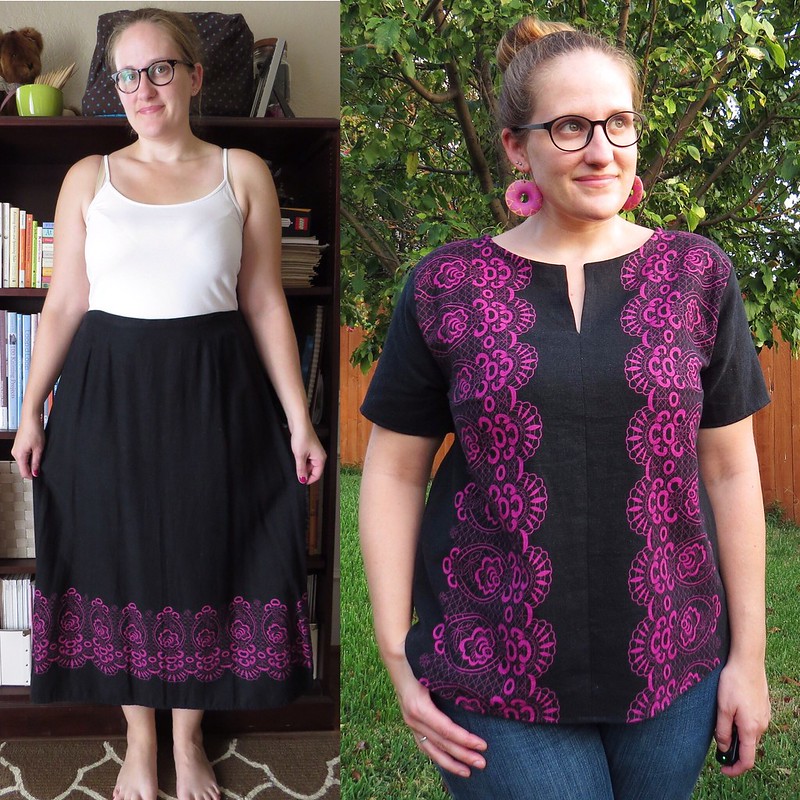
First, I cut off the waistband and picked out the darts. My plan was to place the pink pattern vertically on my tunic, using the front of the skirt as one side panel of the front of the tunic and the back of the skirt as the other side panel. So I used a well-fitting non-stretchy shirt to trace out the body, leaving a seam allowance along the skirt bottom hem that will be joined down the center front of my tunic.
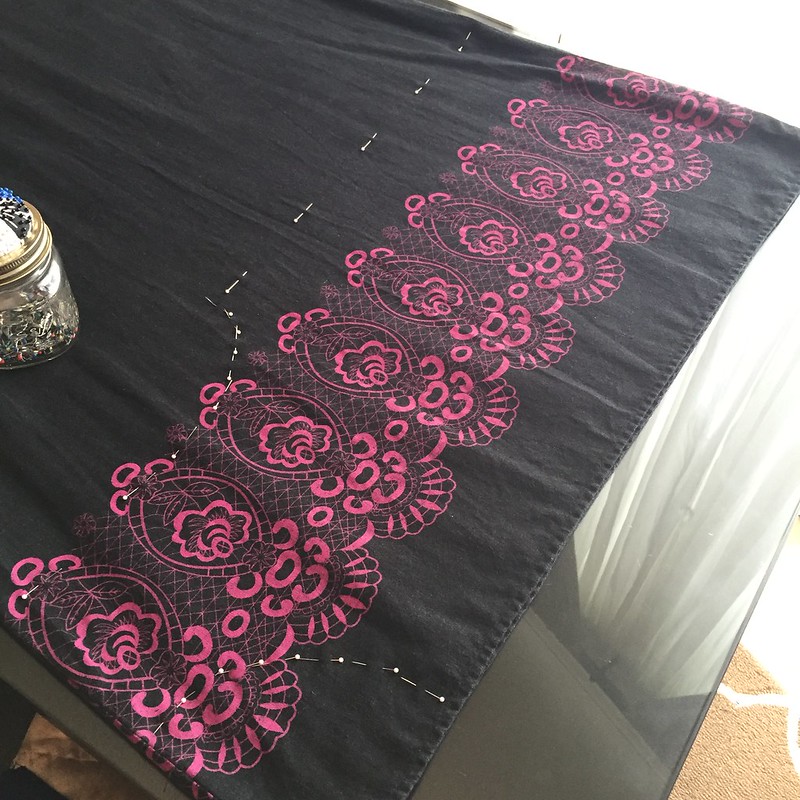
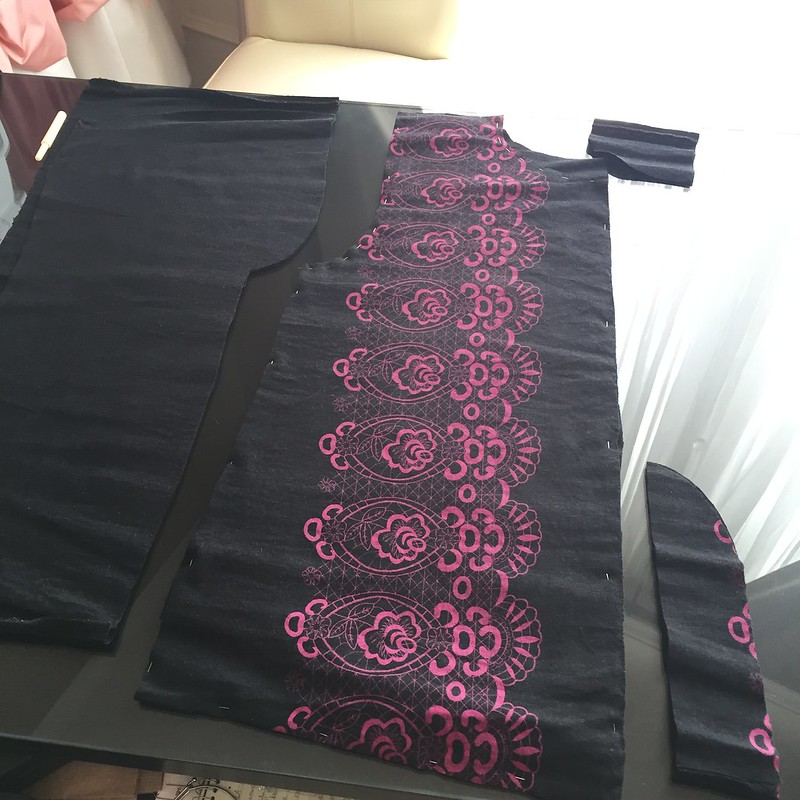
Then I flipped my pink panels up to the solid black portion of the skirt and cut two halves for the back of my tunic. From the remnant of the skirt, I cut two sleeves. Then I serged all the edges of all my pieces, with the exception of the neck hole edges.
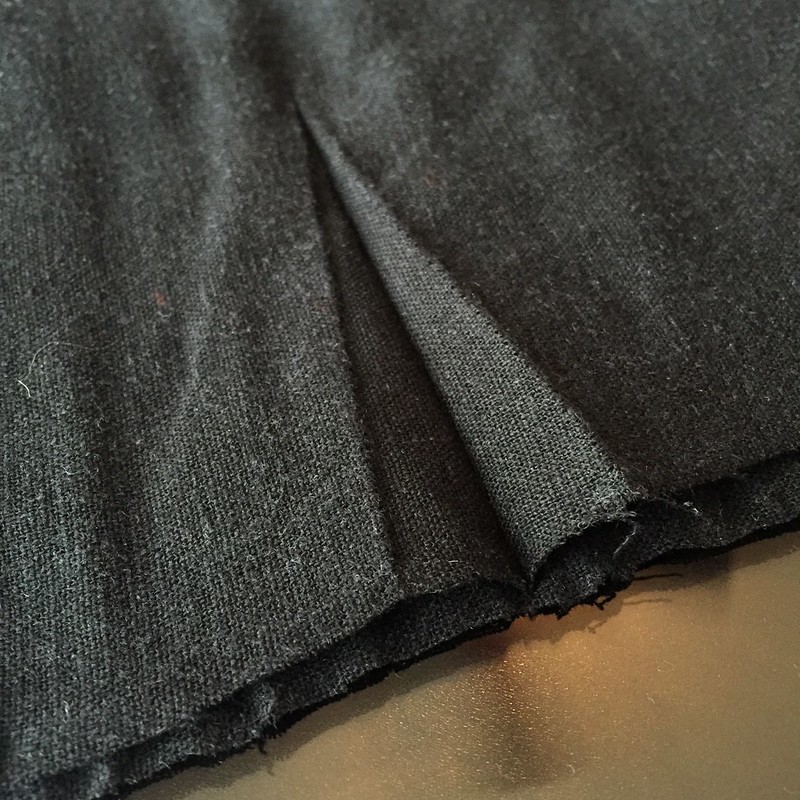
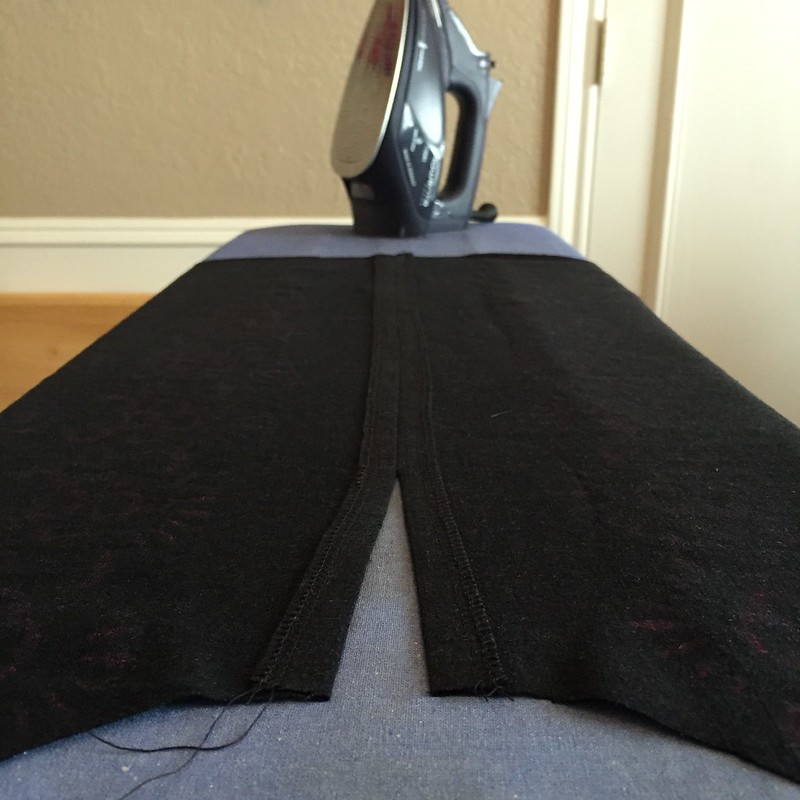
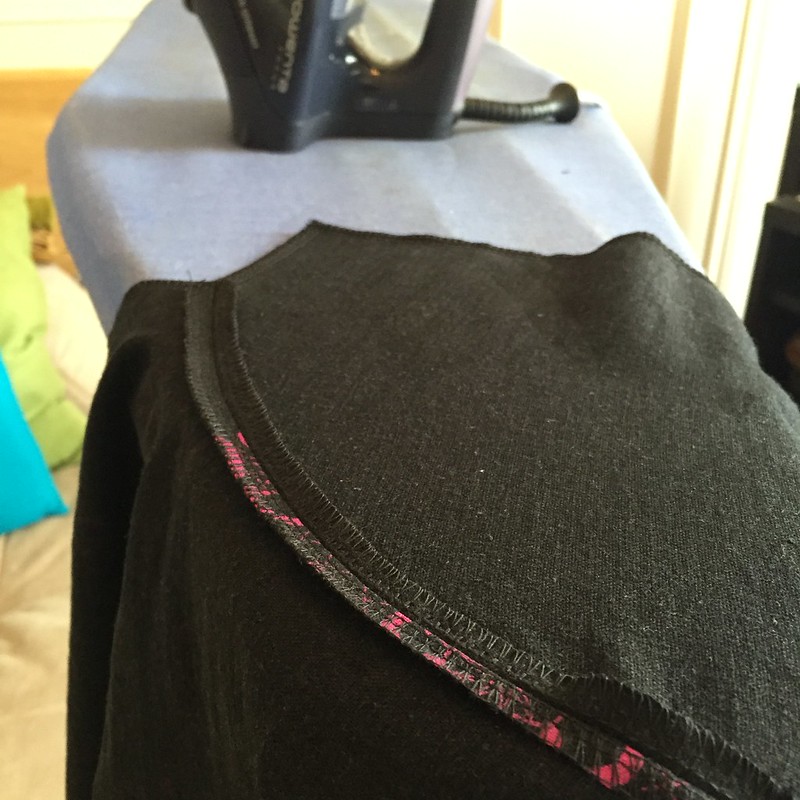
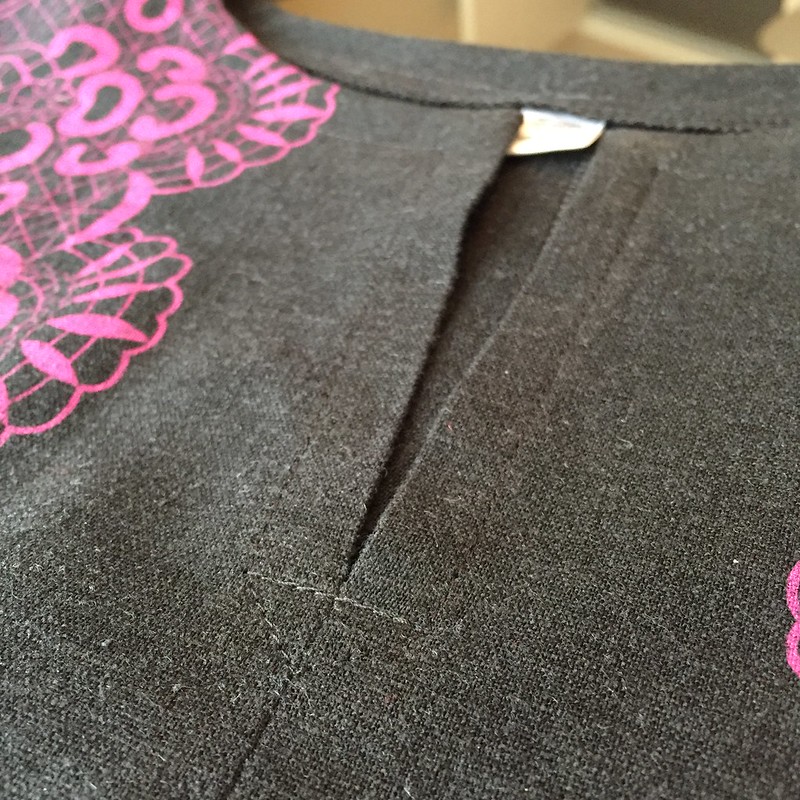
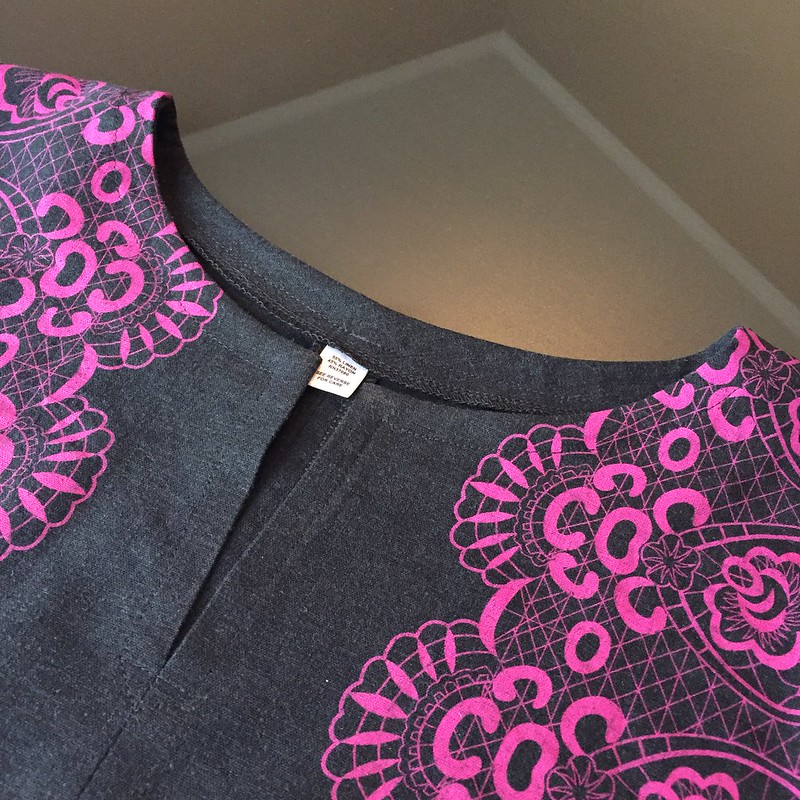
I stitched the front panels to each other and the backs to each other. I left the top 5 inches of the front seam open, but still pressed the seam allowances under all the way to the top. Then I joined the front and back at the shoulders, sloping downward slightly, and pressed those seams as well.

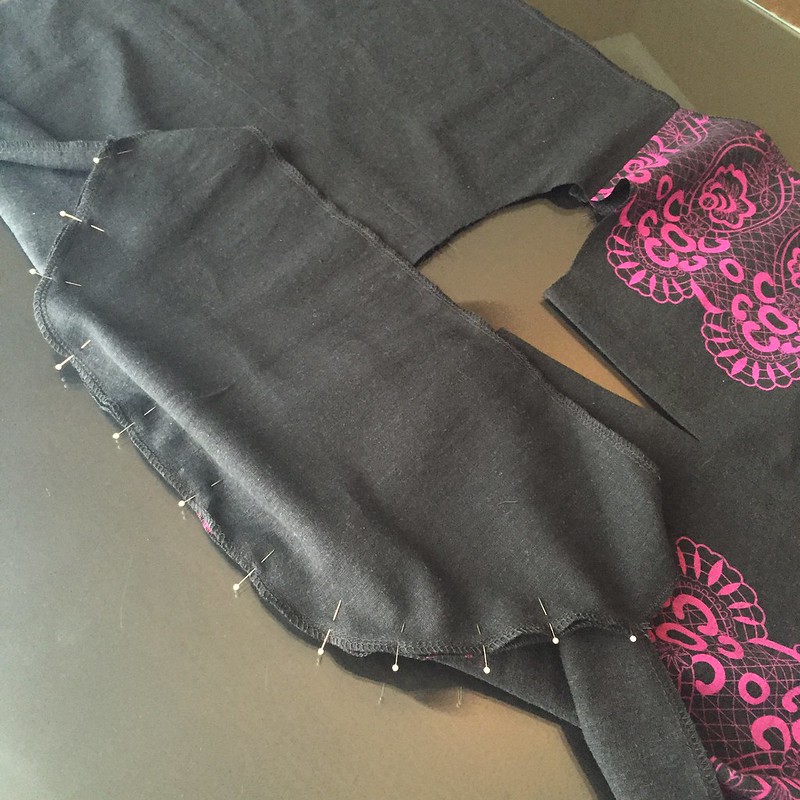
Next, the sleeves were added and their seam allowances pressed.
I draped the tunic-to-be over my shoulders and marked where my bust darts should be, then pinned, sewed, and pressed those.
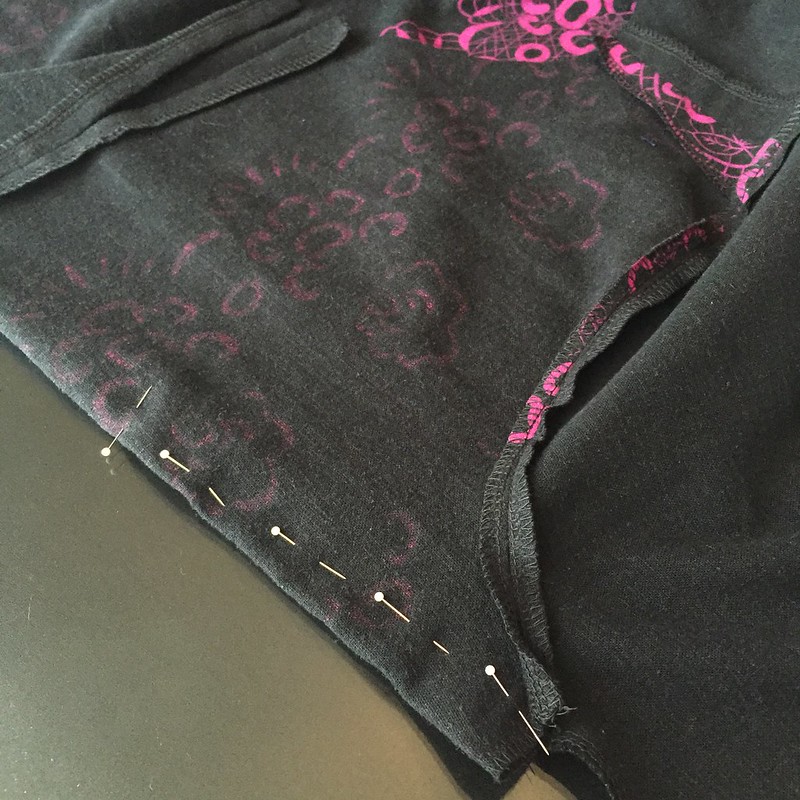
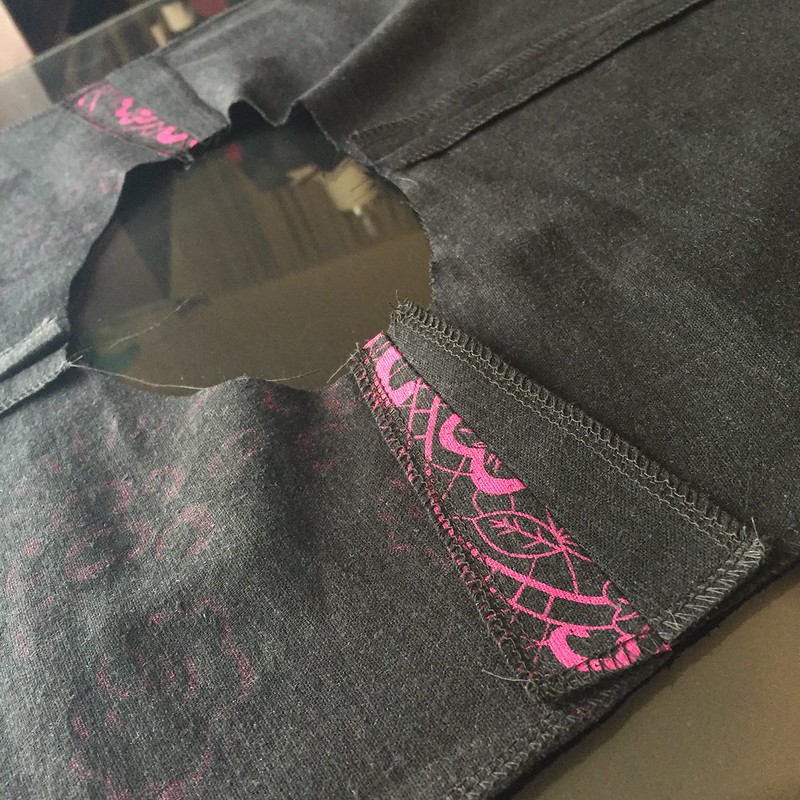
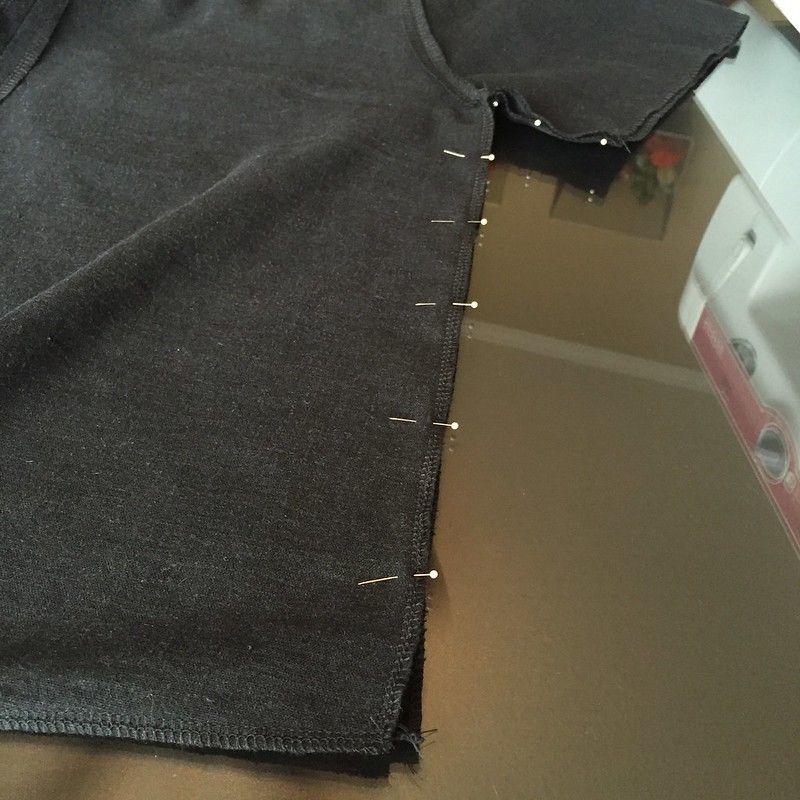
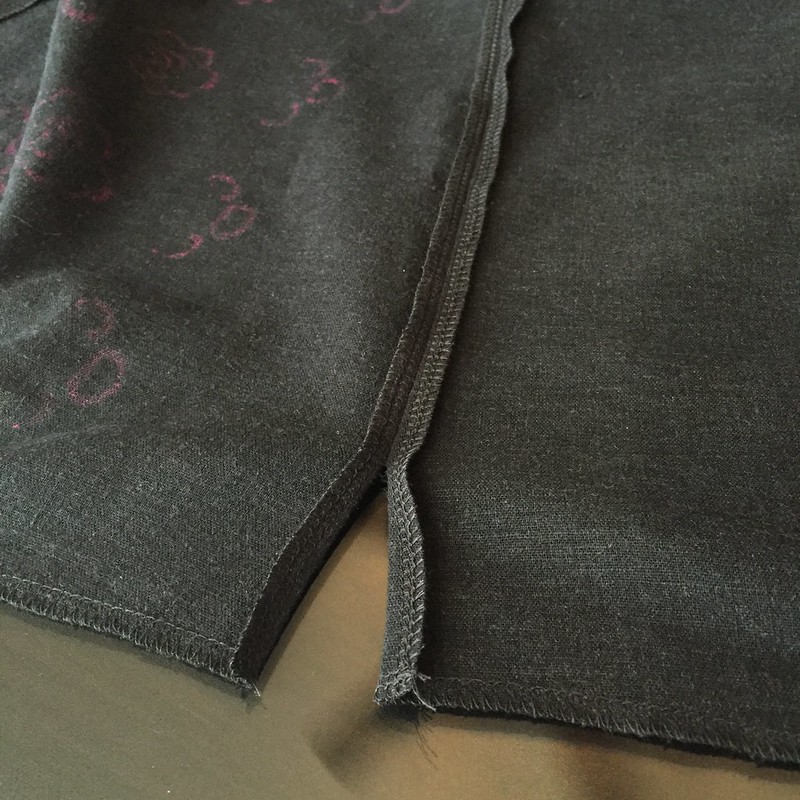
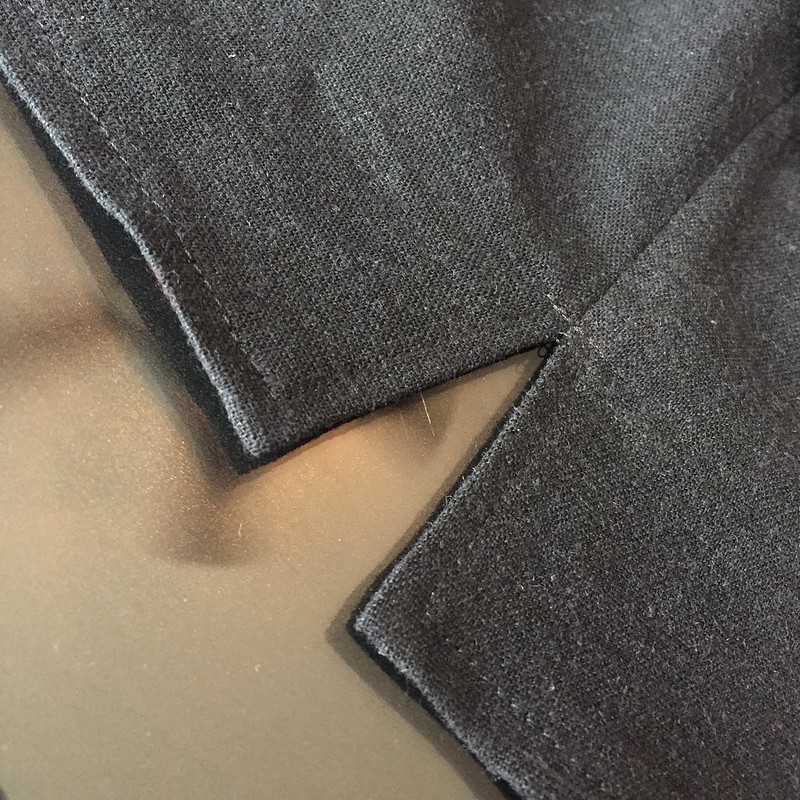
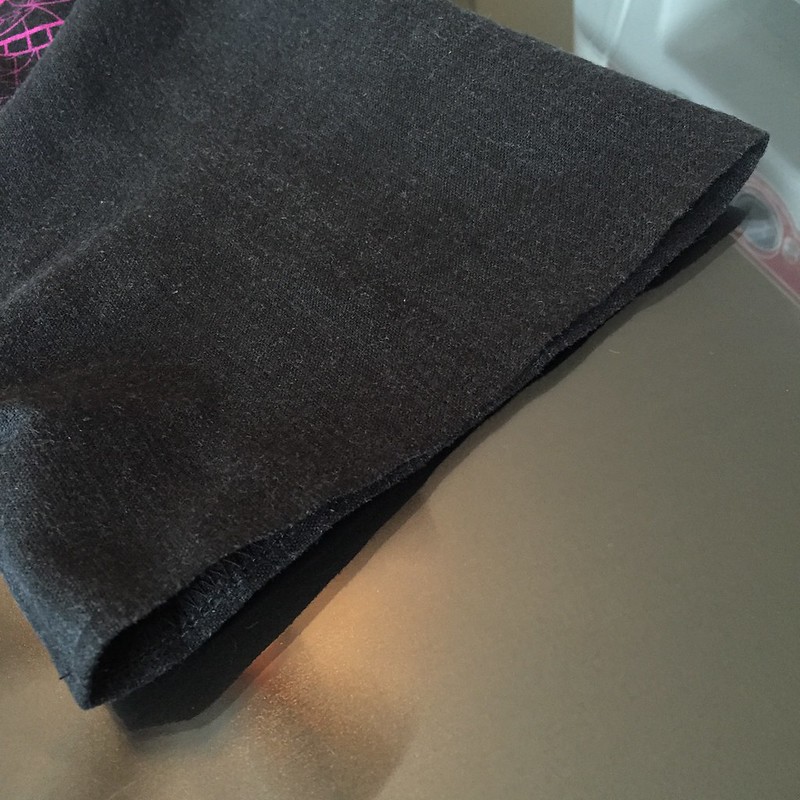
Finally, it was time to sew up the sides and sleeves. Again, I left the bottom 2 inches un-stitched, but still pressed the seam allowances under. I also pressed the bottom edges upward and sewed my new hem, including some horizontal stitch to reinforce the side slits. And I hemmed the sleeves as well.
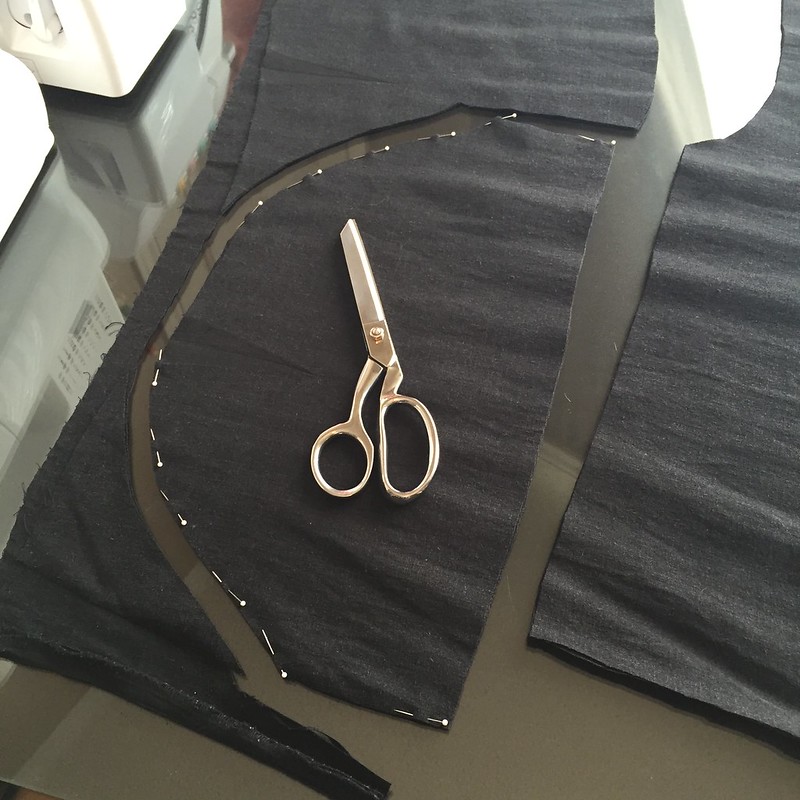
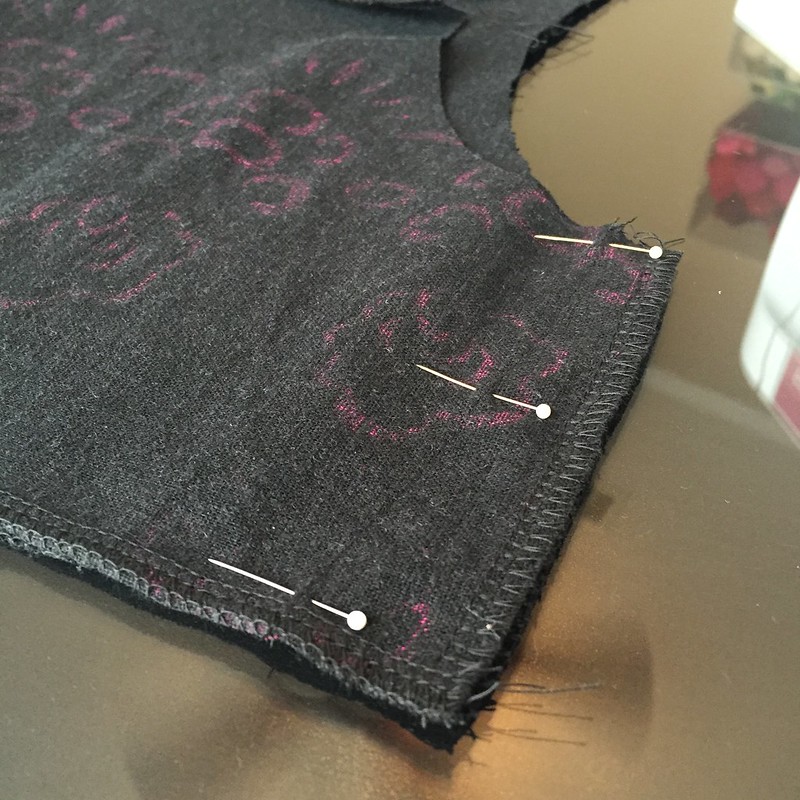
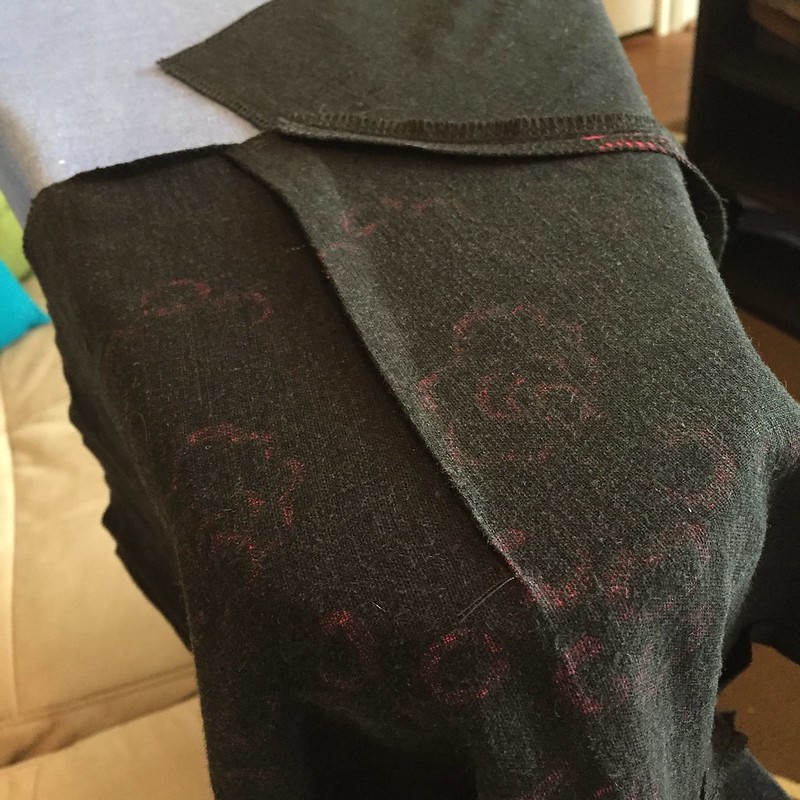
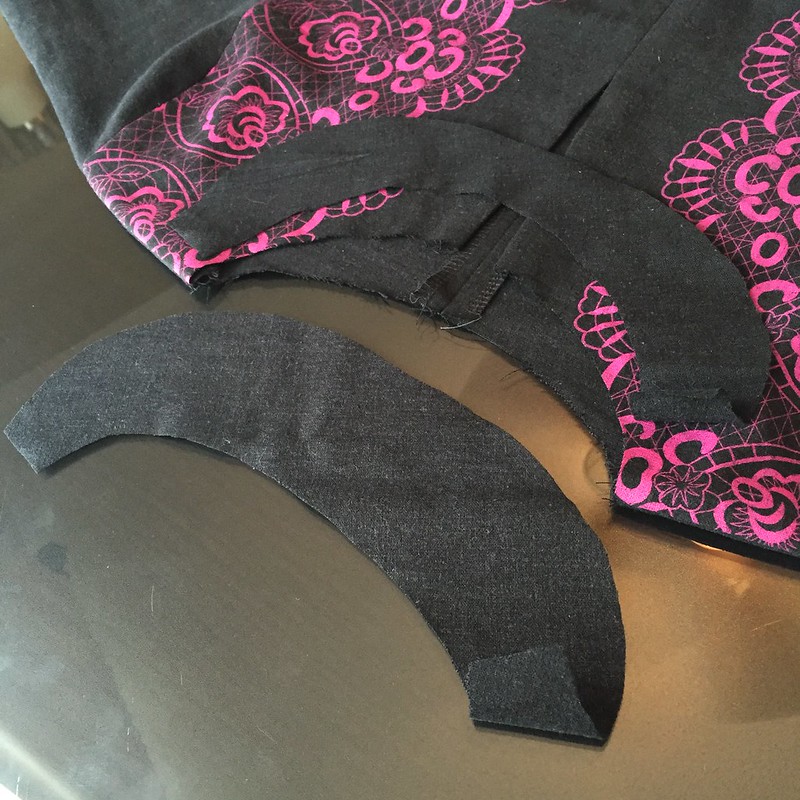
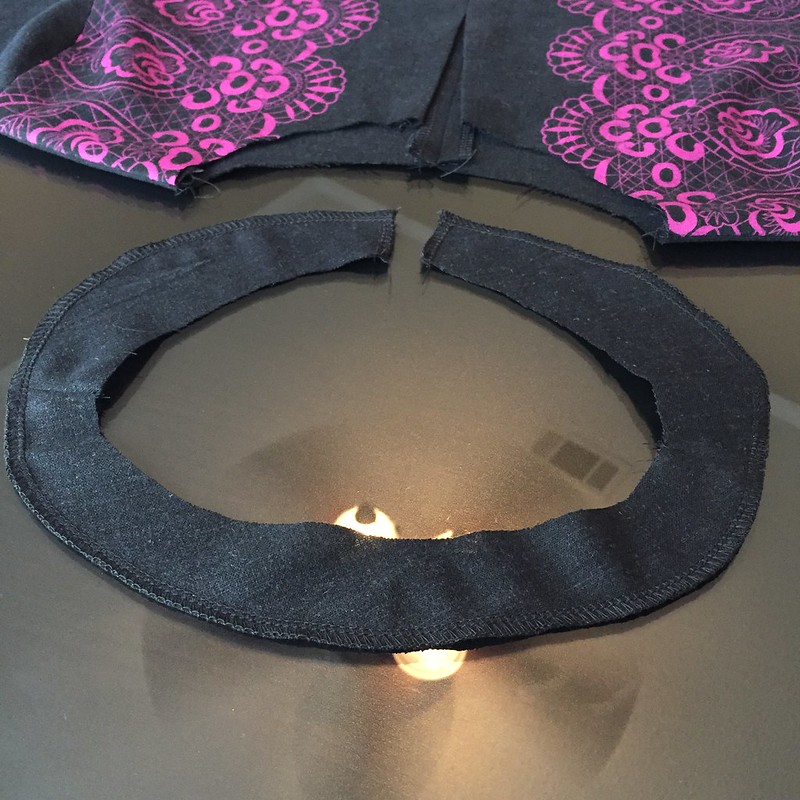
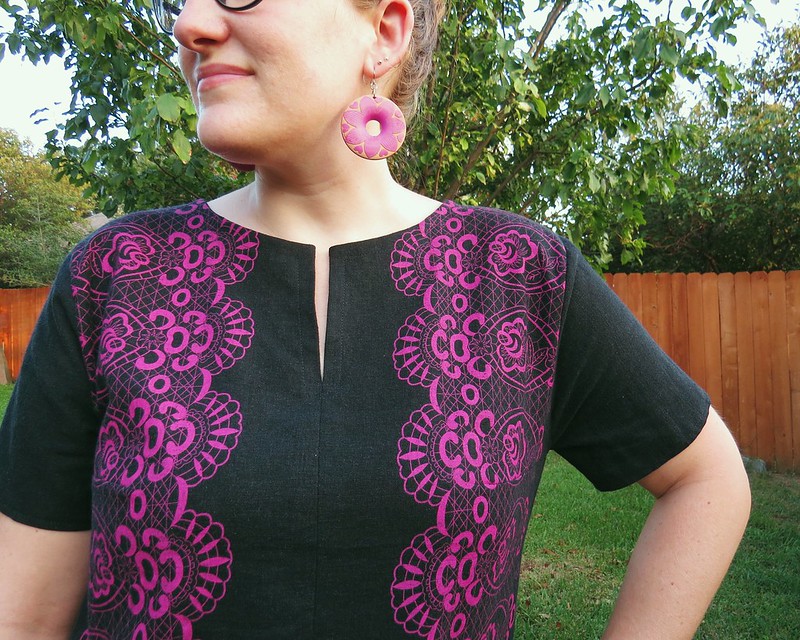
With my neck edge still raw, I knew I wanted to do a facing on the inside for a nice, clean finish. I cut two semi-circles from my remnants to mirror the front and back neck curves. I then stitched the facing pieces together, cut the front up the center, and serged the out edges. Next I pinned and serged my facing around the neck edge.
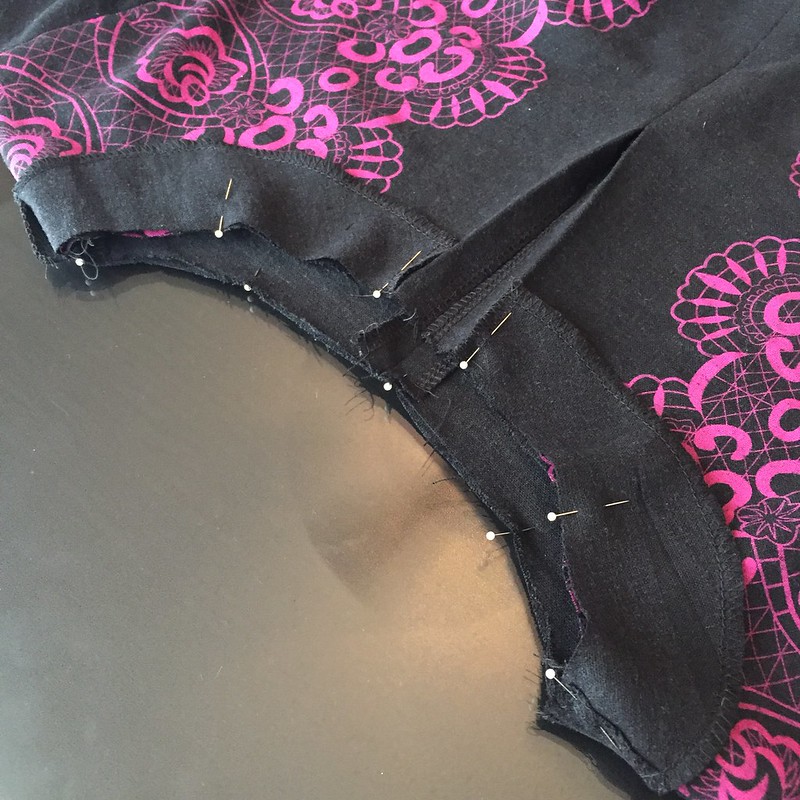
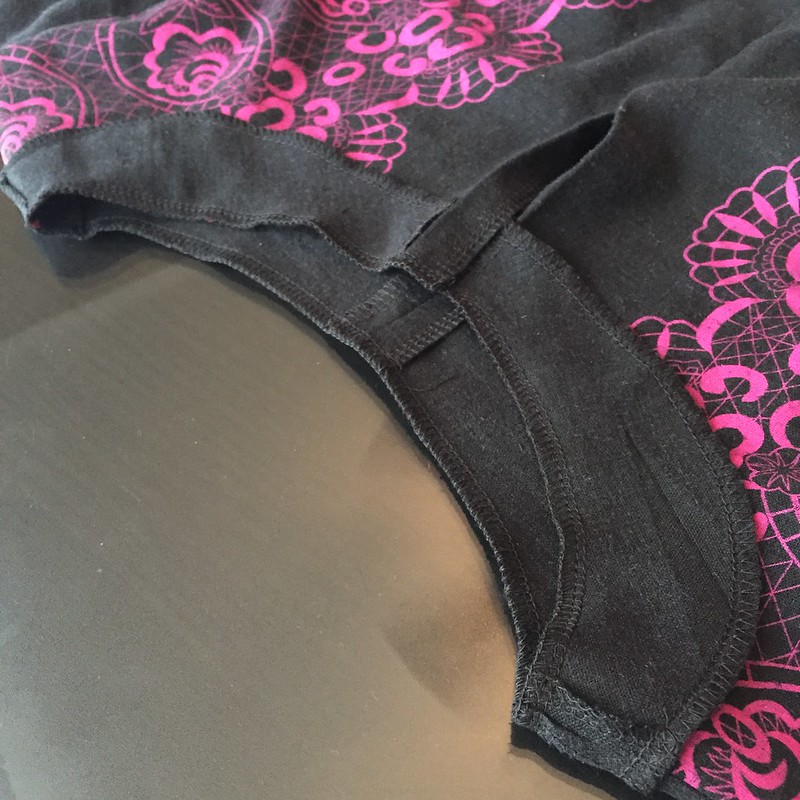
I flipped the facing to the inside of my shirt and pinned them in place. I did a little top-stitched to keep them there, again making sure to reinforcing the front slit. And I stuck my salvaged laundering tag in there too.

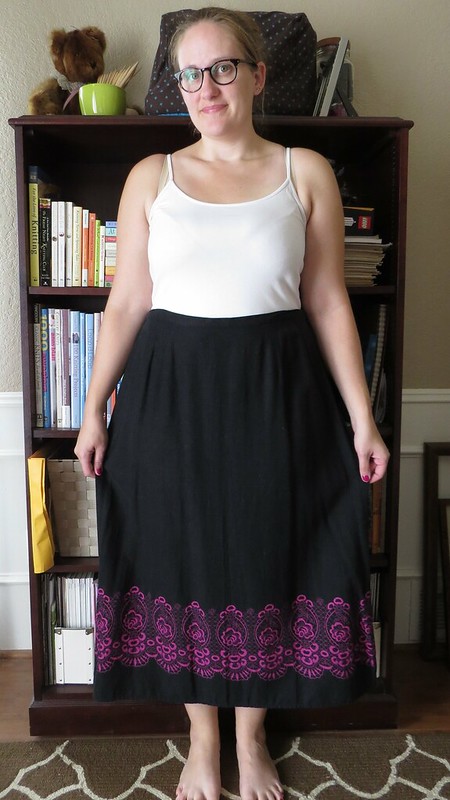
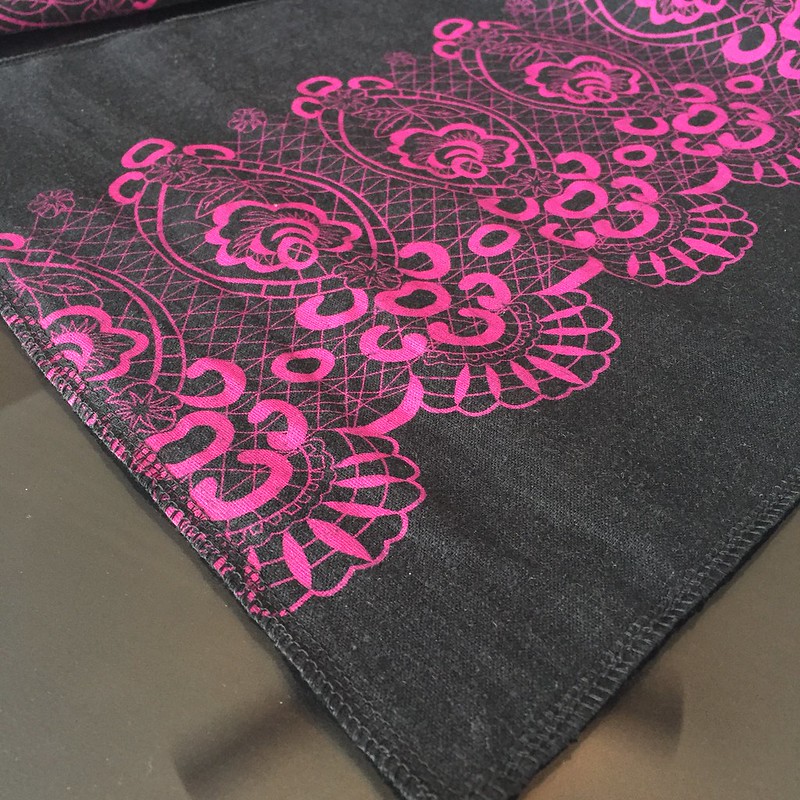
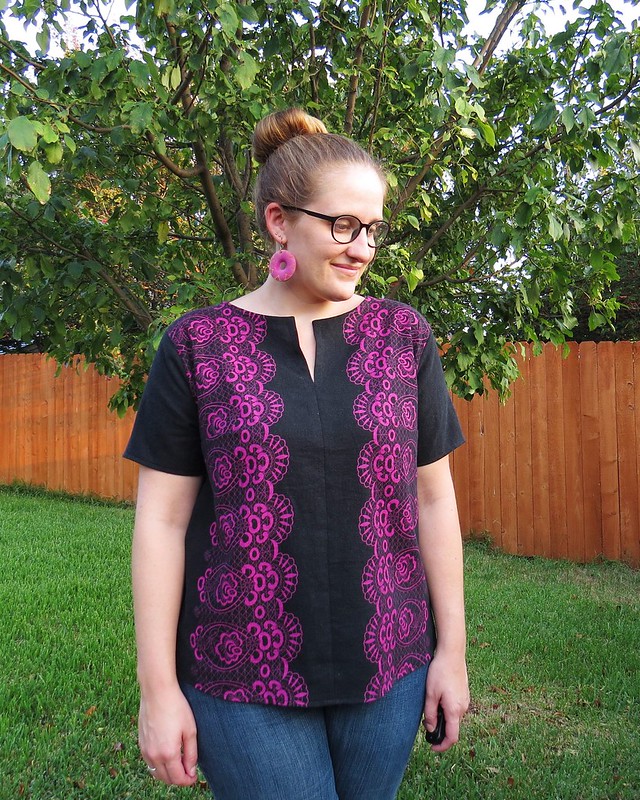
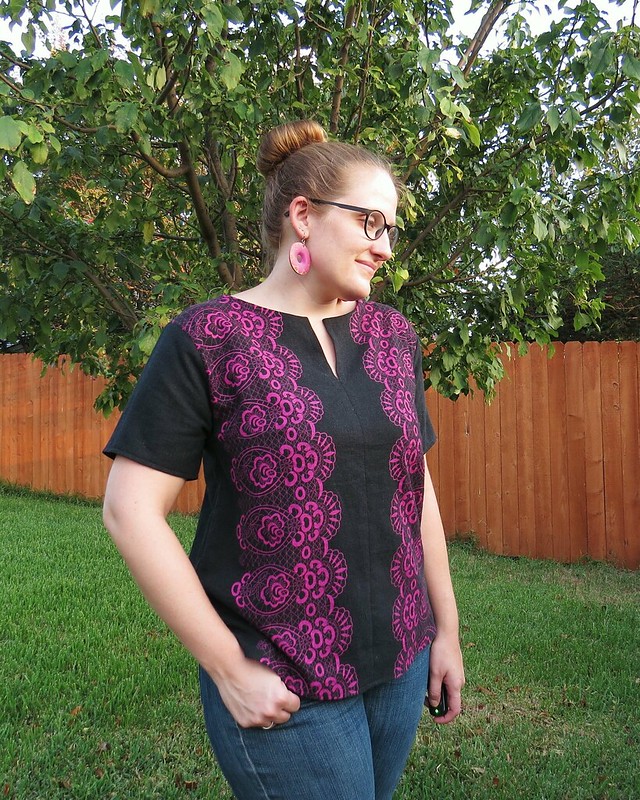
I absolutely love the end product, but I'm afraid it's not long enough to qualify as a tunic.
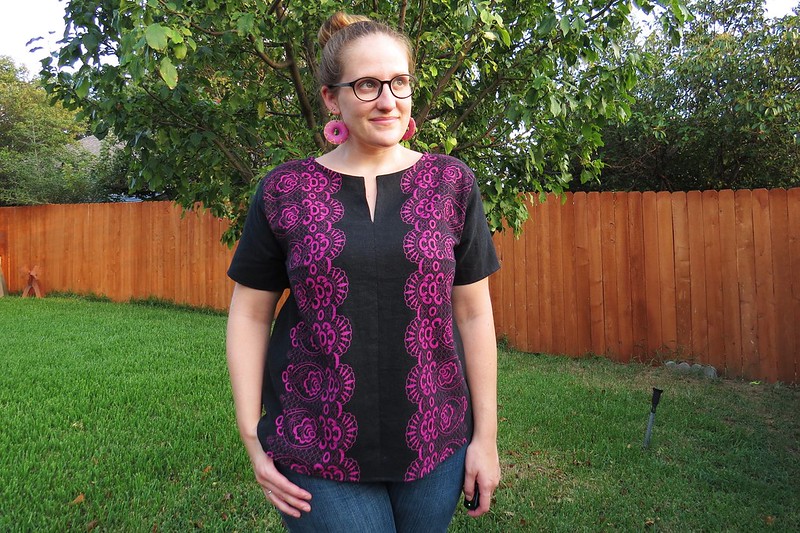
So back to the drawing board I went and devised my reversible coral and grey tunic instead, which I also absolutely love.

If you haven't a chance to visit The Renegade Seamstress and vote for your favorite tunic refashion, there's still time! Voting is open until Friday!
WOW Carissa, this is a high-impact refashion! It looks great and is so simple!
ReplyDeleteMy favorite kind of refashion - quick and easy, but creative!
DeleteLove it!
ReplyDeleteThanks!
DeleteI love what you did with this awesome border print...very creative! Now I will have to revisit my border-prints-in-waiting and rethink what I'd originally had in mind for them. Great tutorial :)
ReplyDeleteAbsolutely! If it's a woven fabric with the same amount of stretch vertically and horizontally, then the orientation doesn't matter that much.
DeleteThanks for your detailed photos and description. I do have a similar skirt--great idea!
DeleteOne of the best refashions I've seen, great job, wonderful creativity!!
ReplyDeleteThank you!!
DeleteI like it! Great job & it looks so cute on!
ReplyDeleteThanks! It's super comfy too! :)
DeleteThis shirt is AWESOME ! Easy care and comfy.
ReplyDeleteDefinitely! Can't beat linen in the heat!
DeleteOh man this looks fantastic!!!
ReplyDeleteJJ
Why, thank you! :D
DeleteThis is beautiful! I have a question about bust darts. When you add them, doesn't it make the front piece shorter, then when you try to sew the front to the back, the back would be too long? I'm a self taught sewer and I'm trying to wrap my head around how darts work in woven fabrics! Thanks!
ReplyDeleteExcellent question! It's true, bust darts will shorter the side edges of the front panel, leaving the full length in the middle though to cover The Girls. With my reversible tunic from last Saturday, I wanted the back to be a couple inches longer than the front, so I left the side seams uneven on purpose. With this top, however, since I cut the solid black back panels from further up the skirt, they were already a couple inches shorter than the pink patterned front panels. So the bust darts actually shortened the front's side edges to be the same as the back. Hope that clears some things up, but let me know if you have any other questions.
DeleteIt turned out great! Very nice job turning the pattern sideways. Much more flattering.
ReplyDelete