


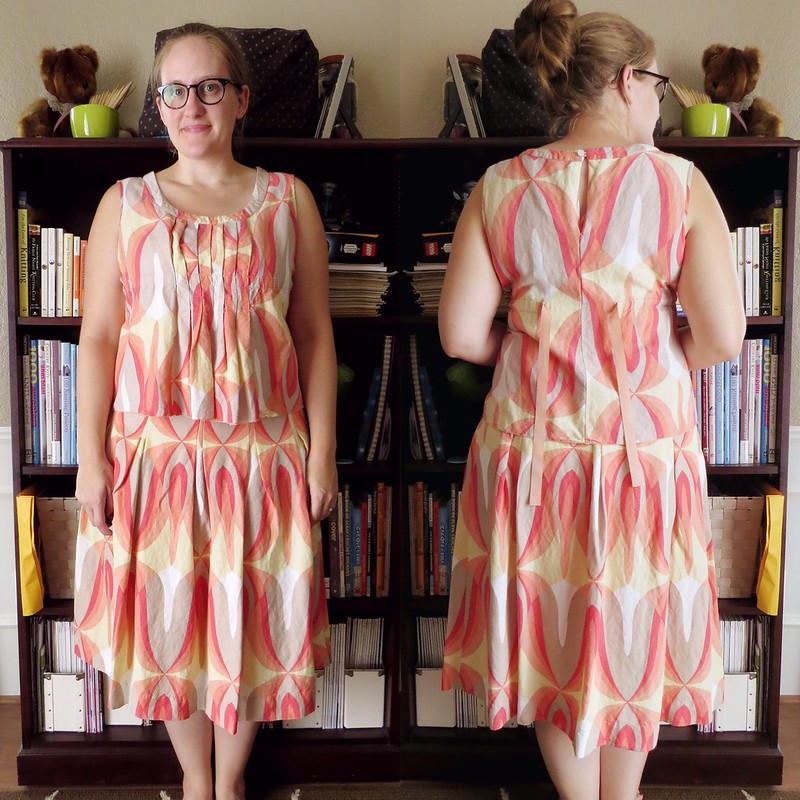
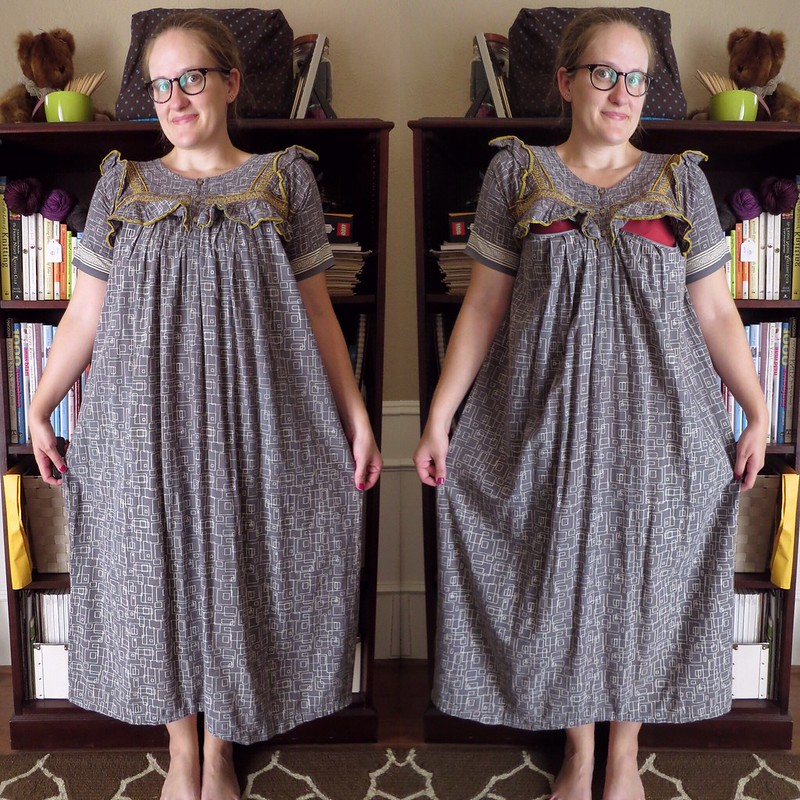
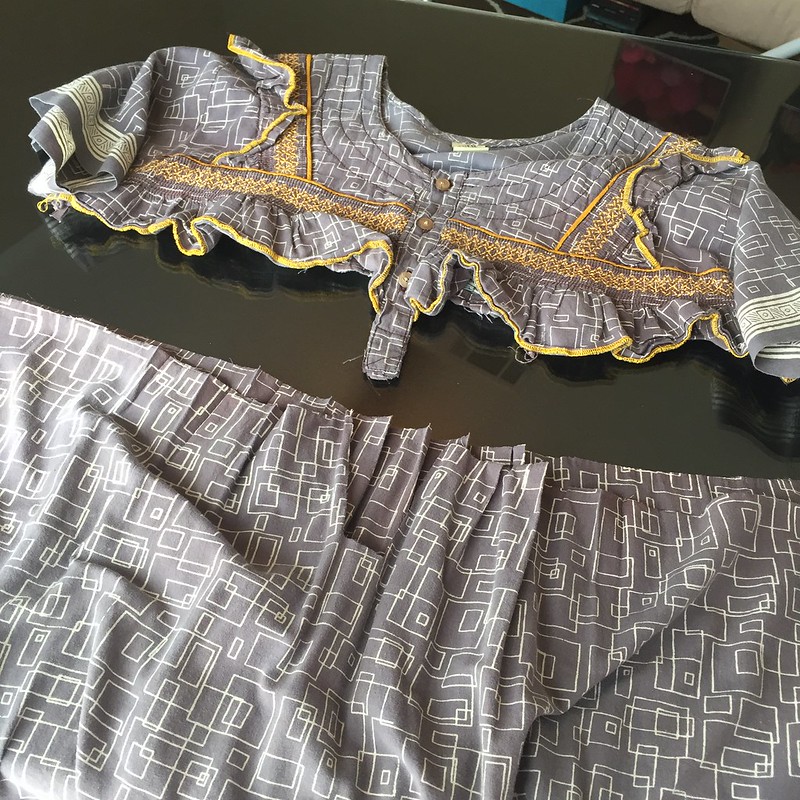
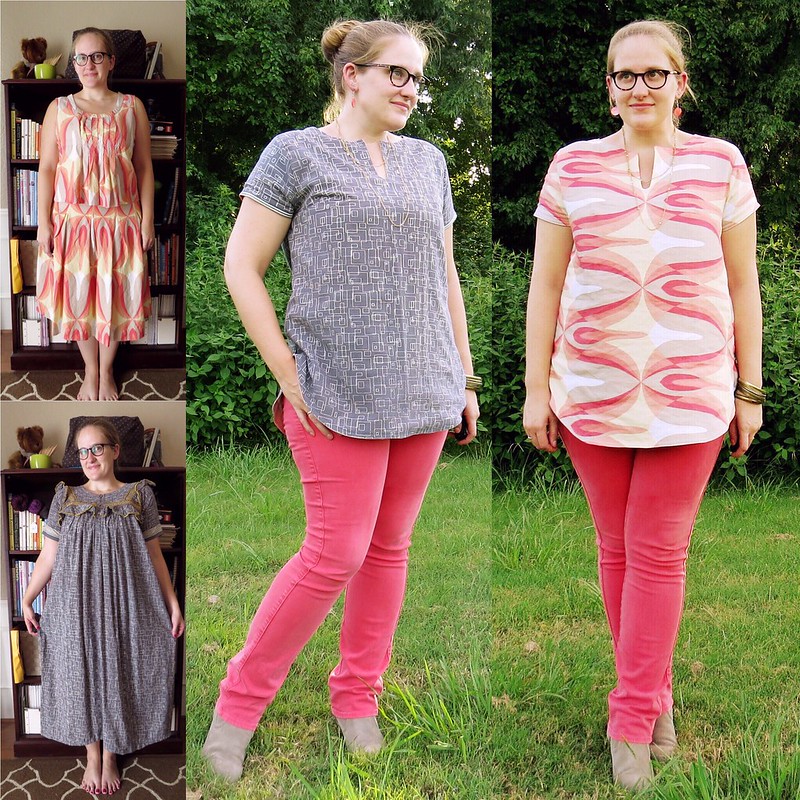
Unfortunately, this fabric was a bit thin to be worn by itself, I thought, so I began to ponder my options for a lining. That's when the light bulb went on. REVERSIBLE! Another dive into the stash produced this cotton muumuu with convenient nursing zippers hidden under the front ruffles. This one came from Goodwill a while back for... $3?
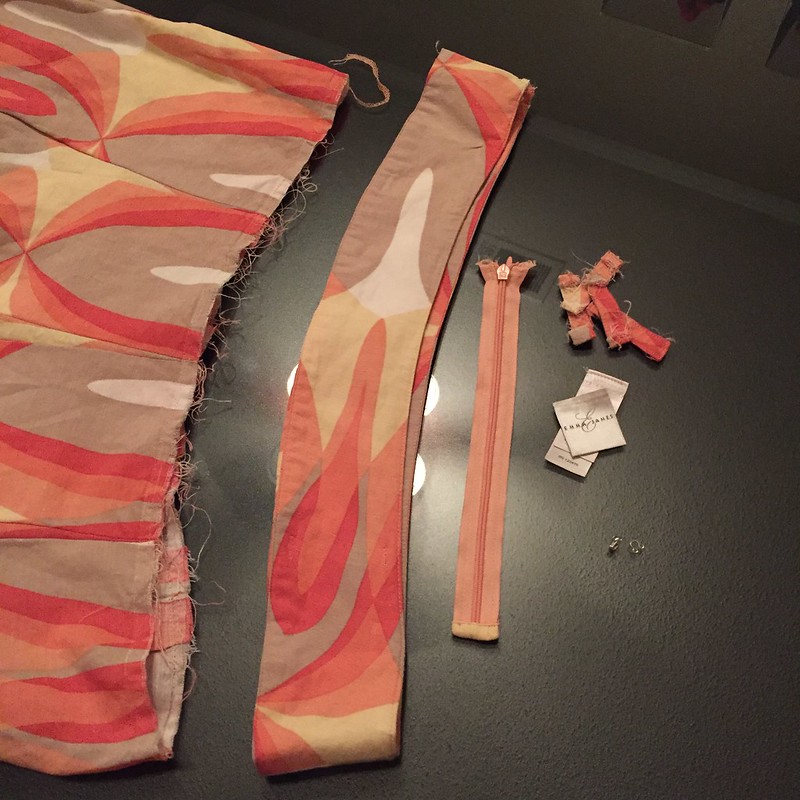
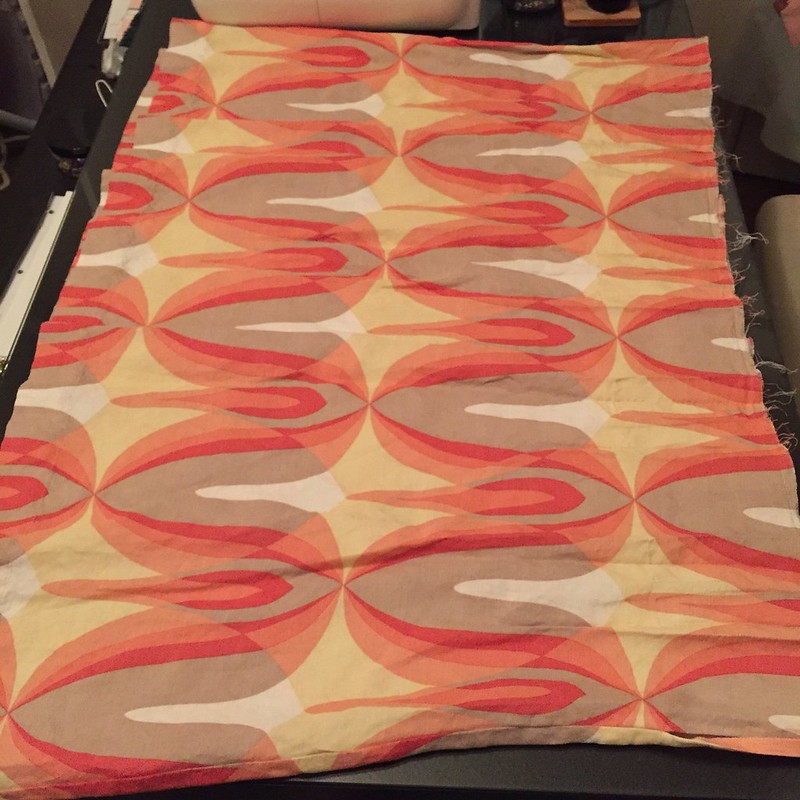
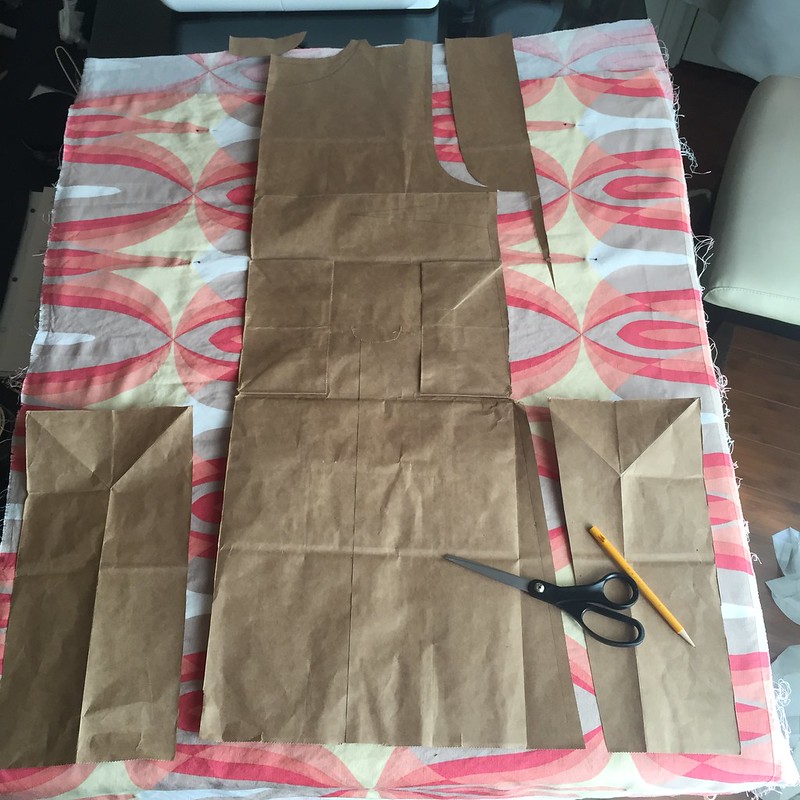
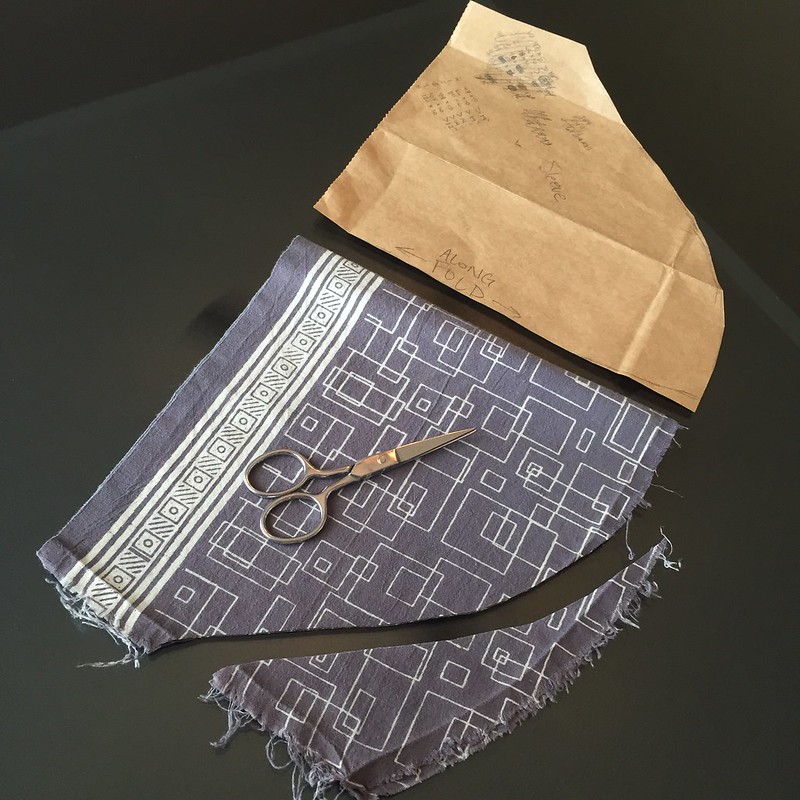
I began by removing the belt loops, hook and eye, zipper, and waistband from the skirt. Then I meticulously picked out all the box pleats and pressed out the wrinkles. I cut open a paper bag and drafted a pattern with a slight flare to accommodate my hips, and used it to cut out my front and back panels with the skirt fabric turned sideways.
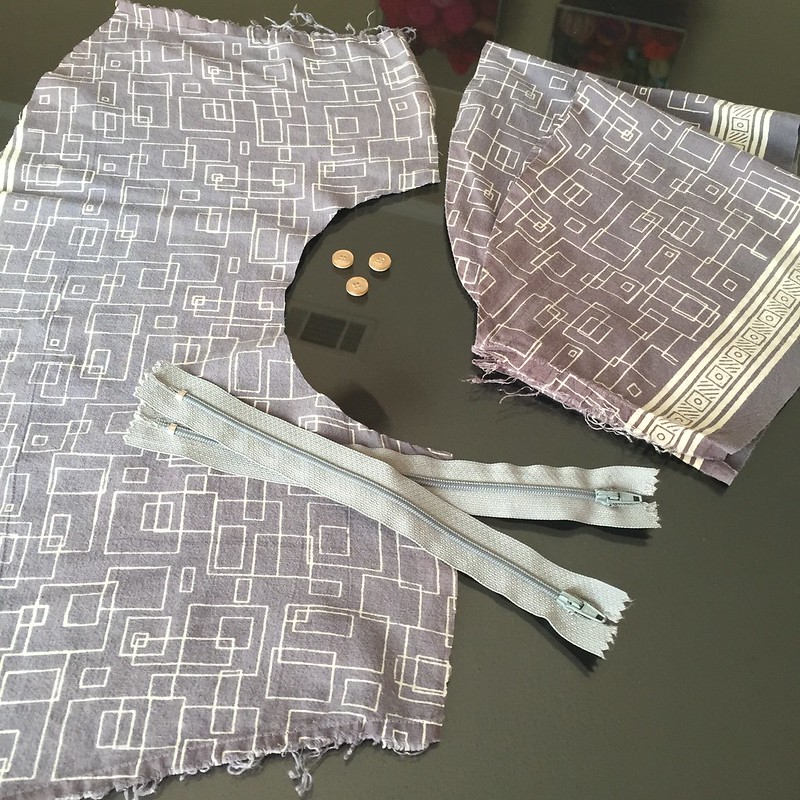
I removed the yoke from the muumuu so I could lay the body fabric flat and cut another set of front and back panels. I also salvaged the sleeves, buttons, zippers, and upper back panel from the yoke.
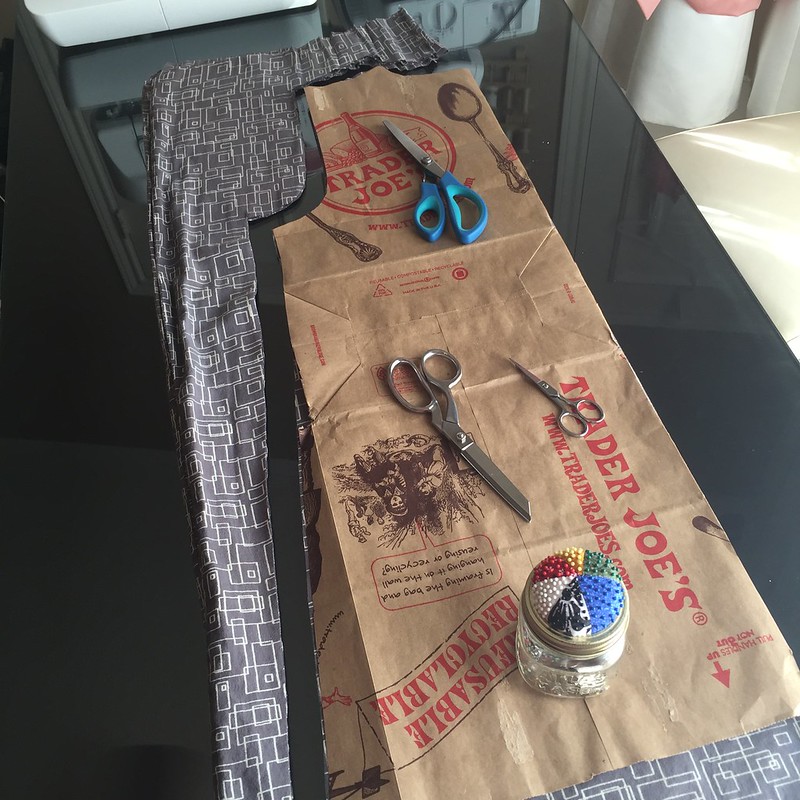
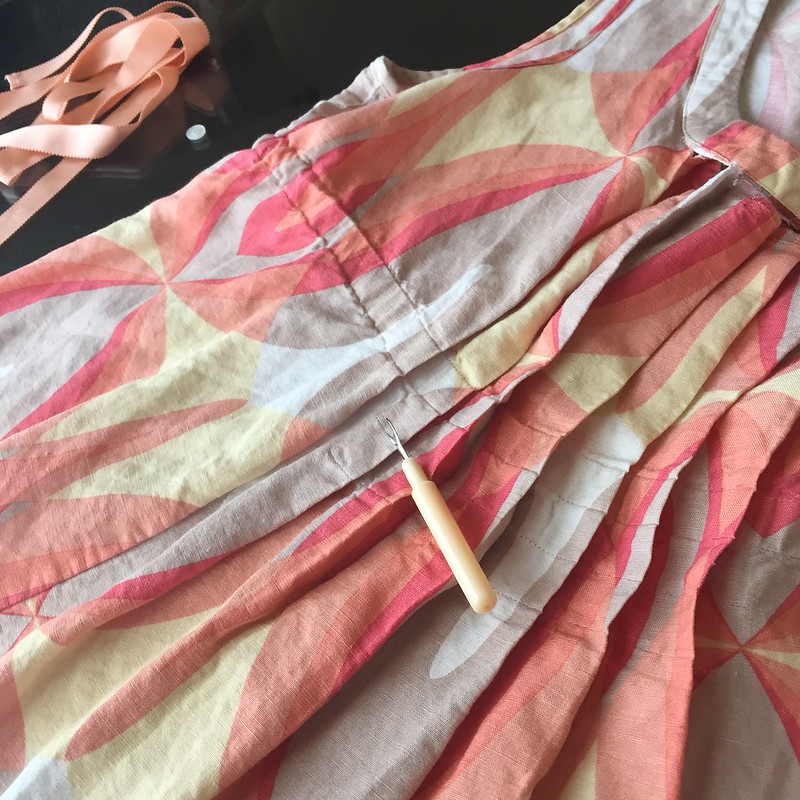
Using my self-drafted sleeve pattern, I trimmed the grey sleeves to have a more rounded sleeve cap. Then I disassembled the coral patterned top, removing the ribbon and button and picking out the pleats from the front center panel - the largest single piece of fabric in the shirt. After a quick press, I was able to just barely eek out two sleeves from that center panel.
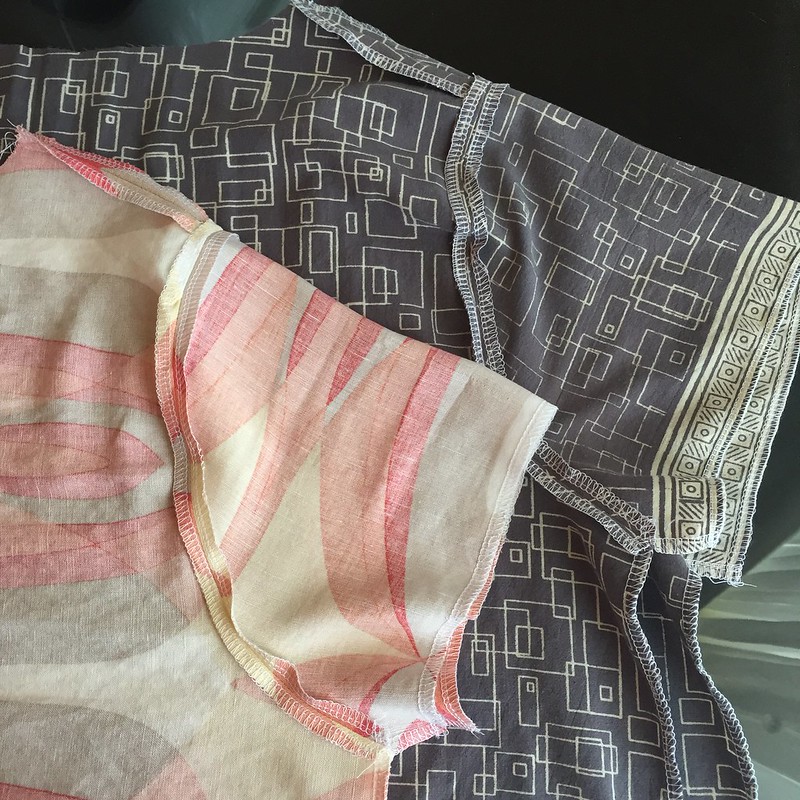
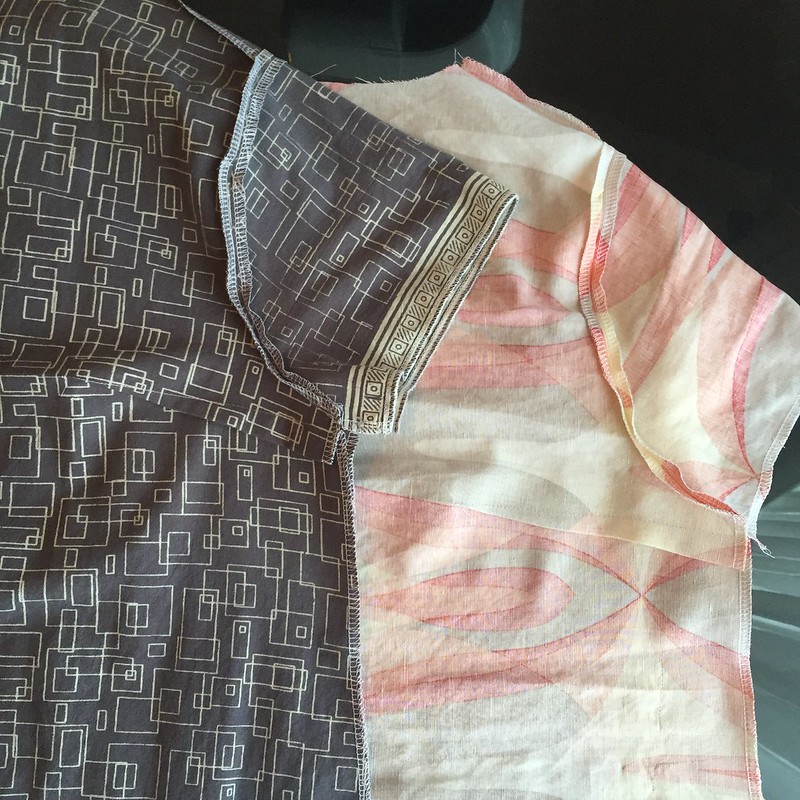
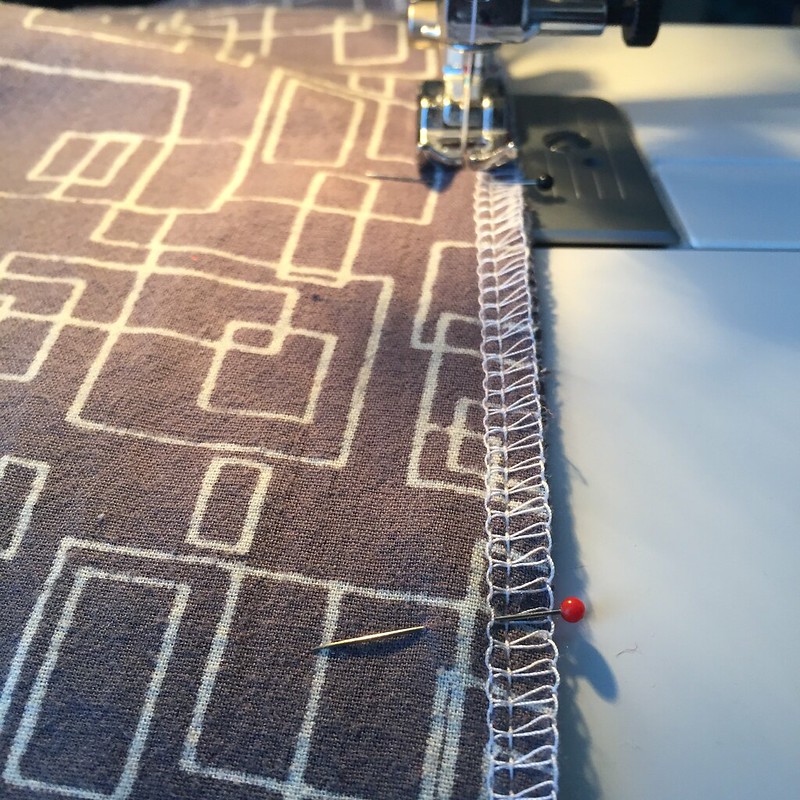
I serged all the edges of all eight pattern pieces, with the exception of the neck edges. Then I began assembly with the shoulder seams - stitched and pressed!
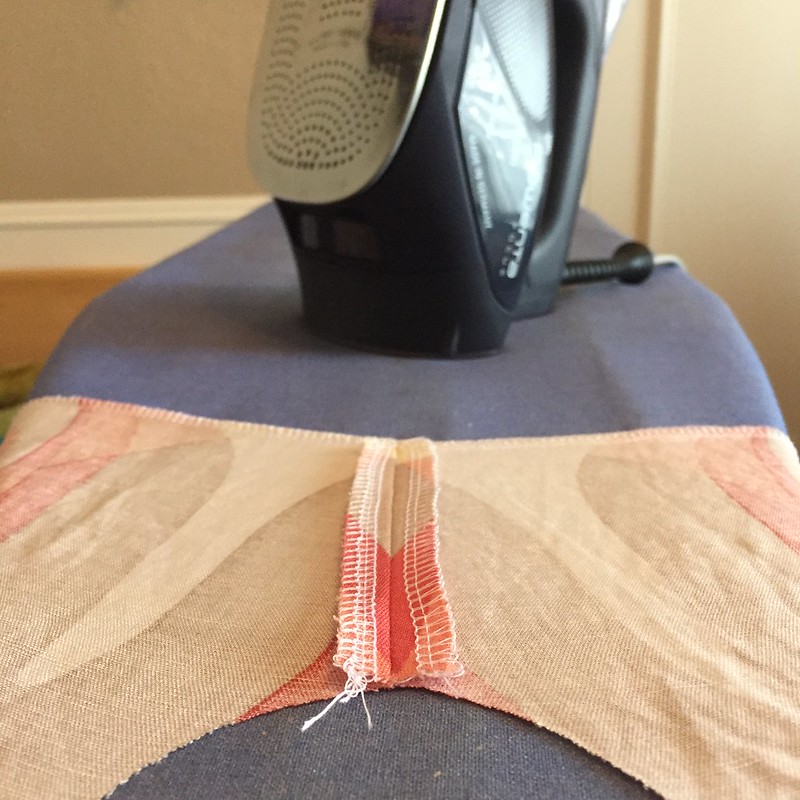
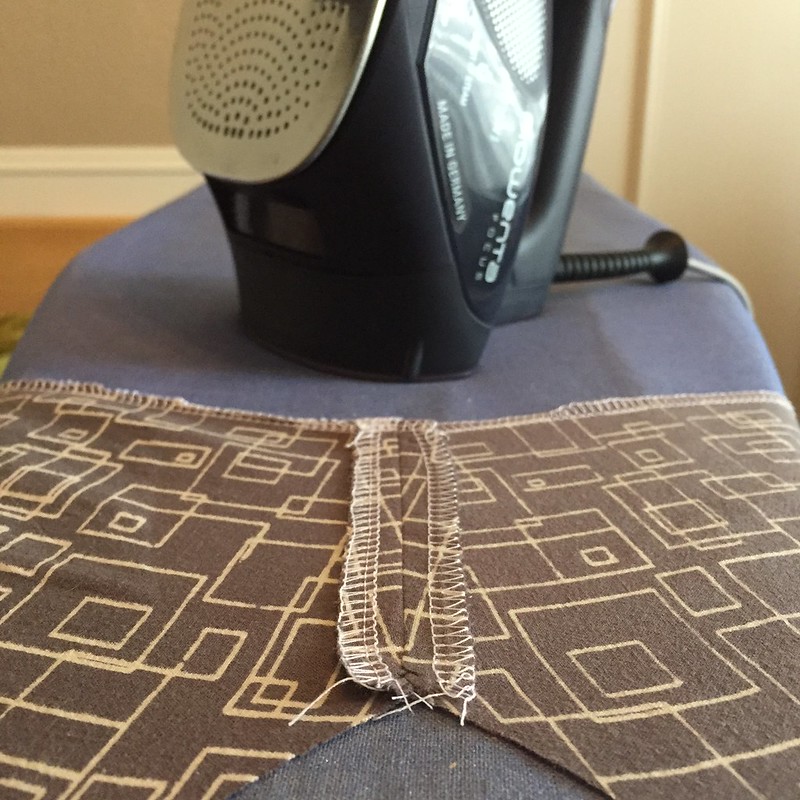
Next, I added the sleeves by pinning the center of each sleeve at the shoulder seam, then working outward toward the underarms. Each seam then had its turn under the iron.
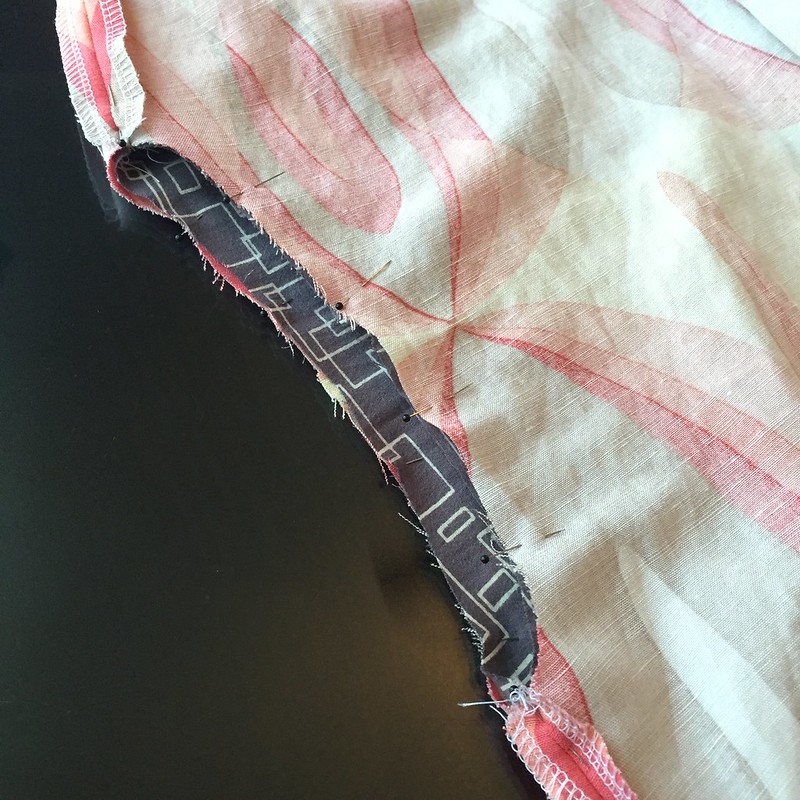
I wanted my tunic to have a slightly more fitted appearance than a traditional kurta, so I pinned, sewed, and pressed four bust darts, two for each fabric.

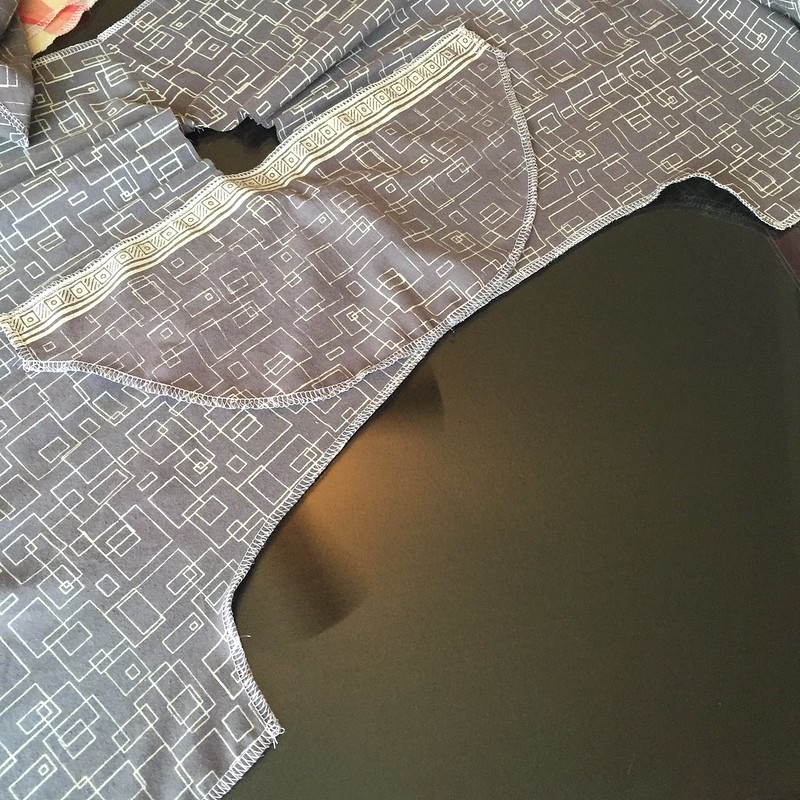
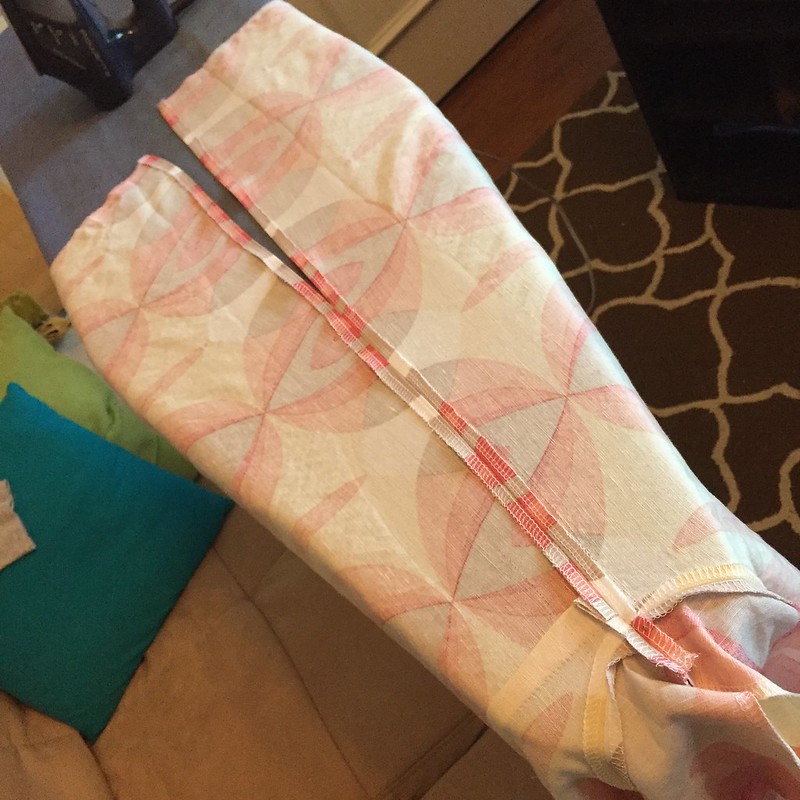
Then I stitched down the side seams about 12 inches below the underarms, leaving the rest open for the side slits. When I pressed these seams though, I went ahead and pressed the edges of the slits as well.
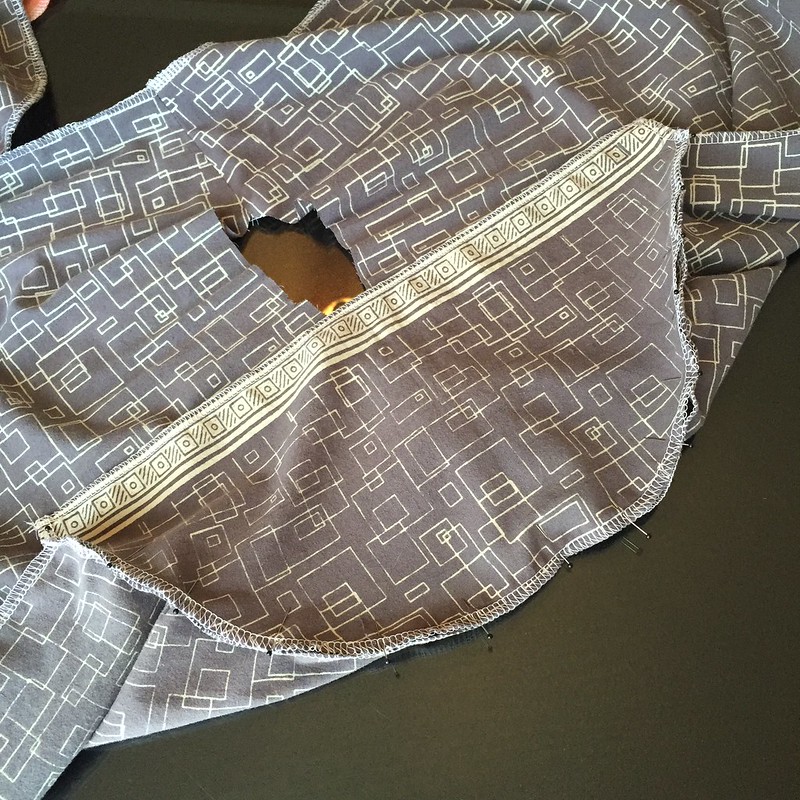
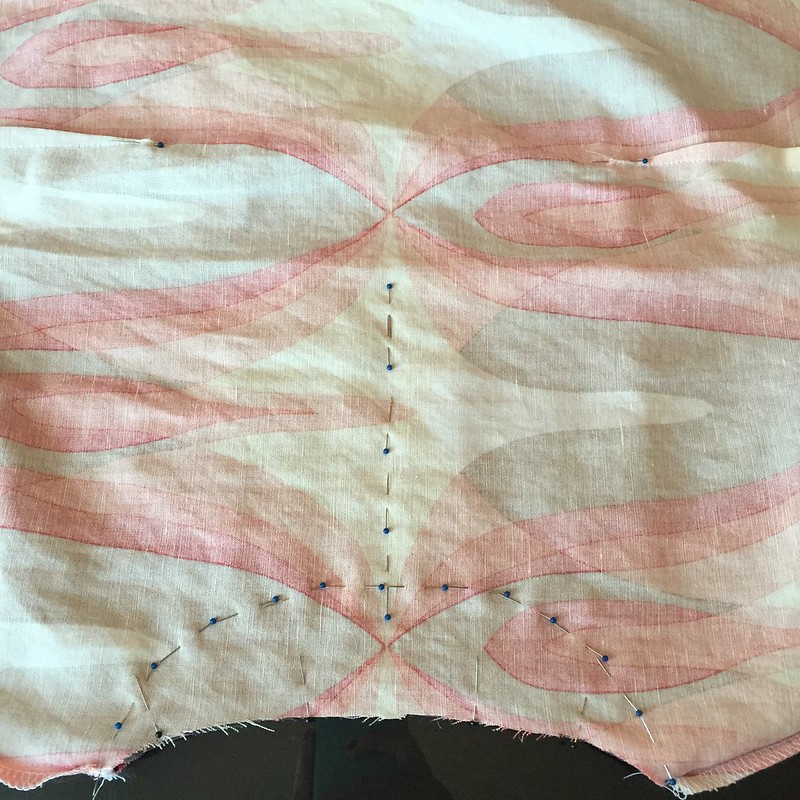
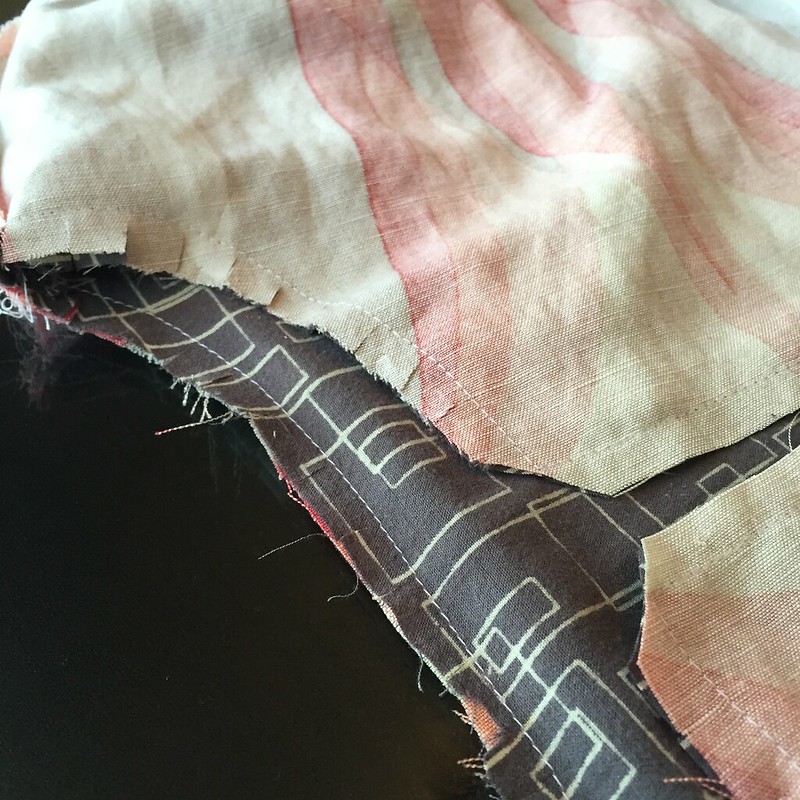
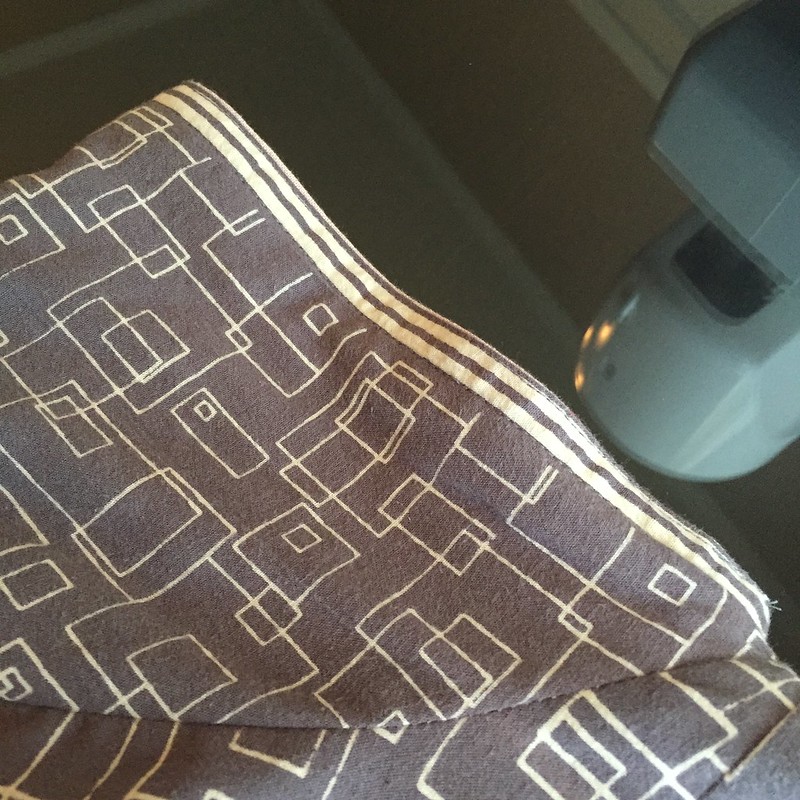
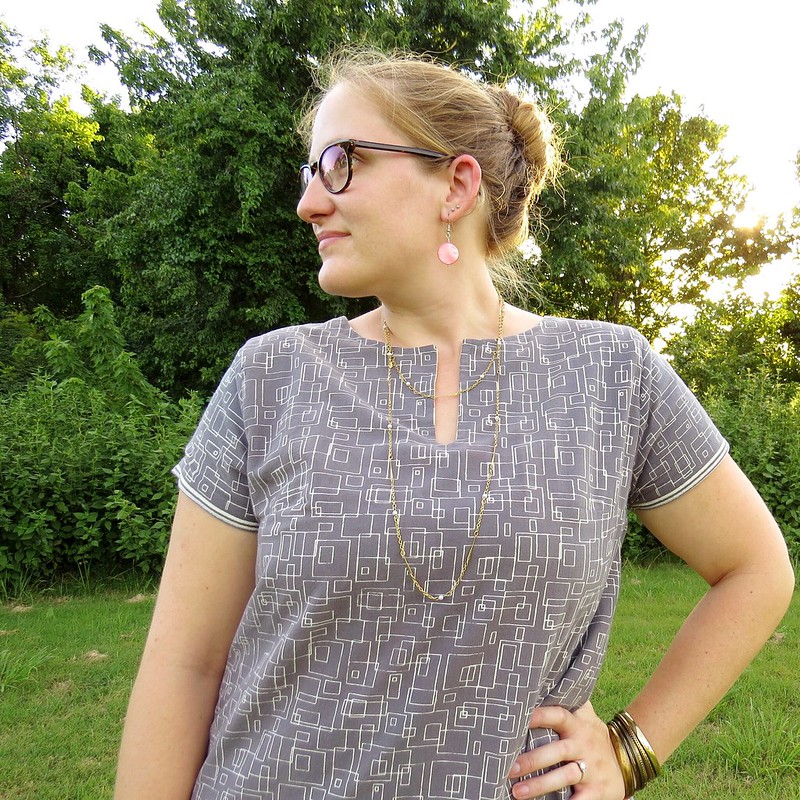
With each of my two shirts constructed, it was time to join them. I stuck the right-side-out grey tunic into the inside-out coral tunic and lined up the neck openings. I also lined up and pinned together the points of each bust dart to make sure everything would be centered. Then I marked out my front neck line with a center slit, and trimmed away the extra fabric.
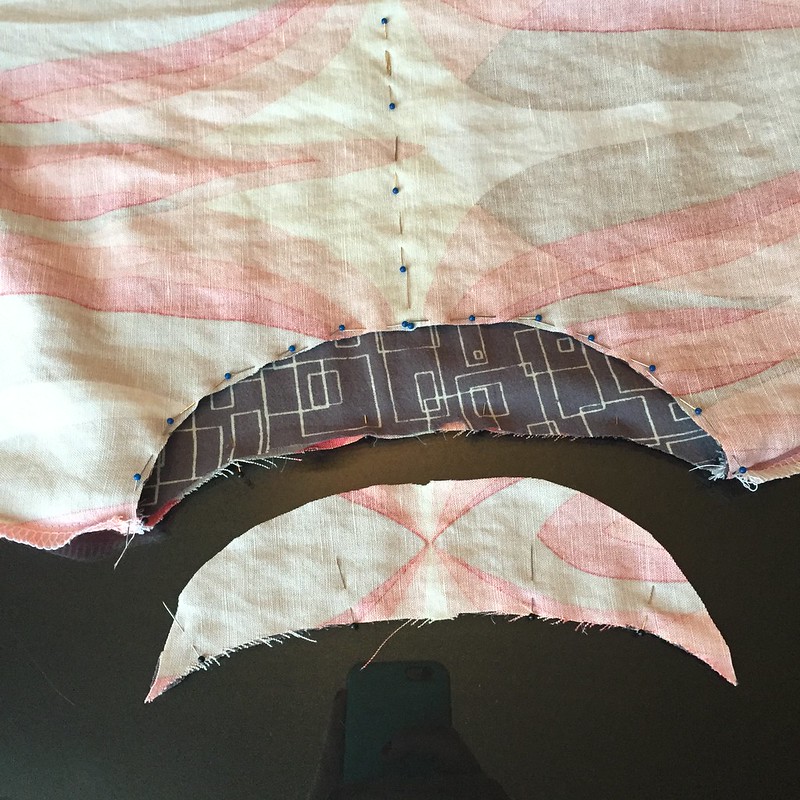
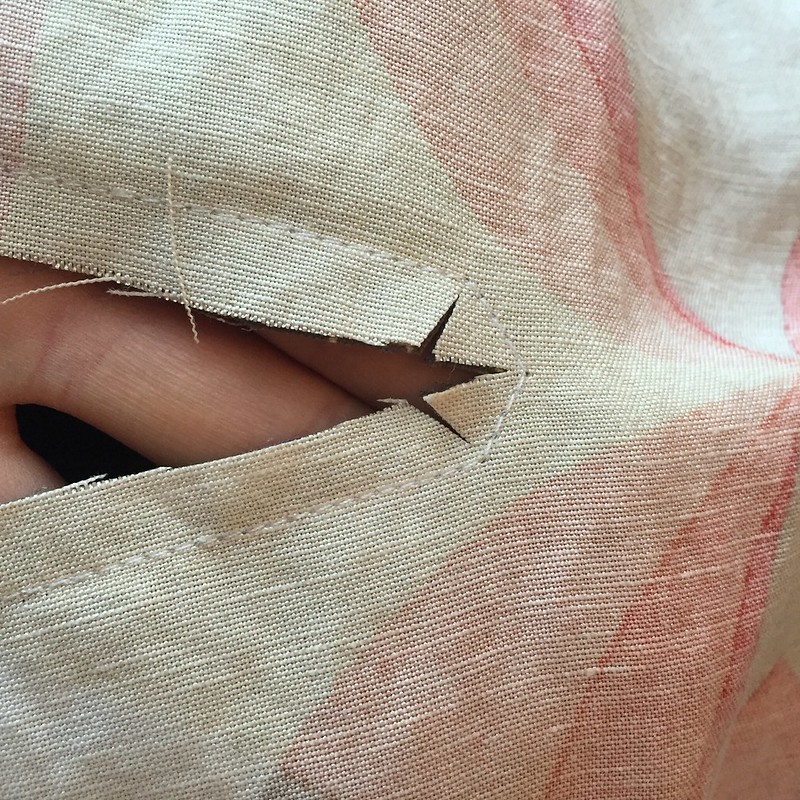
As I sewed around the neckline, I turned 90 degrees at the front center and stitched alongside my vertical pins. I did a few stitches at 45 degree angles to turn the corner before heading back up the other side of the pins.
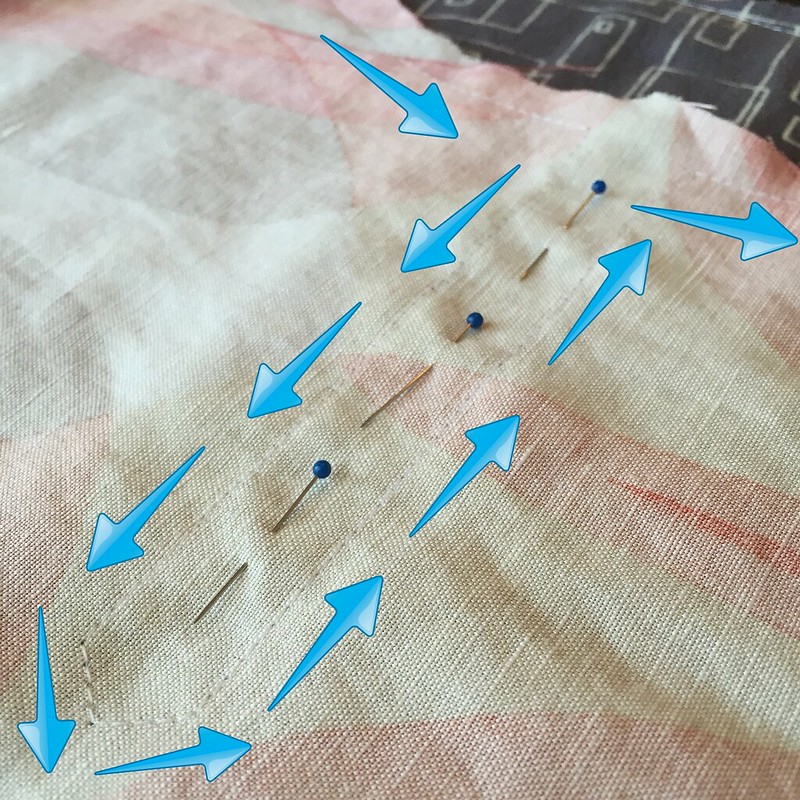
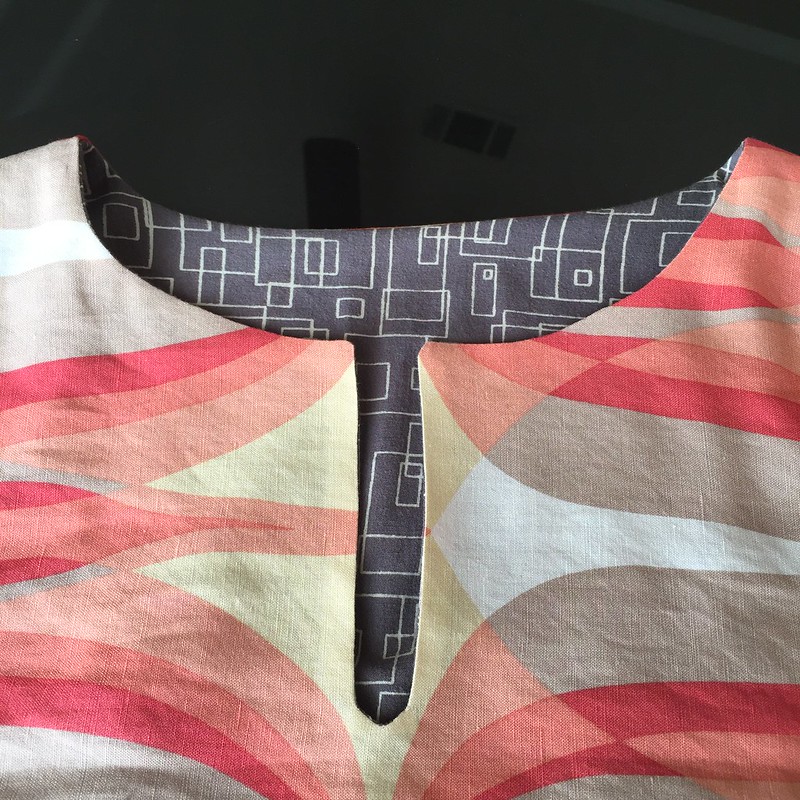
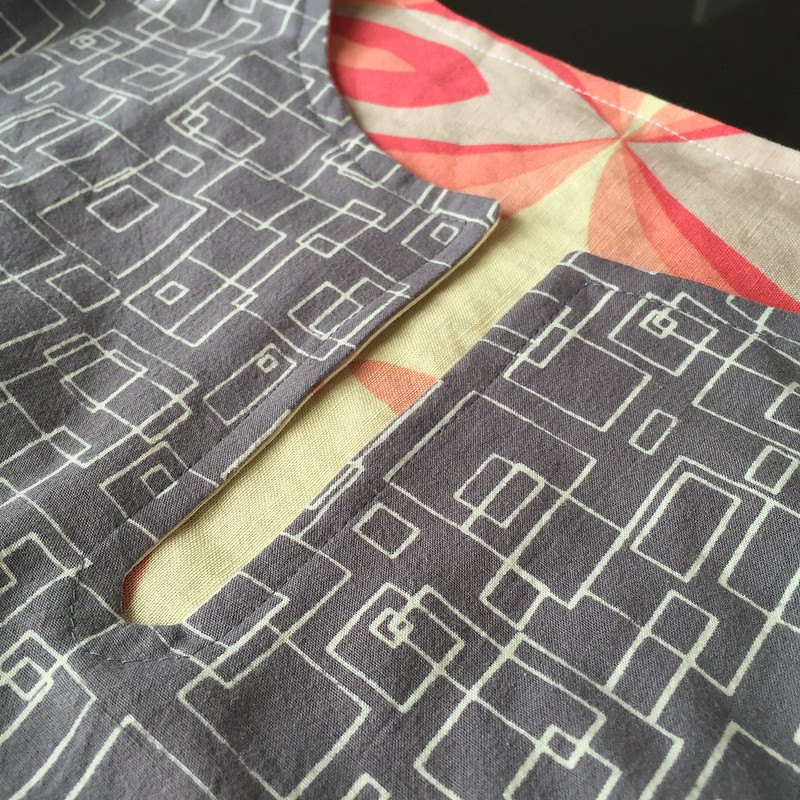
Then I using my tiny super-sharp scissors to open up the front slit and snip the seam allowances around the curves and corners. Once flipped right-side out, the neck edge got a good press also.
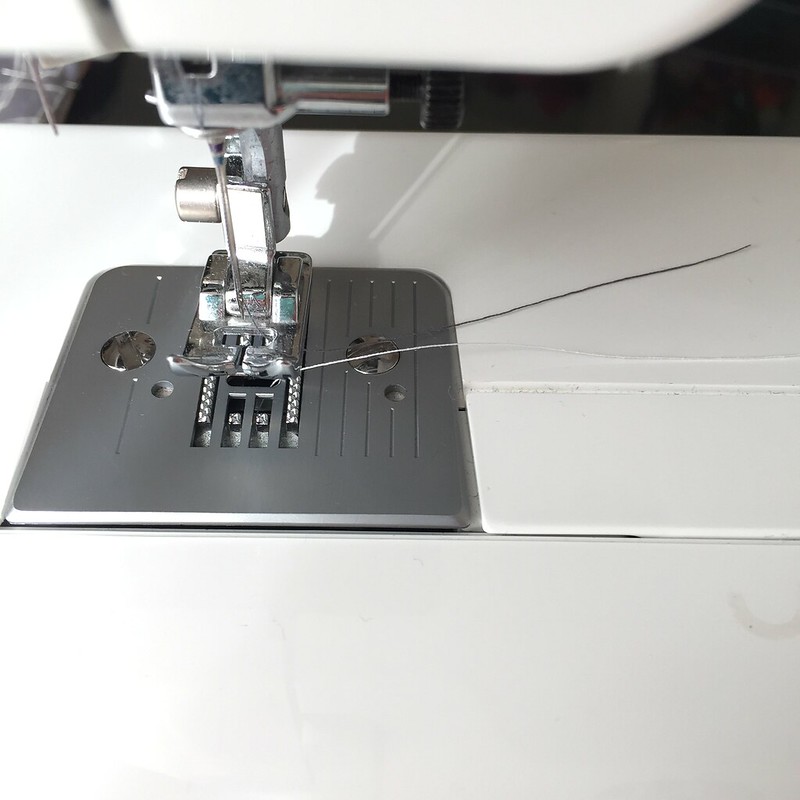
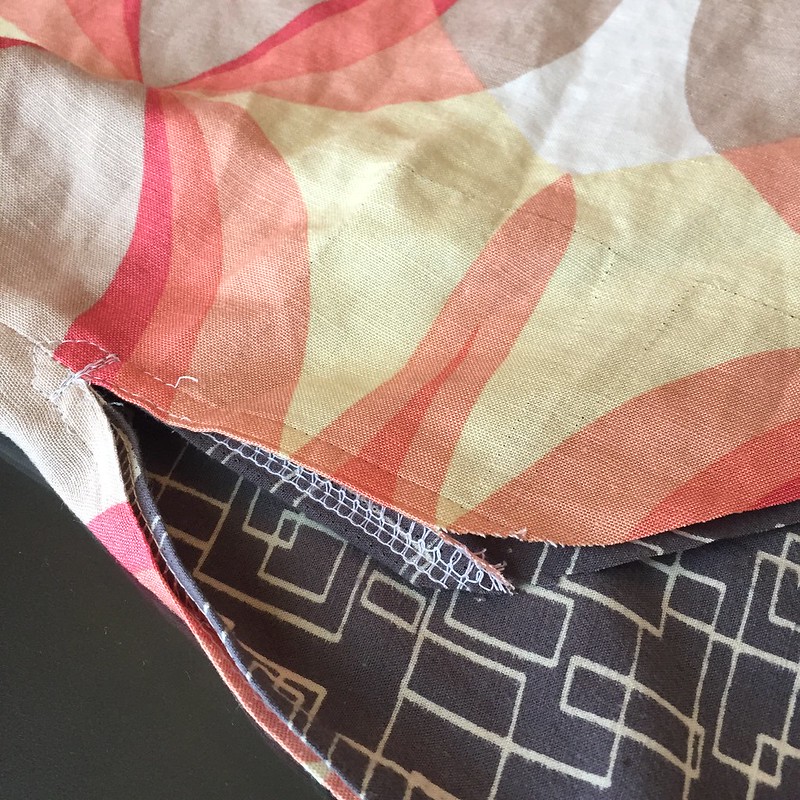
To finish off the bottom hem, I folded the serged edges to the inside and pinned the two layers together. I swapped out my spool of white thread for grey, but kept white on my bobbin.
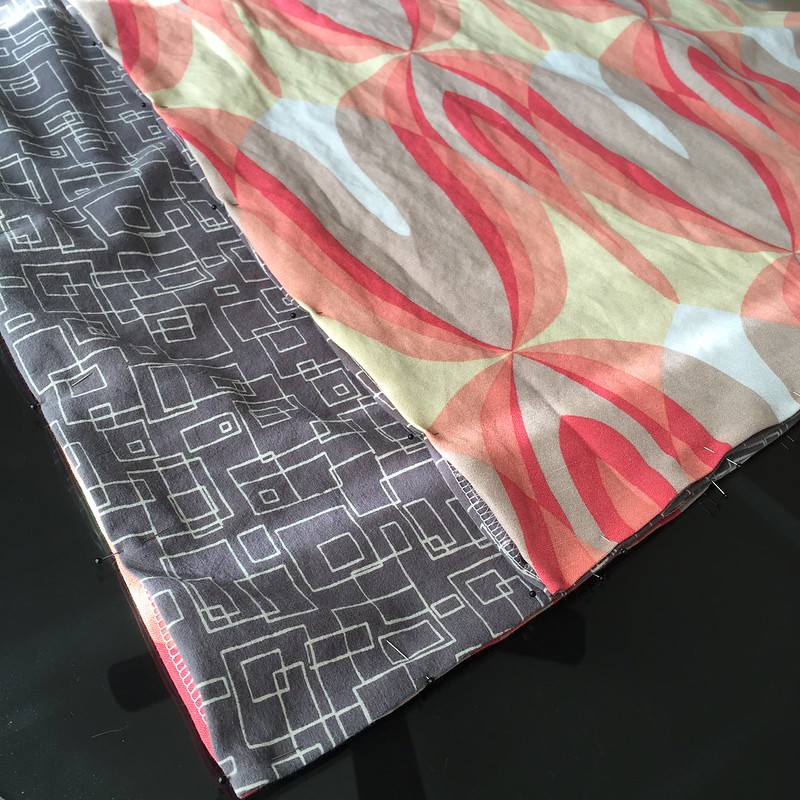
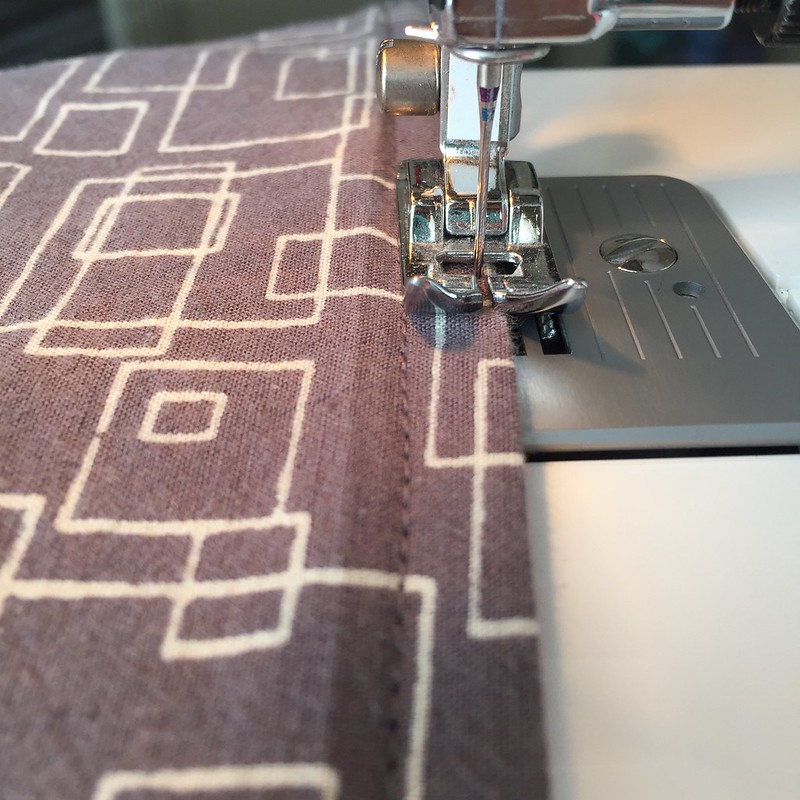
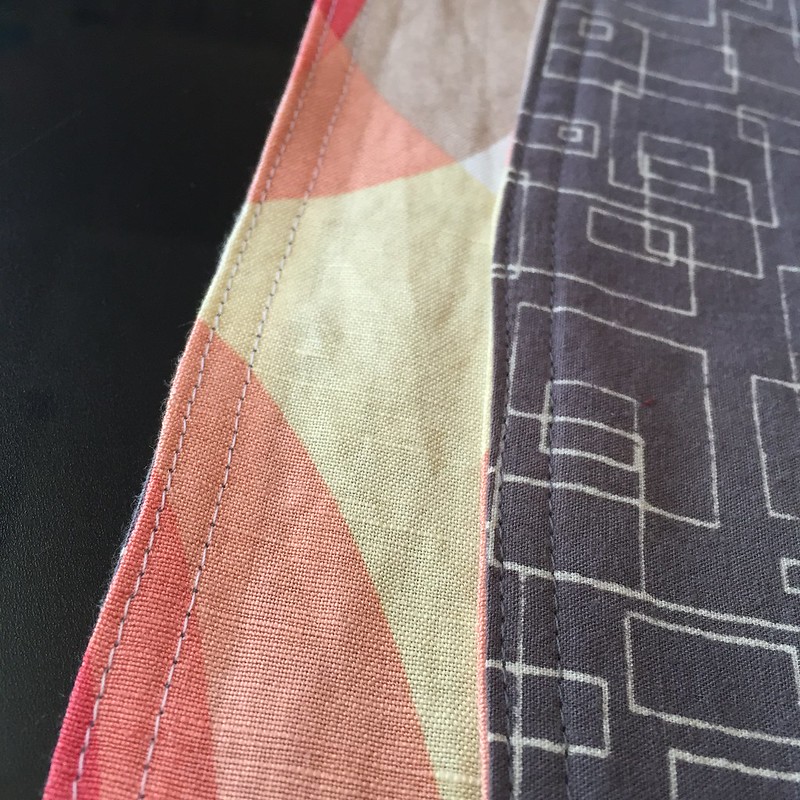
Then I top-stitched and edge-stitched all the way around, including some reinforcement at the tops of the side slits.
The sleeves got the same treatment, and I also top-stitched (but did not edge-stitch) around the neckline.
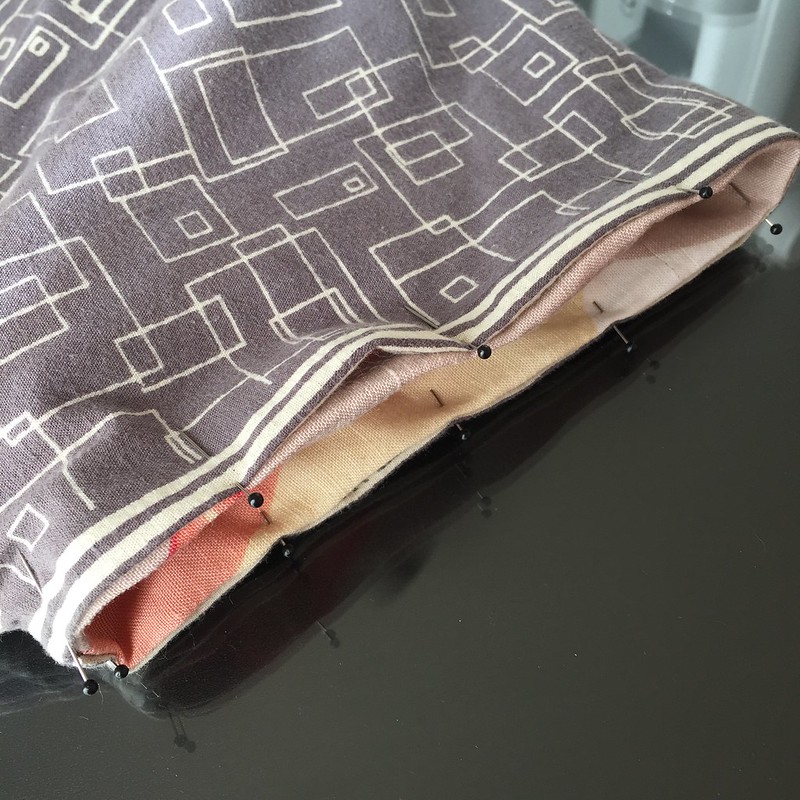
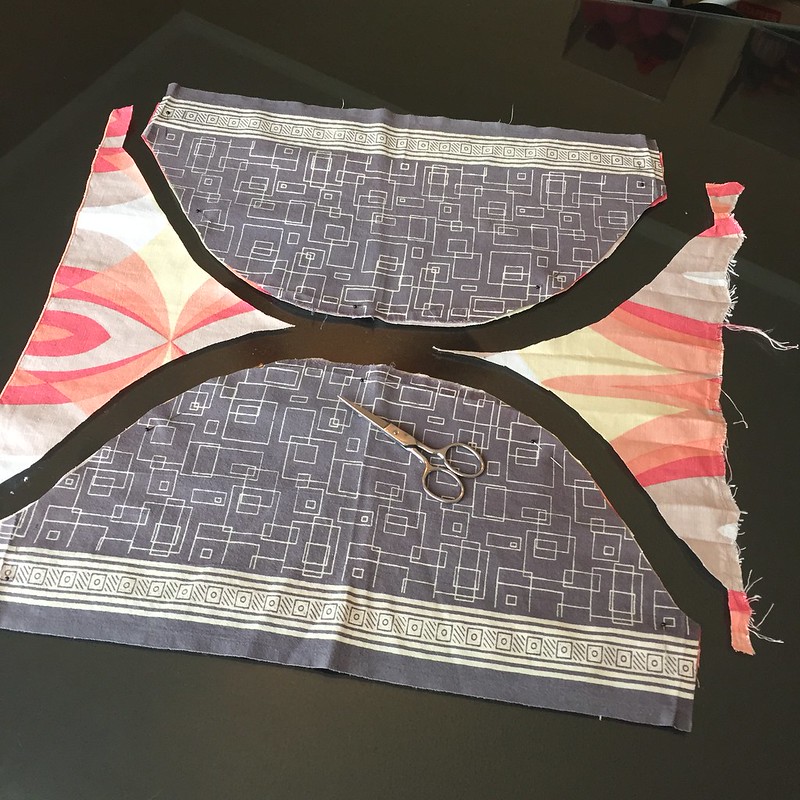
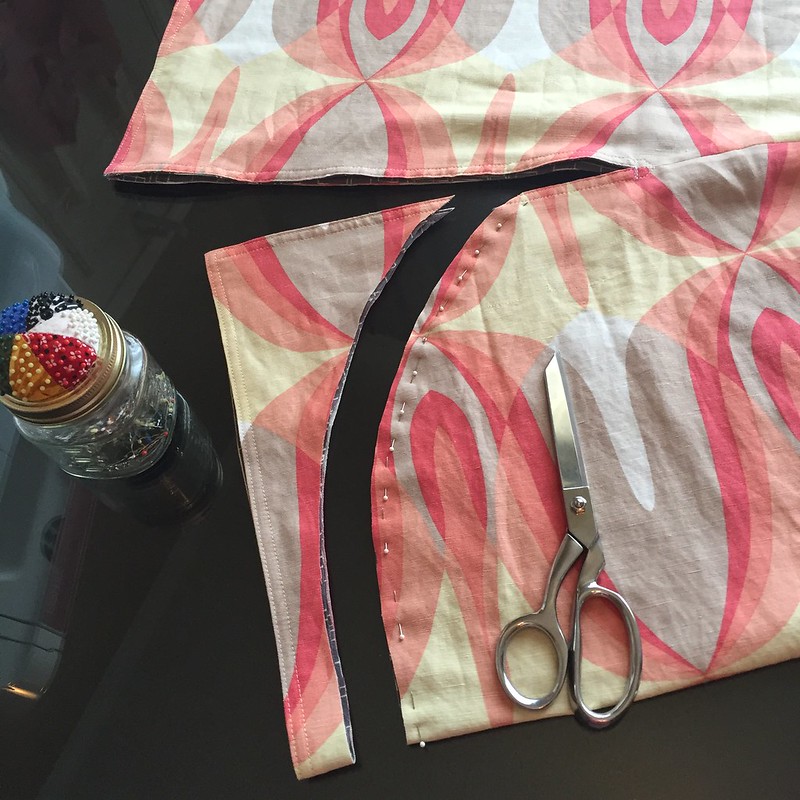
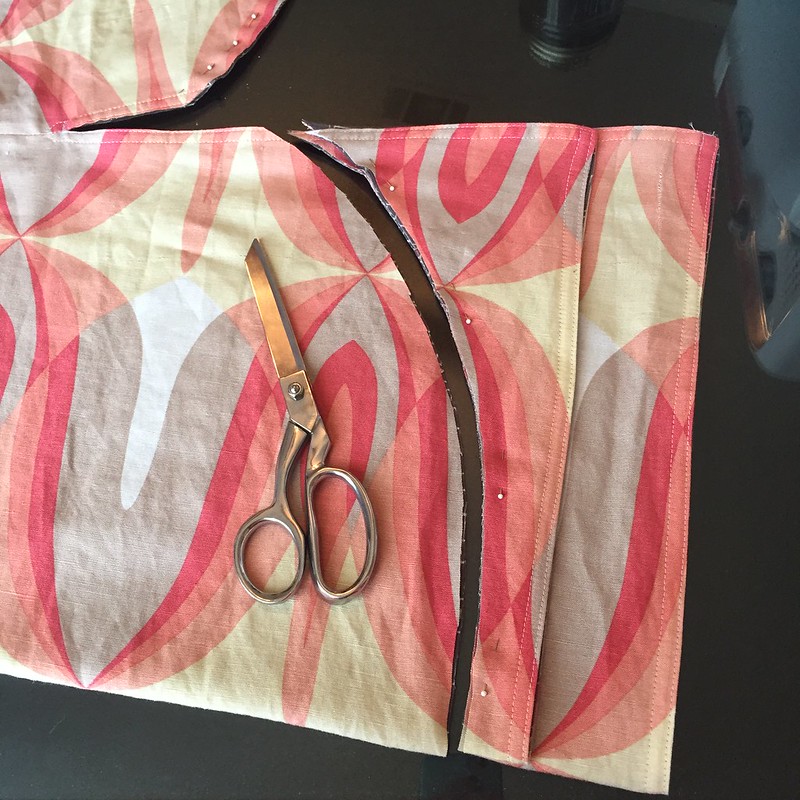
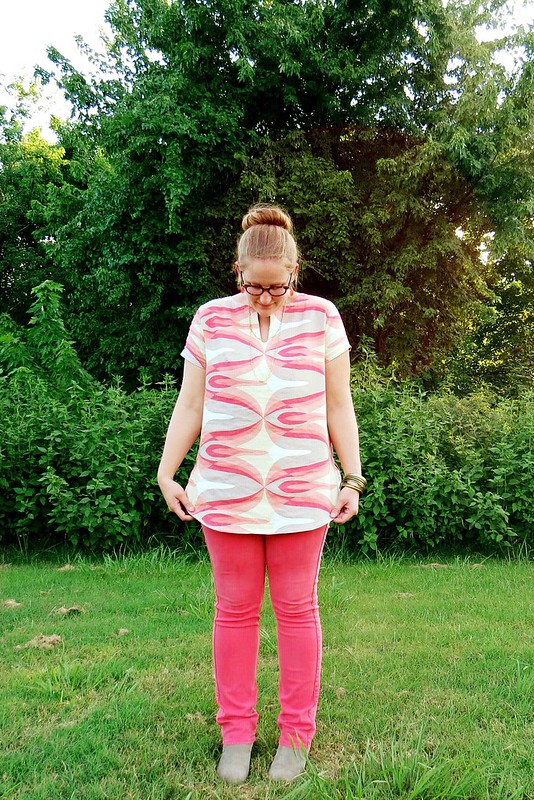
I thought I was finished at this point, but when I tried it on, the straight horizontal bottom hem wasn't very flattering. So I decided to give it a rounded hem instead. I trimmed off a curve from the front flap, then used the off-cut to cut the same curve on the back. And I opened up my previous stitching a little to make it blend smoothly.
Again, I folded the edges to the inside, pinned it all in place, and the re-stitched by bottom hem. Much better!

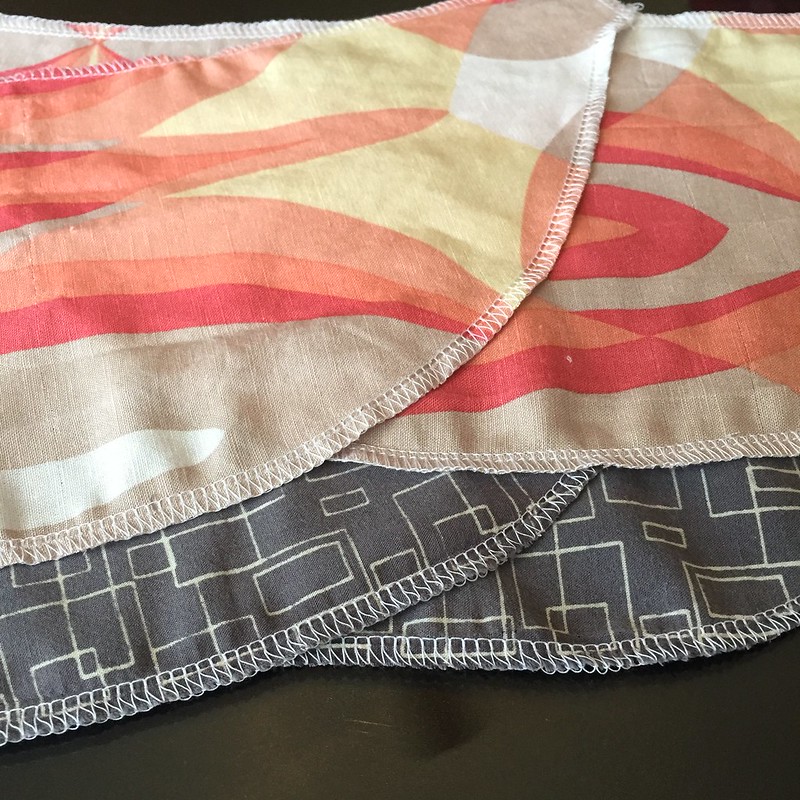
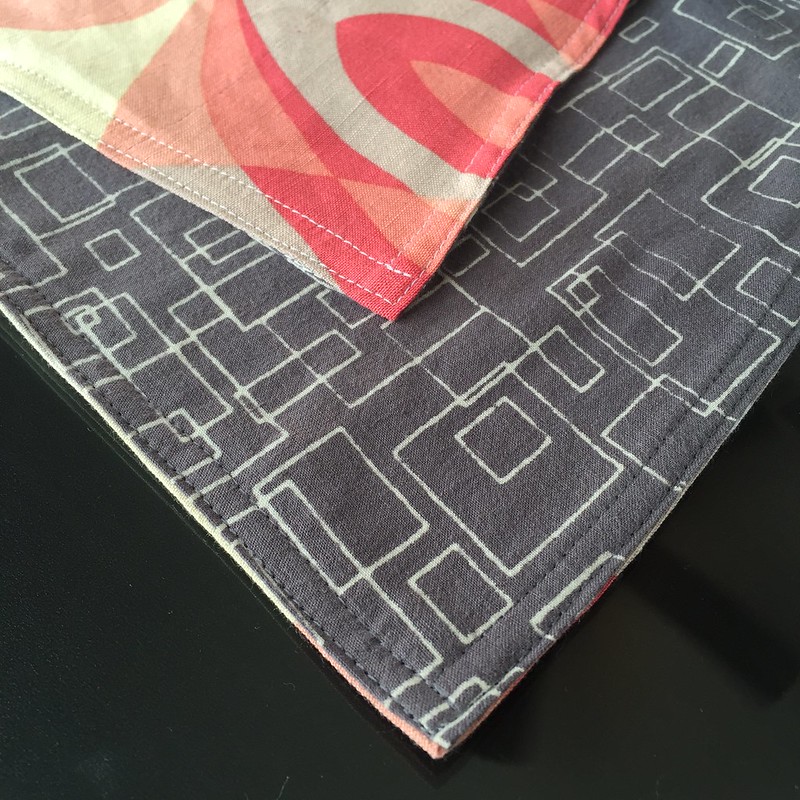
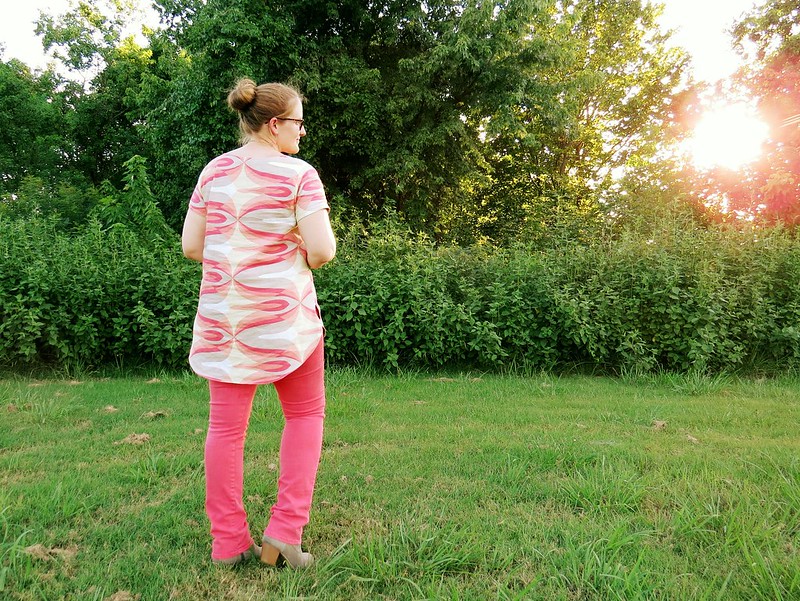
I love the reversibility and the little peak of the other fabric that you get from the slightly longer back flap on the bottom.
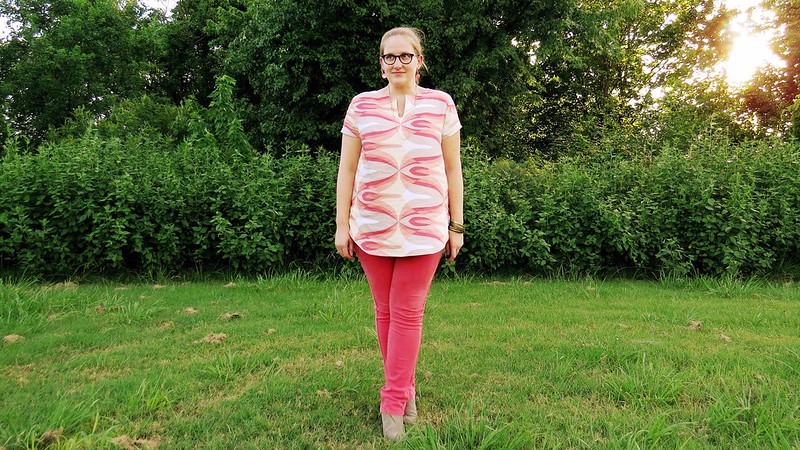

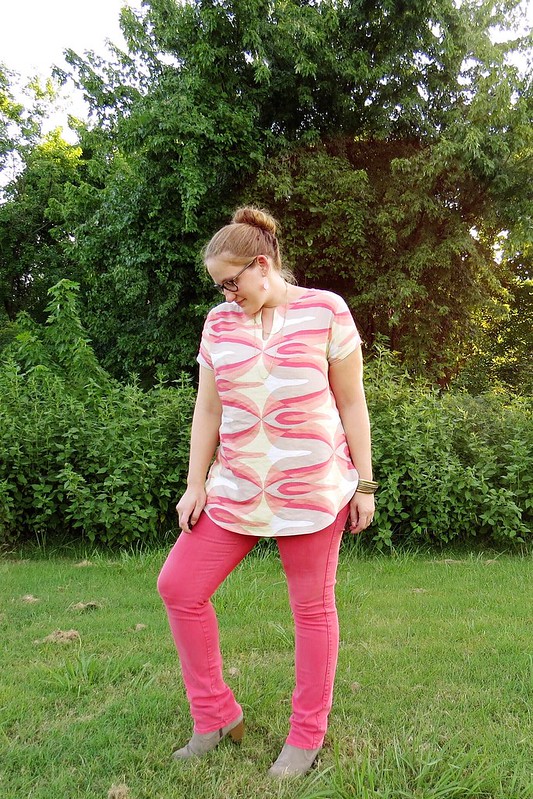
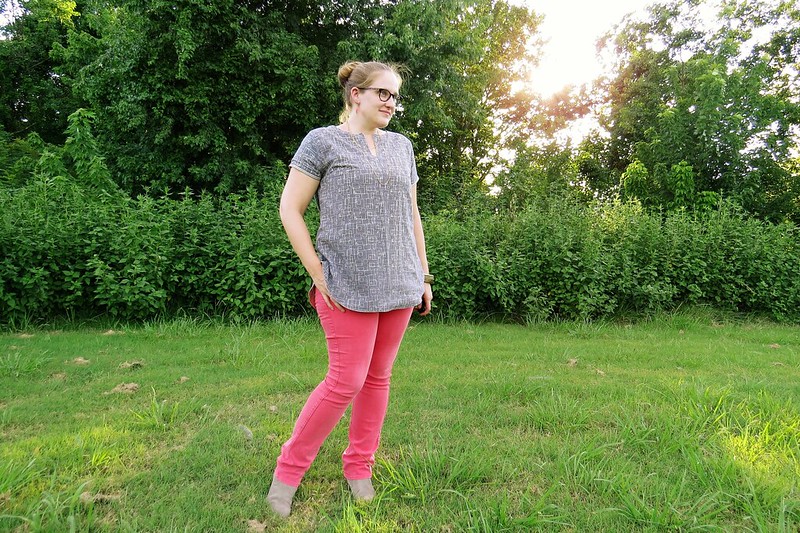
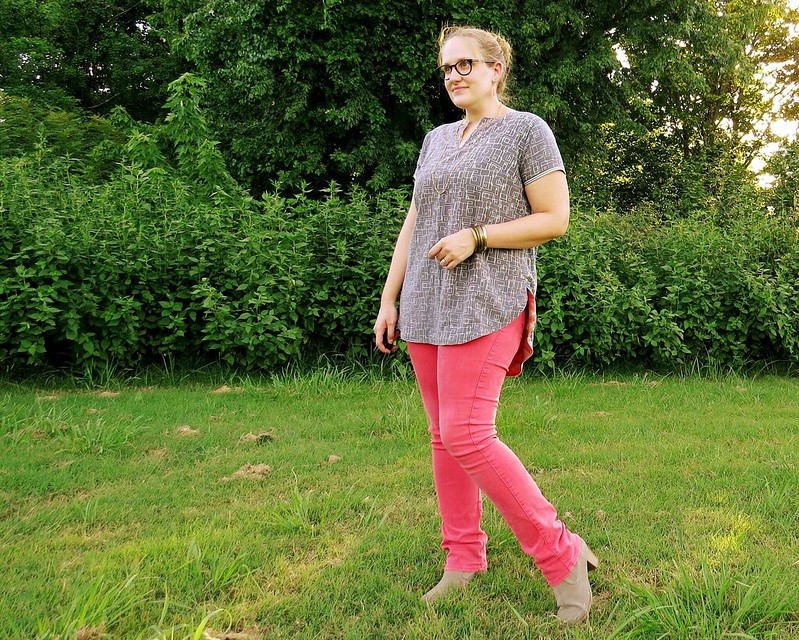
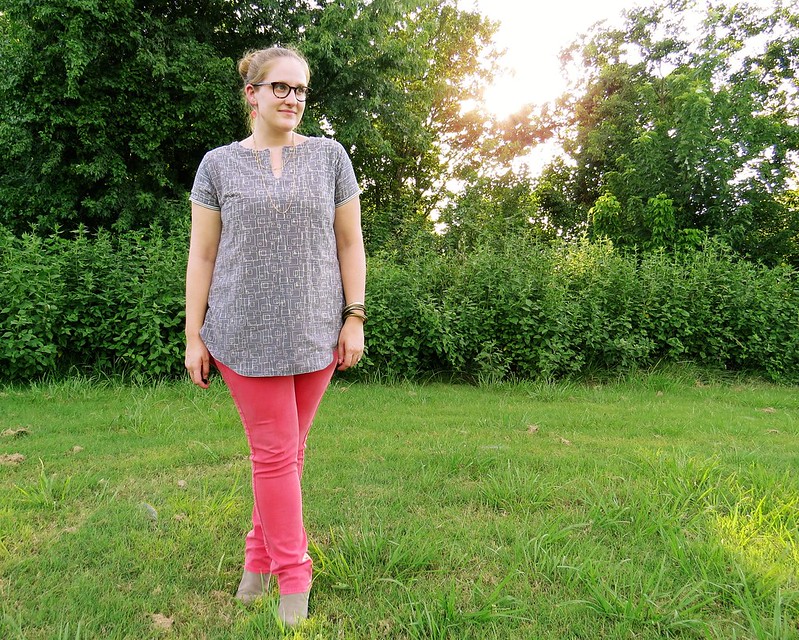
I love that I can make a statement with the bright, boldly patterned side or keep it neutral with the grey instead.
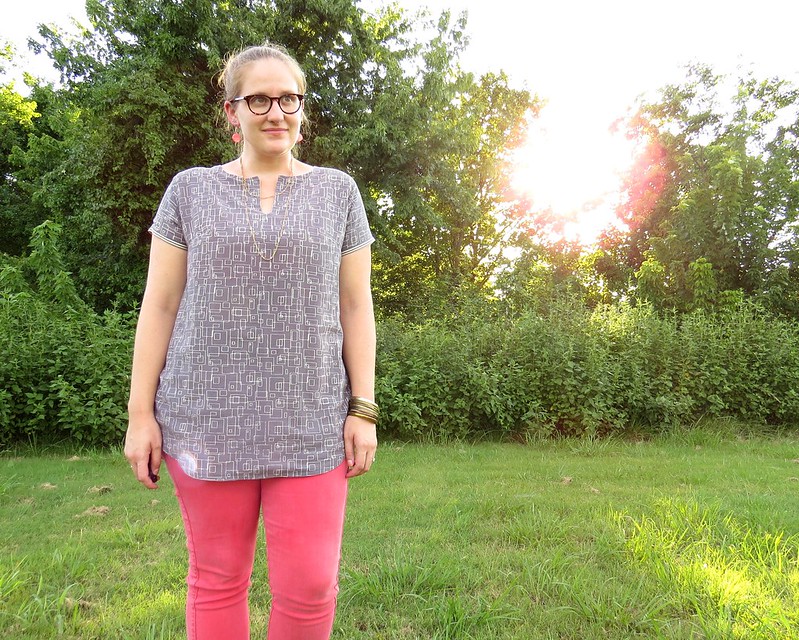
But mostly I love the linen and cotton! It's so nice to not be dripping after a 95-degree photo shoot! Glistening, maybe, but not dripping.

Now go check out the other competitors' refashioned tunics at The Renegade Seamstress and cast your vote!
I just love how this is reversible!! Two for the price of one! Loving your work, as always!!
ReplyDeleteThank you, Gema! Your tunic is so cute and colorful too. I especially love the pom-pom fringe!
DeleteThis is so, so lovely. You need to come visit me and help me with my rapidly growing refash stash!
ReplyDeleteThat'd be awesome!
DeleteThese are fantastic! I especially love the pink one, but both are lovely. You got my vote this week. Good luck.
ReplyDeleteThanks for your vote, Ingrid!
DeleteOhhh Carissa ---- the tunic is just GREAT. At first I wondered where you were going to go with such unflattering pieces of clothing AND then, whoosh, the finished tunic. I love the pink side the best. and on the grey side, the stripes at the bottom of the sleeves breaks up the pattern for the eye. GOOD JOB !
ReplyDeleteThank you, Linda! Sometimes, the originals are just too disastrous and all you can do is cut them up for their fabric!
DeleteWowzers! You have outdone yourself! I love both of them: so practical for travel!
ReplyDeleteYou're right, they'd be great for travelling! Super comfy!
DeleteI'm thinking this will get worn over and over again. Both sides are beautiful!
ReplyDeleteJJ
I'm thinking you're right. ;)
DeleteThis was my favorite of all of the tunics, so of course I voted for you! I'm so impressed with the meticulous sewing, but mainly with the fact that you make your own patterns. Thanks for taking the trouble to share all of your process steps.
ReplyDeleteThanks for your vote, Nancy!
DeleteStunning transformation, one of my favourites. It's a great shape on you too.
ReplyDeleteCongrats :)
Thank you, Helen!
DeleteThis is really nice!!! All the heart eyes!
ReplyDeleteAwww, thanks!
DeleteWow - this is beautiful, Carissa. The pattern of the pink material looks completely different when it's going the opposite direction. As always, your work is so professional and your explanations are easy to follow. Great, great job.
ReplyDeleteNot having all those box pleats interrupting the pattern helps too! :D
Deletethat's wonderful, it's great tutorial , for sure I will use your few tricks :-) you look great in both tunics !
ReplyDeleteThanks! I look forward to seeing what you make!
DeleteWow!!! you have done an amazing job with both of these. They totally look like new store bought items!! That fit you perfectly. My favourite is the first one in the coral colours.
ReplyDeleteThanks! "Looks like store bought" is probably my favorite compliment!
DeleteWow! You are a refashion goddess! I am so impressed with your creations. Beautiful work!
ReplyDeleteThank you, Donna!
Delete