


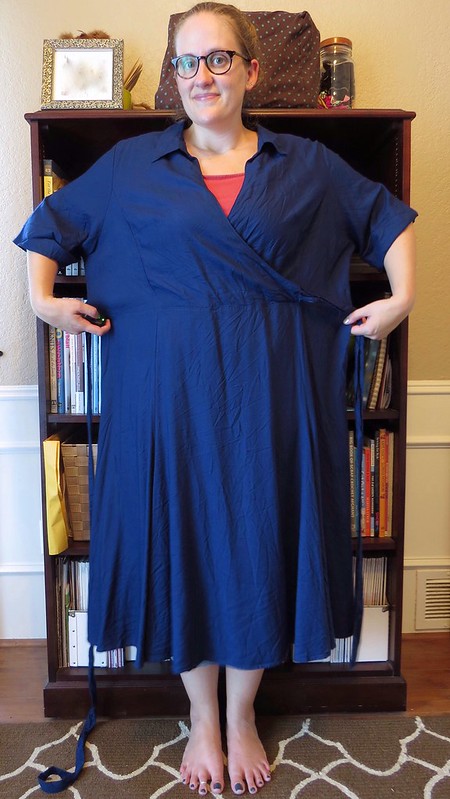
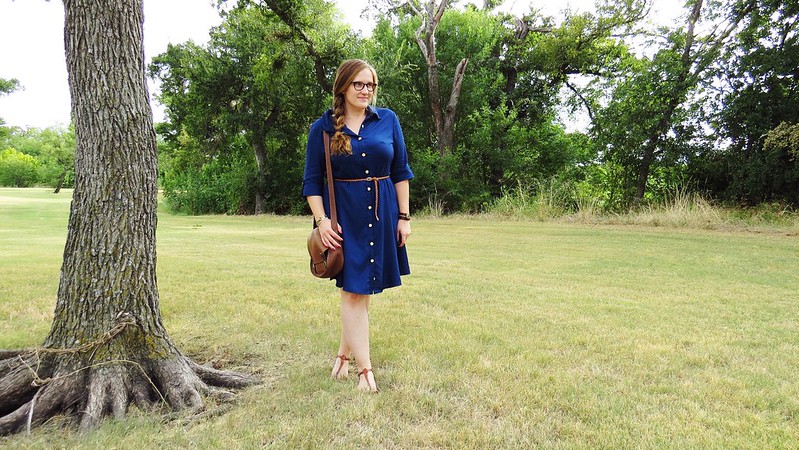
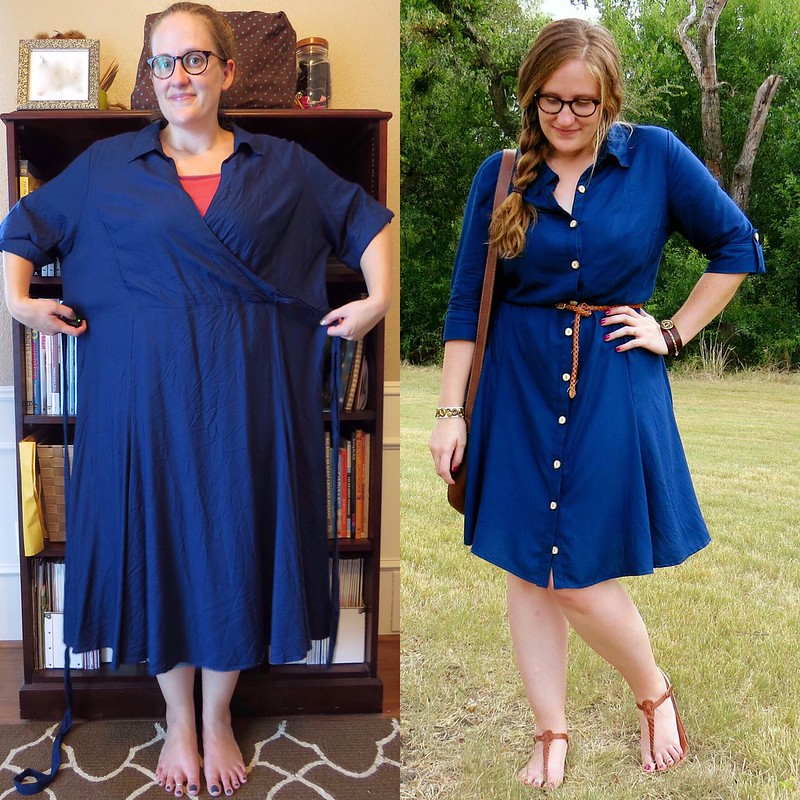
I picked up this giant, blue, faux wrap dress at Thrift City a couple months ago with the intention of turning it into the shirt dress of my dreams, and this button challenge played right into my hands!
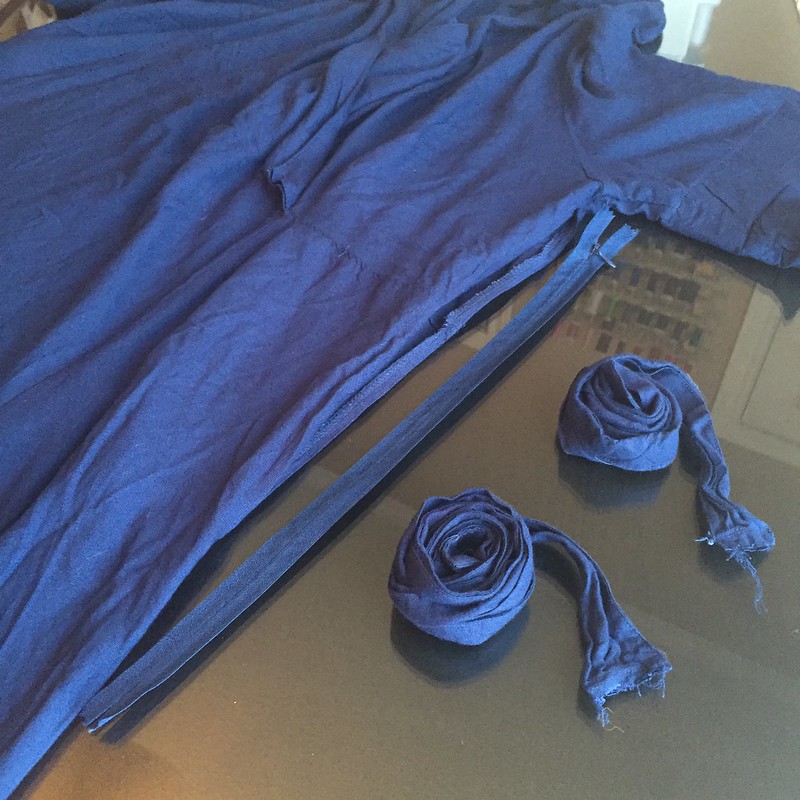
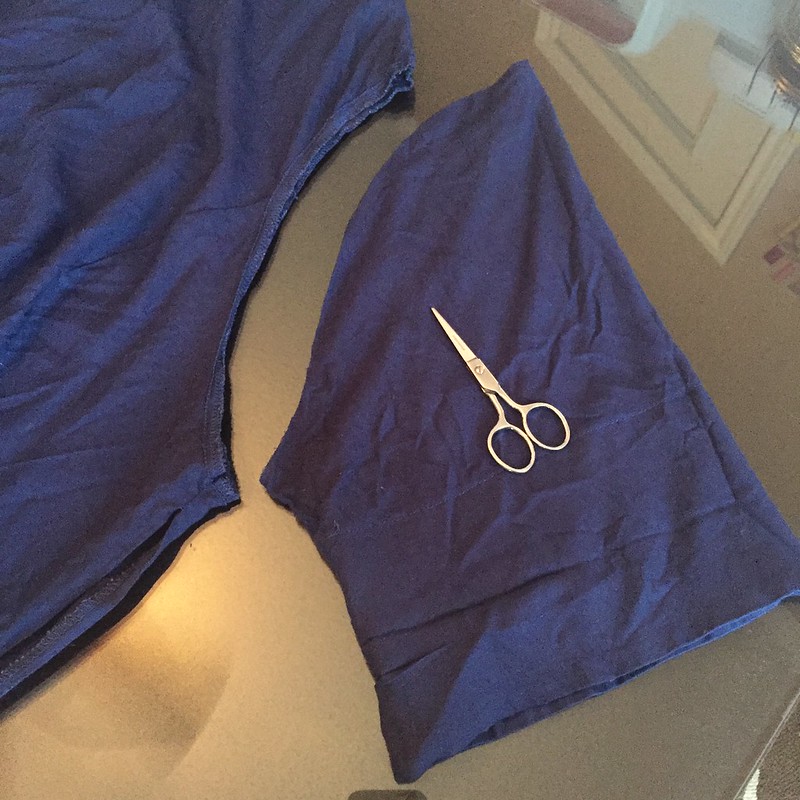
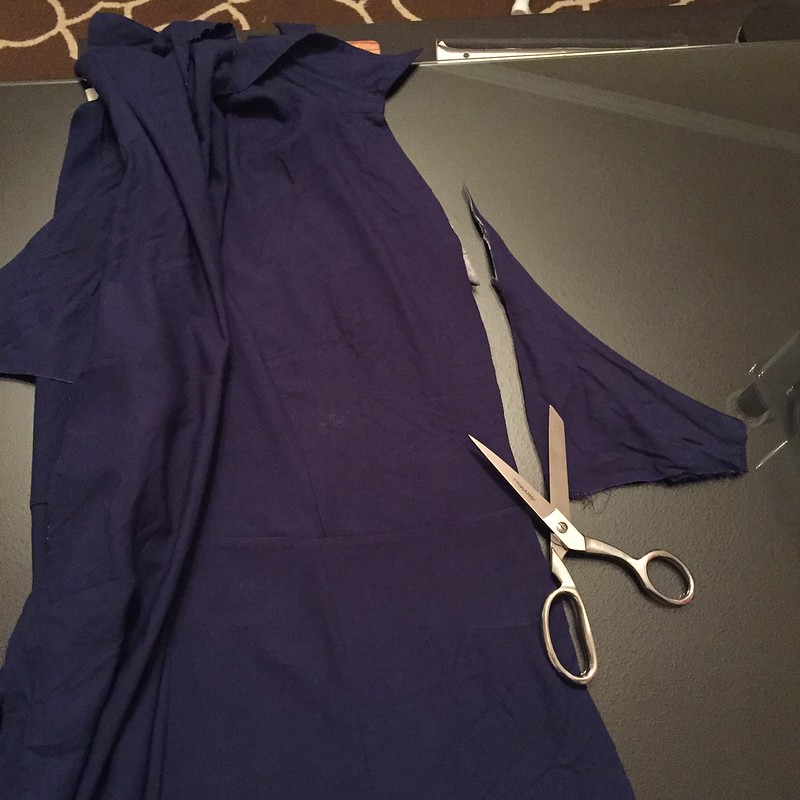
I began by removing the ties and side zipper (which I hadn't even noticed was there at first - I just slipped it over my head). I snipped the stitches holding the cuffs up and them amputated the sleeves entirely. I also cut the skirt from the bodice right at the waist seam.
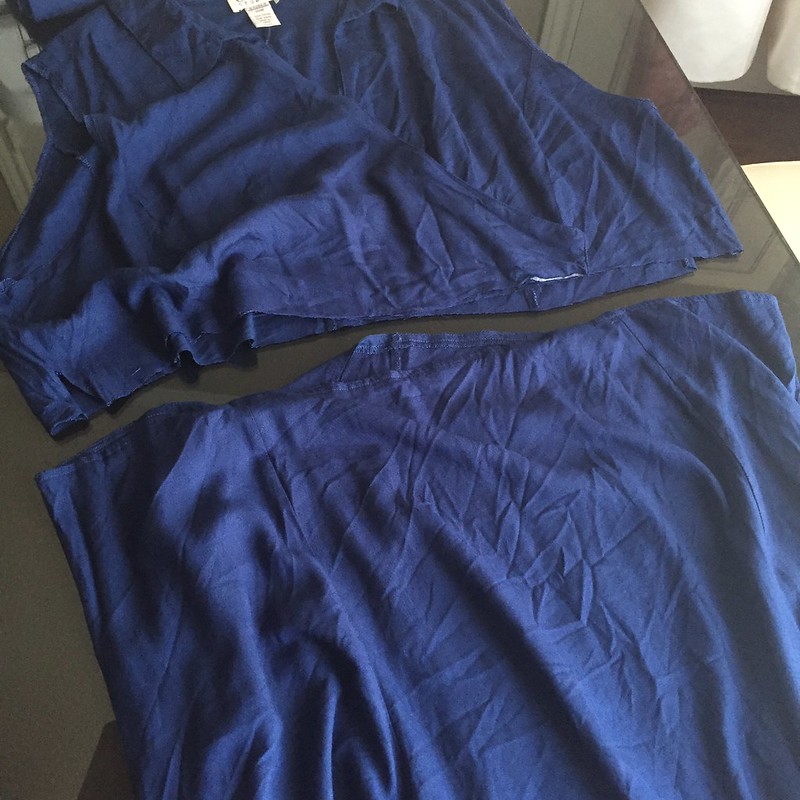
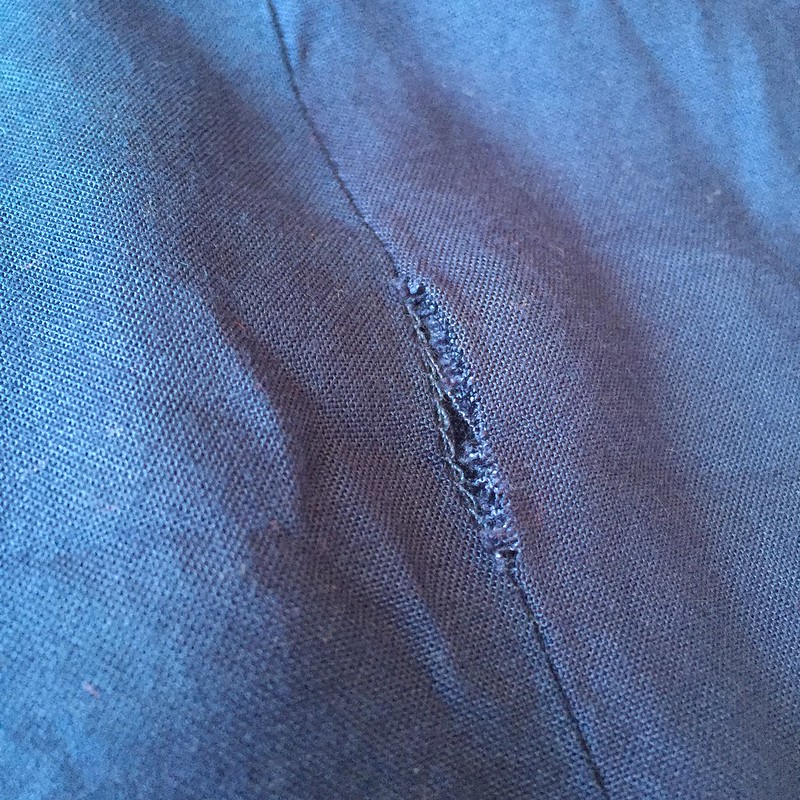
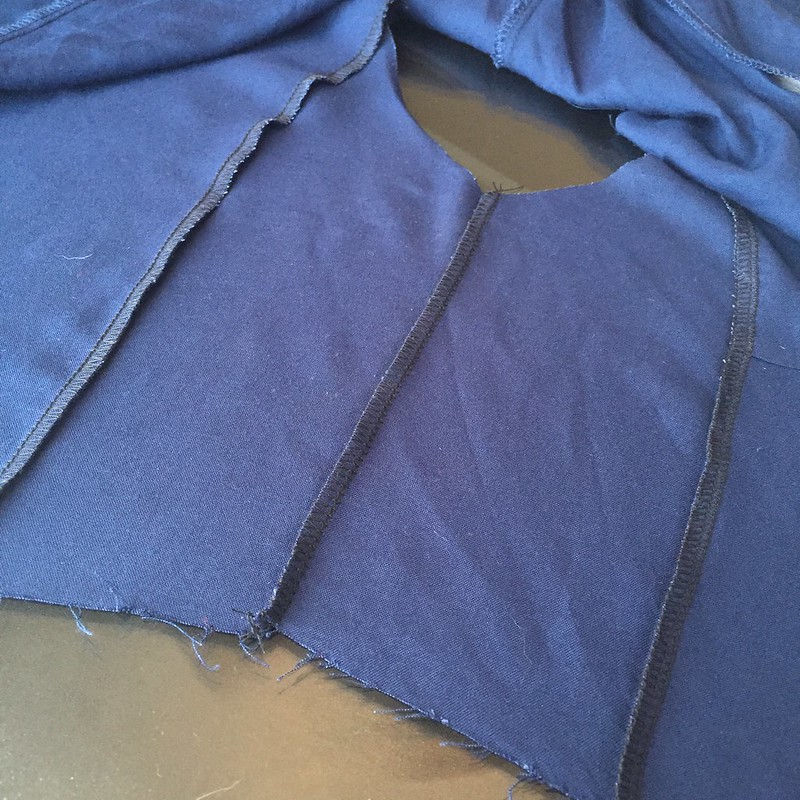
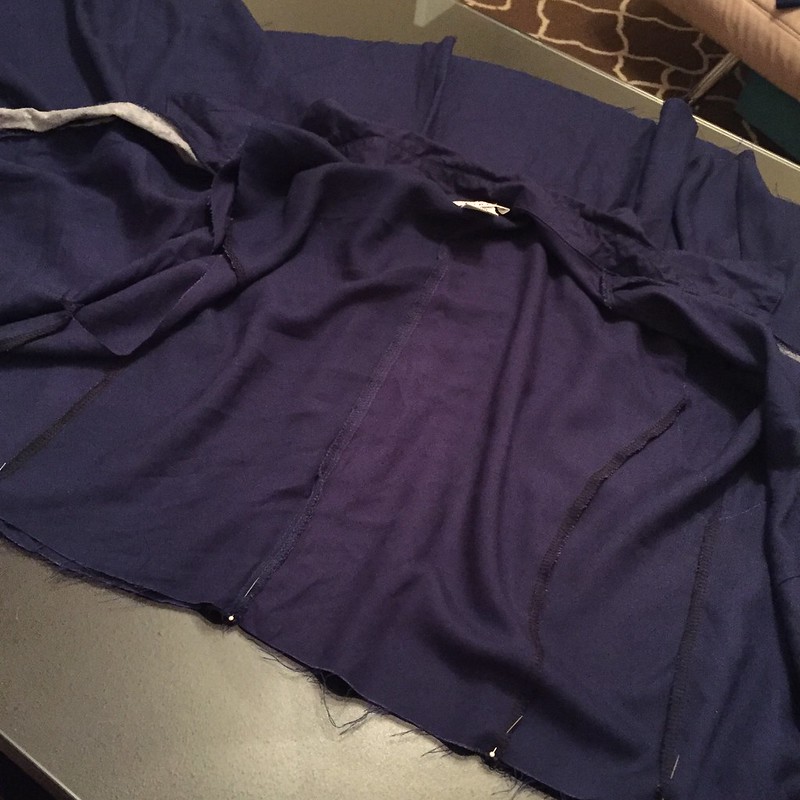
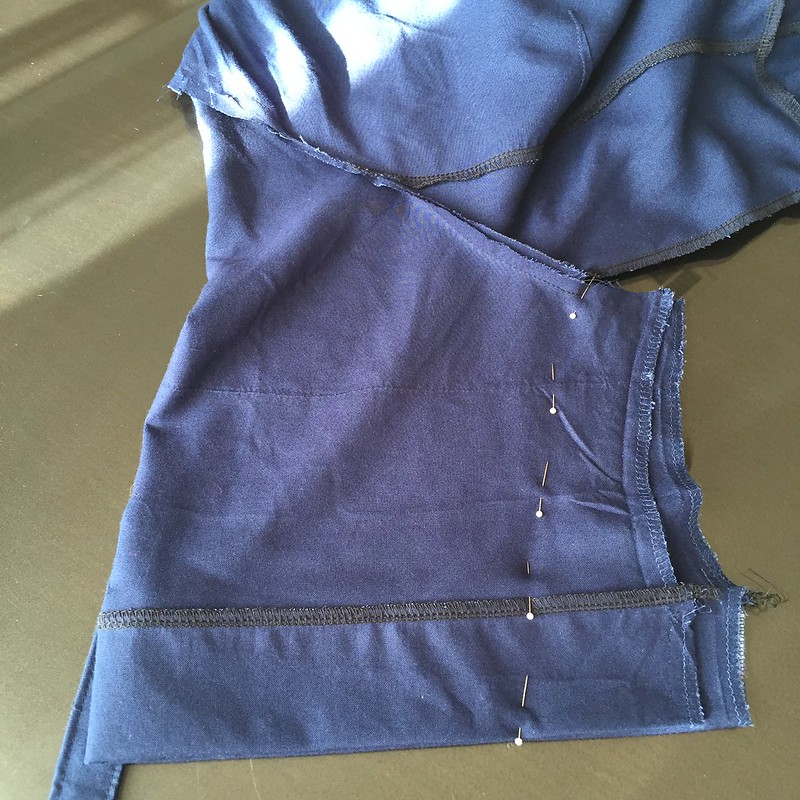
Let's tackle the bodice first! There were a couple spots where the seams were blown out, so I took in all four princess seams a smidge to fix those. Then I took in several inches from each side seam to make it fit me. A quick press and my serged seams were all nice and flat.
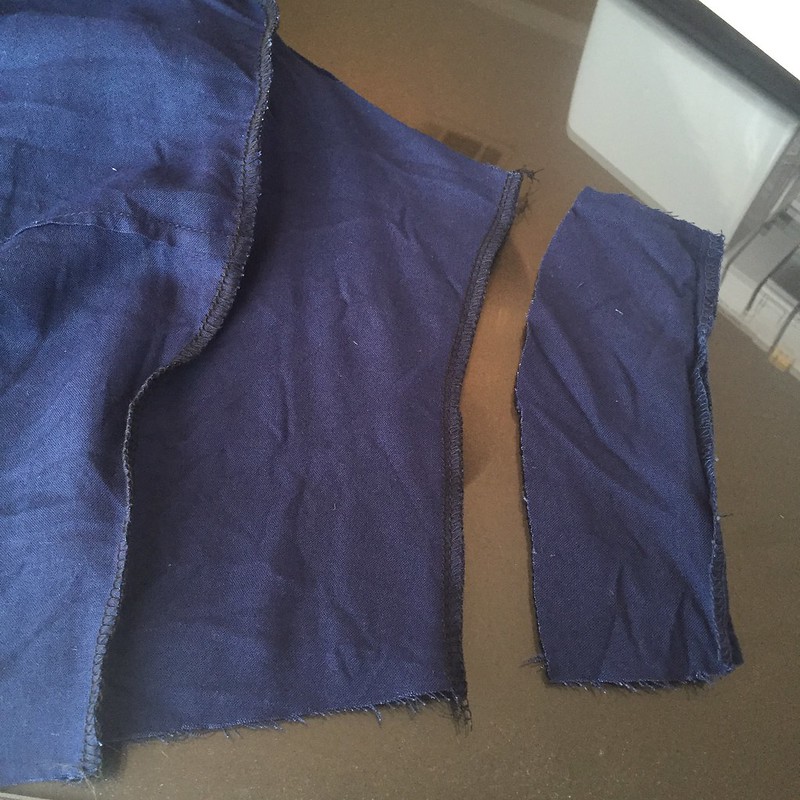
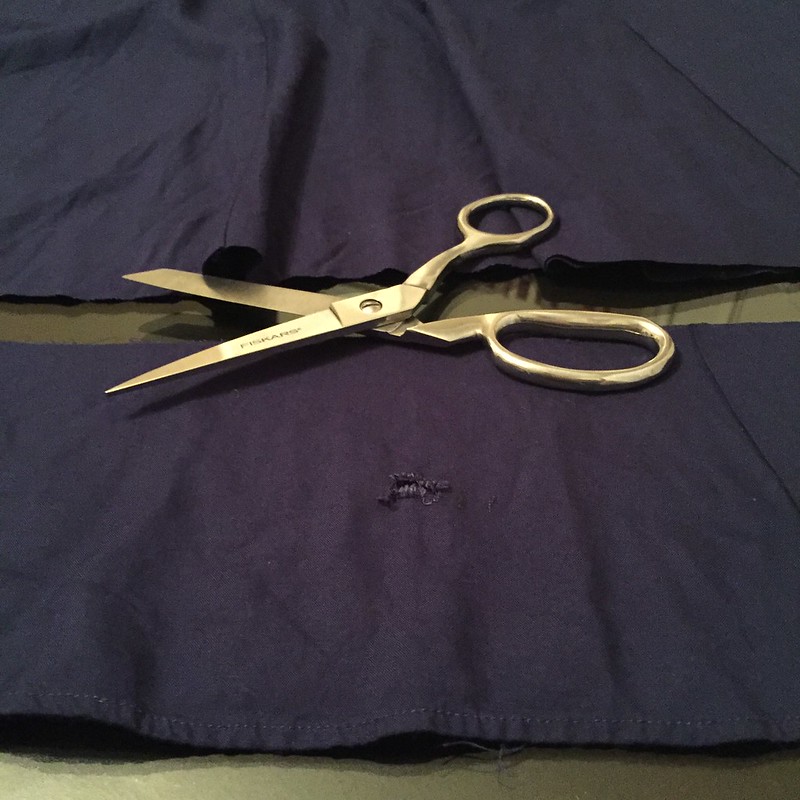
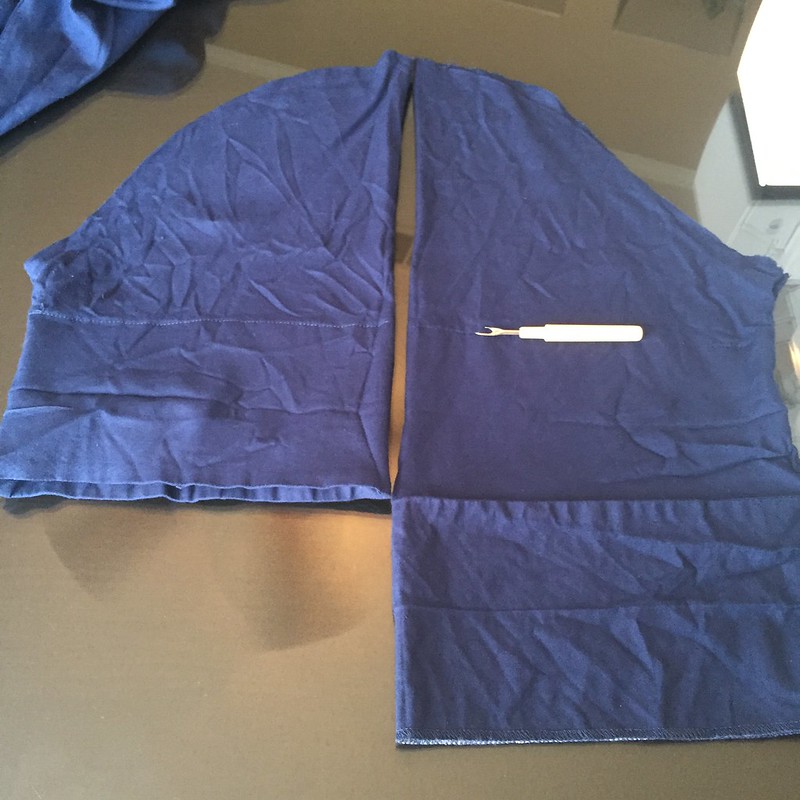
Next came the skirt! There were a few small holes near the hemline also, but a bit of a chop solved that problem. I took in the seams in the same manner and amounts at the bodice seams. I even reattached the laundering tag at the side seam. Then I cut the front panel straight up the middle.
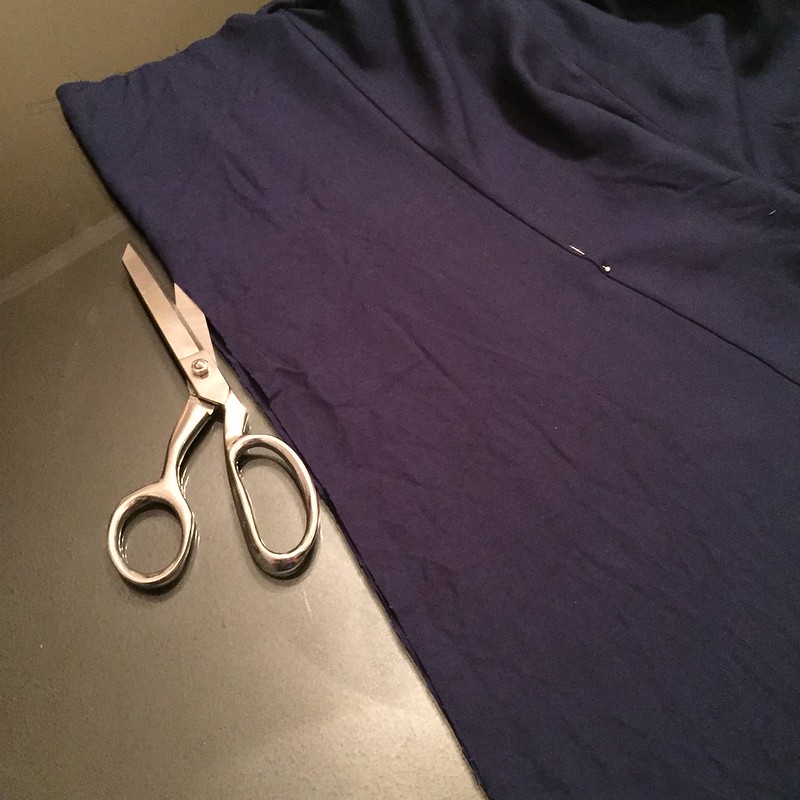
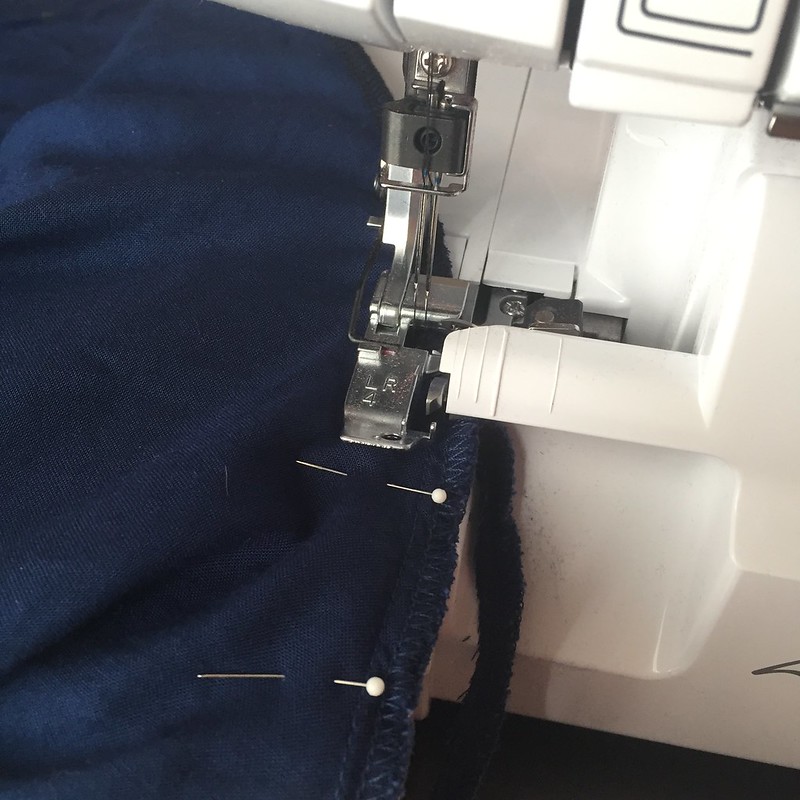
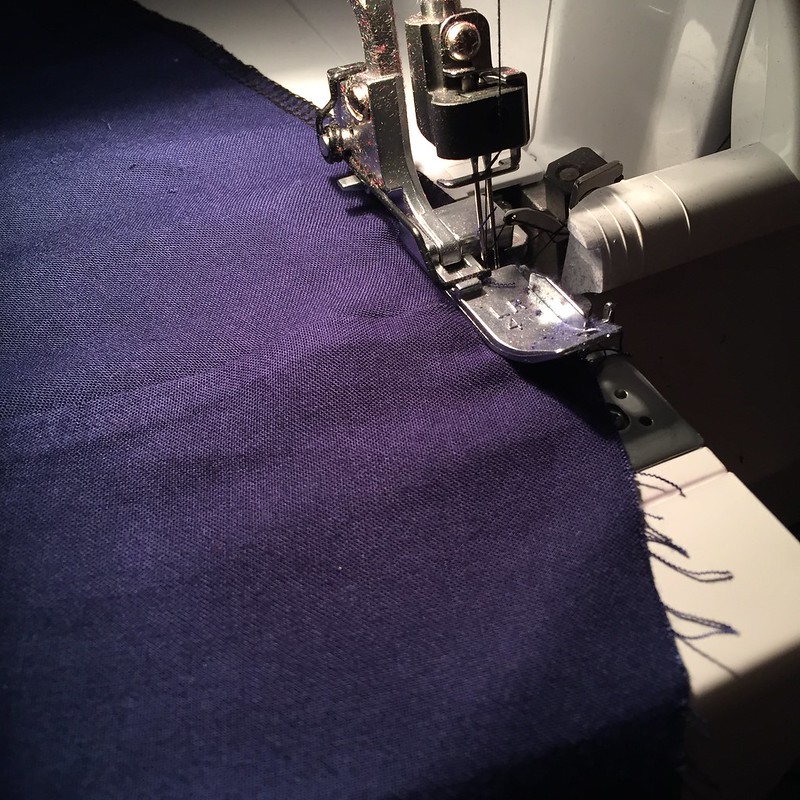
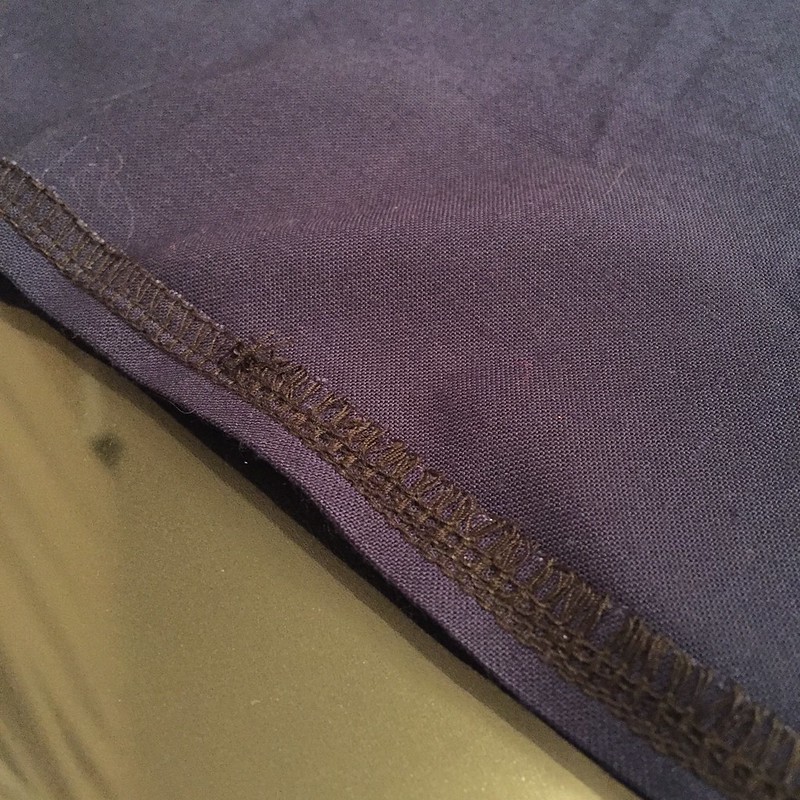
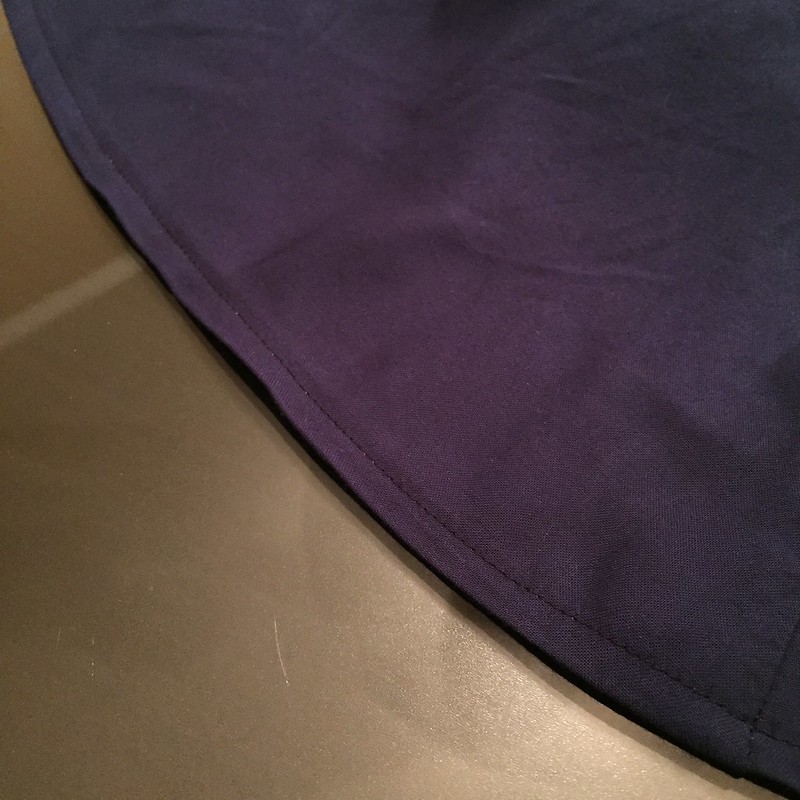
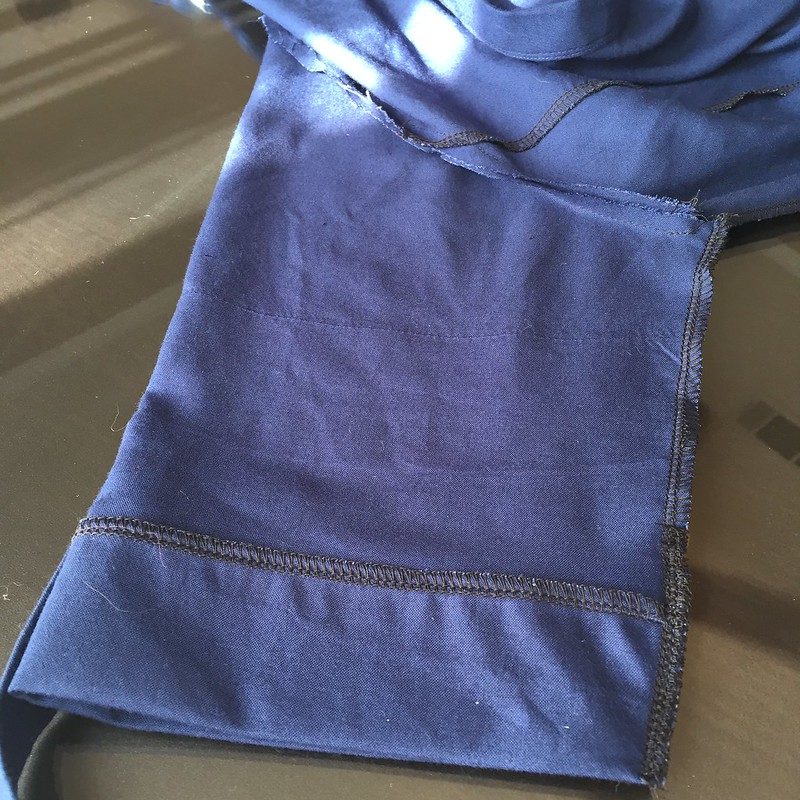
Then I gave the bottom a neat new hem by serging, folding, pressing, and stitching around the edge.
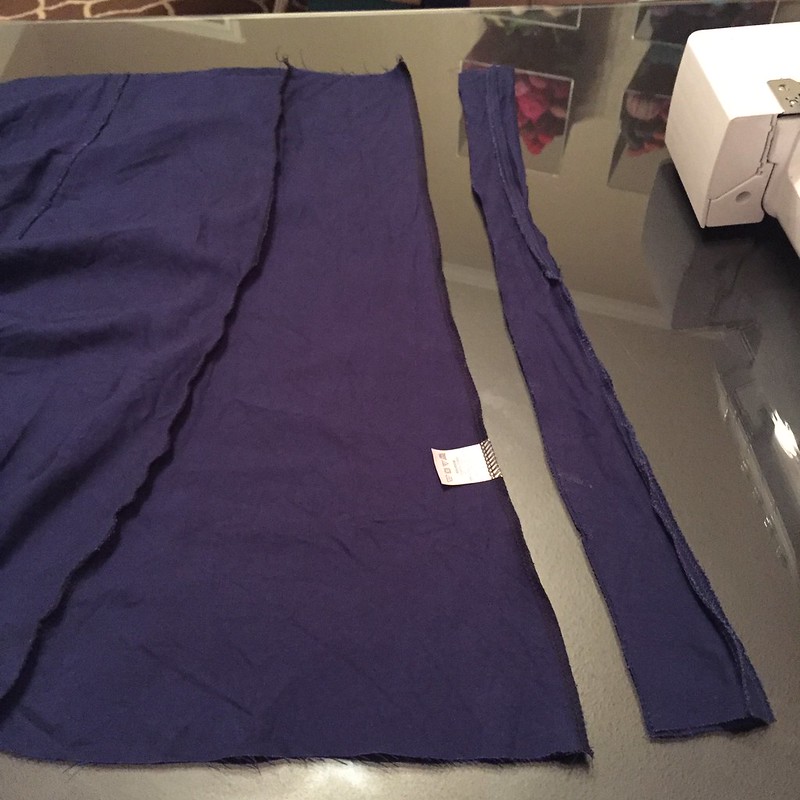
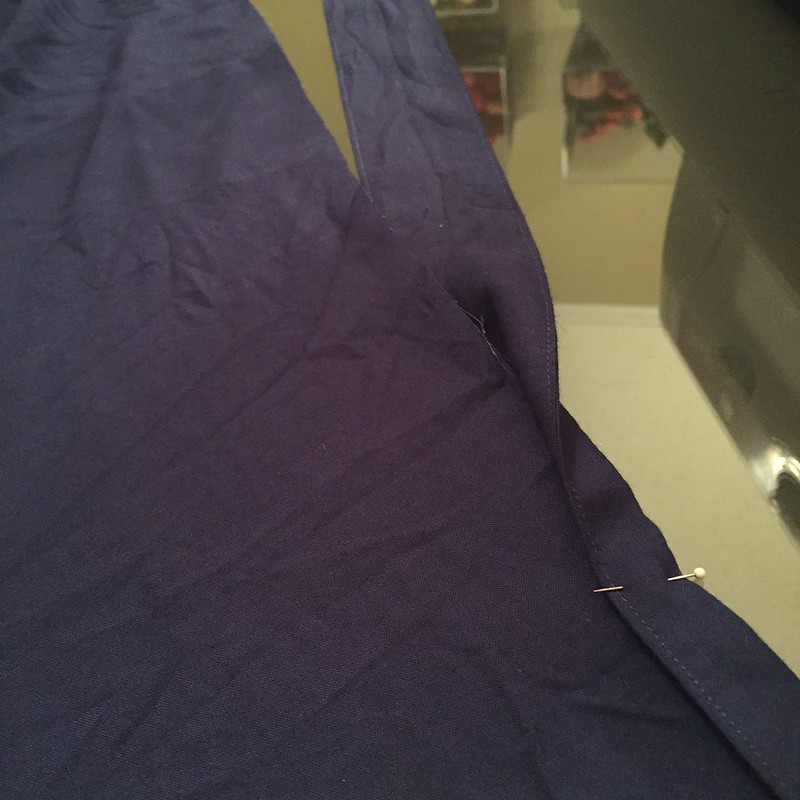
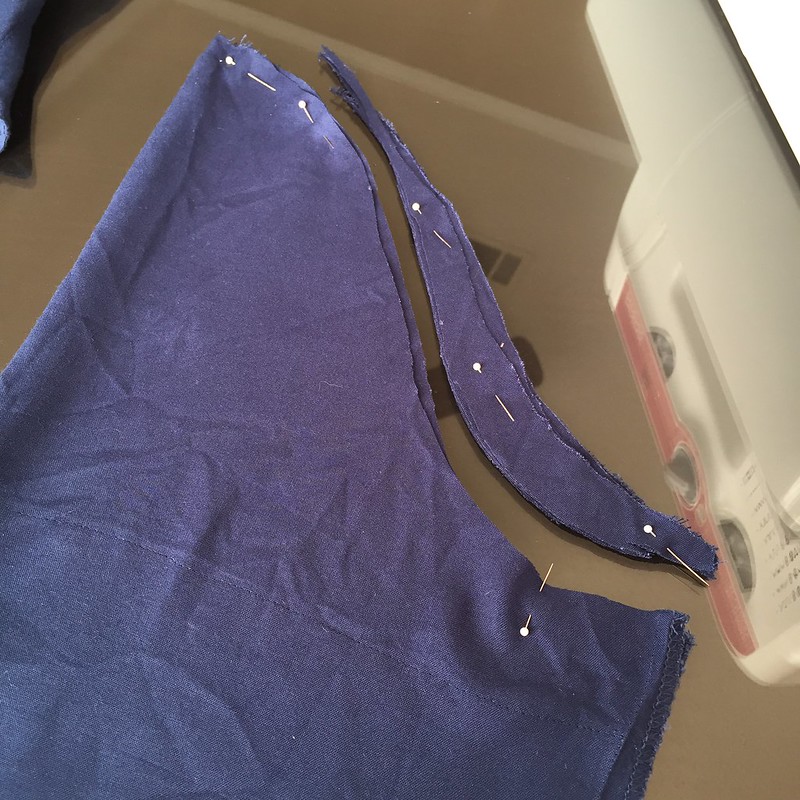
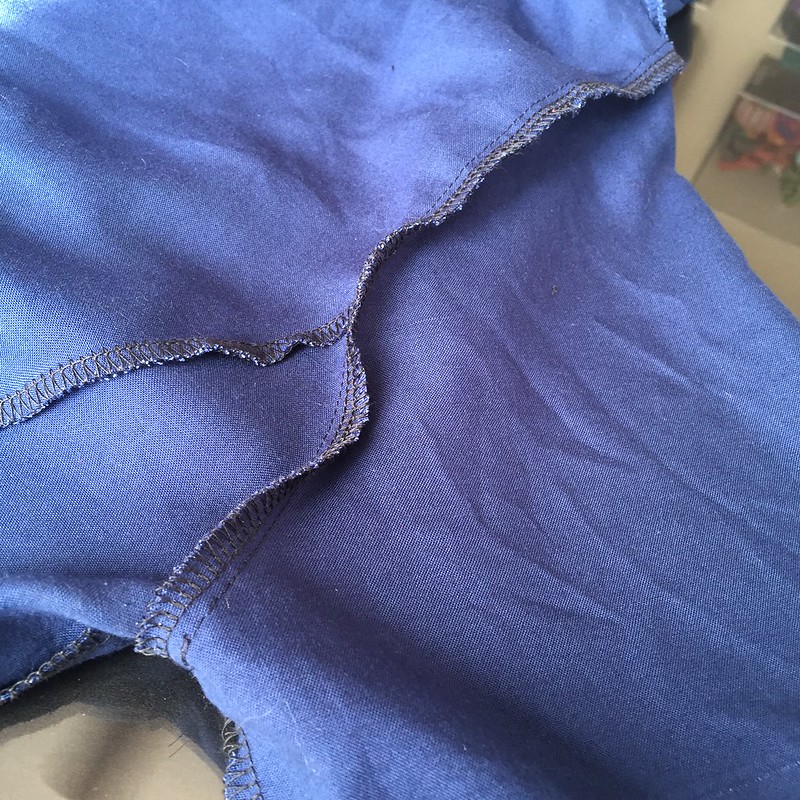
I reattached the skirt to the bodice, aligning the seams. Then I trimmed off the points of the original wrap panels to even up the edges. Next, I was going to need a button band on each side, so I grabbed the old ties, pressed out all the wrinkles, and trimmed the longer one to be the same length as the shorter one.
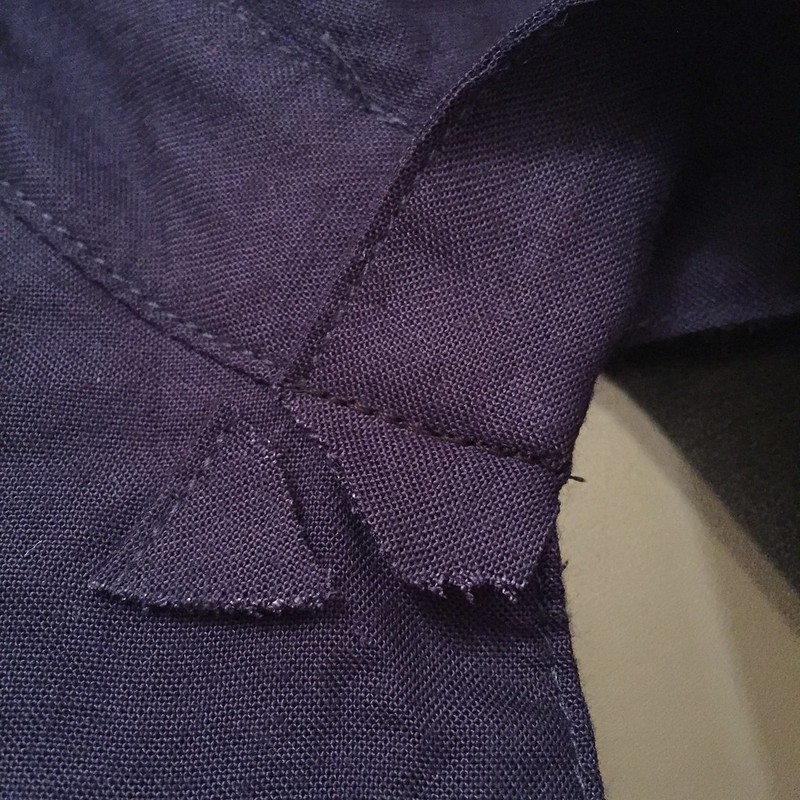
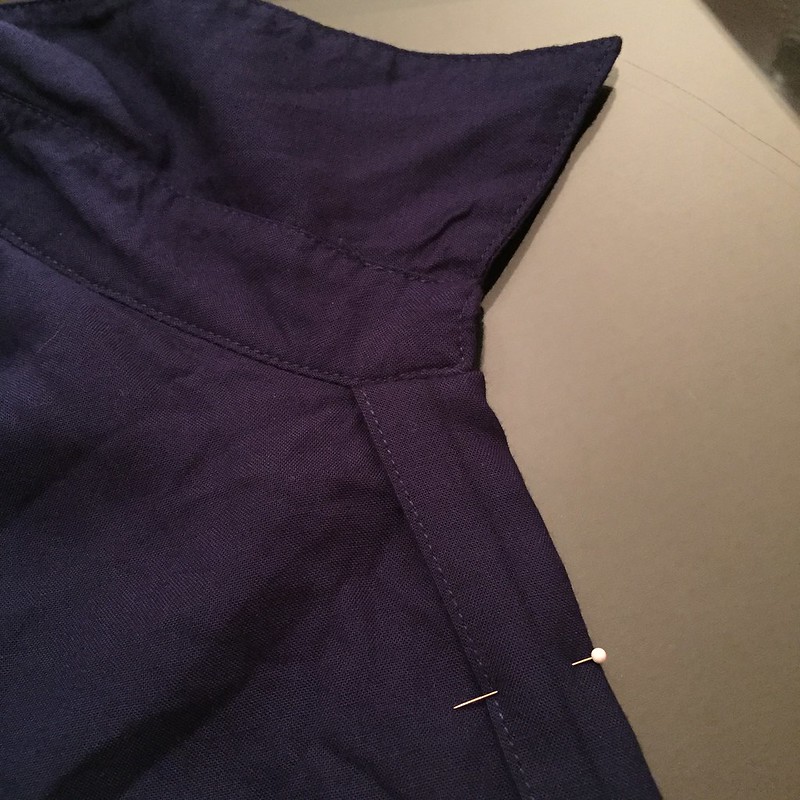
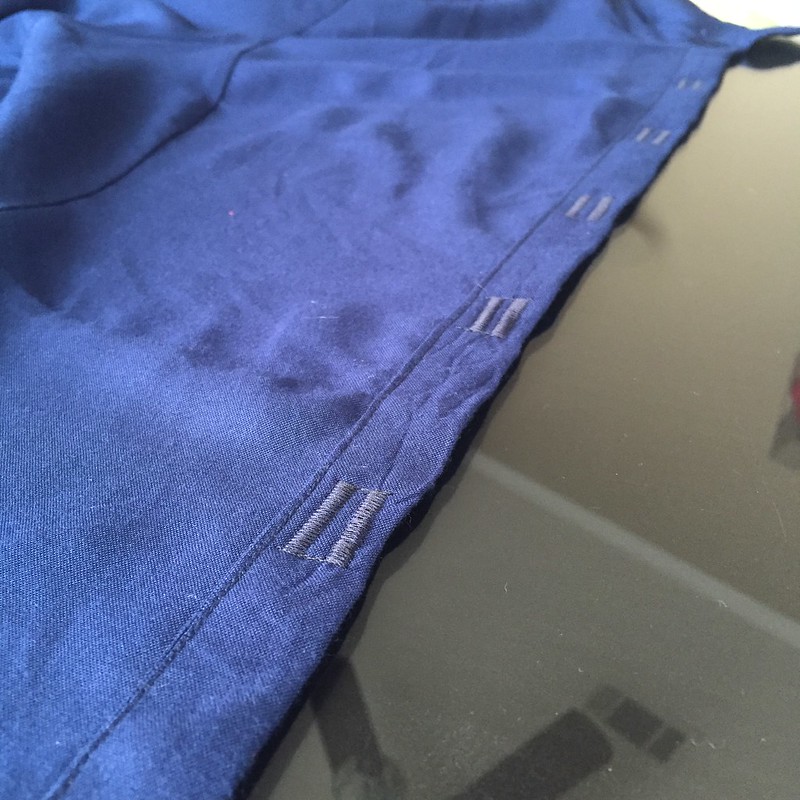
Starting at the bottom hem, I folded my button band around the front edge of my dress and pinned it in place. When I reached the collar, I marked where the button band should stop and trimmed the excess about 1/2 inch above that pin, on the same angle. Then I twisted the button band around and folded it around the front edge in the opposite direction.
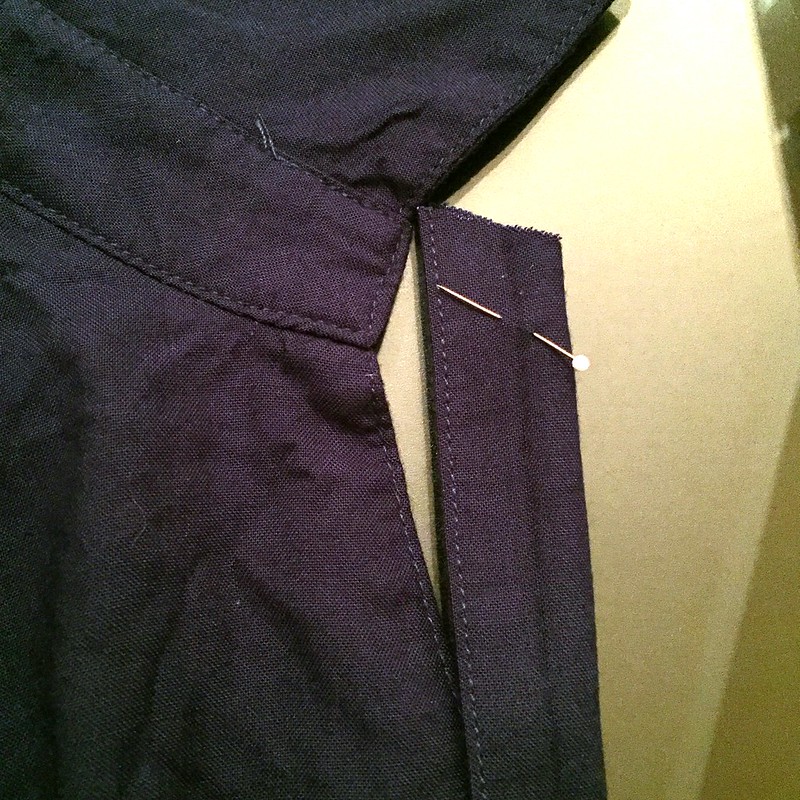
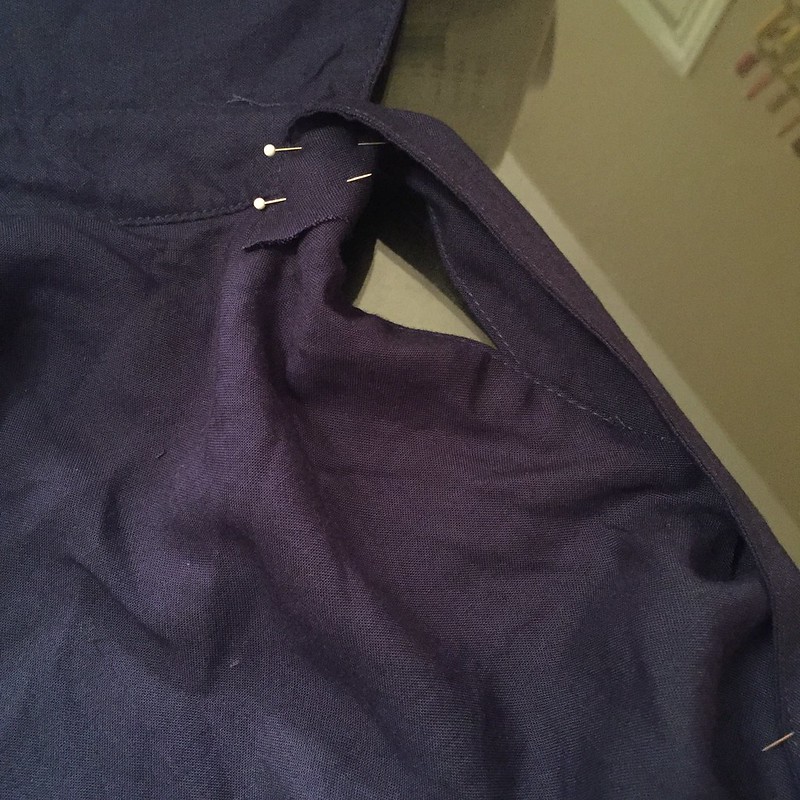
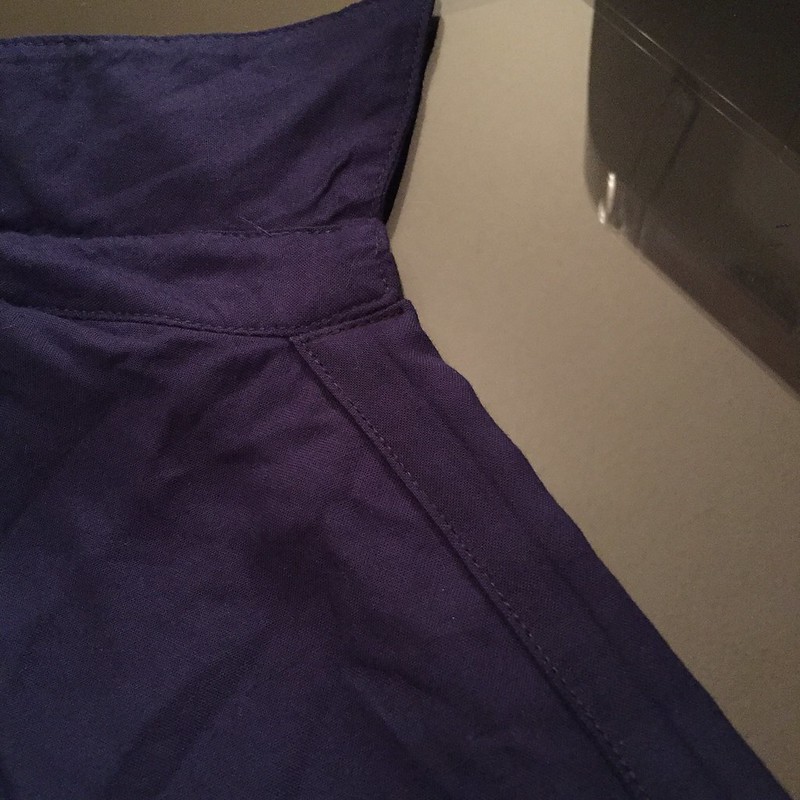
I stitched the end in place, right below where the collar meets the dress. Then I snipped the folded edge so it would lay flat and trimmed the corners so they wouldn't stick out from under my button band. Then I folded the button band downward again and finished off top-stitching all the way down. I repeated this entire process with the other button band on the opposite front edge.
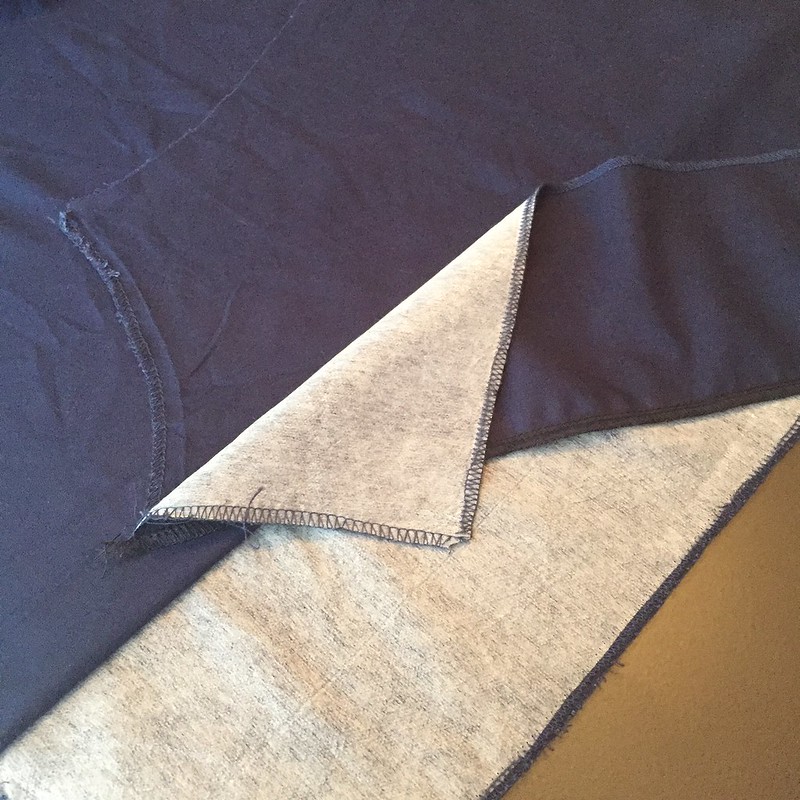
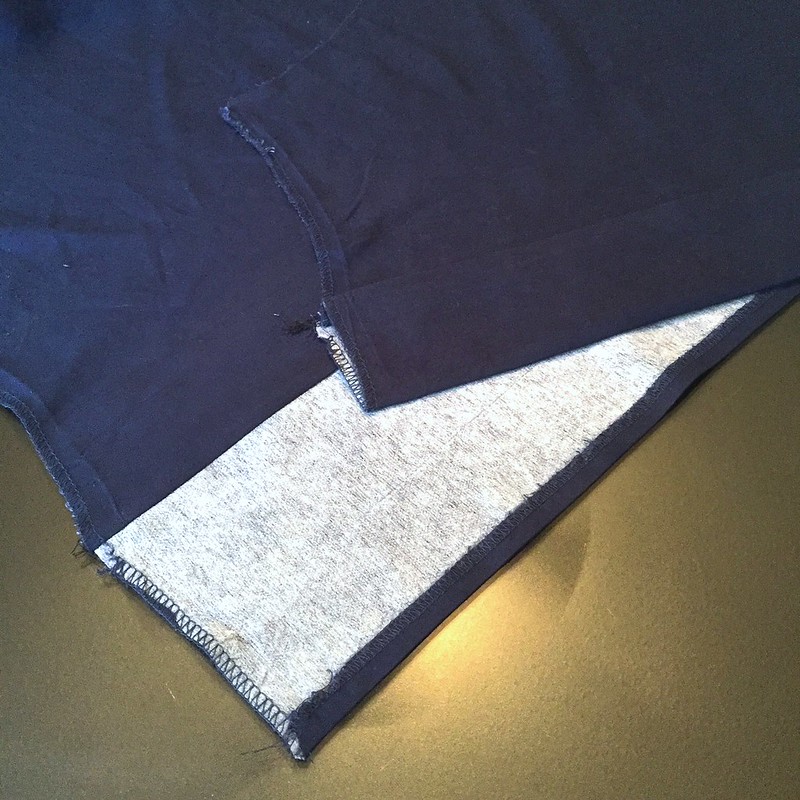
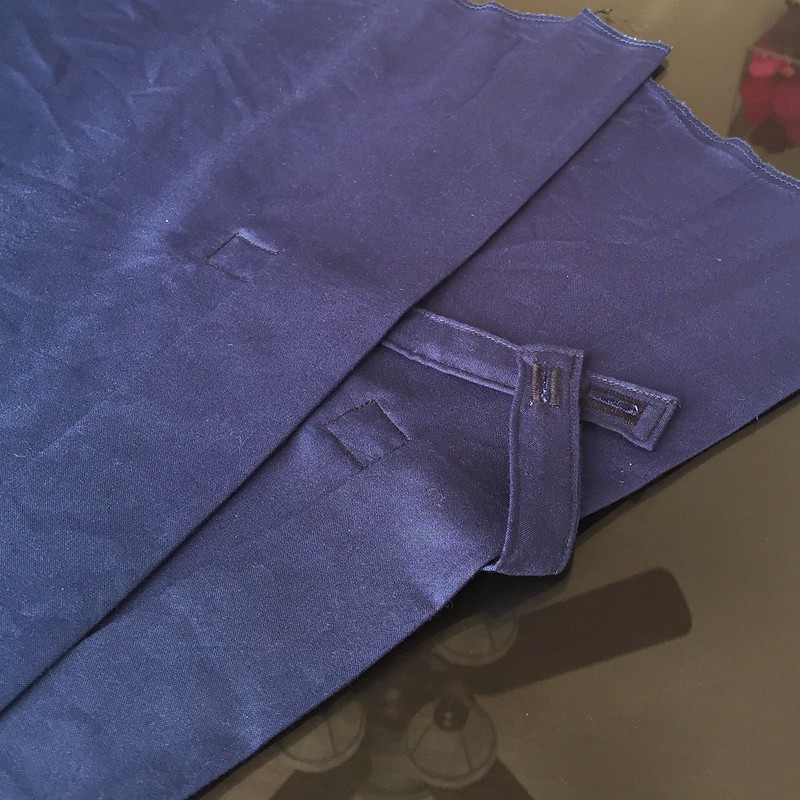
Next, I turned my attention to the sleeves. They obviously needed to be narrower, but I wanted them a bit longer as well. So I picked out the seams from the double-layer cuffs and then picked out the seams attaching them to the sleeves as well. Then I flipped them over and sewed them back on with the interfaced side facing upward instead. I pressed the serged edge up about 1/2 inch, then folded the cuff in half to hide the interfacing and pressed again.

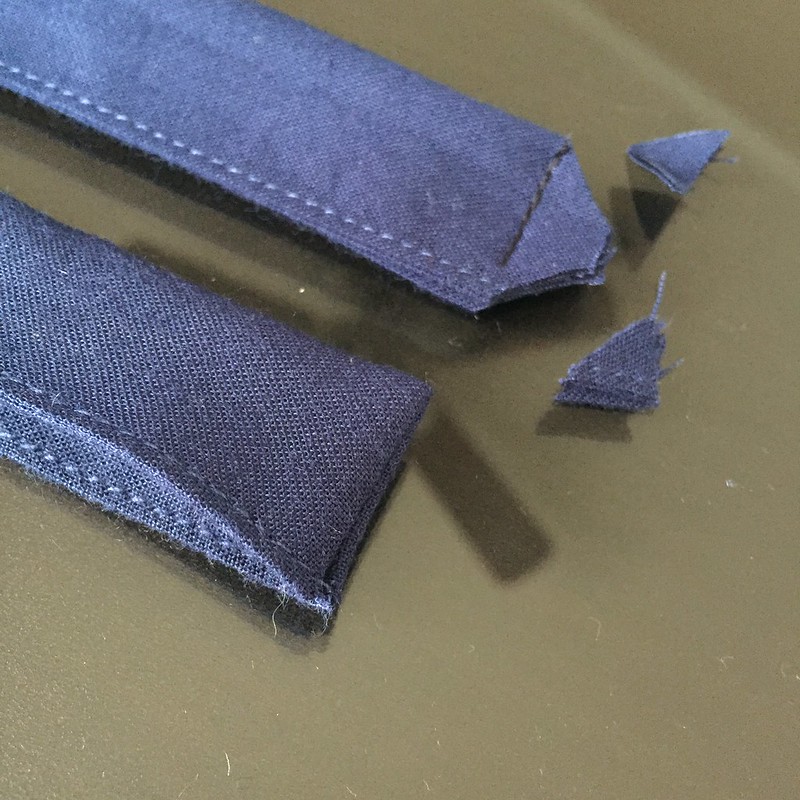
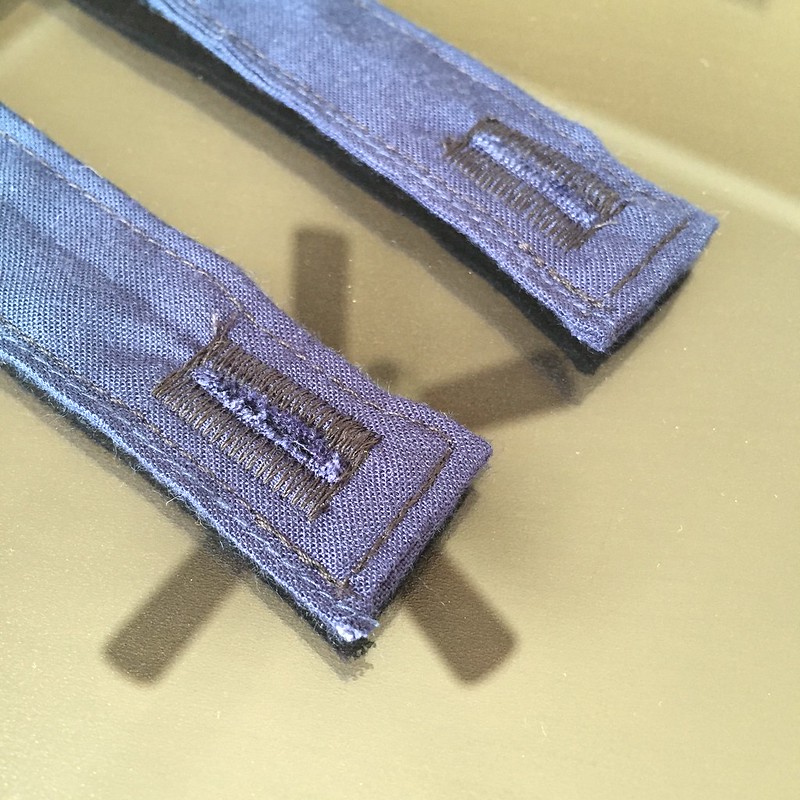
The trimmed-off piece of the longer tie from the original dress was the perfect length to get two cuff straps out of it. I cut it in half, then folded each of them in half lengthwise and stitched across the ends. Next I trimmed the corners to reduce the bulk when they are folded right-side-out. Then another line of stitching along the edge closed them up.

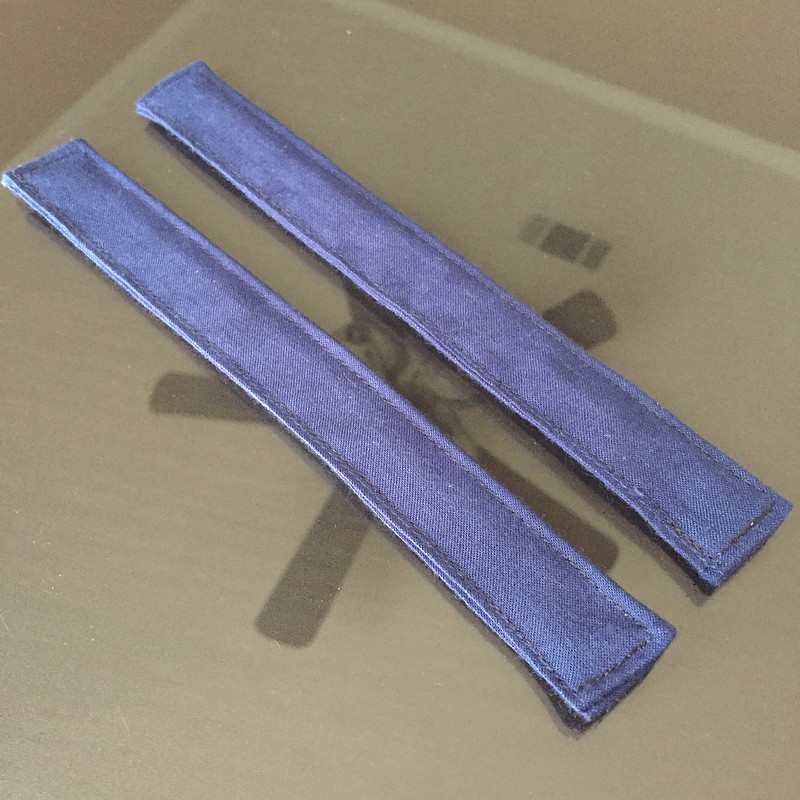
I made a buttonhole on one end of each strap and attached them to the inside of each sleeves, just above the cuff. I measured and marked the approximate width I wanted my new sleeves and trimmed the sleeve caps accordingly.
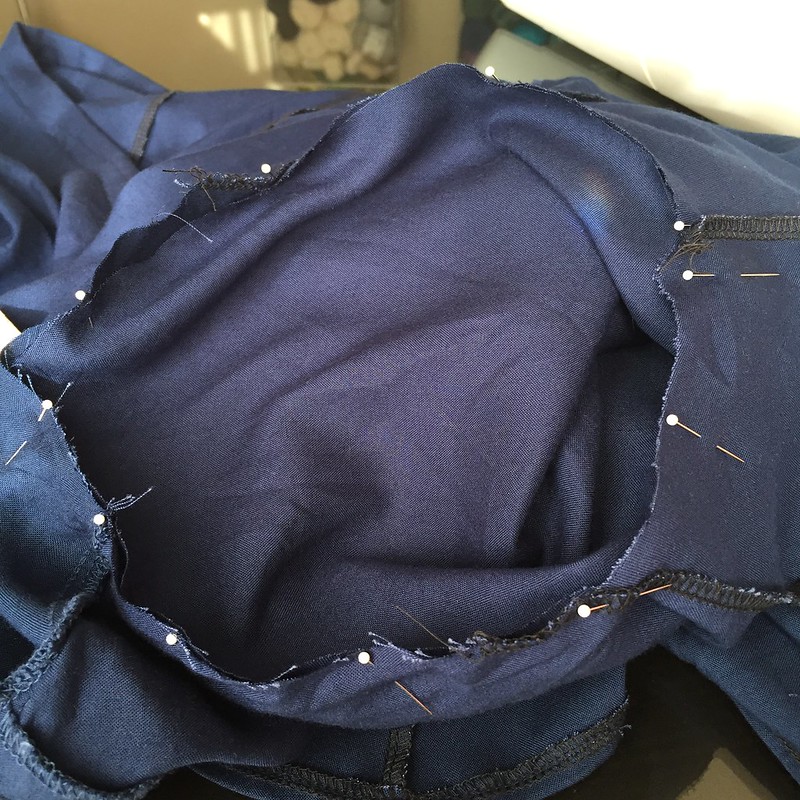
Each sleeves was pinned and stitched to an armhole, leaving the excess fabric to dangle at the underarm. Once I had the sleeves set-in nicely, I took in the extra width to align with the underarm seam on the dress, with a slight taper toward to cuffs. Then I went back and serged the raw edges around the armhole as well.
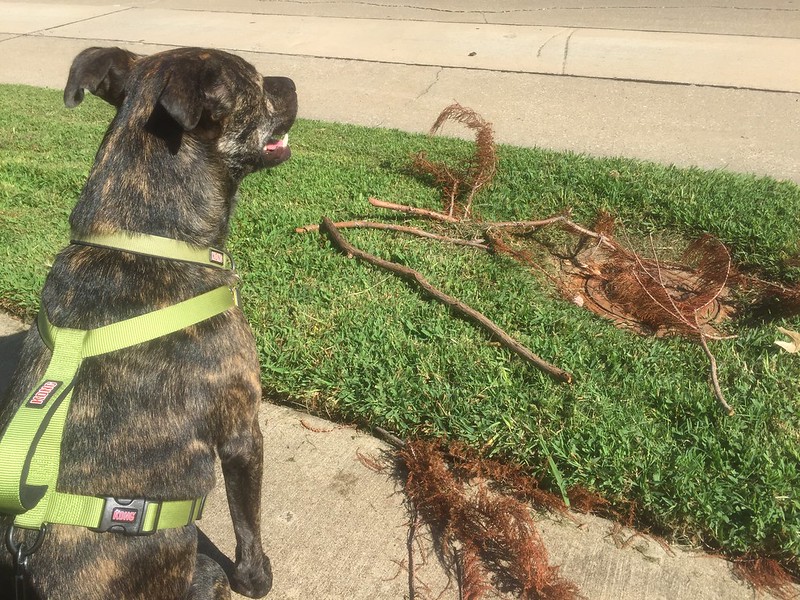
With that, my dress was almost completely and yet still completely unwearable. I needed some way to close up the front, right? Hmm... what could I use for that? Oh I know! Buttons! Though I have a massive collection of buttons inherited from my grandmother, I wanted to get creative with these instead. As luck would have it, inspiration struck while Laika and I were out for a walk one day. We came across a few dead tree branches at the curb in front of a neighbor's house, and I thought, "Hey! I could slice those up into little wooden buttons!" I picked up another branch from in front of another neighbor's house too, for a little variety. I'm sure any passersby thought I was nutso, dragging tree branches around, but oh well.
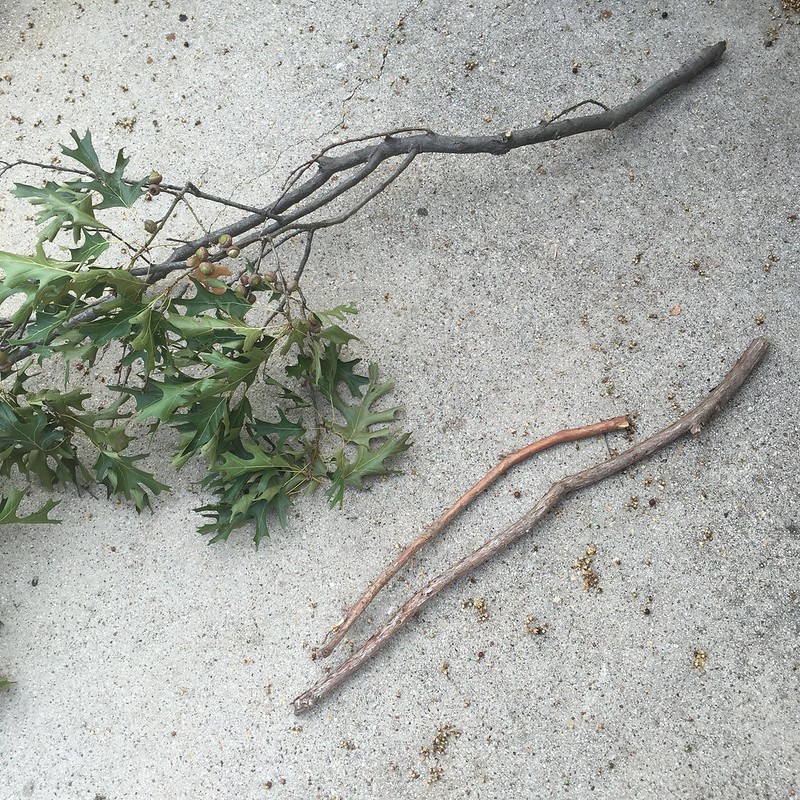
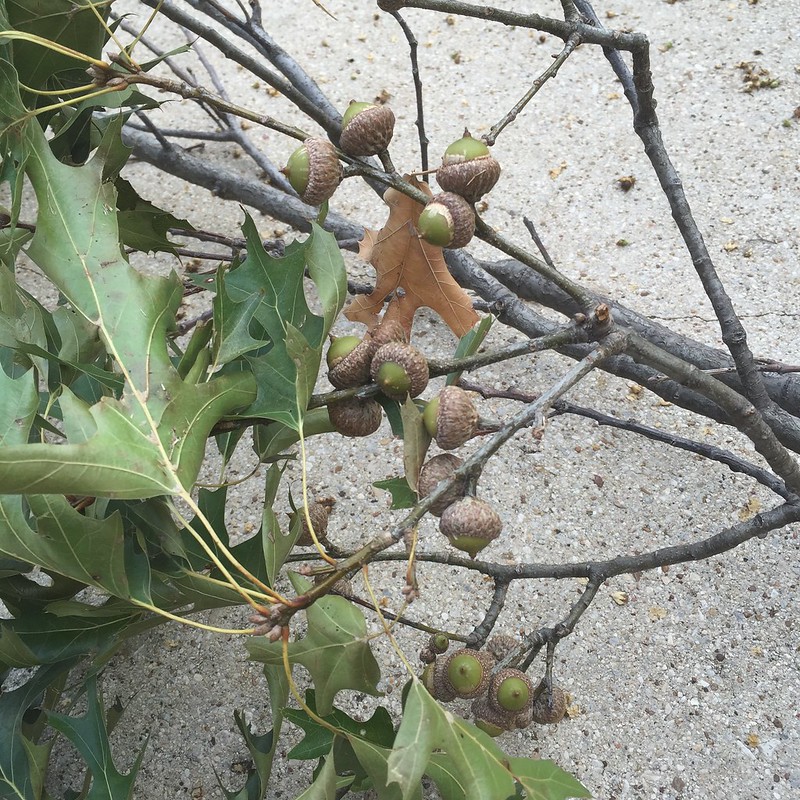
The second branch I found was oak and came with a bonus - lots and lots of little acorns, ripe for the plucking and perfect for some autumn-related craft project down the road I'm sure.
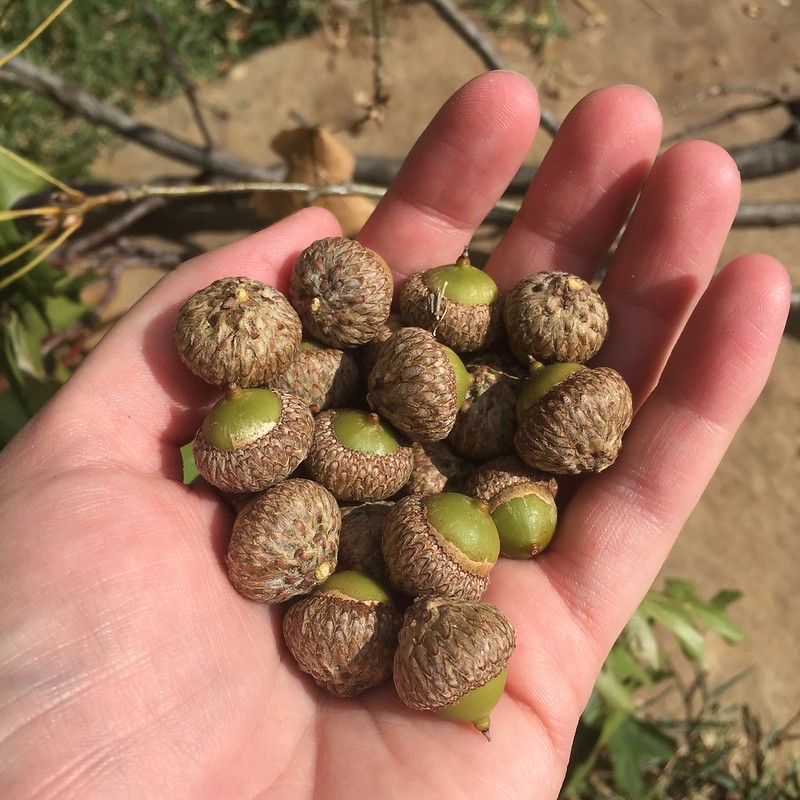
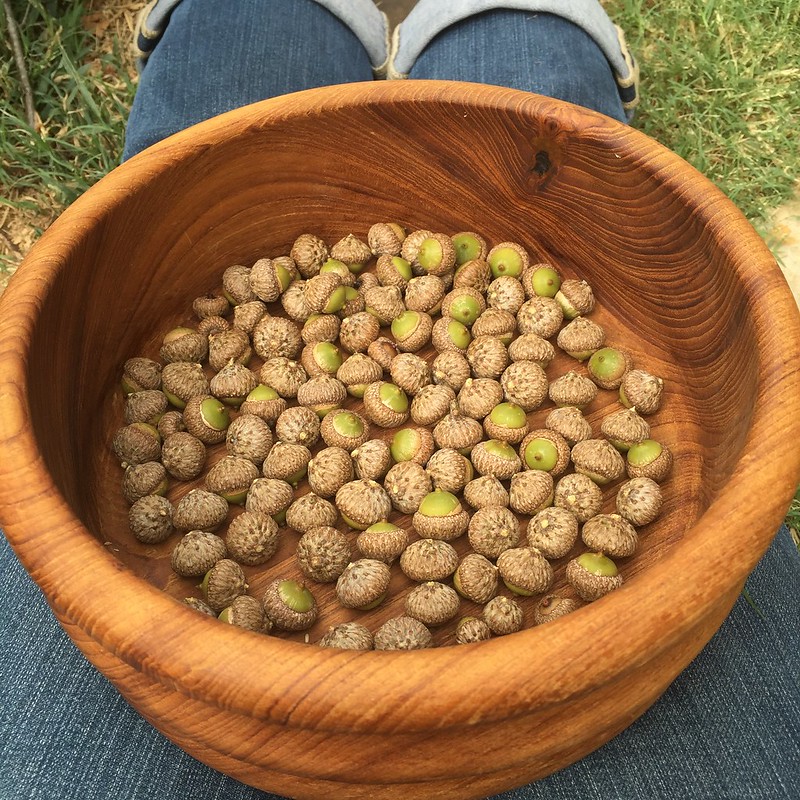
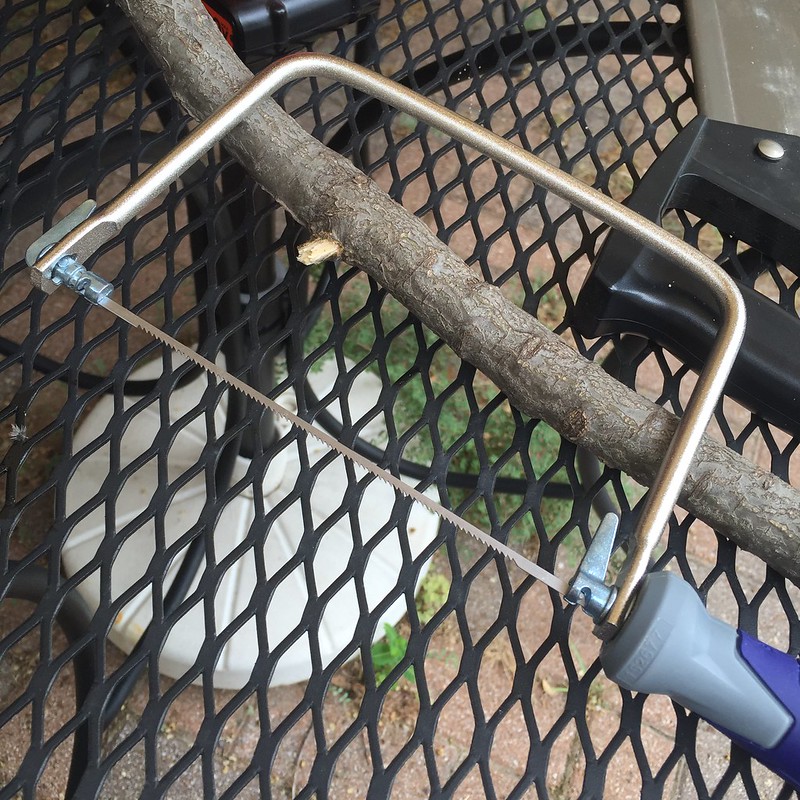
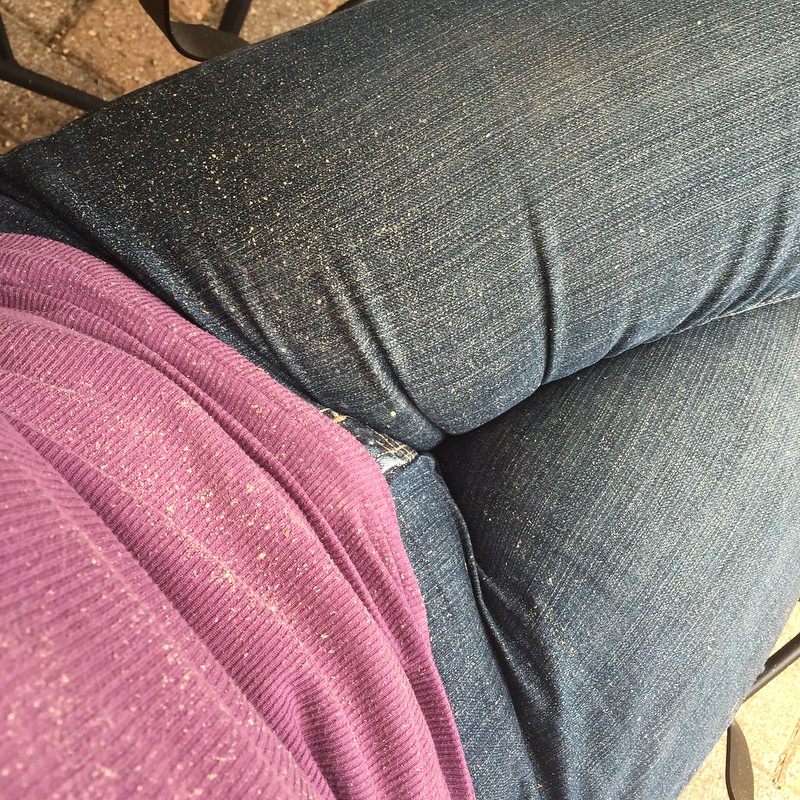
Once I removed all the acorns and the smaller branches sticking out everywhere, it was time to break out the saw. My handsaw was too bulky for such fine work, so I popped down to the hardware store for a coping saw, much better suited to making tiny little slices.
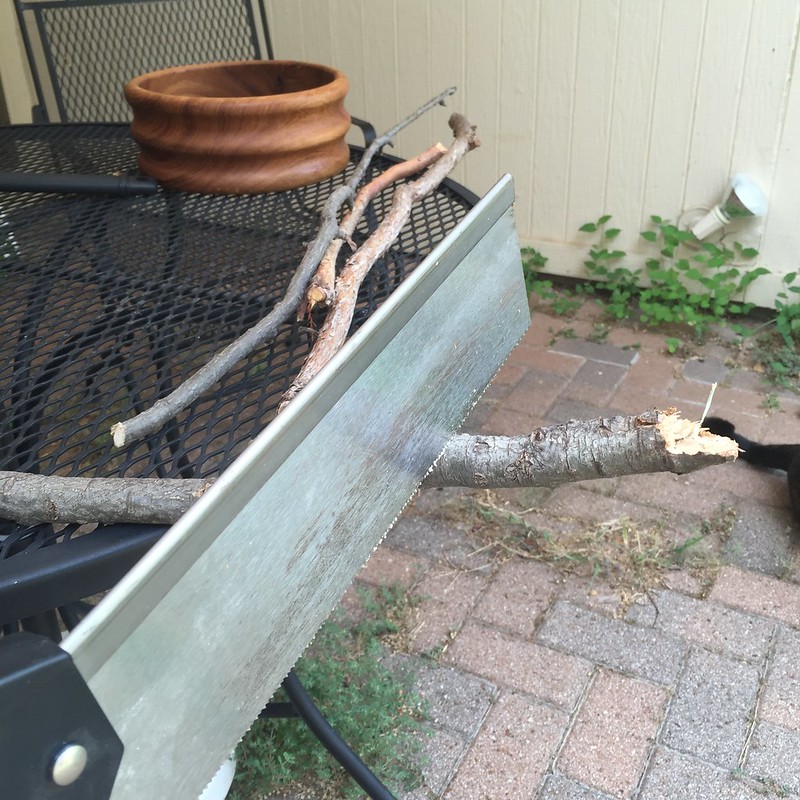
I quickly learned that while the pine had a richer color and the delicious smell of Christmas, it was too soft a material for this project. As I sawed slices from the branch, the bark kept flaking off around the edges. So I decided to go with the oak instead.

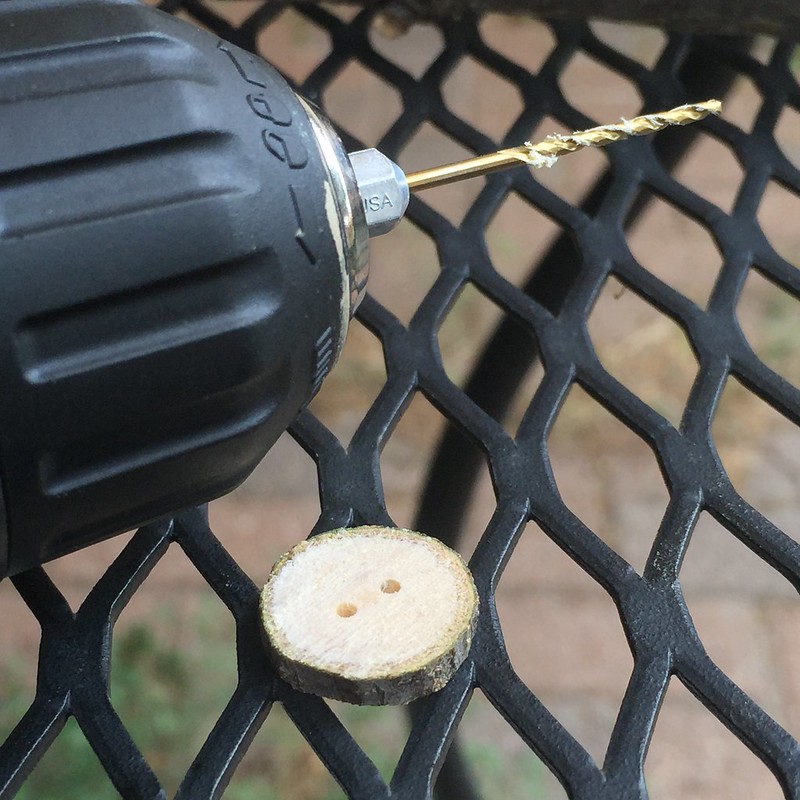
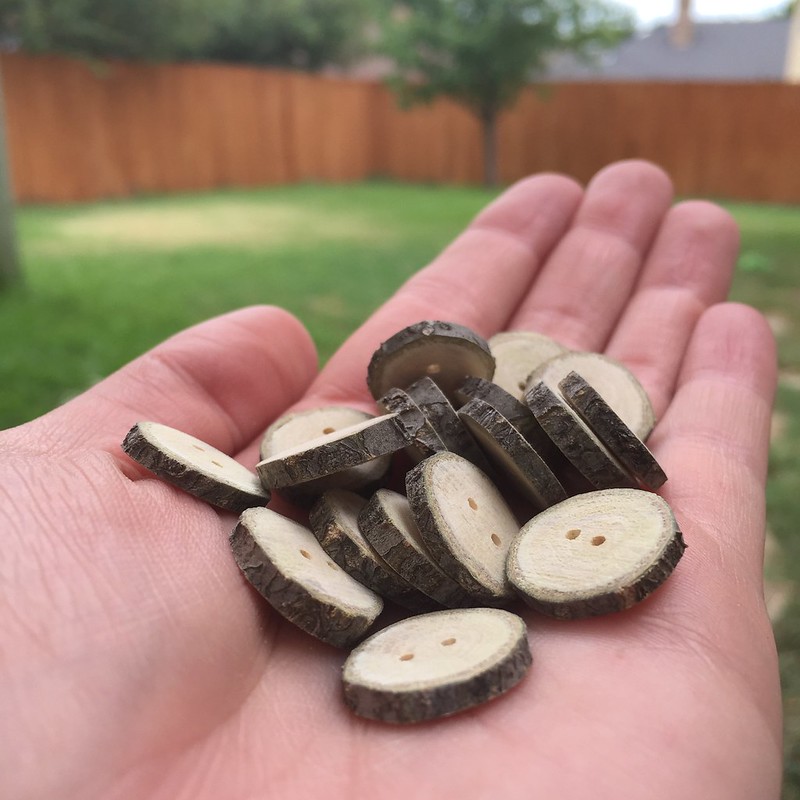
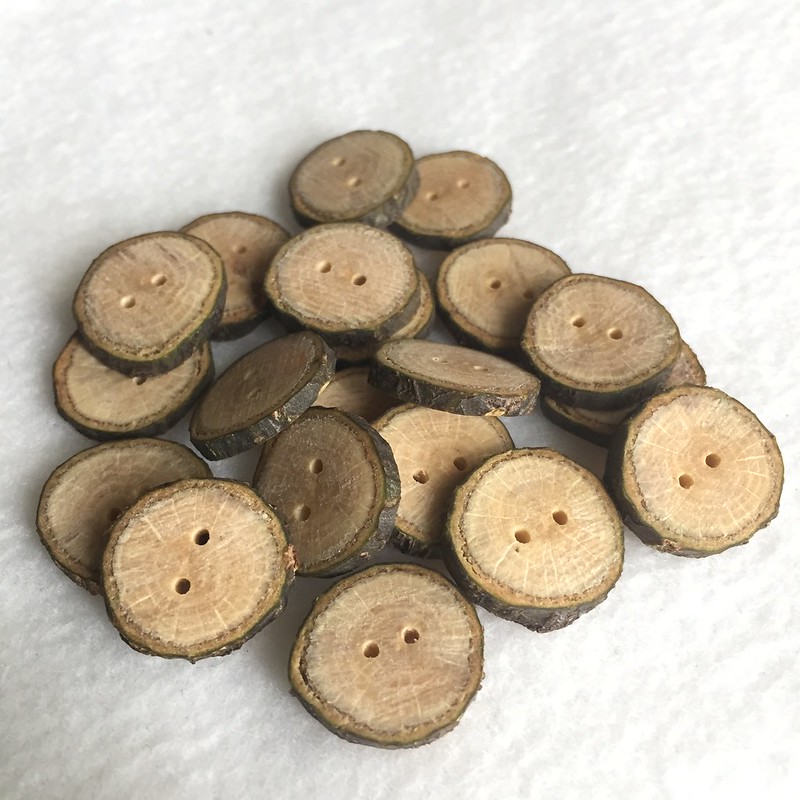
I used a 1/16 inch drill bit to create two little holes in each button. Then I gave them all a quick smoothing out with some fine grit sandpaper, which helped get rid of those grey saw marks too.
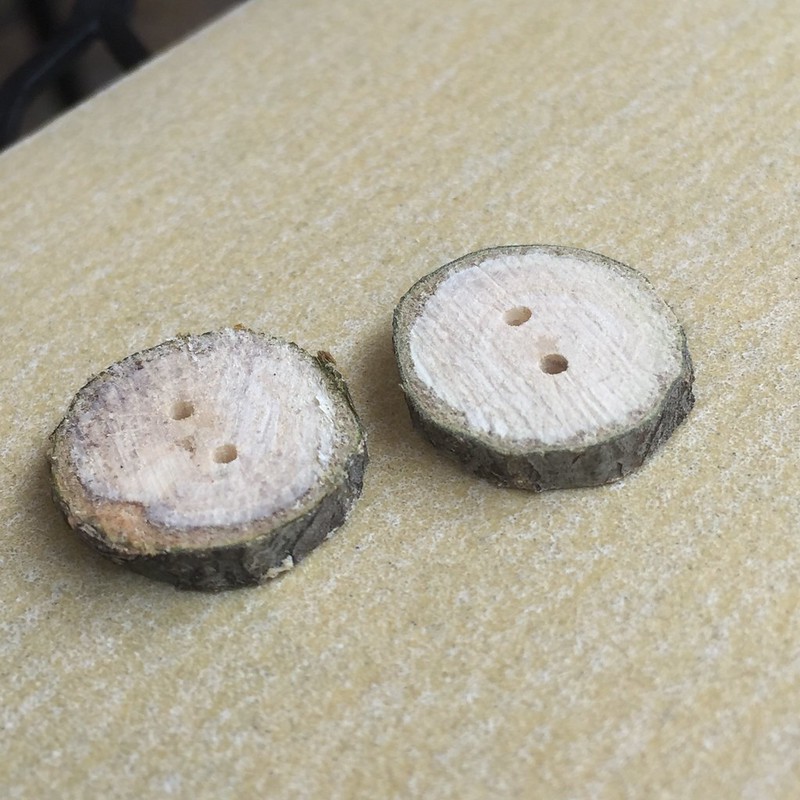
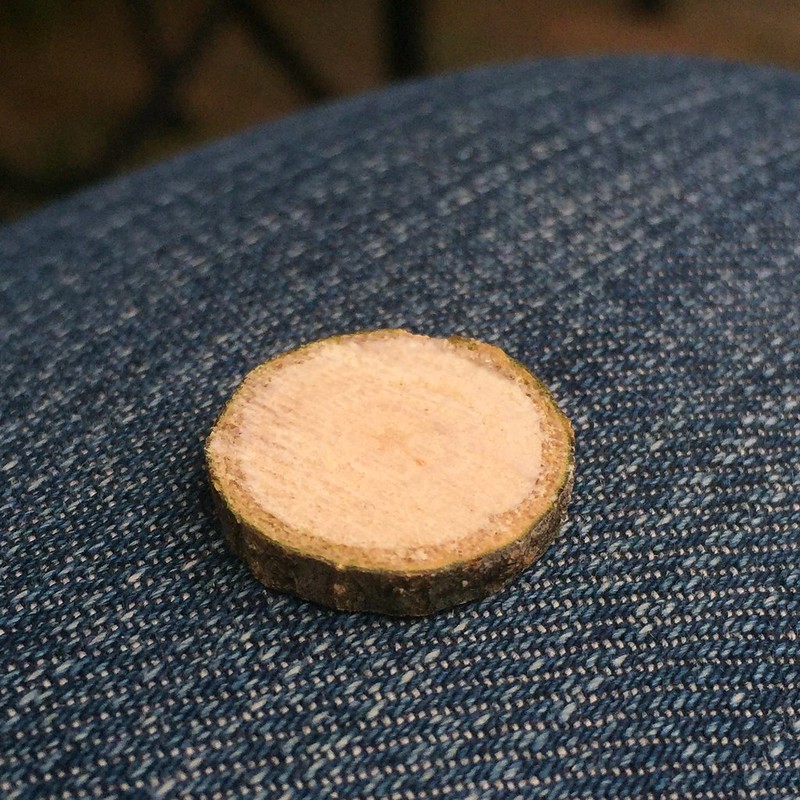
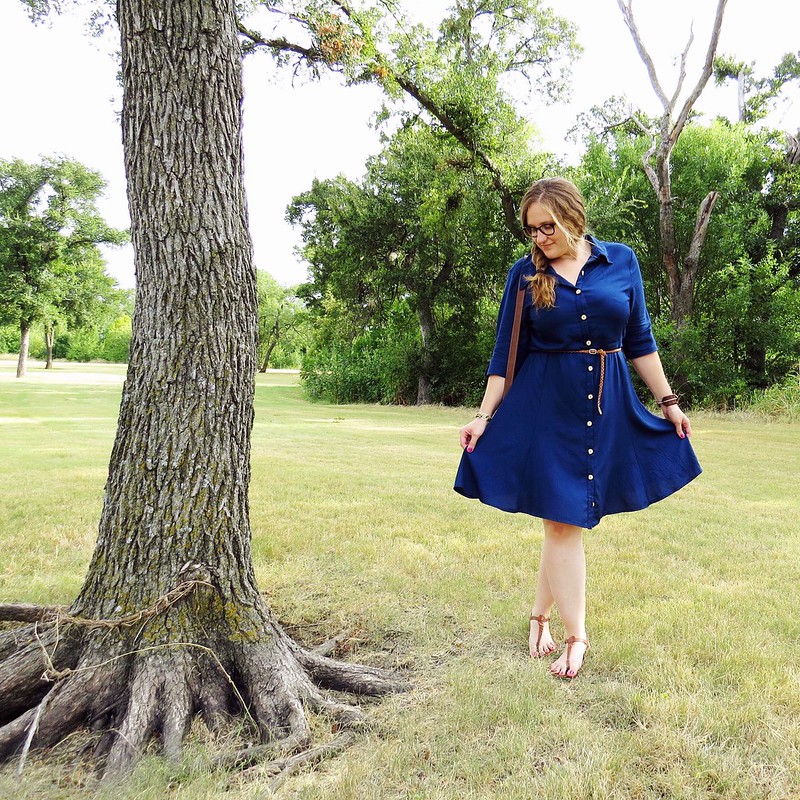
After making quite a mess of myself, I eventually had a collection of 20 wooden buttons, about 3/4 inches in diameter.
I brushed myself off and came inside with my loot. I borrowed some lemon oil that my husband uses to oil the fret board on his guitar and gave each of my buttons a rub-down to bring out the wood grain a bit more. Then I removed any excess oil with an old t-shirt. Then I had a cookie while I admired my work.
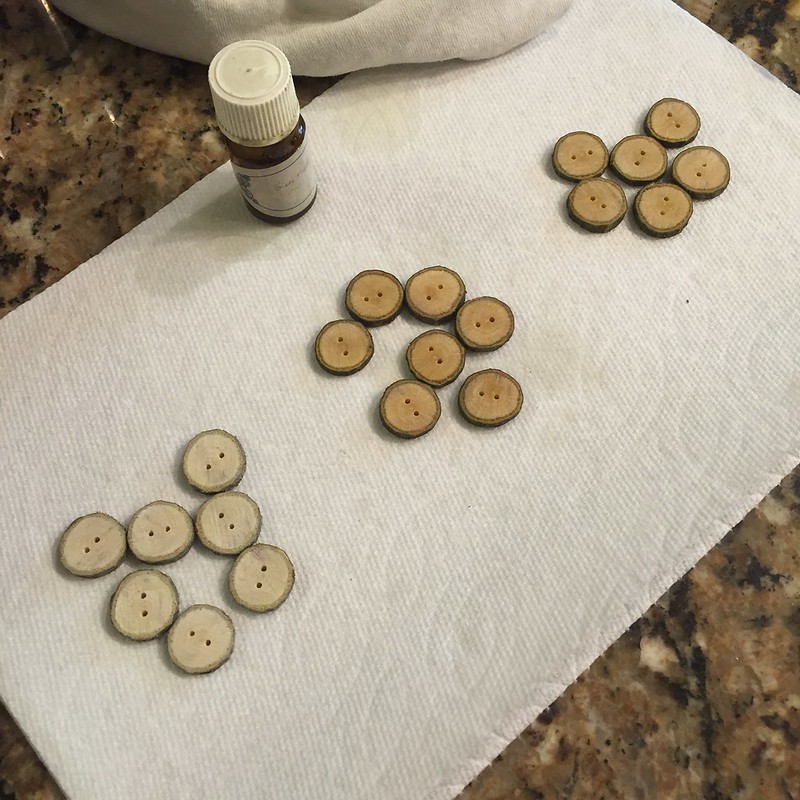
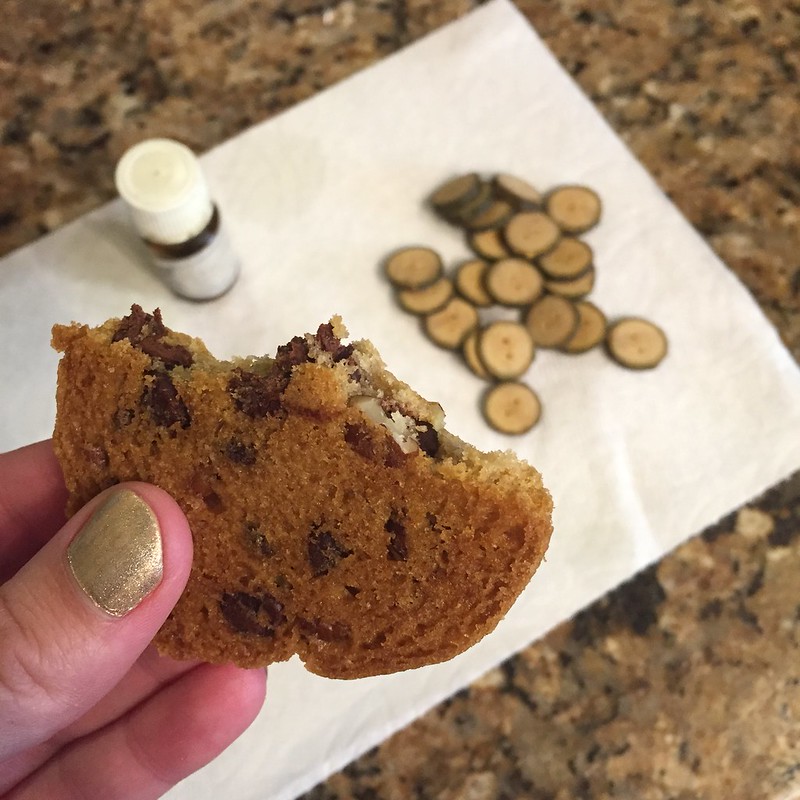
I cannot stress enough the importance of this last step. No cookie and your buttons will be ruined. Consider yourself warned.
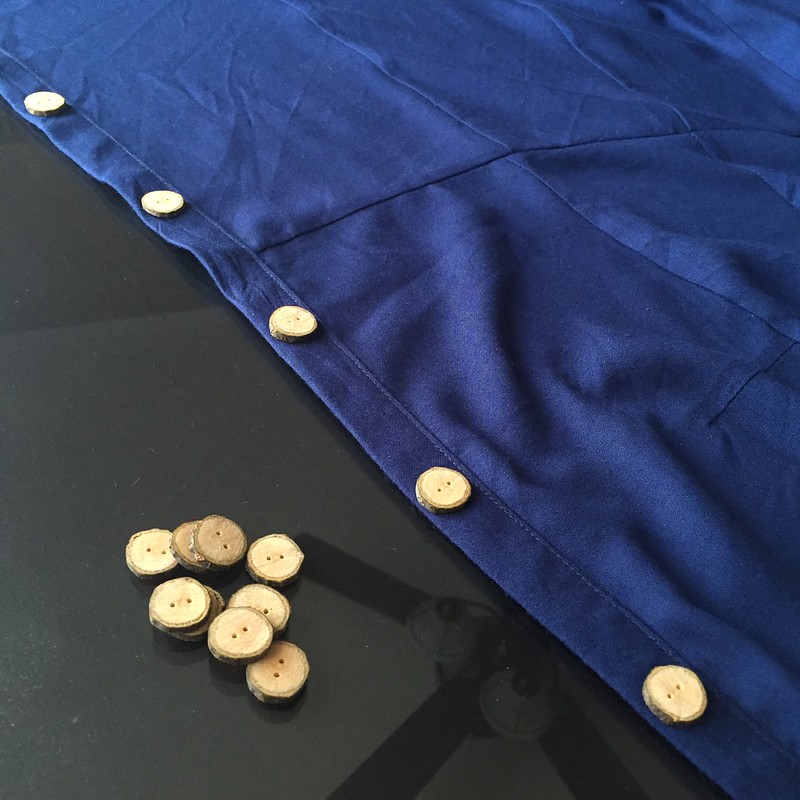
Now that I had my buttons, I arranged them on my dress until I was happy with the number and spacing, and then I made all the buttonholes ever. Seriously. I think it's safe to say I much prefer the process of making buttons to that of making buttonholes. Ugh. Then I got to sit on the couch with some Netflix and hand-sew on all those buttons. Not a terrible way to spend an evening.
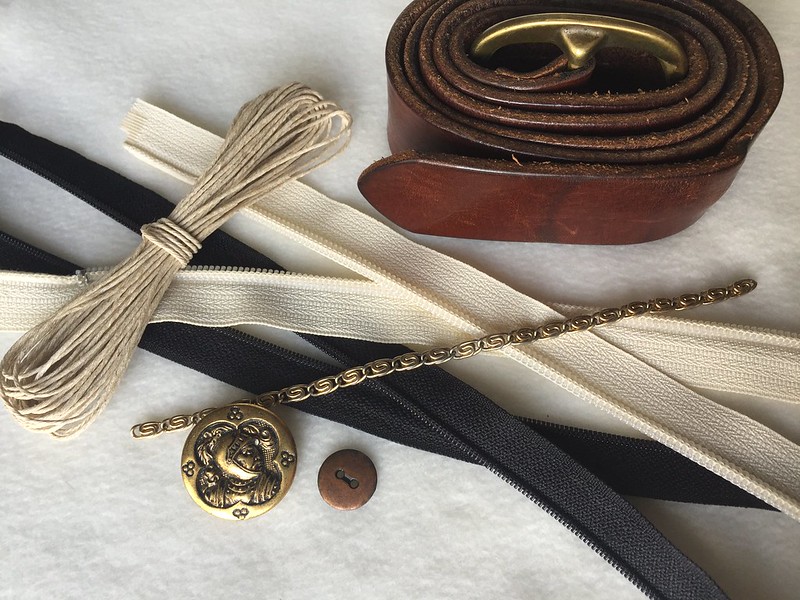
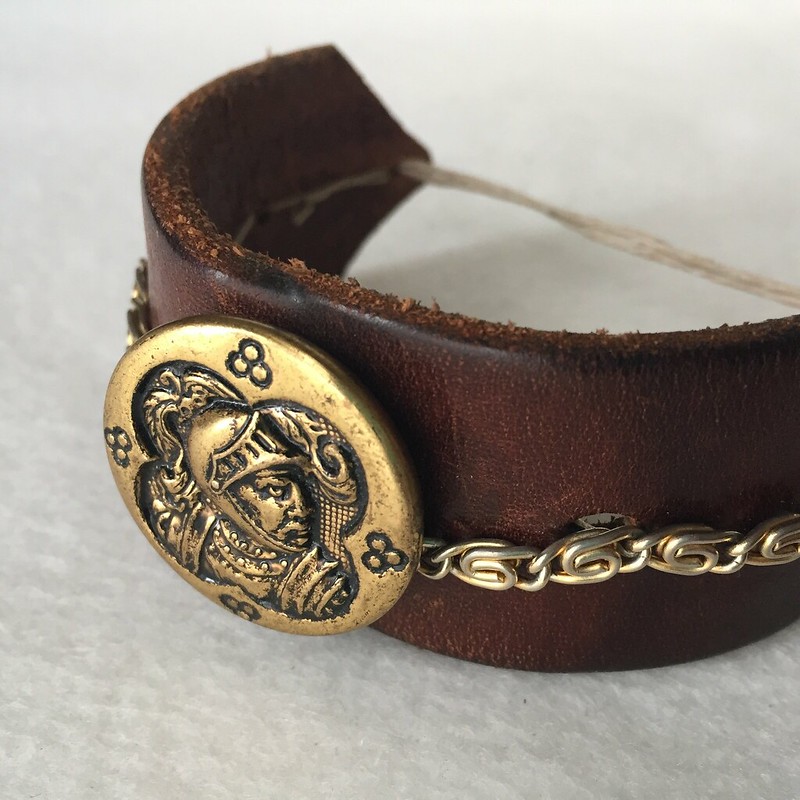
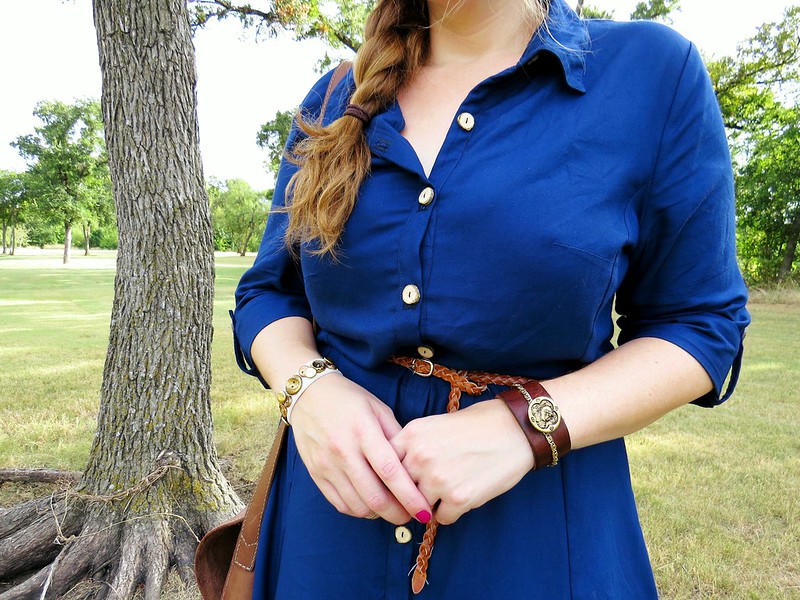
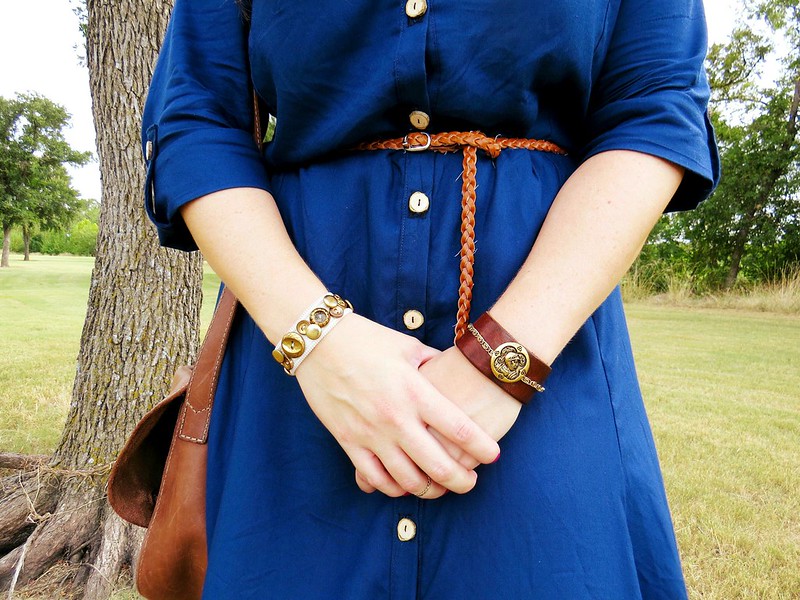
While I loved my new dress from the moment I put it on, I still felt the outfit was incomplete. I had used a something unconventional to make my buttons, so why not use some buttons to make something unconventional? I rifled through my button collection and found this cool knight guy. Then I grabbed an old belt, a couple broken zippers, a piece of broken necklace, and some hemp cord and set to work on a cool leather cuff bracelet.
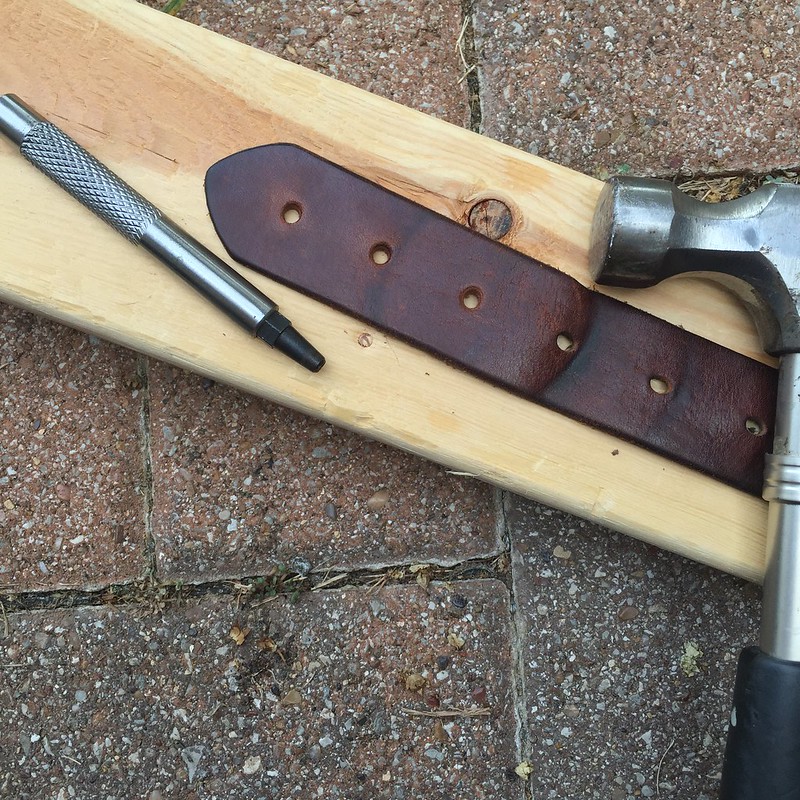
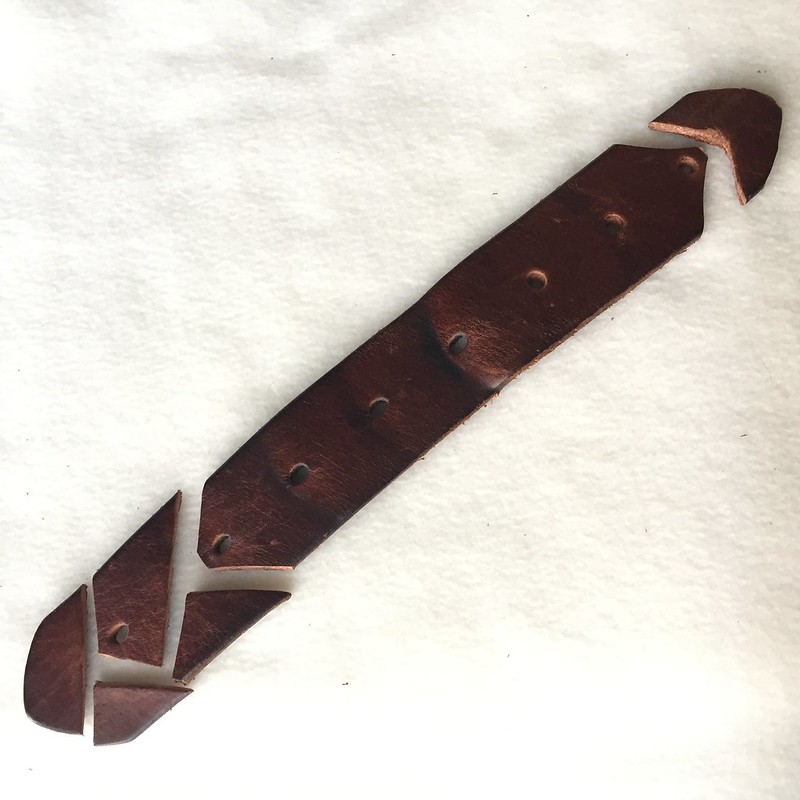
I used my leather punch and a hammer to add a few more holes to the end of the belt. Then I cut off a length for my bracelet. Then I realized that was still too long and cut off some more.
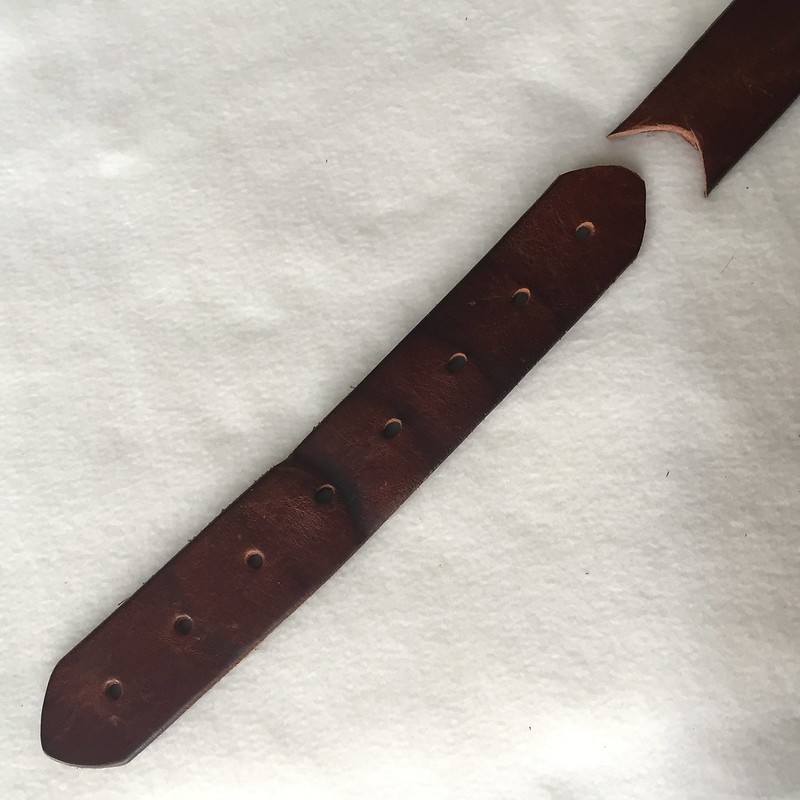
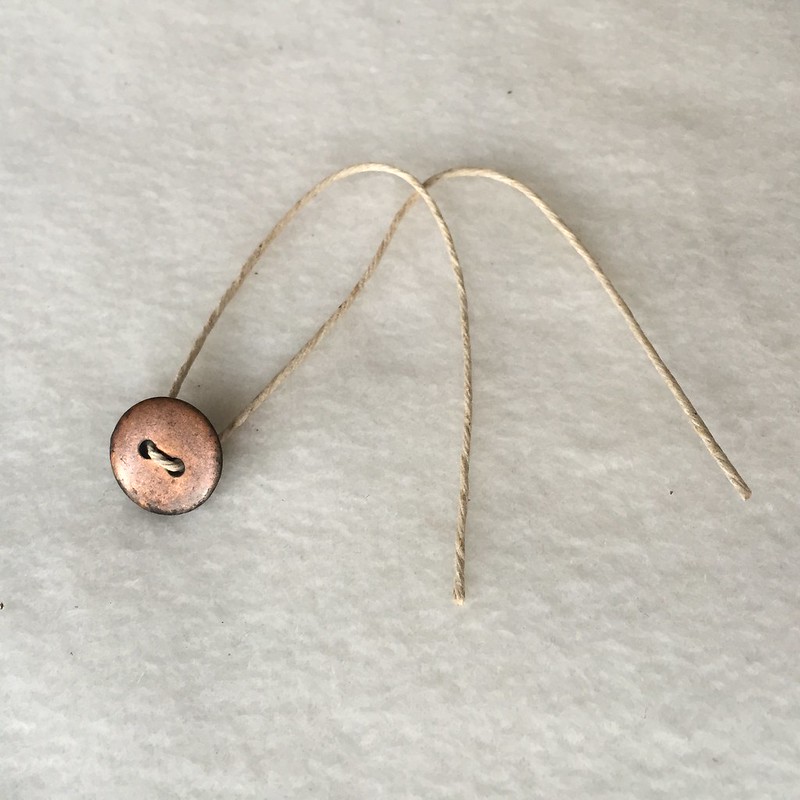
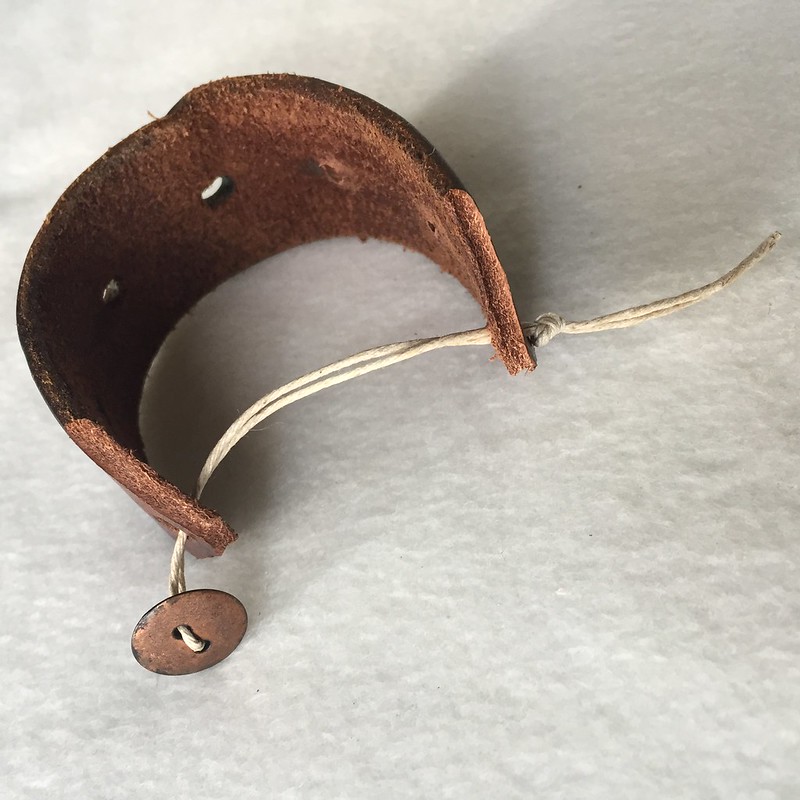
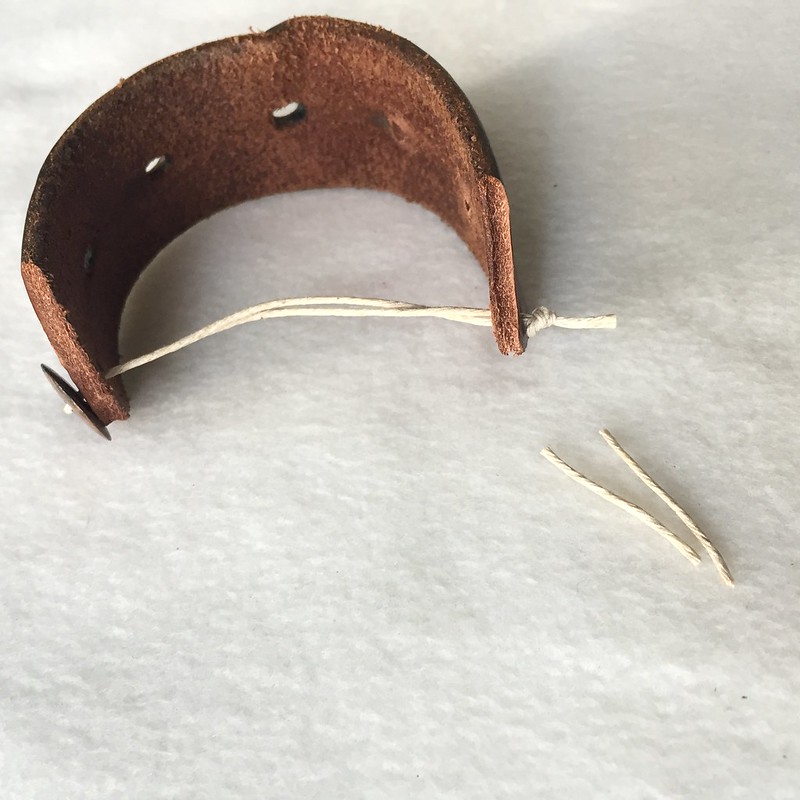
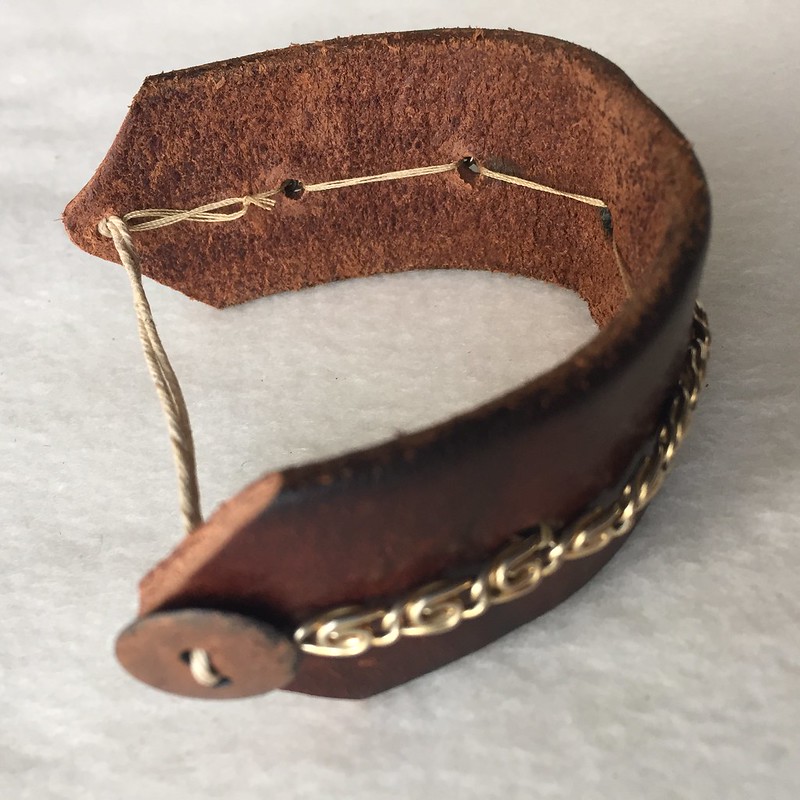
I was going to need a way to fasten my cuff, so I threaded a piece of cord through a small brass button and stuck both ends through the first and last holes on my leather. I tried it on the determine how long to make it and then tied a knot and trimmed off the ends.

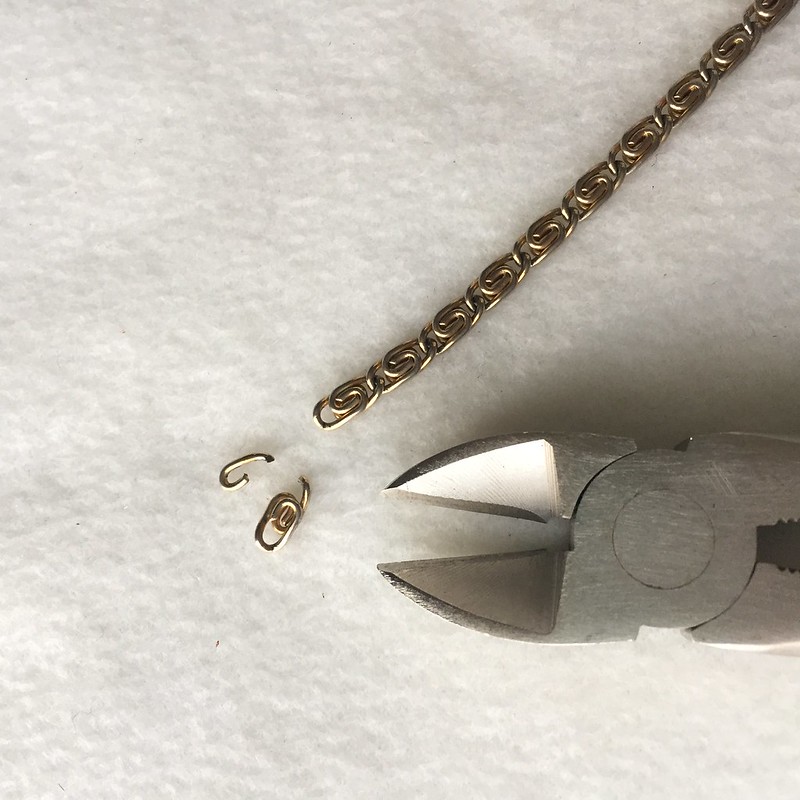
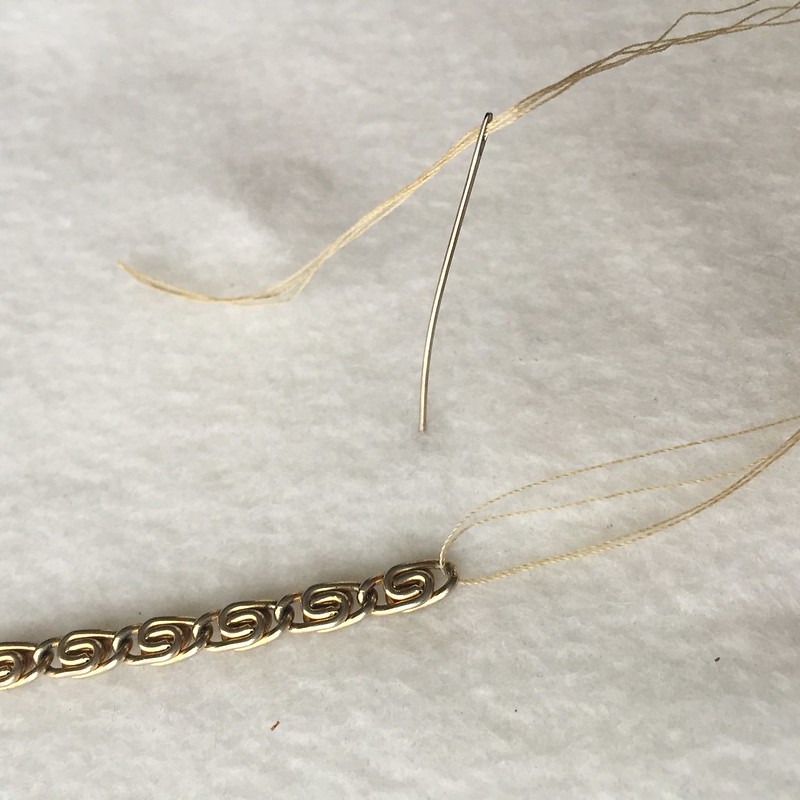
I wanted to add a bit of bling, so I used my wire snips to trim the broken chain to the correct length. Then I used a regular needle and thread to stitch it onto my cuffs, going through the pre-punched holes and snagging a link in the chain and then back down through the holes.
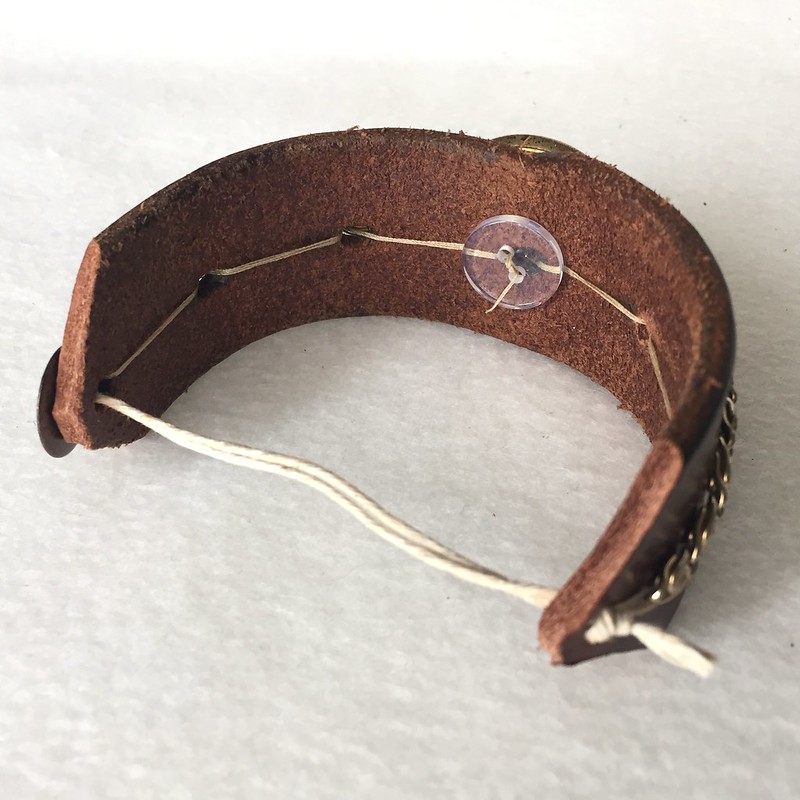
Finally, I added my knight button by anchoring it through the center hole with a clear plastic button on the inside of my bracelet.
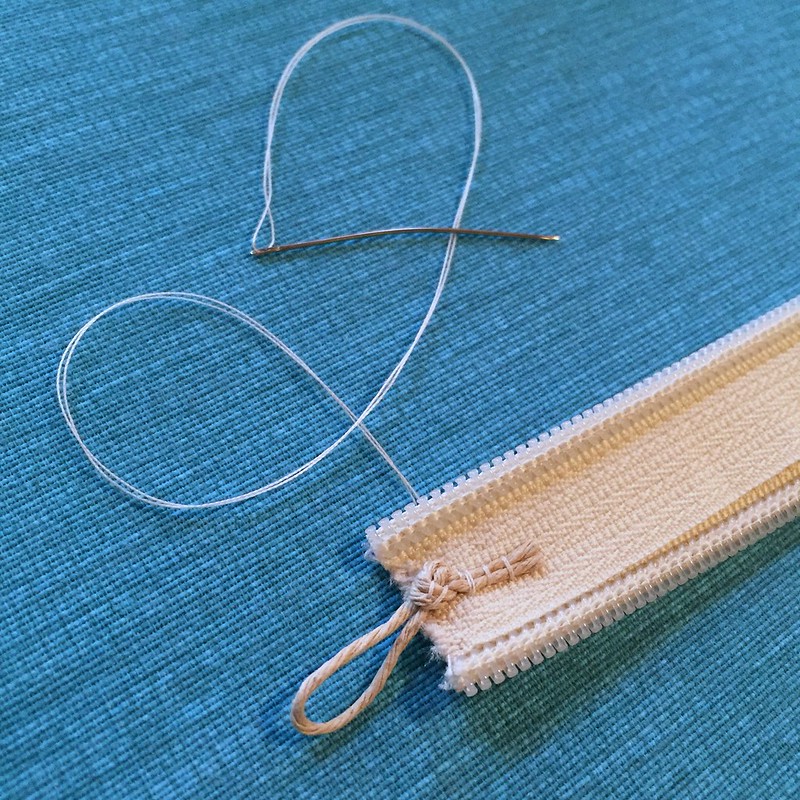
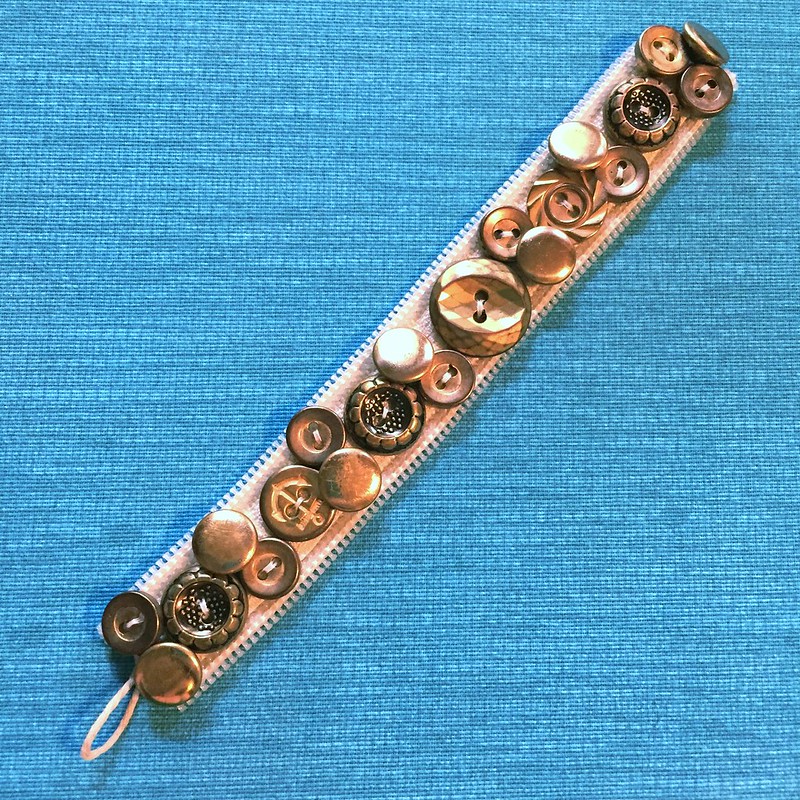
I slipped it on my left wrist, and wouldn't you know it? My right wrist felt sad and lonely all of a sudden. So I grabbed that broken off-white zipper and some more gold buttons. I used my jewelry pliers to remove the metal stoppers from the zipper and then trimmed both pieces to the right length for my wrist. I made a little loop of cord and stitched it to both layers of the zipper held together. Then I added loads of buttons, with a shank button at the very end to go through my cord loop.

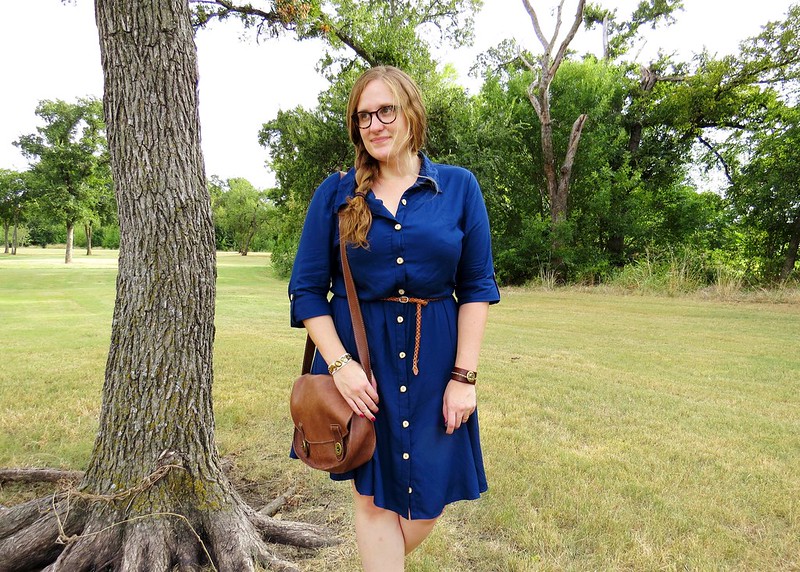
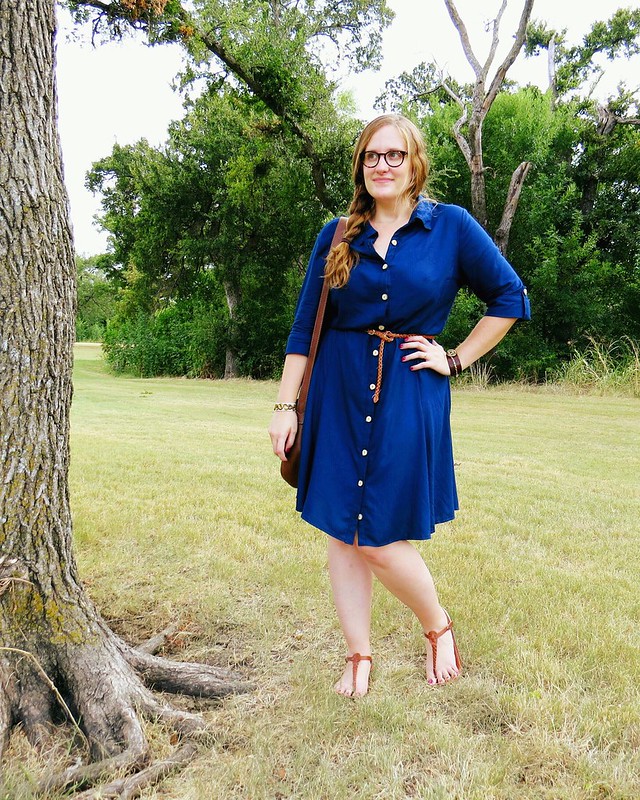
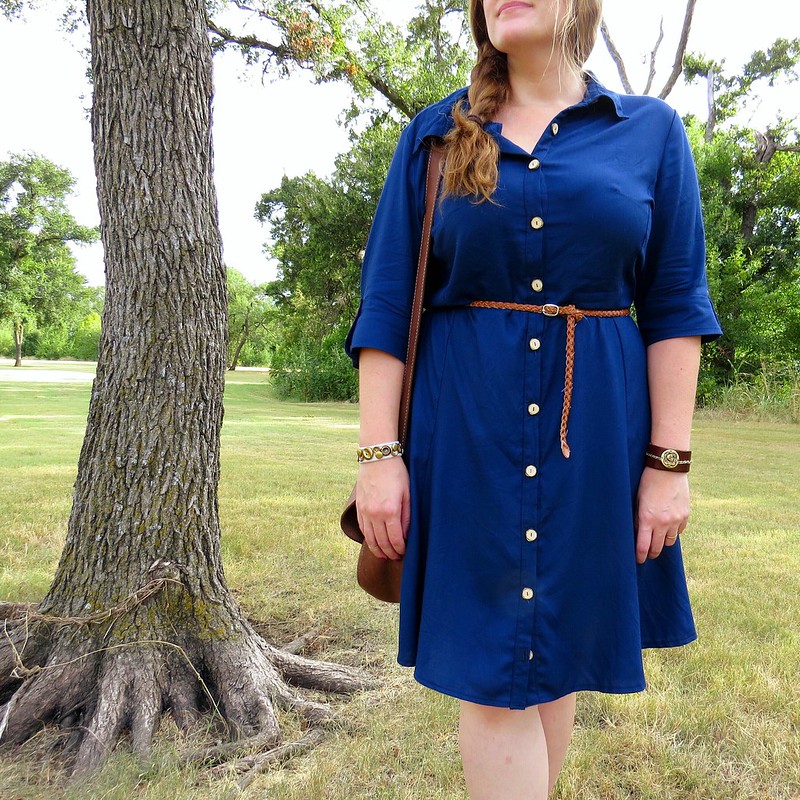
And then I waited for the a break in the rain long enough for some quick park pics!

Now go check out the other competitors' button-themed refashions at The Renegade Seamstress and cast your vote!
You and Laika are a good team! That shade of blue is beautiful on you and the buttons are just right. This dress is just brimming over with creativity. Love the bracelets too.
ReplyDeleteThank you! Laika is a great little helper, on the sidewalks and in the sewing room!
DeleteBeautiful job on the dress! I love your idea for the wooden buttons! And, congrats on the win last week, it looks like you have another winner this week!
ReplyDeleteThanks, Susan! Congrats to you too!
DeleteThis is really impressive work! :)
ReplyDeleteThank you, Helga!
DeleteYet again you've smashed it! Those buttons are just amazing...I know for a fact I'd hurt myself if I tried that! ;) Gorgeous dress, I'd SO wear it...and yes, that is a hint :)
ReplyDeleteI'm super clumsy, but try to be extra extra careful with anything dangerous. Of course, it's the non-dangerous activities when I somehow manage to hurt myself. :P
DeleteWow, Carissa, this is amazing! I already commented on how lovely the dress is on IG, but I had no idea just how much had gone into it, and that those buttons!! From branches! You are incredible! Massive kudos to you for this whole outfit, which you look absolutely fantastic in! :) Lisa
ReplyDeleteThanks, Lisa! I'm pretty pleased with how it turned out too. :D
DeleteYou made the buttons... you MADE the buttons?!?! Wow. I must admit that when I saw Beth's post, I skimmed through the details. This is why I read the individual tutorials on everyone's blog. So much more detail goes in to it than what we see in the excerpt post. I'm seriously amazed. Good job!
ReplyDeleteI made it a point, when I was a judge last season, to read every single word of each competitor's post as well, just to make sure I understand what all went into the project. Sometimes it's hard to get all the details from the before and after pics alone.
DeleteThe tutorial is so important in viewing the dress. The creative thinking, the process and the final product all falls together so perfectly ! AWESOME ! In Montana, antler buttons are very popular, but also harder to produce since the antlers are very hard when aged --- so thanks for showing how you created the hardwood buttons. And, can you stop at just one cookie !
ReplyDeleteWow. I'm sure I'd need much heavier equipment to slice up antlers. But I'm also sure they'd be gorgeous! And yes, one cookie will suffice, but the more cookies, the better the buttons in my opinion. ;)
DeleteCarissa, you are SO creative! I absolutely love that you created your own buttons (and such cute ones at that). The little bracelets are adorable as well, great work this week!
ReplyDelete-Miche <3
Thanks, Miche! Your outfit turned out fabulous too. I especially love your button headband!
DeleteWell, this is late, but that dress is so adorable! makes me want to make one!!! LOve it so much!
ReplyDelete