


As I browsed Pinterest for ideas, I became increasingly envious of all the pleated skirts I was seeing, so my mind was made up. I scoured the thrift shops for anything pleated I could paint metallic or anything metallic I could pleat, and eventually I found the perfect ultra-high-sheen, gold satin (well, polyester) curtains at Thrift City. There were some holes and snags, but I could certainly work around those. To accompany my gold skirt, I also pulled out a silver metallic lace skirt that's been hanging forgotten in my craft room closet following a clothes swap a couple years ago.

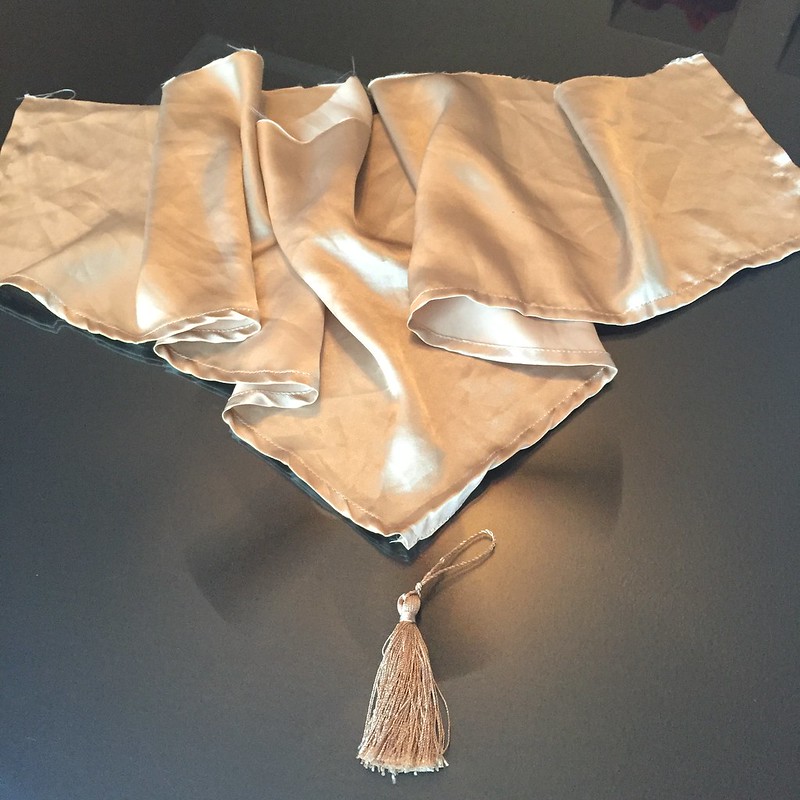
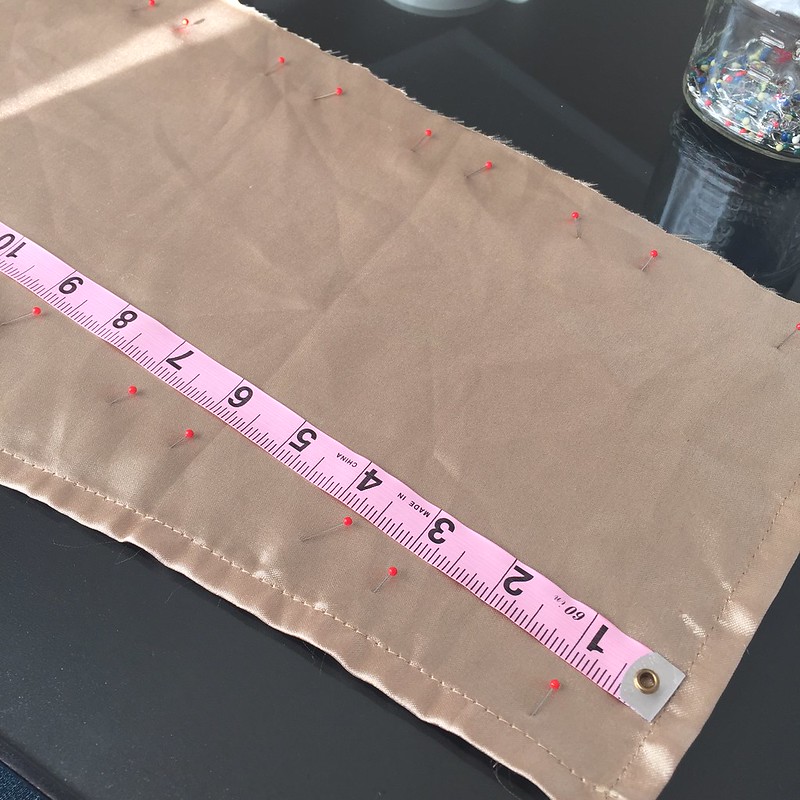
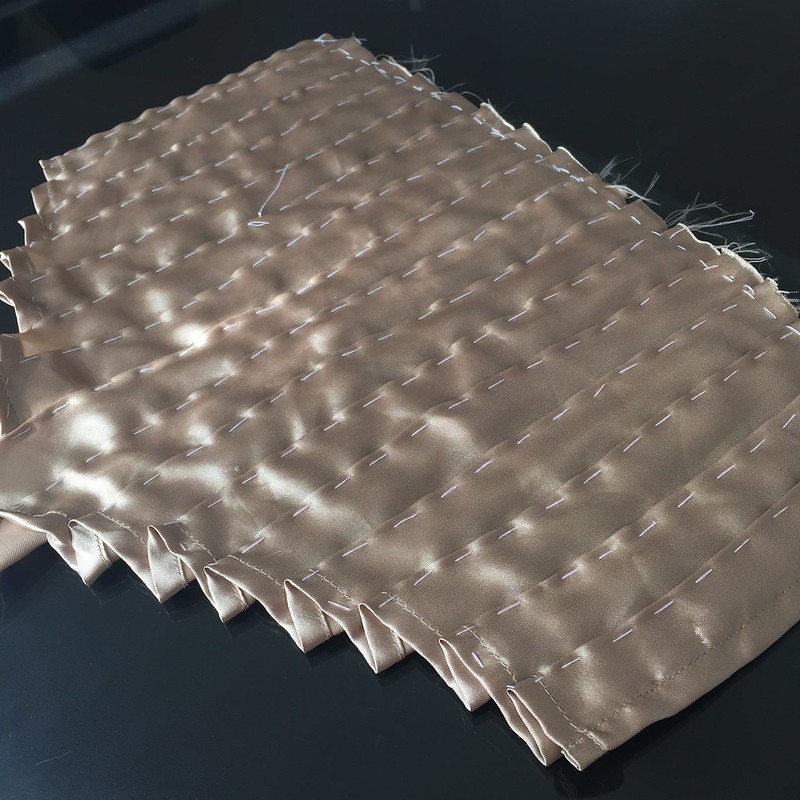
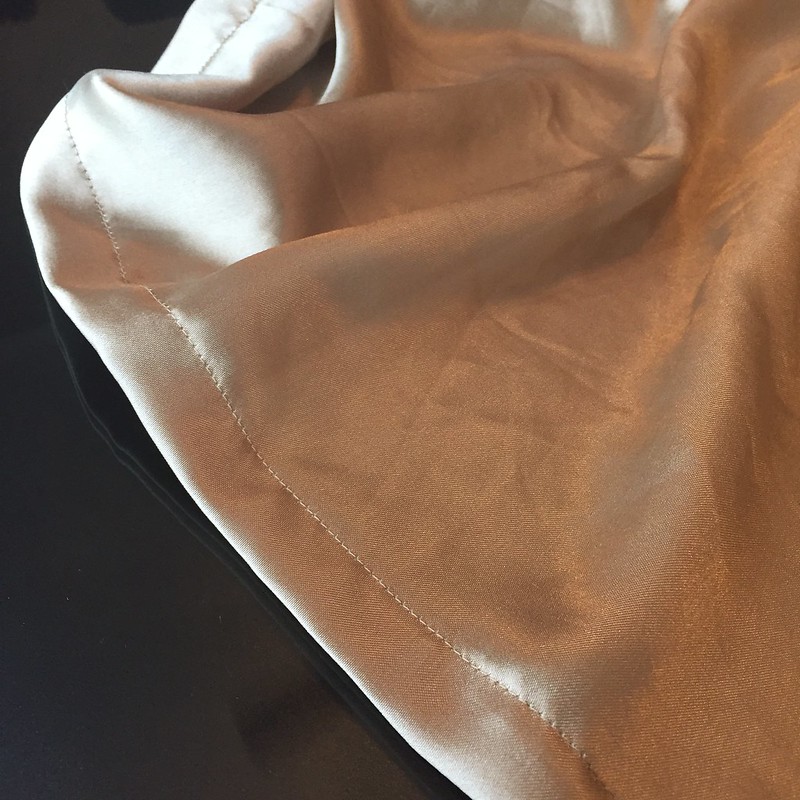
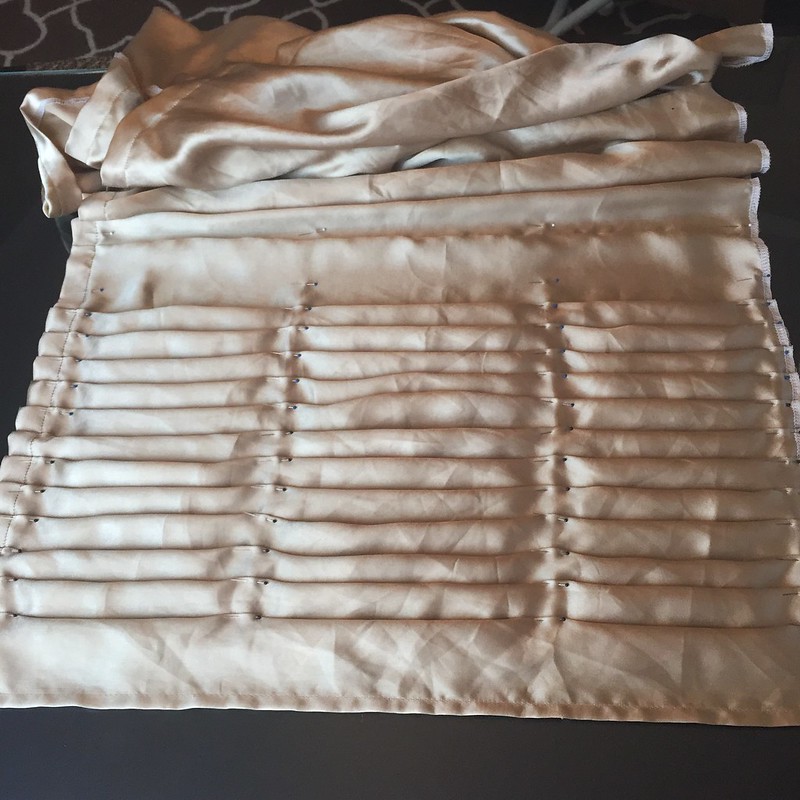
First I wanted to make sure my pleating idea would work. I'd read several articles and blogs about making permanent press pleats by steaming with a vinegar-water mixture. Let the experiment commence! I removed the flappy valance thing from one of the curtain panels, and then removed the tassel from its tip. I restitched the hem at the tip and began measuring and marking my pleats. I had also read about pleating boards online to make this process less cumbersome, but (a) I was working on a deadline and couldn't wait for it to arrive, (b) I don't plan to do enough pleating in the future to make it worth the cost, and (c) though the size of each pleat is adjustable by skipping louvers, the return - the part of the fabric hidden under the next pleat - is always 3/8" and I wanted it to be more substantial than that. So measuring and pinning was the route I took. After it was all marked out, I folded along the pinned lines to create the pleats.
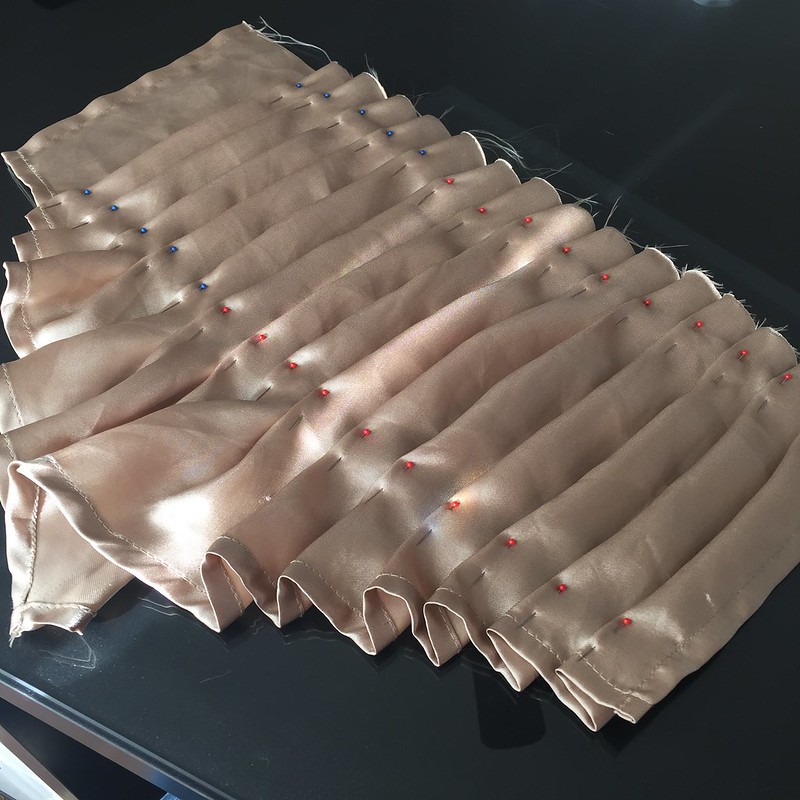
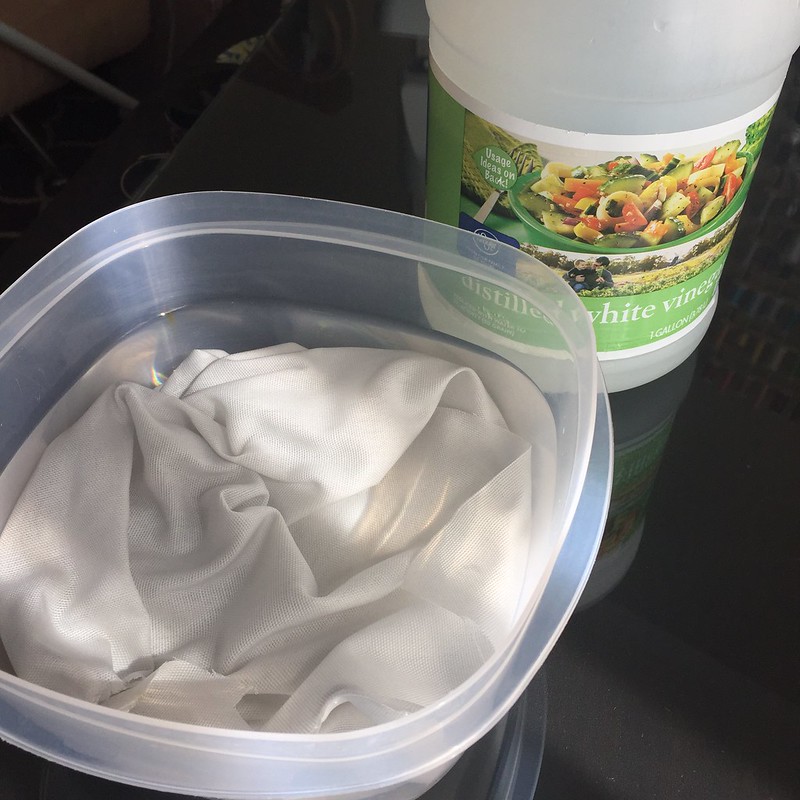
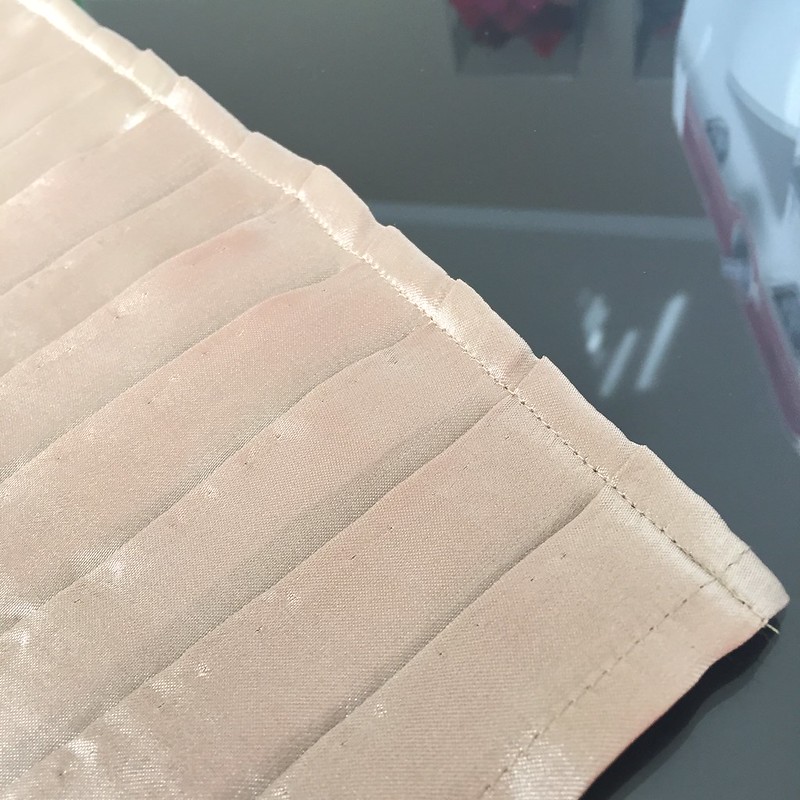
Once all the pleats pinned, I hand-basted them in place. Next came the steaming. I mixed up a bowl of roughly two-thirds water and one-third distilled white vinegar, and I soaked my pressing cloth in it. The pressing cloth was then wrung out until no longer dripping and laid it over my pleated valance on my ironing board. With the iron set on the appropriate setting for my fabric (polyester), I set it on top of the damp pressing cloth until for about 10 seconds and then lifted it straight up. You don't want to slide the iron around because it can cause your fabric to shift under the pressing cloth and your pleats won't be nice and neat anymore. I repeated this all over the presser cloth until it was totally dry. Then I lifted the cloth off my pleats and let it them cool completely before I moved them at all. From what I read, this step is crucial to the success of your pleats, so I didn't tempt fate.
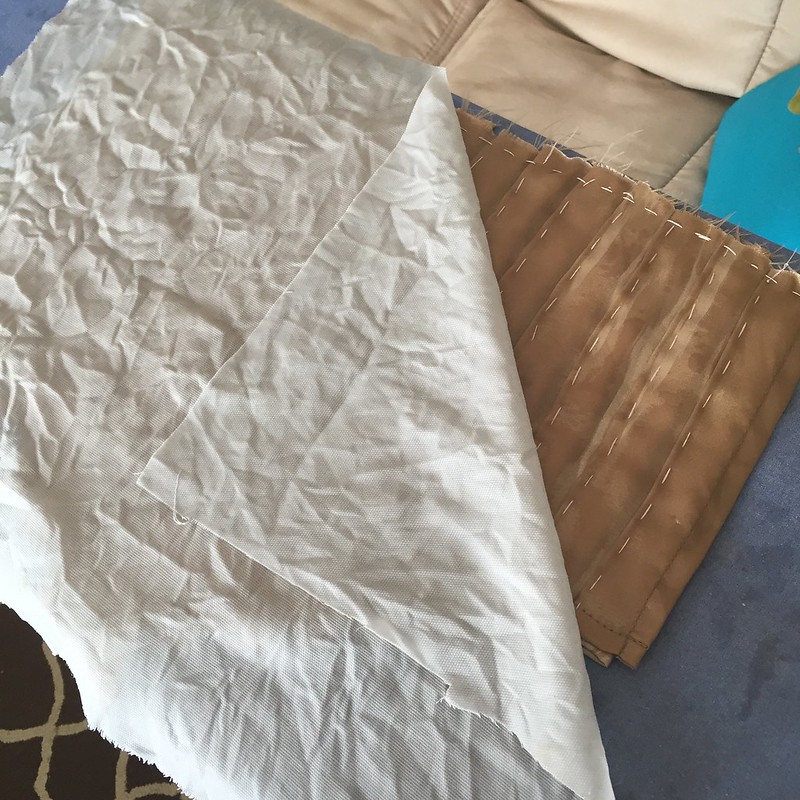
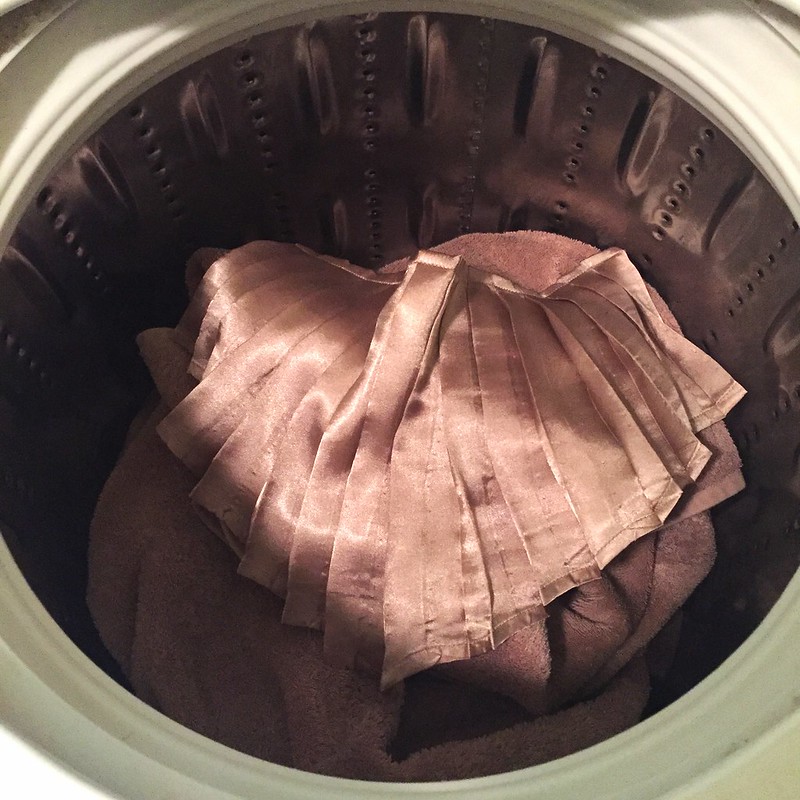
Once completely cool, I removed my basting stitches, which left little wumples in the fabric. I hemmed the top edge to hold the pleats together, as my waistband will do on my actual skirt, and I gave the whole thing a final press to try to get some of those wumples out. Then I held my breath and tossed it in the washing machine, along with some towels.
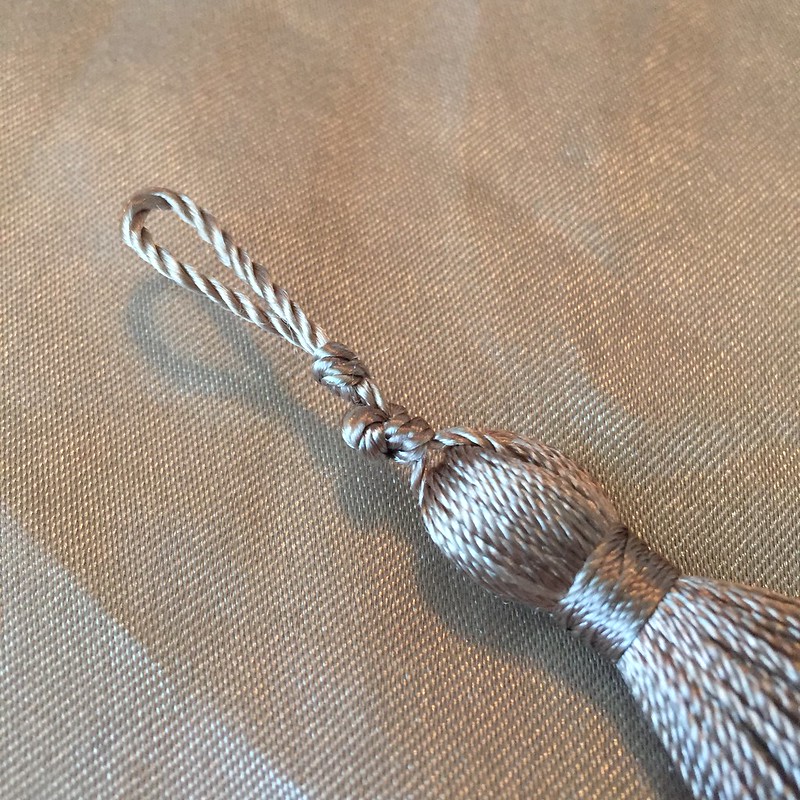
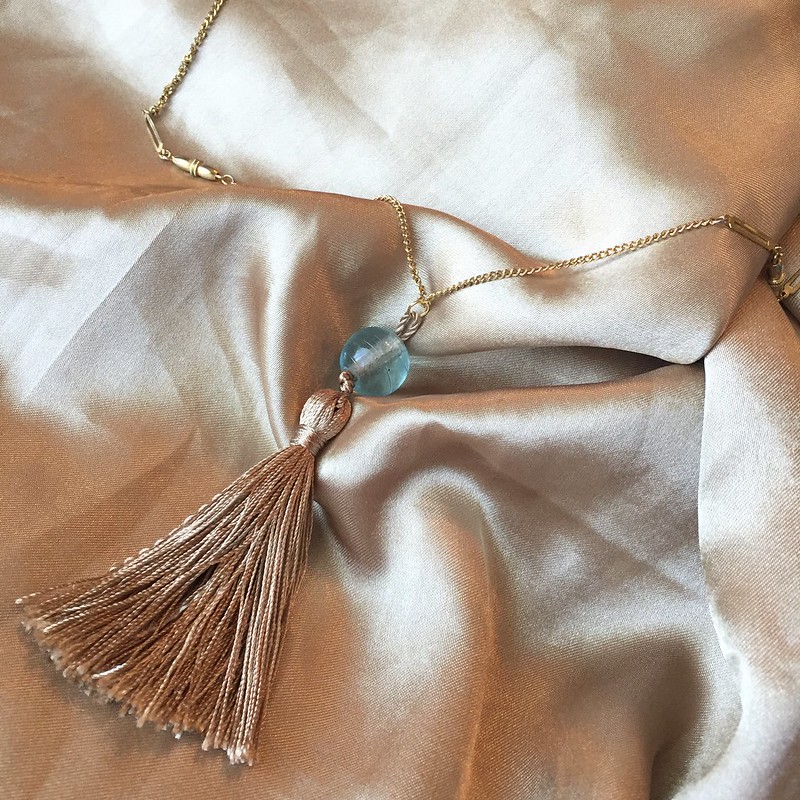
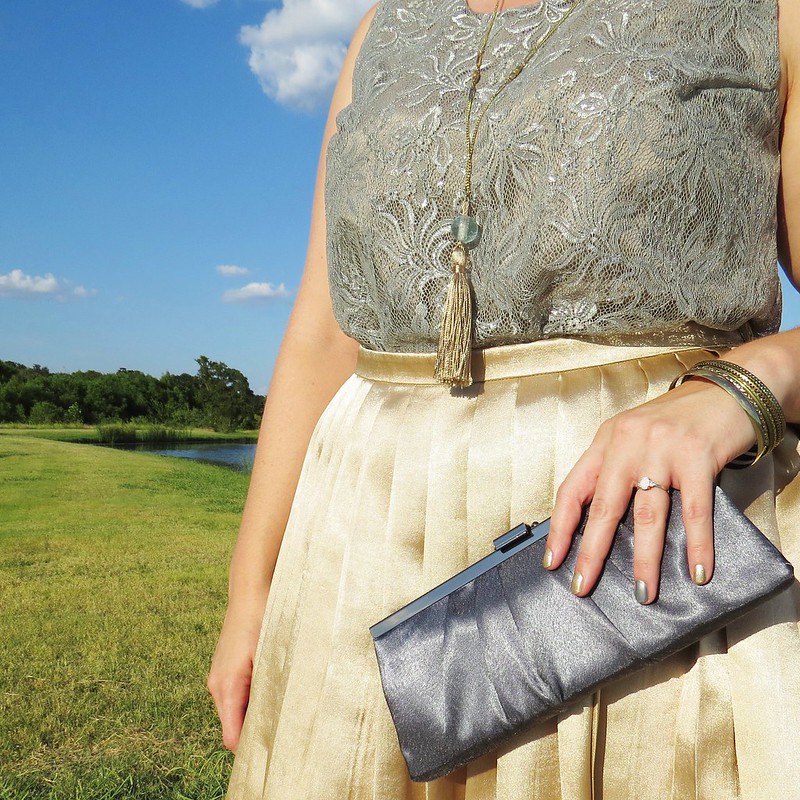
To distract myself from worrying whether my experiment would succeed or not, I turned my attention to that tassel I removed from the valance. I pulled out an old necklace that belonged to my Granma, along a big glass bead and some gold jump rings from my jewelry-making stash. If I simply stuck the tassel's loop through the bead, there was too much loop sticking out of the top. So I tied the loop in an overhand knot a couple times to absorb some of the length, but not so much that my bead wouldn't fit over the knots.
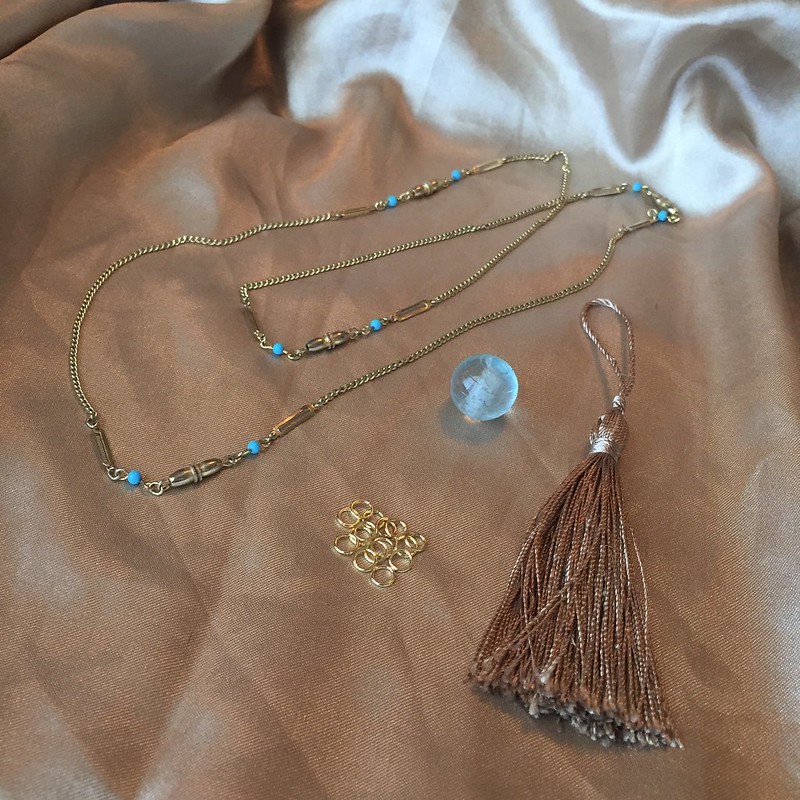
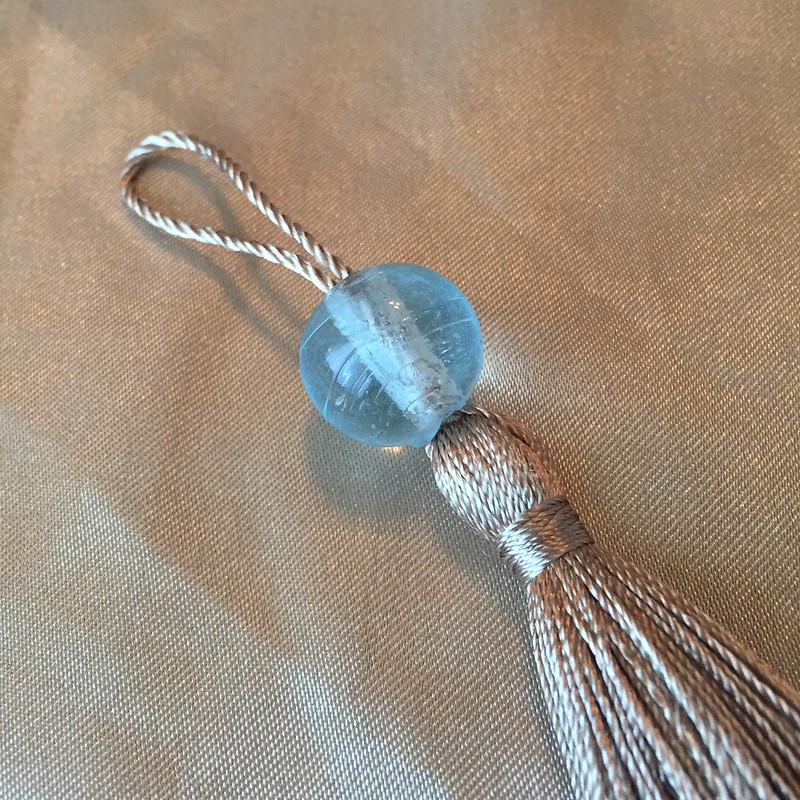
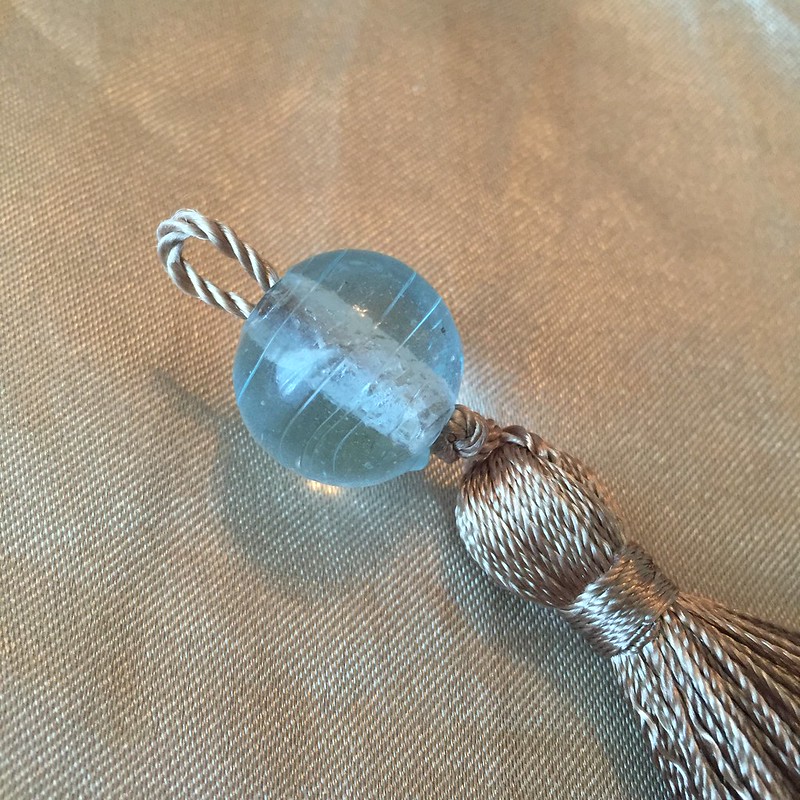
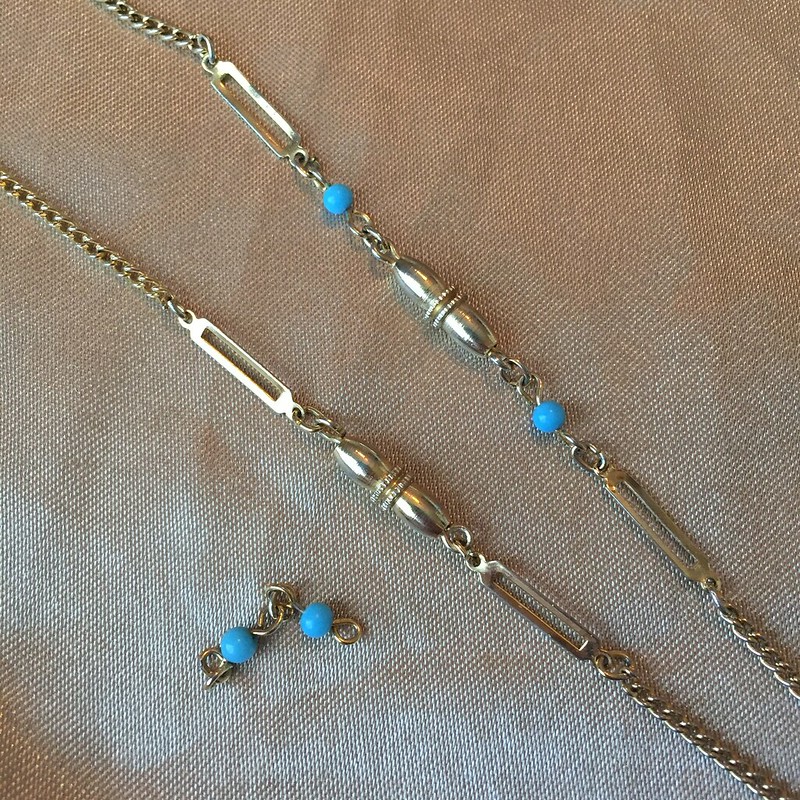
Then when I put my bead back on, there wasn't much of the loop sticking out at all. Perfect! I used a jump ring to attach the tassel pendant to my necklace and tried it on. It was a bit too long and I wasn't sure I liked the little blue beads, so I used my pliers to remove those and solve both problems at the same time.
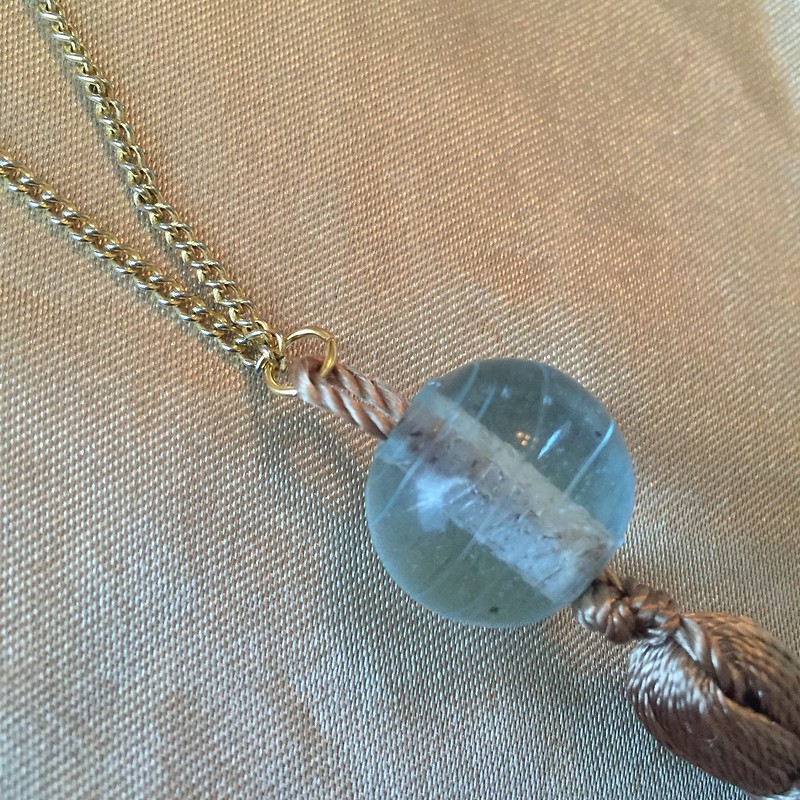
Et voila! I have a trendy tassel necklace to coordinate with my future skirt... assuming it's not a miserable failure, of course.
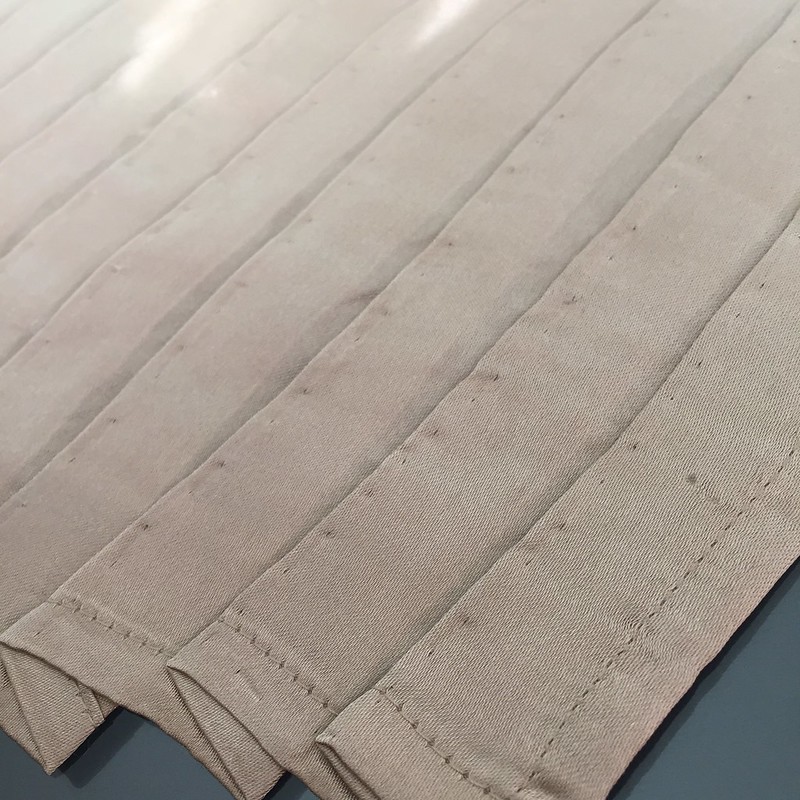
Unfortunately, I still had a bit of thumb twiddling to do while my pleated valance was in the dryer, but eventually that long-awaited buzz arrived and behold! It worked! Fresh out of the dryer and the pleats are still there!
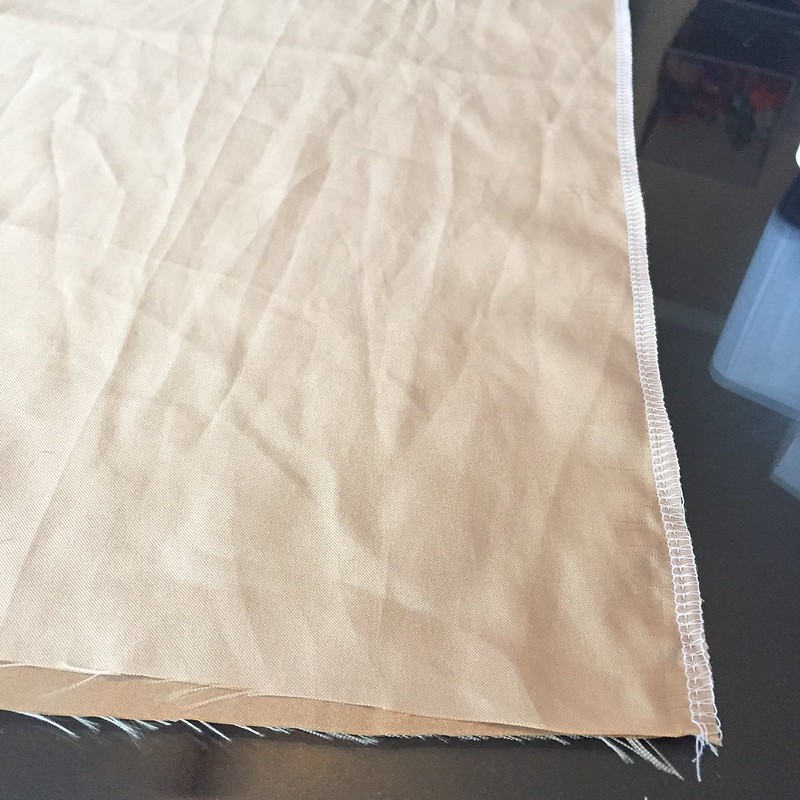
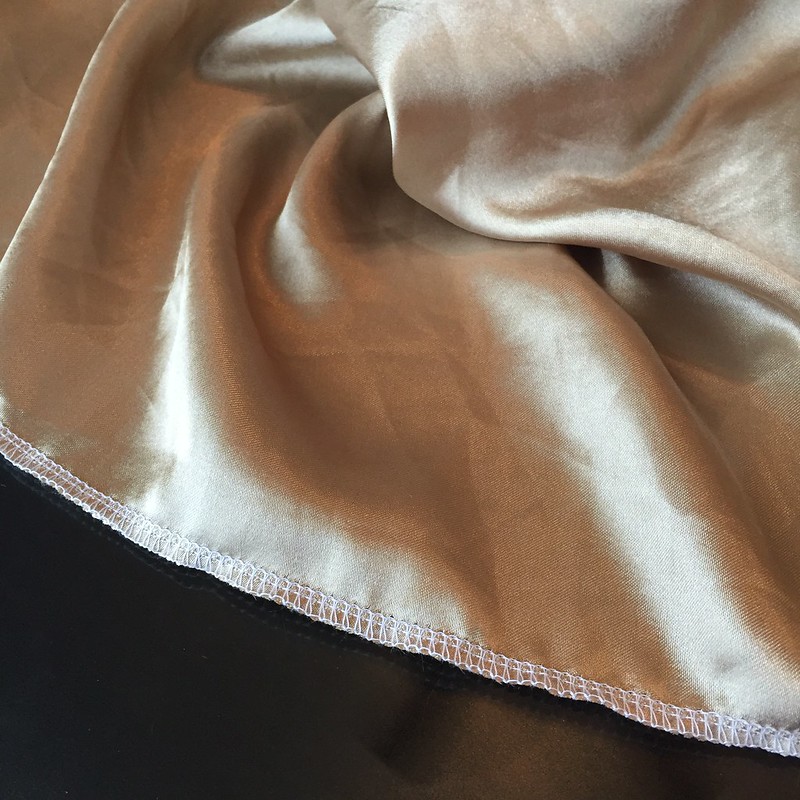
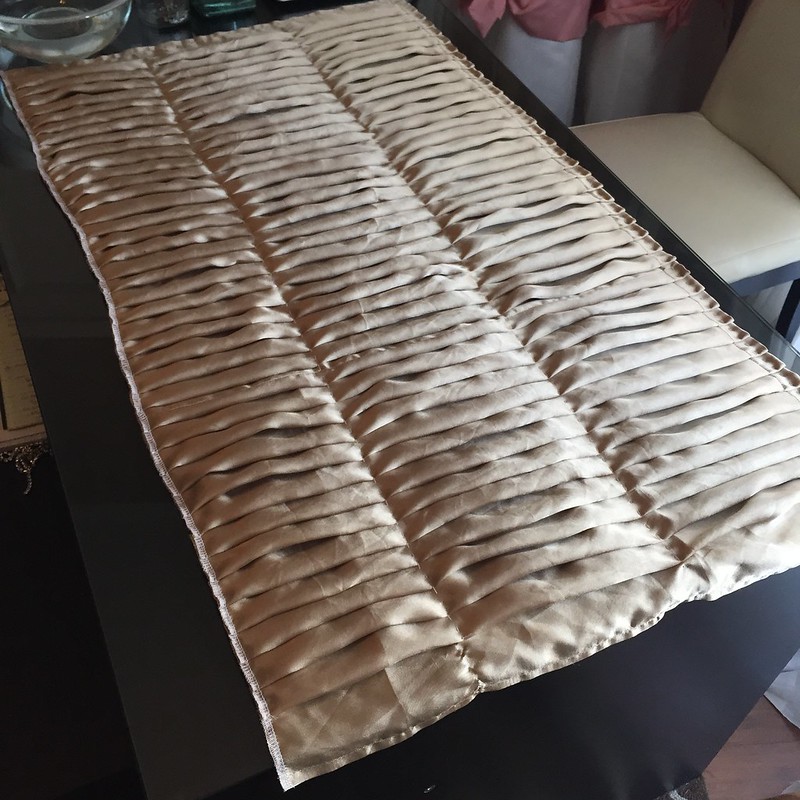
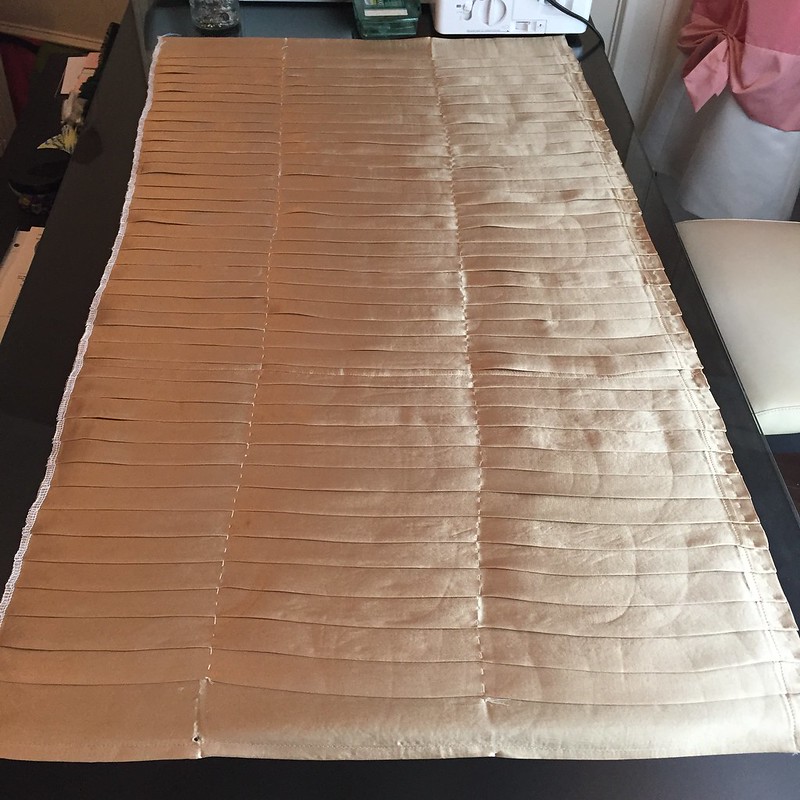
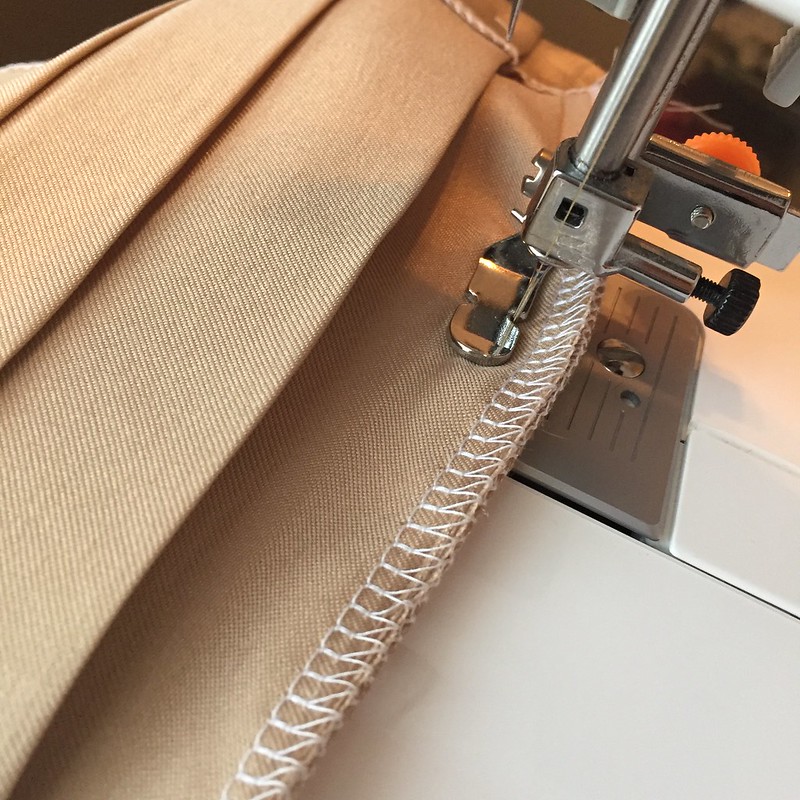
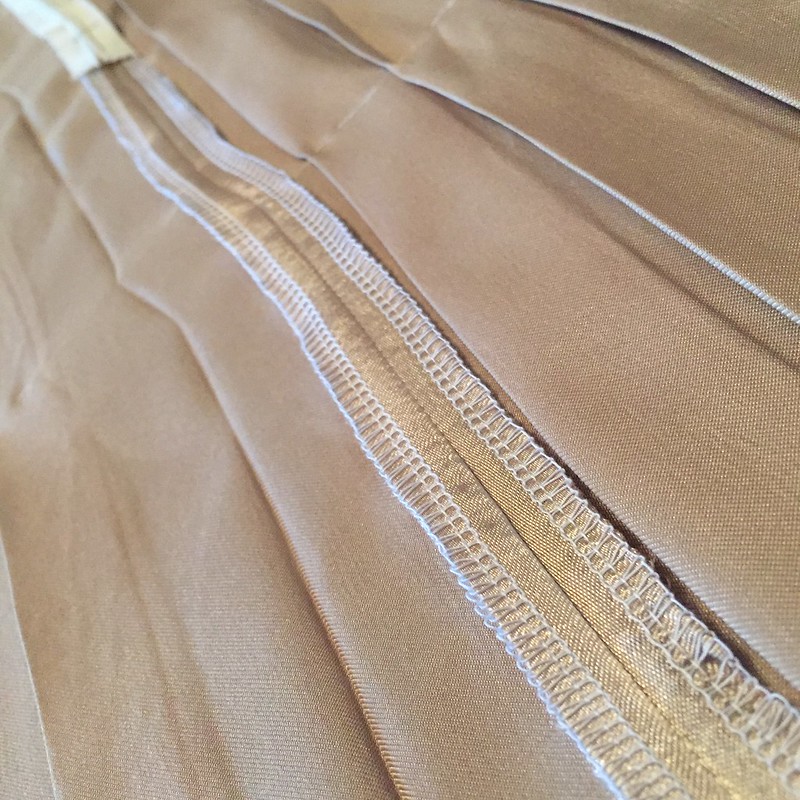
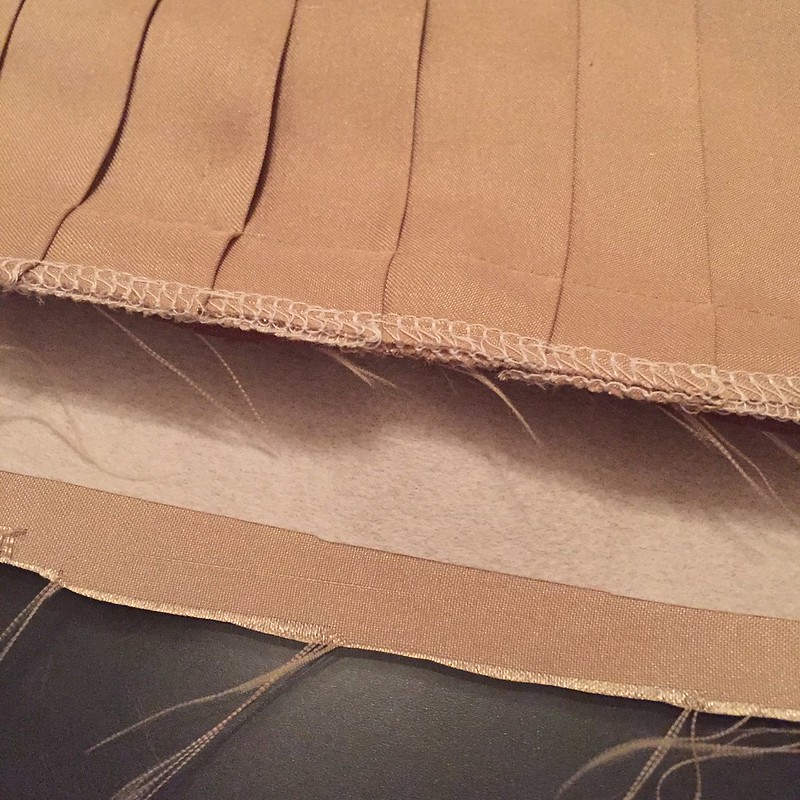
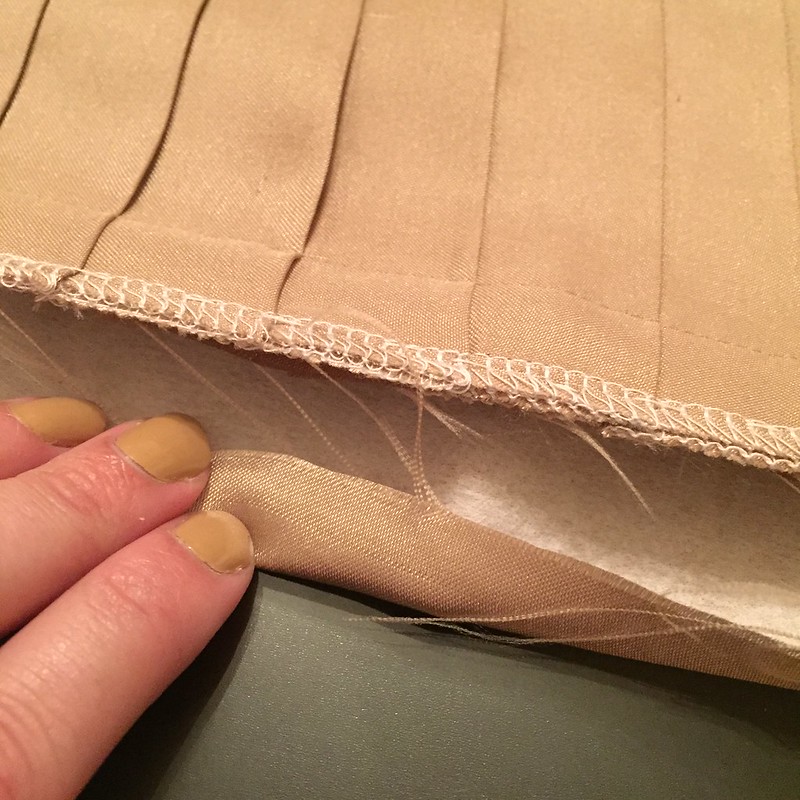
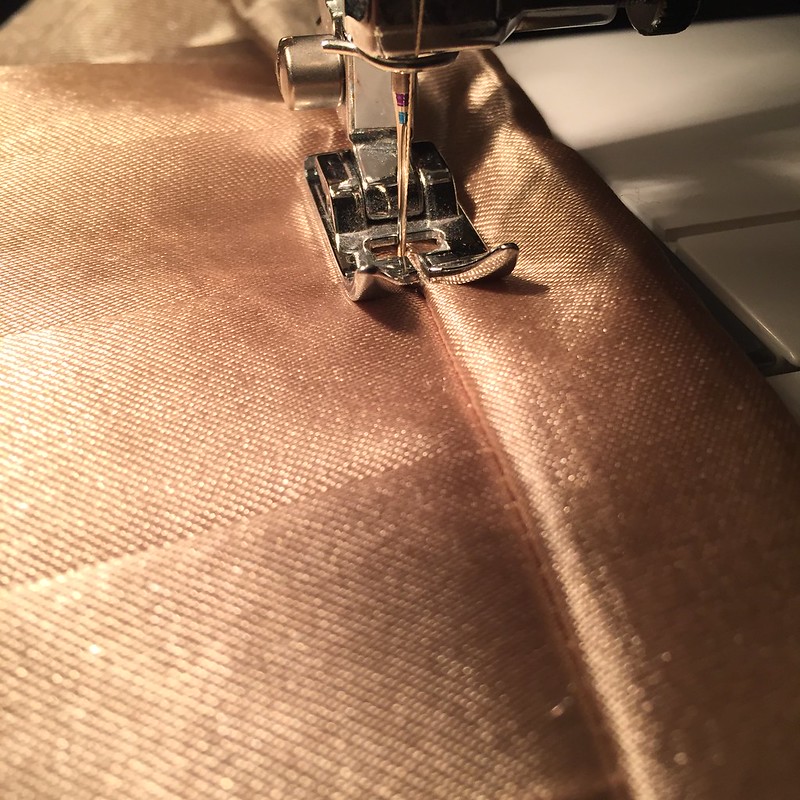
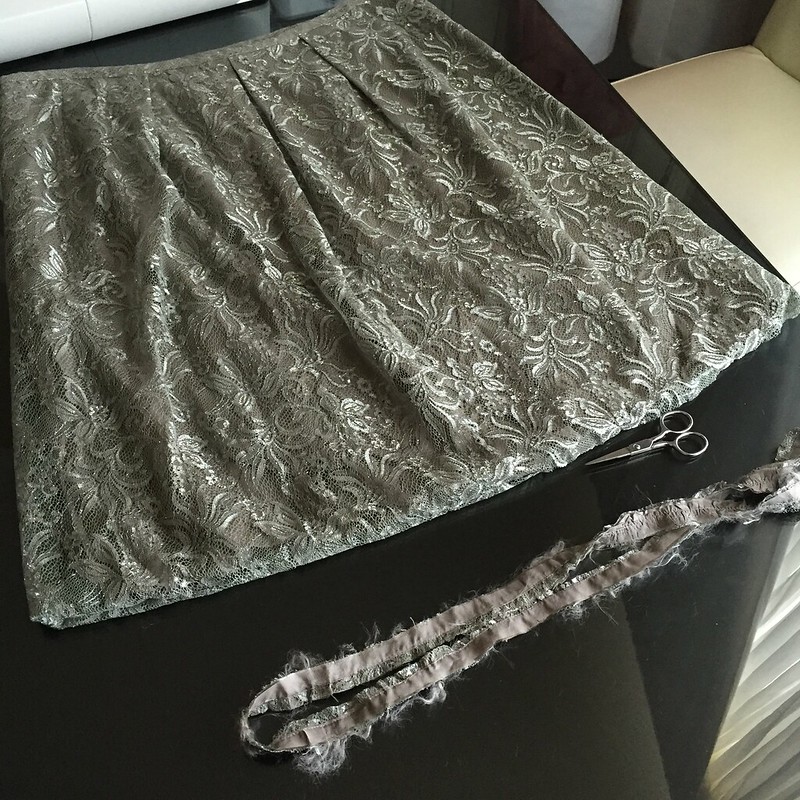
Comforted by this knowledge, I set about making my actual skirt. I cut one of the curtains panels into three long rectangles, avoiding the damaged spots, and pieced them together to make a really long rectangle, like, almost 12 feet long. Those pleats are going soak up a lot of yardage though, so don't worry. I serged all the raw edges since this fabric seemed very keen on fraying, then I hemmed one long side that will be the bottom edge of my skirt.
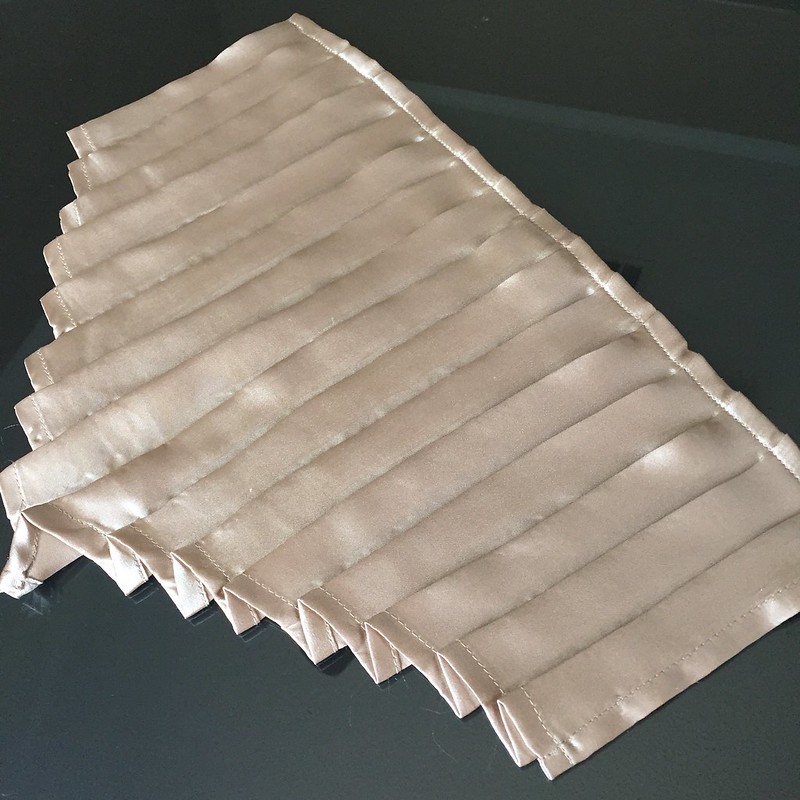
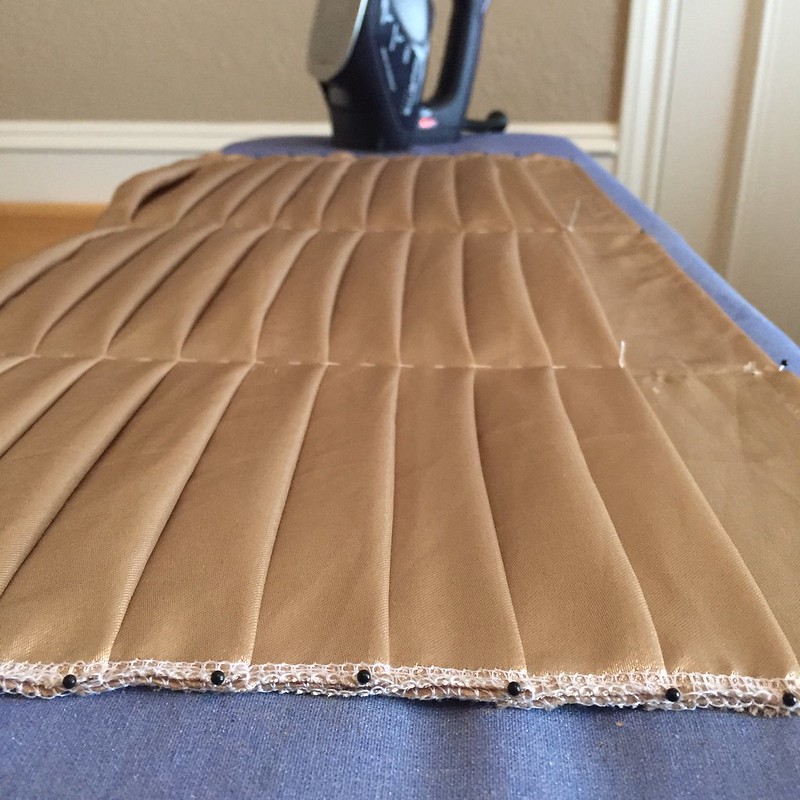
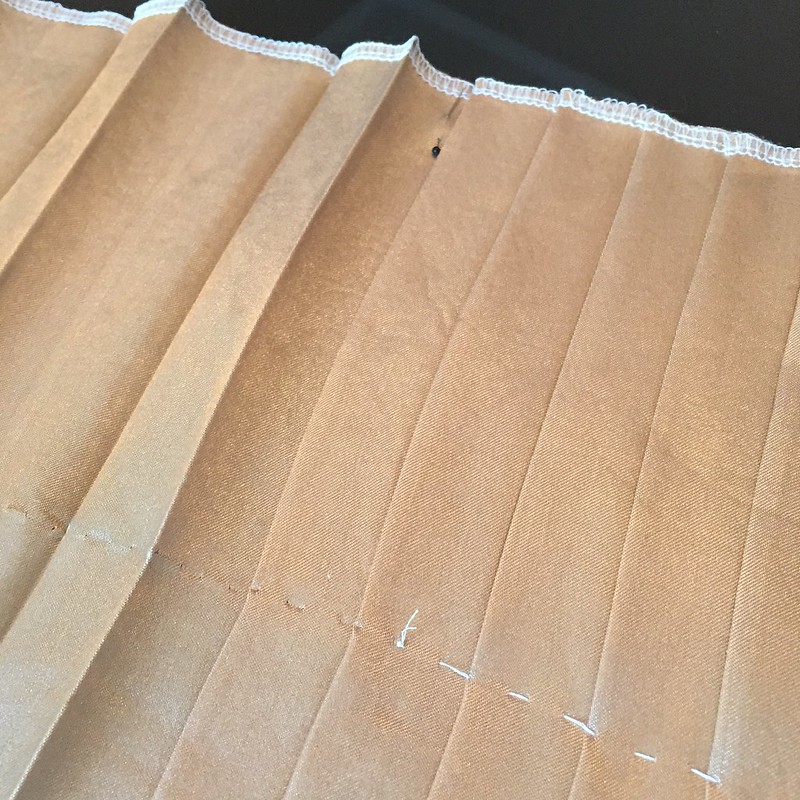
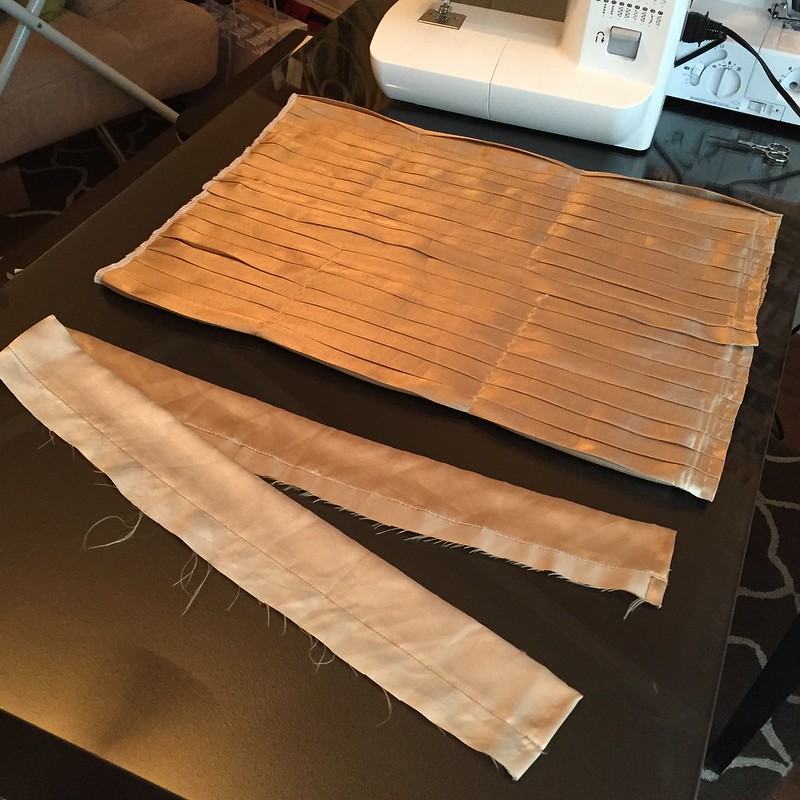
Then I began the arduous task of pleating. After what seemed like forever, all the pinning was finally finished and my fabric was only about 40" long now. The thought of hand-basting along each and every one of those 39 pleats, frankly, terrified me, so I decided to baste on the perpendicular instead - one line of stitching along the top edge, one along the bottom, and two evenly spaced across the middle.
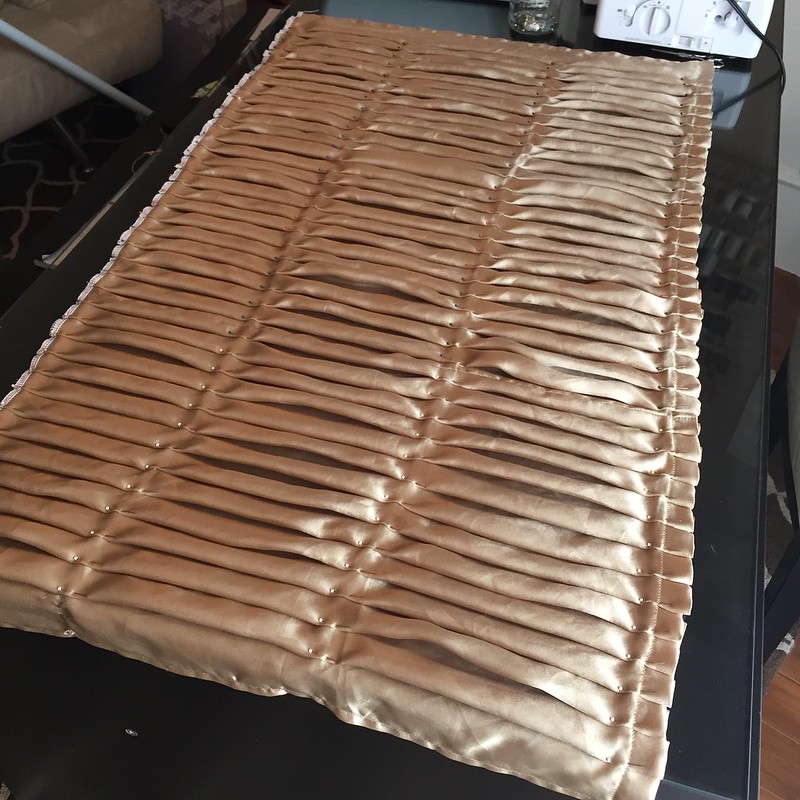
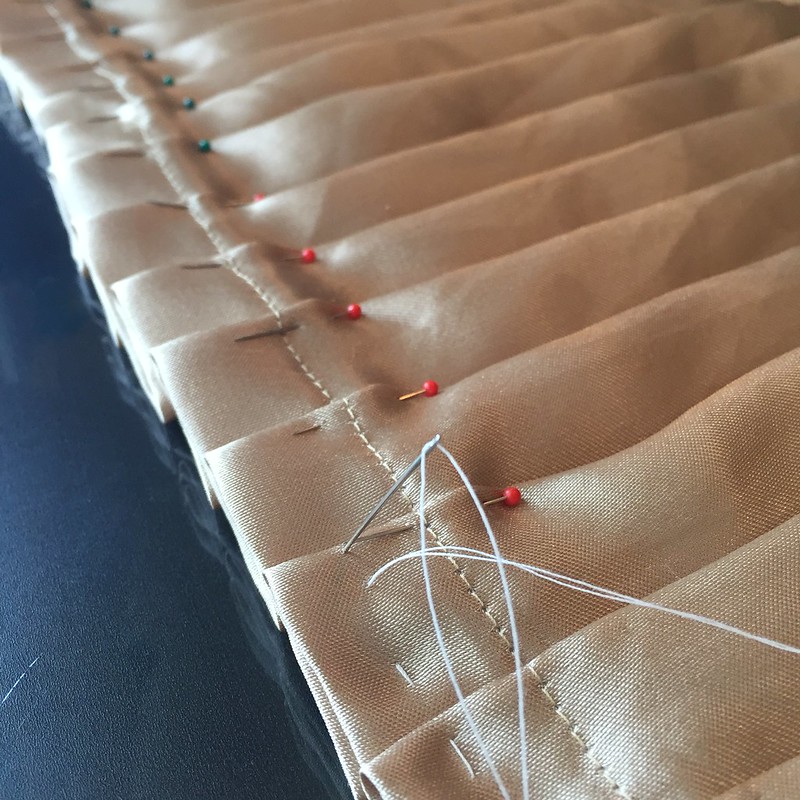
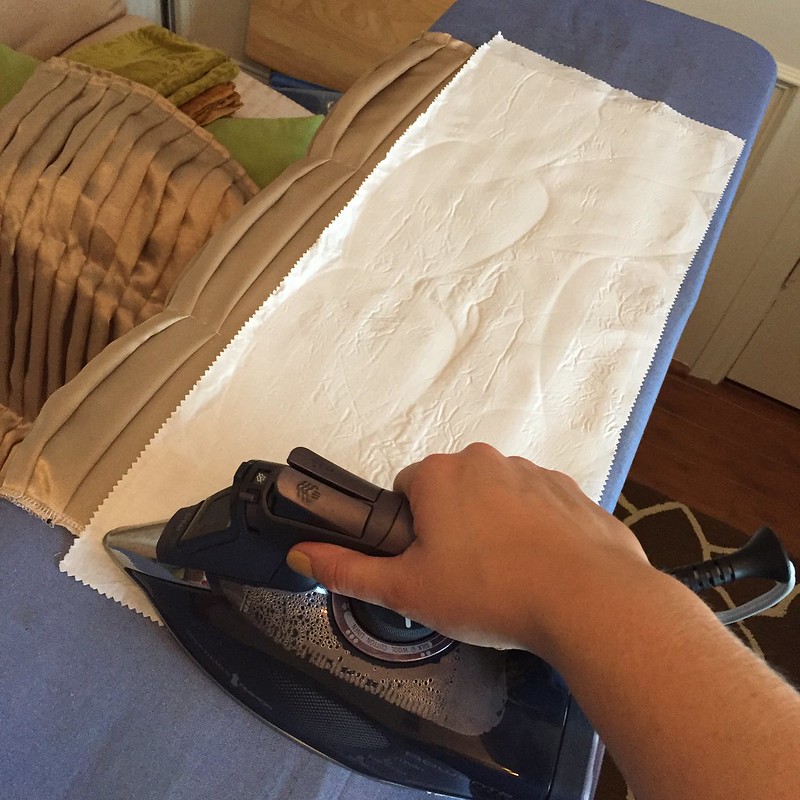
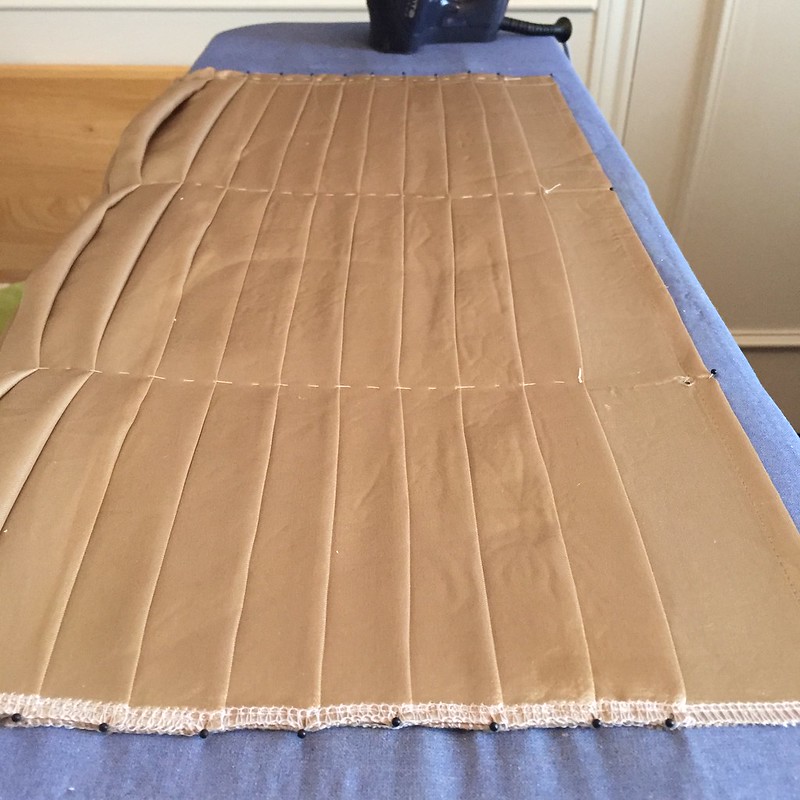
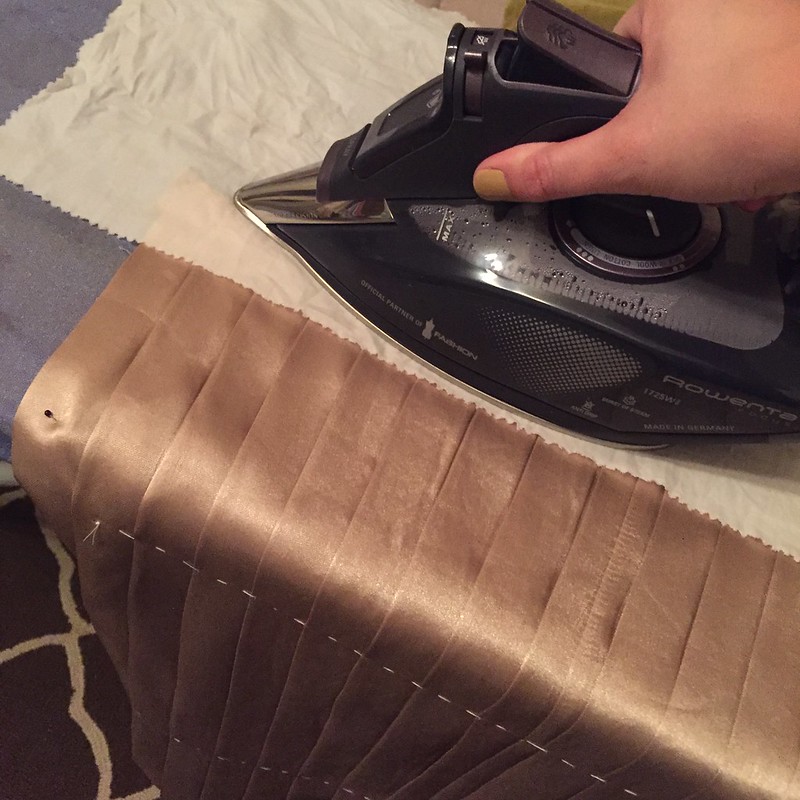
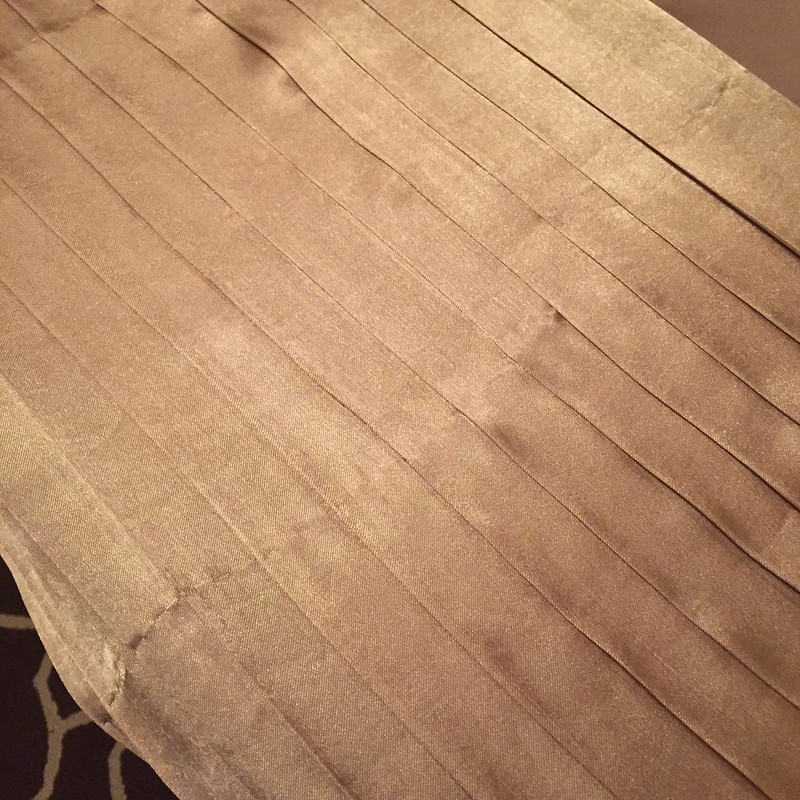
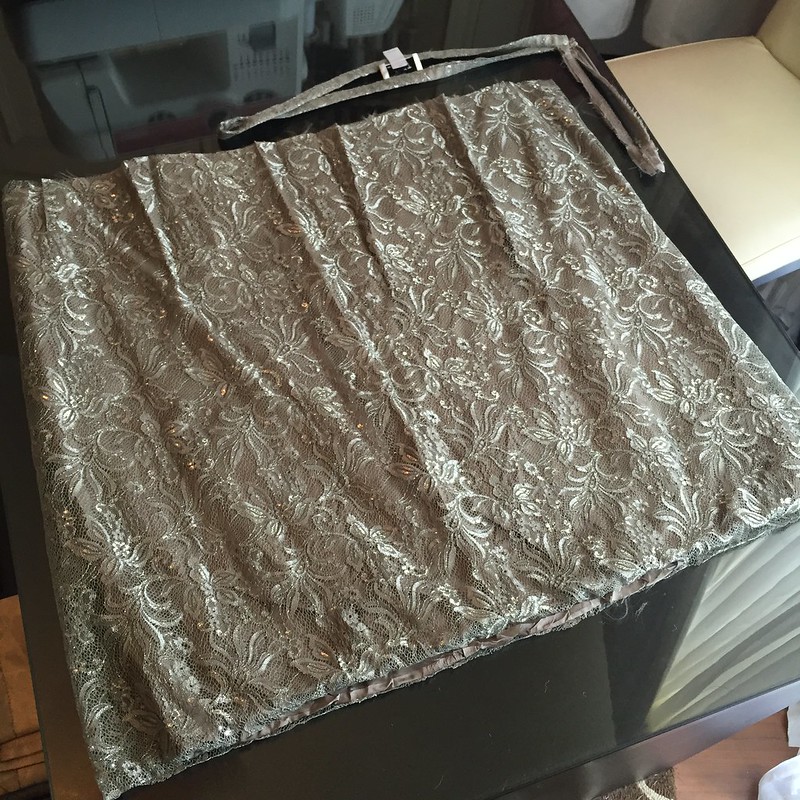
Next came the steaming. Since my skirt fabric had a lot more weight than my little valance-swatch did, I had to pin each section to my ironing board to keep the pleats from being distorted. Then I repeated the vinegar steam process about five times across the width of my fabric (boy, that sure stunk up the house!). There may or may not have been a triumphant squee when it was all pressed.
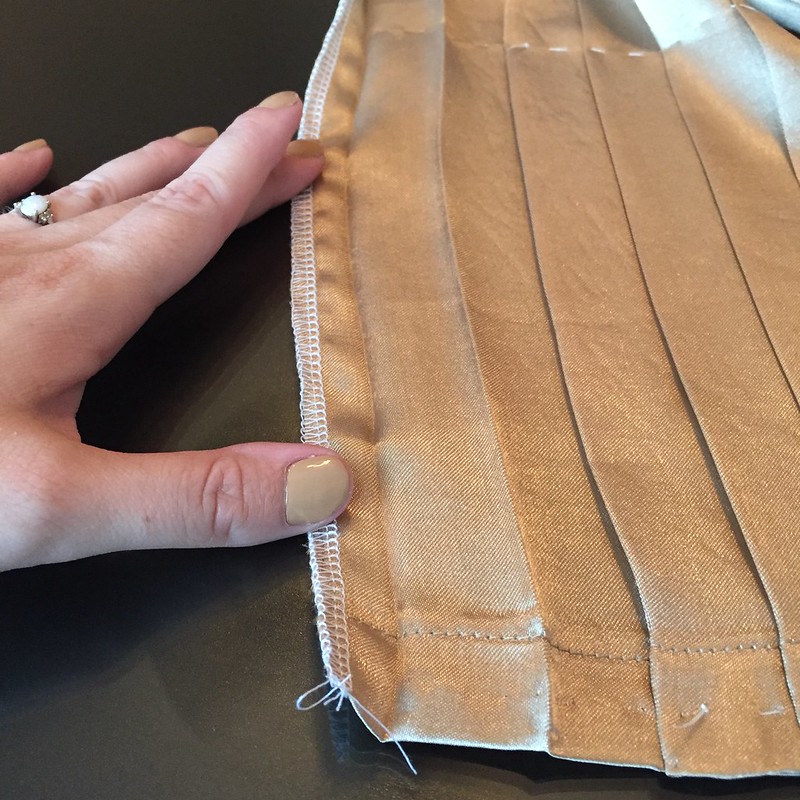
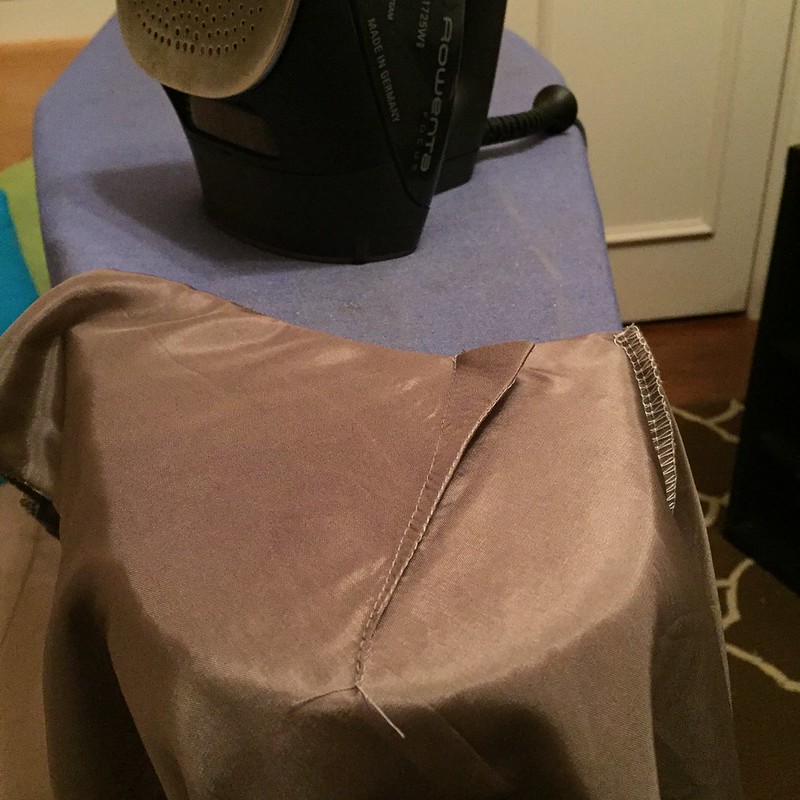
I laid out all my pleated fabric and measured the length to fit my waist. Then I picked out the basting a bit to open up that last pleat, cut off the excess, and serged the edge. And in went an invisible zipper.
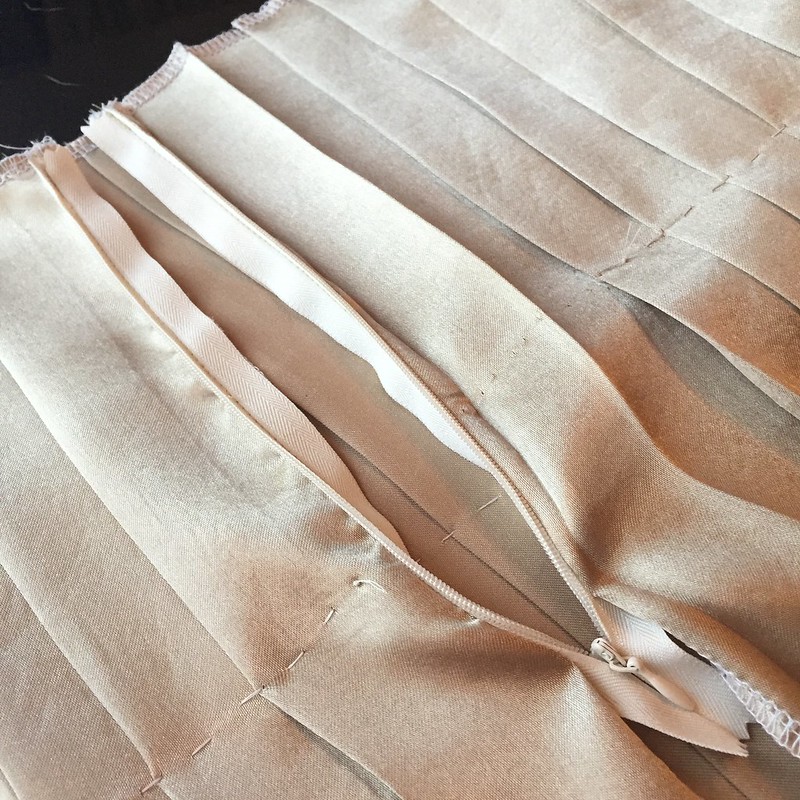
I stitched down the rest of the seam below the zipper to turn my flat pleated fabric into a skirt-esque tube. Then I pressed my seam allowances flat and re-pressed the pleat on the front side so that invisible zipper is even more hidden.

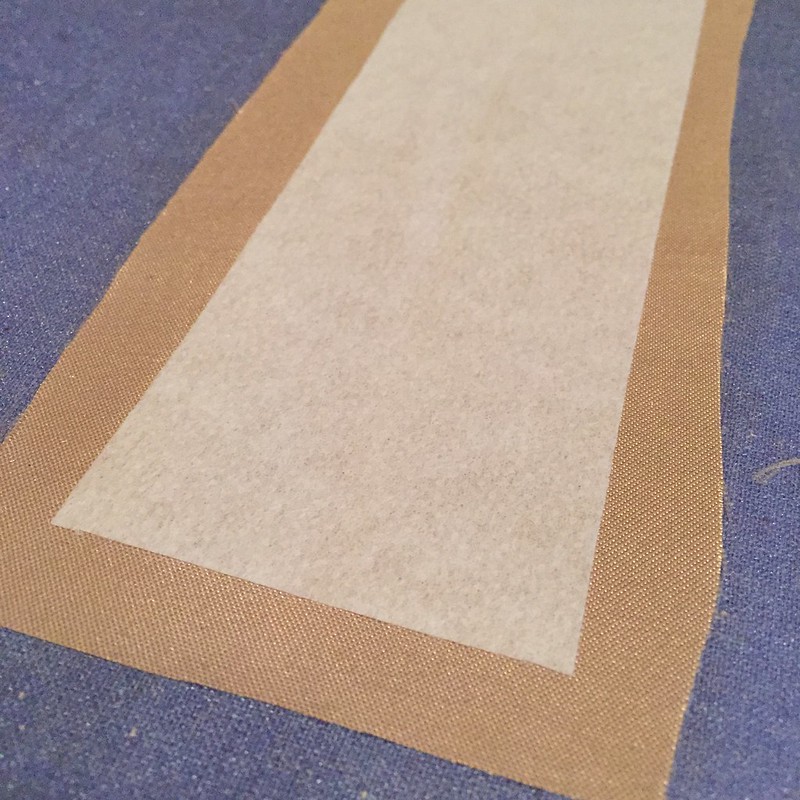
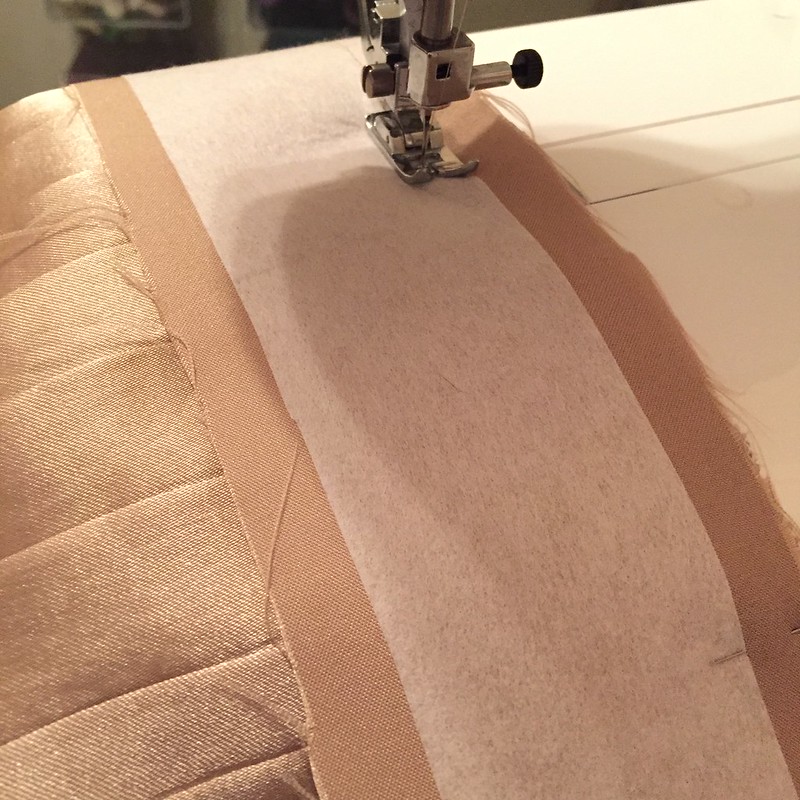
Then it was time for a waistband with a little help from the rod pocket of the original curtain panel. I cut a long rectangle from the gold fabric and another from some interfacing, and I ironed the two together. Then I stitched it to the top of the skirt-tube.
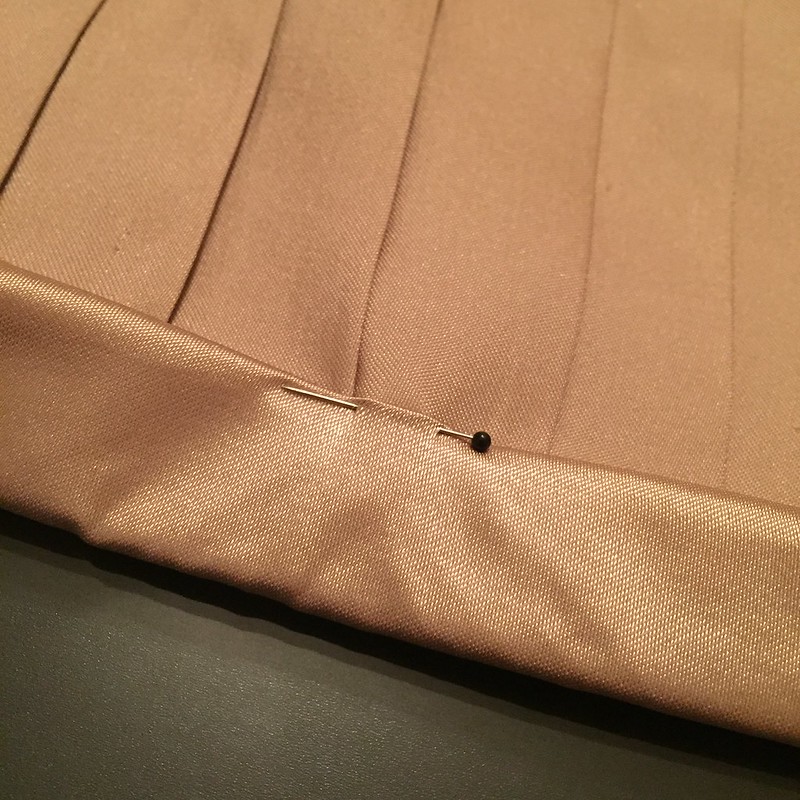
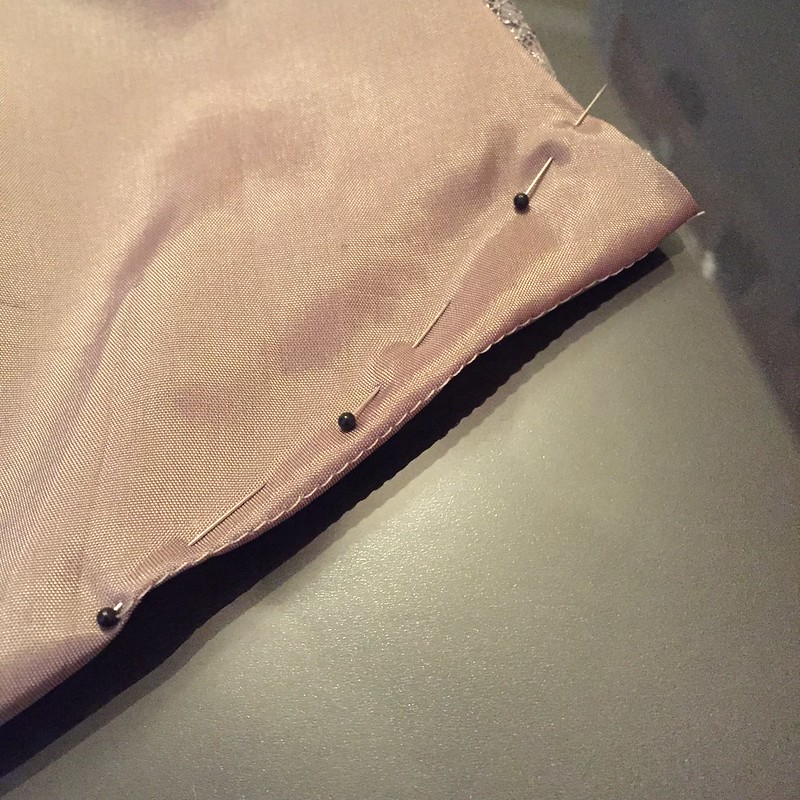
I folded the waistband upward, then folded the top edge down a bit, then folded it in half again, down over the top edge of the skirt and pinned it in place.
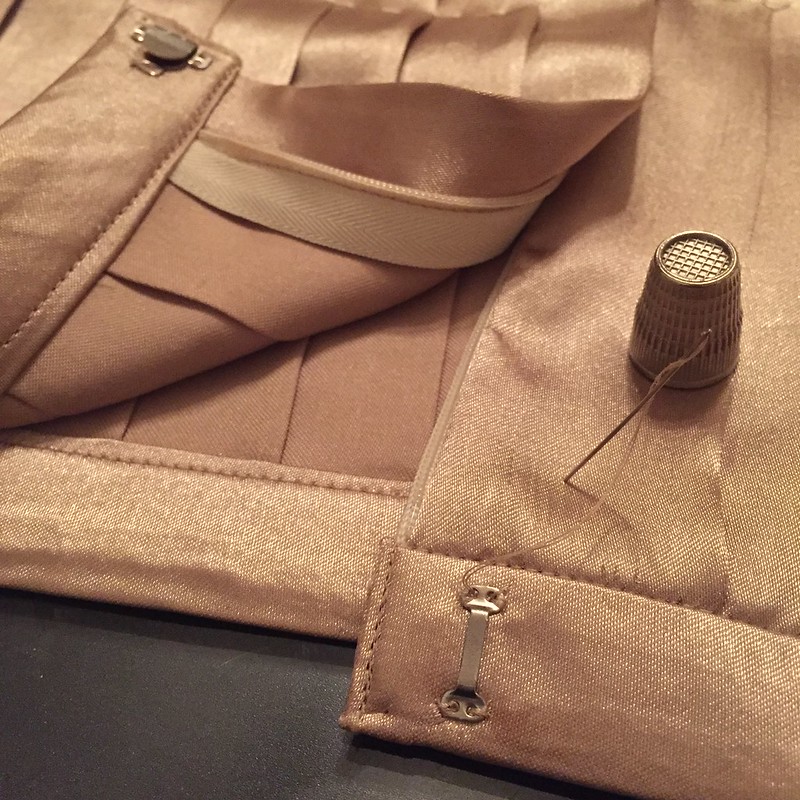
I flipped it over to the right side of the fabric and stitched "in the ditch" so the stitches are barely visible from the front. The waistband then got the vinegar treatment before I hand-sewed a flat hook-and-eye at the top of my zipper. Once the basting was finally removed, my skirt was practically finished. It just need one last press and a trip through the wash to take care of those basting wumples.
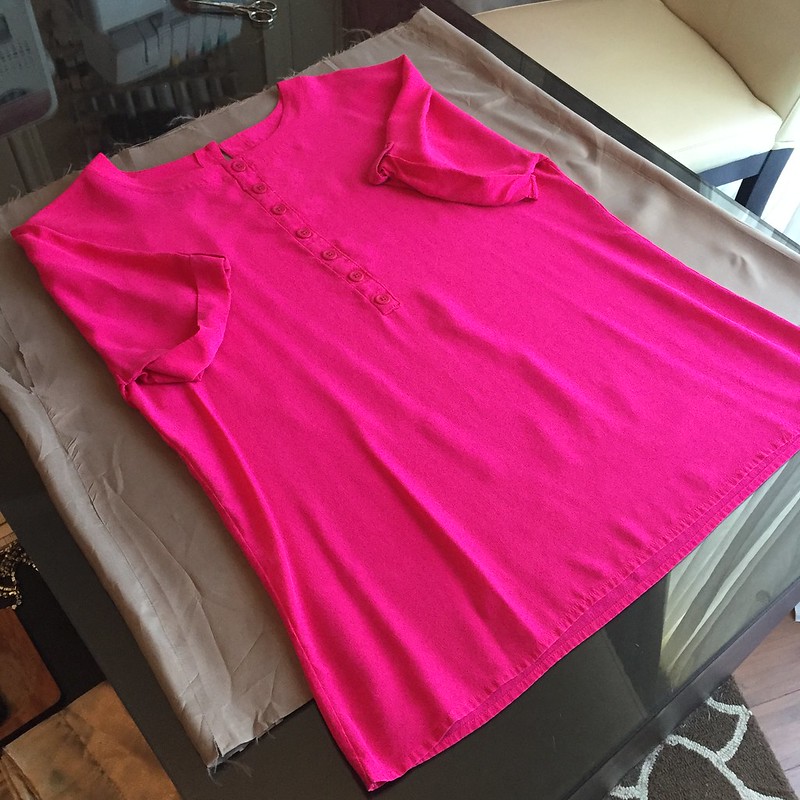
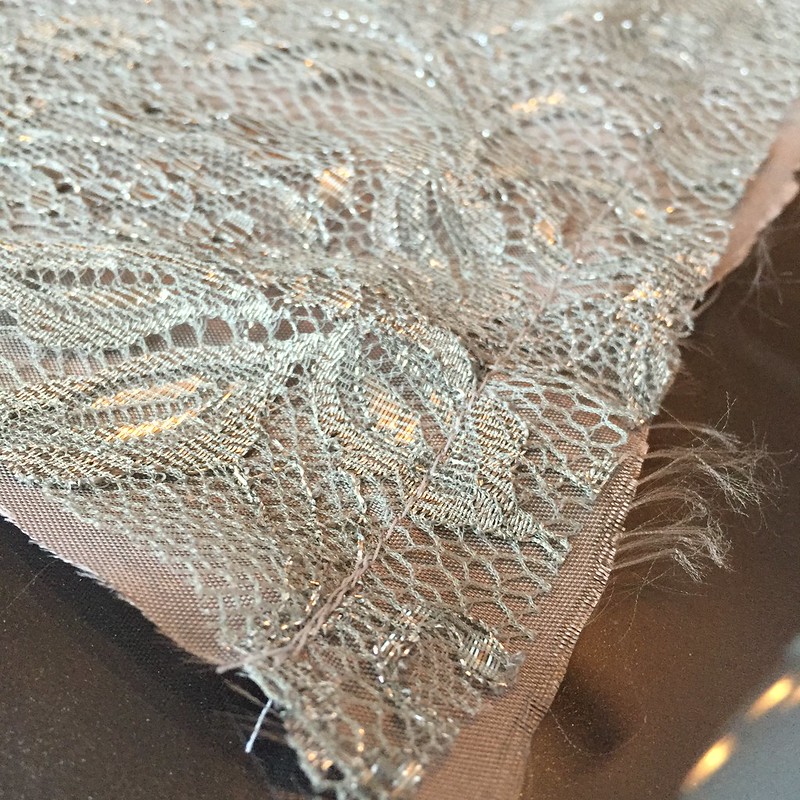
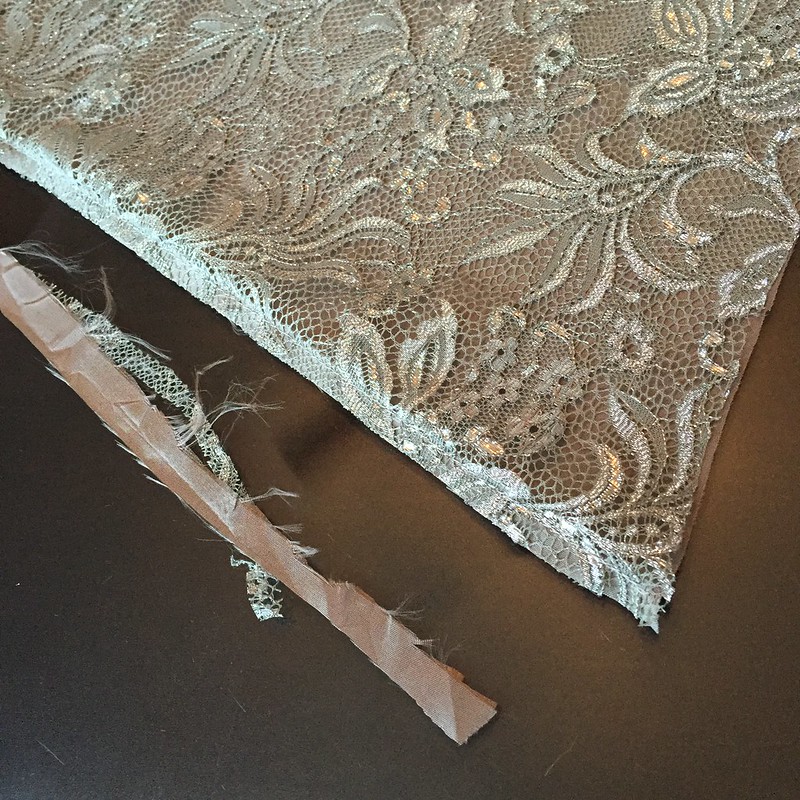
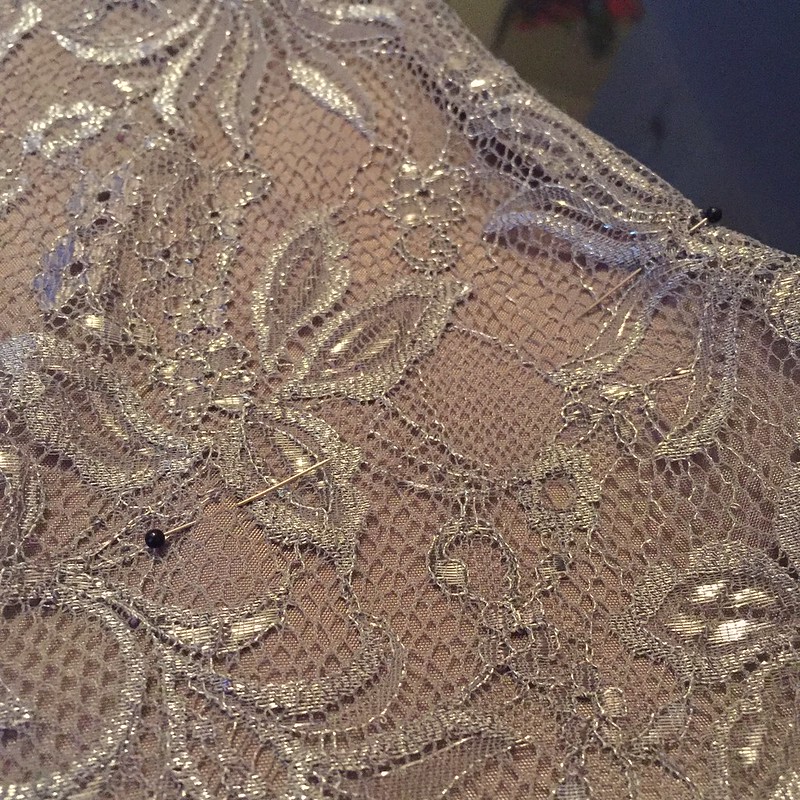
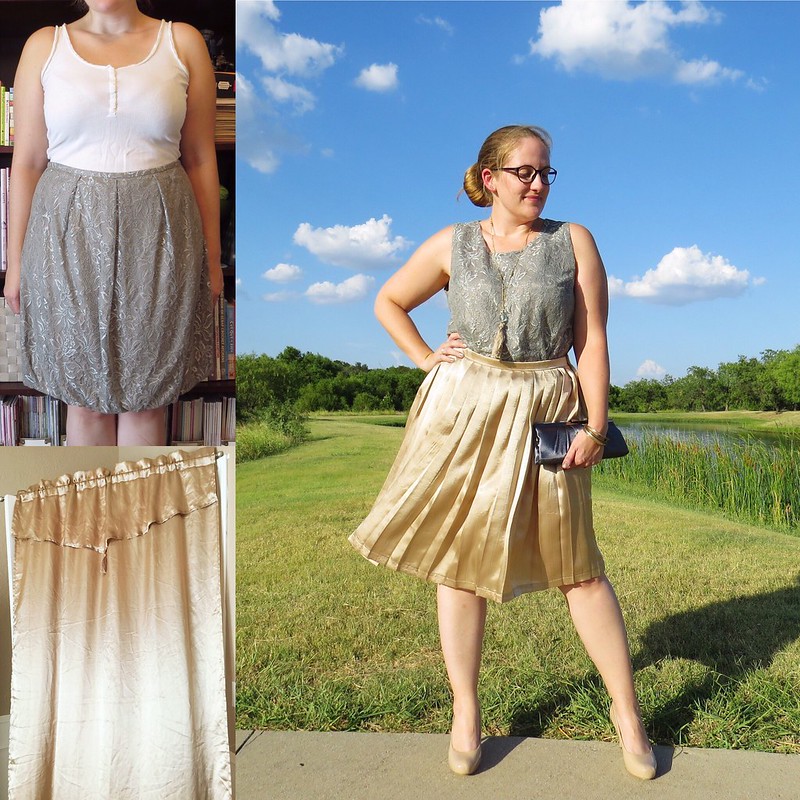
Now I know you've sat through a lot of text and photos already, but bear with me just a little longer, k? I needed a top to wear with my new gold skirt, so out came that silver lacy bubble skirt. I chopped off the bottom edge to remove the bubble-ness, then removed the waistband and zipper as well to flatten the box-pleats. I used a well-fitting, non-stretchy shirt to trace out my pattern on the lining fabric, then used the lining pieces to cut the lace.
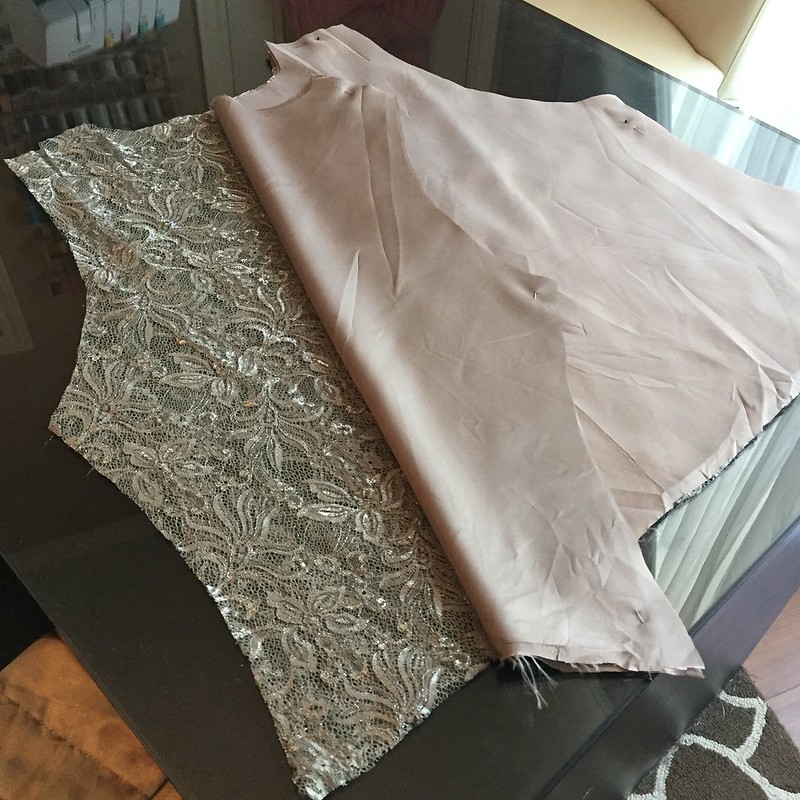
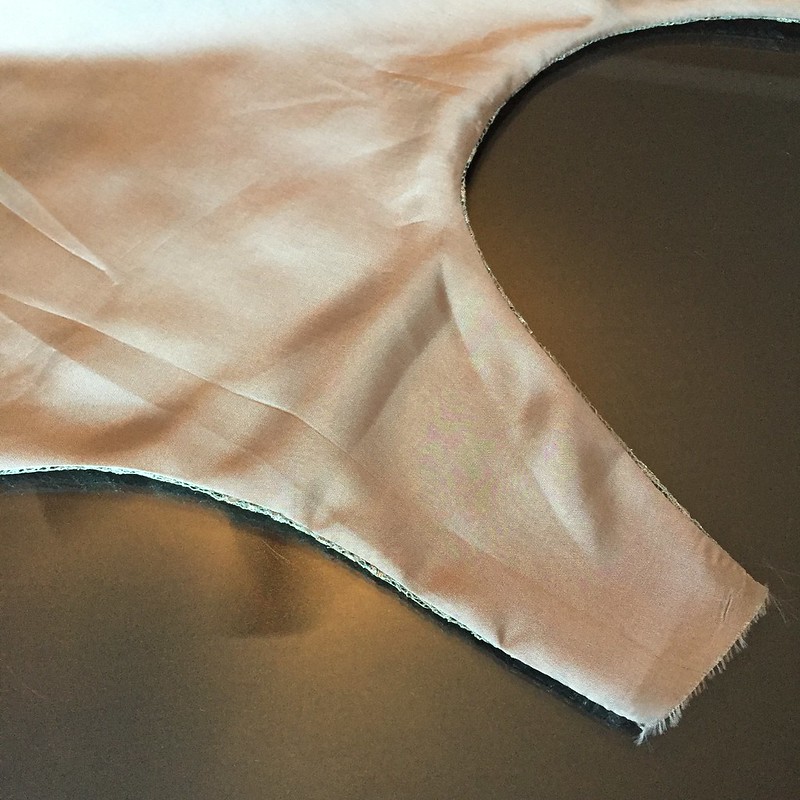
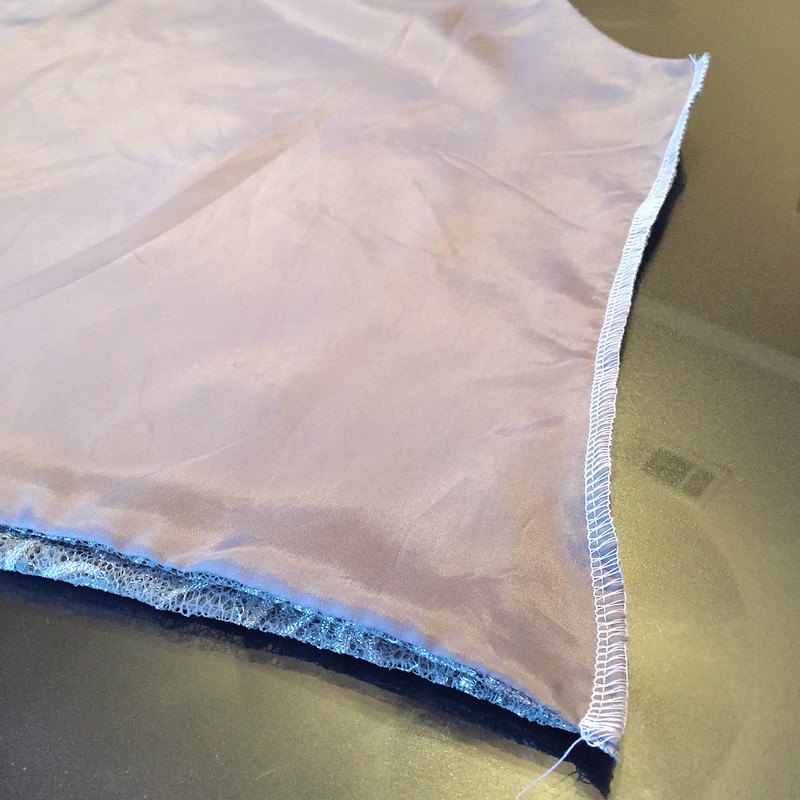
With right sides facing, I stitched the front lace to the front lining and the back lace to the back lining along the bottom edge, the neck edge, and the armholes, leaving the shoulders and side seams open. I trimmed my seam allowances nice and neat since these will be vaguely visible through the lace on the final garment. Then I turned them right-side-out and pressed the edges very carefully so as not to melt the lace or anything. Then the shoulder and side seams could all be serged together.
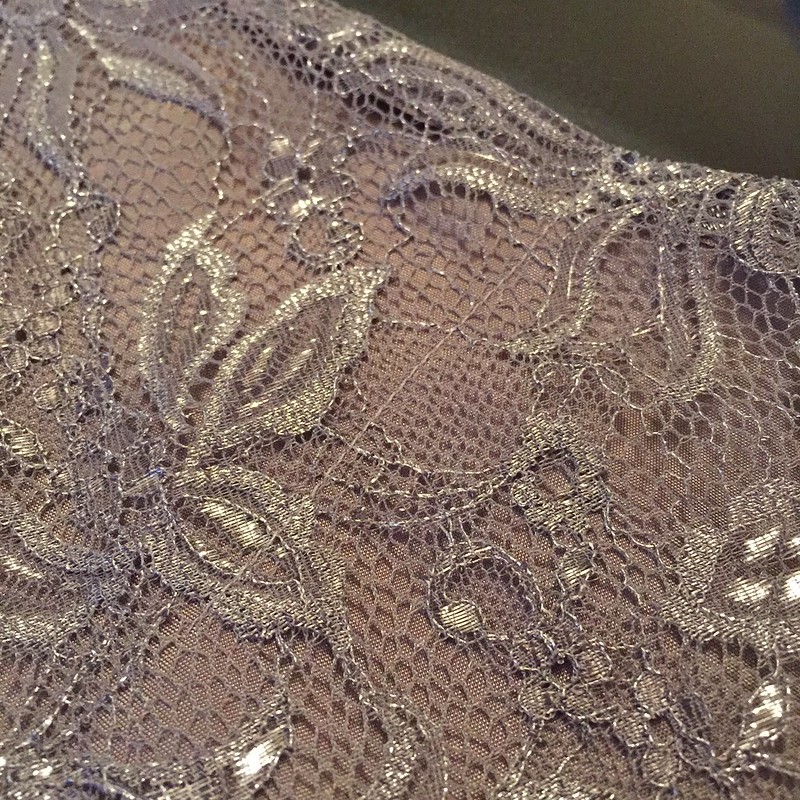
To give my flat shirt a more human shape, I needed some bust darts. I tried it on and marked where they should go, straight in from the armhole edges to each nipple essentially. I sewed a straight line there to hold my lace and lining together (barely visible in the 2nd photo but if you look closely it runs diagonally from upper right to lower left). Then I folded along that stitched line, sewed my darts, and gave them another gentle press.
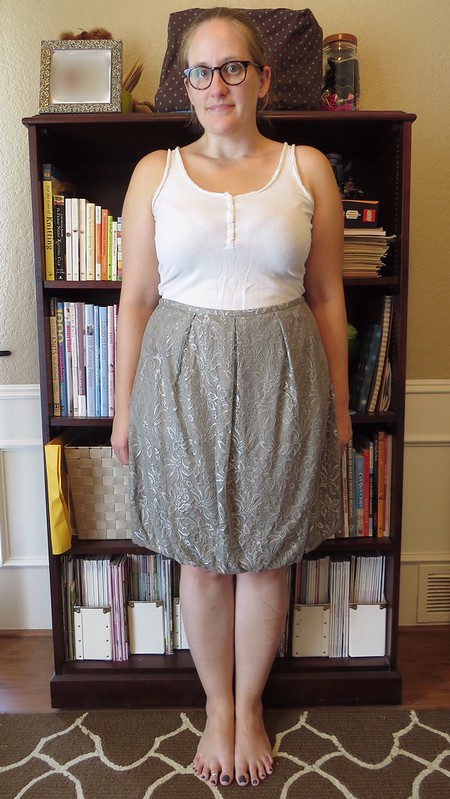
And now you've waited long enough! Here I am in the shiniest outfit I've ever worn - skirt, shirt, necklace, even a gunmetal satin clutch and matching manicure!
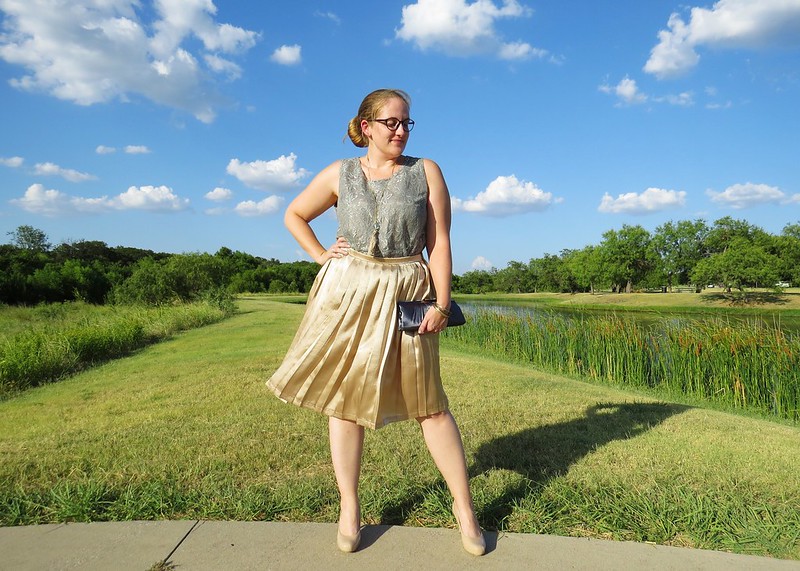
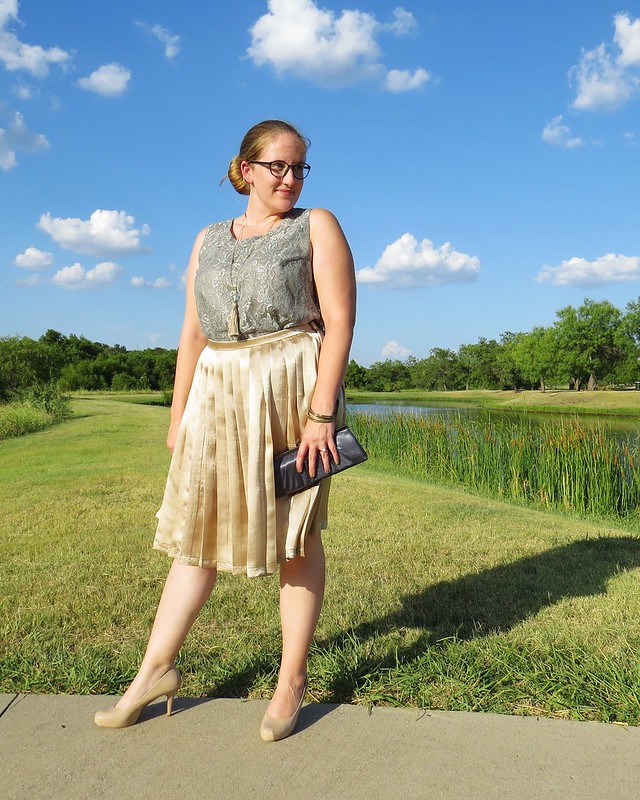

Who says you can't mix metals?
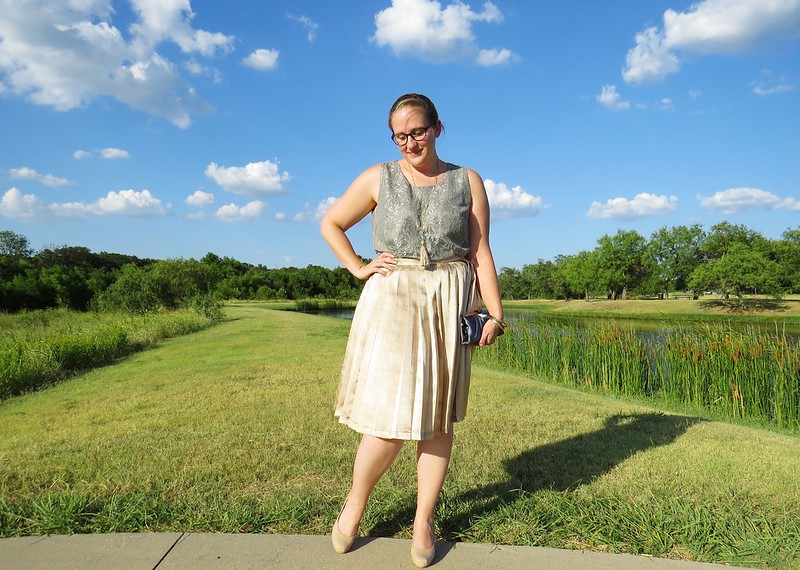
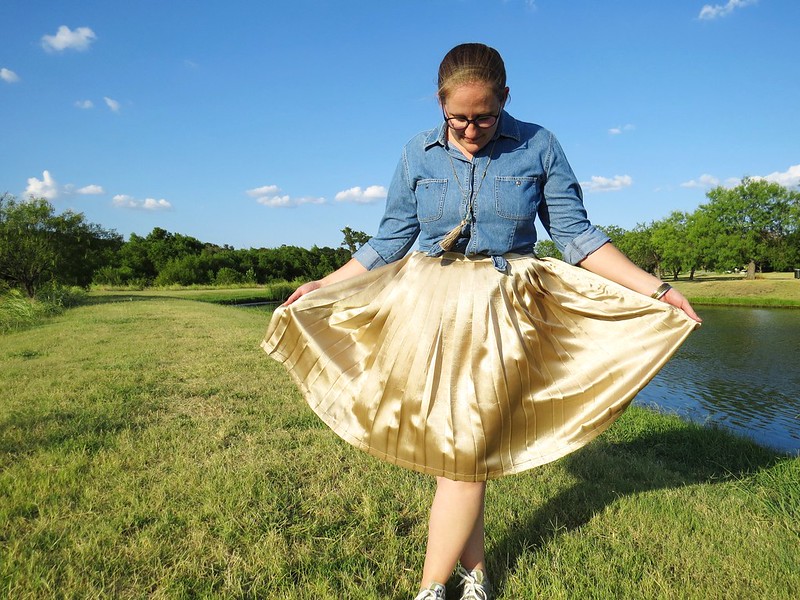
And if I don't want to go too fancy, I could always pair my new skirt with a simple chambray shirt and Converse sneaks for a more casual look.

Now that you've seen my project, go have a look at the other competitors' metallic masterpieces and vote for your favorite!
I have wondered how to make permanent pleats! WOWWWW!!!!
ReplyDeleteJJ
I knew it was possible, just not *how*. I stood in the thrift store with the curtains in my cart, googling how to do it and what fabric is best and such before I brought them home.
DeleteOMG I am so impressed! I LOVE the skirt and I am so inspired. Well done you!!
ReplyDeleteThank you, Jane!
DeleteWow! That was a lot of work!. Looks great!
ReplyDeleteThat it was, but I love the result!
DeleteWow, it looks great and thanks for the info on those pleats, that was something I was wondering about as well!
ReplyDeleteMy pleasure!
DeleteWell Carissa ! Once again you have Wow-ed those of us who love to view your work ! Pleated skirts are in and out of styling eras, but they are so special and your process is so interesting. GREAT outfit ! I am curious to see, in the future, how you may use the your "test" piece.
ReplyDeleteI had my little pleated valance pinned to my dress form while I was working on the actual skirt as a bit of inspiration to keep plodding along. I joked to my husband that I was going to make a little fancy apron out of it. ;)
DeleteThat is such an incredible process... permanent pleats..! What a journey that curtain went on!! You did such a fine job here Carissa, with EVERYTHING... combining metallics, using vintage bits, incorporating complex techniques, and coming up with something that looks amazing... honestly, you deserve to win this week, no joke. I'm SO impressed with all of this!! X
ReplyDeleteAw, thanks, Gema! I seriously *LOVE* your sequined pencil skirt though!
DeleteWow! This is a winner for sure! I appreciate all the work you did to achieve this outfit, and I LOVE your photos this week! Good luck!
ReplyDeleteThank you, Susan! I couldn't have asked for a better sky that day, though less wind and below 100 degrees would definitely have been on my wish list. ;) Good luck to you too!
DeleteGod bless ya for sticking with the pleats up to the end! I would've given up lol. Very Nicely done :)
ReplyDeleteIt was a beast of an undertaking, that's for sure!
Delete