


Yup. I originally made myself a beautiful set of penny buttons to be sewn onto my new blue shirt dress. Then, when the metallic entries were revealed a couple days later and I saw Jen's gypsy-esque dress with the dangling penny charms all over it, my heart sank. Don't get me wrong - she did a beautiful job! It was just my bad luck the metallic theme came before the buttons. Obviously, I couldn't use pennies for the next challenge and look like a copycat, so I had to figure out a different route to take for my buttons. But if you're interested, here's how I made my original penny buttons.
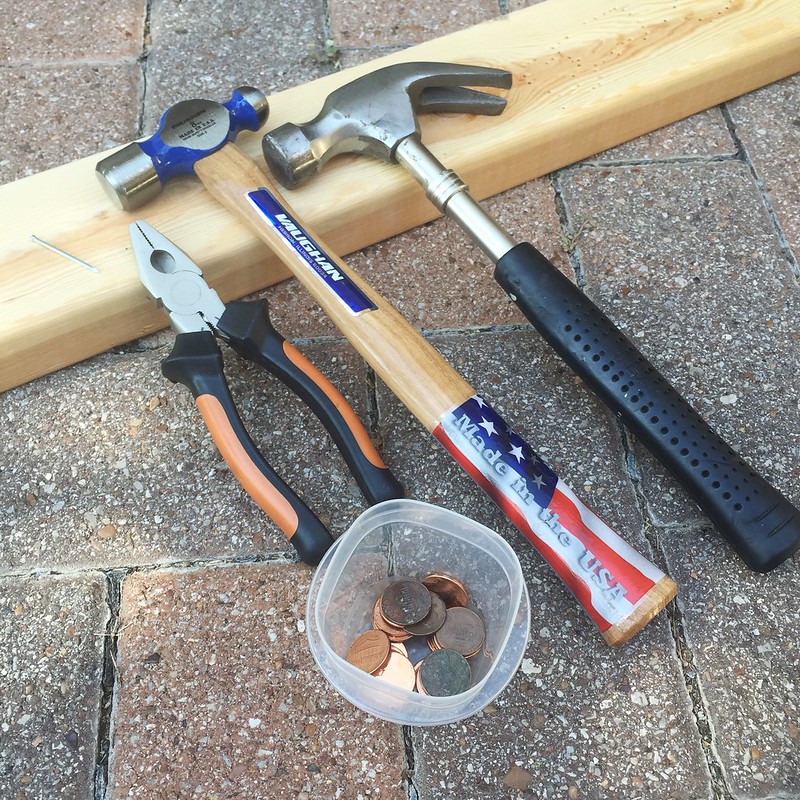
Before you ask, I did my research. It is perfectly legal in the US to alter coins, so long as you don't try to use them as currency afterward. If it weren't legal, all those tourist-y machines that squash a penny into a souvenir for you would be outlawed, don't you think? Since 1982, pennies have been made of copper-plated zinc (2.5% copper, 97.5% zinc). Both are relatively soft metals, so you should be able to punch holes in them fairly easily. First, I collected my tools - a ball-peen hammer, a regular hammer, a nail, pliers, a scrap board, and of course, pennies.
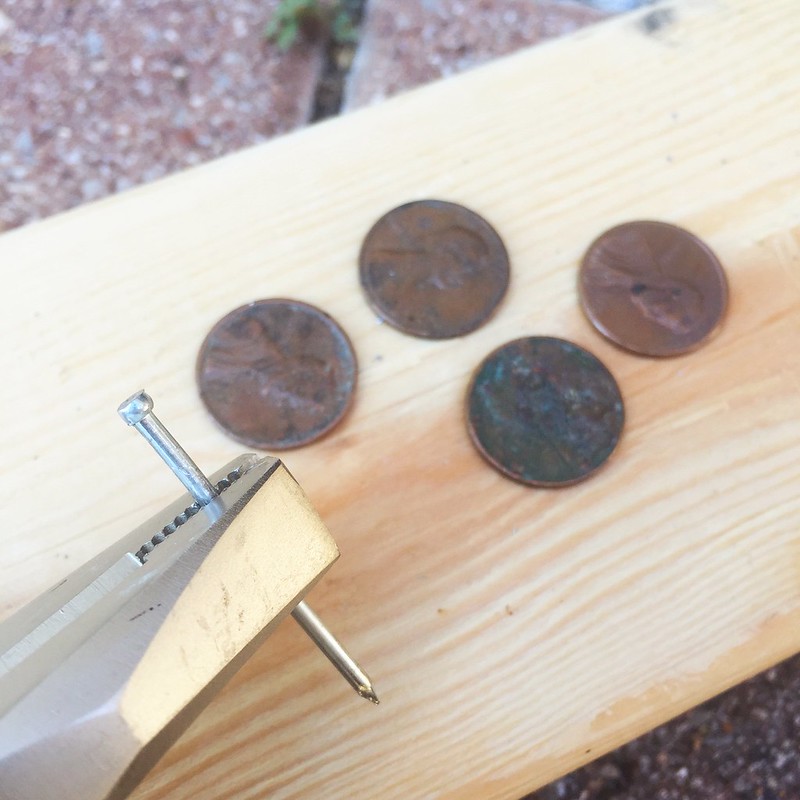
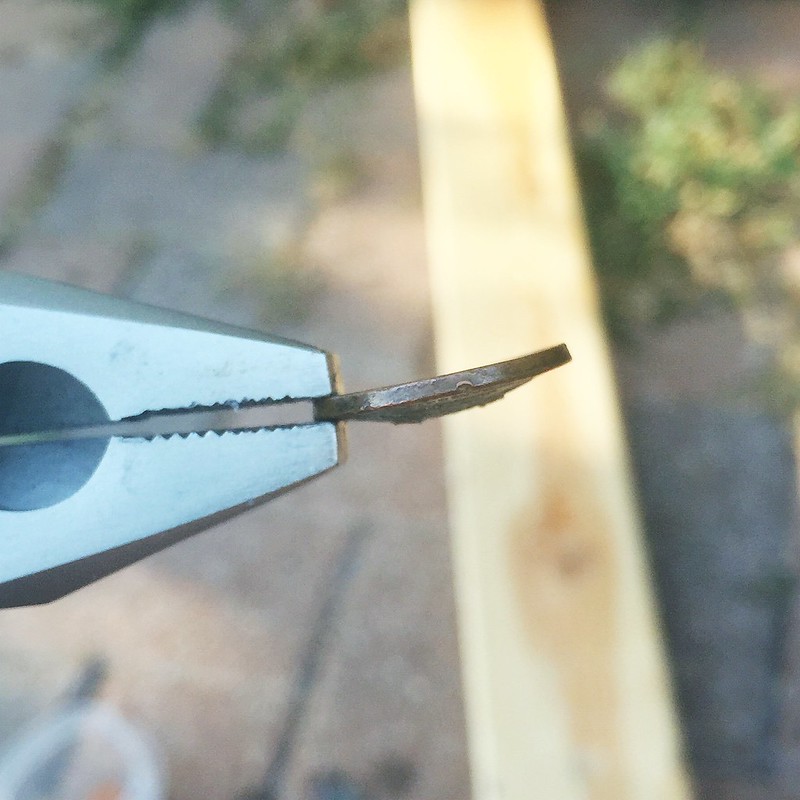
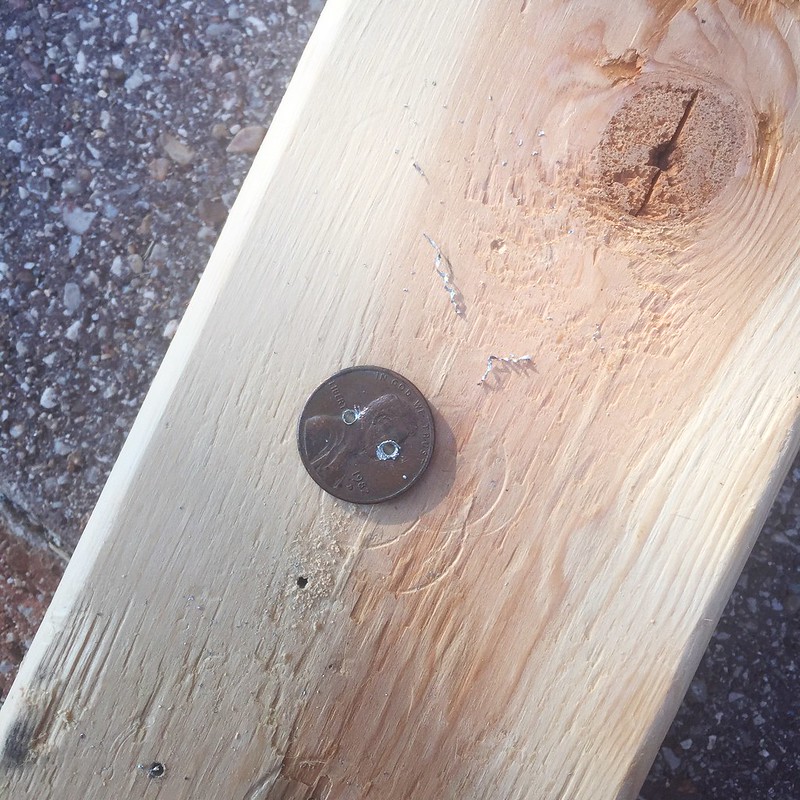
I started by experimenting with some old dirty pennies. To make the little holes, I grabbed a nail with my pliers (so I don't accidentally hammer my thumb) and gave it several good thwacks until it punched through the metal.

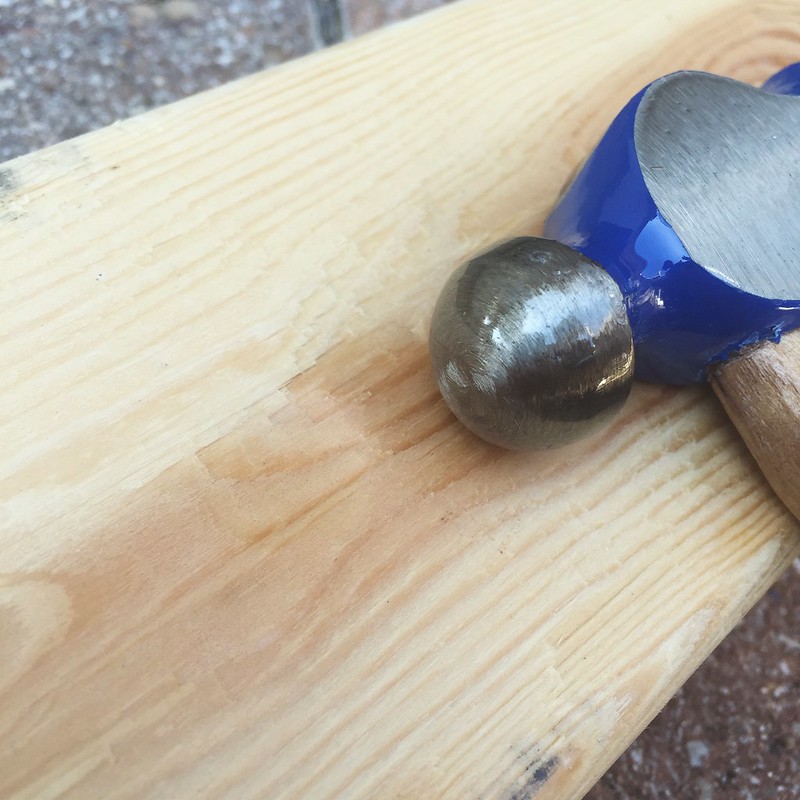
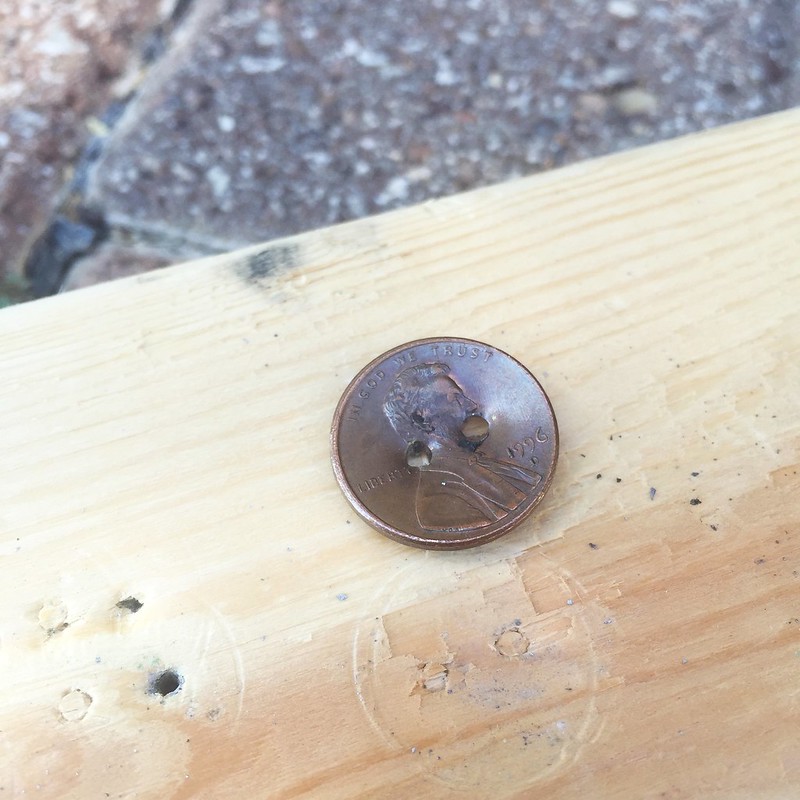
Then I used my ball-peen hammer to make a little crater in the board, which was extremely difficult to photograph as it turns out. I set my punched penny face up in the crater, placed the ball-peen hammer on top of it, and gave it a smack on the other end with the regular hammer. This gave my penny a subtle bowl shape, like a button. Success!
To be safe though, I tried to replicate the process on a few more dirty pennies. Not so successful.
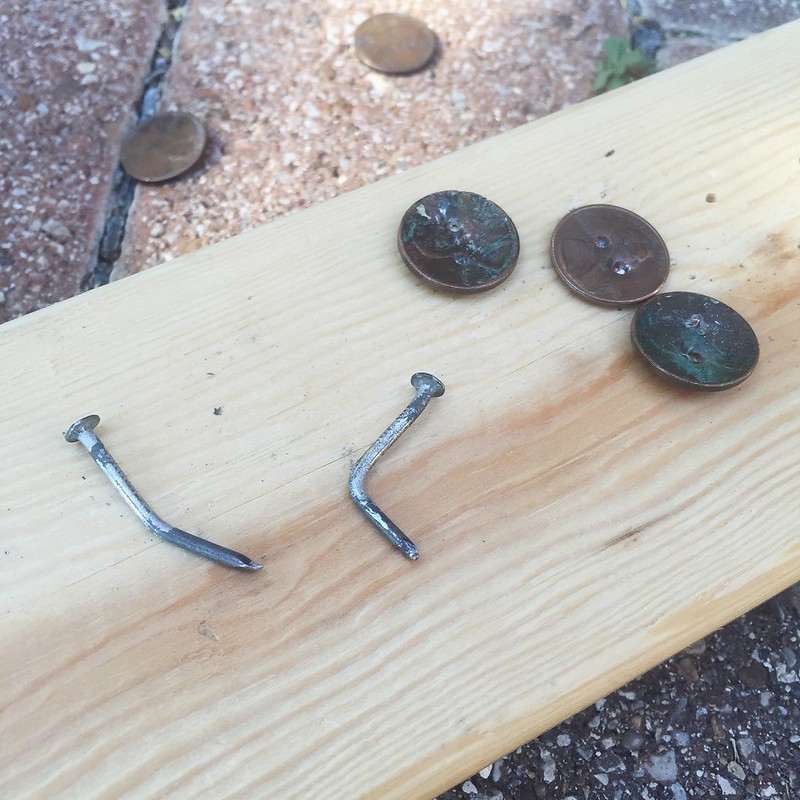
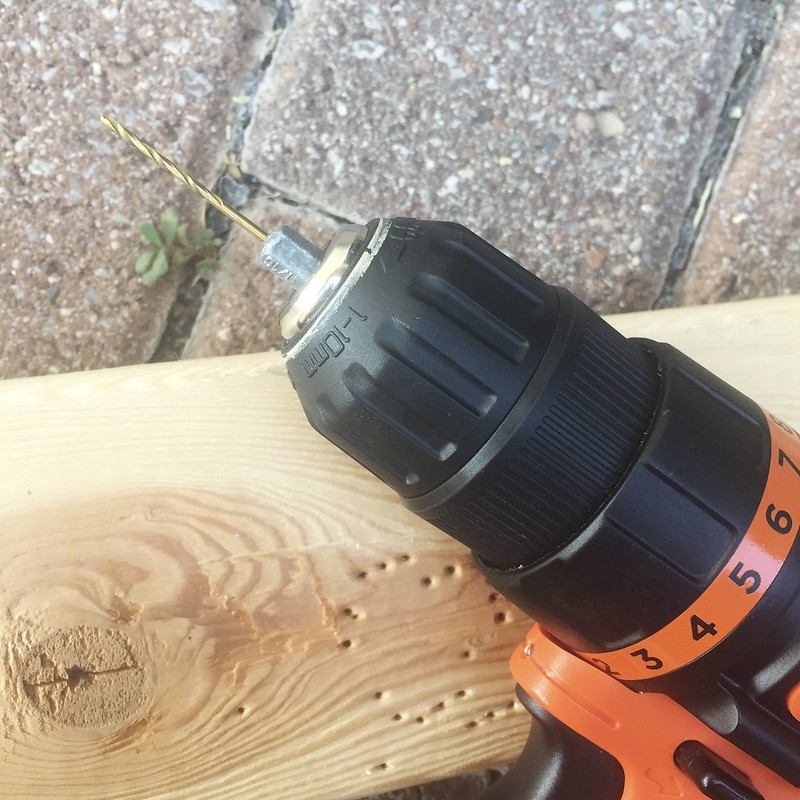
After bending several nails, I decided to try a drill instead. Again, pennies are made of soft metals, so a standard drill bit should do the trick - no need for a fancy diamond bit or anything. I used my pliers to hold the penny still and slowly drilled through by barely squeezing the trigger on my drill using a 1/16" bit. Be careful though! Both the coin and the drill bit will get pretty hot, and there may be sharp metal filings as well. You might want to file down any sharp edges on your coin. Once the holes were drilled, I domed the penny in the same manner as before using the hammers and the crater in the board.
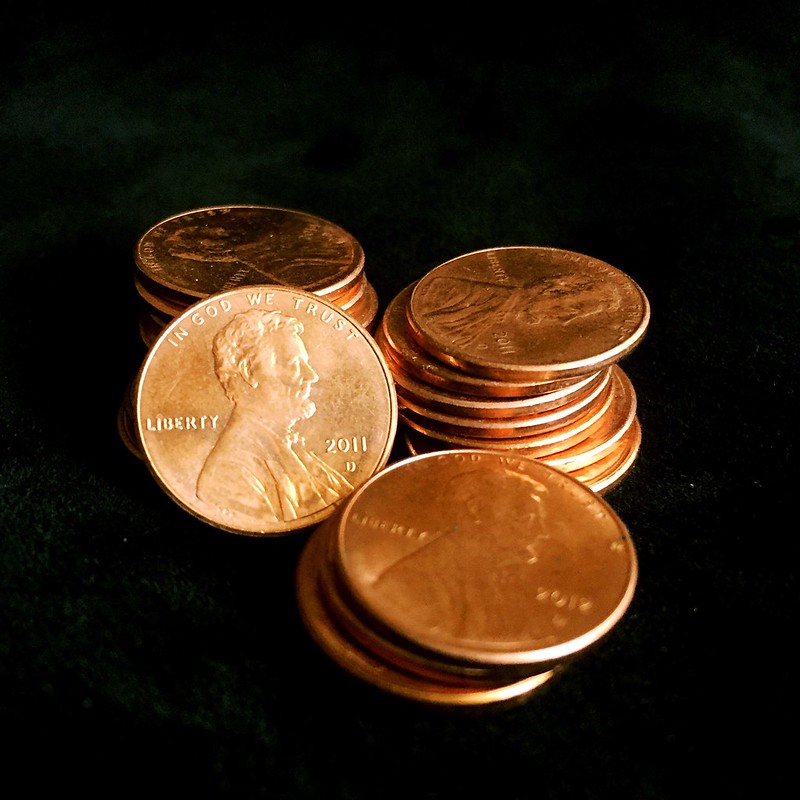
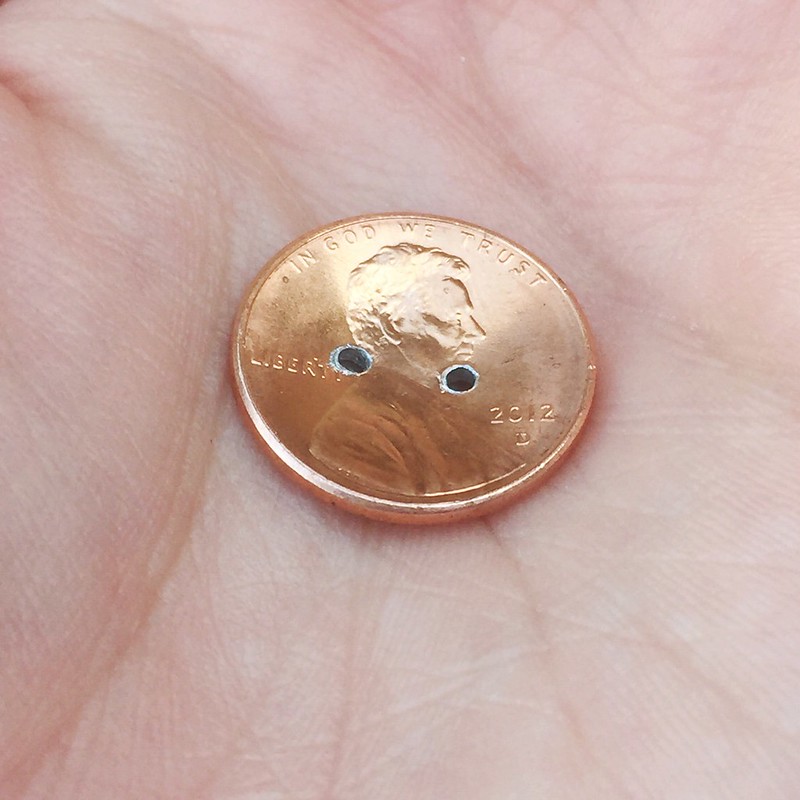
After several successful trials with dirty pennies, I moved on to my bright and shiny pennies. I found that one hole at the nape of Abe's neck and the other directly on his chin seemed like the best placement.
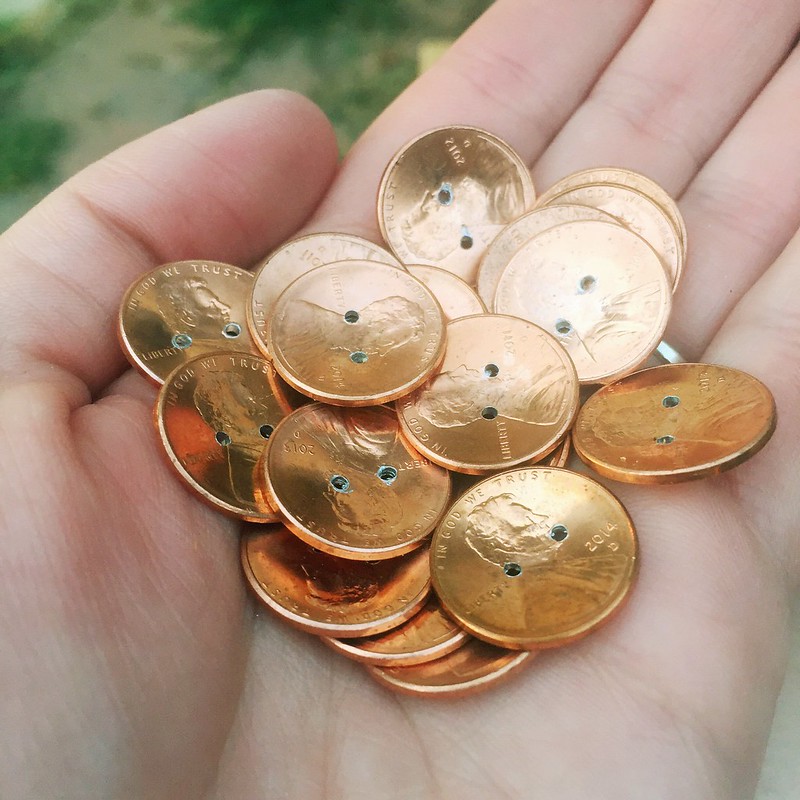
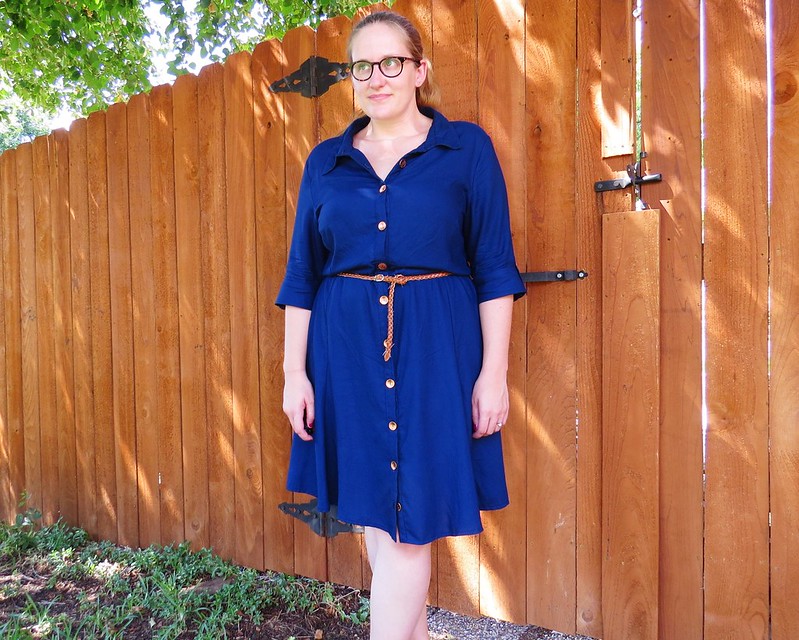
Once I had enough buttons, I stitched them to my dress, and tada!
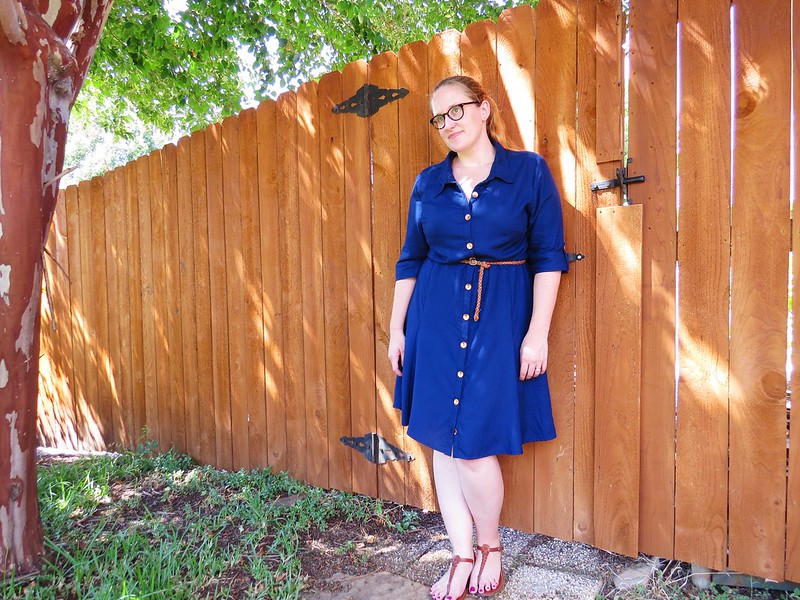
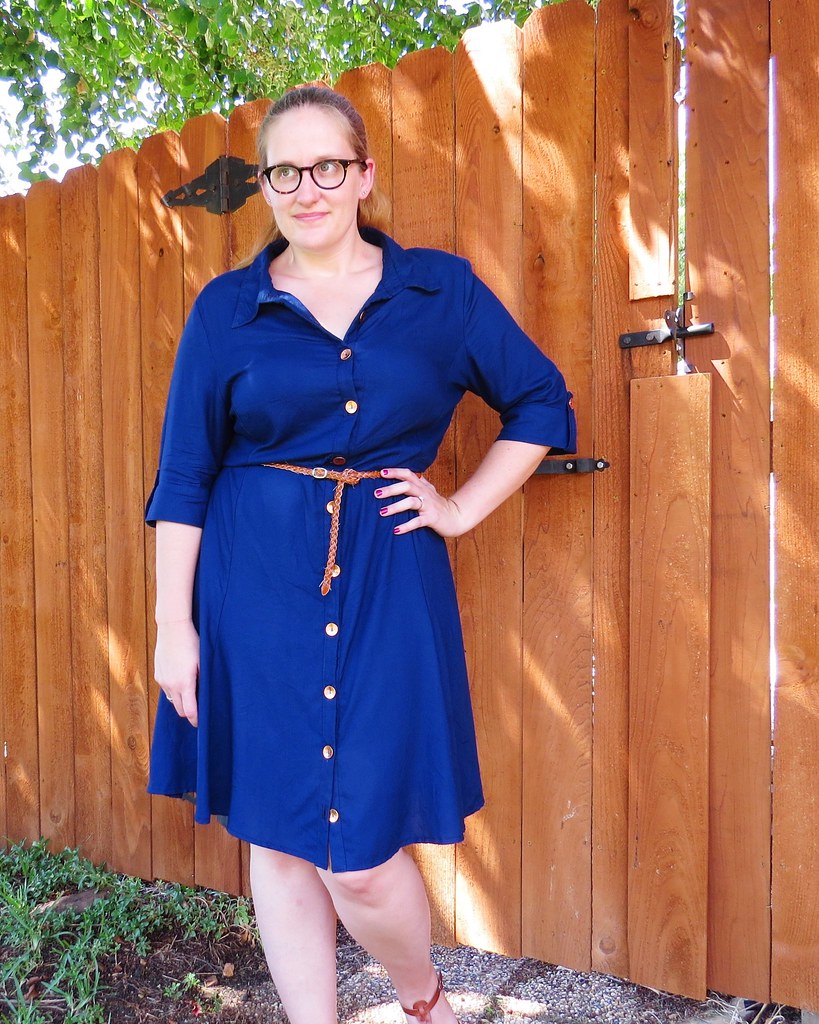
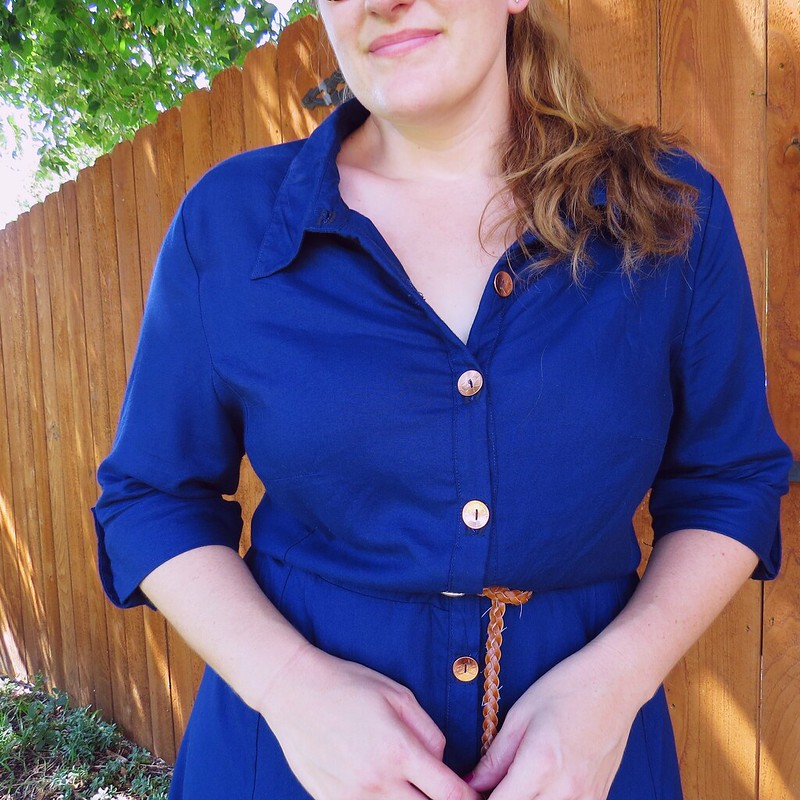
I do love the little handmade wooden tree branch buttons, but honestly, I love the pennies more. They're more my style - sleek and shiny instead of rough and rustic. Plus, the weight of the pennies gives the front of the dress a little better drape, I feel. And they'll be more durable then wood and also washable, so even better!
Don't forget to go to The Renegade Seamstress to vote for your favorite button project, if you haven't already. Voting ends tomorrow!
Your dress is cute & you're very pretty in it! I'm wondering though, if the edges of the pennies inside the holes are sharp enough to cause your thread to wear quickly. I only ask because I have some shorts with metal buttons that have chewed through the thread, and I've had to reattach the buttons a couple of times.
ReplyDeleteIt's possible, but considering I would have had to remove all the wooden buttons for laundering and then reattach them all every time, I'm good with having to re-sew a penny button or two every couple washings. I haven't washed it yet though, so we'll see how it goes!
DeleteCarissa -- I love the penny buttons too and yes, they lend a better color accessory to the blue fabric. I bet a touch of clear nail polish will hold that beautiful copper sheen. I have been enjoying your in-between contest "how to-s" - so much to learn from your work.
ReplyDeleteYes, some clear nail polish might work. I guess I'll see how fast they get dirty, and if it's too bad, I can pop them off, clean them up with a salt-vinegar solution, and give them a clear coat.
DeleteA beautiful project! But I am asking the same as Annie Jones - I would appreciate a follow-up once you have worn and washed that dress a bit. Do those metal buttons chew through the thread? Or might sealing them with nail polish before sewing help?
ReplyDeleteCertainly! I'll follow up once I've worn and washed it a few times and let you know how it goes!
DeleteWhat are the odds? Great minds really do think alike! The wooden buttons were amazing but I like the shiny pennies too :)
ReplyDeleteI know, right! I love 'em! I was definitely a little bummed when I saw Jen's dress, but I can't exactly claim she *stole* my idea or anything. Just an unlucky coincidence. :|
Delete