


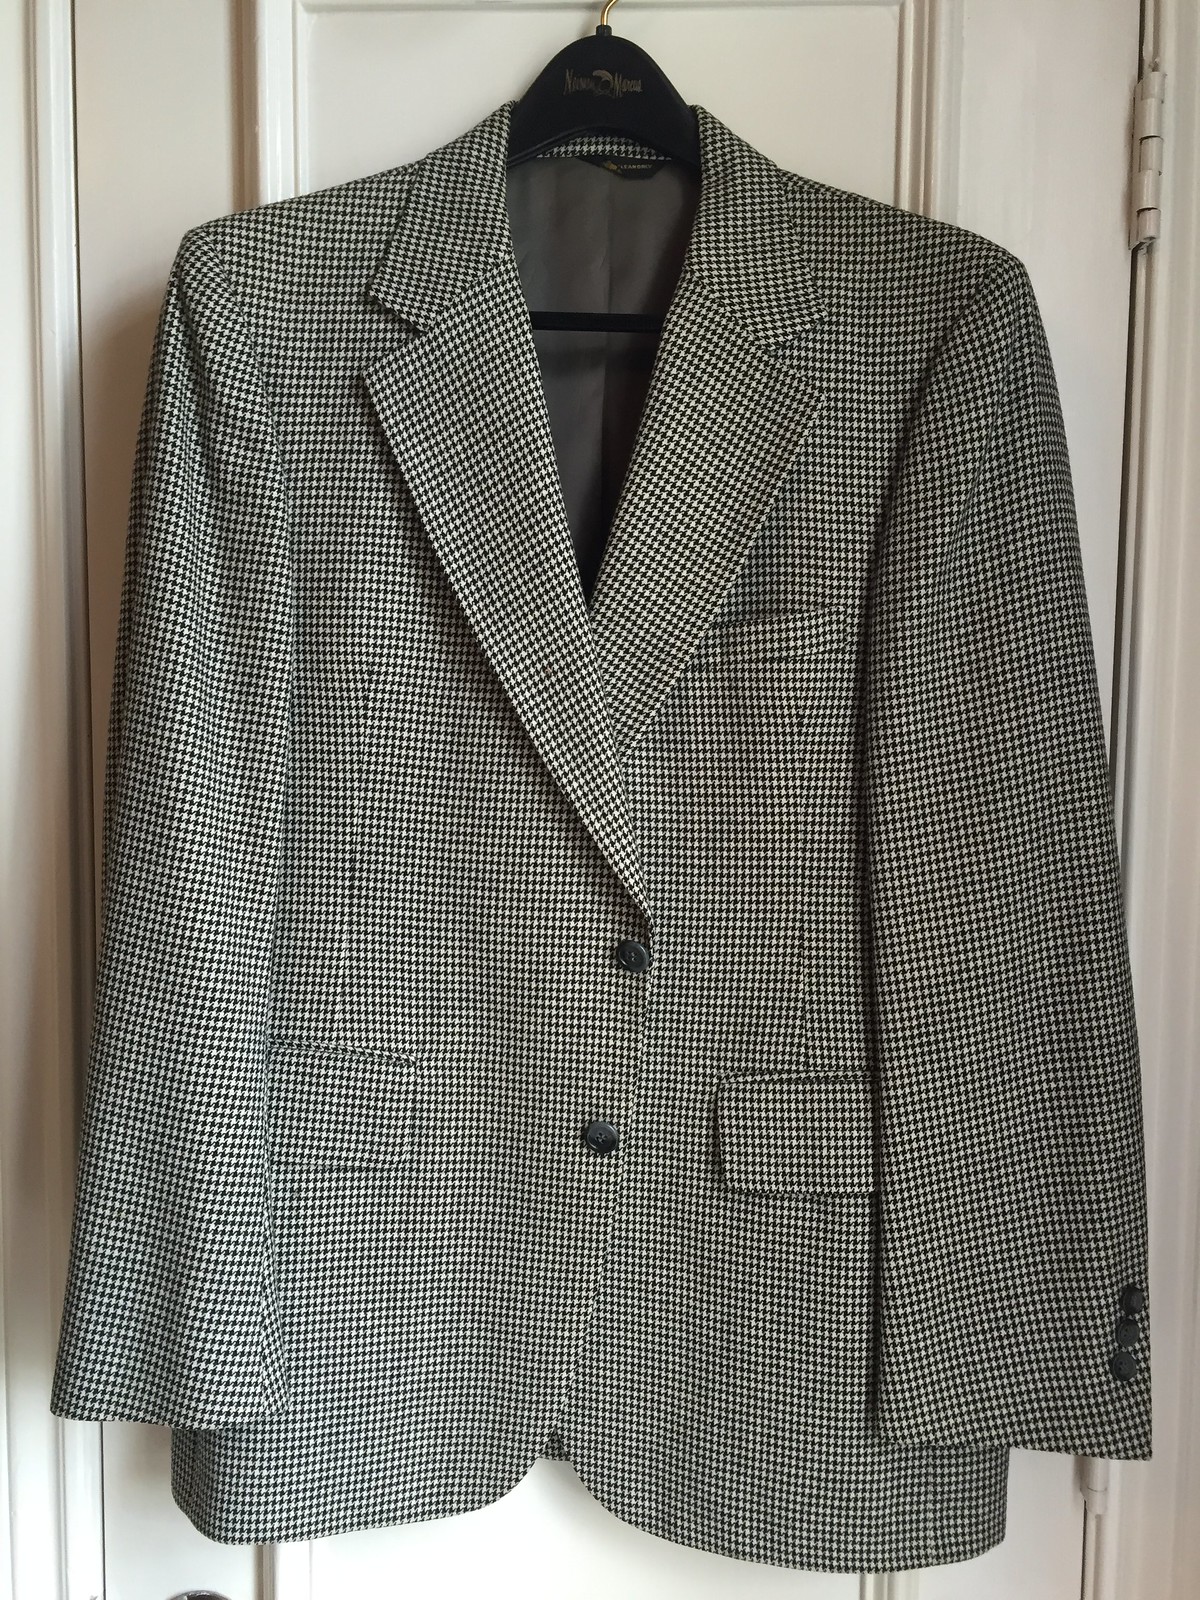
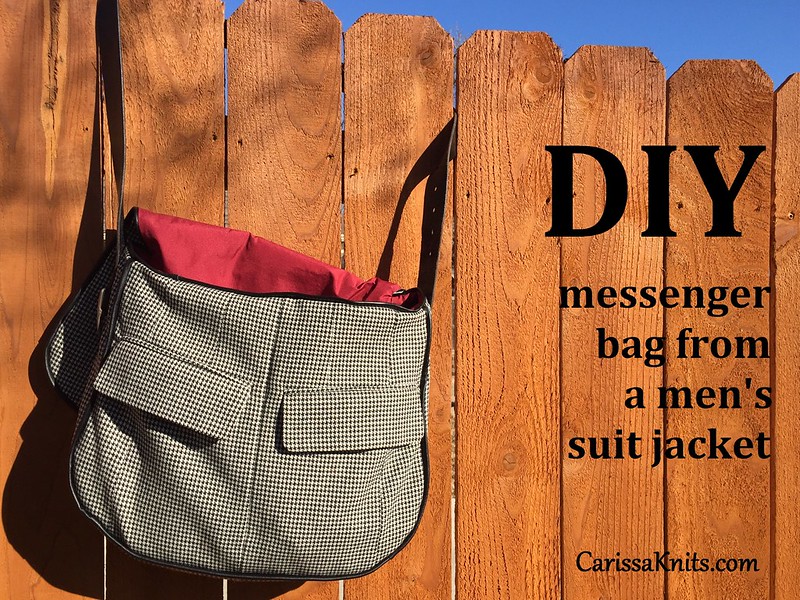
You see, I've been using my upcycled leather fold-over messenger bag almost exclusively since I made it back in August. But there have been outfits which I've felt, despite my growing comfort with mixing brown and black, really needed a black bag instead of a brown one. And though I have a couple black handbags, what I really wanted was an over-sized bag that could carry all my stuff - cell phone, wallet, car keys, house keys, sunglasses, phone charger, earbuds, knitting project, lip balm, lotion, nail clippers, emery board, feminine hygiene products, pen and paper - you know, the essentials. I had seen tote bags on Pinterest made of men's suit jackets, so I thought, why not get a little fancier and make a messenger bag instead?
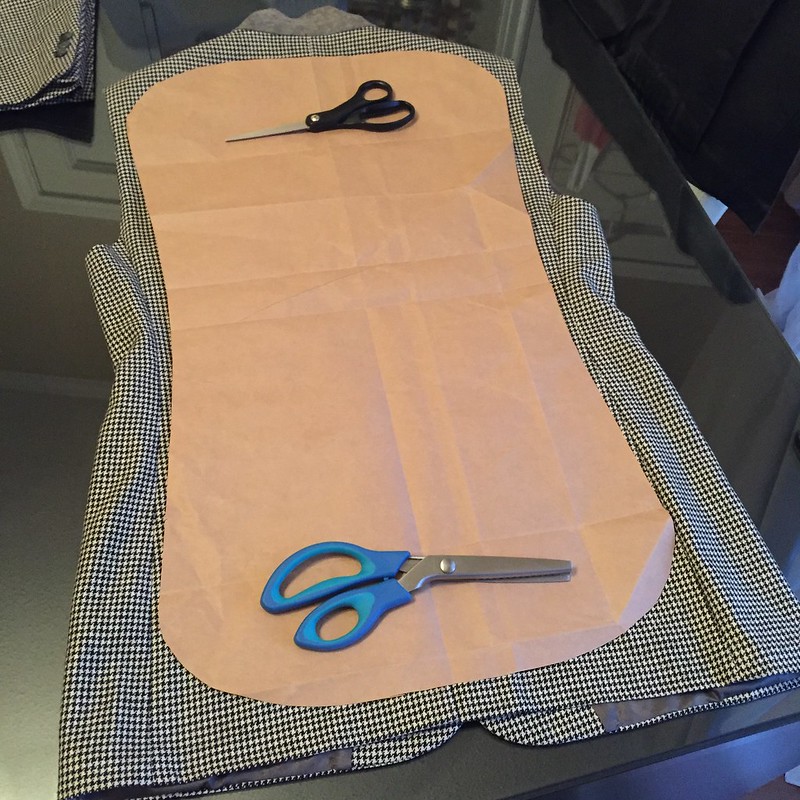
My first step was to remove the sleeves. Then I sketched out a pattern on a brown paper bag (great way to recycle those!), and from the back of the jacket, I cut what will be the back panel and top flap of my bag.
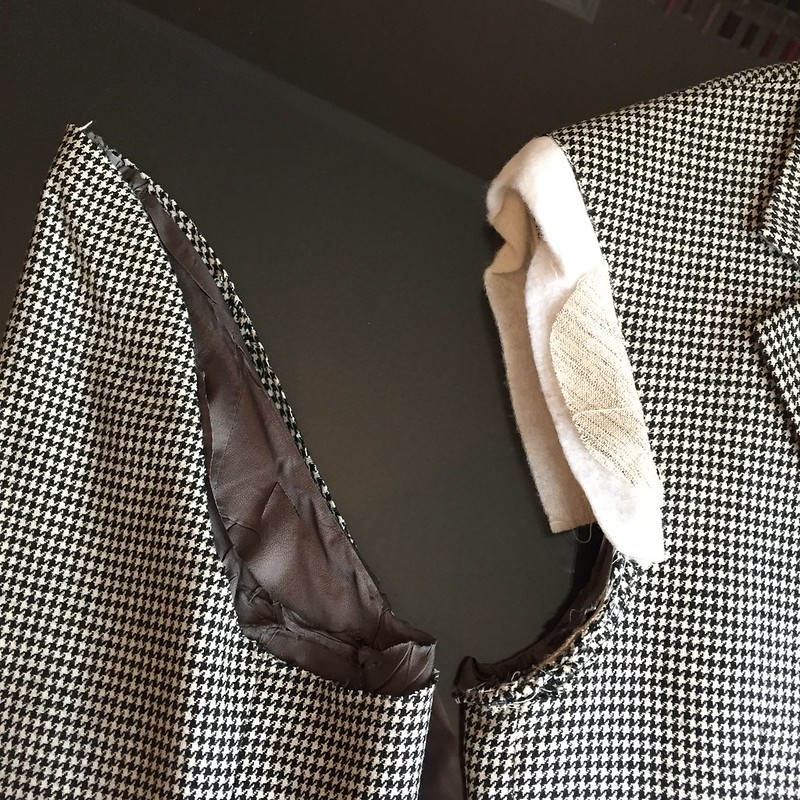
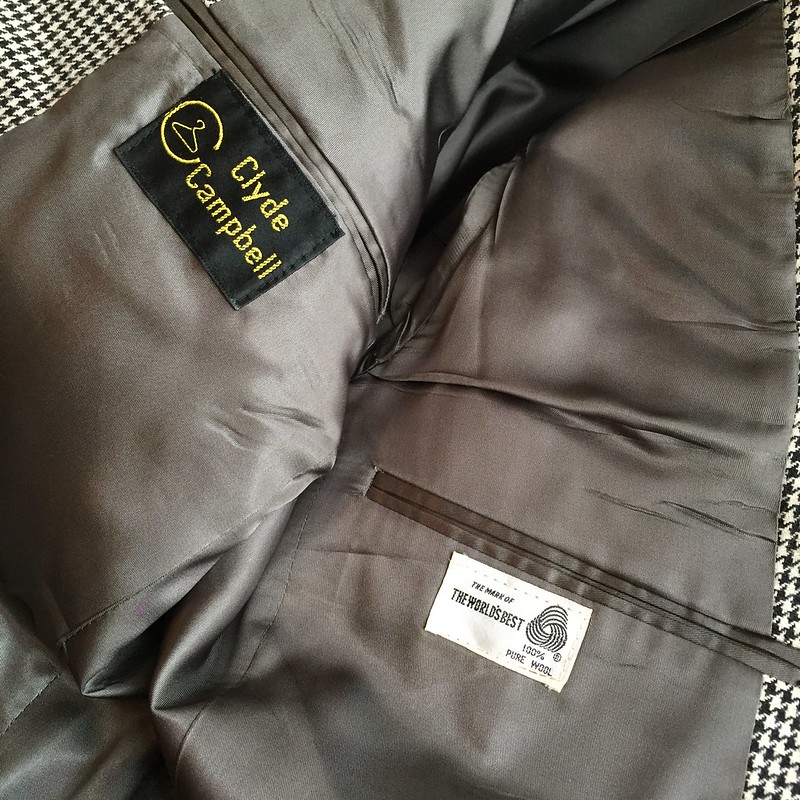
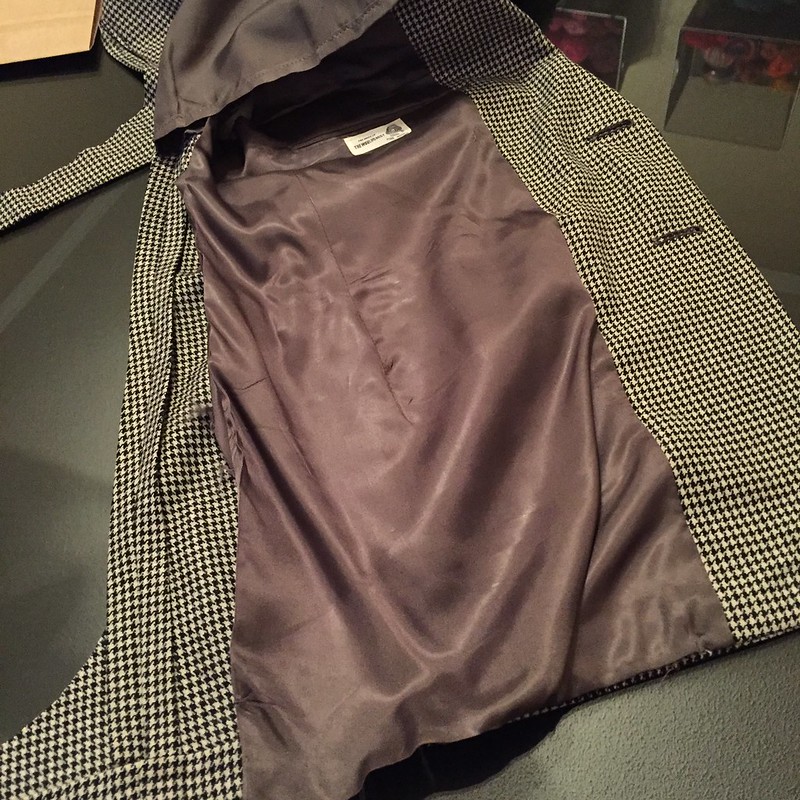
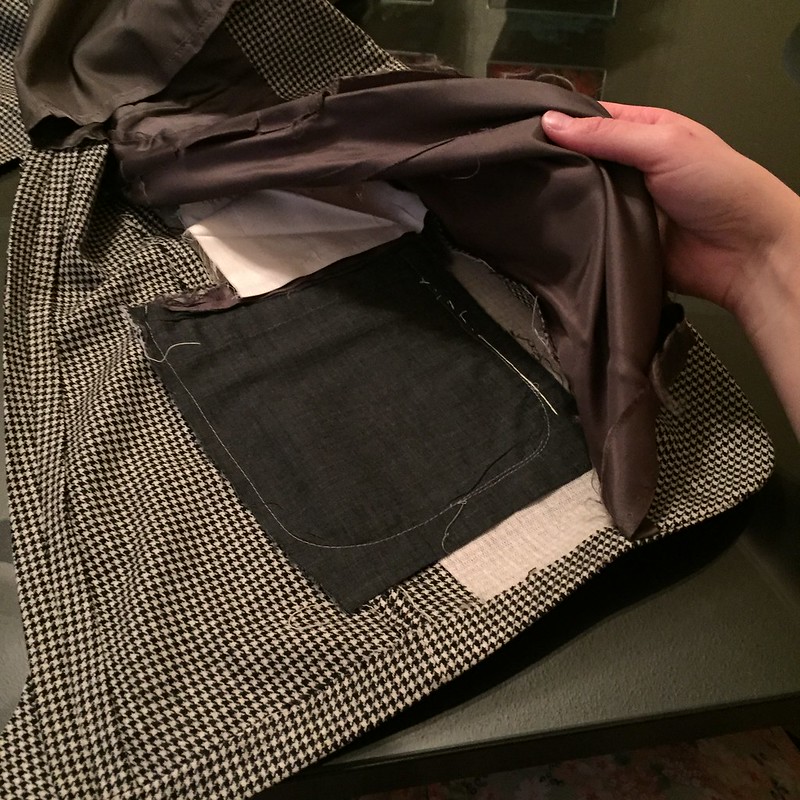
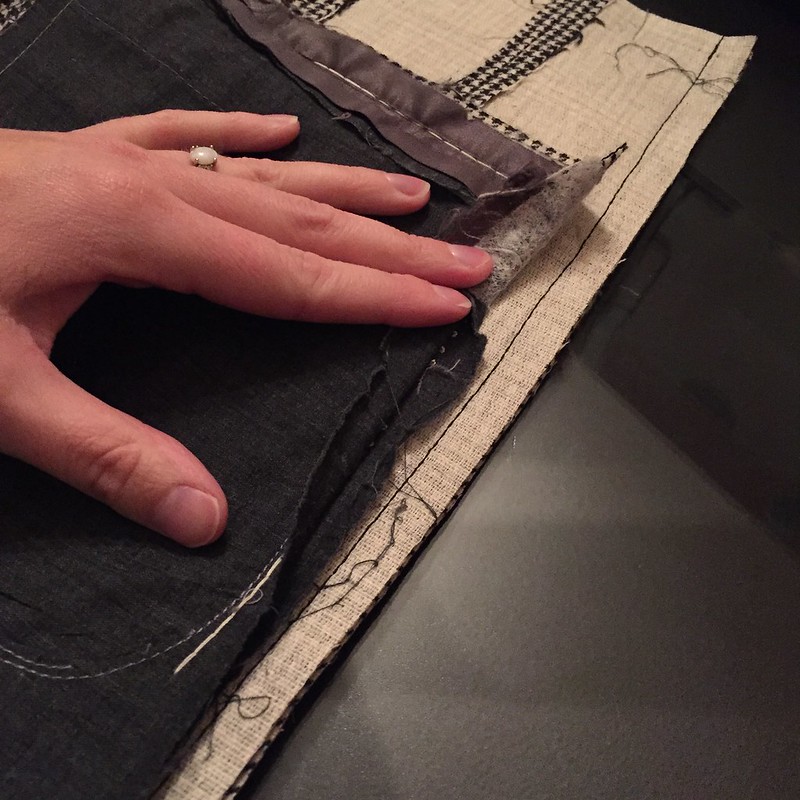
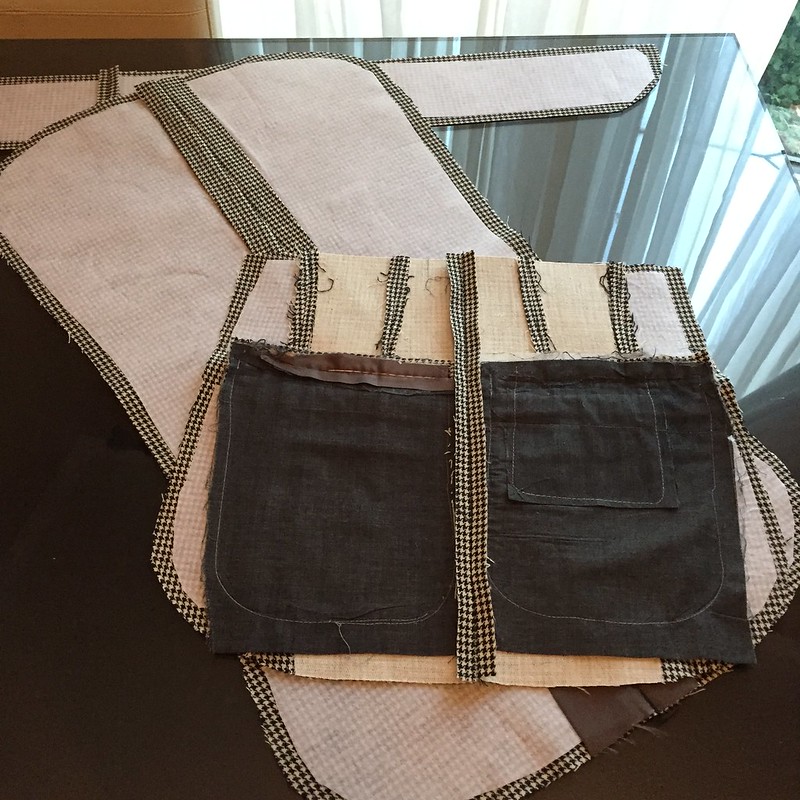
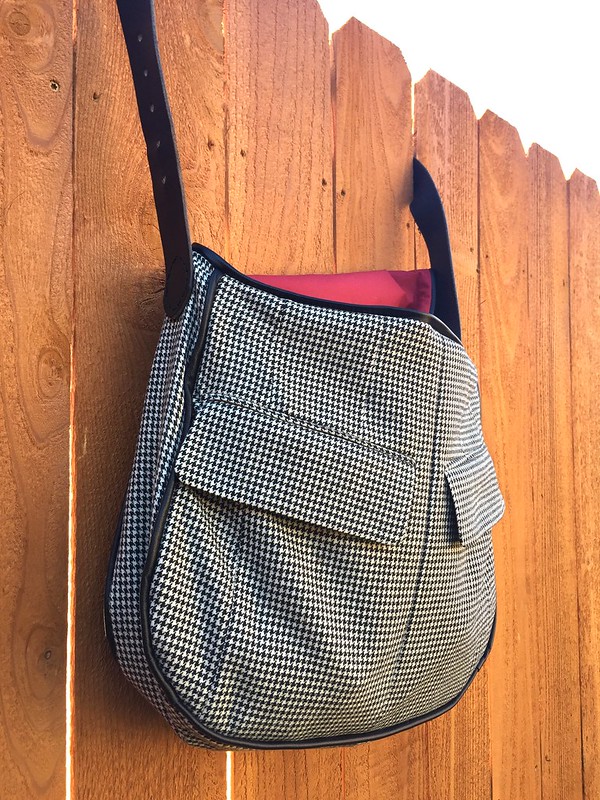
I wanted to reuse the jacket's pockets on the front panel of the bag, under the top flap, but first I had to expose the pockets' lining so I didn't accidentally cut through them. I carefully picked out the stitching holding the jacket's lining in place and looky there! Pockets!
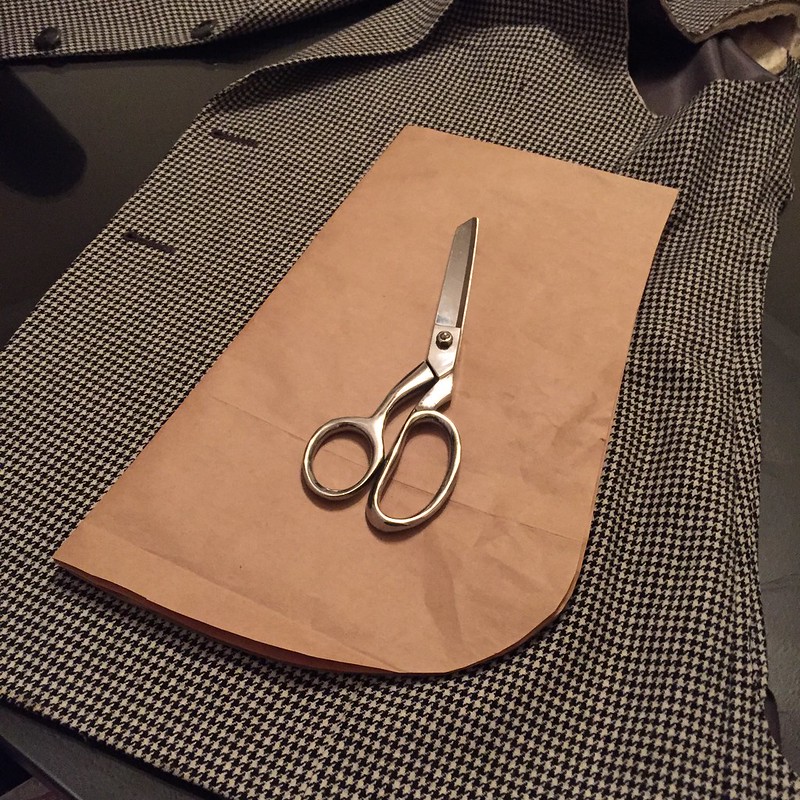
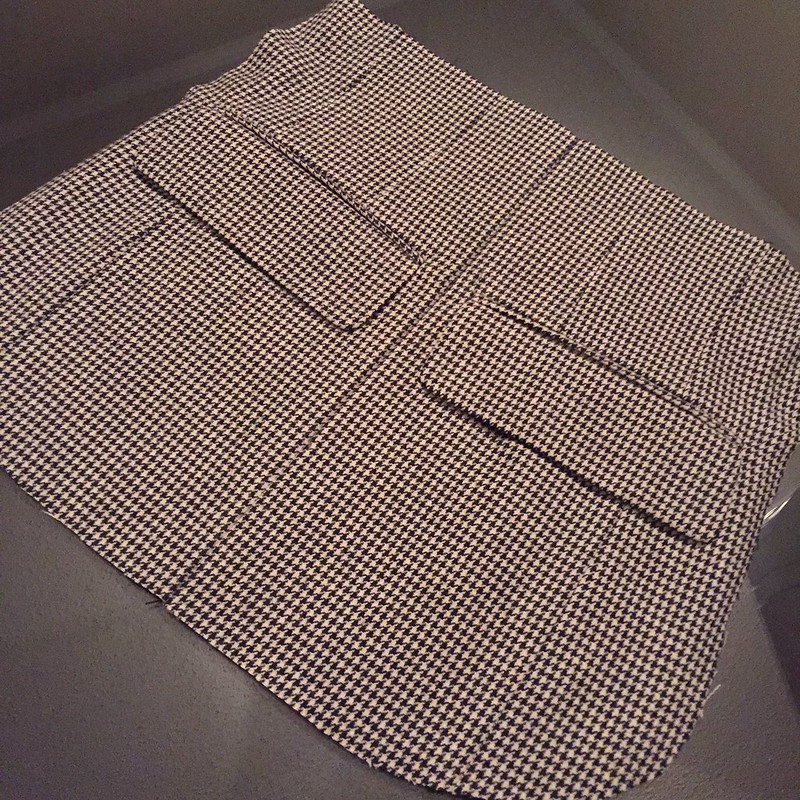
Once I knew where the pockets' innards were located, I could safely cut out my two halves of what will be the front panel of the bag. I folded my paper pattern in half and then in half again and made sure to add a seam allowance along the long straight side, since I'll be joining the two pocket panels together to make the front of the bag

I placed the two pocket panels together with right sides facing and sewed down the edge, careful not to sew through either pocket's lining. Then I gave that seam a press to flatten it out nicely.
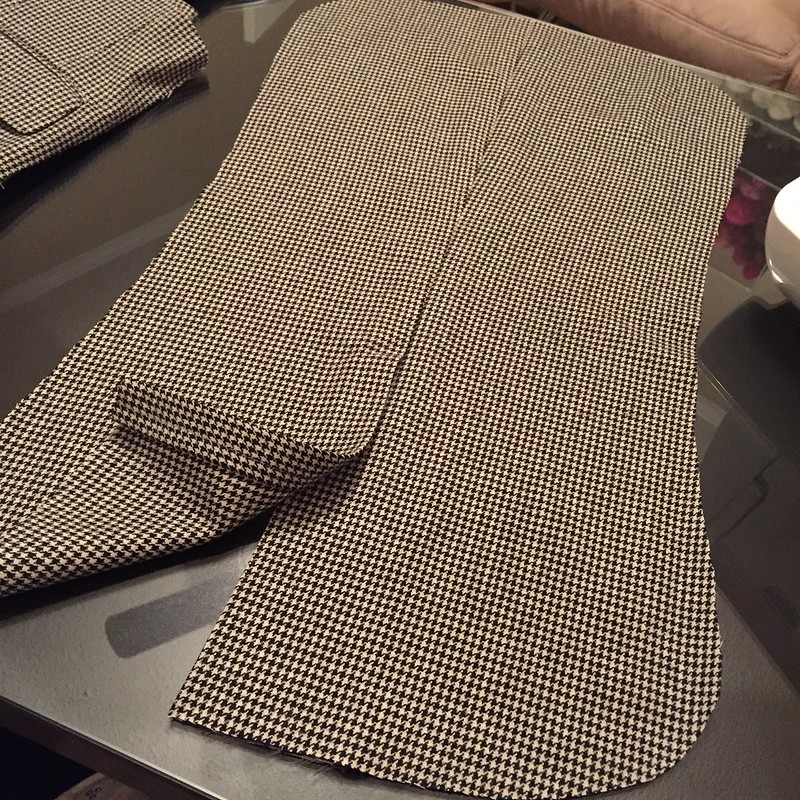
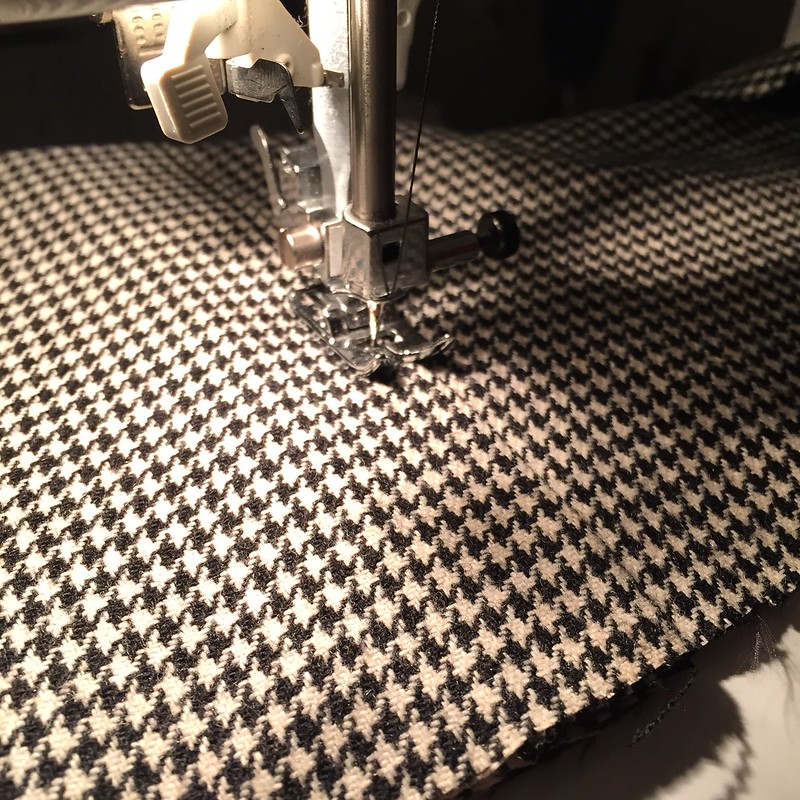
I also needed to close up the back vent from the jacket. A little top-stitching solved that!
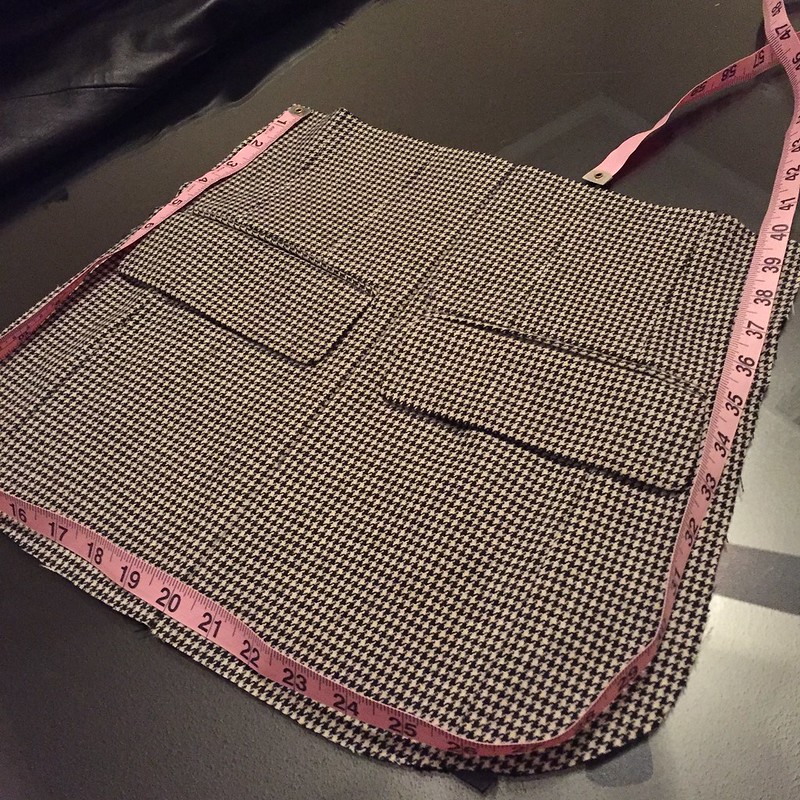
Next, I needed a long strip of fabric to become the sides and bottom of my bag, to give it a little depth. I measured around the sides and bottom edge of the front bag panel - 40 inches. I cut a rectangle from each sleeve, roughly 21 inches by 4 inches, joined them end-to-end, and pressed the seam flat.

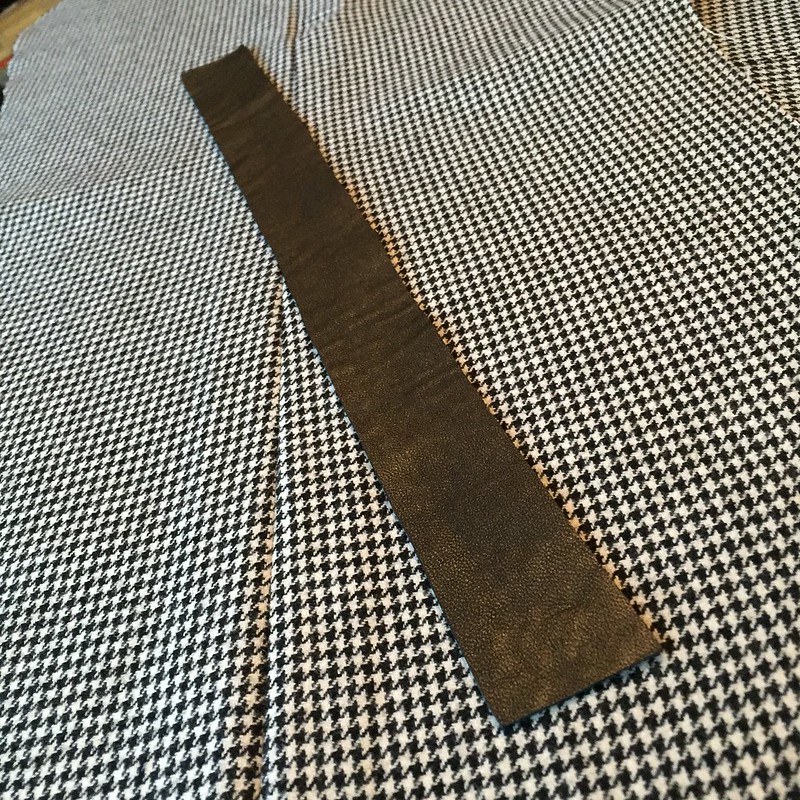
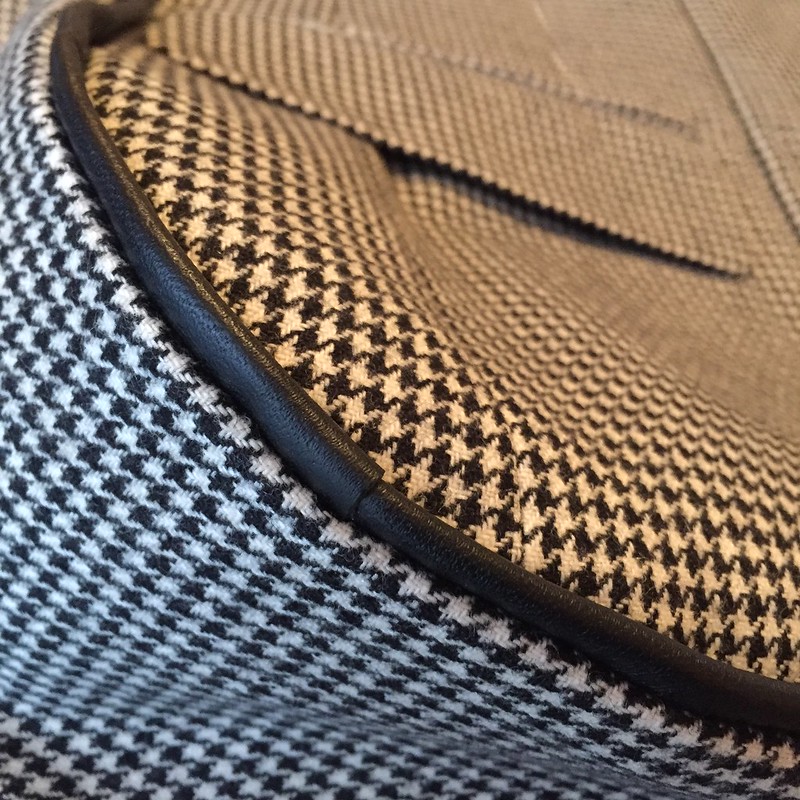
To add a bit of stability and structure, I added fusible interfacing to all my pieces, except of course where they were already interfaced around the pockets. For additional structure and a little extra pizzazz, I pulled out the scraps of black leather leftover from last week's denim and leather jacket refashion and cut several 1.5-inch wide strips.
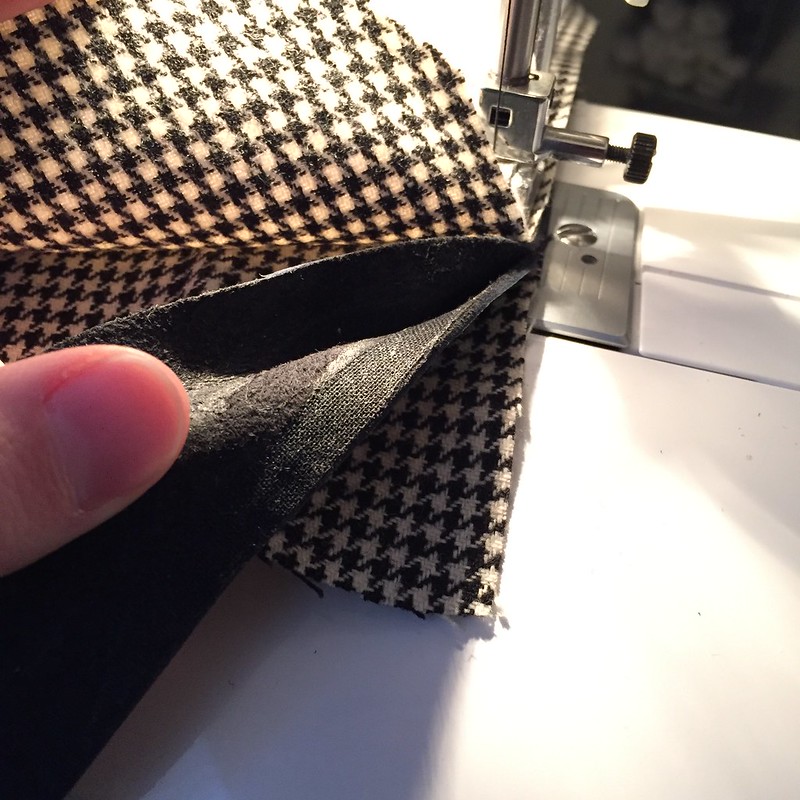
Then I used these strips as a sort of piping, only I didn't put any cord inside it like a real piping would have. I just folded the leather in half and stuck it between my two wool pieces as I assembled the bag. When I ran out of one strip, I simply added another by folding it around the end of the first piece. You can barely even see these joins in the final product.
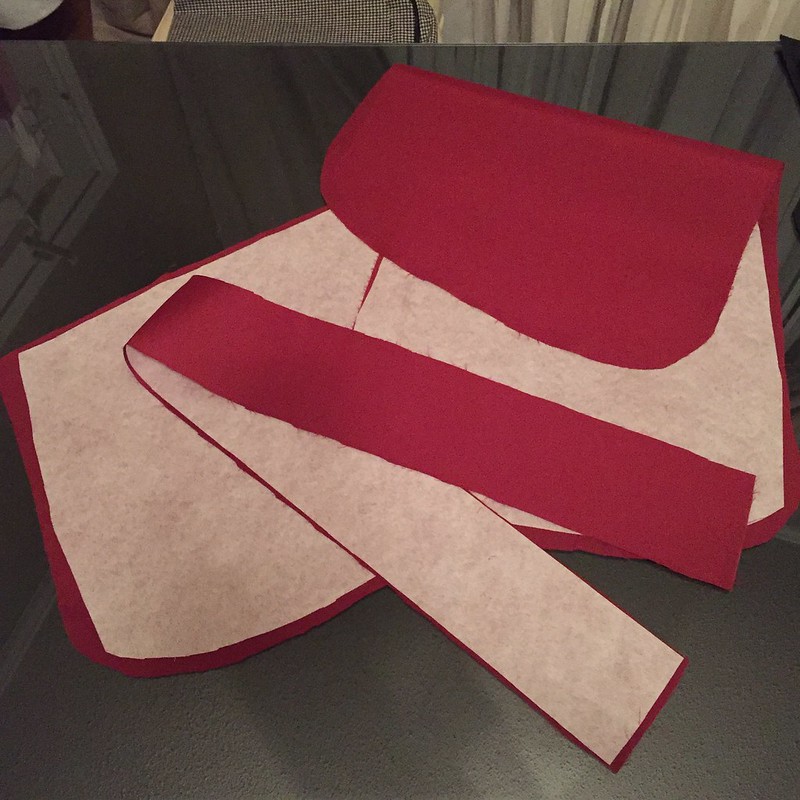
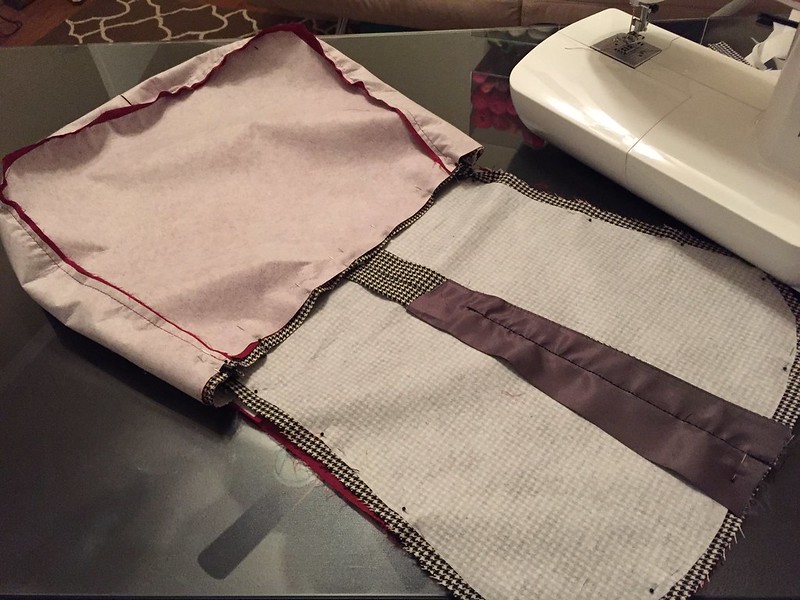
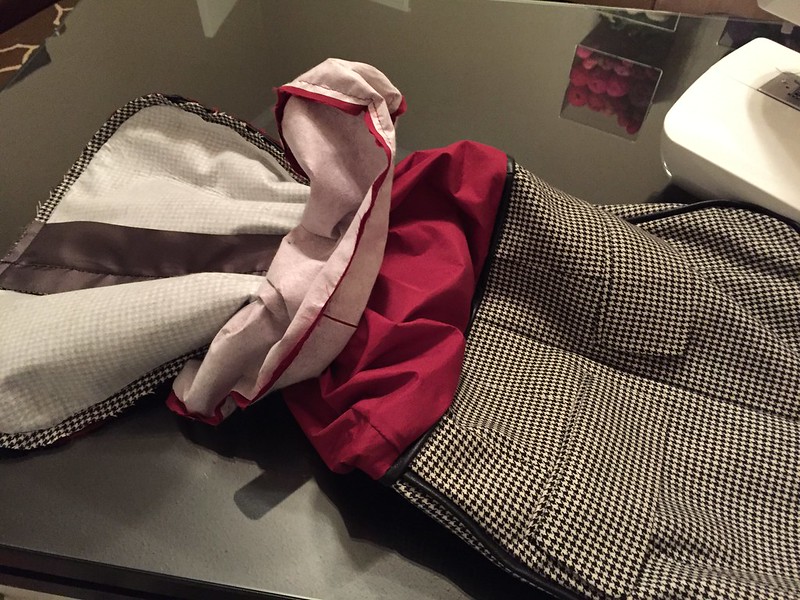
My bag was going to need a lining and luckily, I had plenty of fabric leftover from re-lining my father-in-law's jacket last year. So I used my pattern piece again, cut my lining pieces, and added interfacing to them as well. Then I assembled the lining, leaving a 6-inch hole in bottom for turning the whole thing right-side-out later.
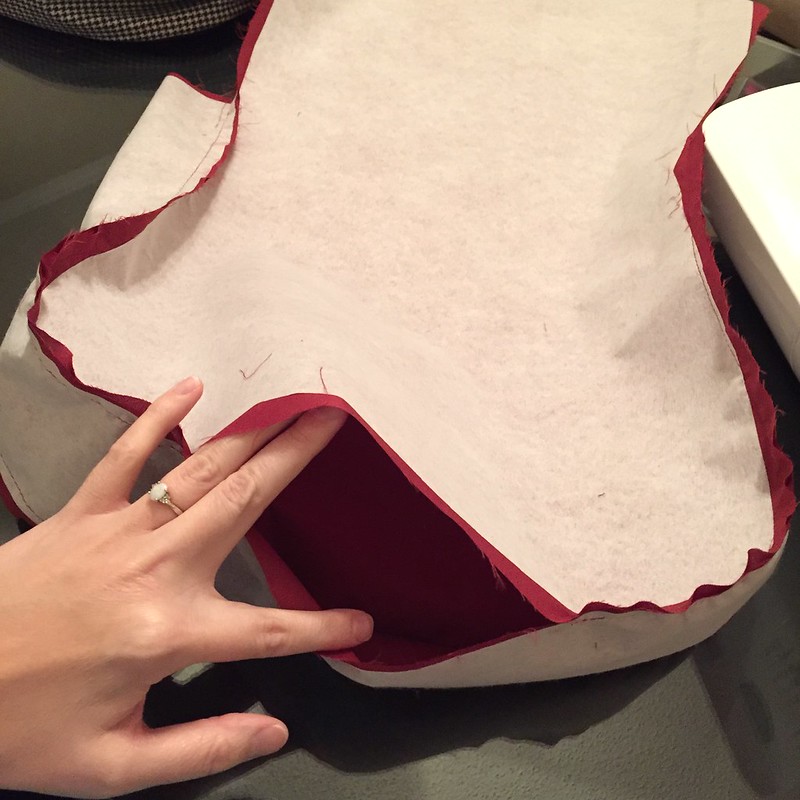
Next it was time to attach the outer fabric and the lining. So I inserted the right-side-out wool part into the inside-out lining and pinned them together around the opening and the edges of the top flap. I sewed them together in the same way as the wool pieces, with the leather strips folded in between the layers. Then I turned the bad right-side-out through through hole in the bottom of the lining. After that, I sewed up the hole in the lining, and my bag was almost complete.
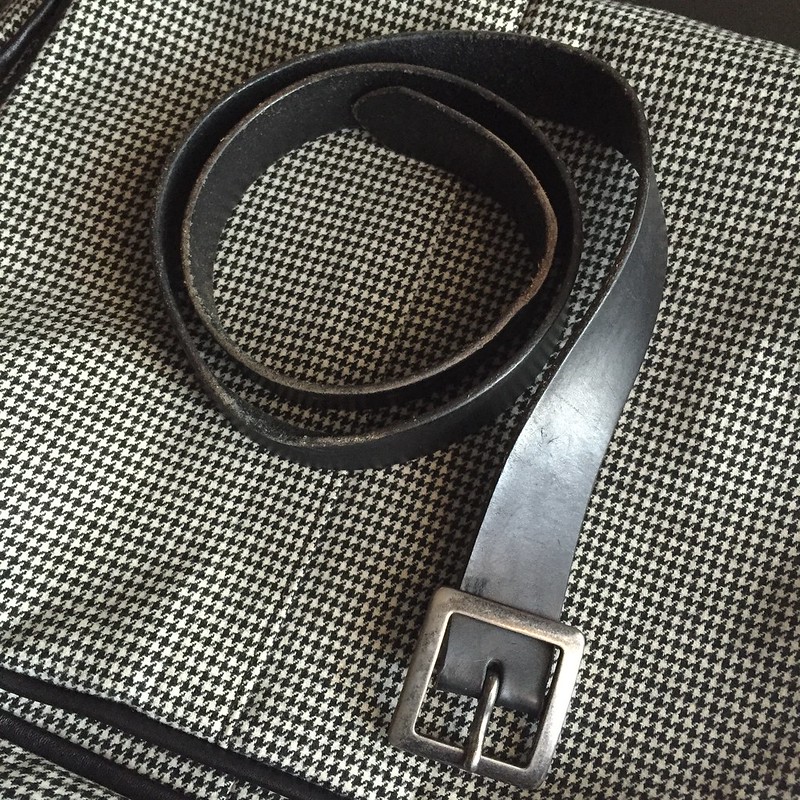
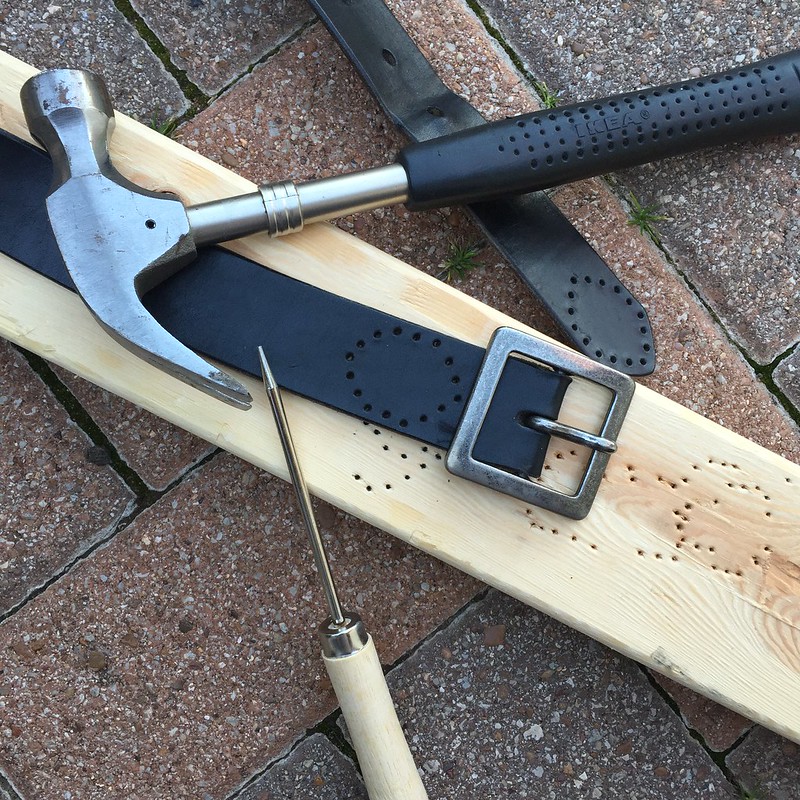
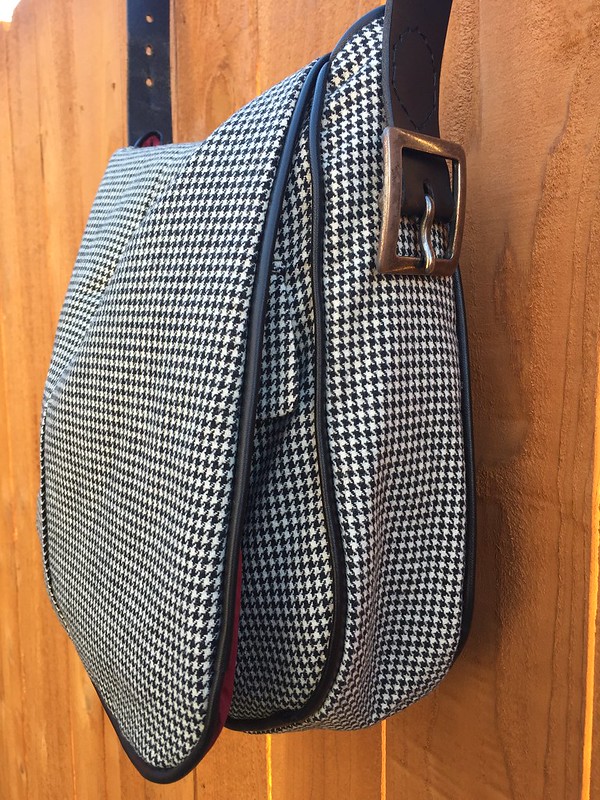
All that was left was to add a strap. I dug out an old black leather belt that no longer fit me and headed out to the patio with a hammer, an awl, and a scrap of wood. I hammered a series of holes in each end of the belt in a leaf-like shape.
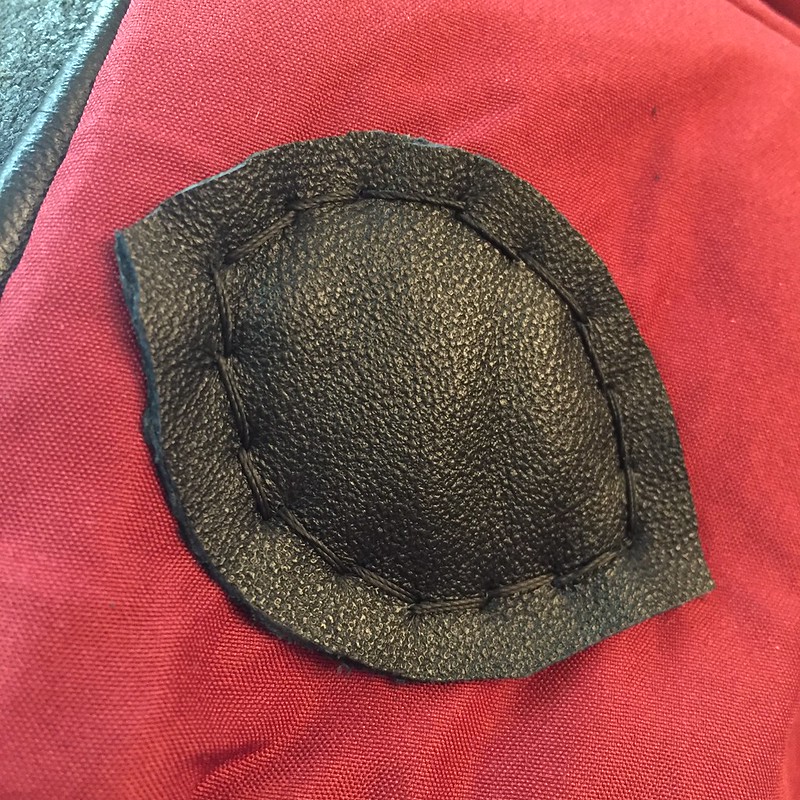
I hand-sewed the belt/strap onto the bag, using a couple more scraps of leather on the inside to reinforce the straps. Then I simply snipped off the excess leather once I finished sewing.

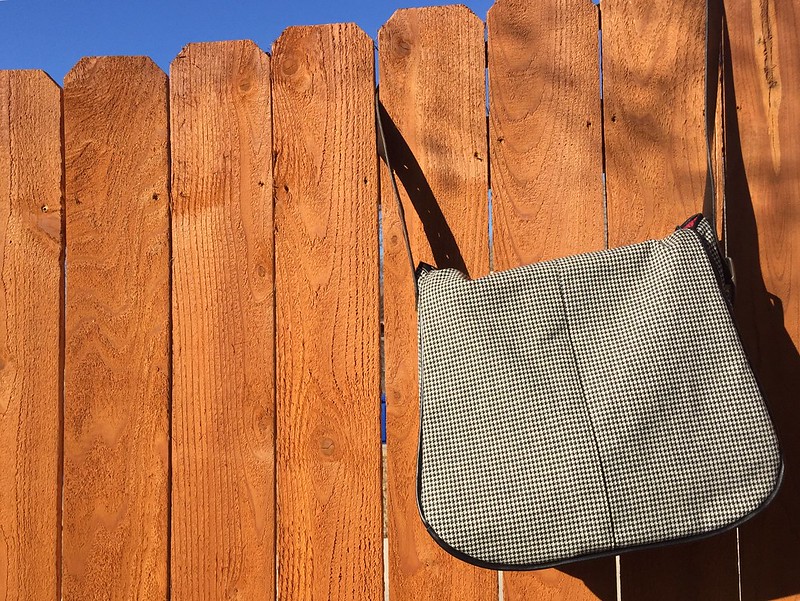
I can definitely see this becoming my go-to bag for the foreseeable future.

Amazing! What a creative transformation!
ReplyDeleteThanks, KD!
DeleteVery nice! Great construction! I love it!
ReplyDeleteThanks! I love it too! :)
DeleteThis Messenger Bag is superb with great pockets ! Great idea, Carissa !
ReplyDeleteYou can never have too many pockets! ;)
DeleteOh man, Mary Poppins is wishing her bag was this good!
ReplyDeleteJJ
I haven't yet tried to pull a floor lamp out of it, but I bet I probably could.
DeleteThis is so cool!
ReplyDeleteThanks, Helga!
DeleteJust beautiful
ReplyDeleteThank you!
DeleteWow. This is awesome! I love the red lining and the leather details.
ReplyDeleteThanks, Laura! I'm pretty stoked with it too. :D
DeleteExcellent! Your attention to detail makes everything you do look so good. And as usual, the process pictures are easy to follow. What a lovely bag!
ReplyDeleteIf you're going to do something, you might as well do it well, right?
Delete