


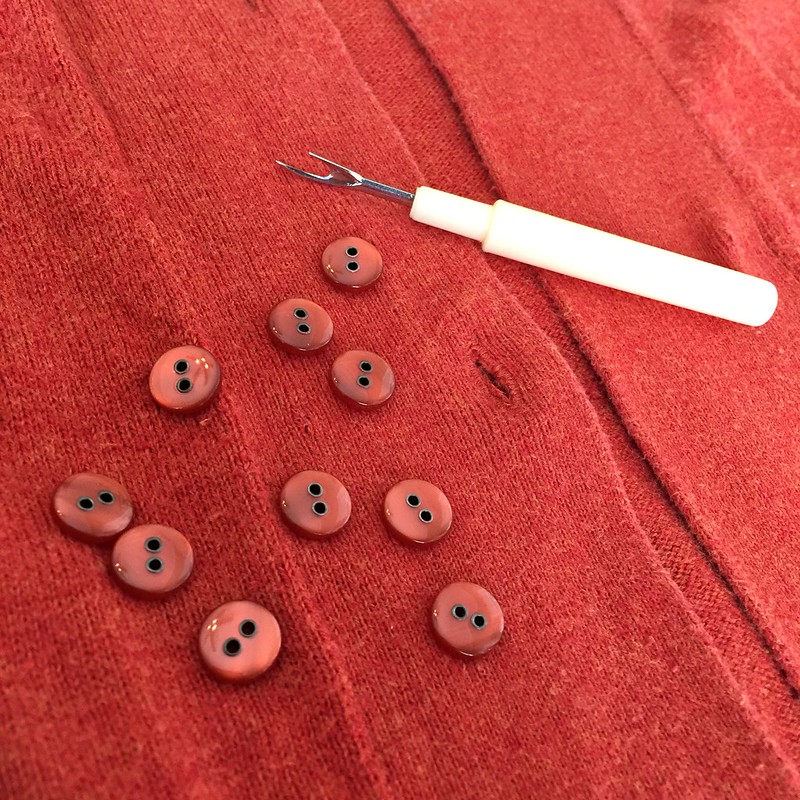
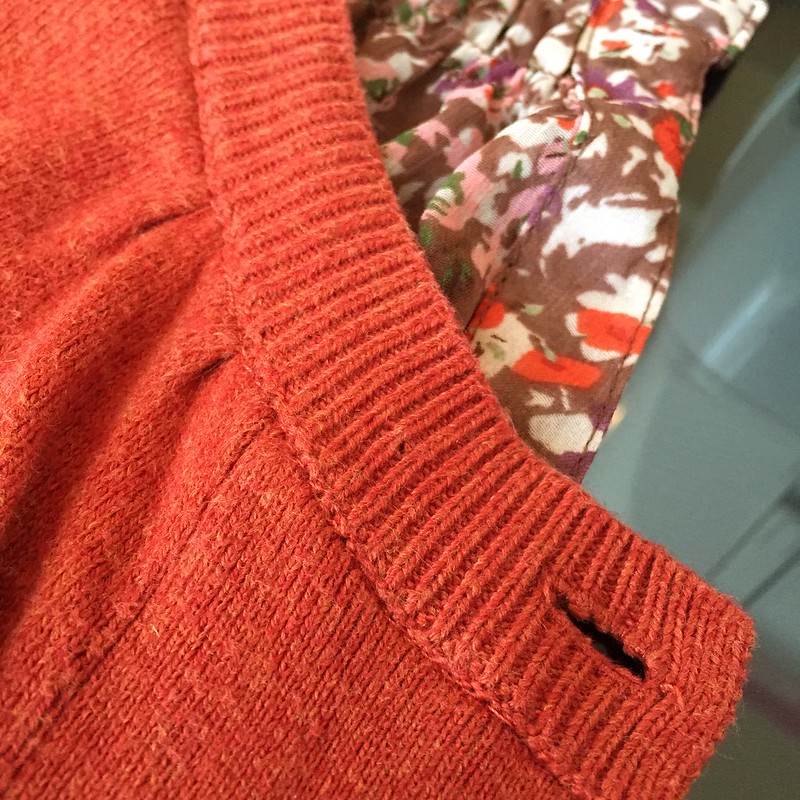
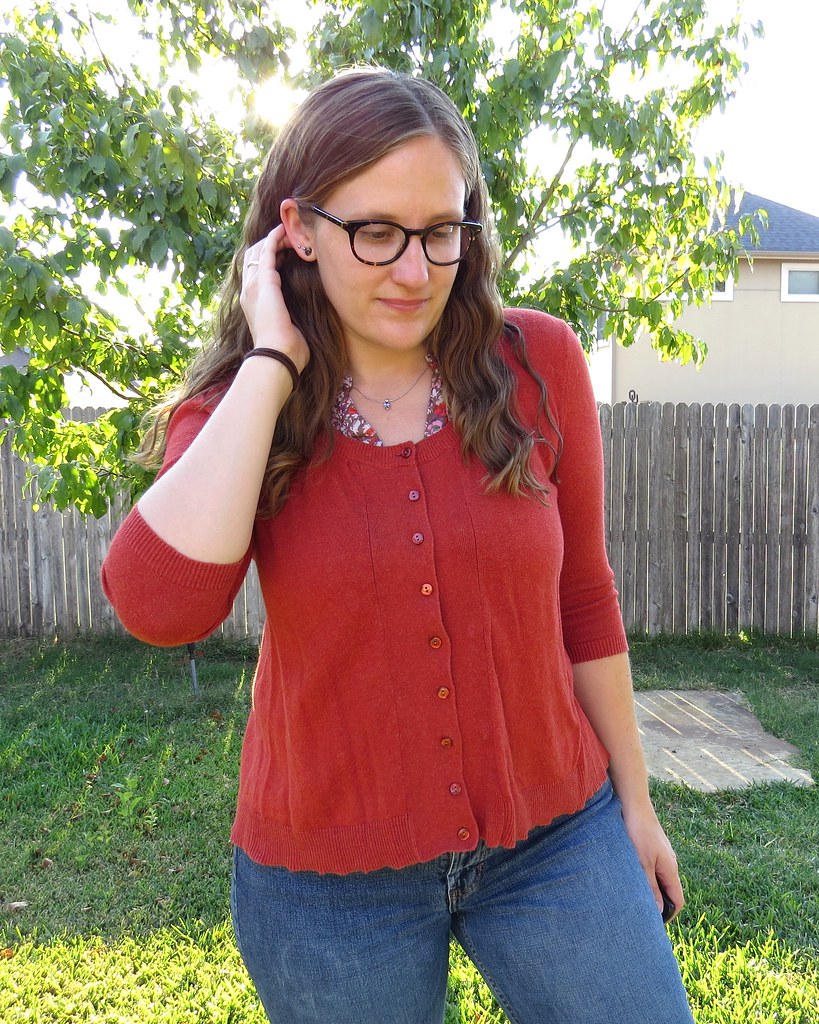
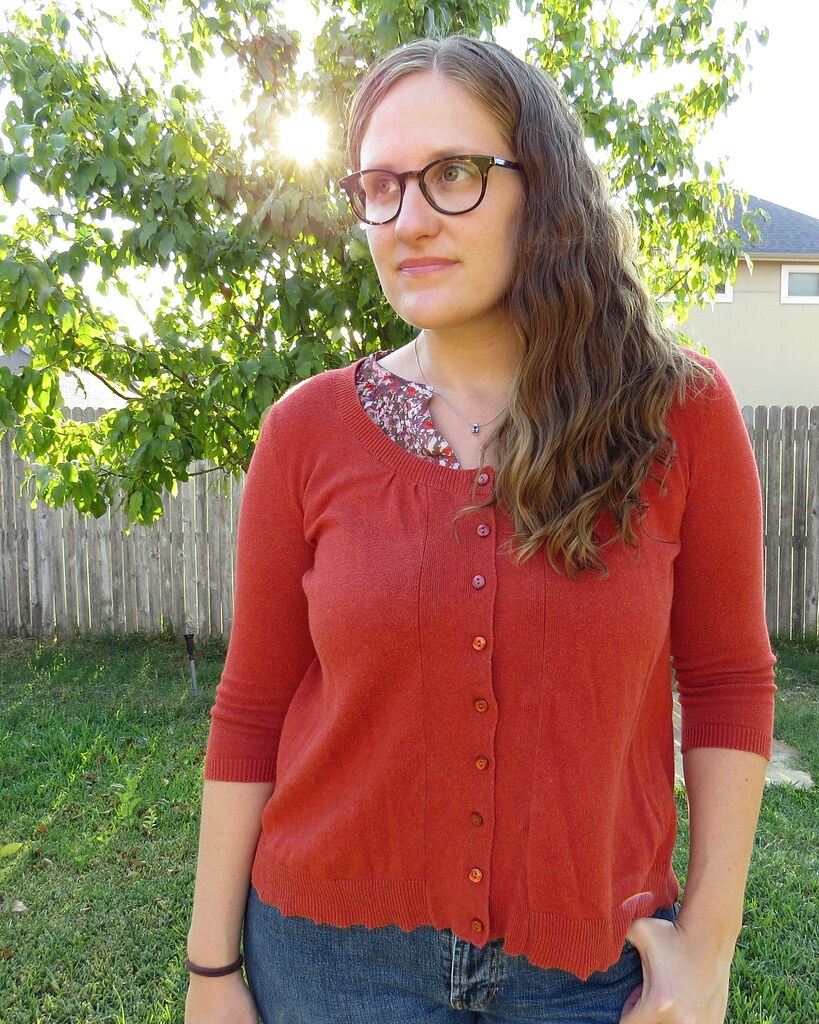
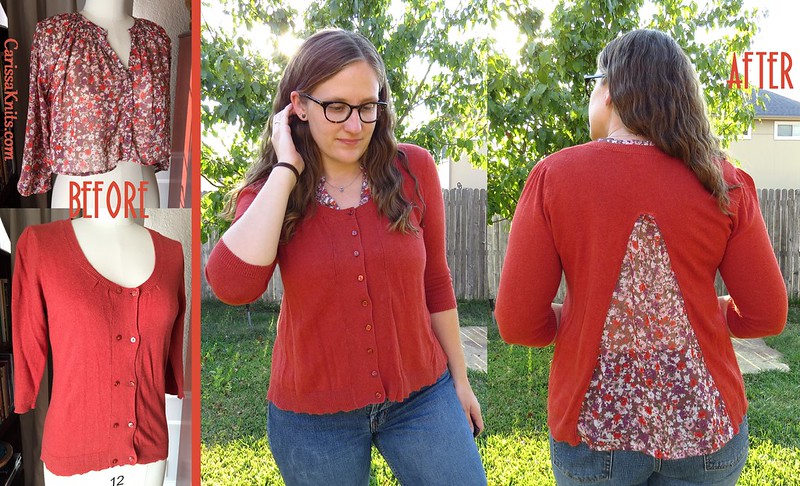
First, to fix that awkward button placket. I simply removed all the buttons - five functional and five decorative - and reattached half of them closer to the edge opposite the button holes.
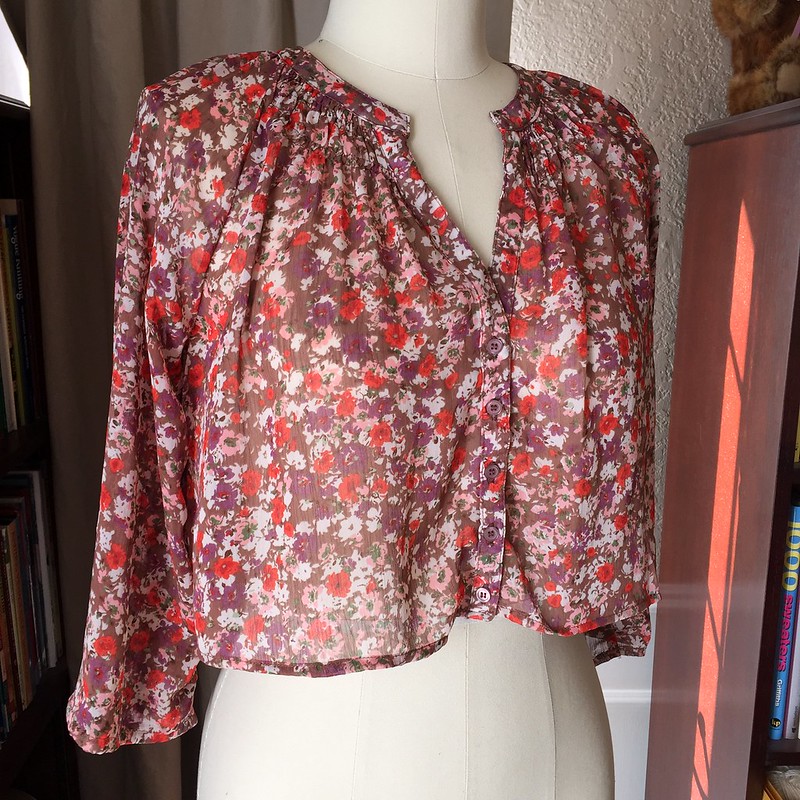
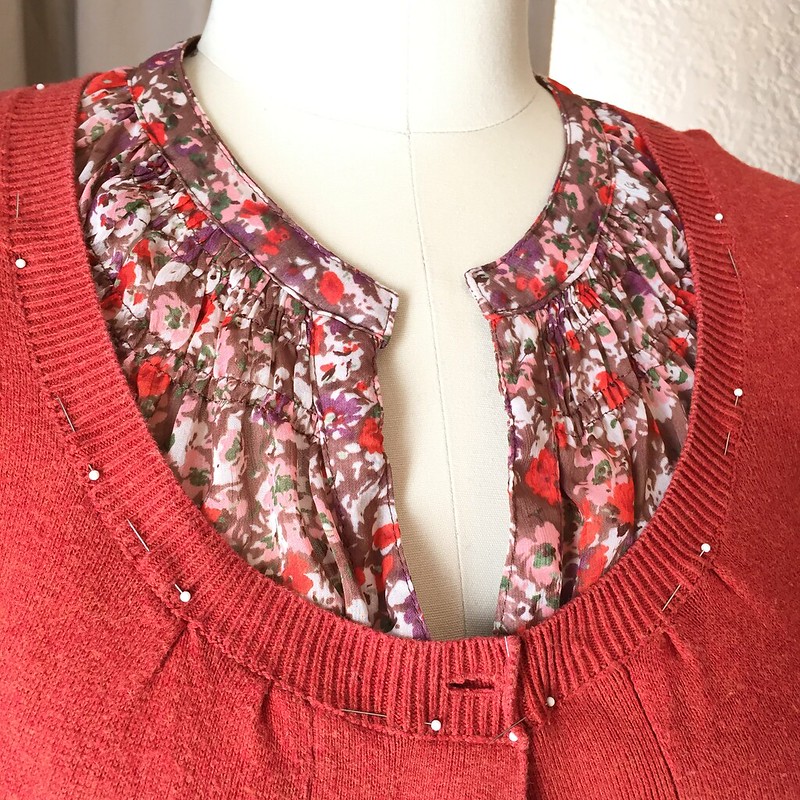
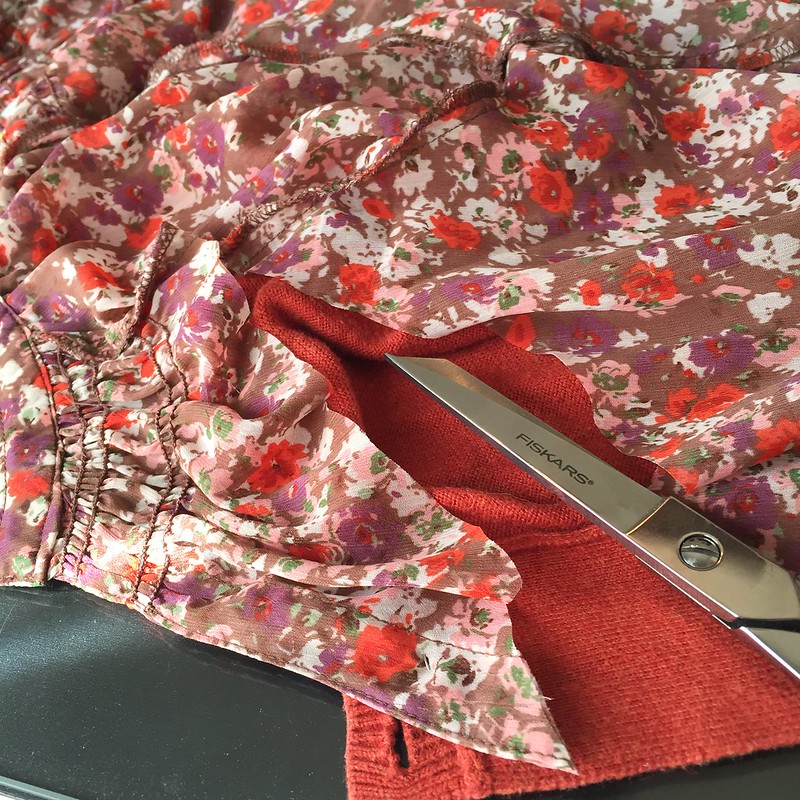
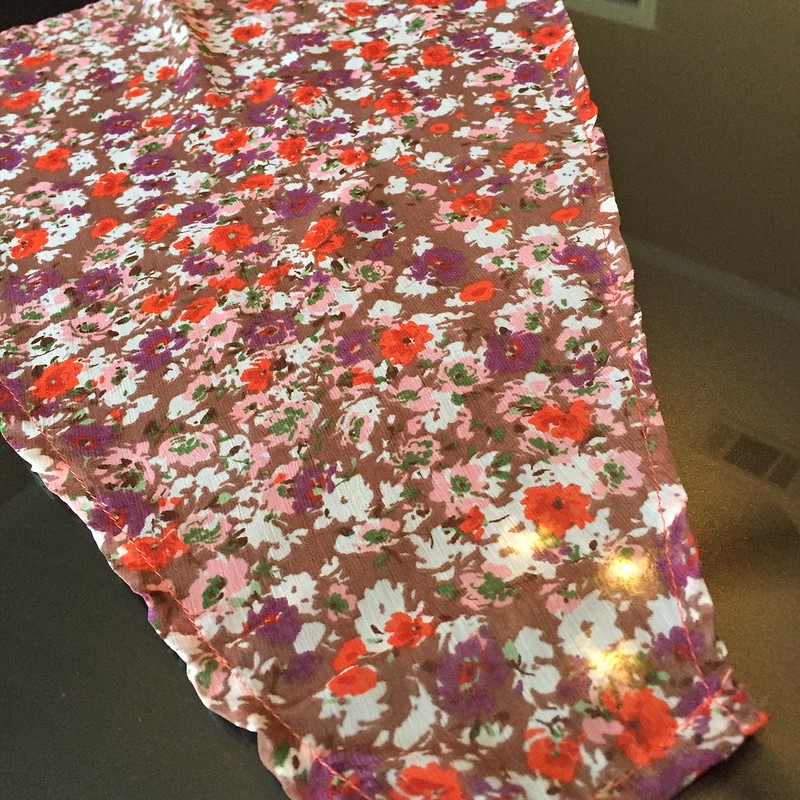
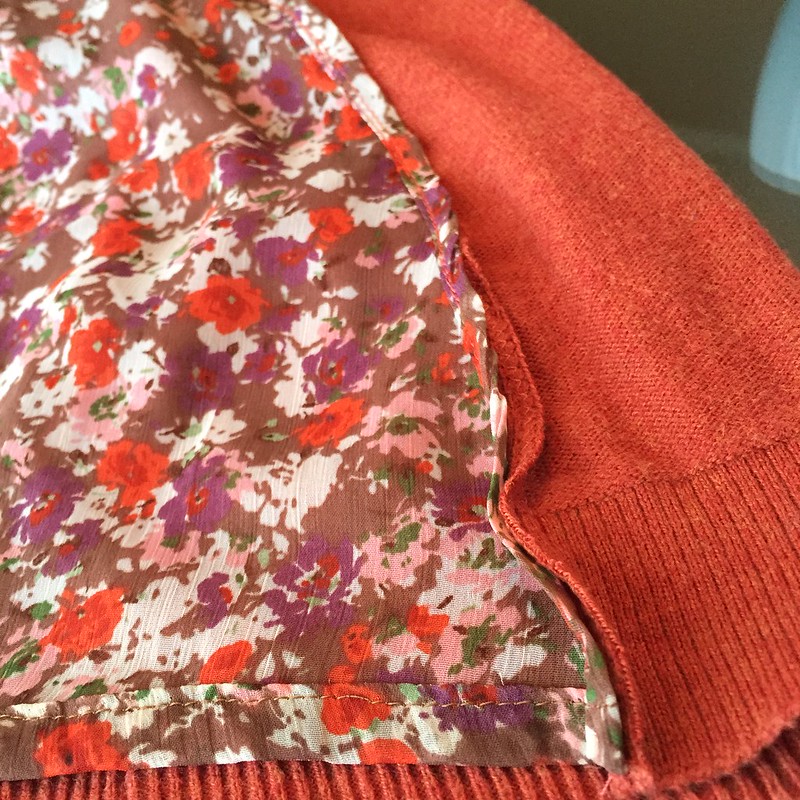
I wanted to add a bit of color around the collar. So I put the floral shirt on Rosy, followed by the cardigan, and pinned the layers together. Then off the dress form it came, and I trimmed off the excess fabric about a half-inch below the pins.
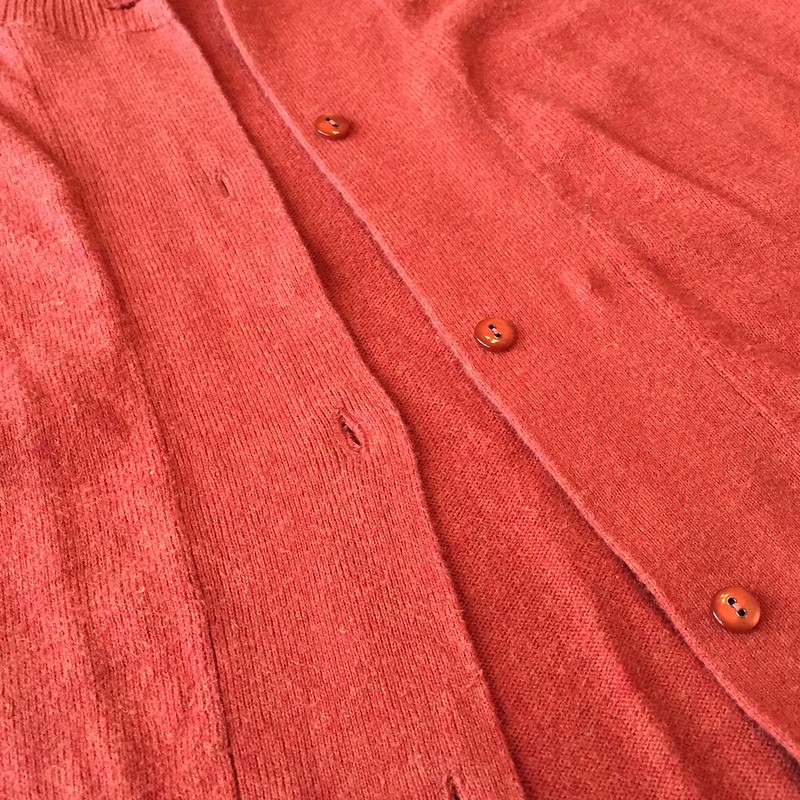
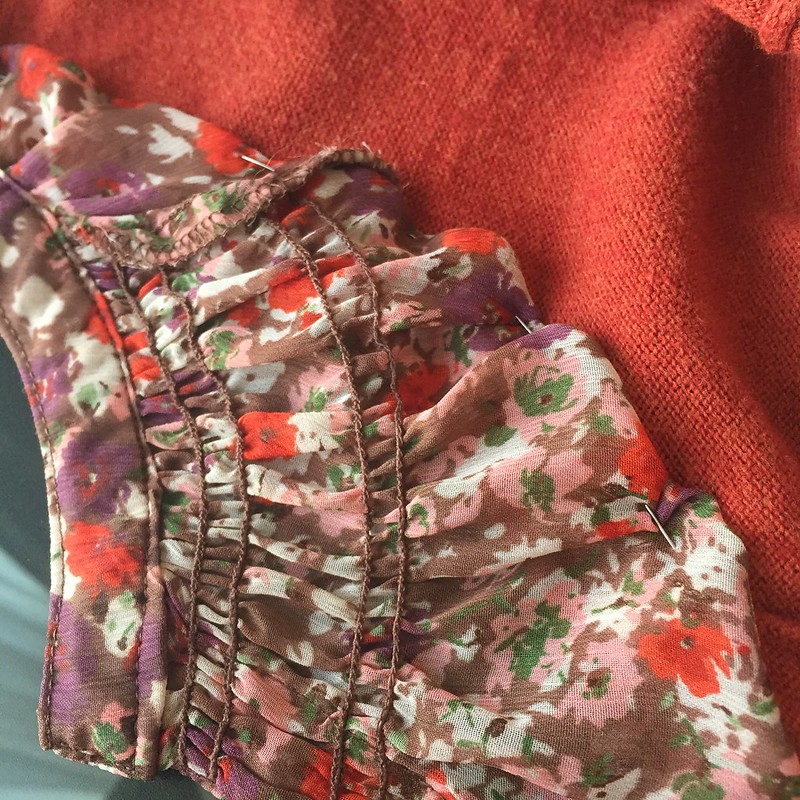
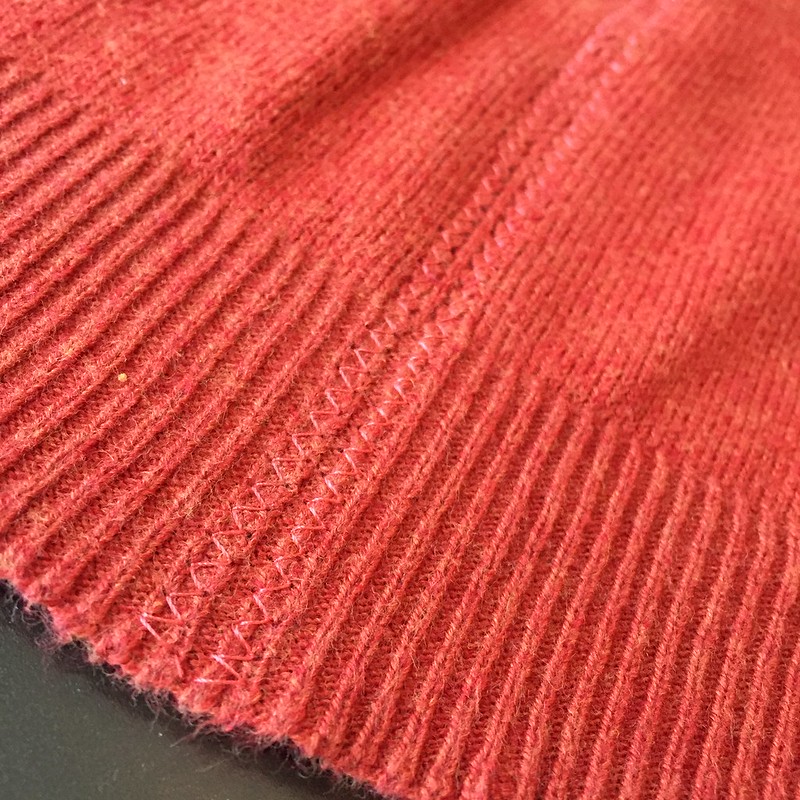
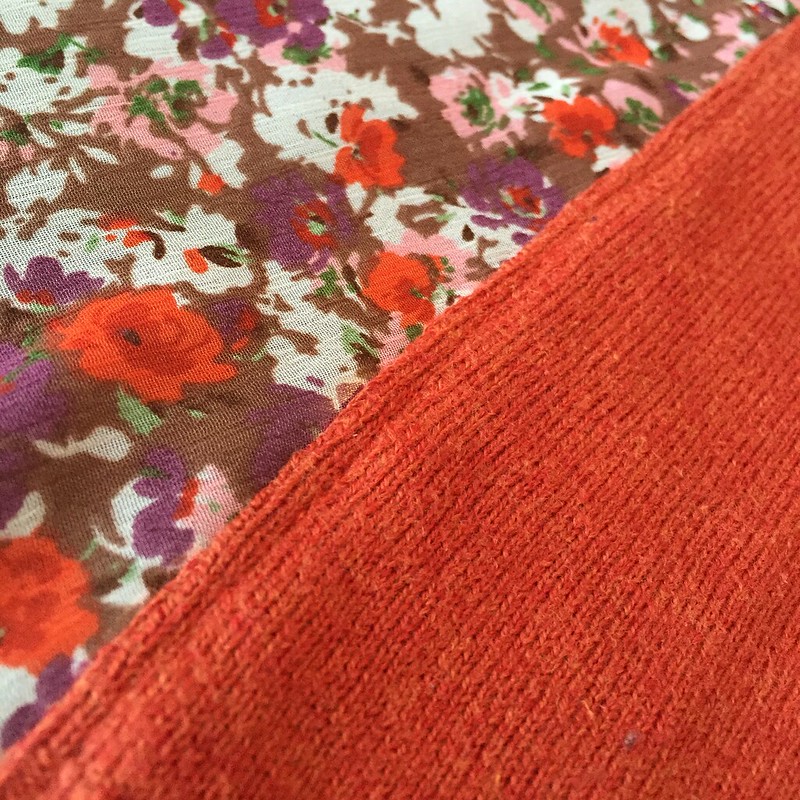
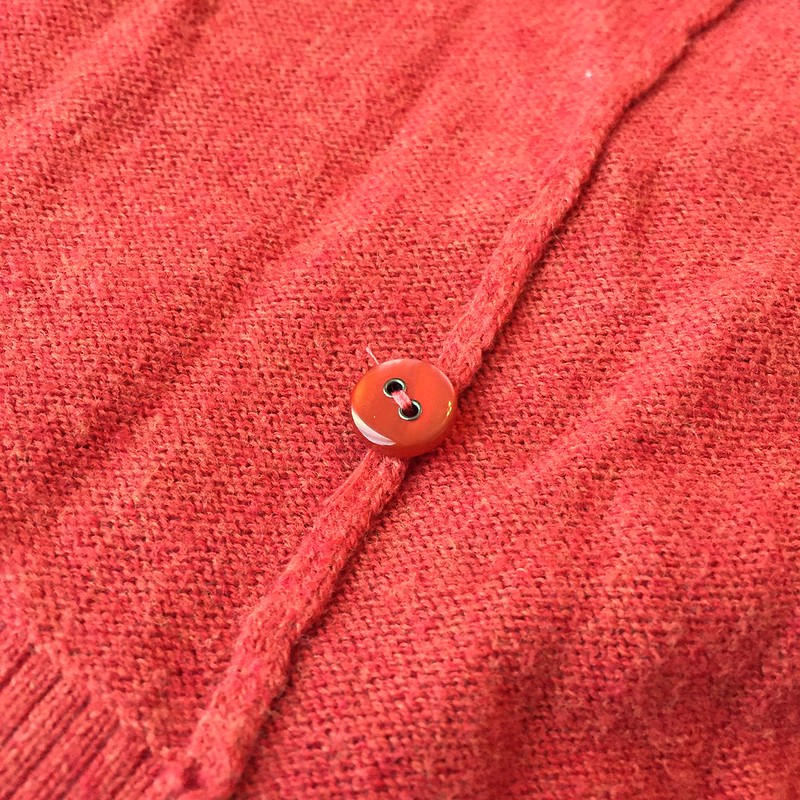
I folded the edge under and sewed just at the bottom end of the ribbing, so the stitching is barely even visible from the outside.
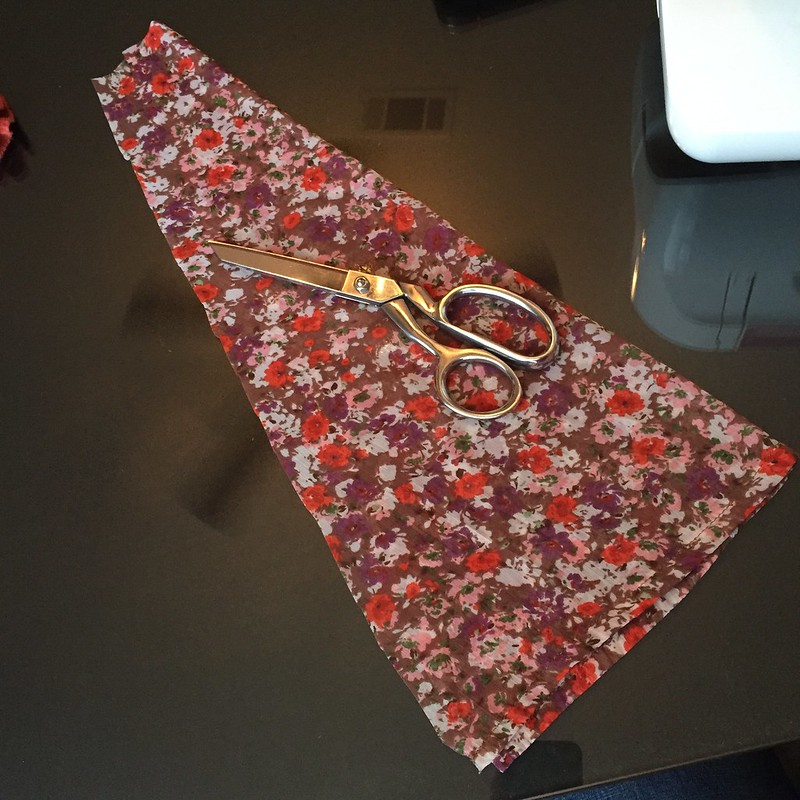
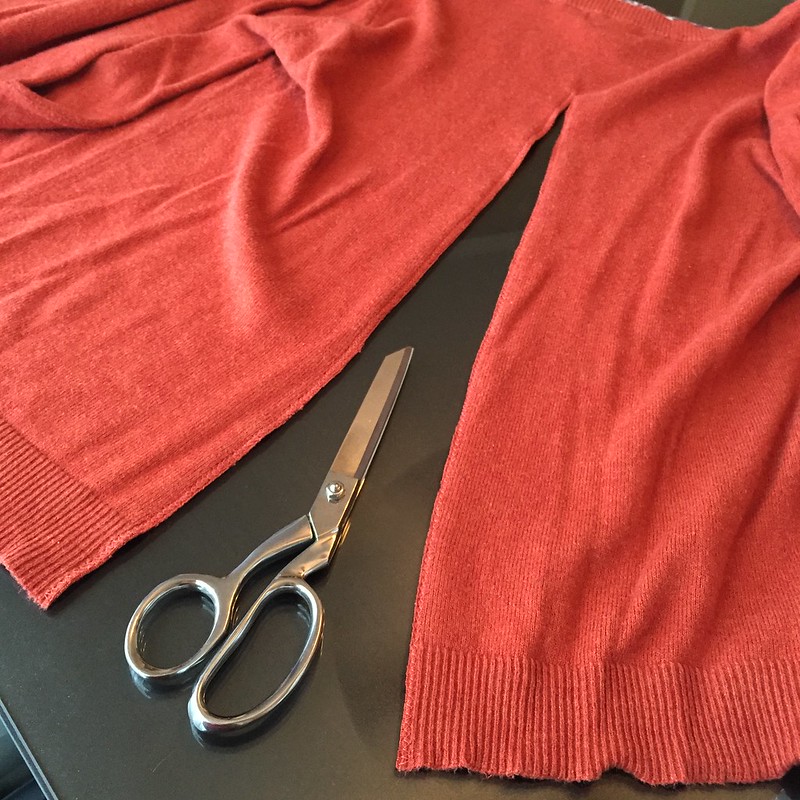
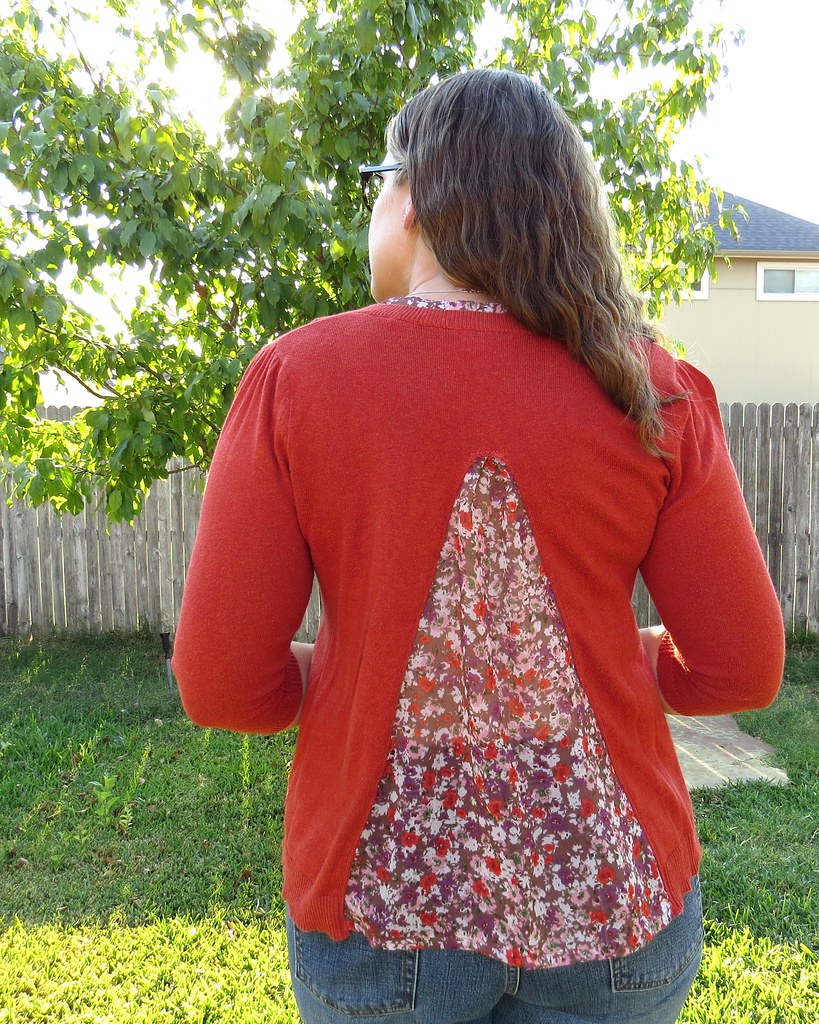
To make it a looser, flowier top, I wanted to add a triangular insert in the back, as I've seen on Pinterest a million times. So I cut one of the sleeves at an angle and hemmed the raw edges.
I marked the center back of the sweater with pins to the same height as the side of the triangular insert. Then I zig-zag stitched on either side so the knitted fabric won't unravel when I cut it.
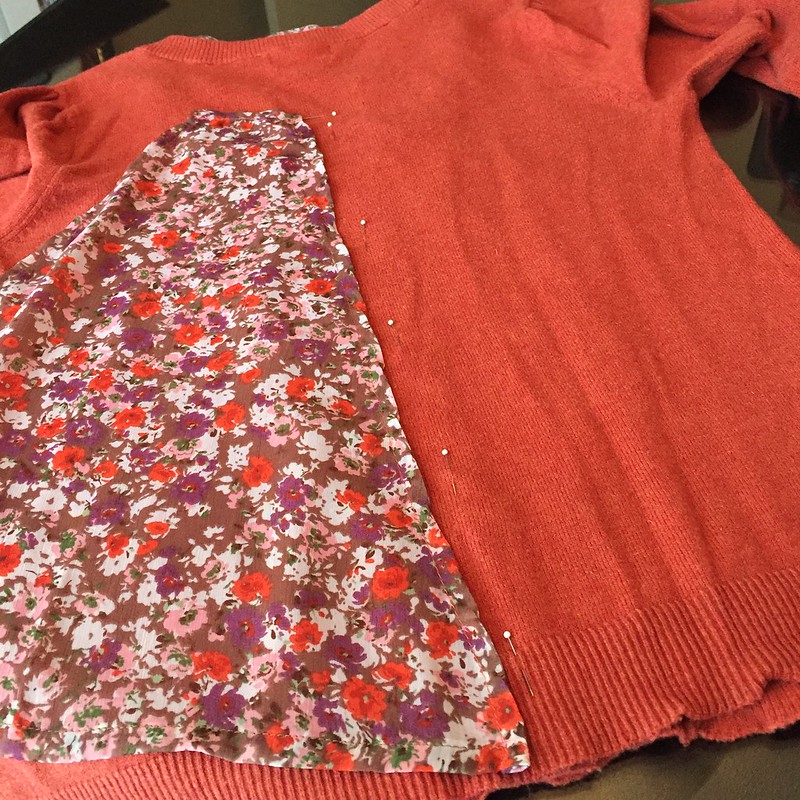
Next, I carefully cut up between the zig-zags, which was remarkably difficult for the knitter in me, I might add. Then the two fabrics were sewn together with right sides facing.
I put a little pleat into the top edge on the inside and pinned it in place from the outside.
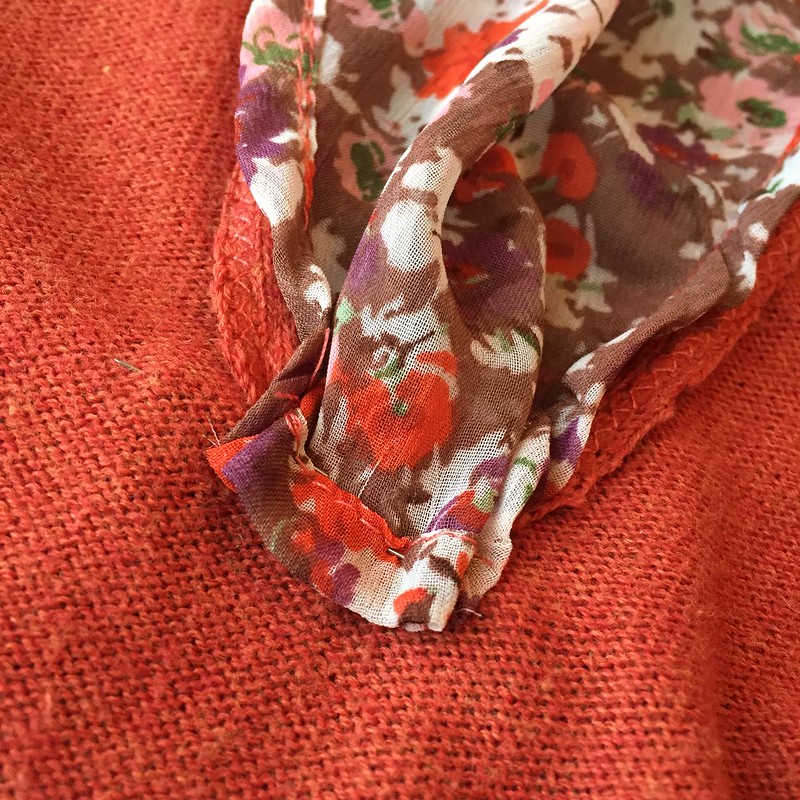

Then I top-stitched around the entire insert, with a few back-and-forths at the top to make sure nothing's going to unravel.
Lastly, I decided to add back the other half of the buttons, just to make sure there's no gaping between buttons around my bust. Since I can now get the sweater on and off over my head without unbuttoning it, I didn't bother creating new buttonholes. I simply re-attached four of the other five extra buttons in between the existing five, sewing through both layers of the button placket. The final button was sewn to the inner side seam as an extra, just in case I need it in the future.
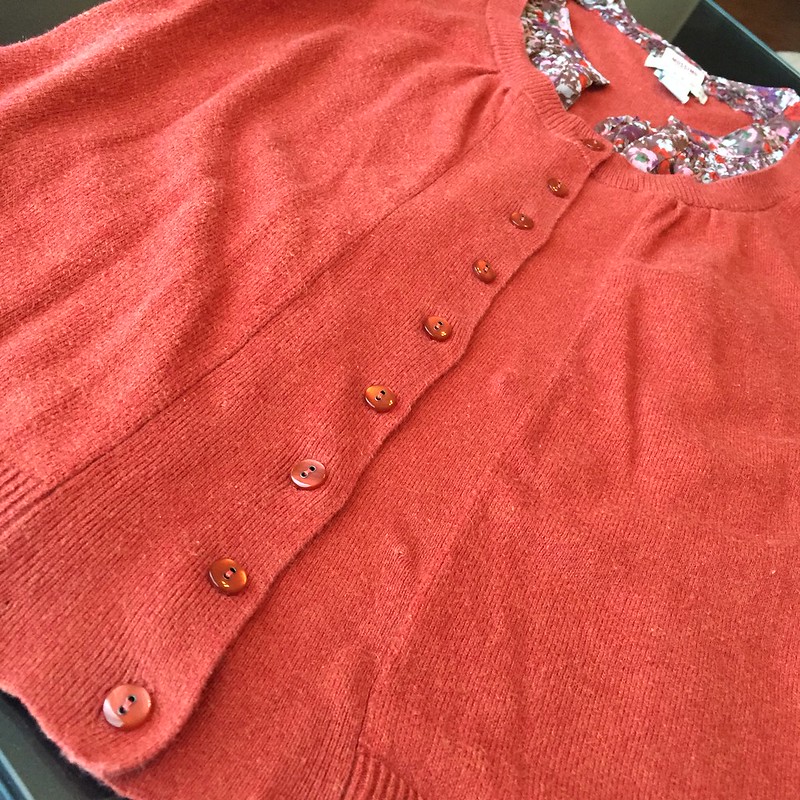
Tada! No more awkward fabric bulges at the button placket.
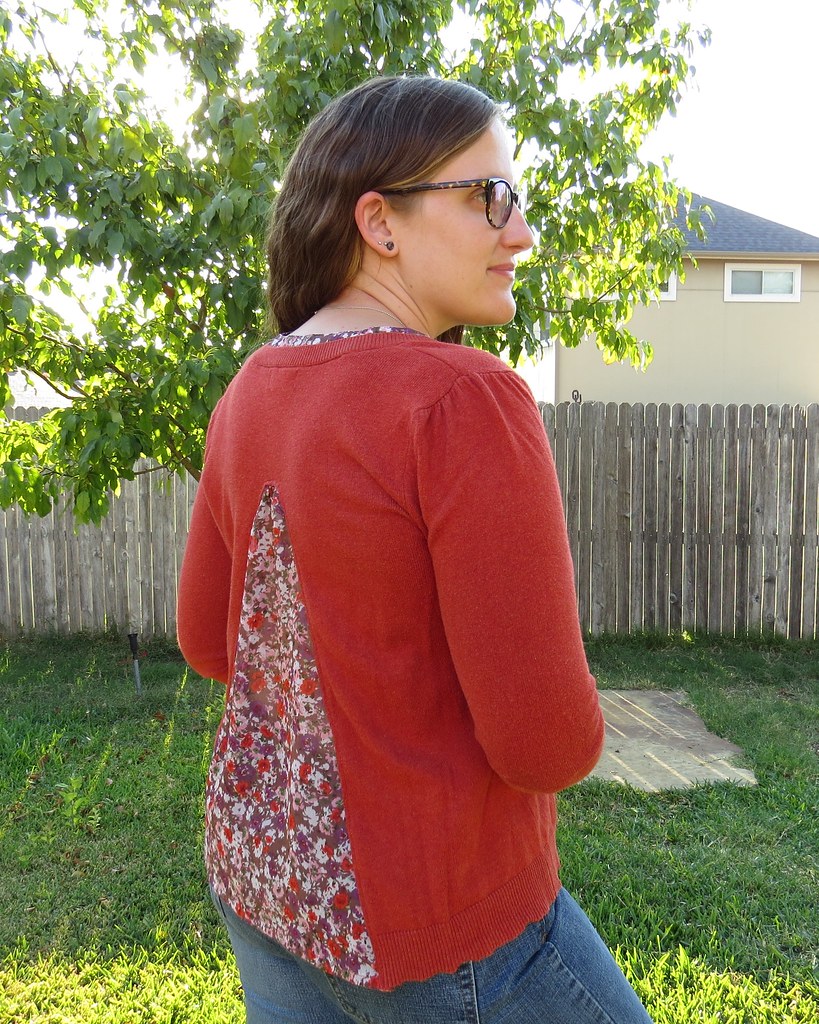

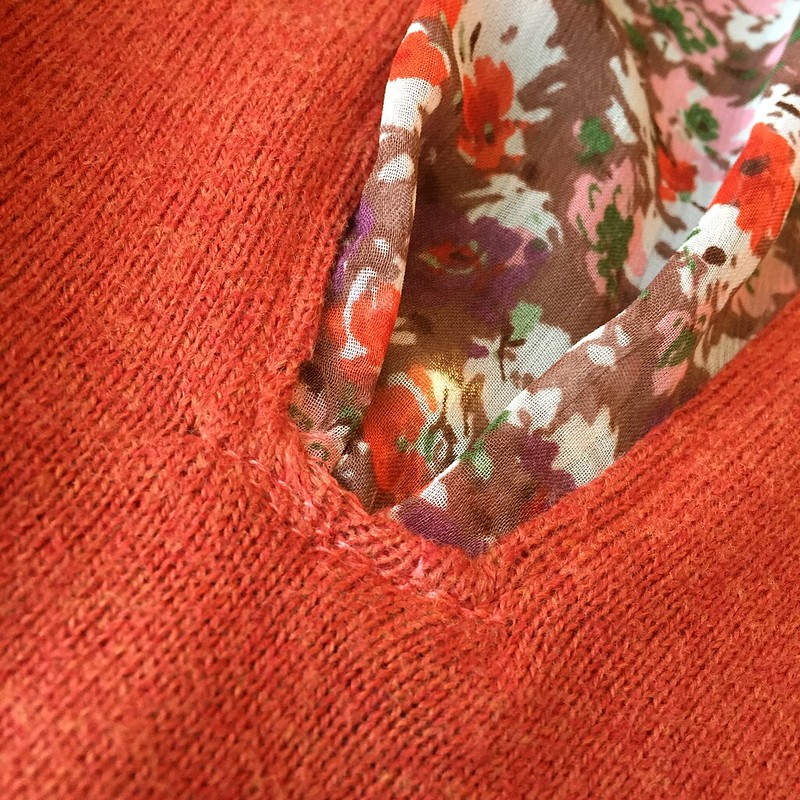
For right now, the sheer panel in the back provides a nice bit of ventilation so the sweater isn't too warm. I imagine I'll probably wear it with a cami underneath as the weather cools off more.

That's amazing!
ReplyDeleteThanks, Linda!
DeleteVERY NICE ! A great combo for that layered effect ! Color is awesome for you, Carrisa.
ReplyDeleteThank you! I do so love orange!
DeleteMy sister called me this evening asking how to do this very thing to a t-shirt. I said hang on, I'll send you a link to Carissa...she'll explain it clearer than I can over the phone. :o)
ReplyDeleteJJ
www.dressupnotdown.blogspot.com
Aw, thanks, JJ!
DeleteWelcome, sis! Let me know if you have any questions.
So nice ! Bravo
ReplyDelete