


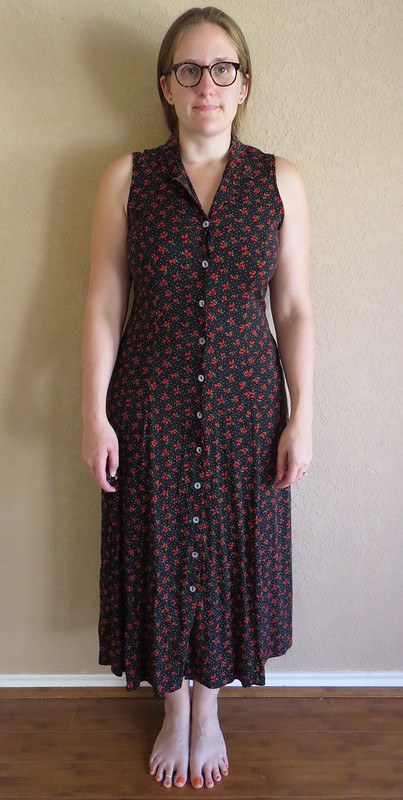
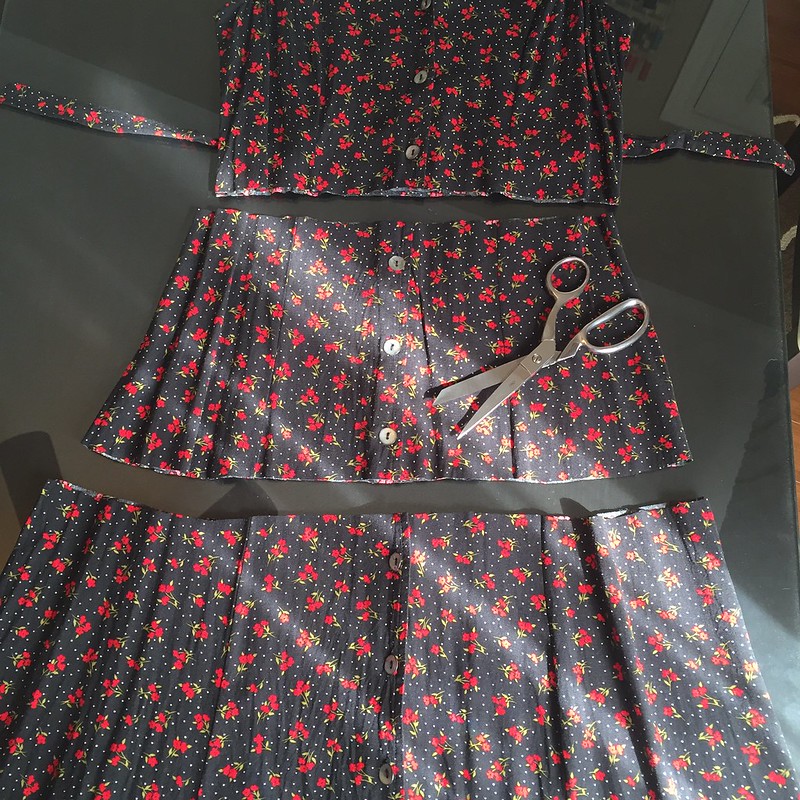
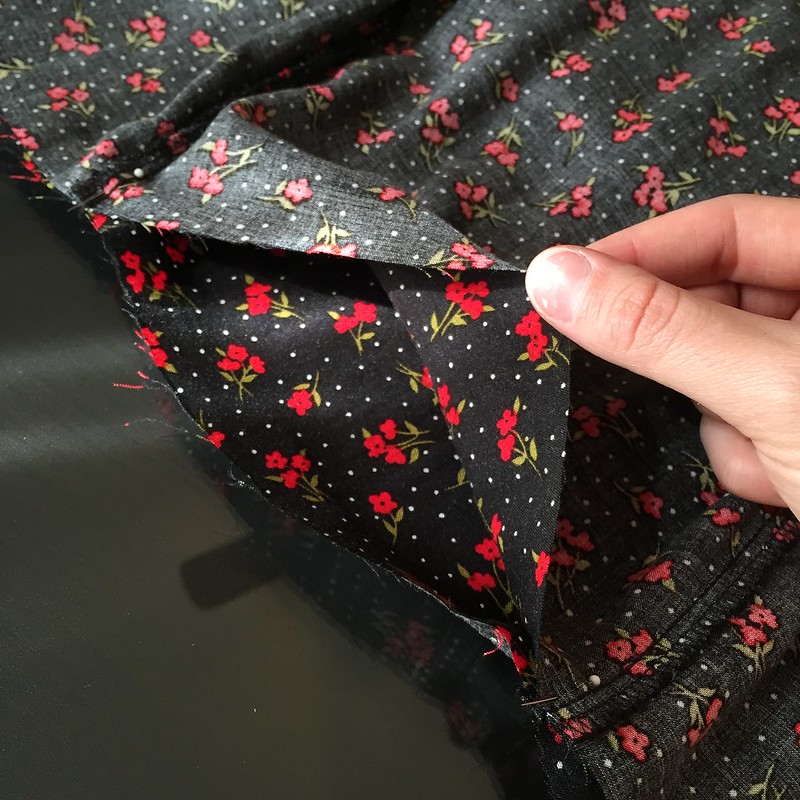
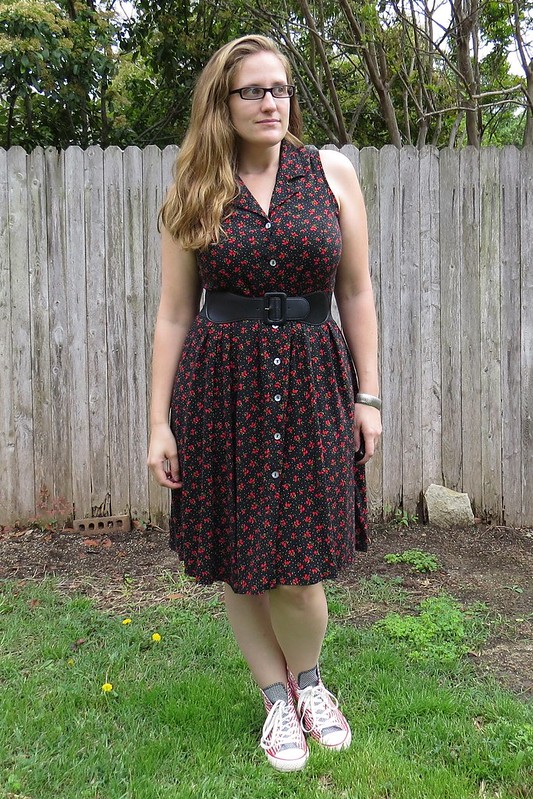
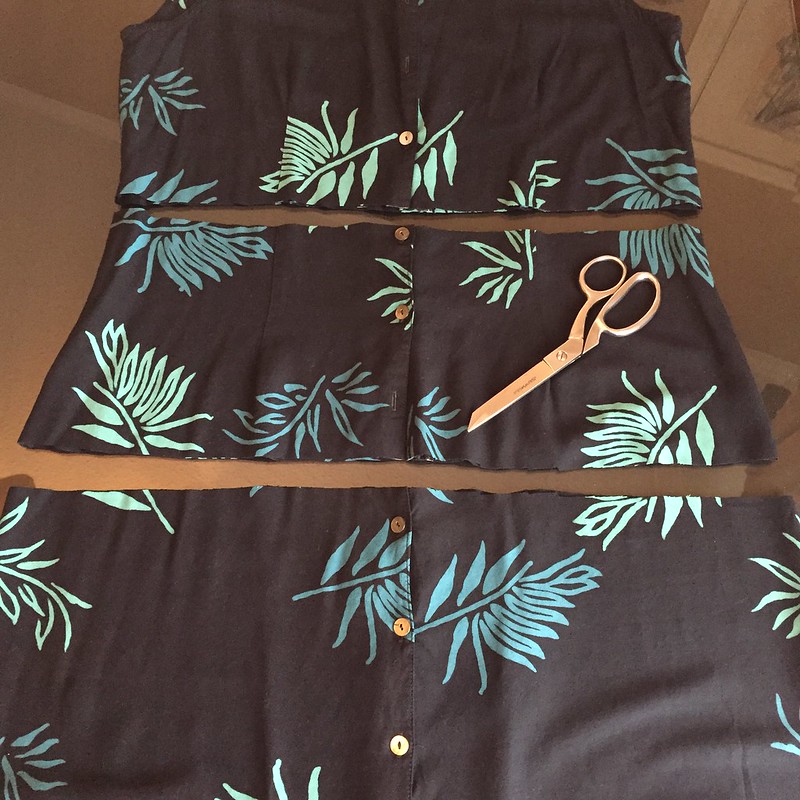
Let's begin with those little red flowers, shall we? The collar and cherry-esque print brought to mind a 50s rockabilly style, so I thought I would run with that. Instead of simply trimming the bottom and rehemming, I decided to chop out the middle section and use the wider bottom piece to make a fuller skirt. I made sure to salvage the buttons from the middle section too and add them to my button stash.

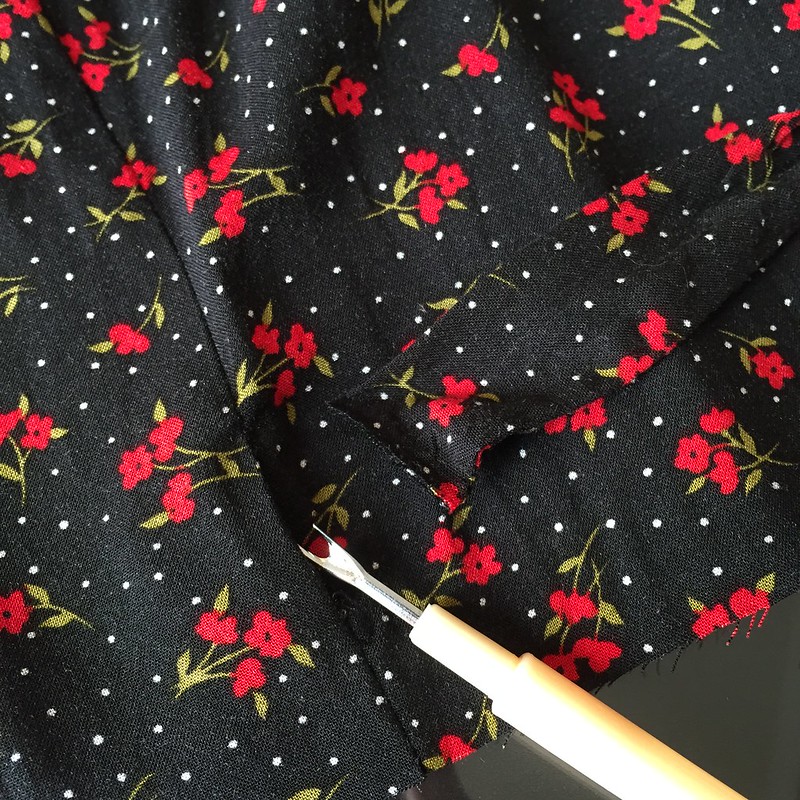
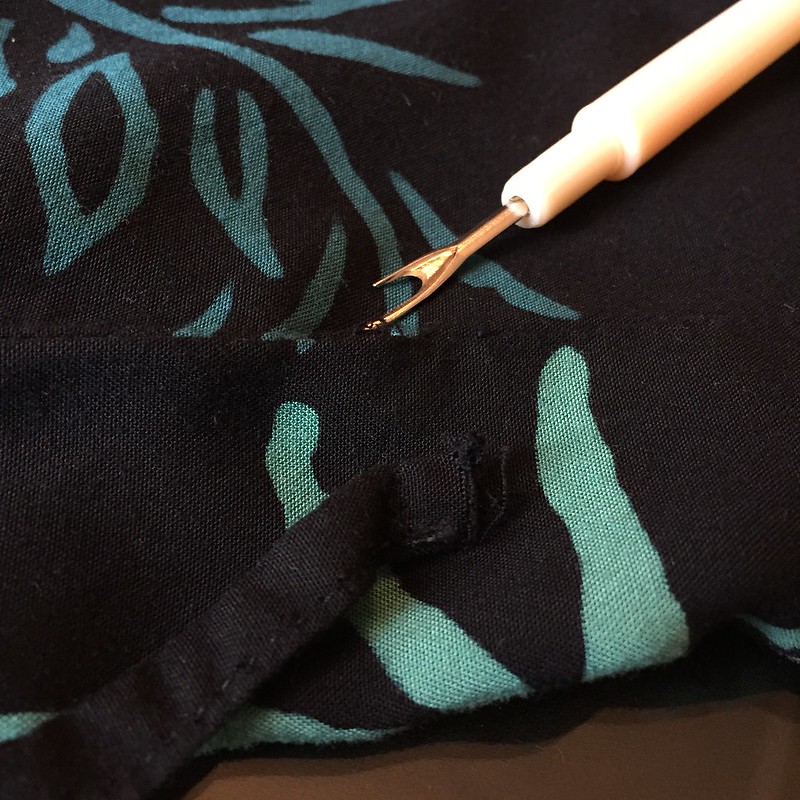
I also used my seam ripper to open up the back darts and remove the waist ties. Then I stitched those darts back up again.
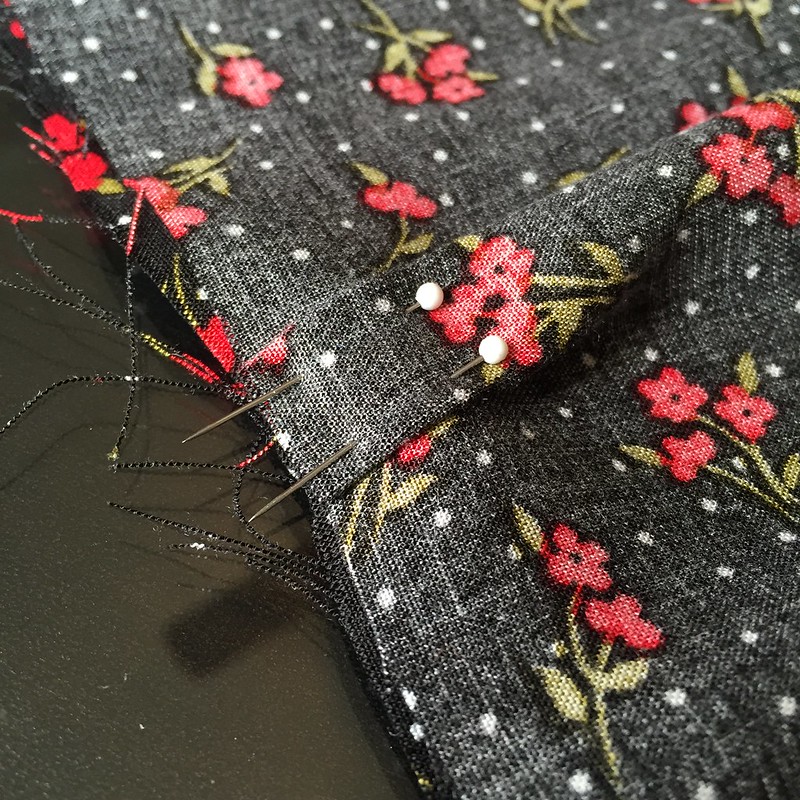
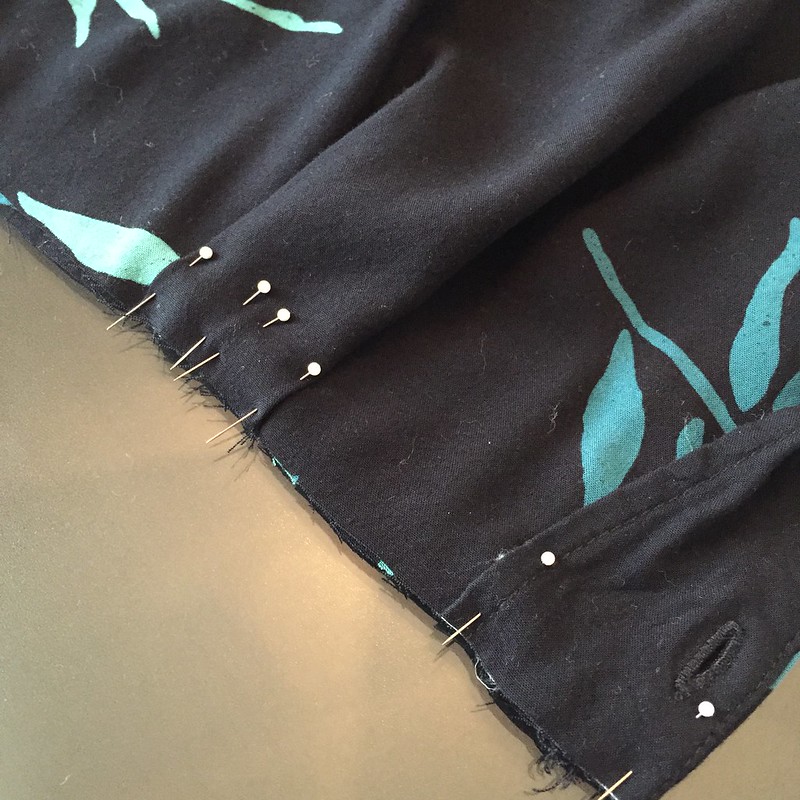
Next, I put from bodice and skirt back together, lining up the button bands, side seams, and front and back darts. Since the skirt was wider, I had extra fabric between each of the pins, so I created little pleats in each section to soak up the extra width.
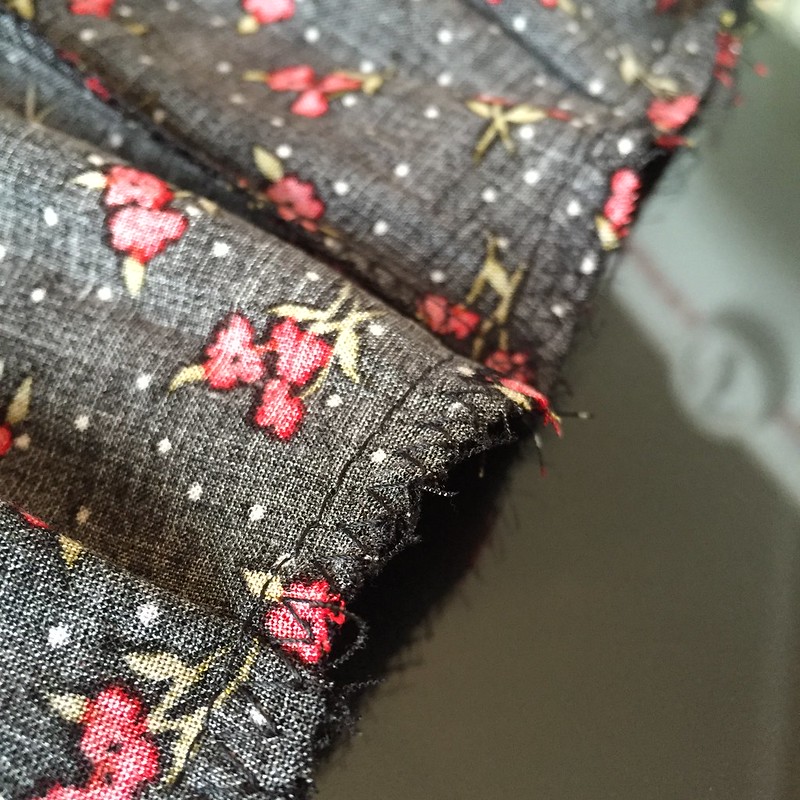
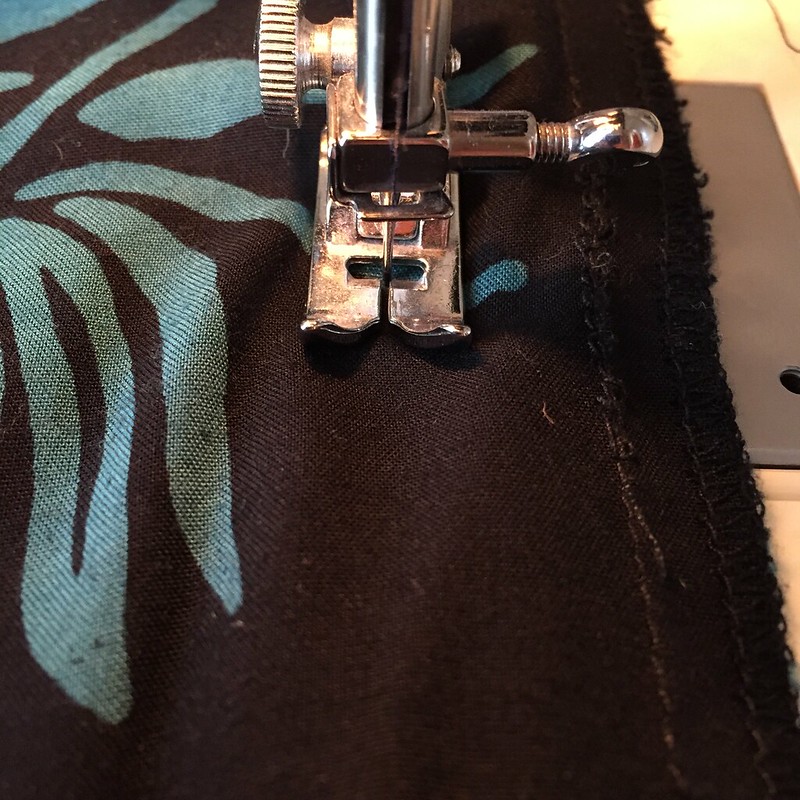
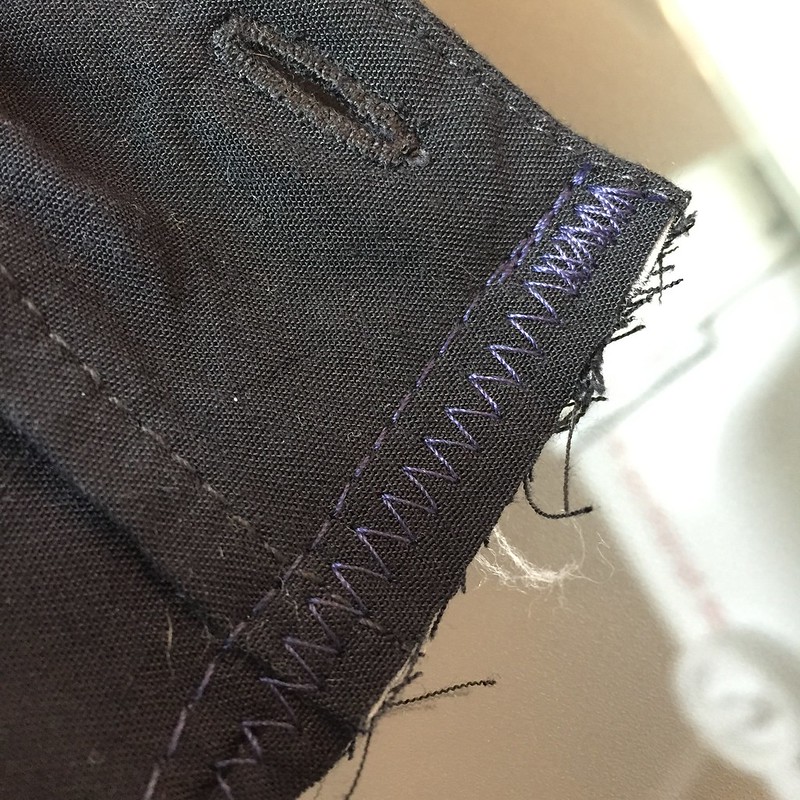
Finally, I stitched the two pieces together, first with a straight stitch and then with a zig zag to minimize fraying. You could serge the edges instead, if you have a serger.
And that was that!
Did I go too fast? Need another walk-through? Okay, sure. So we cut out the middle and salvage the buttons.

Pick out the back darts and remove the waist ties. Re-sew the back darts.
Take in the sides of the bodice, if necessary.
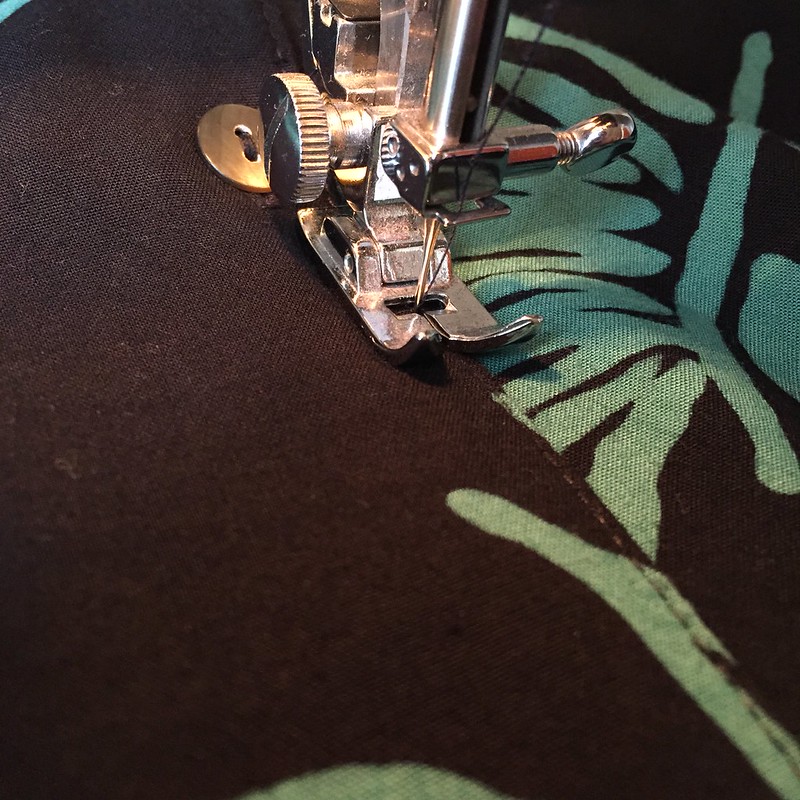
Reattach the skirt, pleating as needed.
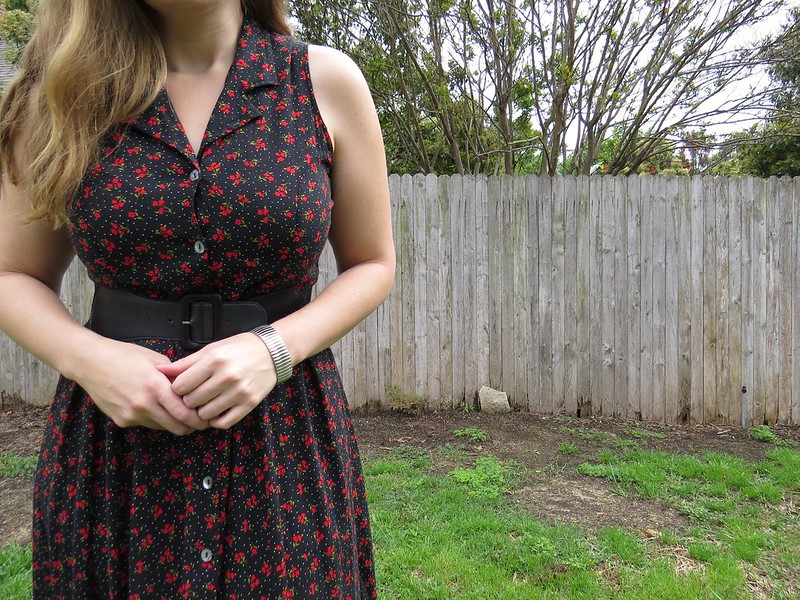
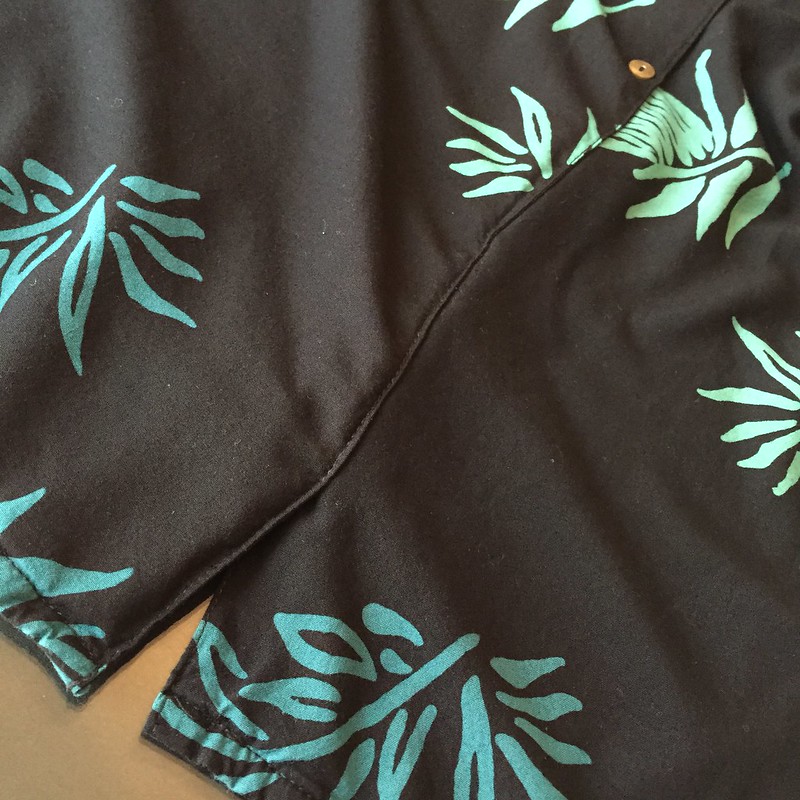
If the original buttons stopped high enough as to be indecent when the skirt is raised, then top-stitch the button bands together below the last button.
Use the buttons salvaged from the midsection to replace the missing buttons, and you're finished!

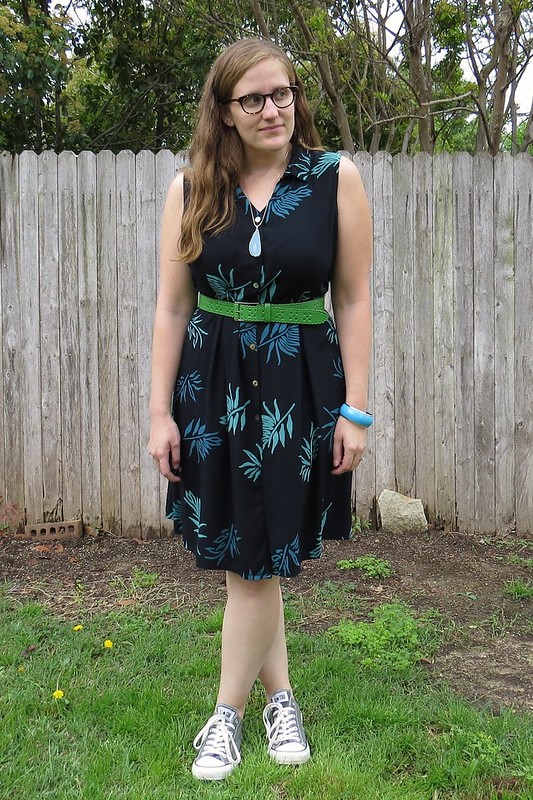
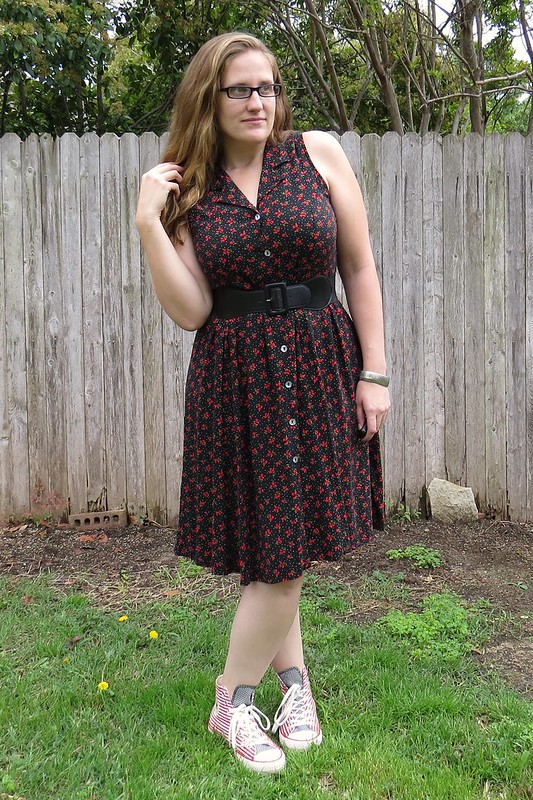
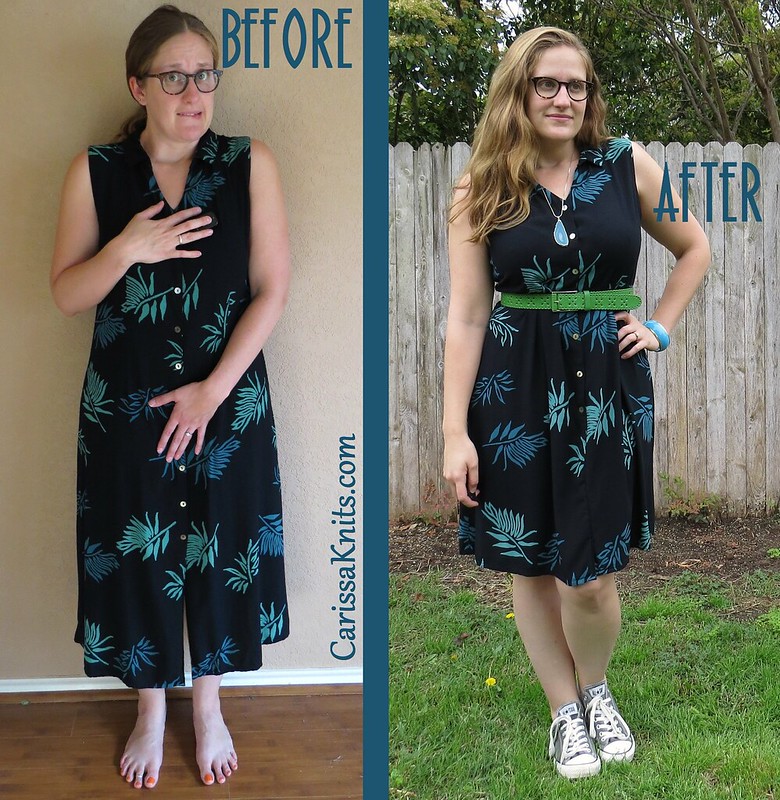
And that's how you go from 90s frump to vintage flair.


Perfect ! Perfect choice of execution and Perfect outcome ! Carissa, you are so accomplished at these refashions and you have such a good eye for what should be done.
ReplyDeleteThanks, Linda! Things don't always pan out as I imagine them, but then, sometimes they exceed expectations!
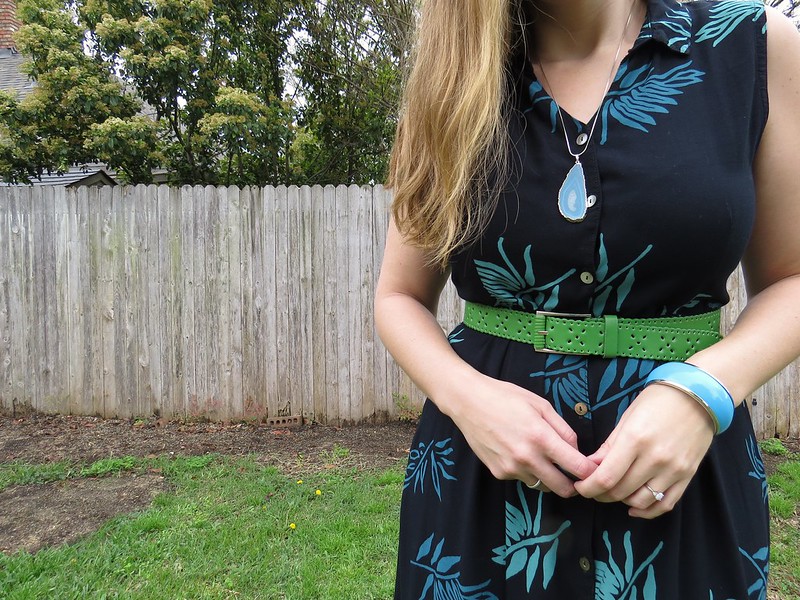
DeleteI missed it in the big post with allll the floral dresses and Chucks, but that Green belt with dress #2 is just brilliant!
ReplyDeleteJJ
www.dressupnotdown.blogspot.com
Thanks, JJ! I love a brightly colored belt with a breezy little dress!
Delete