


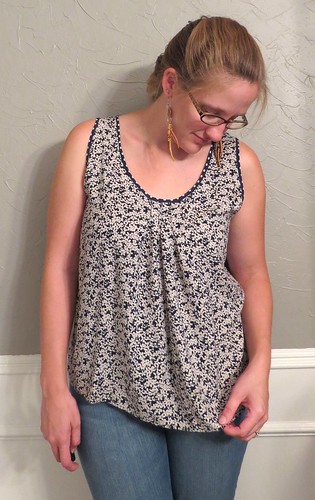
Despite all its faults, I really liked the tiny little navy and off-white floral print. Plus the fabric (rayon I think, but the tag was very faded) had a nice drape to it that would make a great flowy top.
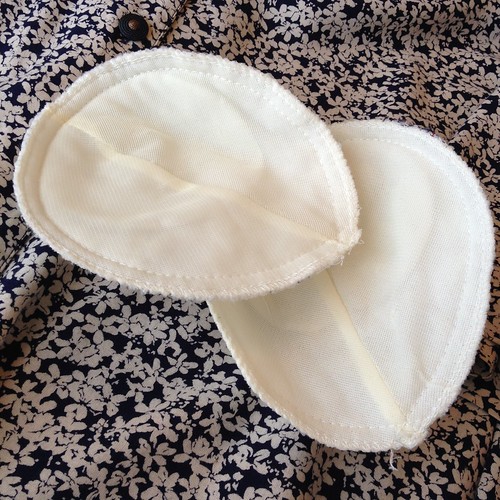
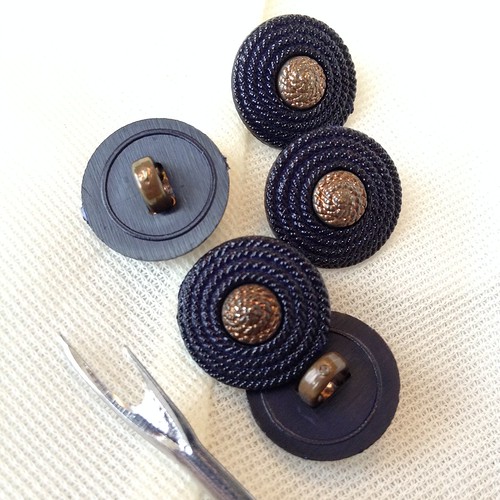
I began by removing those crazy shoulder pads and the dated buttons.
Then off came the sleeves.
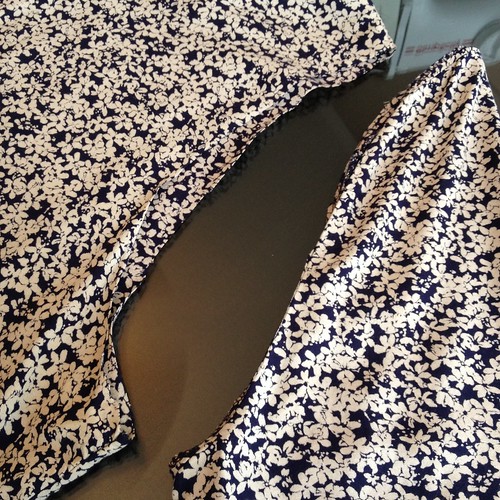
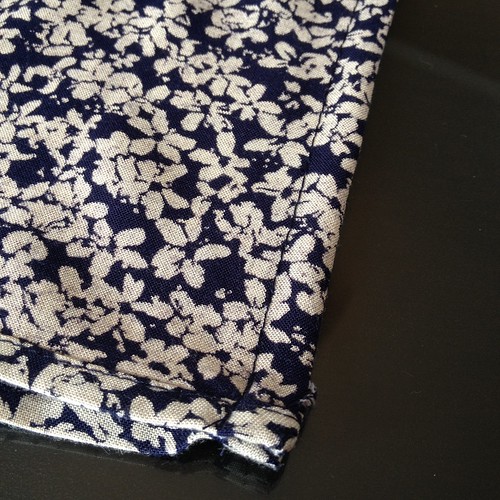
I cut off the button bands and pinned the raw edges together with the wrong sides together, then sewed all the way down about 1/4 inch from the edge.
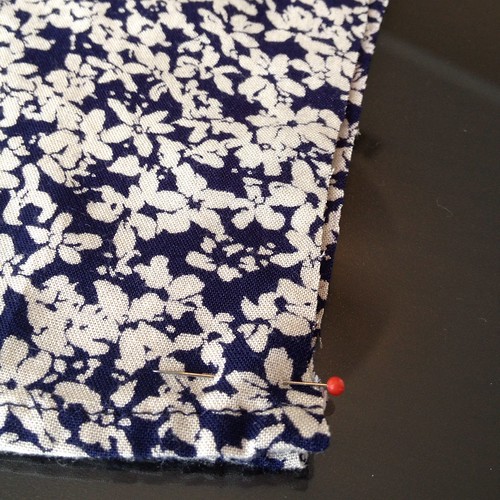
Next I flipped the shirt inside-out and sewed the same seam again about 1/2 inch from the edge, encasing the raw edges.
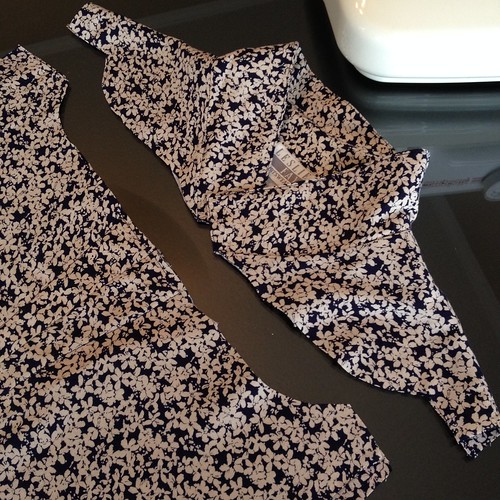
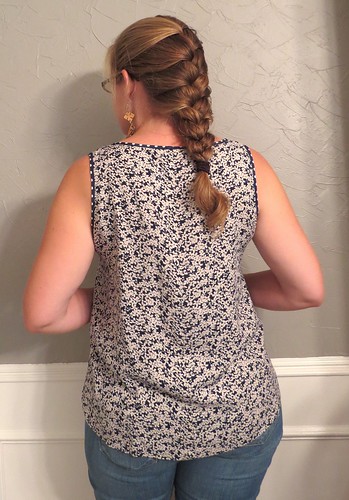
I trimmed off the collar in the shape of the back neck, using an existing top as a template. I plan to turn this puppy around to make the back the front and the front the back. So I cut the front (formerly the back) down further into a scoop-neck, again using an existing shirt as a guide.
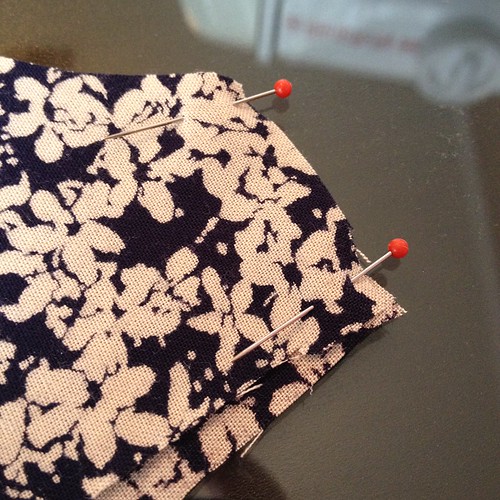
I followed the same procedure as above to make a french seam at each shoulder. Sew together 1/4 inch from the edge with wrong sides together, then sew 1/2 inch from the new edge with right sides together.
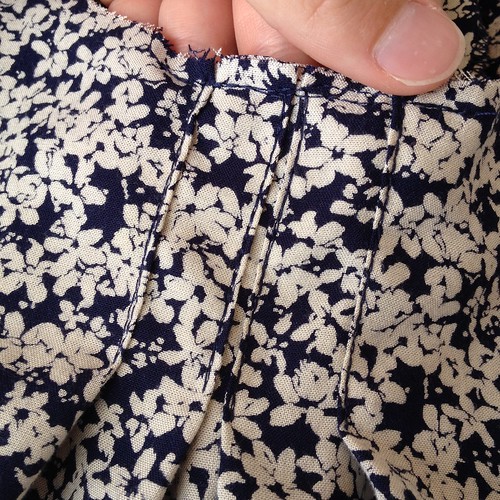
To take in the extra fabric at the top without losing the flowy nature of the shirt, I made four little pleats at the center front of the neckline, and stitched straight across the top edge.
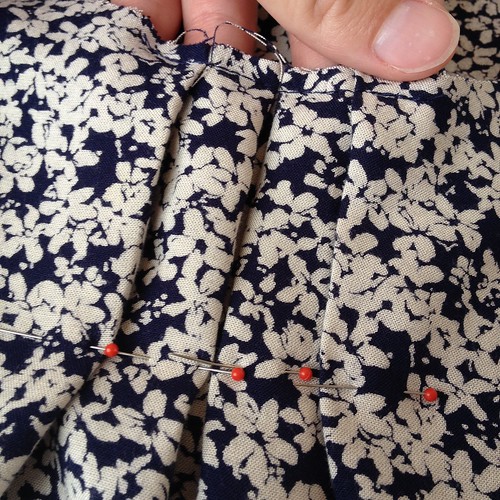
I didn't want to pleats to flare out immediately under the neck edge, so I top-stitched them a few inches down.
When I tried it on, it was still a little too loose, so I took in about an inch under each arm, tapering back to the original side seam as I went down to keep the blouse loose and flowy.

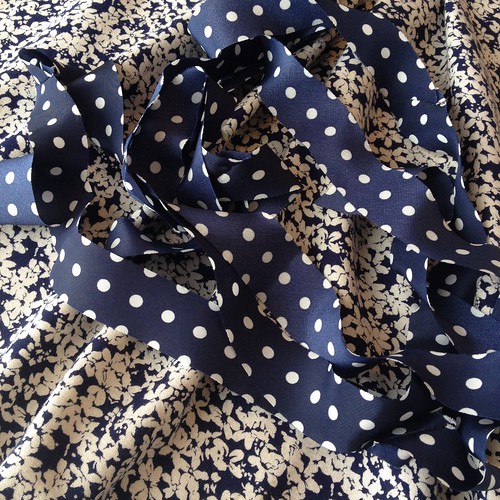
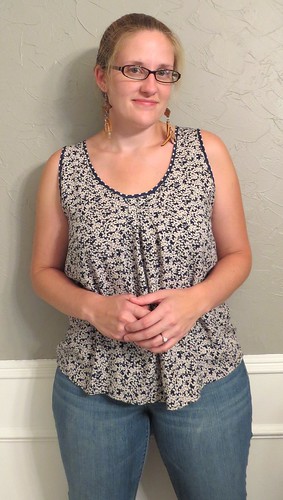
To finish the raw edges, I grabbed some navy polka dot bias tape I had leftover from this skirt-to-shirt refash. Normally, I'm not one for mixing prints, but since they have the same colors and there will be very little of the polka dot, I think it's gonna be okay. Just this once. Plus, I'll take any chance I get to add more polka dots to my wardrobe.
I pinned the strips to the edge with right sides facing.
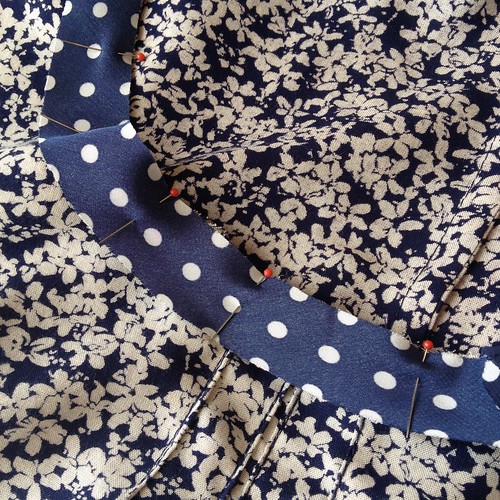
Once that was sewn, I folded them over toward the inside and stitched again.

I repeated this process on the armholes and gave the whole thing a good press, et voila!
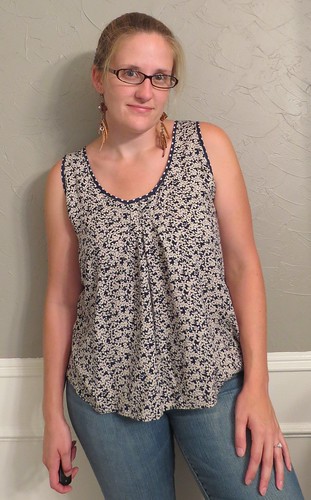
I really like the way the binding turned out. I think I'm going to start making lots of extra binding anytime I have extra fabric so I can mix and match!


Carissa - I really like the same color/different print for the facing!!
ReplyDeleteThanks! It was a risk that totally paid off!
DeleteYou make it seem so easy! I really like this top, complete transformation :)
ReplyDeleteWell, you don't see all the time I spend staring at the fabric trying to figure out how to accomplish what I want to do. And admittedly, it doesn't always work out. :)
DeleteThis looks great! Just the inspiration I needed to figure out what to do with a too blousy top I bought last year.
ReplyDeleteExcellent! Glad I could help!
DeleteLove it and the polka dots look great!
ReplyDeleteThanks, Danny! I'm glad I went out on a limb with that. I'm really happy with the result.
DeleteLove it ! Nice job. Le polka dot looks beautiful with this fabric.
ReplyDeleteThank you! I feel like the pairing worked out even better than I expected.
DeleteI love your attention to detail for all your sewing, nice blog
ReplyDeleteThanks! You make some beautiful stuff too!
DeleteVery cute, love the polka dot detail!
ReplyDeleteThank you! I love how it turned out too!
DeleteNice! I like the polka dots with the flowers, too. You have a winner :)
ReplyDeleteThanks, Jenny! I wasn't sure it would work, but it totally does!
DeleteI think this is one of my favs!
ReplyDeleteAw shucks! Thanks, Virginia!
DeleteThanks for the post. Now I can turn some big blouses that I like the pattern but are to big into something that I can wear....
ReplyDeleteAbsolutely! I hope you share your creations as well!
DeleteI just came across this post, and wanted to give you my kudos! I think the polka dot binding really adds a great finish.
ReplyDeleteThanks! Three years later, and I still wear this top pretty regularly, so I'd call it a win!
DeleteNice project, i think i will make some for me.
ReplyDeleteWhat a fantastic idea!! I love recycling clothing, and this top compliments you SOOO much more than it did formerly!!!
ReplyDeleteLike everyone else I think that this was a great remake.
ReplyDeleteWow! That was a while ago but I love the way you did it ! Thank you for sharing🌹
ReplyDelete