


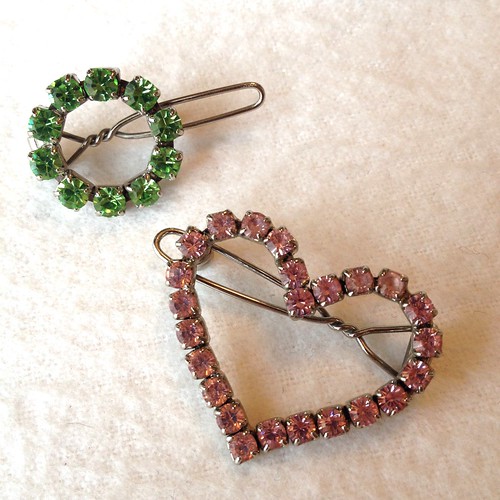
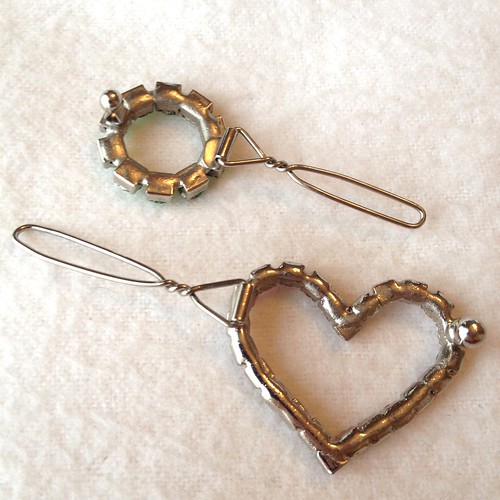
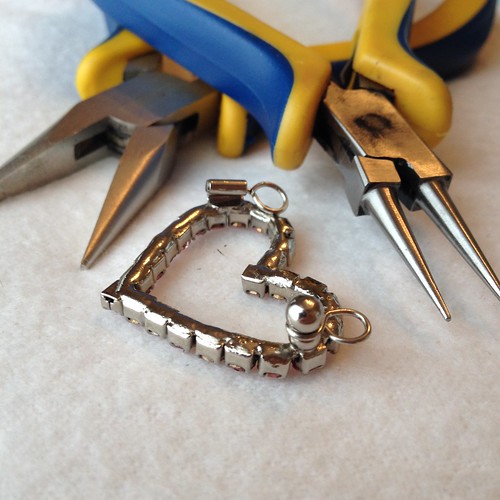
They each had a hinged back piece and a little ball on the other side that it clipped onto.
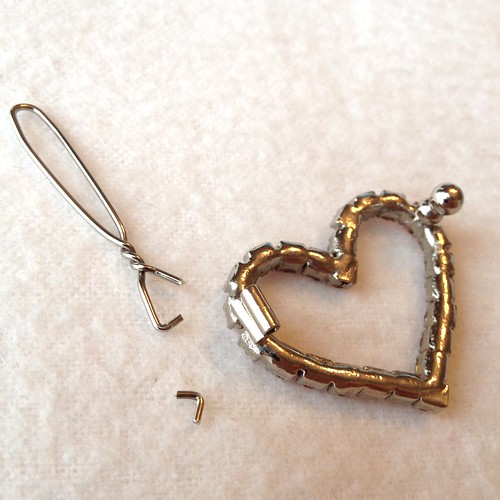
I began by using my wire cutters to snip off the hinged bit.
Then I threaded a head pin through its tube.
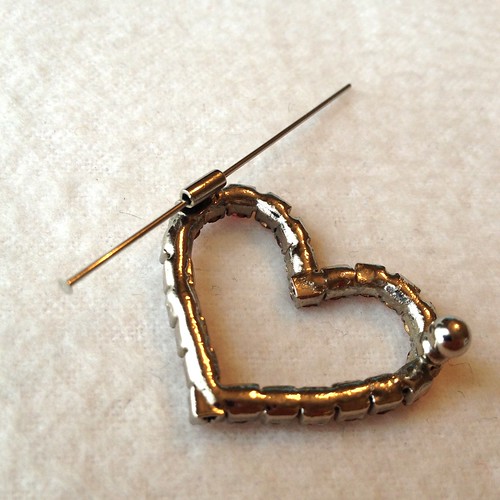
I clipped off the excess from the head pin and used my round tip pliers to form a circle.

Next, I used the snipped off piece of head pin and curved it around the skinny part of the ball clip. This was a little finicky and required holding the wire in place around the ball with my flat nosed pliers while curved the wire with the round tip pliers. Eventually, I was able to get a sort of "S" shape out of it.
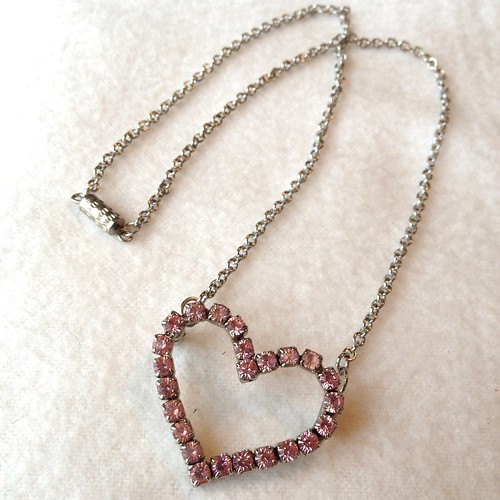
Lastly, I simply joined some chain to it with jump rings, and added a clasp. This new necklace is just so precious.
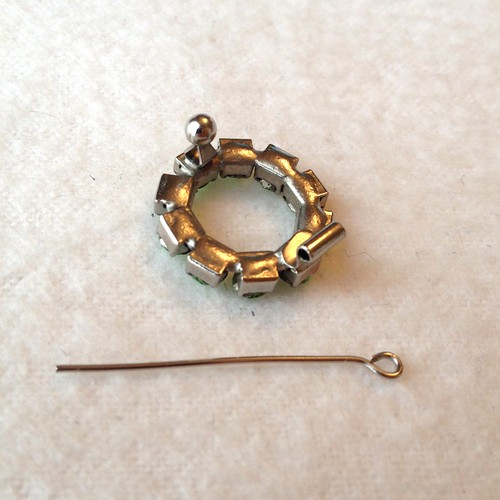
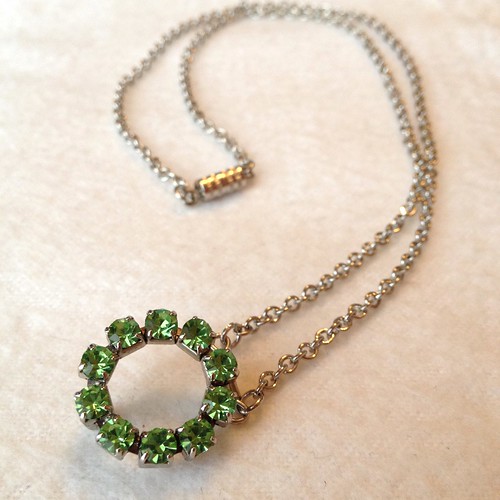
I went a slightly different route with the green circle barrette. Again, I started by snipping off the hinged clip part. I took a piece of wire trimmed from another head pin on another project (as with fabric, I often save little bits and pieces, but you never know when they might come in handy!), and I curved one end into a loop.
I stuck it through the little tube, clipped the excess, and made a loop on the other end as well.
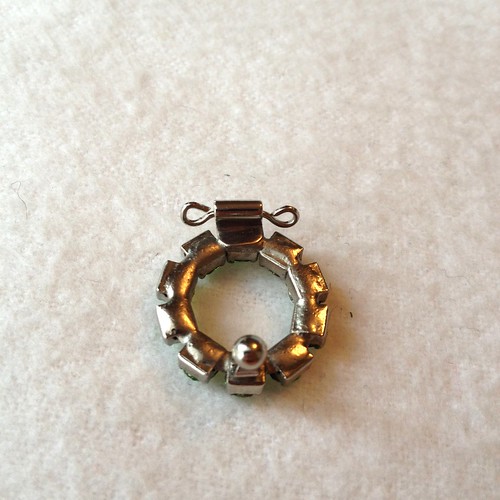
More jump rings, chain, and a clasp completed this necklace. I really like how the little ball on the back from the original clip makes my new pendant stand away from my chest a bit.
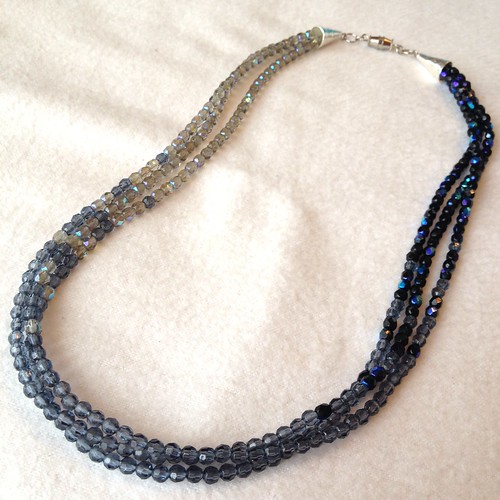
I also took a couple old elastic necklaces - one black and one clear - and a blue-grey beaded headband (no before photos - bad blogger!) and made them into a three-strand gradient necklace.
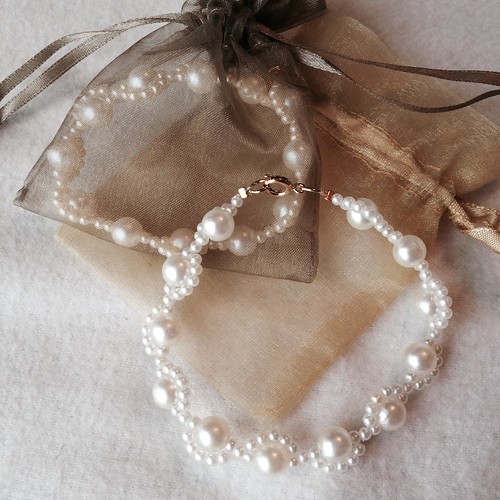
Finally, I made myself a little pearl bracelet last weekend, wore it to a friend's house, and was immediately commissioned to make two more. I was inspired by this necklace, which I found on Pinterest of course. I used two strands, one with all little pearls and one with a big pearl every fourth bead, then criss-crossed them every so often with both strands going through the same bead.
I'm itching to clear all the jewelry-making stuff off my sewing desk and get back to fabric, but on the other hand, I'm having tons of fun playing with beads! I can't make up my mind!
Hi Carissa!
ReplyDeleteI love all this ones! Beautifuls!
Making jewelry is addicting, isn't it? ;)
Kisses from Portugal!
Oh yeah, I'm hooked!
DeleteGREAT Show, Carissa! I, too, am a beader now days preferring strung to bead weaving. I remember those wire barrette clasps!! I like how you strung the necklace to show light into dark, as day into night. The work done in your previous display was interesting with the use of jumps rings to attach earring pieces together. Your time given to this creative venture has soothed your brain to come back to work with fabric!
ReplyDeleteThanks, Linda! I see gradients everywhere nowadays - from clothing that's been dip-dyed to ladies getting their hair highlighted only toward the tips for the "ombre" effect. It's really trendy right now!
DeleteHi Carissa,
ReplyDeleteLove your pretty jewelry especially the the green rhinestone ring so simple and elegant.
Cindy @ Upcycled Design Lab
I think the green one's my favorite too! :)
DeleteI like all of these, but especially the pearl bracelet. You are so creative!
ReplyDeleteThank you! I hope the recipients like the bracelets too!
Delete