


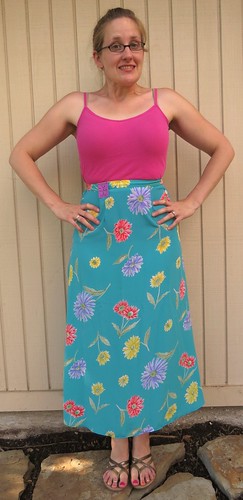
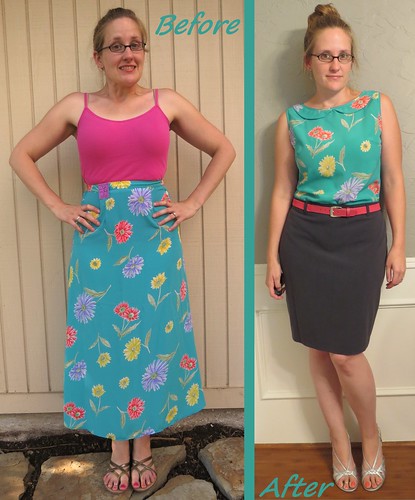
This flowered, polyester skirt set me back a whole $1.50, and as you can see, I'm sucking some major gut to squeeze into it.
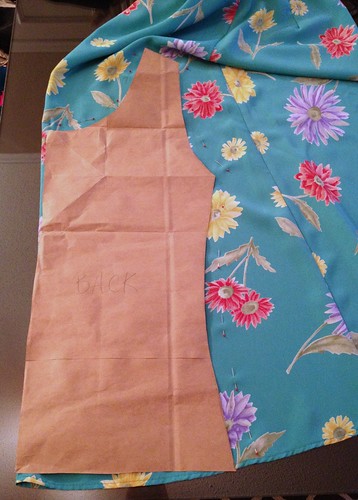
Since this print is just so sweet cute and sweet, I thought a little blouse with a Peter Pan collar would be just the thing. I folded the skirt with the side seams together, and laid my go-to tank top pattern along the back seam fold. I decided not to cut the back quite so low as my template, so as to cover my tattoos for work. Then I did the same with my front template along the front center fold.
A couple bust darts were added to the front panel.
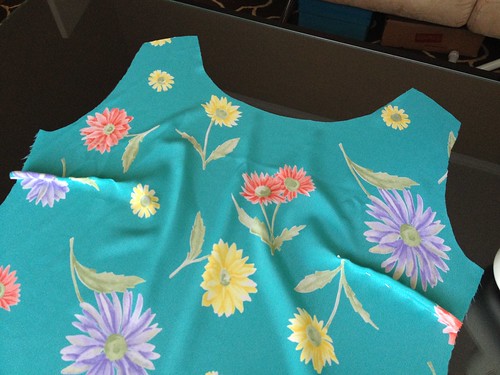
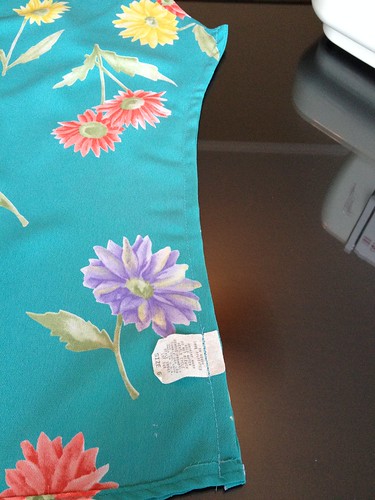
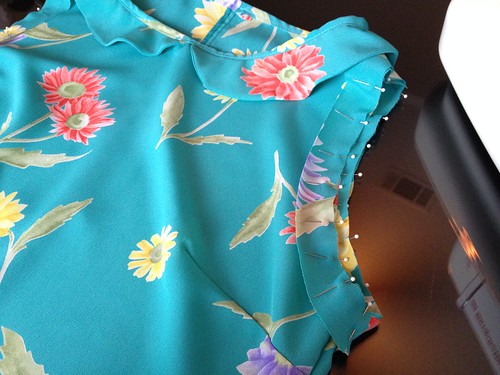
I tried something a little different on the side and shoulder seams to encase the raw edges. I pinned them together with wrong sides facing and sewed about 1/4 inch from the edges.
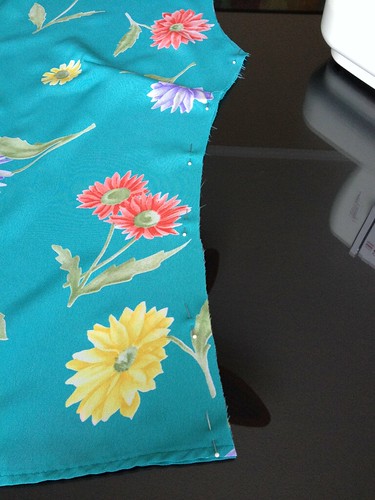
Then I flipped the shirt inside-out, pressed my seams flat, and stitched about 1/4 inch from the previous seam. I even attached the laundering tag to the side seam for future reference too.
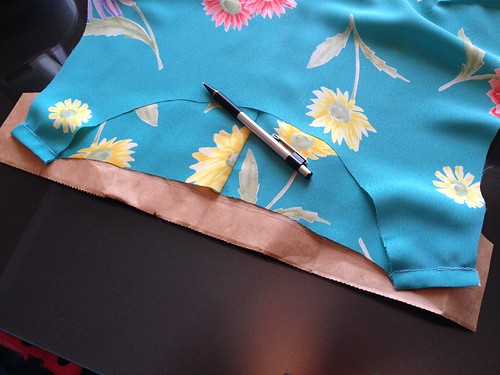
With my basic top mostly finished, it was time to tackle the collar. I laid a piece of brown paper bag (hooray, recycling!) underneath the top and traced the back neckline. Then I just drew a nice curve a few inches down for the bottom of my collar. I folded the paper in half side-to-side and trimmed it in places so it would be symmetric.
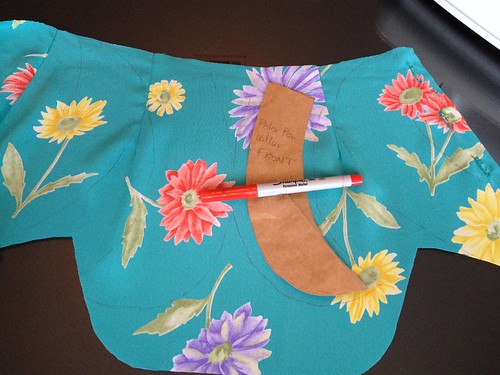
I created one half of the front collar in much the same way.
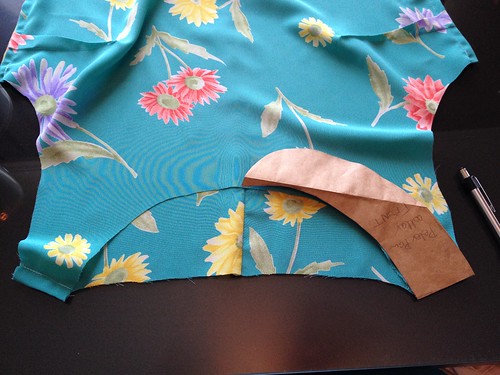
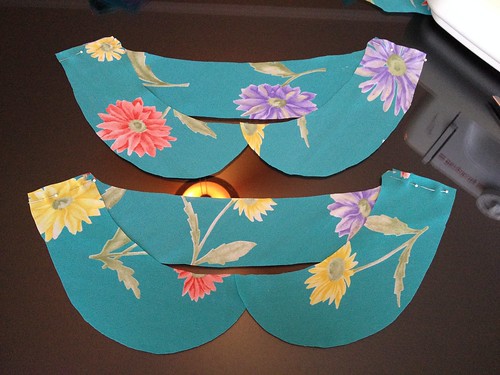
Then I traced out my collar pieces from my skirt remnants. I just used a permanent marker (and cut just inside the lines), but if you have a fabric marker, feel free. I cut four front pieces (two mirror image of the other two), and two back pieces.
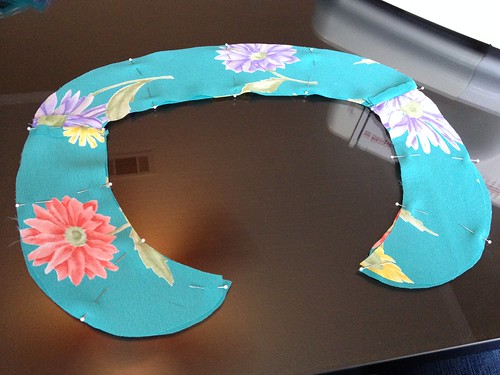
I attached each set of collar pieces to one another at the shoulder seams, right sides facing.
With those seams pressed flat, I joined the two collars together, right sides facing.
I left a little opening in the top of the back for turning it right-side-out. Then I cut little slits along the inner curves, and cut out little wedges around the outer curves. This will help the curved seams lay flat on the inside of the collar.

Next I flipped it right-side-out and pressed it flat.

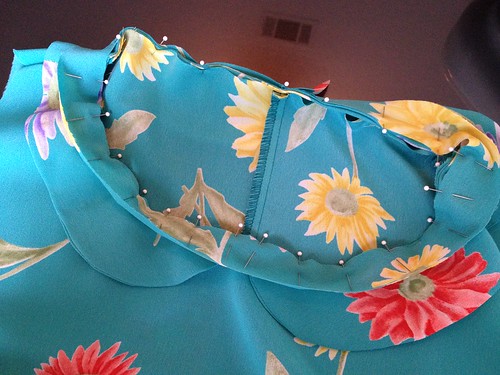
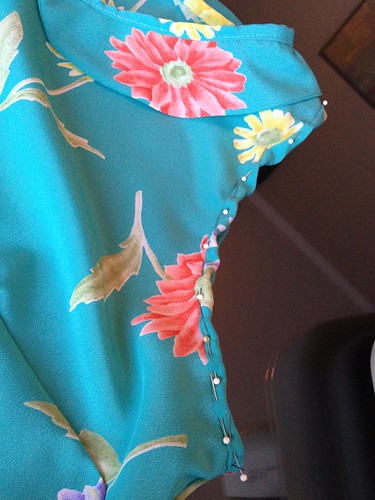
I cut a long strip from my remnants to be my neck binding. I laid the collar in place, then placed the binding strips, right side down, on top of it.
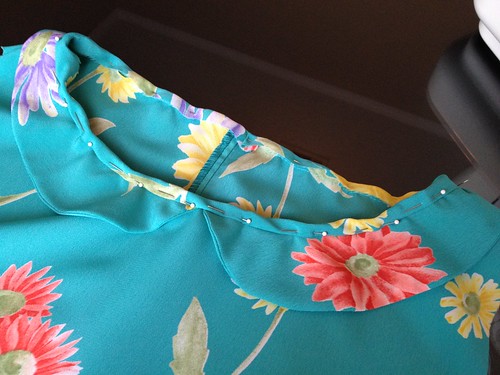
With that sewn together, I folded the binding over the edge and stitched it again.
I repeated the process (except without the collar obviously) to finish off the armholes. Long strip sewn the armhole edge, right sides facing...
...then folded over and sewn again.
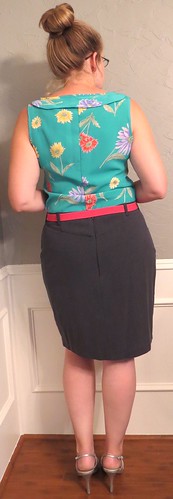
I gave my bindings a final press, and it was all set!

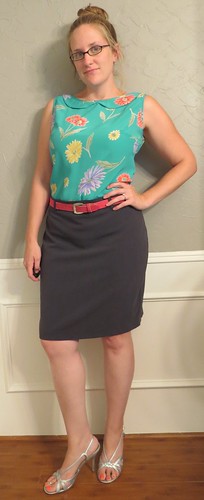

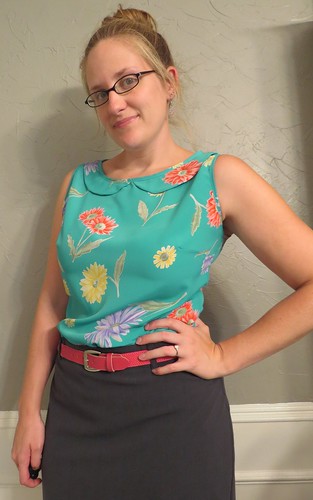
I feel so prim and proper in this blouse, it's just ridiculous.


Seriously. How sweet are those flowers?

Awesome remodel - love your 'before' face though!
ReplyDeleteYep, that's my holding-my-breath face!
DeleteWhat a nice top! Thanks so much for the tutorial on self-drafted collars! I plan to try this myself.
ReplyDeleteYou're very welcome! I'd love to see what you come up with.
DeleteWhat a Tutorial!!! The"French" seams create a beautiful inside to match the "public" side of this perfect blouse. Your sophisticated design of the neckline/collar brings a mental picture of Audrey Hepburn. Terrific work Carissa!
ReplyDeleteThanks! A great refashion can be ruined by frayed seam unraveling in the wash, or stringy bits dangling down past your hem. Nobody likes that!
DeleteAs a skirt, that fabric made me nauseous, but as a blouse it is too cute!!!!
ReplyDeleteJJ
www.dressupnotdown.blogspot.com
Agreed. I had to talk myself into buying it in the first place!
DeleteI LOVE how this turned out! Very inspiring.
ReplyDeleteI'm actually working on a refashion right now and would like to do the arm holes like you did. How did you come up with those measurements?
www.igetmycraftyfrommymama.blogspot.com
My go-to tank top pattern is the Sorbetto top, but I really just use that as a starting point. Once I have the side and shoulder seams sewn and am able to try it on, I usually do some tweaking - cut the armholes bigger, or add bust darts, or whatever I need to do to make it fit. Every piece is an adventure!
DeleteLove it! On the skirt I really didn't like the print, but as a top it is so pretty!
ReplyDeleteThat's the great thing about refashioning - sometimes an awful fabric only needs a change of scenery to be fabulous again!
DeleteNice! Thanks for the instructions. I love that you're careful but not excessively technical. Makes your directions easy to follow because my eyes aren't all glazed over :)
ReplyDeleteHey, I wouldn't know the technical terms anyway. I'm just a self-taught, experimental, trial-and-error seamstress - no formal education!
DeleteYou transformed the fabric with that refashion. Great job! No zipper, though? Does it slip on easy? I want to make my own tank pattern, but I worry about getting in and out of it with no zipper if the fabric has no stretch.
ReplyDeleteAs long as the narrowest part of the waist is slightly larger than your bust, it'll slip on easily enough. But by all means, if you want to put in a zipper, have at it!
DeleteThanks for sharing the information keep updating, looking forward to more post.
ReplyDeleteNice post ! I love its your site after reading ! thanks for sharing. Nice! Thanks for the instructions. I love that you're careful but not excessively technical words.
Divorce Lawyers Ashburn VA
child protective orders virginia
That's the spirit! I totally get that flow state. It reminds me of how I lose track of time playing Melon Playground lately, just messing with crazy physics and enjoying total freedom. It's so easy to get absorbed when you're having fun creating! What was the original weekend project you almost forgot about?
ReplyDelete