


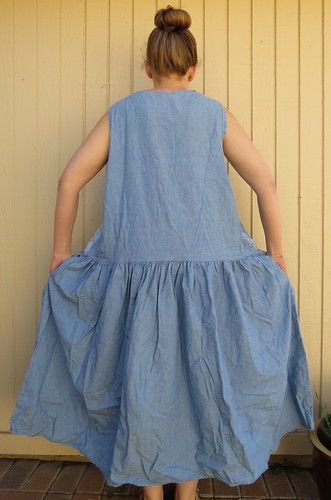
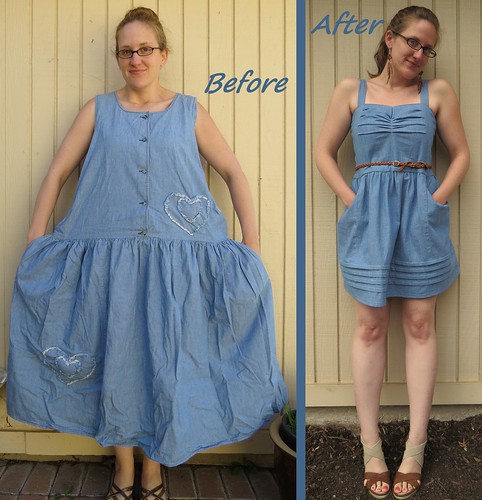
Now that we have that cleared up, check out this 'before' dress! If it looks familiar, well, it should. I've already remade another dress from the same source, and now it's this one's turn!
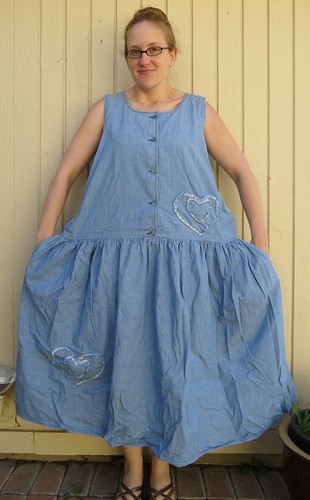
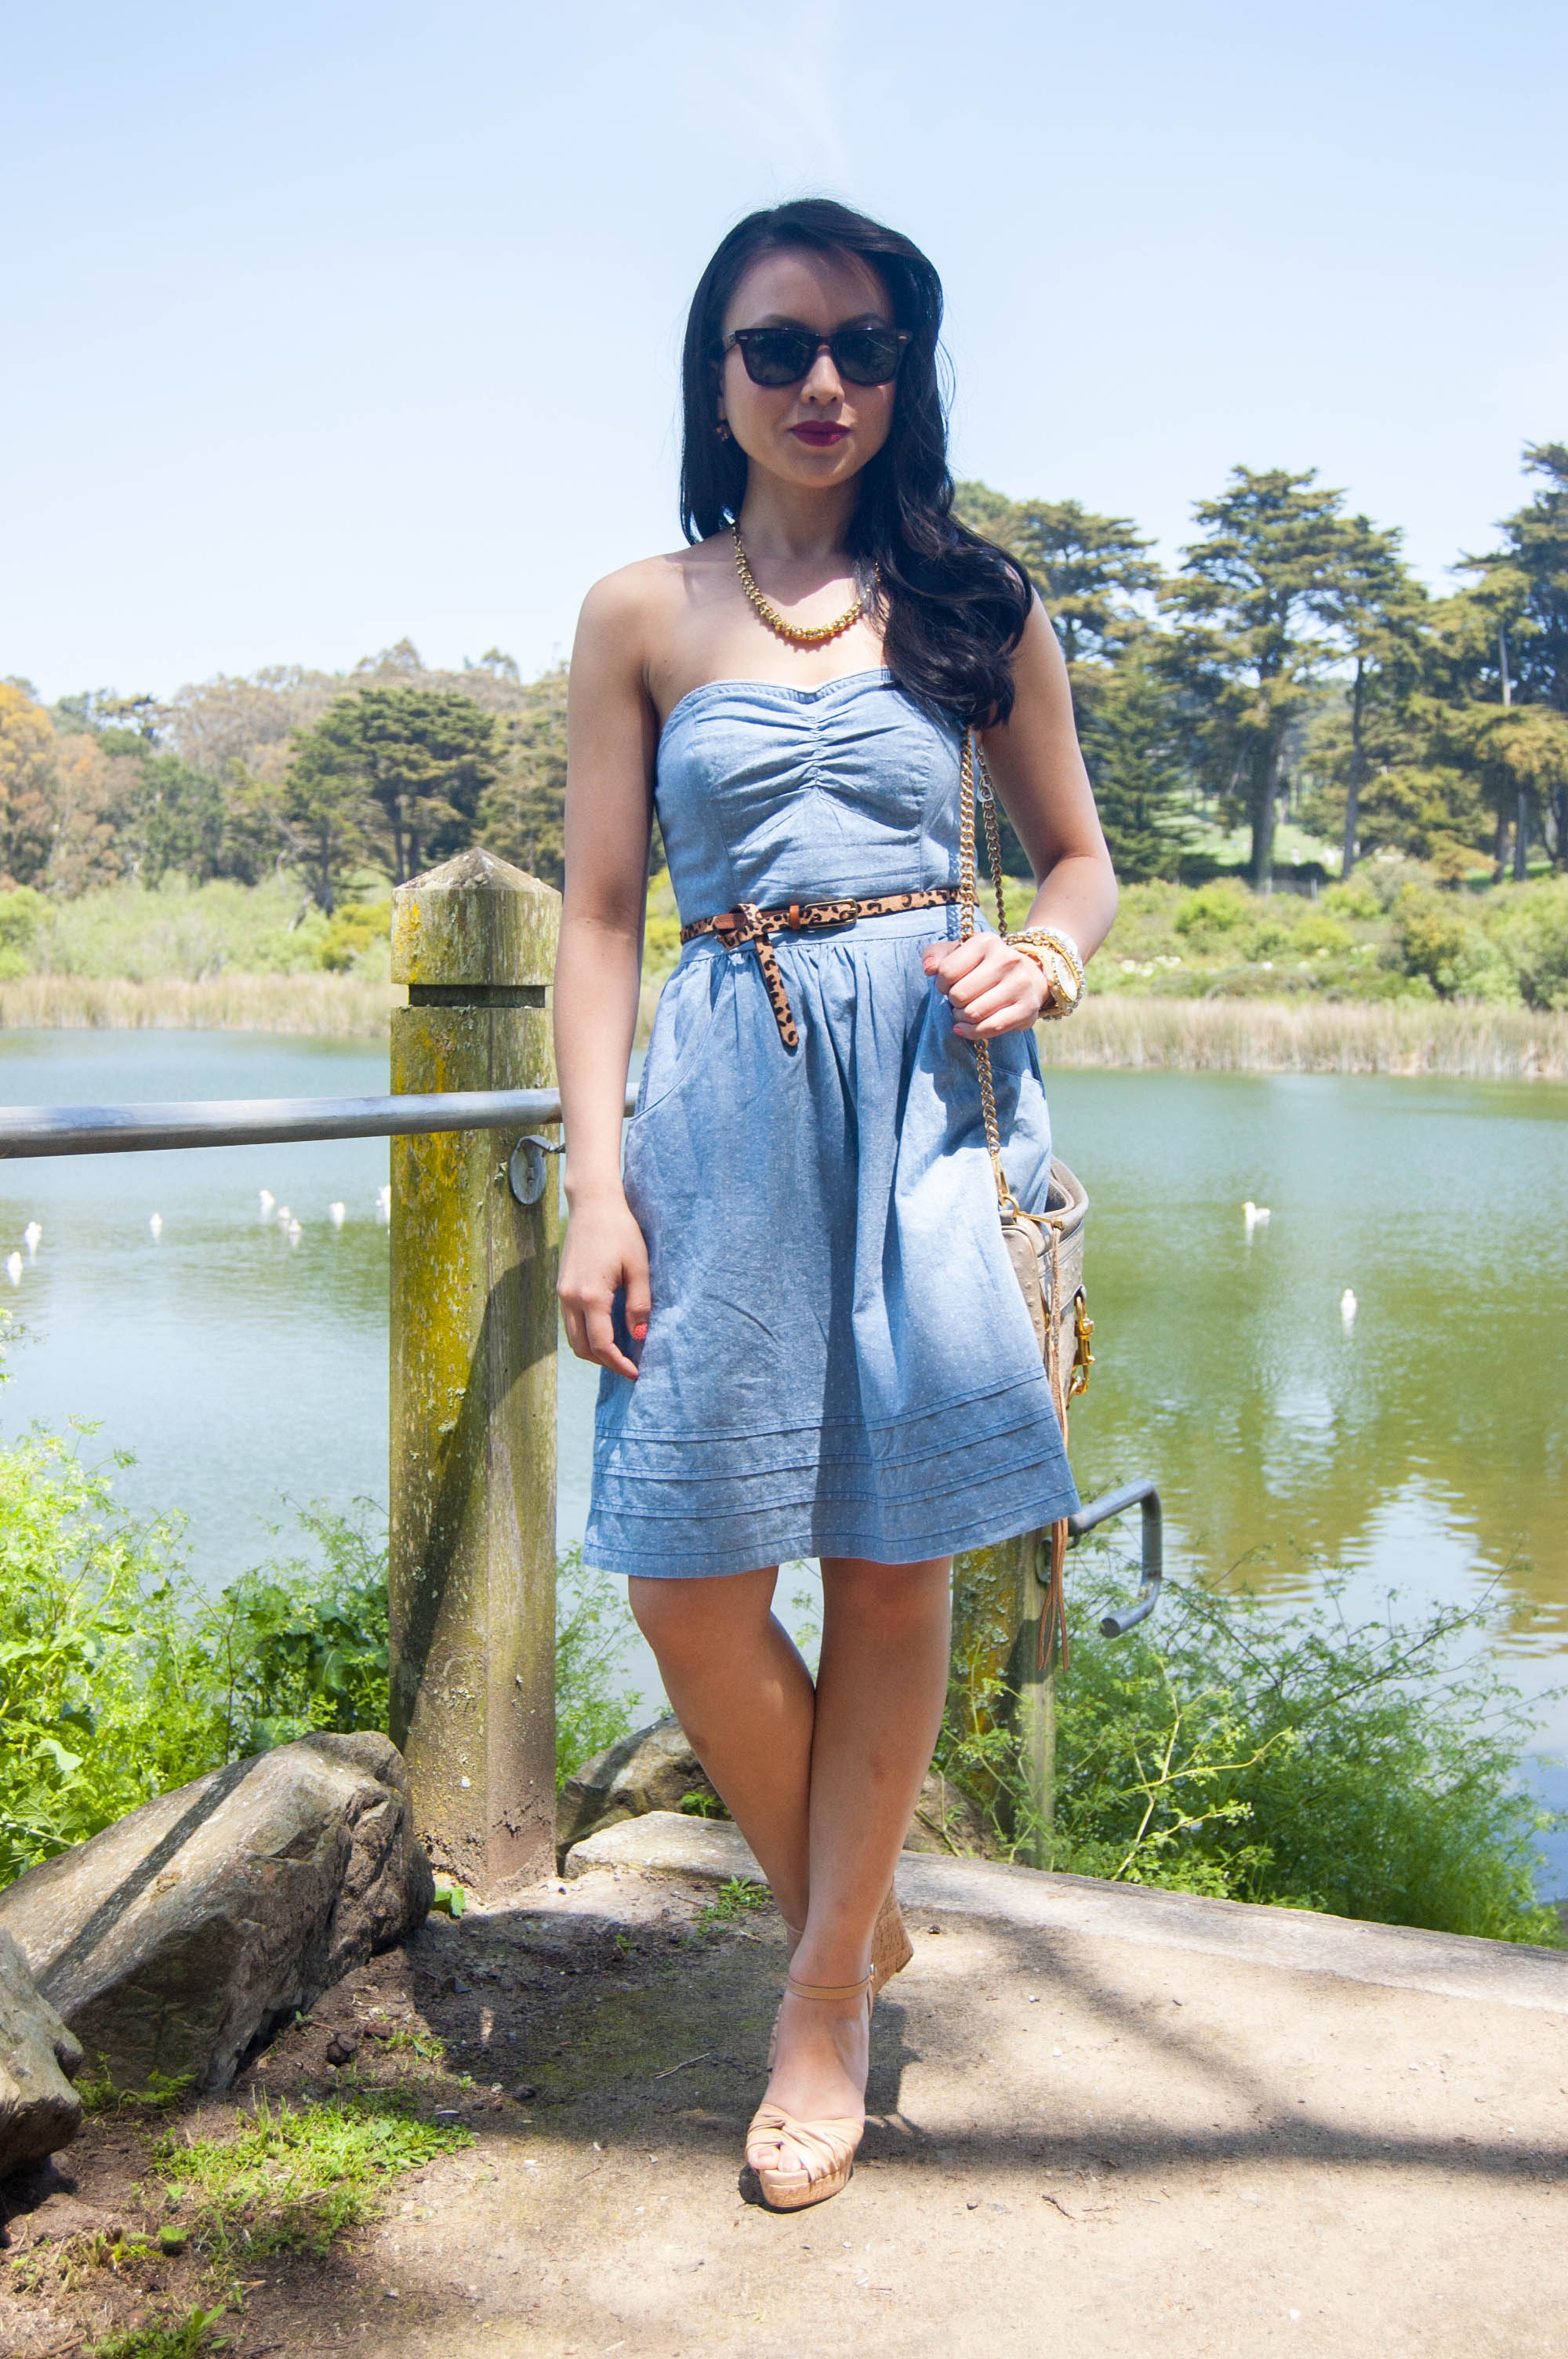
I came across this cute little chambray sundress on The Fancy Pants Report, via Pinterest naturally. Her dress came from Target and has adorable little white polka dots all over. My version will be sadly lacking in the polka dots department, but I'm hoping it will still be adorable as well.
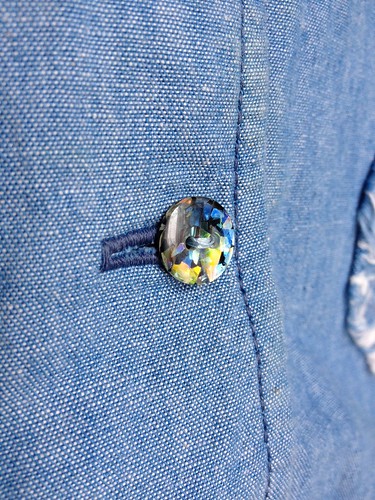
My first step was to pluck off those awesome buttons. You won't see them again today, but I have a feeling they'll make an appearance down the road.
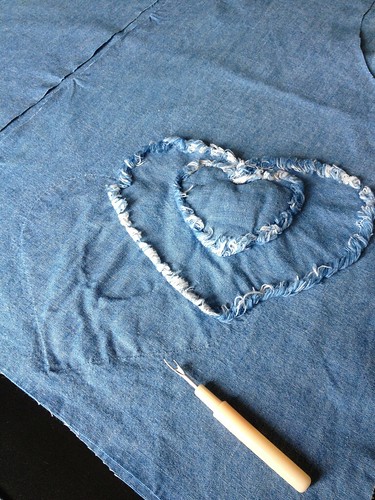
Then came disassembly and ironing...

...and heart removal...
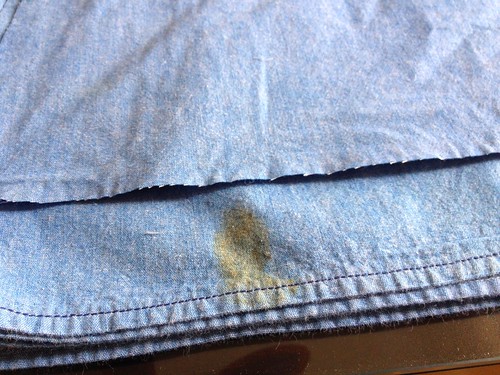
...and stain discovery. Ugh.
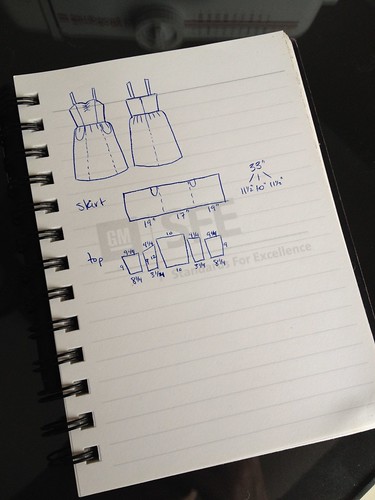
Then on the pattern drafting. Well, more like very rough sketching, but whatever.
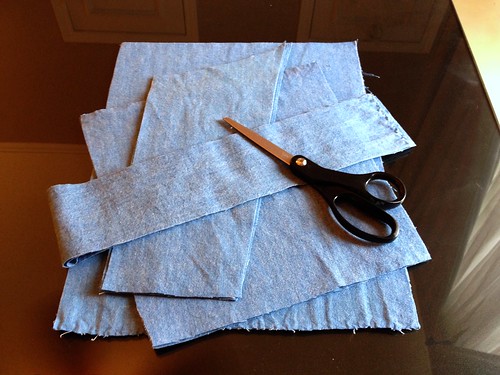
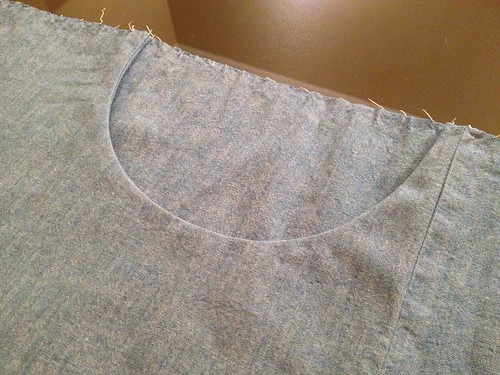
I cut out my pieces, avoiding those stains, of course.
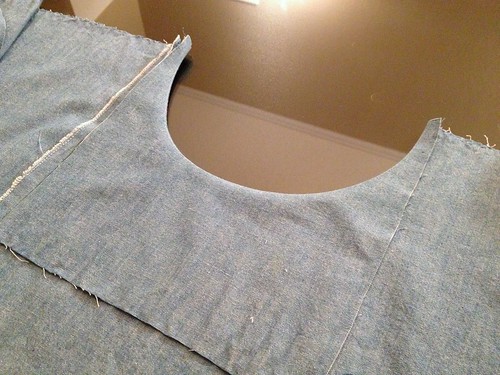
I put together two copies of the bodice, one for the outside and another for a lining.
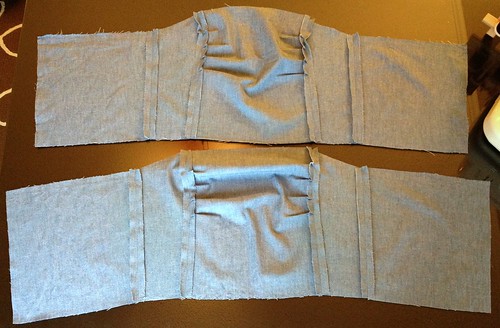
A few gathers on either side will accommodate the girls.
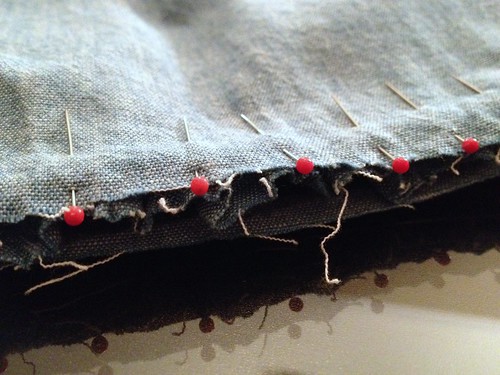
Setting my bodice aside, I cut off half of the circumference of the original skirt to make my new skirt. From the remainder, I cut four squares for pockets. One square was pinned to the right side of the top edge of the skirt .
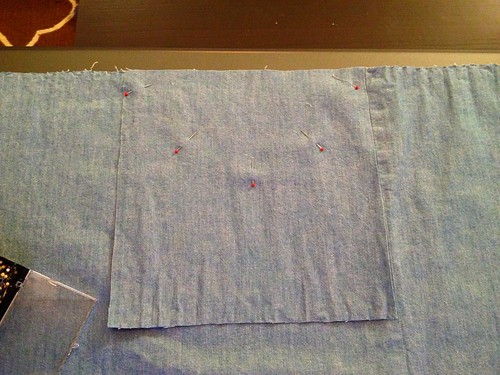
I sewed a semi-circle, trimmed the excess, and clipped the seam allowance.
Then I flipped the square over to the inside of the skirt and gave it a good press.
I pinned a second square on top of the first square (but not to the skirt layer) and sewed around the left, right, and bottom edges.

With one pocket complete, I repeated the process on the other hip for a second pocket.
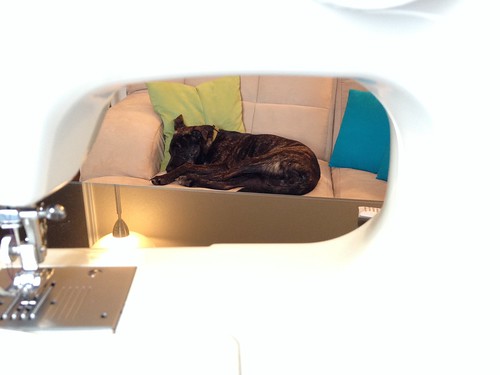
It was about this time, I acquired a helper. She graciously volunteered to take my afternoon nap for me while I continued sewing.
Then it was time to join the skirt to the bodice. With right sides facing, I pinned the skirt to the outer bodice piece, gathering the skirt as I went. Then I added the bodice lining on the other side of the skirt layer.
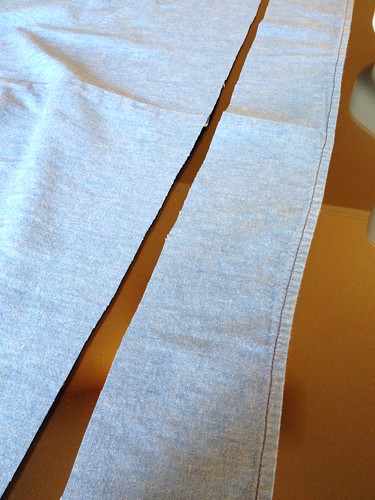
The skirt was a little on the long side, so I chopped off 4 inches from the bottom.
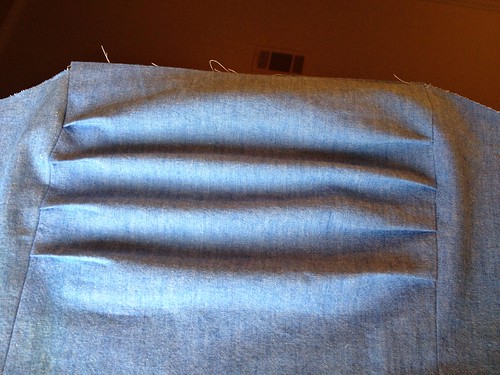
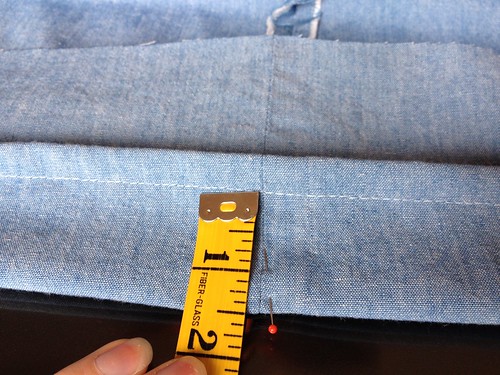
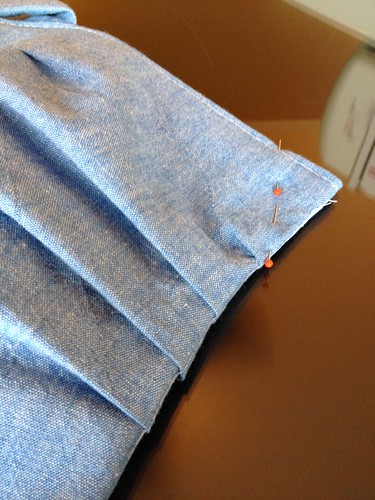
My next mission was to mimic the detailing around the bottom edge on the original dress. I folded four inches upward toward the wrong side, and sewed about a half-inch from the fold.

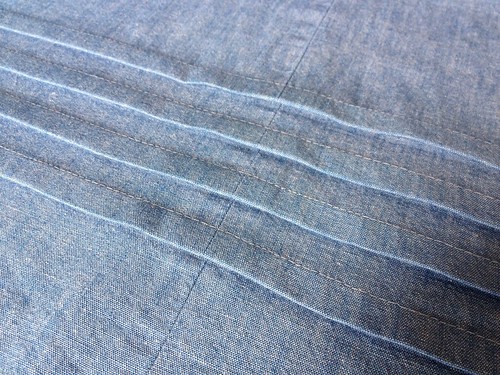
Then I folded another inch-and-a-half up and sewed again. And I repeated this twice more, for a total of four little flappy things.
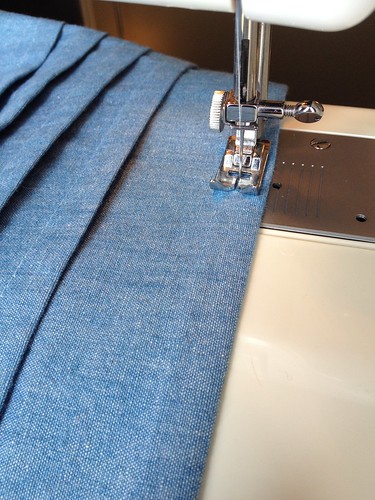
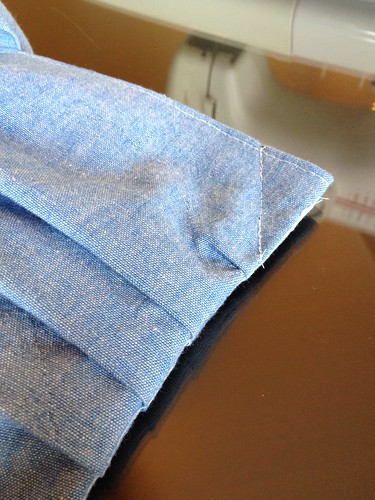
I pressed all the flaps downward.
After that I sewed about a third of the way up the back seam, and installed a zipper on the remaining two-thirds.

The bottom edge of the skirt got a new hem as well.
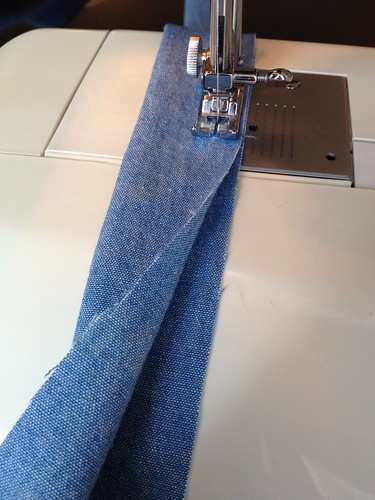
I opted to add straps to my dress due to my aversion toward strapless bras. I do own one and we tolerate one another on occasion, but we are far from besties. So I took two long strips of fabric, about three inches wide, and sewed them into tubes.
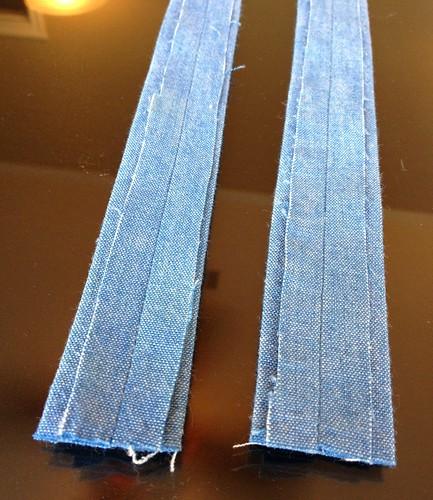
I pressed the seams.
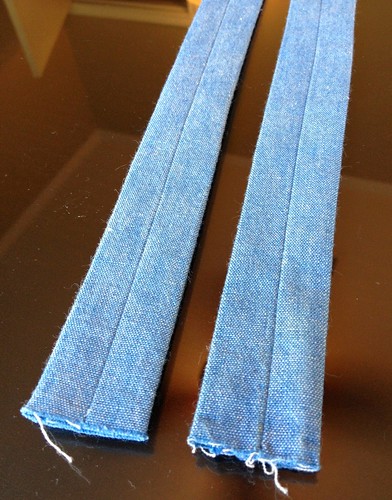
Then I turned them right-side-out and pressed them flat again.
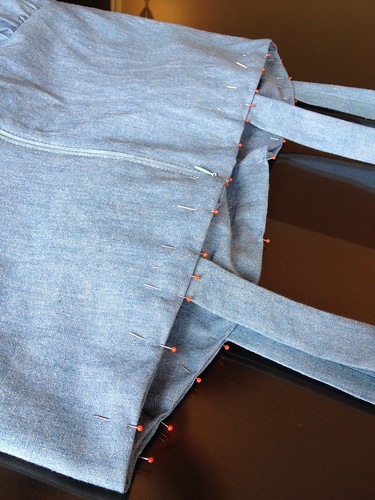
I folded the tops edges of the inner and outer bodice layers toward each other and pinned all the way around, inserting my straps where appropriate.
With a zipper and straps, I was finally able to try on my dress and pinch, pin, and tweak the bust gathers until I had them the way I like them.
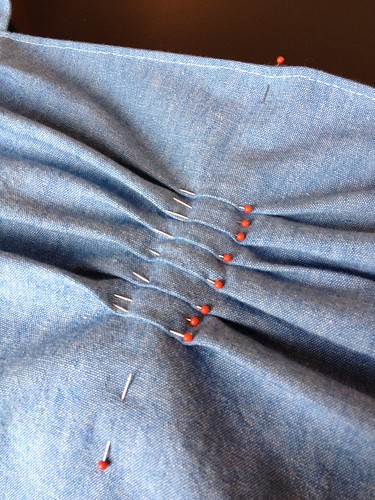
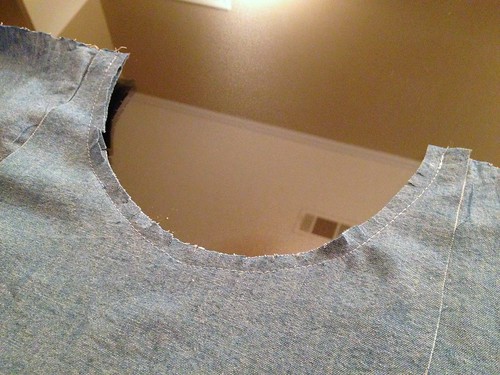
I ran a line of stitching straight down the center.
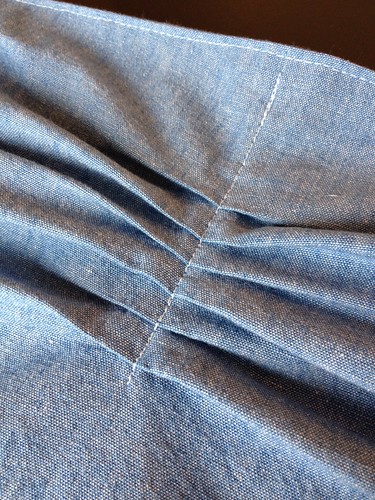
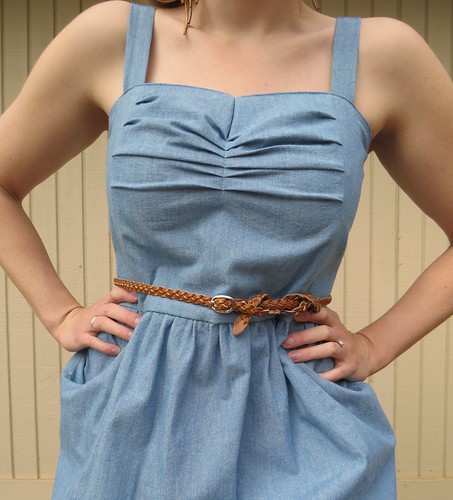
Next I folded along the vertical line of stitching and added a little dart at the top edge.
This will give it a very slight sweetheart neckline.
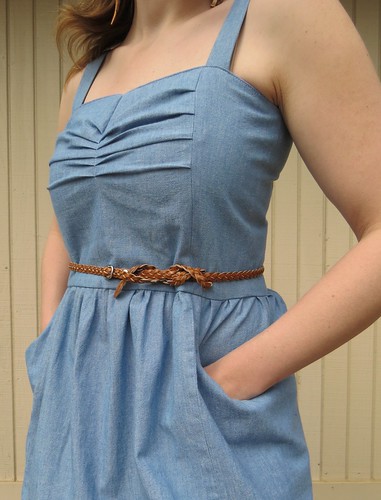
And we're finished!


I really like how it came out, despite its polka dot deficiency.


I adore the bottom detail.
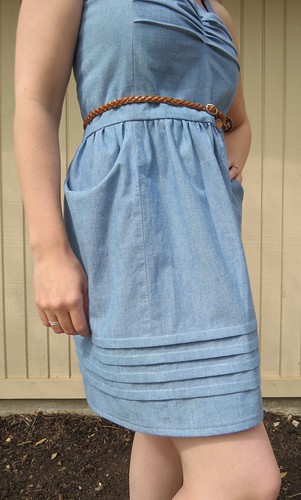
Hooray, pockets!
And hooray for the ability to wear a regular bra!
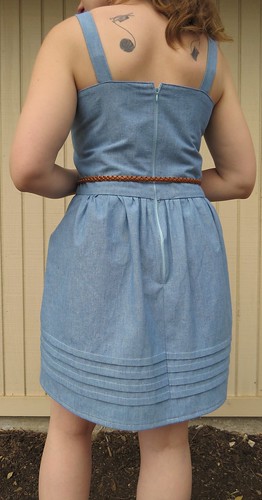
And here's a look at the zipper up the back.

Oh Carissa - you definitely have gone one better once again - this is very trendy- very cute for summer.
ReplyDeleteThanks, Linda!
DeleteWow! So cute and well made. Nice job!
ReplyDeleteThank you, Trish!
DeleteAwesome!
ReplyDeleteThanks!
Deletecuuuuuutttte!!!
ReplyDeleteThanks :)
DeleteAdorable!! This dress is fabulous! You should totally submit this to Refashionista for a Wannabe Wednesday outfit.
ReplyDeleteExcellent idea! I think I will!
DeleteUau... I like this... Thank you so much for teaching us how to do the flaps, the darts and the busts gathers!!!
ReplyDeleteThis goes to my How To List!
kisses from Portugal!
Obrigada, Helena!
DeleteGREAT job on this - you are so precise, and it shows in the final product. Thank you for the clear instructions/pictures as well. I always thought there would be a lot of work in doing something like this refashion from scratch, and it's true, but you make it seem doable, if only we take it one step at a time.
ReplyDeleteThanks! Though It's easy to make things look easy in a blog post. You guys don't see the cumulative hours I probably spend staring at the garment trying to figure out how to accomplish the picture in my head.
DeleteWow. That is incredible. I wish I had 1/100th of that kind of sewing skill!!! It turned out so great!
ReplyDeleteAw, thank you!
DeleteCongratulations! Really like those pockets and thanks for the tutorial.
ReplyDeleteOh yeah, it's all about the pockets!
DeleteWow, this may be your best yet!
ReplyDeleteThanks! :)
DeleteYour dress is waaaay better! The pin tucks at the bottom and the pockets put it in a league of its own.
ReplyDeletewww.dressupnotdown.blogspot.com
Thank you, JJ!
DeleteThis is amazing! I love the pleats at the bust, what a great idea for refashioning a thrift store find that may be too big in the chest area. I also love the bottom detail as well. Your blog is my favorite and I'm impressed by your mad pattern skills! Thanks for taking the time to share your projects and being so entertaining in the process!! Looking forward to your next one!
ReplyDeleteThanks, Sarah! Glad I could inspire and amuse!
DeleteHow did you get so good at pattern drafting!?!?!?!
ReplyDeleteMath is AWESOME!
DeleteYeah, I'm one of those people.
Very nice ! I love all what you do !
ReplyDeleteThank you!
DeleteThis is my favorite of your refashions! Lots of great details, done well.
ReplyDeleteThanks, Elaine!
DeleteCompletely awesome job!! Love it.
ReplyDeleteThank you!
Deleteholy refashion!!! I love this!! That first dress is so awful, but you turned it amazing. Love the pockets and front detail on the dress you made... great work. I'm linking up to skirt fixation this week too ;) Emily@nap-timecreations.com
ReplyDeleteThanks, Emily! It was certainly a drastic change!
DeleteCarissa,
ReplyDeleteWhat an amazing refashion! Thanks so much for linking up...we are honored! Be sure to come back Friday and vote in both the sew along and for your favorite contestant's refashion!
Thank you for hosting this shindig!
DeleteThat is a MAJOR refashion! A total transformation. Really great job.
ReplyDeleteThank you, Angela! Sometimes you just have to go big or go home!
DeleteVery cute. Great remake!! :)
ReplyDeleteThanks, Jessica!
Delete