


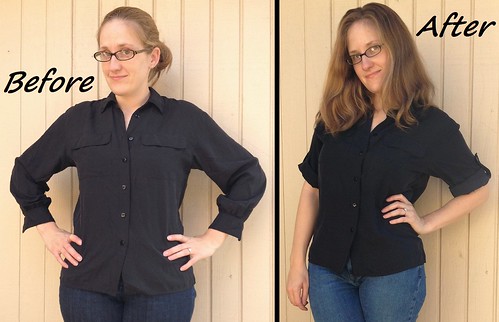
This week's black & white refashion is actually just black. (Hey, I said I wanted to keep it simple.) I scooped up this 100% silk blouse for... $2, I think.

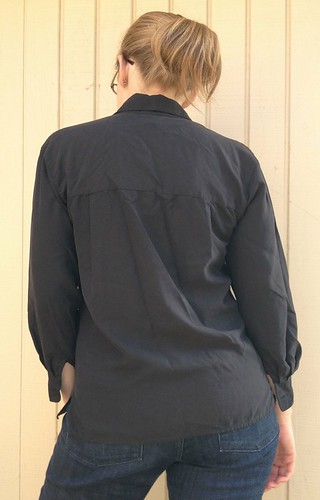
The body fit well, and the silk felt wonderful, but those sleeves? Too short and too gathered.

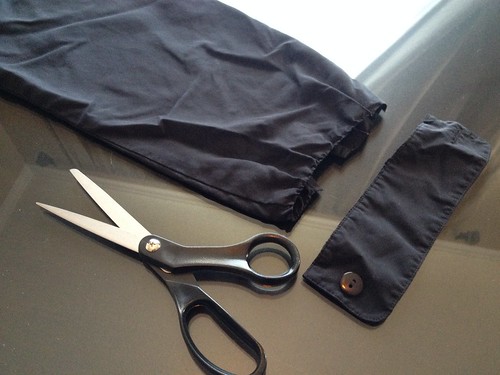
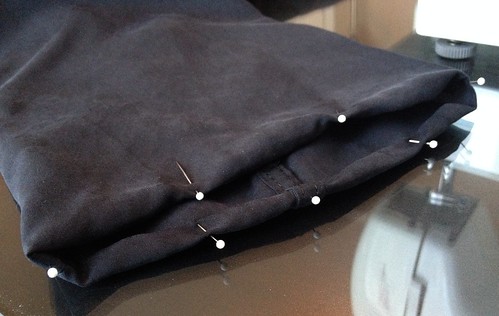
I first cut off the cuffs and pressed out the wrinkles.
Then I overlapped the slits in the sleeves and sewed them closed.
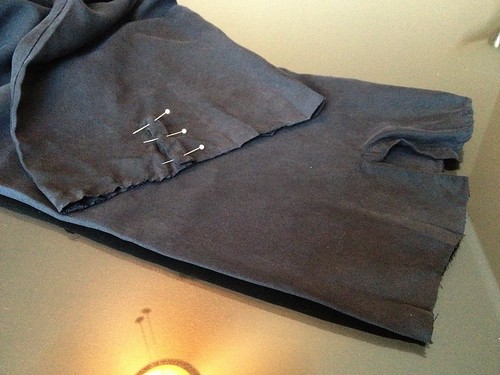
I hemmed the raw edge and set my shirt aside for a bit.
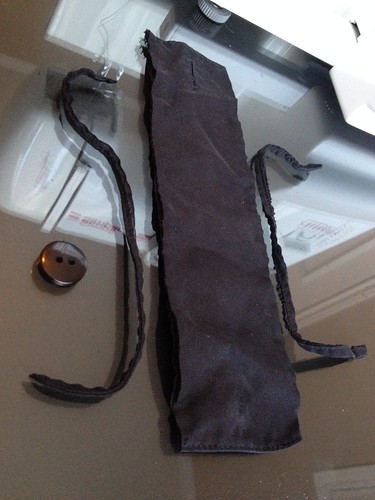
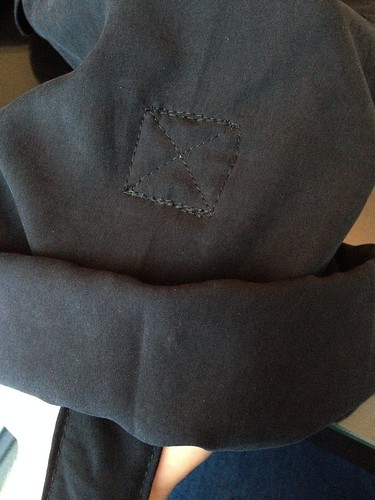
Since the cuffs still had bits of sleeves encased in one edge, I cut a thin slice down the side. I did the same to the other side to keep the buttonhole in the center. I also removed the buttons.
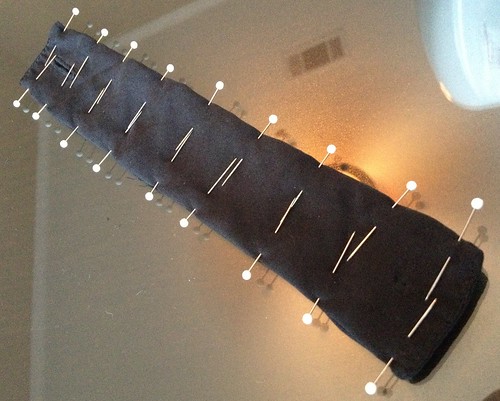
The edges were then folded toward the inside and top-stitched.
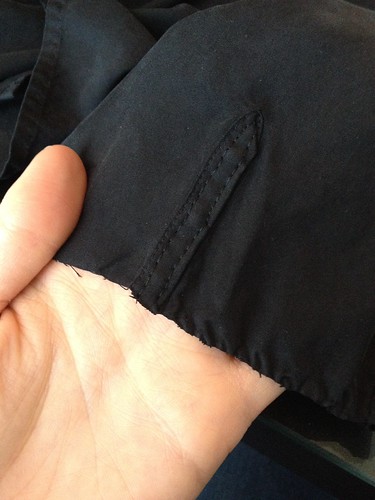
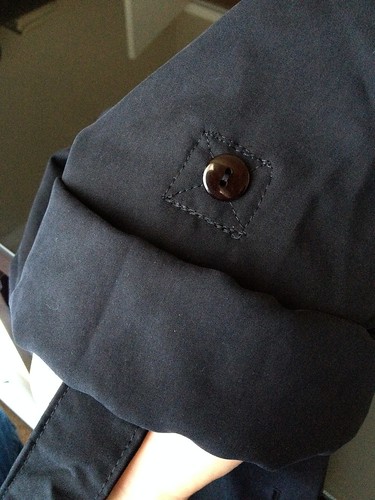
I rolled my sleeves up and inserted the non-buttonhole end of my new cuff-tab.
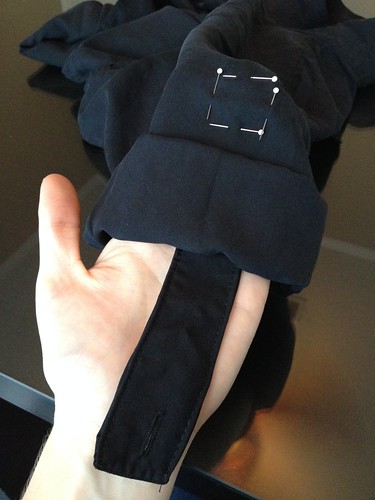
I sewed it securely to the sleeve.
And finally, I hand-sewed my salvaged buttons back on.
And there we have it! A relatively quick fix to make this shirt wearable.


But wait, you say, that's not black and white. That's just black.
And indeed, you're right. How astute. So I paired it with my new favorite skirt - the tulle one I made a few weeks back - and my comfy black thrifted pumps. Happy now?


Great new look.
ReplyDeleteAng
Thanks, Ang!
DeleteWhat a quick fix to turn a dowdy shirt into a wowzy shirt! You are the WOMAN, Carissa!!!
ReplyDeleteThank you, Linda!
DeleteThis is the trick I intended to do with one of my shirts that I told you about a few months back. Mine is still hanging in my closet. And yours is completed and turned out wonderfully!
ReplyDeleteI completely understand the lack of time. I'm sure I would get more crafting done if it weren't for those pesky obligations like "work" and "sleep".
DeleteOh, I like this idea so much! Need to decide which top to use it with.
ReplyDeleteGreat outfit.
Thanks, Jenny!
DeleteSometimes the smallest changes make the biggest difference! It looks great, and i'ts silk!
ReplyDeleteI know! I love how it turned out, and the silk is fabulous!
DeleteWhat a difference! It looks great. You always come up with such smart ideas.
ReplyDeleteThanks, Trish!
DeleteHi....thanks a lot for the great tutorial...I am finishing a blouse and I didn't have idea how to do it......Don't you have facebook? greeting from Chile.
ReplyDeleteYou're welcome, Maritza! I hope your blouse turned out well.
DeleteAt this point, I only have my personal facebook account, but if there is interest, perhaps I will craete a facebook page for my blog.
I used this sleeve strap tutorial on a blouse this week. I linked it back to your site. So helpful!!
ReplyDeleteI meant to say that I used it in my blog post and linked back to your post.
DeleteMahalo, Trish! I'm heading right over to check it out...
DeleteYour tutorial inspired me and I have made over a shirt using your ideas - now have recycled a winter work shirt into a summer one!
ReplyDeleteFantastic! I'm so happy to hear my ramblings have been of use to someone!
Delete