


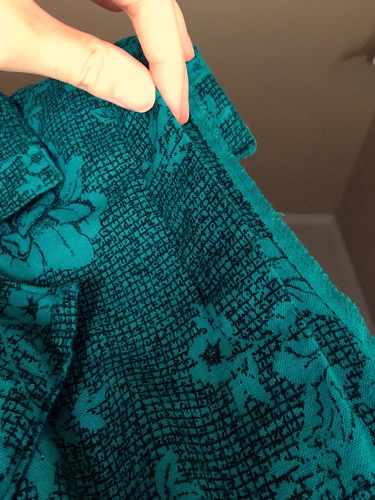
There was a lot of fabric here, but so much of it was eaten up in weird pleats and darts, or stained or holey. It's hard to distinguish stain from pattern, but once you see it, you'll never not see again. And these little dribbles were everywhere on the bodice. Ew.
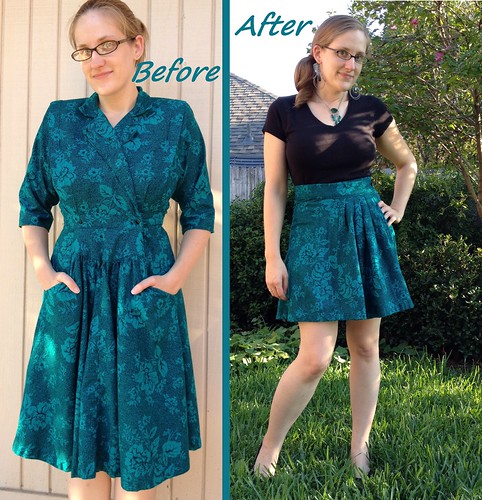
Ultimately, after the other emerald dress went according to plan, I decided to go for a fairly simple skirt with this one. Since the original dress only had two little buttons and no zipper, and I didn't have a matching zipper in my notions stash, I went with a wrap skirt. So I made a clean chop right below the pockets.
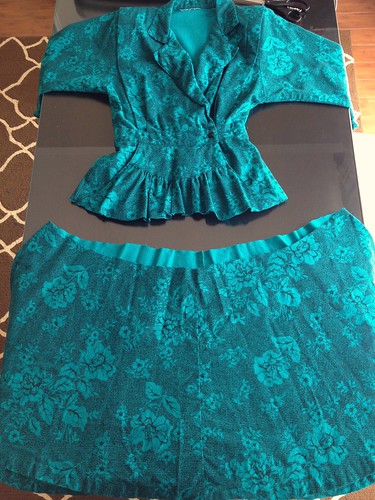
On the bodice, I picked out these weird wing-like pleats to salvage as much fabric as possible.
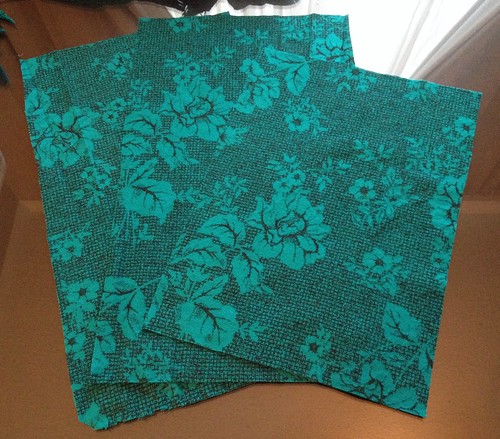
Then I cut apart the bodice and sleeves into their various pieces and ironed them all nice and smooth.

I cut several rectangles, about 8 inches wide and as long as I could.
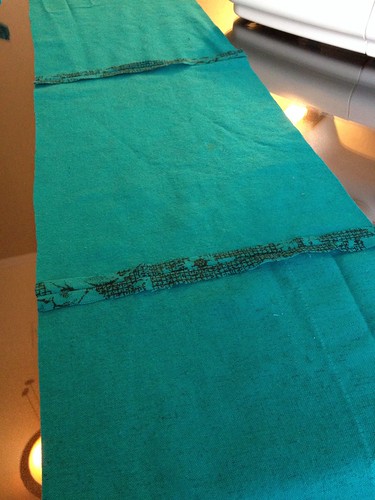
Then I joined those rectangles end-to-end.
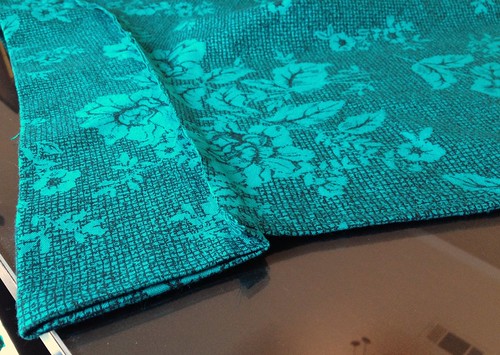
Turning my attention to the skirt, I cut it straight up the front.
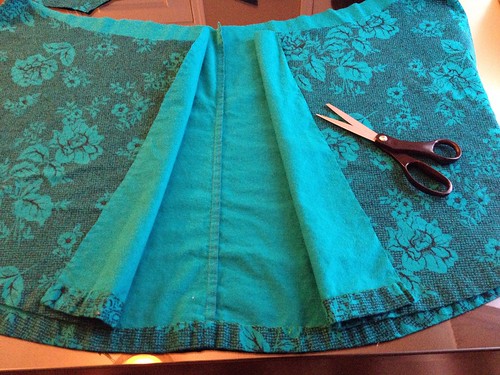
And I hemmed the new front edges.
Then I cut two tiny little nubbins from the scraps.
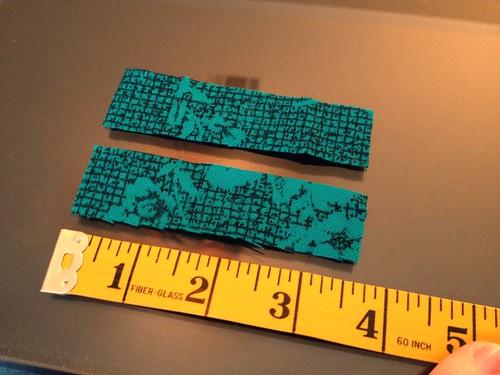
Each long edge was folded toward the center, then the whole thing was folded in half and sewn down. These will be my button loops.

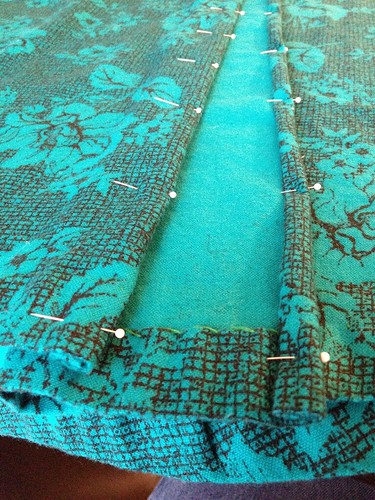
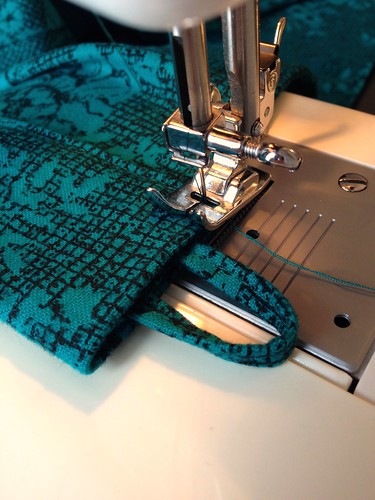
I folded my long joined rectangles in half and pinned them to the wrong side of the top edge of my skirt to form the waistband.
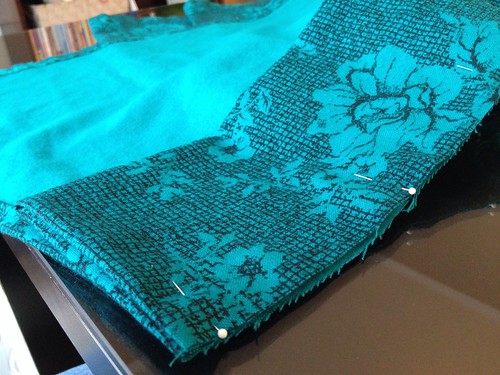
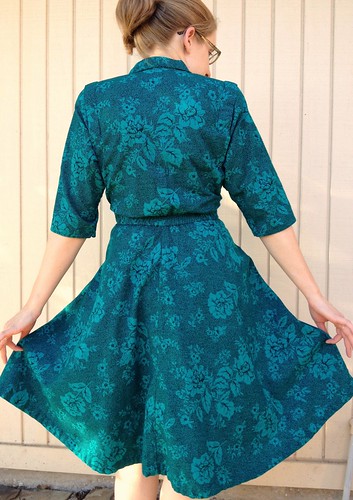
When I got to the end, I made several loose pleats in the skirt fabric before attaching the waistband.

Once that was stitched together, I pressed my waistband upward.
Then I folded the top edge down to meet the bottom edge and sewed another line of stitches along the waistband. This means my waistband is four layers thick for nice, sturdy foundation.

I inserted a button loop into each end before sewing them closed.
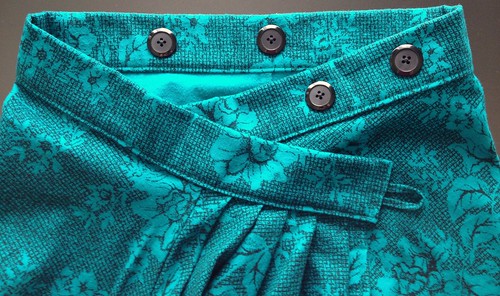
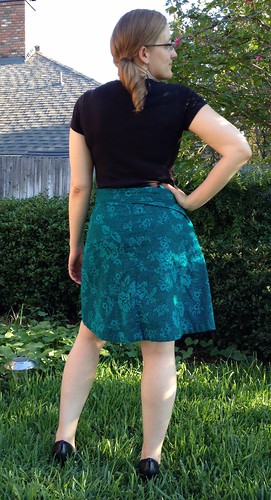
And finally, I hand-sewed on four buttons - two on the inside of the back of the waistband, and two on the outside, near the front.
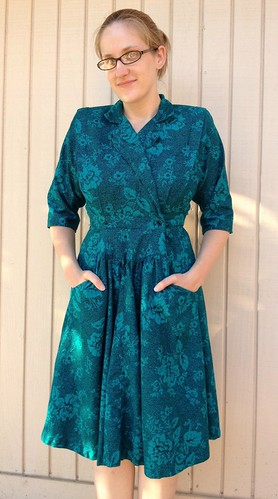
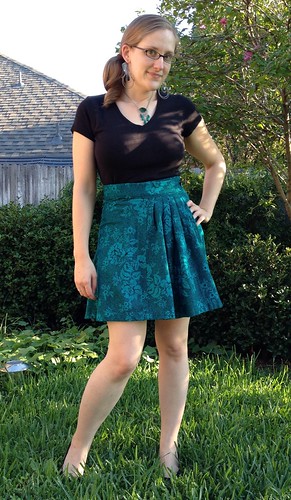
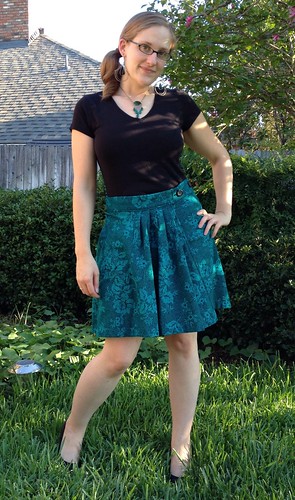
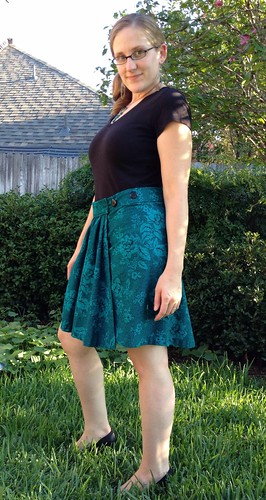
Having two set of buttons means my new skirt is adjustable. So I can wear it high-waisted...
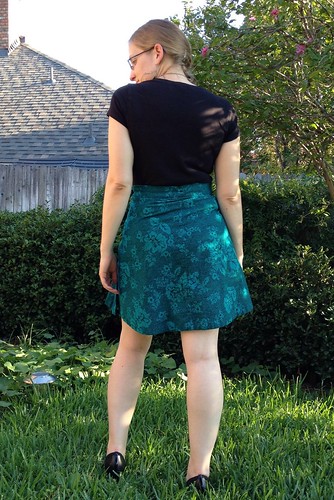
...or on my hips.
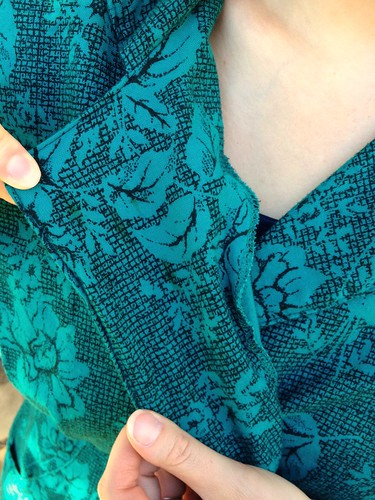
And how's about a close-up of those buttons and pleats, eh?
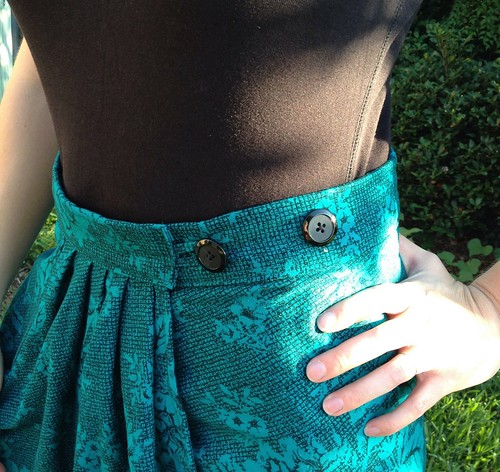
With the pleats in the front and the double buttons, it almost has a kilt-ish vibe, which I'm totally digging.

I love this! This refashion makes me want to run out and do the same sort of refashion now that you have shown us how :)
ReplyDeleteThank, Bonnie! I love to inspire others!
DeleteWell Done!!
ReplyDeleteThank you, Linda!
DeleteI really enjoy your posts. I appreciate you showing what you are doing as you sew. I'm trying to teach myself and find your clear directions really helpful, so thank you.
ReplyDeleteI discovered you on the Refashion Runway2, best of luck, you are very talented and you look great.
Thanks, Ingrid! I'm always glad to hear when someone actually gets something out my ramblings. It's good to know I'm not just typing to hear myself type. ;)
DeleteI *love* this! What a huge difference! I love how you added in the pleats. Very cool idea which I plan on borrowing some day! :) Lisa
ReplyDeleteThanks, Lisa! The pleats were actually sort of a last-minute addition when I realized I had enough fabric to wrap around me twice. I love happy accidents!
DeleteI like the pleats too!
ReplyDeleteI'm wondering when you pinned them, did you measure them or just eyeball them? I'm having such trouble with my refashions trying to measure everything, and I'm all thumbs and get frustrated ... Also, when you cut off the skirt part, did you measure to make sure it was all the same length? (See previous sentence about frustration :)) Thanks for any insights you can give.
I just eyeballed the pleats. I did try to get them roughly even, and there were a couple instances of unpinning-and-repinning when I hadn't pleated enough and my skirt was still longer than my waistband.
DeleteI did measure on the skirt length though. I measured from the hem up to the bottom edge of the pockets, and then repeated that measurement all the way around.
Good luck!
Ooh you made it so much cuter! I can't believe you found such a perfect emerald dress to work on! It looks great!
ReplyDeleteThere were multiple trips to at least three different thrift stores over the span of a couple weeks. As it turns out, it can be pretty difficult to find today's trendy colors in yesterday's fashions!
DeleteBeautiful!
ReplyDeleteWow, What a Excellent post. I really found this to much informatics. It is what i was searching for.I would like to suggest you that please keep sharing such type of info.Thanks Wettbonus
ReplyDelete