Saturday, March 31, 2018

Stonefeather

Stonefeather

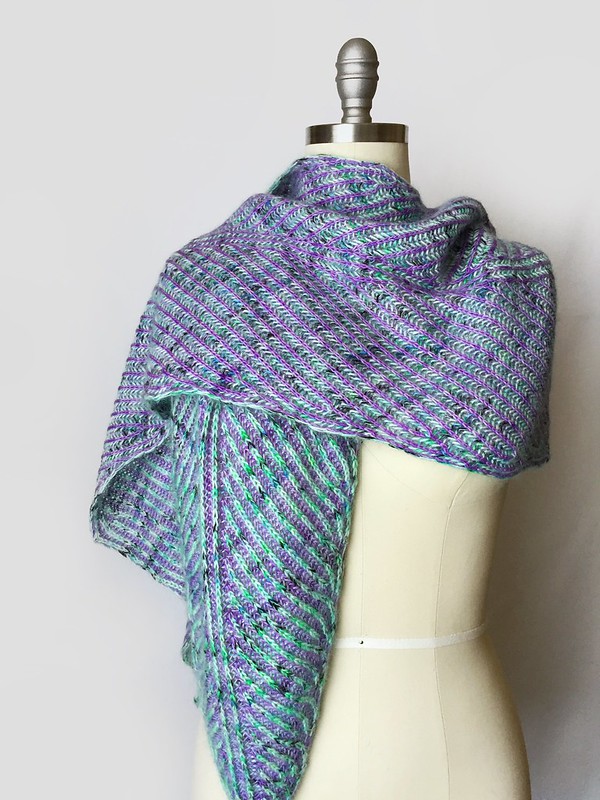
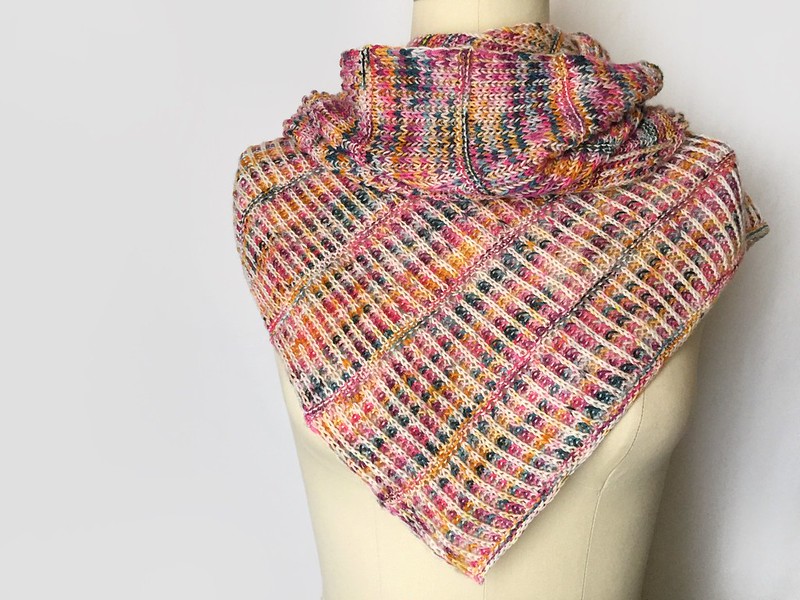
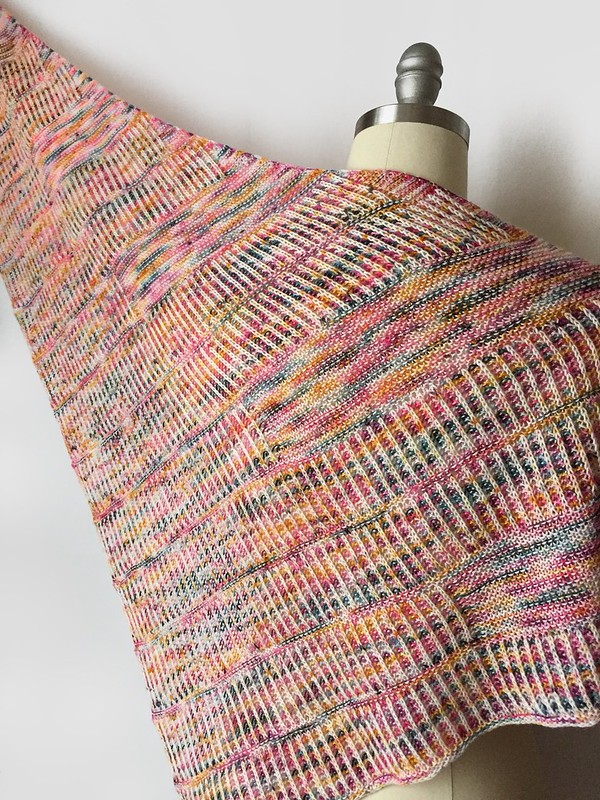
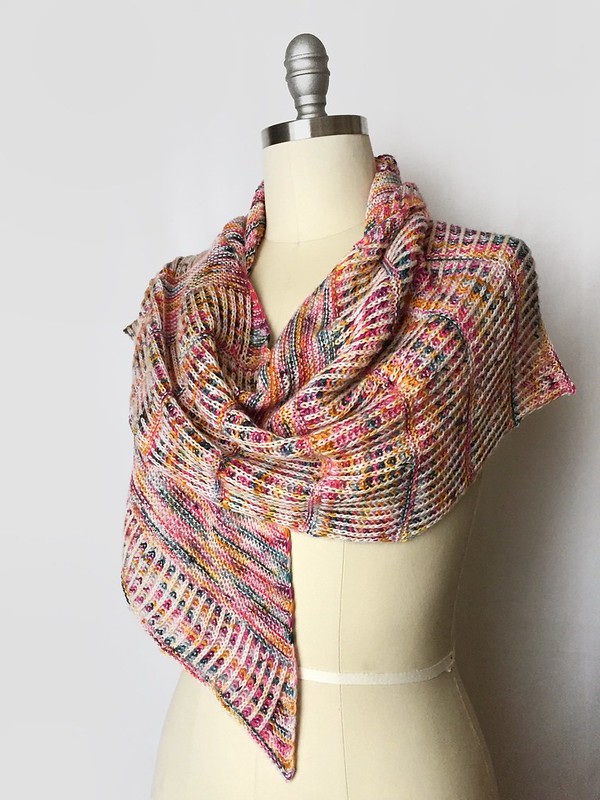
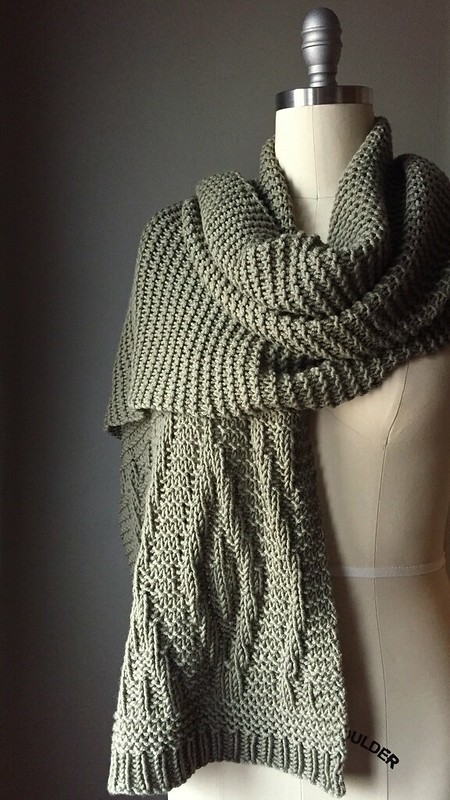
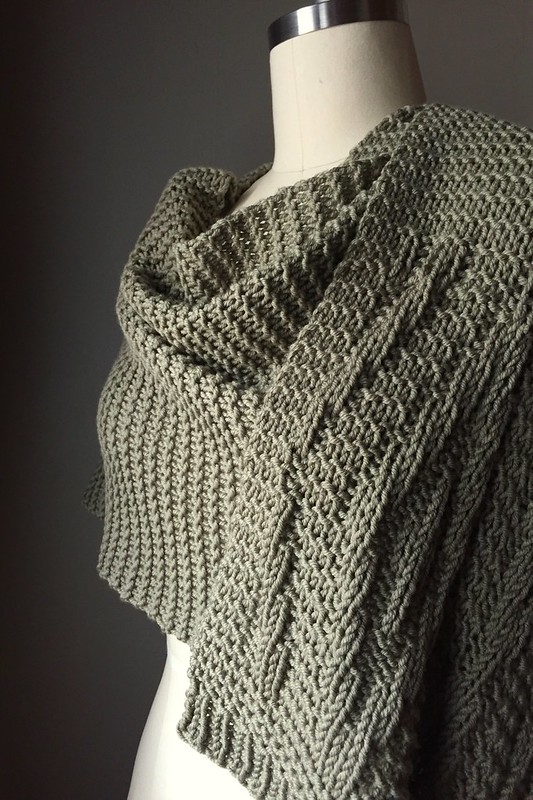
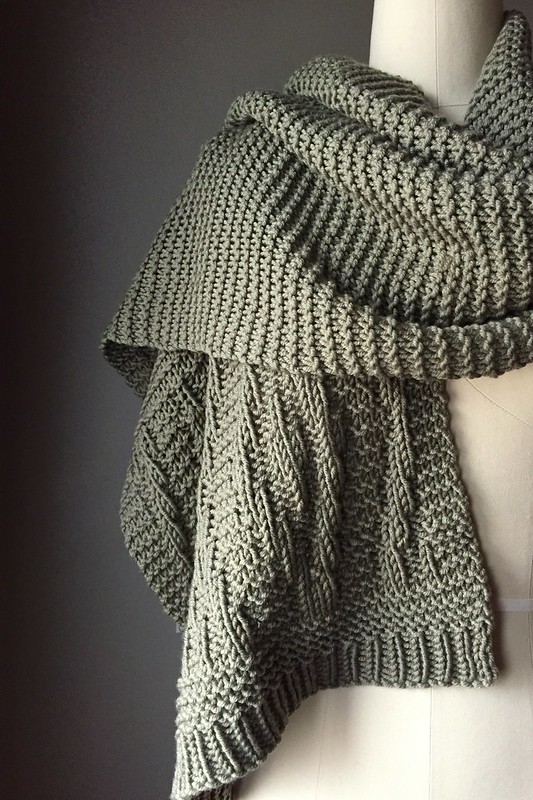
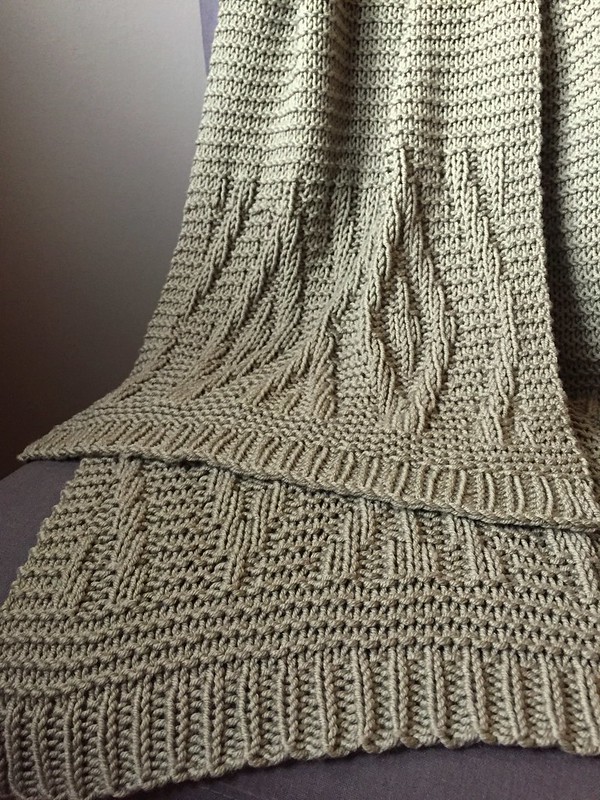
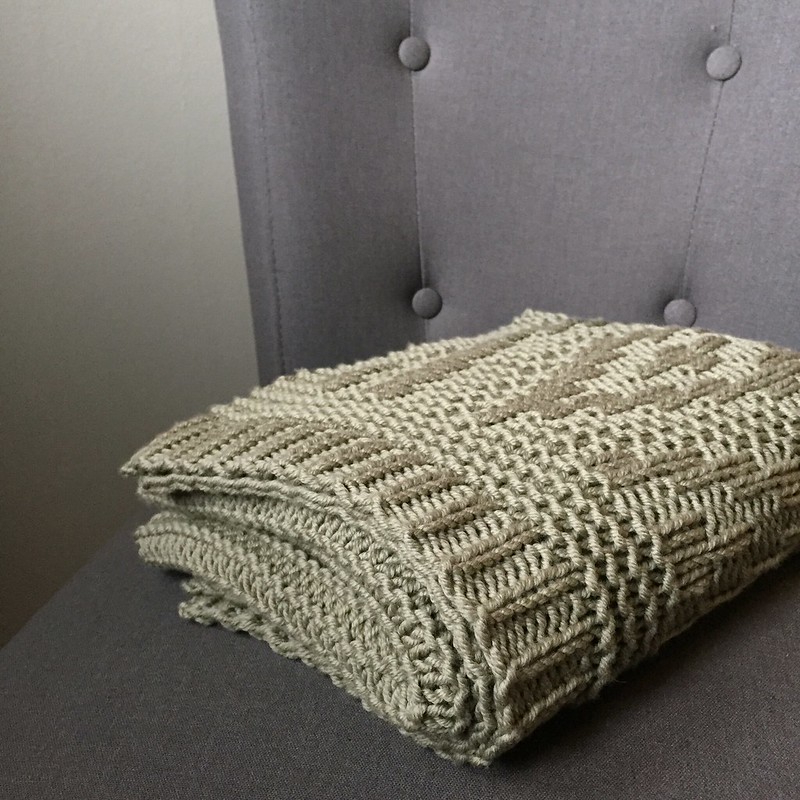
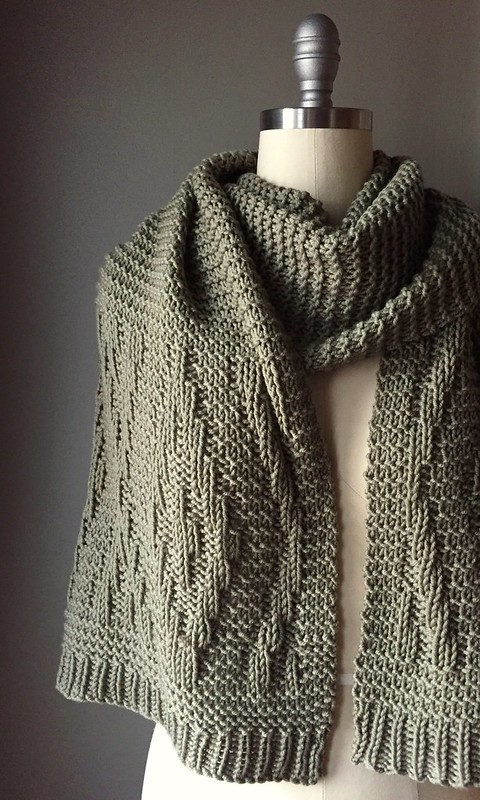
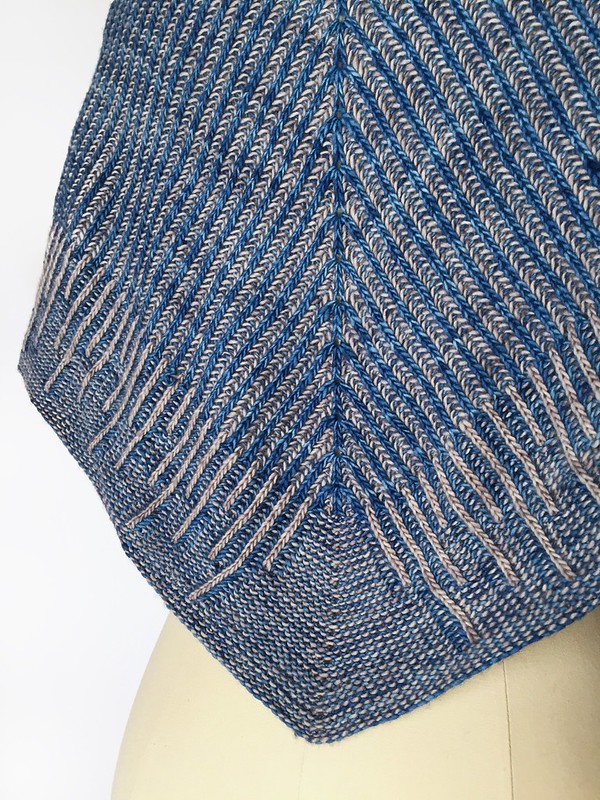
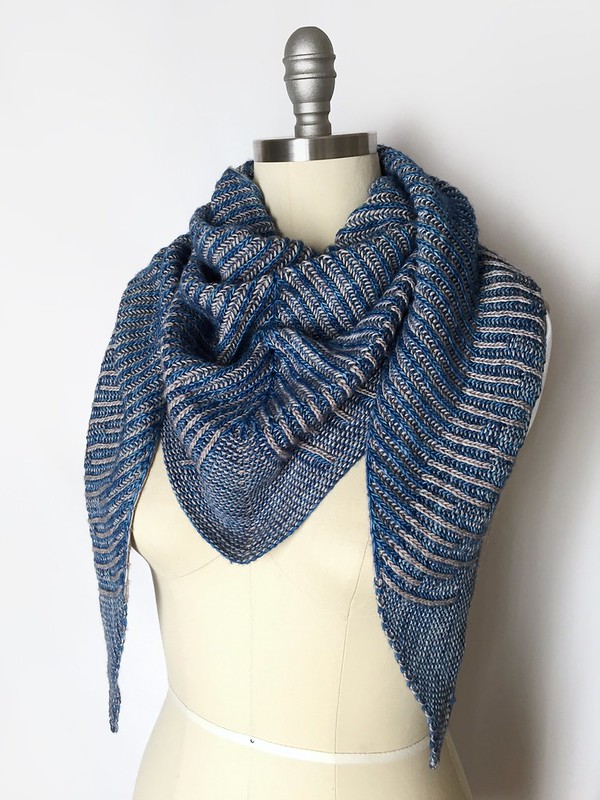
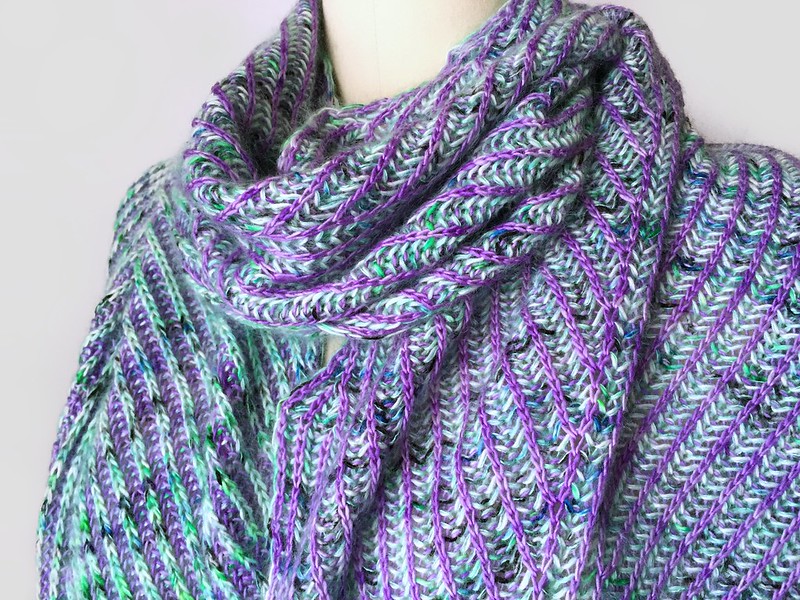
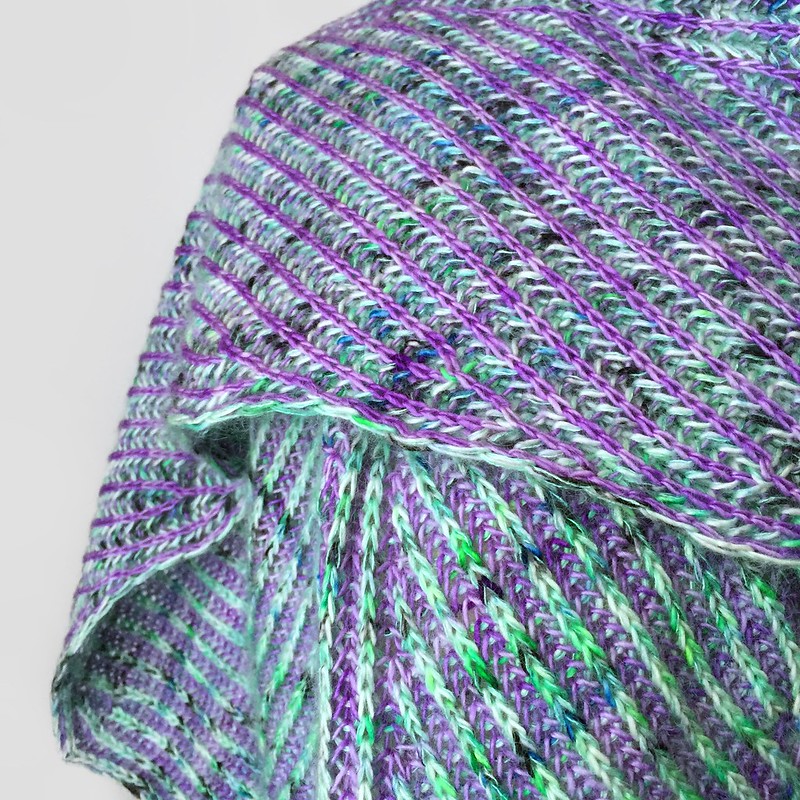
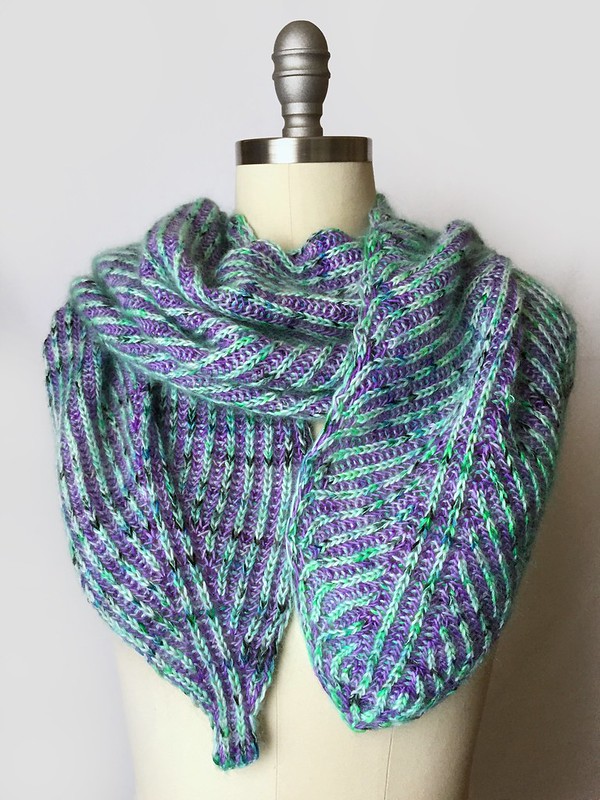
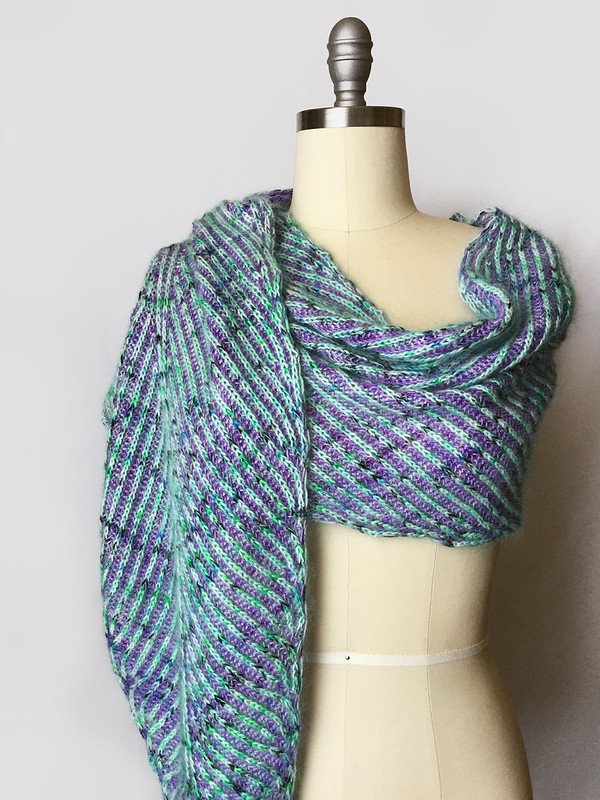
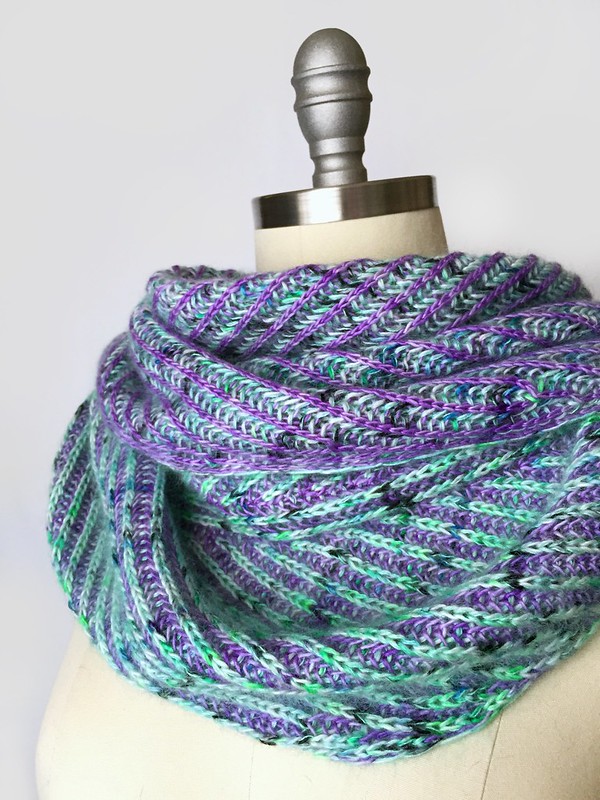
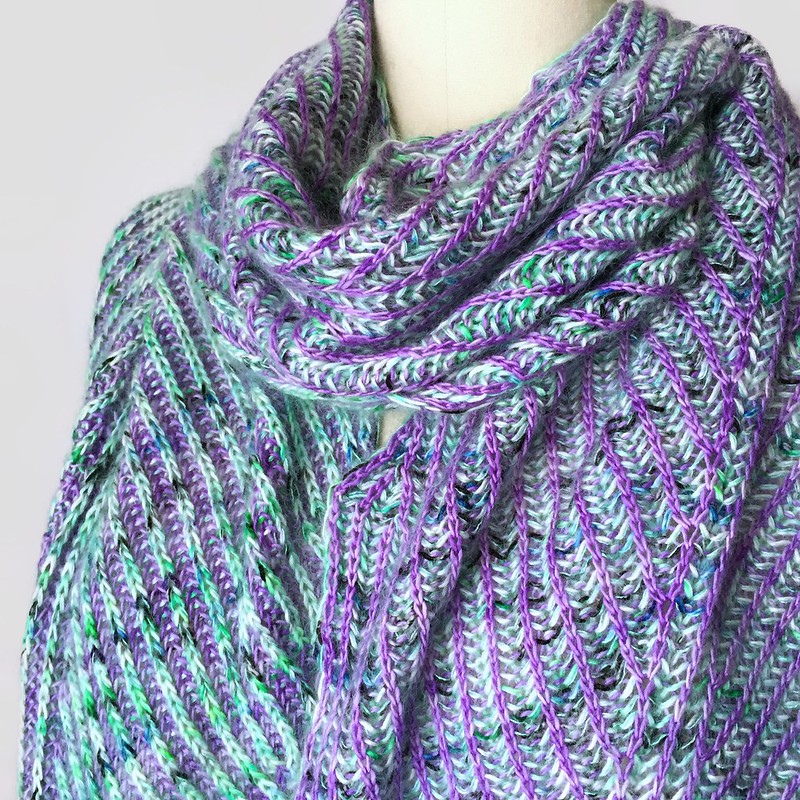
I often draw inspiration from nature for many of my designs - some subtly so, some not so subtle. Today's newly released shawl pattern falls into the latter category. Or perhaps it floats into it, slowly and gracefully like, oh I don't know, a giant feather maybe. That's right. I've designed this shawl to resemble a huge feather, with a center spine and lots of little barbs/hairs shooting outward.
StonefeatherStonefeather

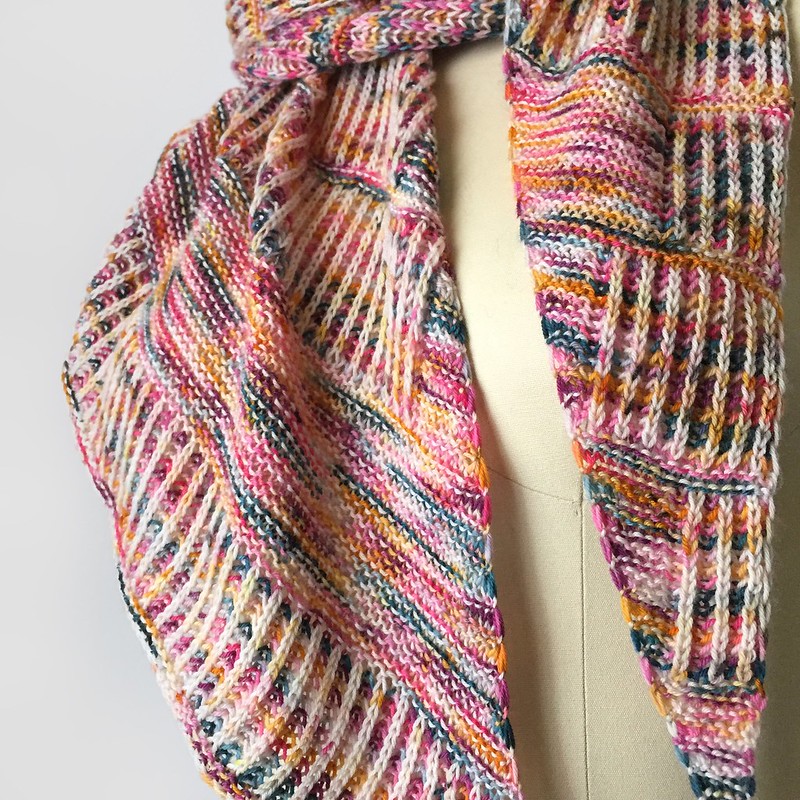
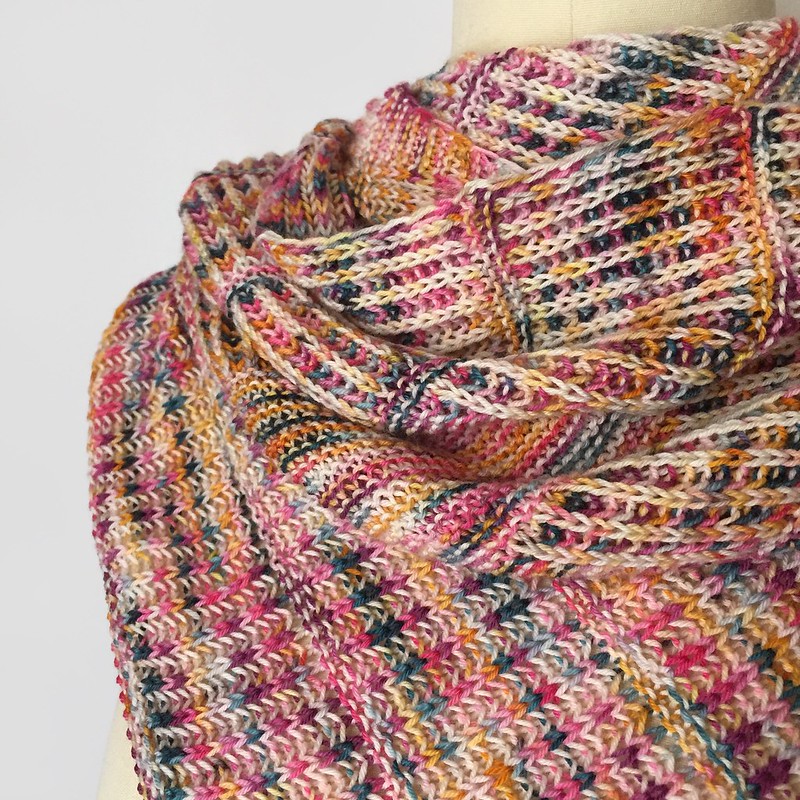
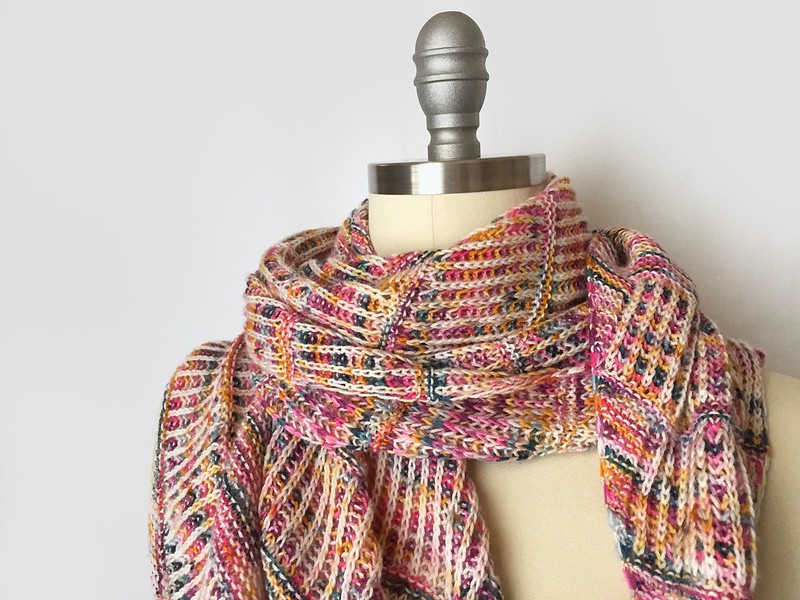
This was a collaboration with the guys over at Leon Alexander Yarns, using two colors of their Heir single-ply fingering weight merino, one of which was held together with a single strand of their Heiress laceweight mohair/silk blend. They and their yarns were truly a pleasure to work with! The loose gauge and mohair halo give the shawl a soft, lofty, weightless feeling that might make you wish you could glide away on the breeze. And of course, being bi-color brioche, it's completely reversible! Purple with green on one side, green with purple on the other - or whatever marvelous color combination you fancy.
StonefeatherStonefeather

New to brioche? That's ok! This pattern would make a great intro to the brioche technique, with plenty of plain ribbing to practice the basics in between some simple shaping rows where you'll learn how to increase and decrease in this stitch pattern. So what are you waiting for?

SIZE
One size, easily adjusted

FINISHED MEASUREMENTS
Length: 84 inches
Width: 14 inches

GAUGE (after blocking)
16 sts/20 rows = 4 inches in brioche rib

MATERIALS
Fingering weight yarn, approximately 430yds/423m each of two colors
Leon Alexander Yarns Heir [100% merino; 430yds/423m per 100g skein]:
DC: Deadly Nightshade; 1 skein
LC: Haunted; 1 skein

Laceweight mohair yarn to be held double with LC (optional)
Leon Alexander Yarns Heiress [70% mohair, 30% silk; 460yds/421m per 50g skein]: Hemlock Root; 1 skein
US #4/3.5mm circular needle
2 stitch markers
Tapestry needle

Buy now on Ravelry!
StonefeatherStonefeather

Saturday, March 10, 2018

Sound Check

Sound Check

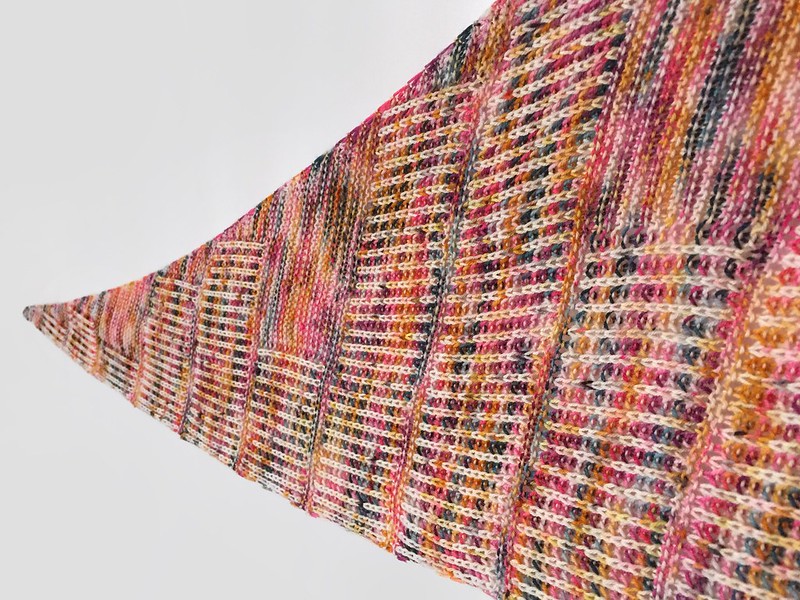
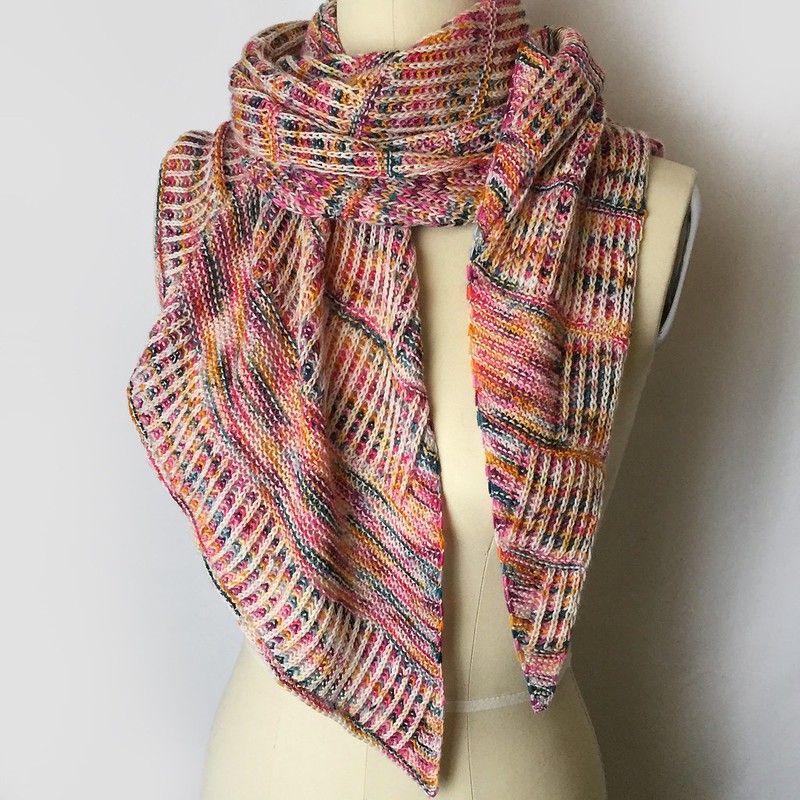
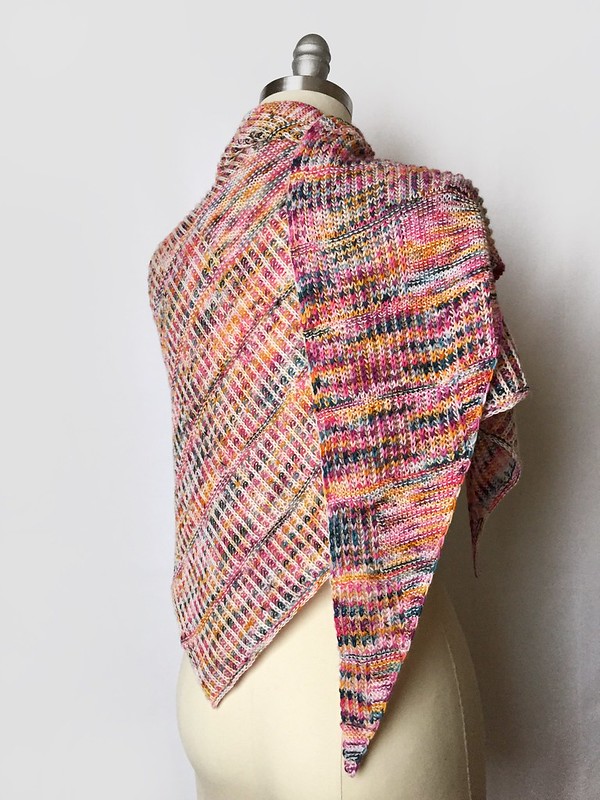
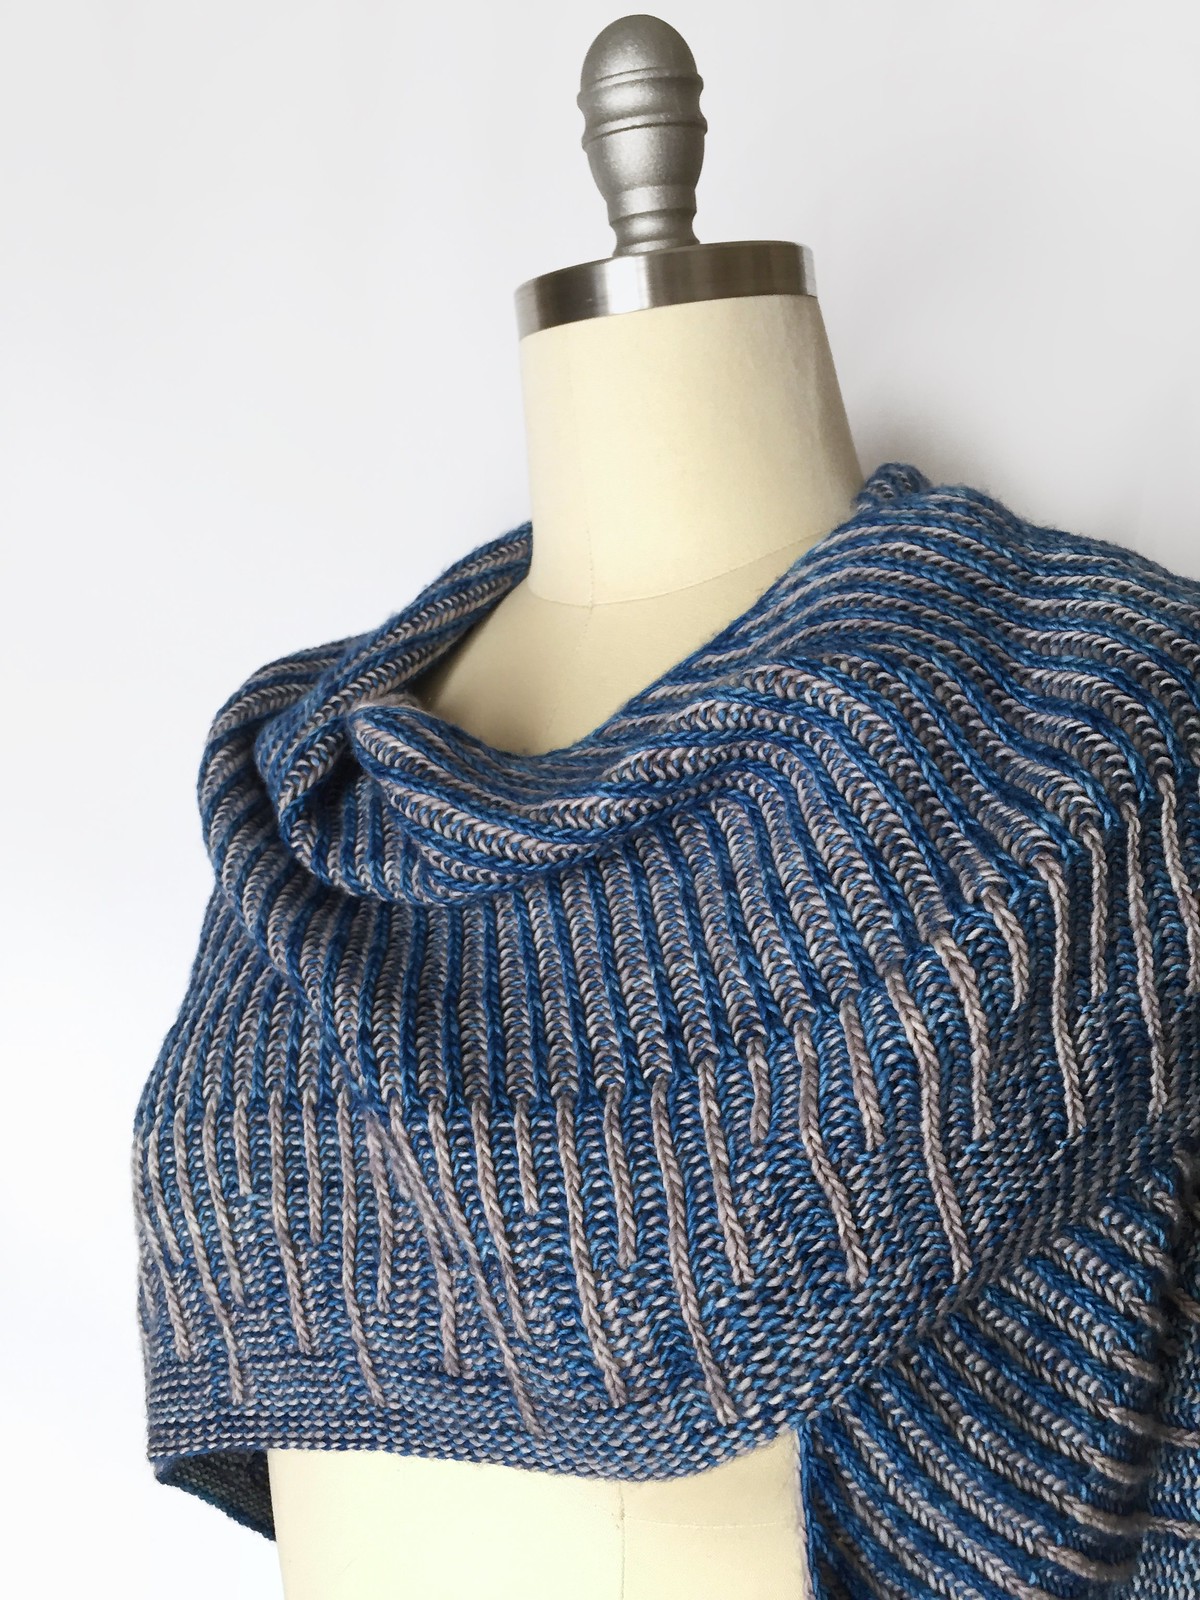
My latest design is now available for purchase through Ravelry! I'd like you to say hello to Sound Check. She's an asymmetric triangle shawl, worked from side-to-side in expanding sections of bi-color brioche on a garter stitch background, meant to mimic volume bars on a digital read-out. As written, two-thirds of the volume bars are to the max, but every 3rd bar is only half as loud (i.e., tall). Once you see how it's done though, it's super easy to customize to your preferred sound level by simply making each bar taller or shorter as you please. The overall size of the shawl is also easily adjusted by working more or fewer volume bars before bind off, or by switching up the yarn weight and gauge.

Sound CheckSound Check
Sound Check

This design was a collaboration with Abby and Byron at Twisted Owl Fiber Studio. They - and their yarn - were such a pleasure to work with! Their Super Sock base has maximum squoosh and is available in a vibrant array of colors. They have a couple different options of kits with two colors already paired up for you, or feel free to choose your own. Pick two highly contrasting colorways for the bi-color brioche to really pop, or a more subtle set to let the texture do the talking.

Sound CheckSound Check

SIZE
One size, easily adjusted

FINISHED MEASUREMENTS
Span: 68 inches
Height: 27 inches
MATERIALS
Fingering weight yarn, approximately 463yds/423m each of two colors
Twisted Owl Fiber Studio Super Sock 4-Ply [75% merino, 25% nylon; 463yds/423m per 100g skein]
LC: Rocker Chick; 1 skein
DC: Technicolor Cowgirl; 1 skein
US #2.5/3mm circular needle
2 stitch markers
Tapestry needle

GAUGE (after blocking)
18 sts/24 rows = 4 inches in brioche rib
20 sts/40 rows = 4 inches in garter stitch

Buy now on Ravelry!
Sound Check

Sunday, February 25, 2018

Curtain Call

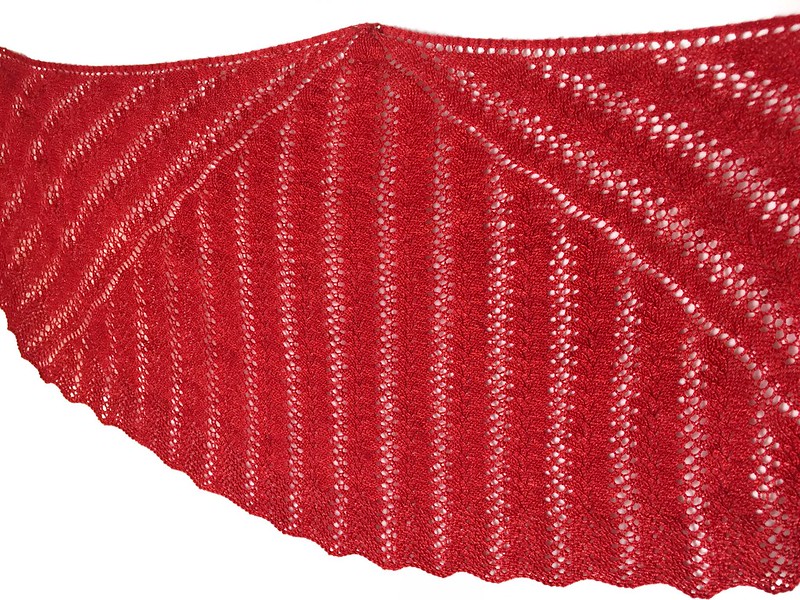
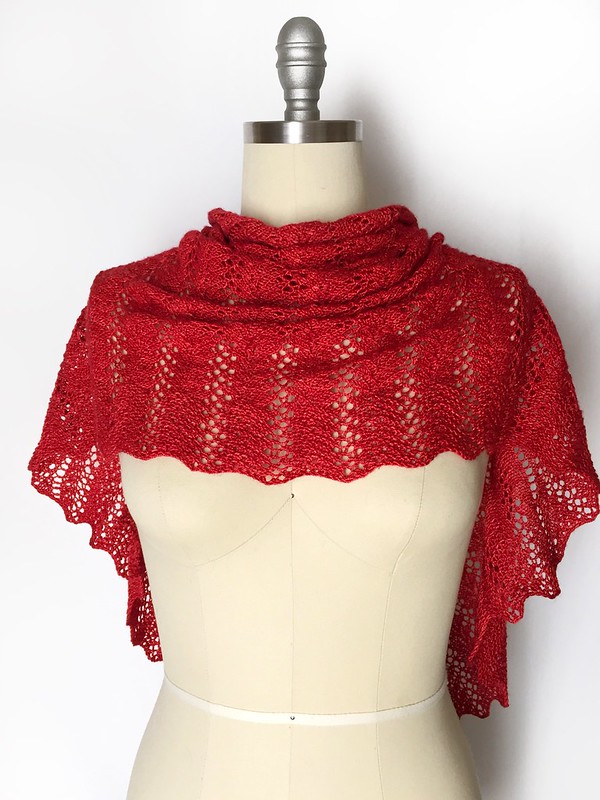
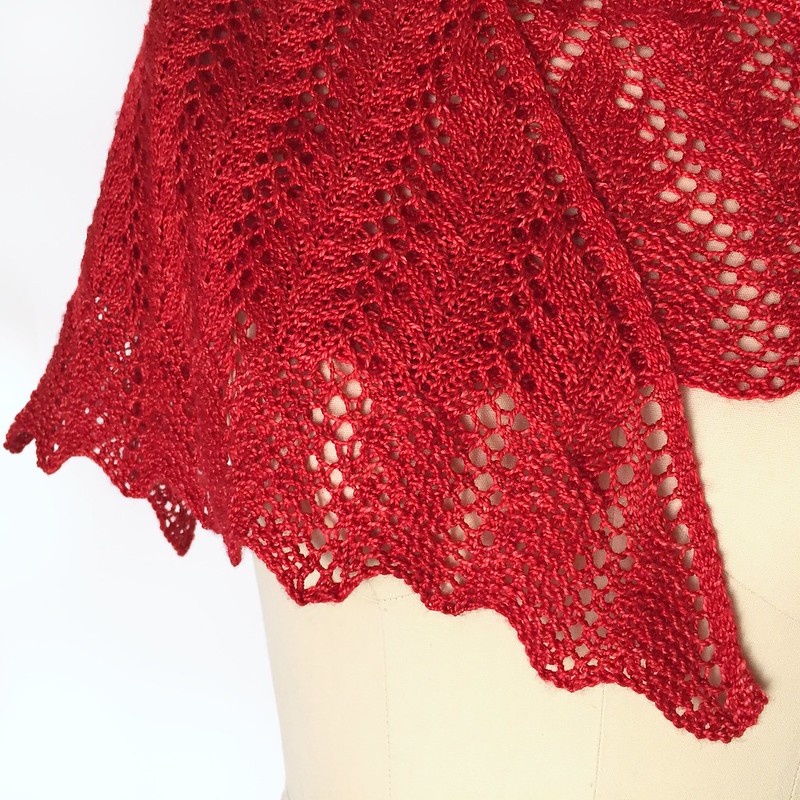
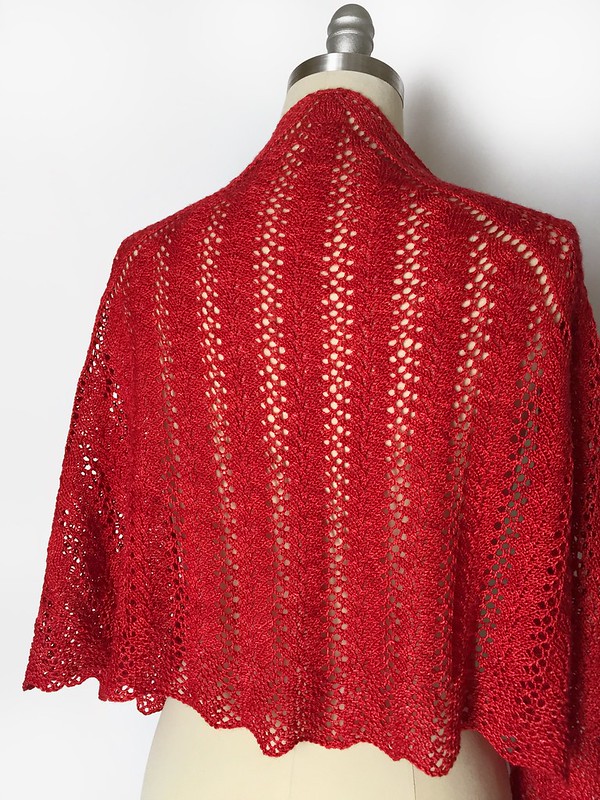
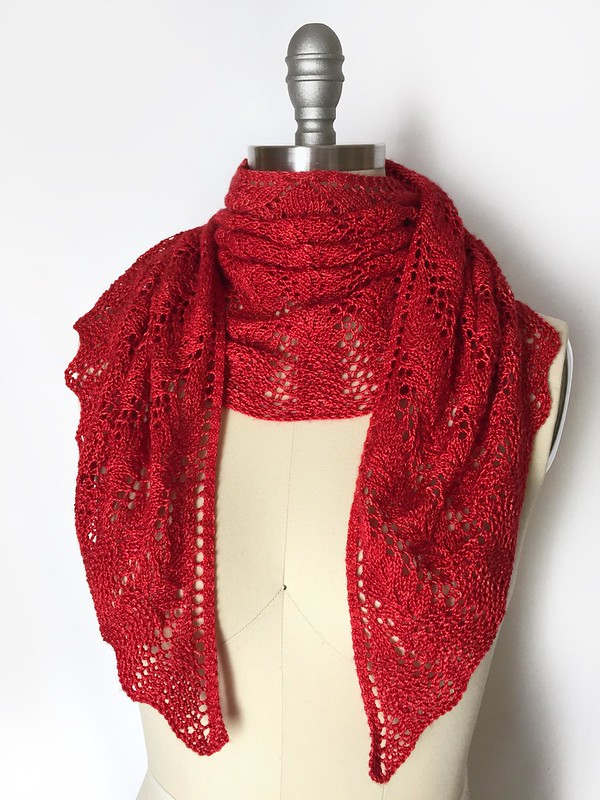
I'm so thrilled to share with you my latest pattern, a collaboration with the fine fellas at Leading Men Fiber Arts. They generously provided a skein of their Diva merino/silk base and sent me spiraling into a nostalgic fog of high school theatre memories. I took inspiration from that iconic red velvet curtain that graces so many stages. Diva's silk content contributes just the right amount of sheen and depth to give it that velveteen appearance, and its lovely drape calls to mind the folds of fabric cascading down in front of the scenery and pooling at the actors' feet.

Curtain Call

Beginning at the top center, this shawl slowly unfolds into two side panels with a larger vertical panel in the middle. The pattern primarily utilizes charts, but the lace is fairly easily memorized after a couple repeats. It's also quite easy to adjust the overall size by simply working more or fewer repeats of the lace pattern, so feel free to make it your own!

Curtain CallCurtain Call

SIZE
One size, easily adjusted

FINISHED MEASUREMENTS
Span: 60 inches
Height at center: 20 inches

MATERIALS
Fingering weight yarn, approximately 600yds/549m
Leading Men Fiber Arts Diva [80% merino, 20% silk; 600yds/549m per 150g skein]; color: Out Damn Spot!; 1 skein
US #3/3.25mm circular needle
2 stitch markers
Tapestry needle

GAUGE (after blocking)
23 sts/32 rows = 4 inches in lace pattern

Buy now on Ravelry!
Curtain CallCurtain Call

Monday, February 05, 2018

Plum Dandi Knits

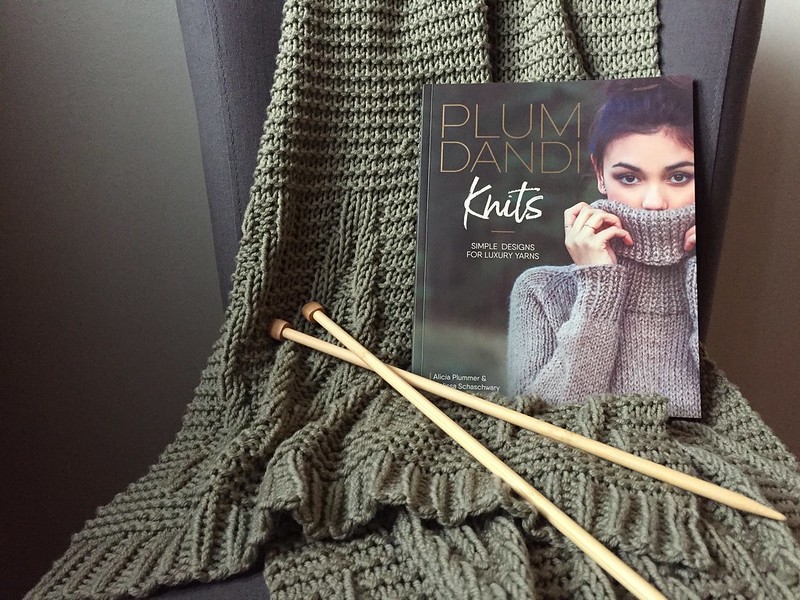
Today, I'd like to introduce you to the latest addition to my knitting library, Plum Dandi Knits by Alicia Plummer and Melissa Schaschwary. The subtitle says it all really: Simple Designs for Luxury Yarns. It's chock full of classic garments and accessories that allow those precious fibers you've been hoarding to do all the work, while you relax and knit the night away.

Prescott Wrap

I couldn't stop myself flipping through this book as soon as I received it, debating which lovely design to make for myself. The Bretton Woods cowl? The Ramsey shawl? The Keene pullover? The Sawyer cowl? There were too many to narrow down!

Prescott WrapPrescott Wrap

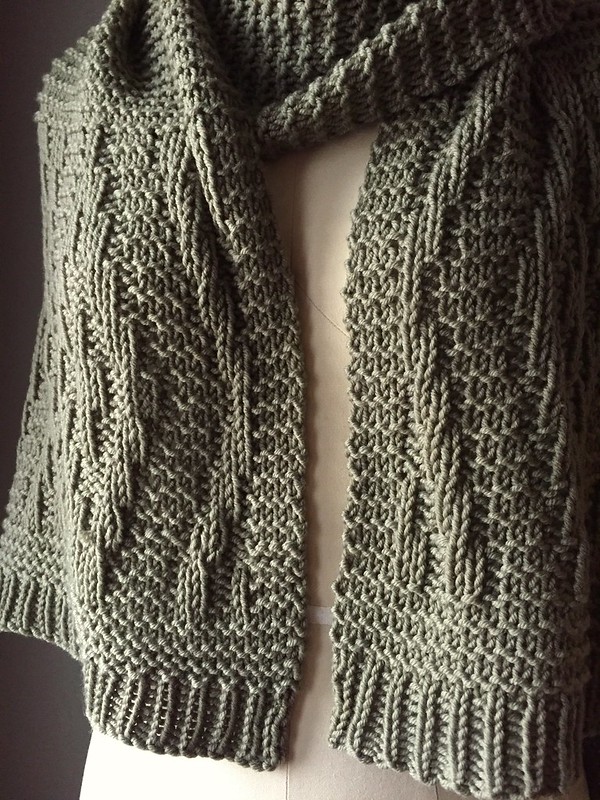
So, as I often do, I opened up Ravelry to search my stash for appropriate yarns. When I noticed the Prescott wrap called for 655 yards of chunky weight, and I happened to have 656 yards of Debbie Bliss Rialto Chunky in my stash... well, it was kismet.

Prescott WrapPrescott Wrap

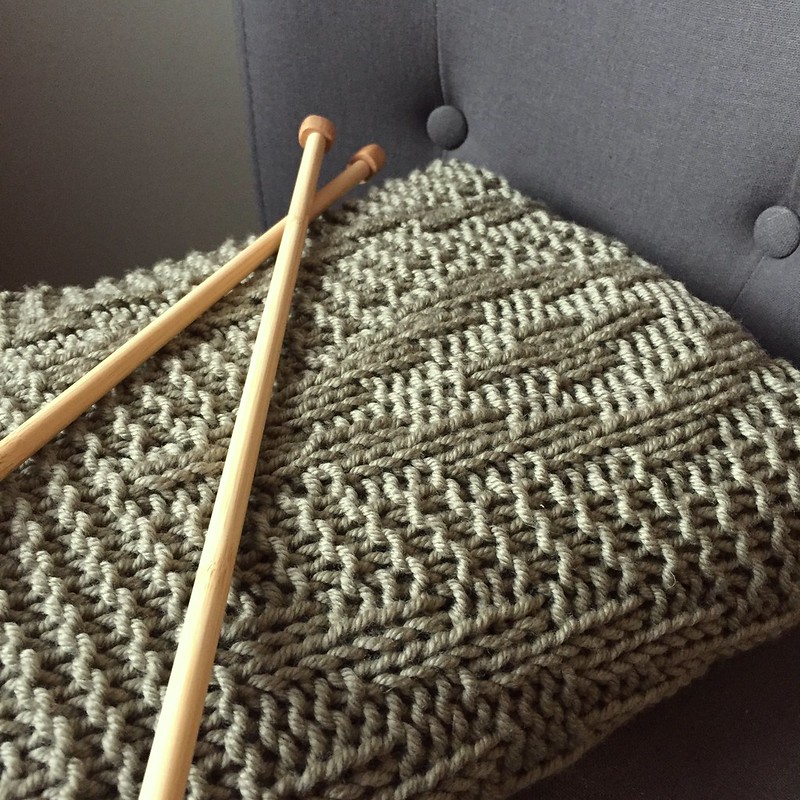
As promised, the pattern was straight forward and easy to follow. In the first evening, I blazed through the chart at the beginning. A simple combination of knits and purls, even the greenest knitter could handle this one. No cables, or lace, nothing too complicated - the perfect project if you're just learning to read knitting charts (or if you're a more advanced knitted looking to keep you hands busy while allowing your mind to wander).

Prescott WrapPrescott Wrap

After that, it was smooth sailing in garter stitch for the majority of the pattern. As the weather cooled over the coming weeks, this project grew and grew, creating a fantastic lap blanket for fireside knitting. And now that it's complete, it's the ideal shoulder wrap for those chilly days to come. Now which pattern to make next...

Prescott WrapPrescott Wrap

Monday, January 22, 2018

Fire and Ice

This week, I'm celebrating the release of not one, but two new knitting patterns! And from now through the end of January, you can get 50% off these new patterns when you purchase both of them. That's two for the price of one! No coupon code required!

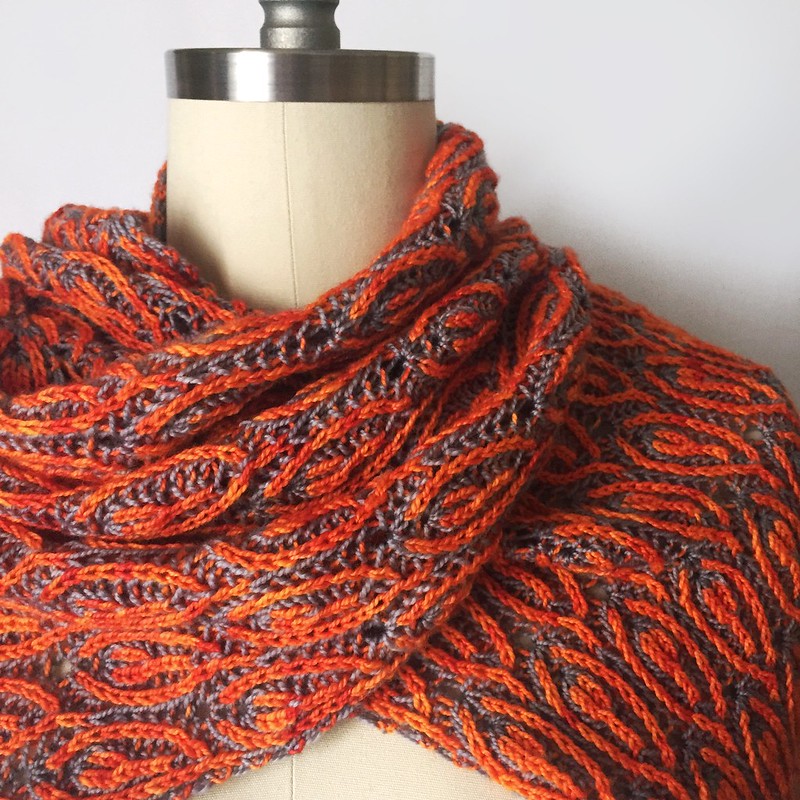
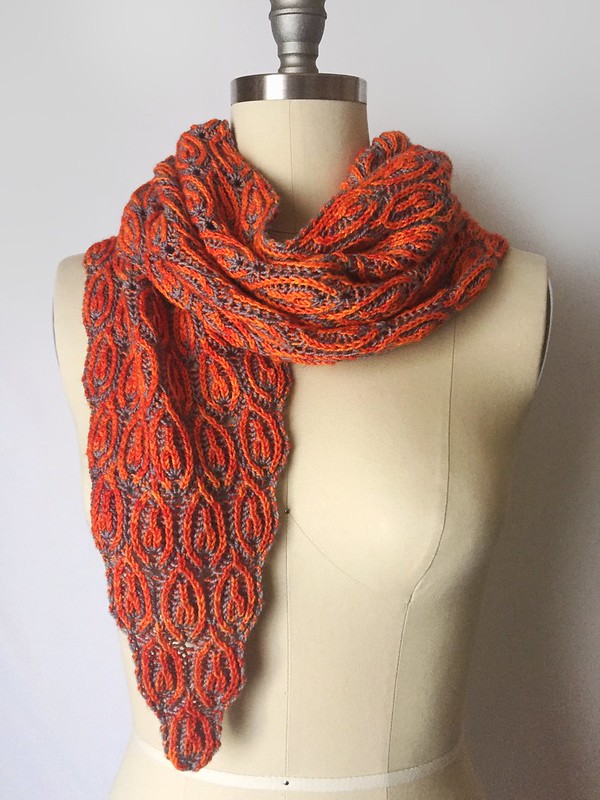
First, I'd like you to meet Spitfire. She's a saucy little minx with a quick wit and a sharp tongue, born of smoke and dragon's breath. No, really. The yarn is A Hundred Ravens' Iachos base in the Smoke and Breathing Fire colorways. Seriously gorgeous stuff!

Spitfire Shawl

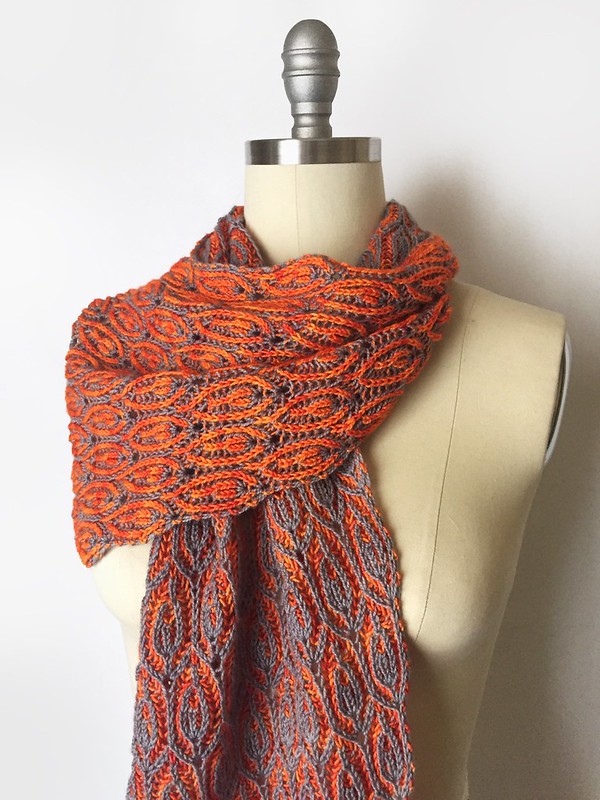
The design features a brioche motif of my own devising, perhaps not for the faint of heart but well worth the reward for those up to the challenge! The scarf begins at one tip and increases to the full width of the scarf, which you can easily customize if you like. Then you work even to the given length (or whatever length you desire) before decreasing back to a point again.

Spitfire ShawlSpitfire Shawl

I like how the reverse side almost looks like dragon scales too, to complement the flames on the front. I'd love to see someone whip this up in shades of green though. I bet those flames would translate really well into leaves for a junglesque scarf instead.

SIZE
One size, easily adjusted

FINISHED MEASUREMENTS
Length: 72 inches
Width: 11 inches

GAUGE (after blocking)
18 sts/25 rows = 4 inches in basic bi-color brioche rib

MATERIALS
Fingering weight yarn, approximately 400yds/366m each of two colors
LC: A Hundred Ravens Iachos [100% merino; 400yds/366m per 100g skein]; color: Breathing Fire; 1 skein
DC: A Hundred Ravens Iachos [100% merino; 400yds/366m per 100g skein]; color: Smoke; 1 skein

US #3/3.25mm circular needle
Tapestry needle

Get more details about Spitfire on Ravelry!
I'd also like to introduce Winter's Eave - another brioche design to keep you warm until all those icicles melt. This is a bit more straight forward than the first and will give you plenty of time to get used to the rhythm of brioche before mixing things up a bit for the border.

Winter’s Eave

The Malabrigo Mechita single ply is simply luscious, and while the Impressionist Sky and Pearl colorways were used in the sample to evoke wintry vibes, I could see this being worked up in black or grey paired with a neon to resemble paint dripping at the edges.

Winter’s EaveWinter’s Eave

SIZE
One size, easily adjusted

FINISHED MEASUREMENTS
Span: 72 inches
Height at center: 24 inches

GAUGE (after blocking)
17 sts/28 rows = 4 inches in brioche rib

MATERIALS
Fingering weight yarn, approximately 420yds/384m each of two colors
LC: Malabrigo Yarns Mechita [100% merino; 420yds/384m per 100g skein]; color: 36 Pearl; 1 skein
DC: Malabrigo Yarns Mechita [100% merino; 420yds/384m per 100g skein]; color: 806 Impressionist Sky; 1 skein

US #3/3.25mm circular needle
5 stitch markers (1 removable)
Tapestry needle

Check out Winter's Eave on Ravelry!
Sunday, December 24, 2017

Christmas Quickie

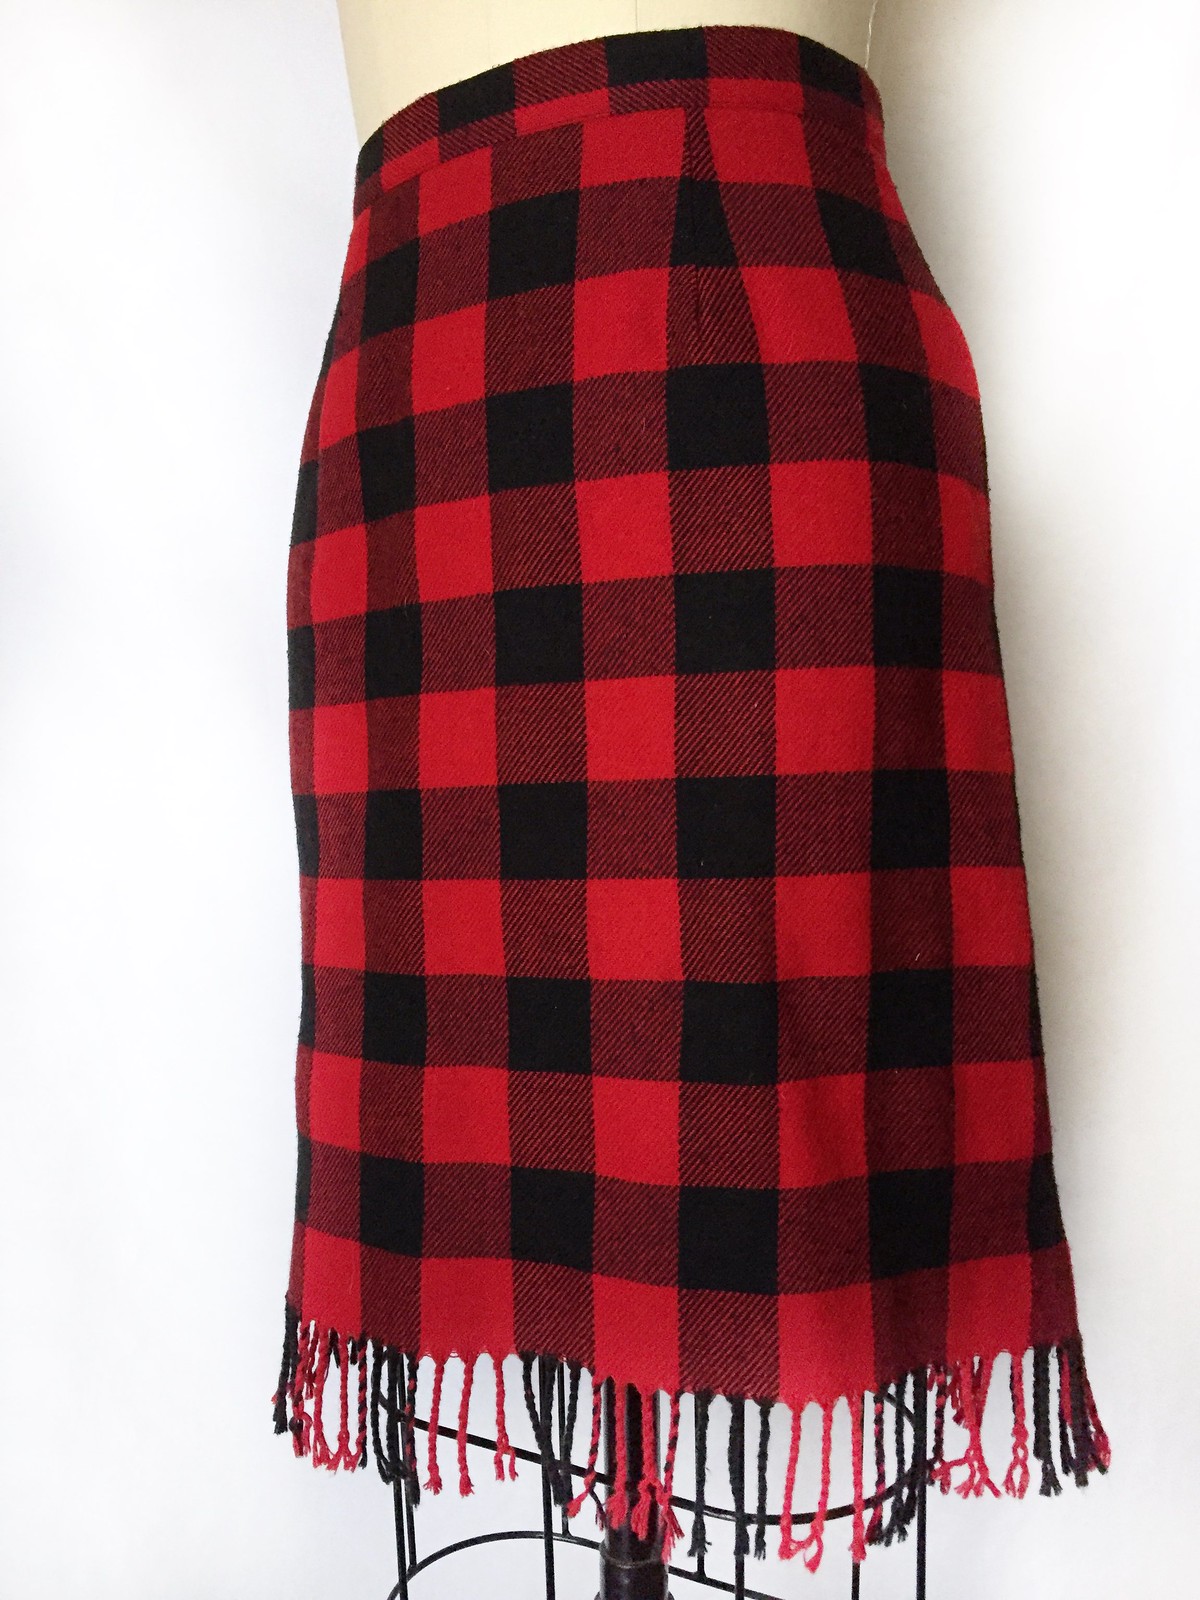
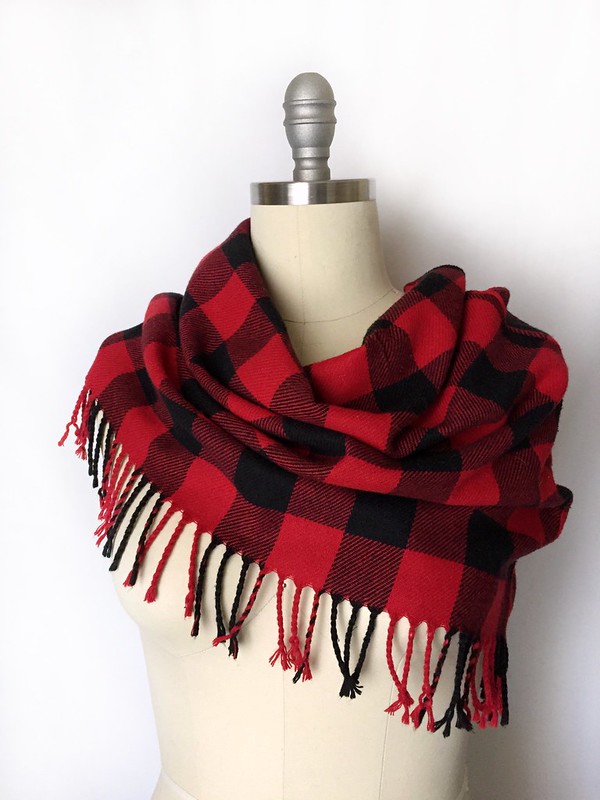
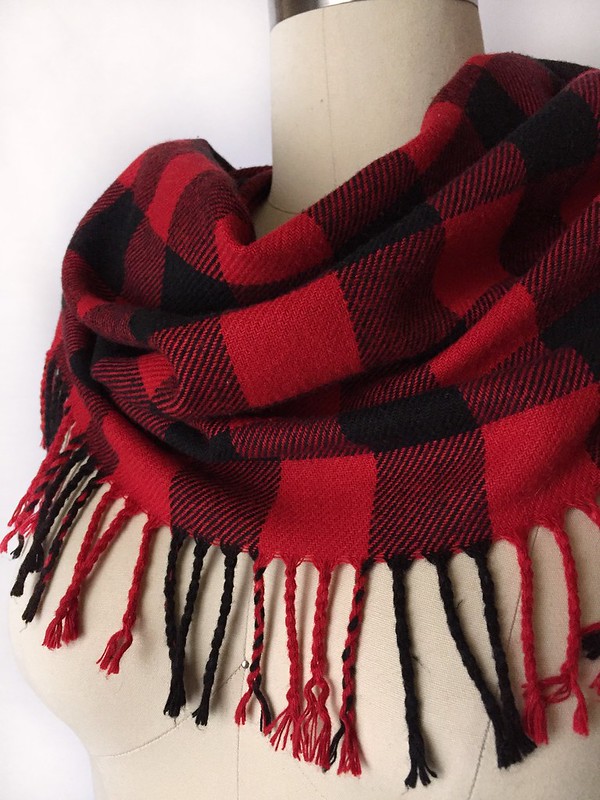
Whilst digging through my craft closet for gift wrap yesterday, my eyes instead fell on this buffalo plaid skirt. It's been hanging in there for months (years?) now, but for some reason, on this particular day, the sight of it gave me the immediate urge to sew something. I had no doubt, when I came across it at a clothes swap, that its soft wool blend fabric and pre-fringed edging would make a perfect winter accessory. Now was finally the time to make that happen!
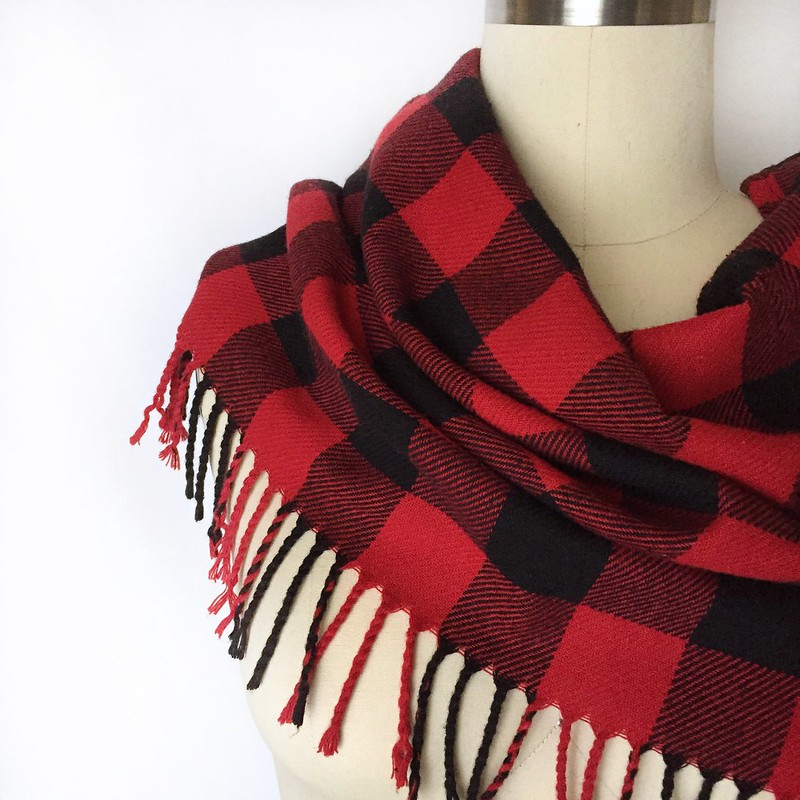
Buffalo Plaid Cowl - Before

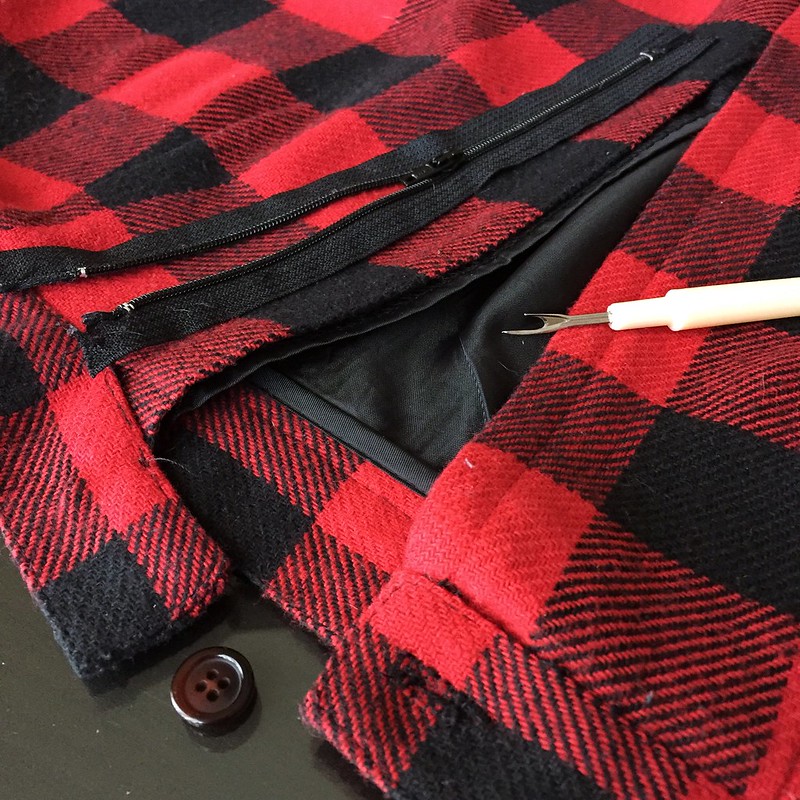
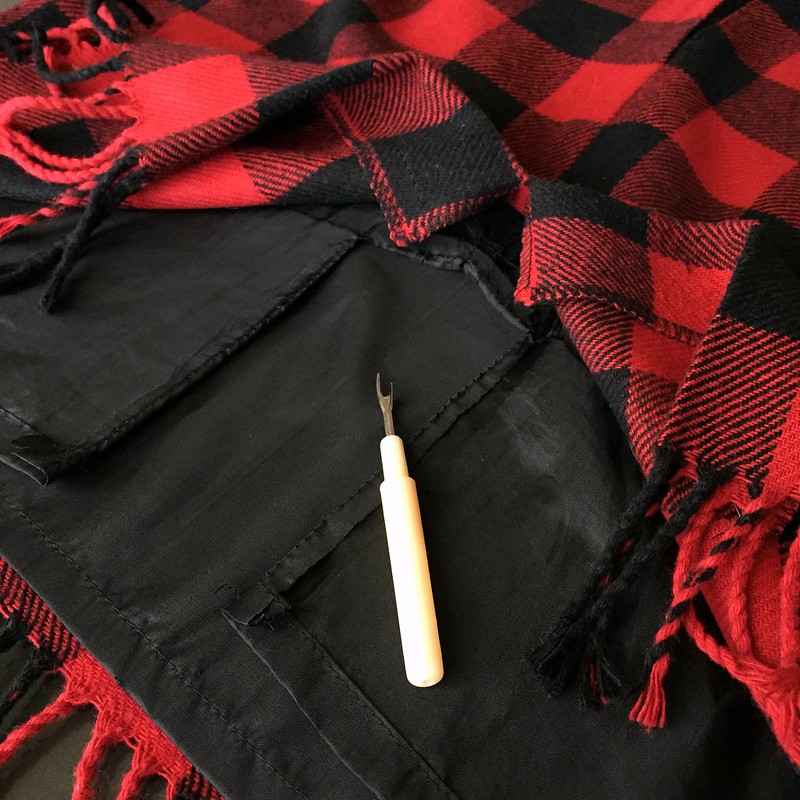
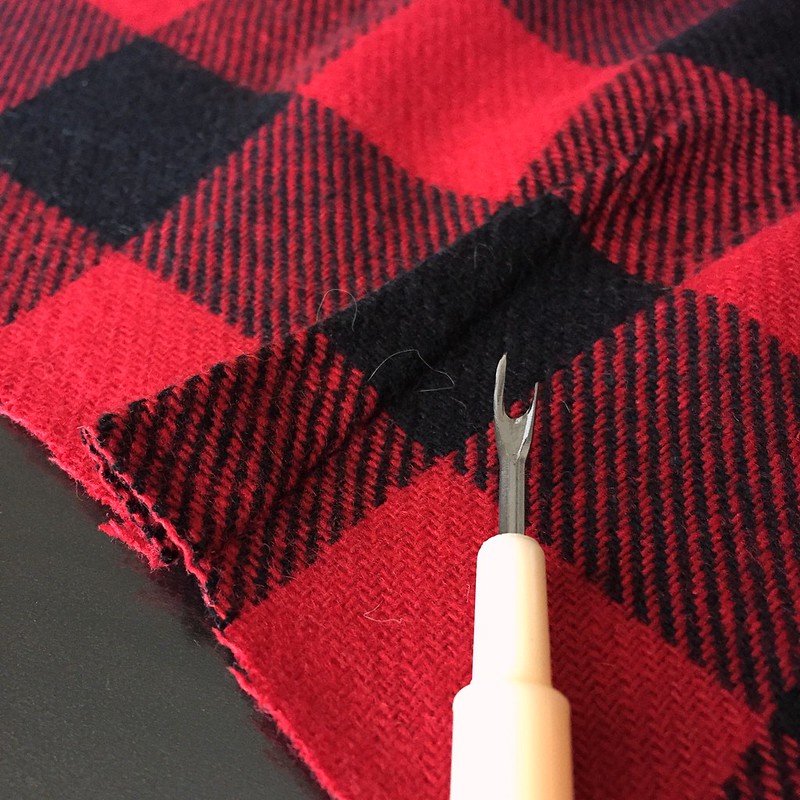
First, I used my seam ripper to salvage the button and zipper, and also to separate the lining from the plaid around the back slit.

Buffalo Plaid Cowl - In ProgressBuffalo Plaid Cowl - In Progress

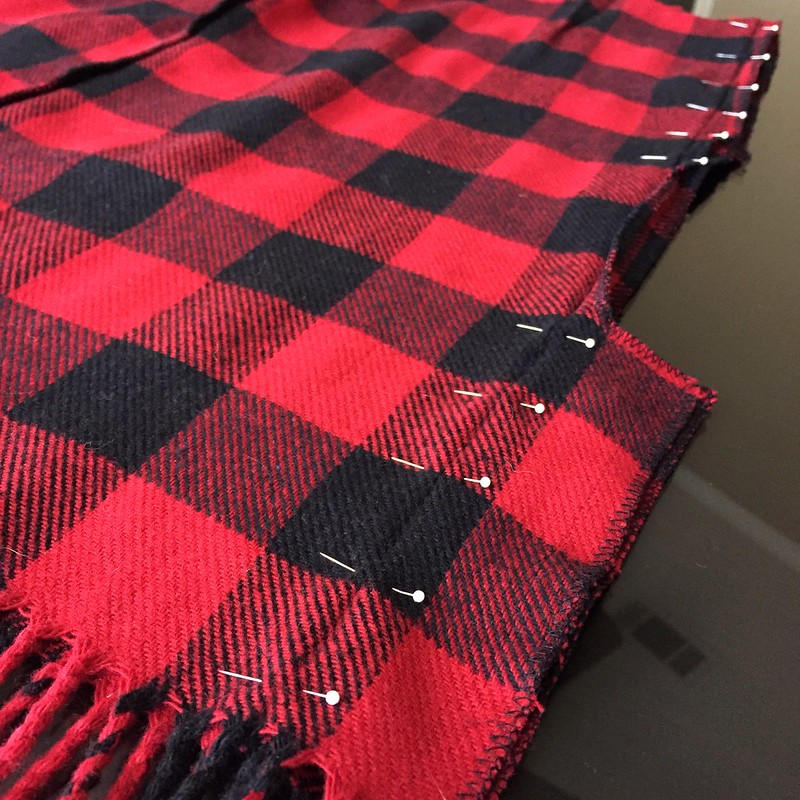
Next, I cut off the waistband (the photo of which has mysteriously disappeared from my phone) and picked out the darts. Then I stitched closed the back seam where the zipper and slit had been.

Buffalo Plaid Cowl - In ProgressBuffalo Plaid Cowl - In Progress

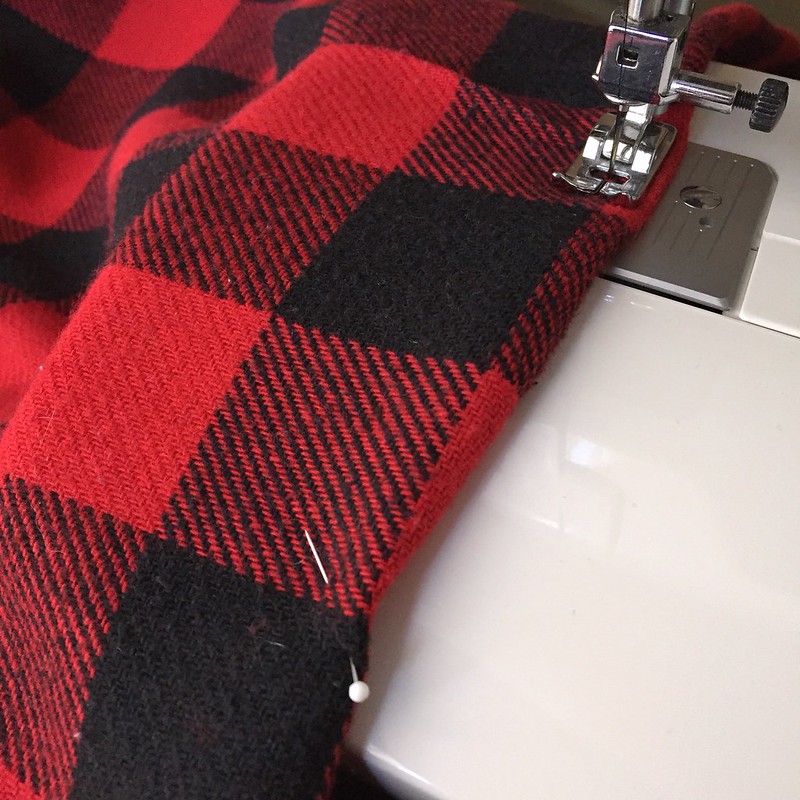
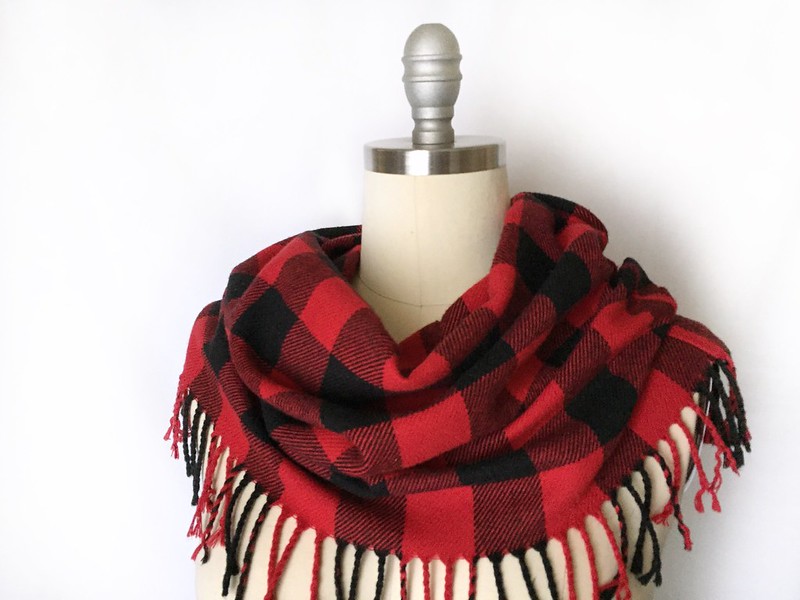
A final re-hemming of the top edge, and my new cowl was ready for a chilly night on the town.

Buffalo Plaid Cowl - In ProgressBuffalo Plaid Cowl - After

I've been so preoccupied with yarn lately that my sewing machine had gathered a bit of dust, unfortunately. It felt really good to be able to whip something up in about 15 minutes.

Buffalo Plaid Cowl - AfterBuffalo Plaid Cowl - After

I hope you're all enjoying some rest and relaxation and/or festive family gatherings. Happy holidays, everyone! See you in the new year!

Buffalo Plaid Cowl - After

Sunday, December 10, 2017

Wonder Woman Blankie

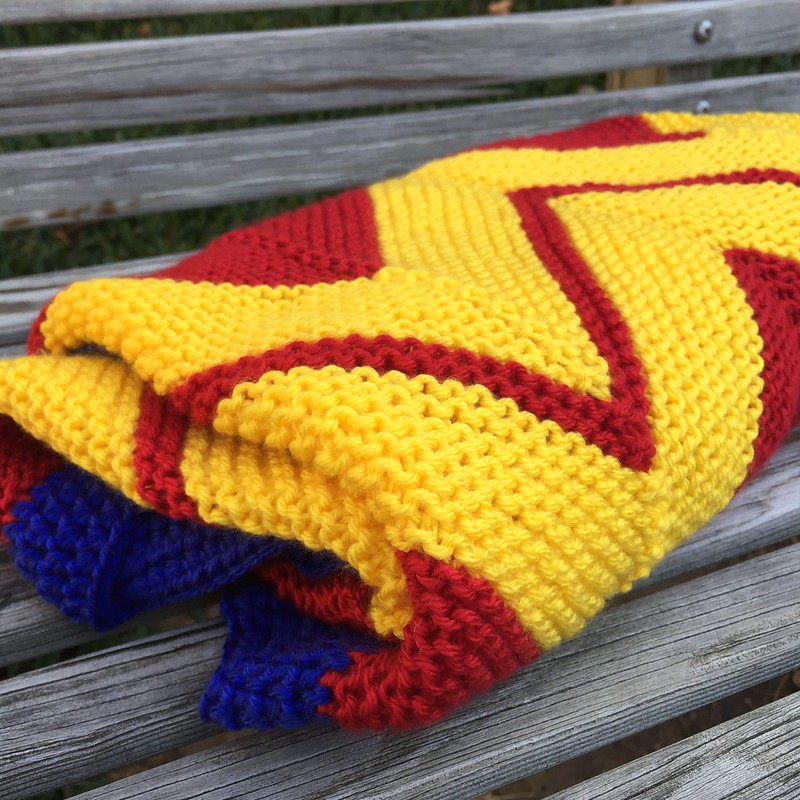
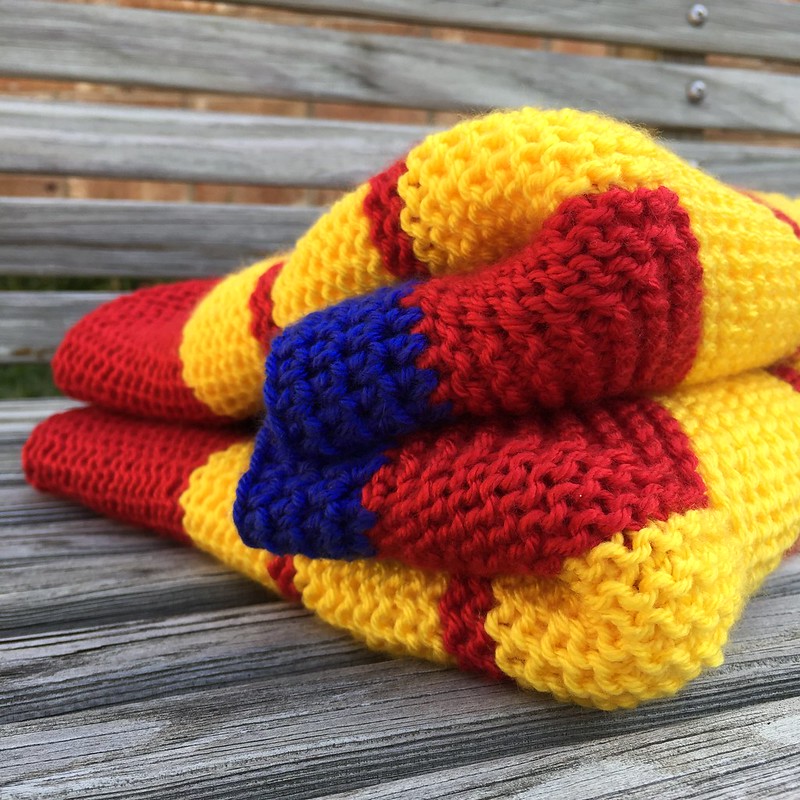
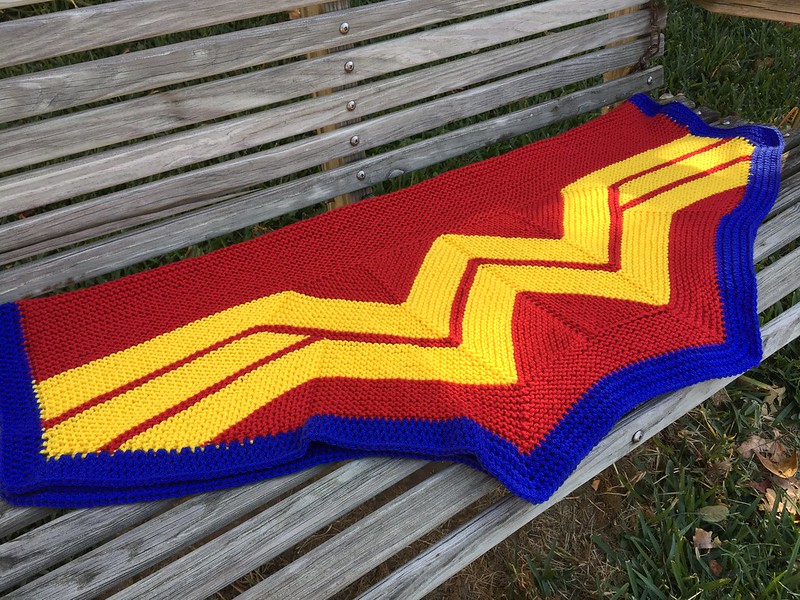
When one of my coworkers announced her pregnancy last summer, I was really hoping it would be a girl. She, her husband, and their daughter are all a bit obsessed with superheros, so I was itching for an excuse to knit up a modified Wonder Woman Wrap Blankie for the occasion. Shortly thereafter, she found out it was indeed another little girl, so I got to work! I've heard from several other crafters who've wanted to modify my patterns for other purposes, so I thought I'd share my blanket mods with you, just in case you're looking to do something similar. I used the knitted WWWrap as my starting point, but similar tweaks could also be made to the crochet version, if you're so inclined.

Wonder Woman Blankie

First off, I knew it needed to be machine washable since baby blankets are susceptible to all sorts of stains. I found just what I needed at my local Joann store in the form of Premier Yarns Deborah Norville Everyday Soft Worsted Solids. They have a wide array of colors, but I was drawn to their Really Red, Lemon, and Royal Blue. I grabbed two skeins each of the red and yellow and one skein of blue for the border. Then I went home and set about swatching!

Wonder Woman BlankieWonder Woman Blankie

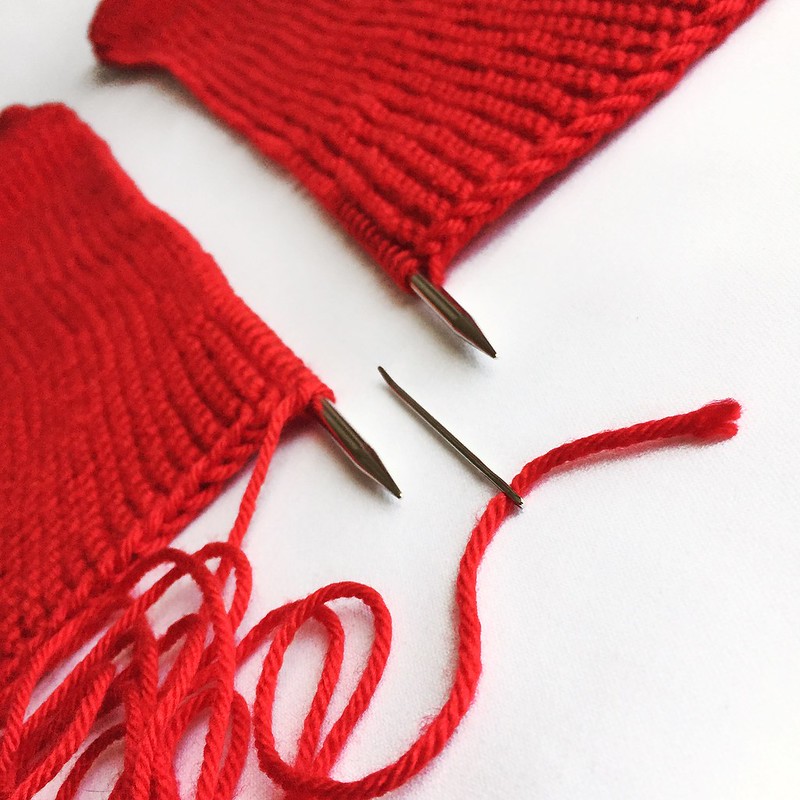
With my worsted weight yarn and size 8 (5mm) needles, I cast on using the Wee size instructions in the pattern. Since I didn't want my blanket to grow in width quite as quickly as the original wrap does, I chose to only work the kfb increase at the beginning and end of every other row, rather than every row. I also slipped the first stitch of every row for a nice clean selvage edge - makes it easier to pick up for the border later! When I reached my desired blanket width, about halfway through the side stripes, I stopped doing the kfb increases altogether so the blanket width would stay constant after that. After finishing the Upper Triangles, I simply continued to knit even in garter stitch until I was almost out of red yarn, leaving enough for just one more row. Next, I made second piece exactly the first and grafted the two halves together in the center with kitchener stitch to form a hexagonal-ish blanket.

Wonder Woman BlankieWonder Woman Blankie

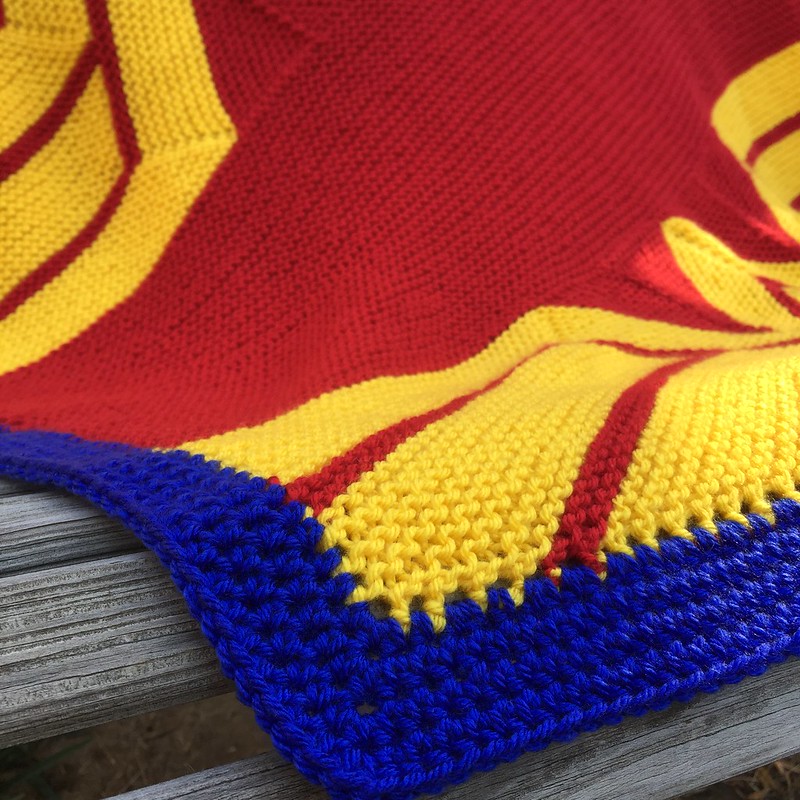
Finally, I grabbed my size H (5mm) crochet hook and worked a border all around consisting of four rounds of half double crochet stitches. Along the cast-on edges, I worked one hdc in each cast-on stitch; along the straight vertical sides, I worked one hdc in each selvage stitch (so 1 hdc per 2 garter rows); and along the angled increases edges, I did 3 hdc for every 2 selvage stitches (so 3 hdc per 4 garter rows). As I worked my border rounds, I did a double increase at each corner as well. I probably could've stood to pick up fewer stitches and/or do fewer increases since the border got slightly ruffly toward the end, but I think it still turned out fine. If you'd rather, you could certainly do a knitted border instead, but the thought of binding off that many stitches was not a pleasant one, so I opted for crochet.

Wonder Woman Blankie

I hope that helps give you some ideas of how to adapt this pattern to other uses. Enjoy!