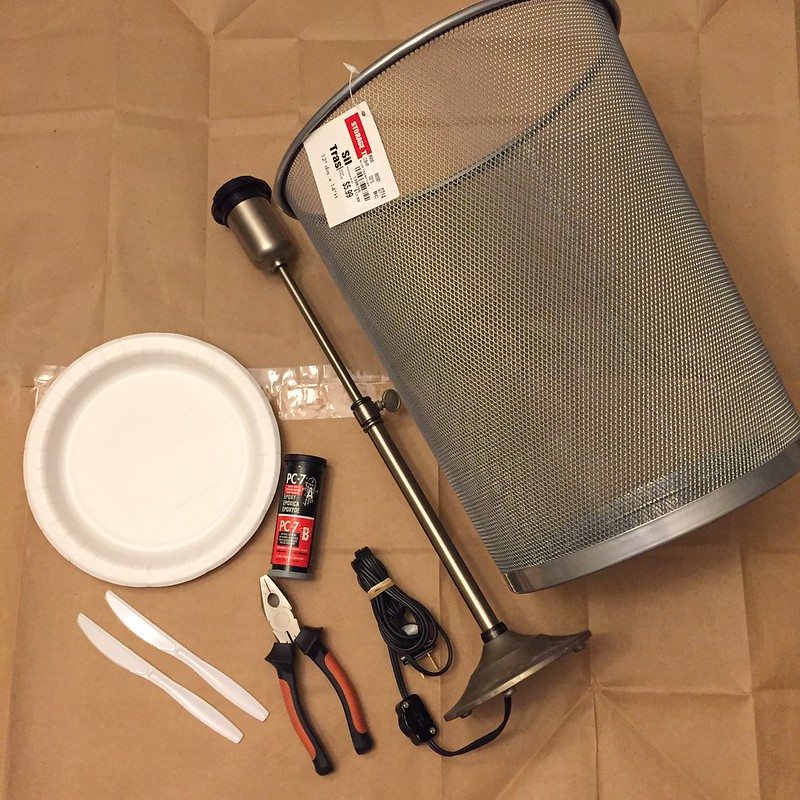
First, the supplies:
- Mesh trash can - I found one for $5.99 at Tuesday Morning
- Lamp base at least a couple inches taller than the trash can - $5.99 from Goodwill
- Epoxy - I already had some on hand from a previous repair project
- Wire snips
- Paper plate and plastic knives - or something similar for mixing epoxy
- Drop cloth or paper bags to protect your work surface
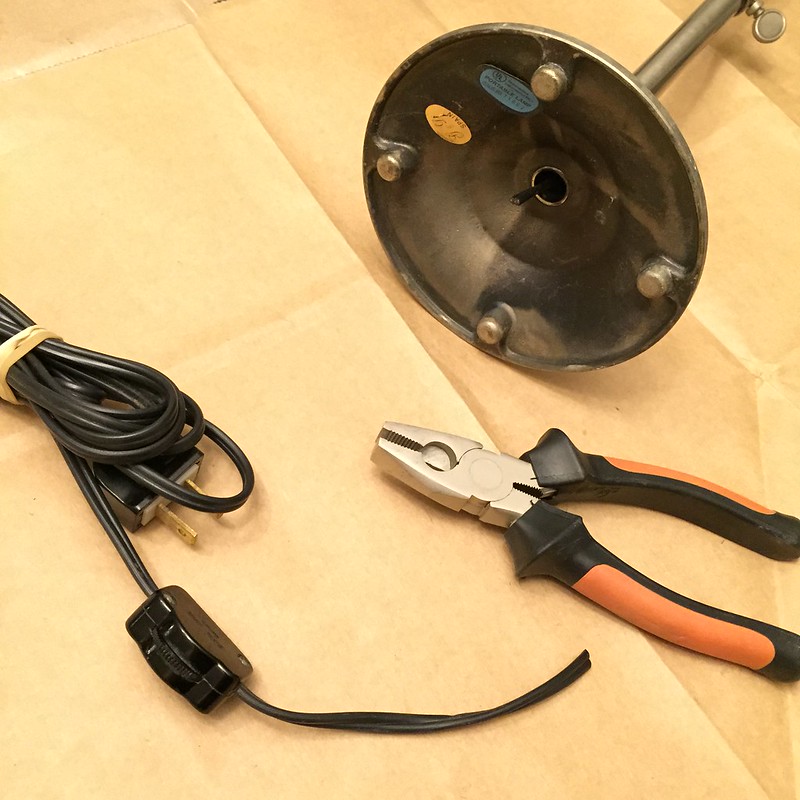
Using the wire snips, I removed the lamp's cord.
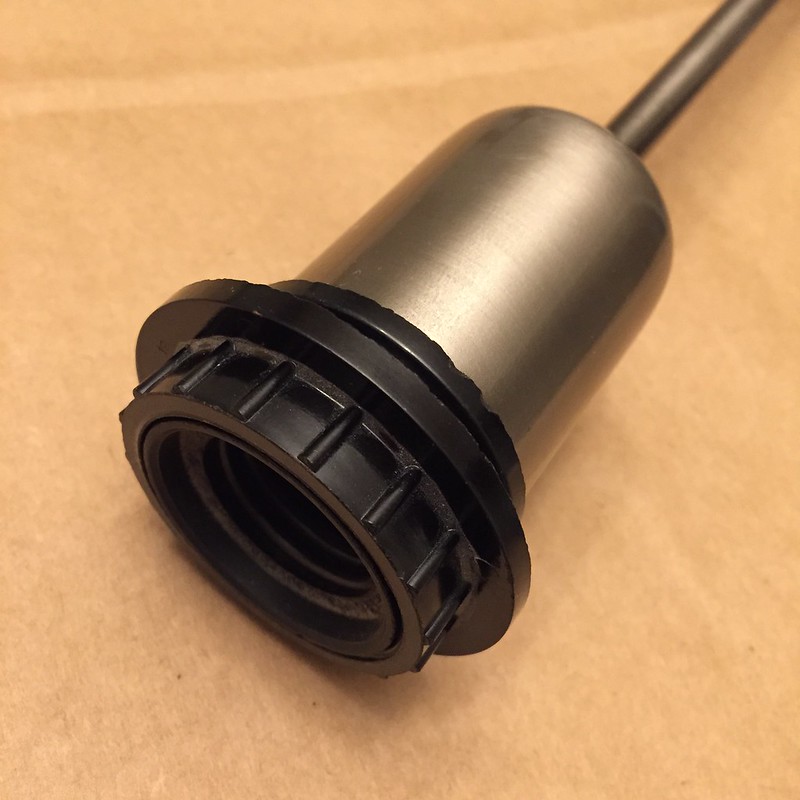
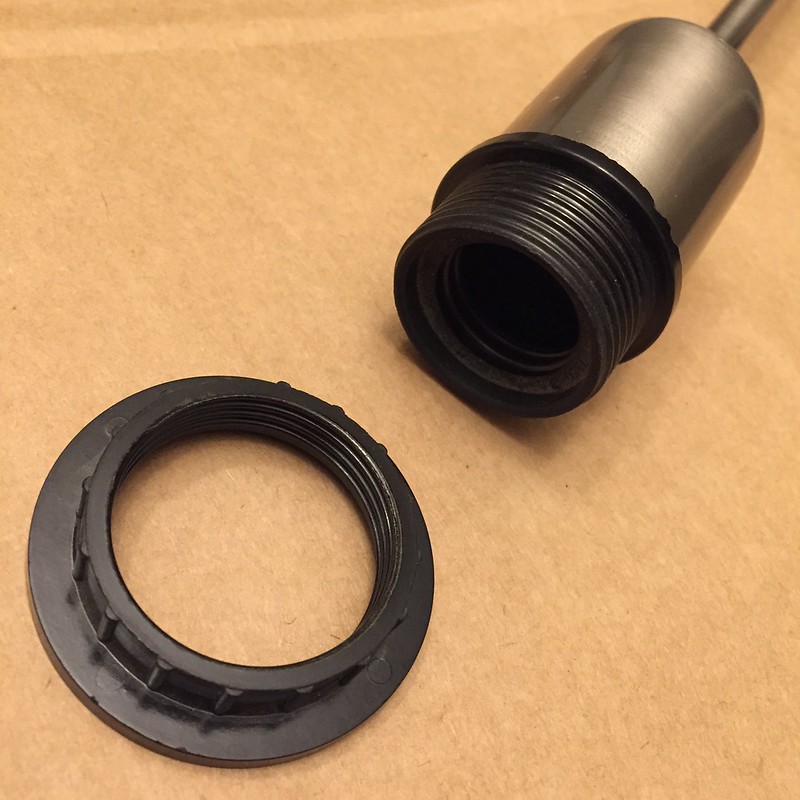
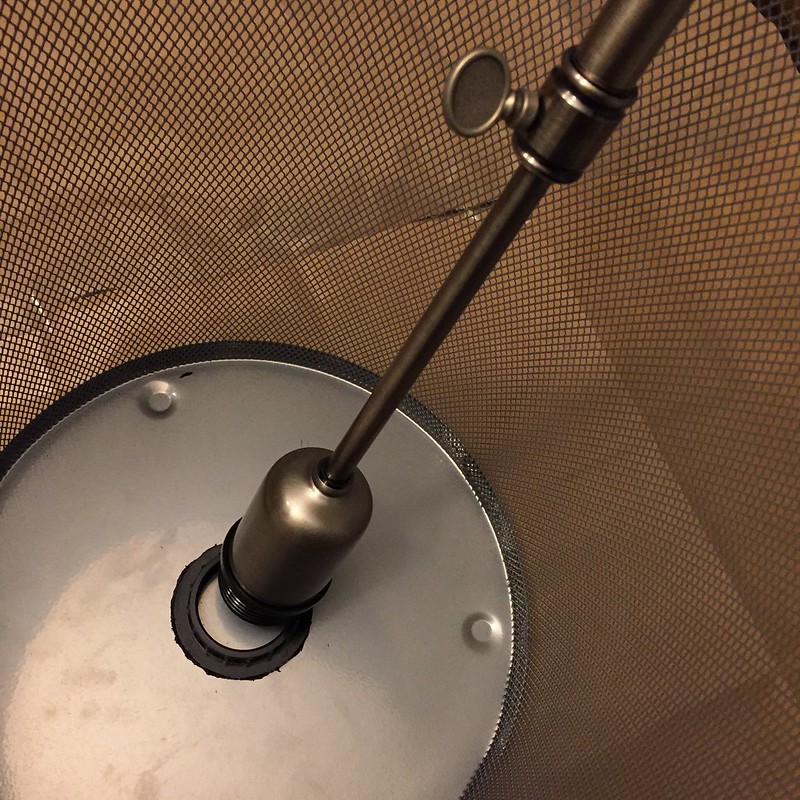
The lamp I found had a plastic ring that would hold the shade or globe onto the base.
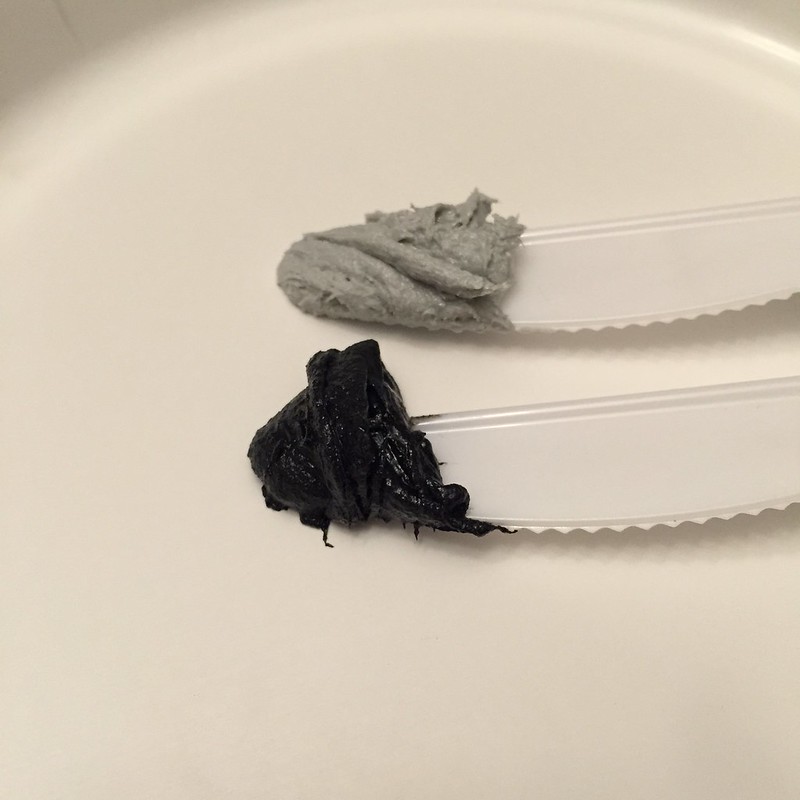
I mixed a small amount of epoxy with my two knives.

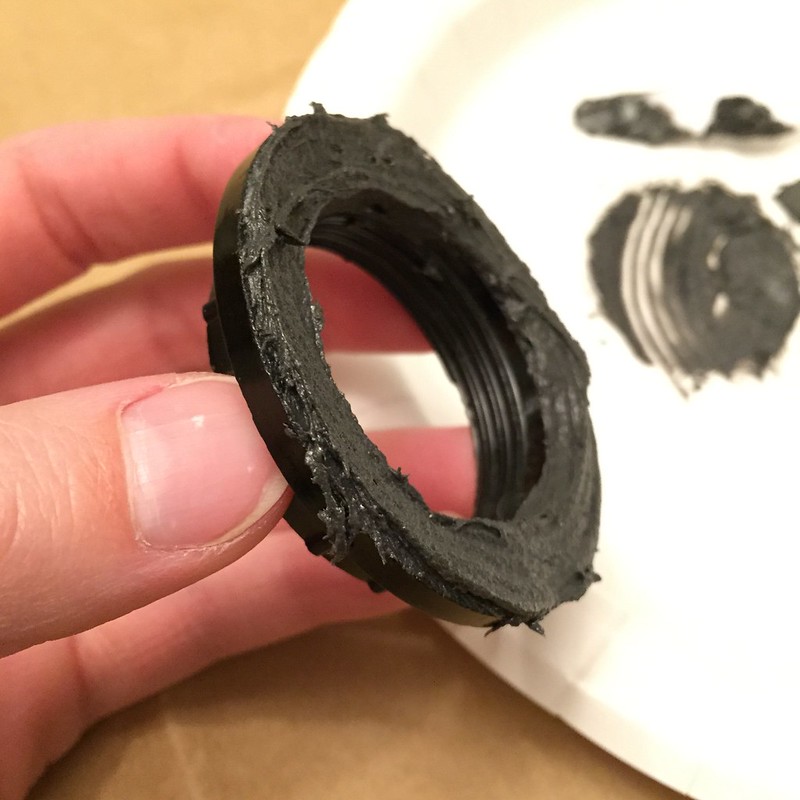
Then I smeared it on the flat side of the plastic ring, making sure not to get it on my skin, and stuck it in the center of the bottom of the trash can.
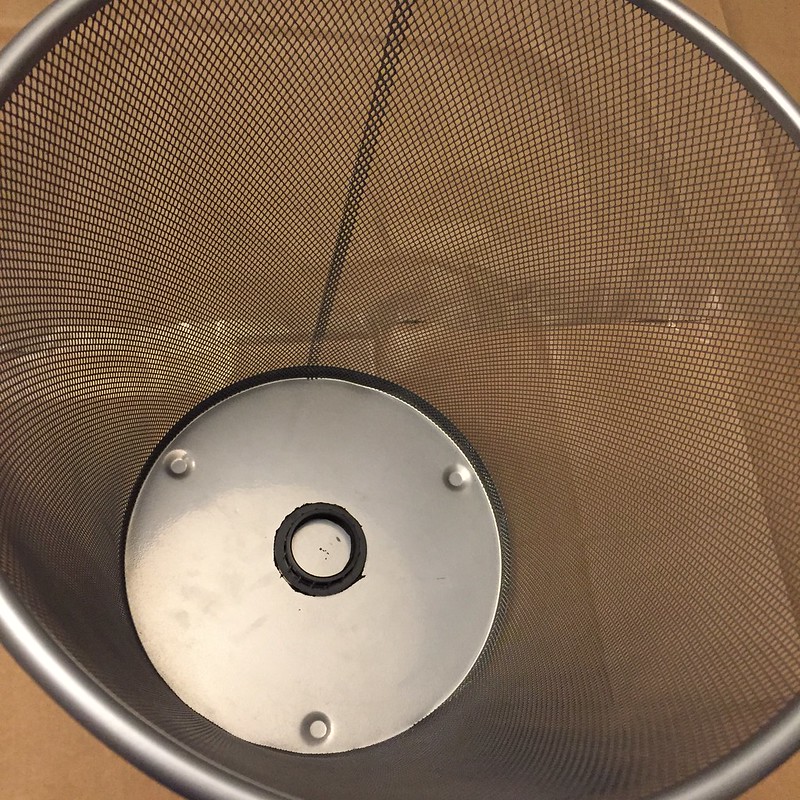
I let the epoxy set overnight. In the morning, I screwed the lamp base into the ring, and there we have it!
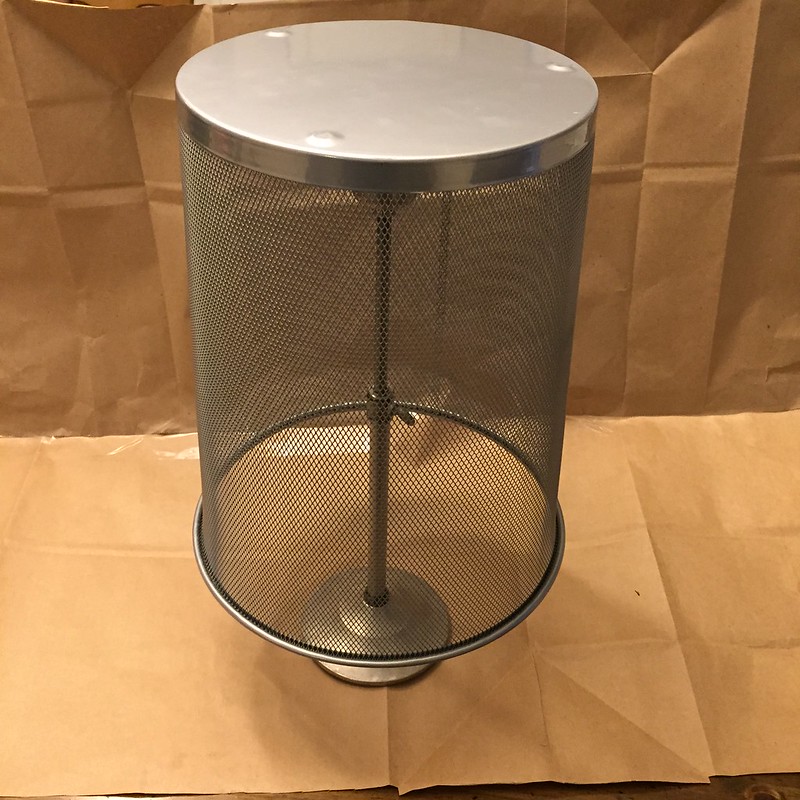
Finally, I loaded it up with all my earrings, in rainbow order naturally. I put the studs near the bottom rim, so I can reach up into the trash can to get the earring backs on and off. I had originally intended to use a lazy susan to make it spin-able, but since that plastic ring screws onto the base, I can spin it as is, as long as I don't spin it too far and unscrew it entirely.
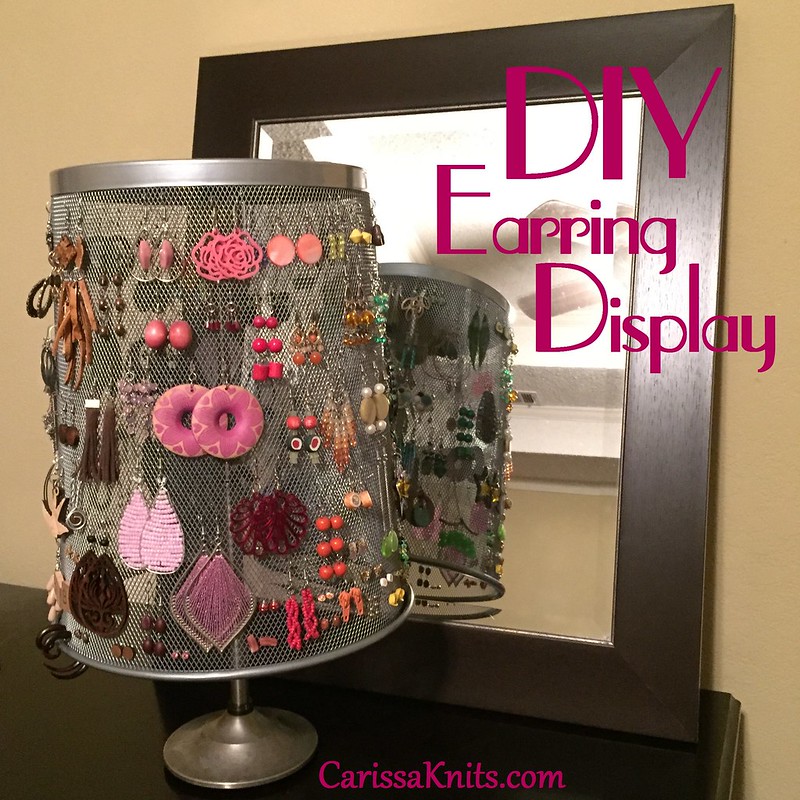

Now don't you want to make your own? Have fun personalizing it! Painting the trash can and using a different style of lamp base (or maybe a paper towel holder or a large candle stick?) could give it a completely different look if the modern, minimalist style doesn't appeal to you. You may also have to get creative when it comes to attaching the two together. Not all lamps will have that unscrew-able ring. You could drill a hole in the bottom of the trash can and stick your lamp right through. Add a decorative finial on top to finish it off!