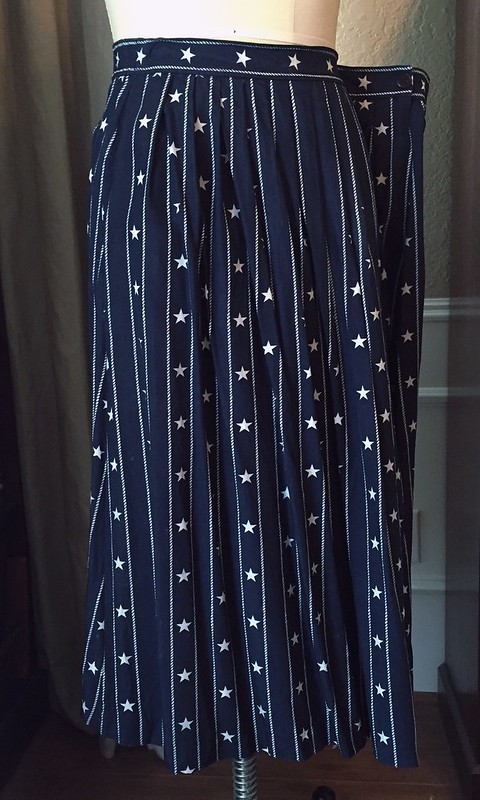
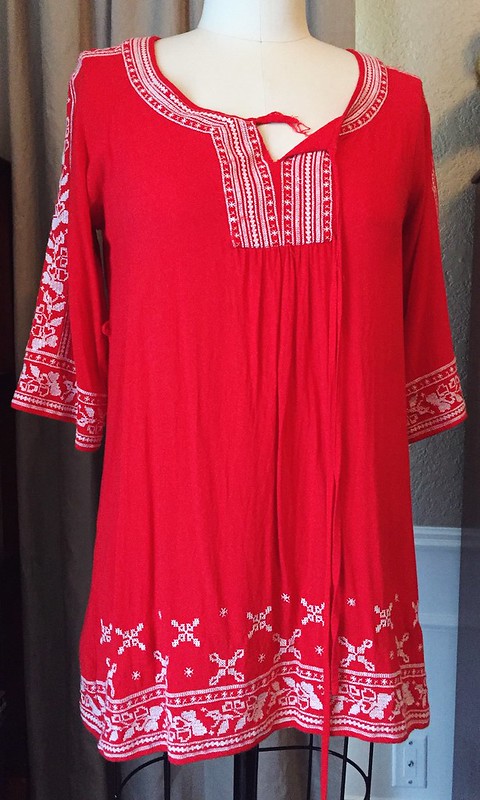
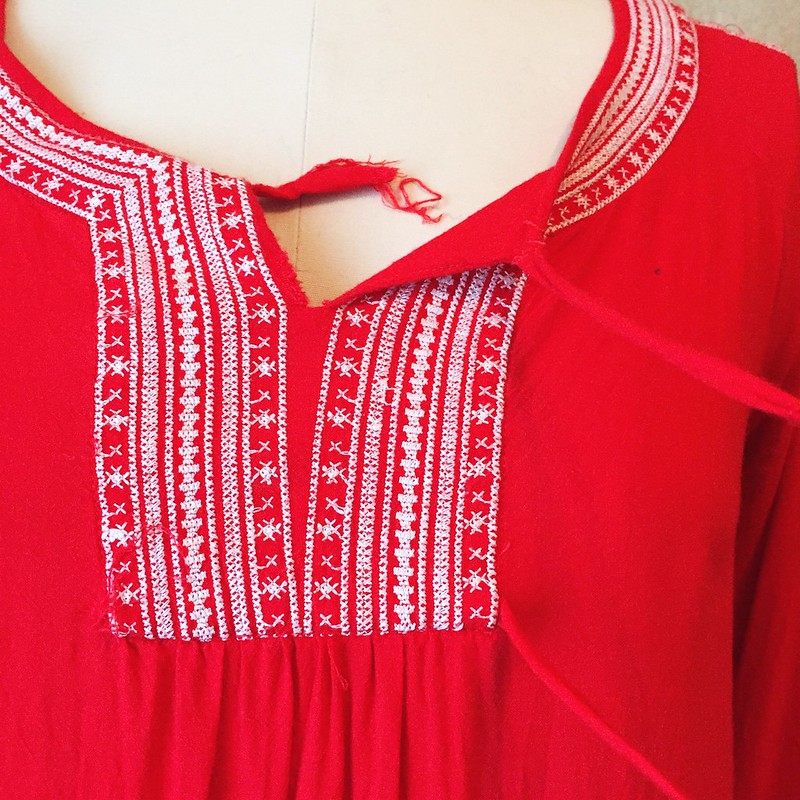
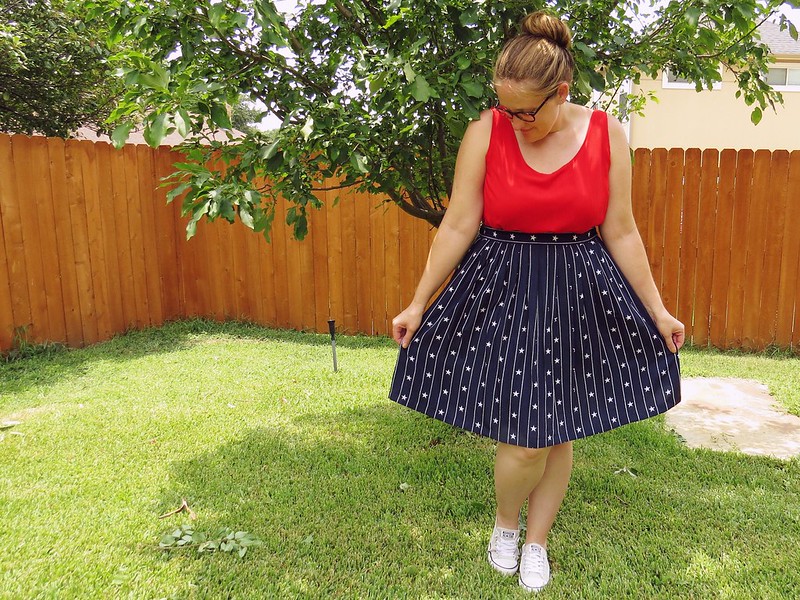
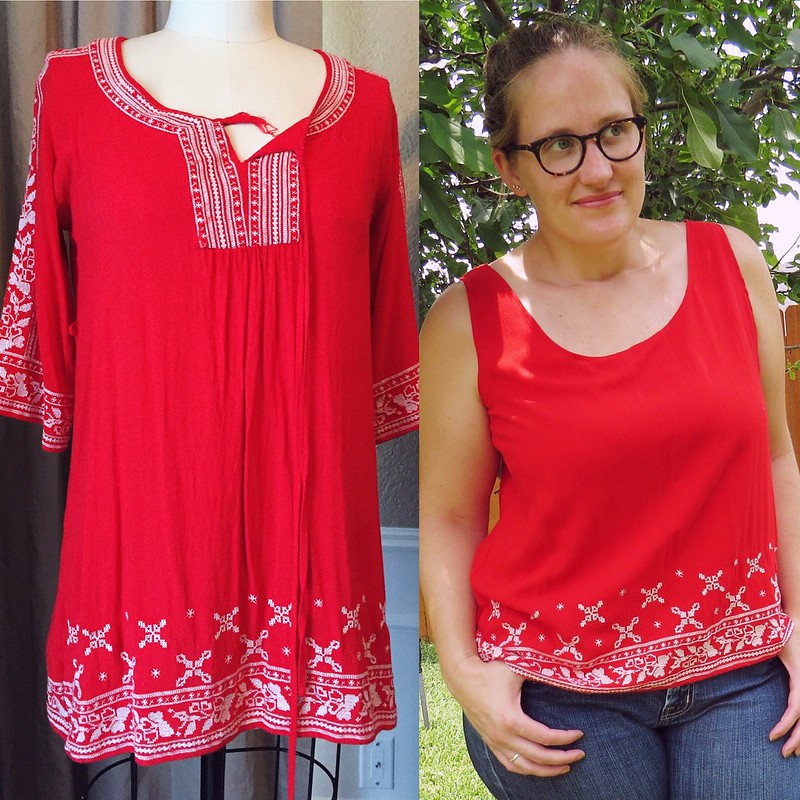
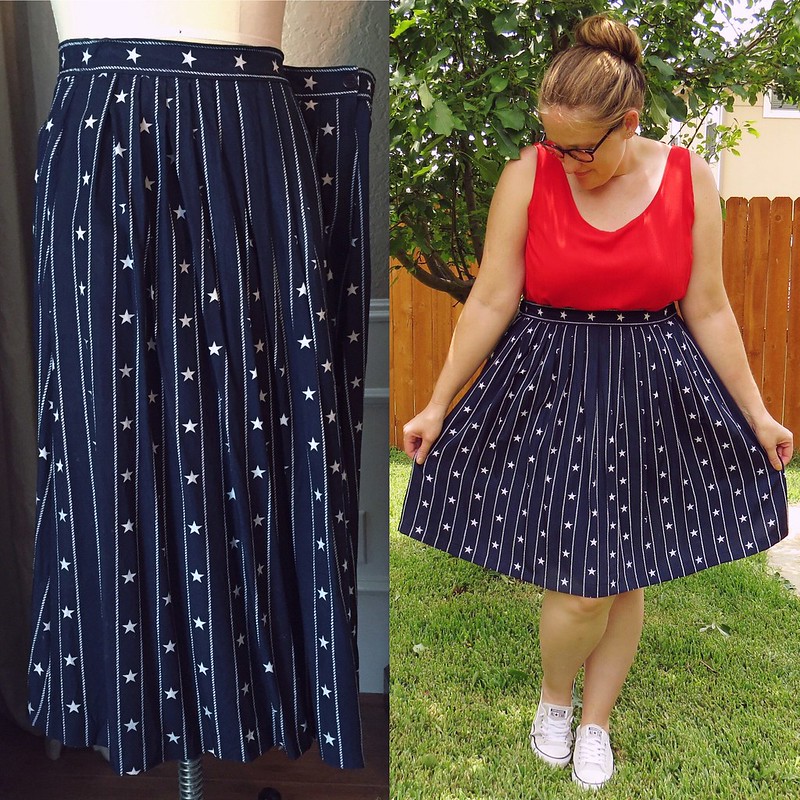
When I spotted this skirt at Goodwill a couple months ago, I immediately knew it wanted to be part of an Independence Day refashion. The navy and white stars and stripes would look cute with a number of different colored tops and accessories, but would be perfectly patriotic when paired with red. So I rummaged through my refashionables and came up with a red tunic with lovely cross-stitch details, which I acquired from a clothes swap. Unfortunately, the skirt's elastic was completely shot and the length was a bit awkward. The tunic had damaged ties and a small ink(?) stain, and was a bit too tight around the chest.
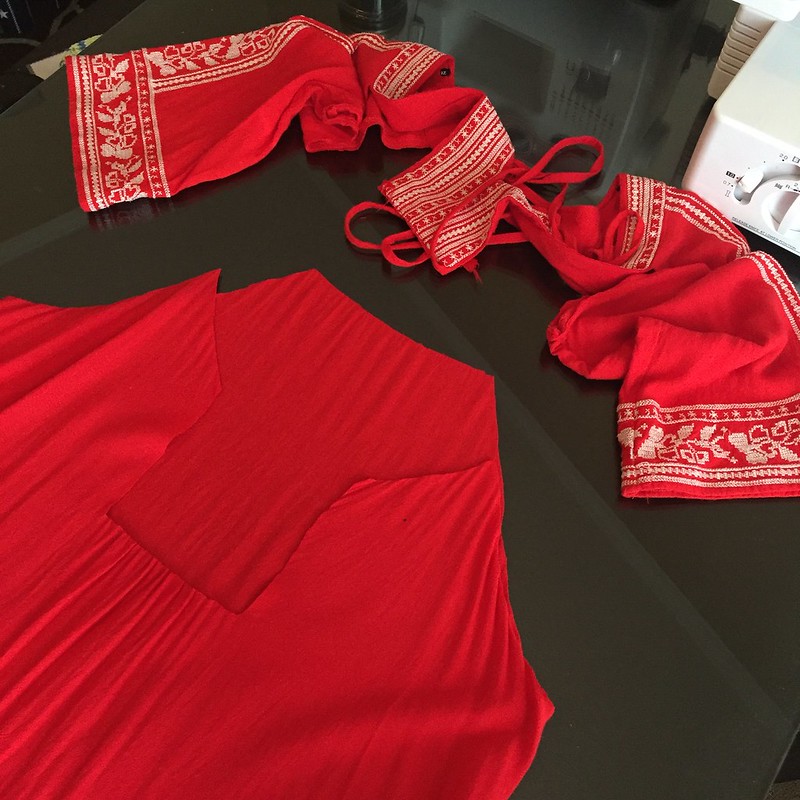
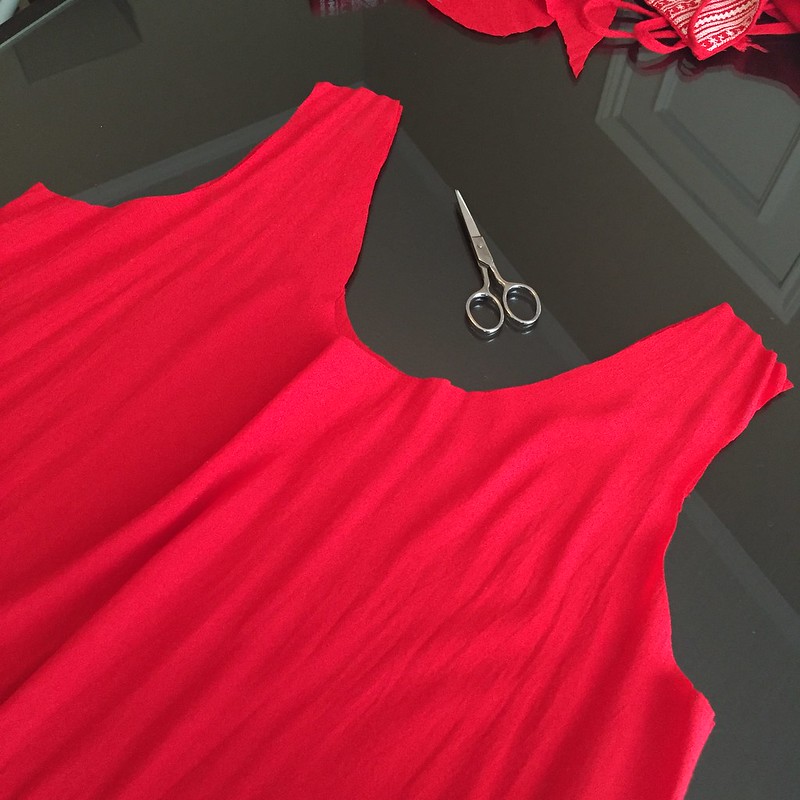
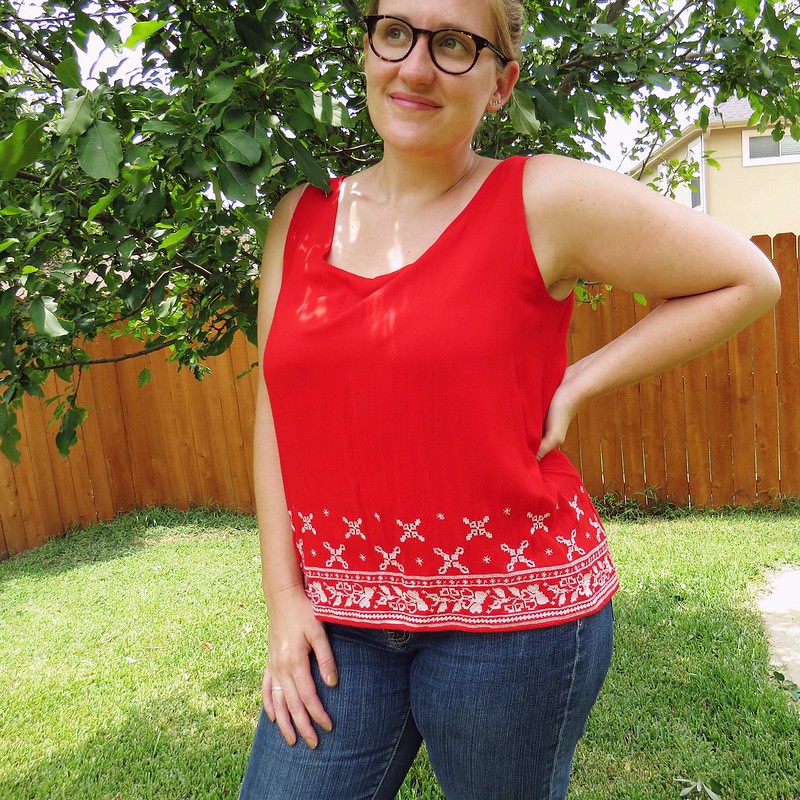
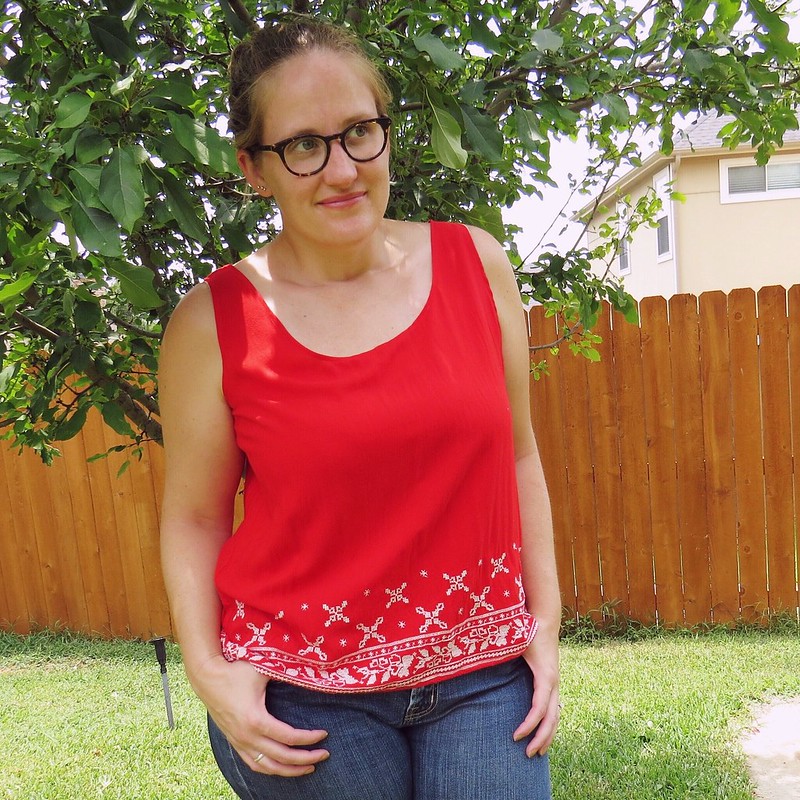
To make the tunic wearable again, I decided to go for simplicity. I carefully snipped off the embroidered sleeves and collar first. Then I used a well-fitting sleeveless top to cut out the armholes and neckline.
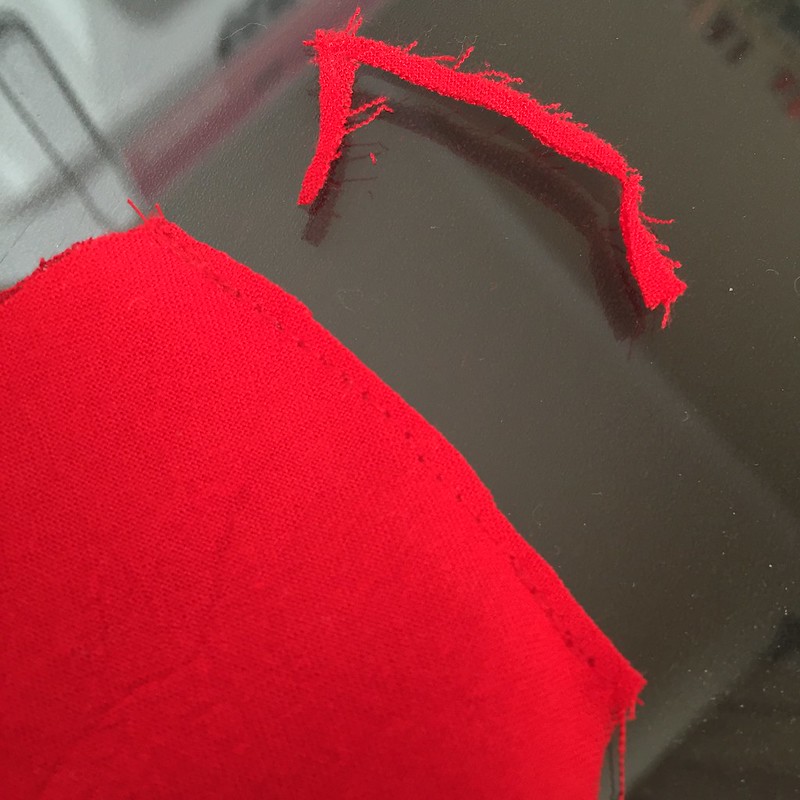
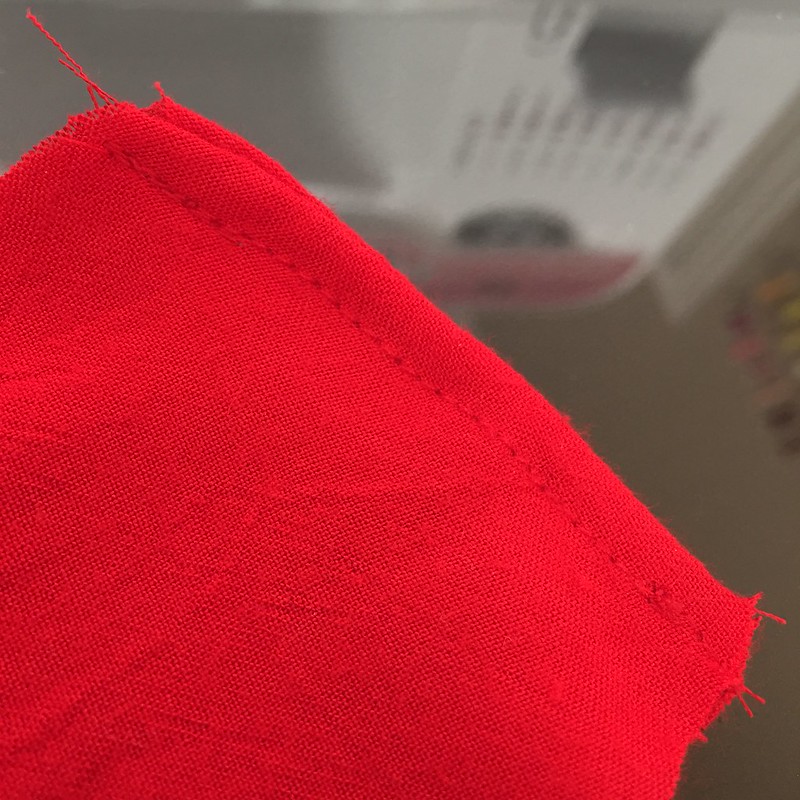
Since I didn't have four spools of red thread for my serger, I decided to do French seams at the shoulders. So I stitched them together with wrong sides facing, trimmed as close to the stitches as I dared, and then flipped it inside-out and stitched again, thus encasing the raw edges inside the seam. [By the way, it's really difficult to take pictures of bright red stuff. Sorry about that.]
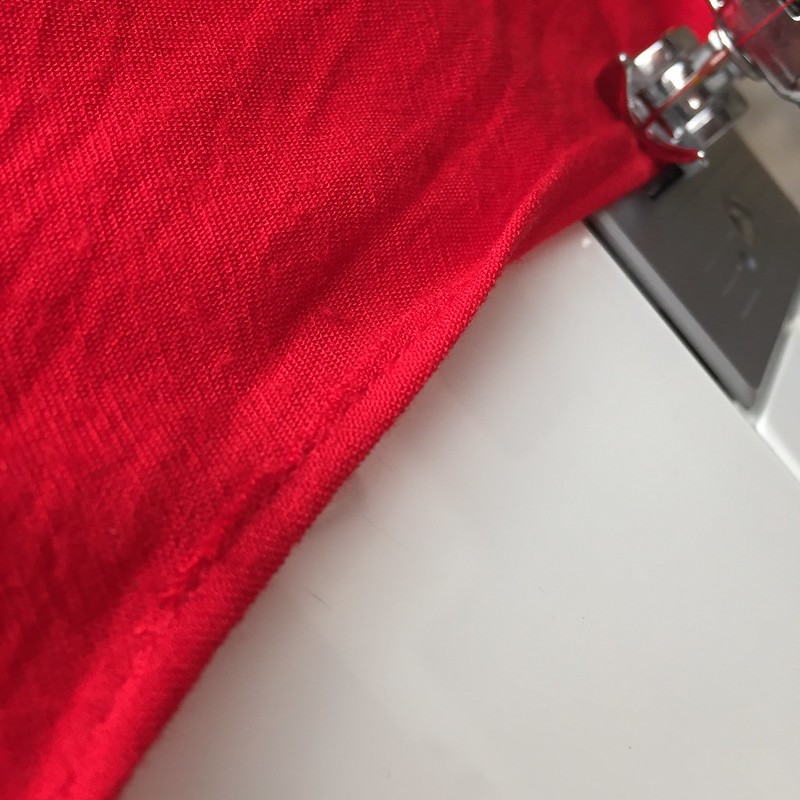
Again, I kept it simple with the hemming around the armholes and neckline. I had to do a two-step hem though since this fabric was a little delicate. I folded over about 1/4 inch, stitched it down, then folded and stitched again.
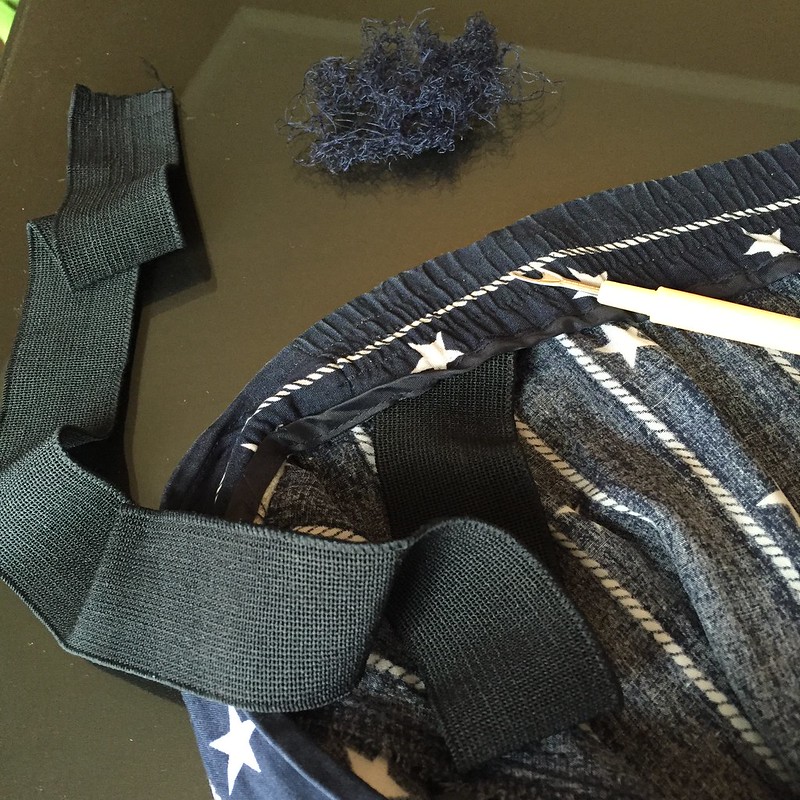
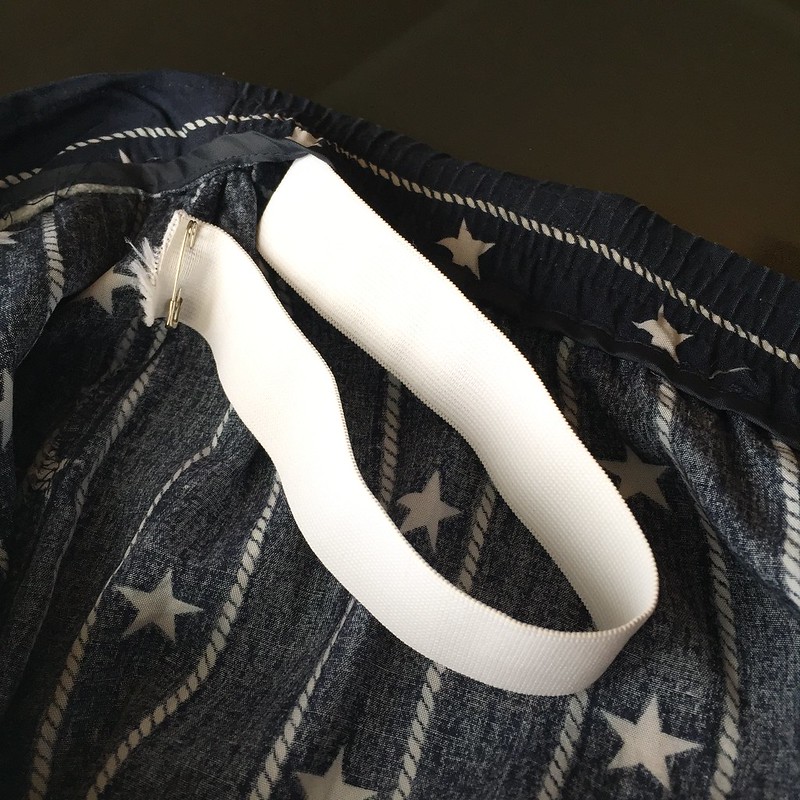
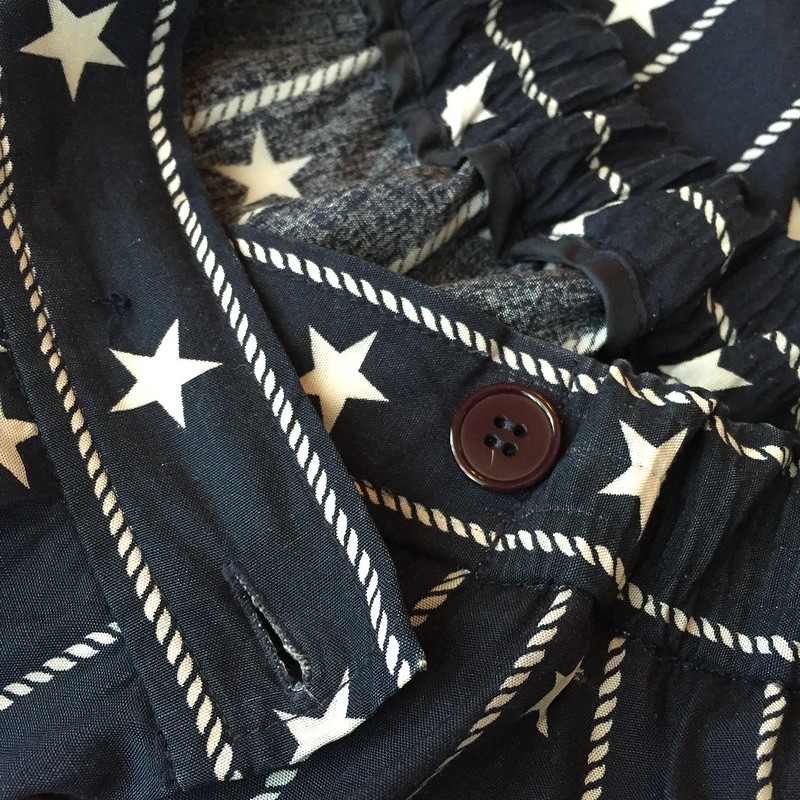
For the skirt, only the back of the waistband was stretchy (emphasis on was). I picked out the stitching holding the worn out elastic in place, including one of the buttons that was sewn through the elastic. Then I opened up a small hole at each side seam to remove it. I added a new piece of elastic by safety pinning one end to the inner seam (to keep it from slipping into the casing) and feeding the other end through with the help of another safety pin.
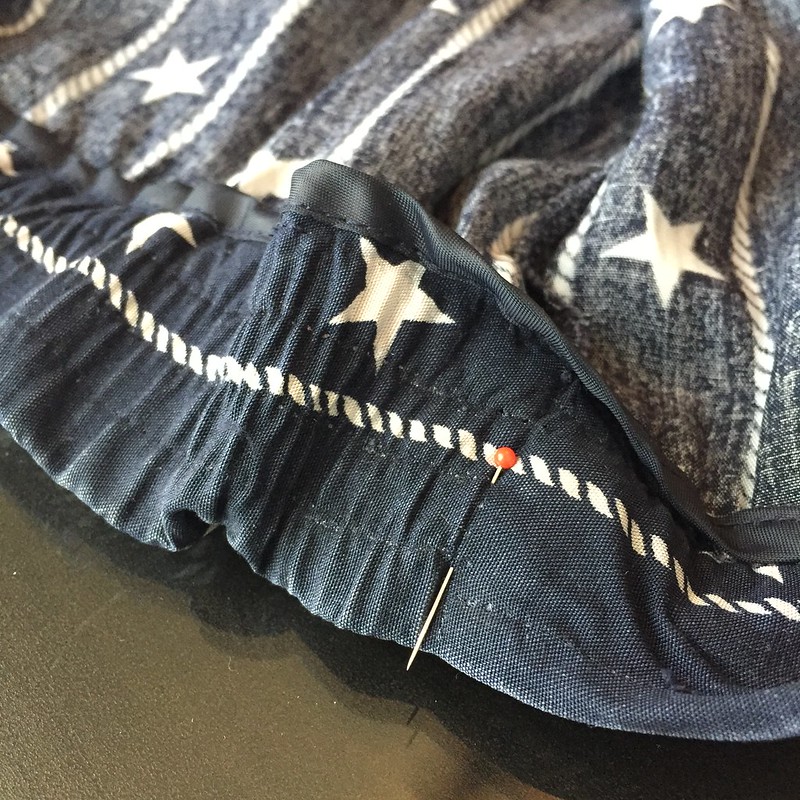
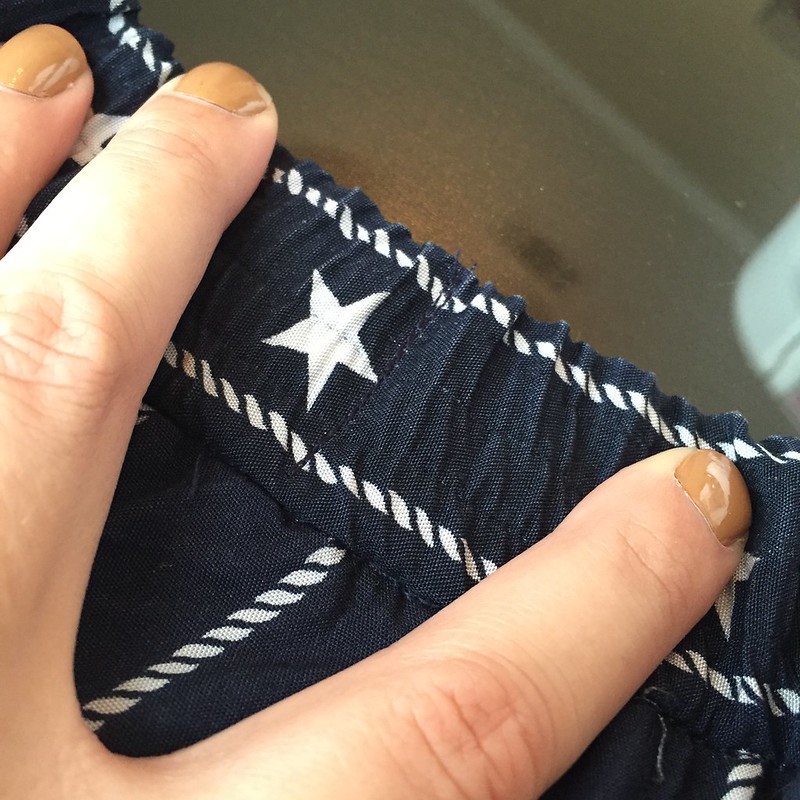
Once I got the new elastic in place, I stitched down the ends and closed up the gaps. Instead of stitching three horizontal lines along the length of the elastic as the original skirt had, I just did a few vertical lines of stitching, evenly spaced across the back of the skirt. That will keep the gathers evenly distributed and also prevent the elastic from twisting around inside the casing.
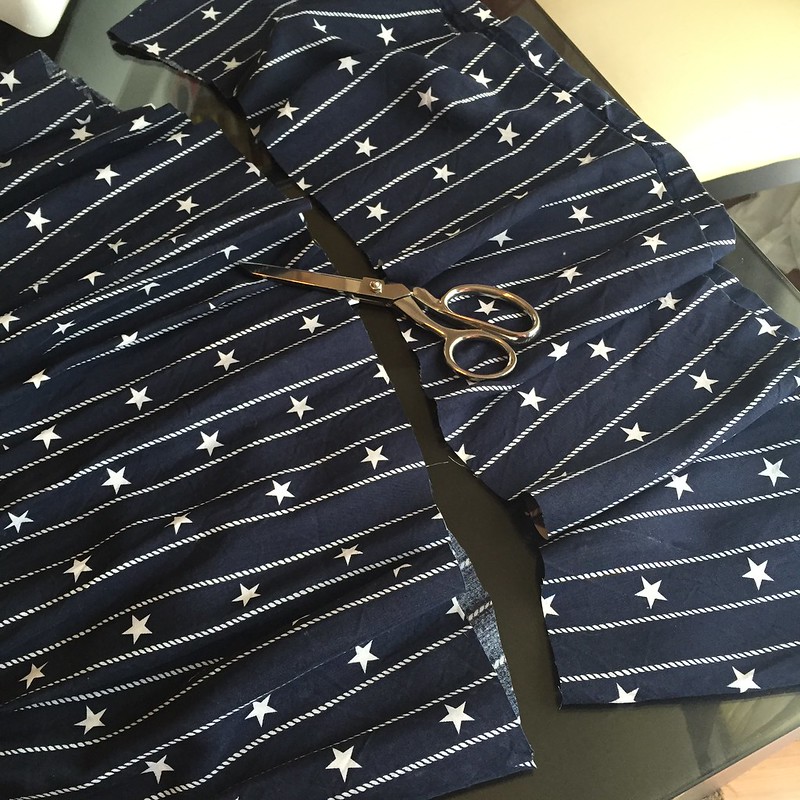
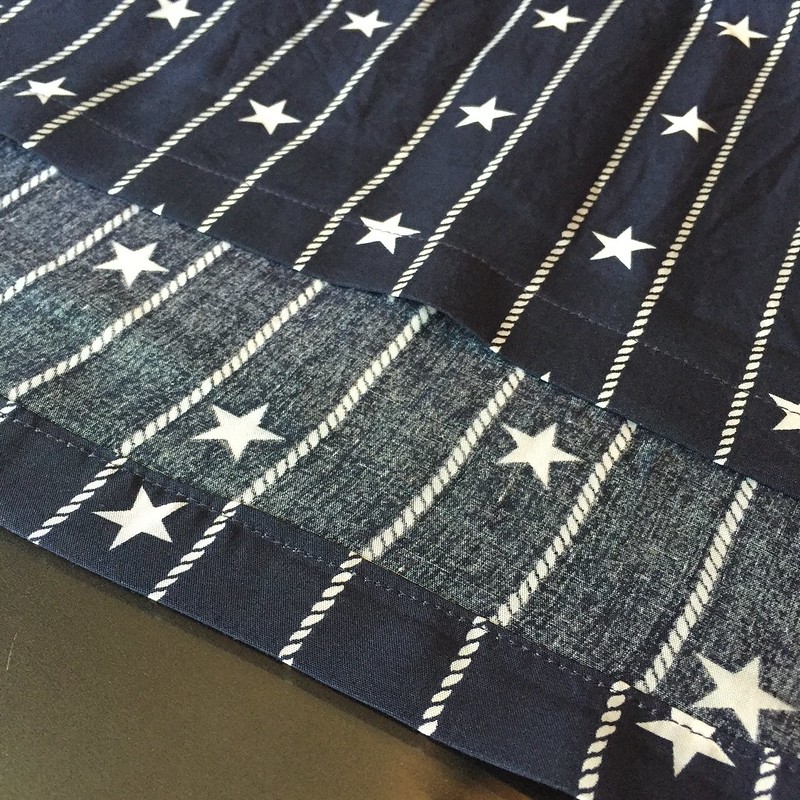
I removed about 9 inches of fabric from the bottom edge of the skirt and gave it a new hem and a press.
Lastly, I hand-stitched on the button I had to remove earlier, and I was all finished!
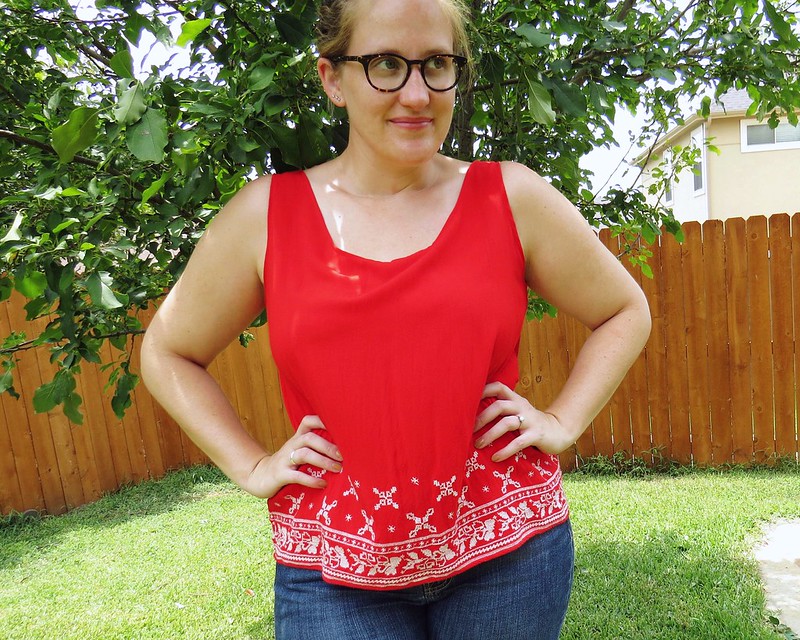
Now I have a tank top I can wear on its own...
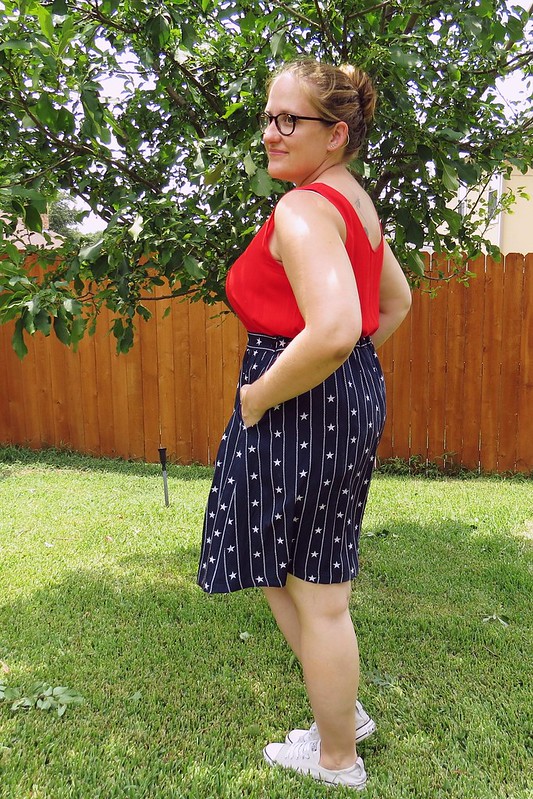
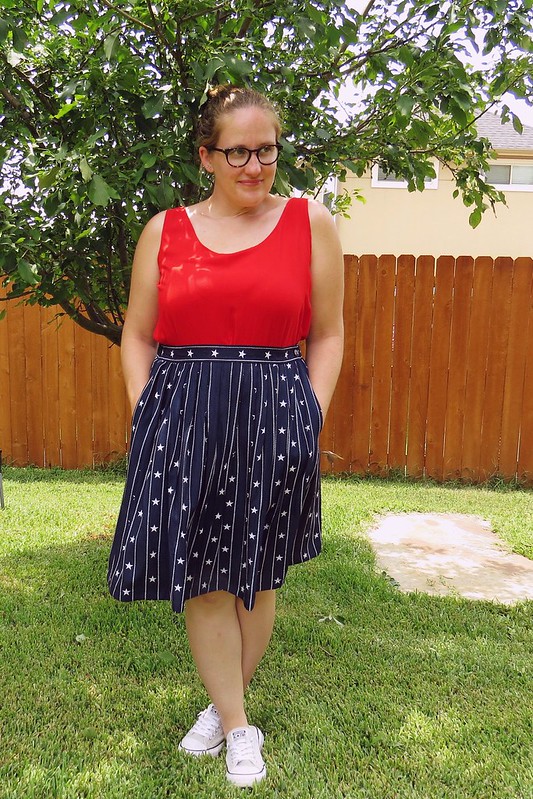
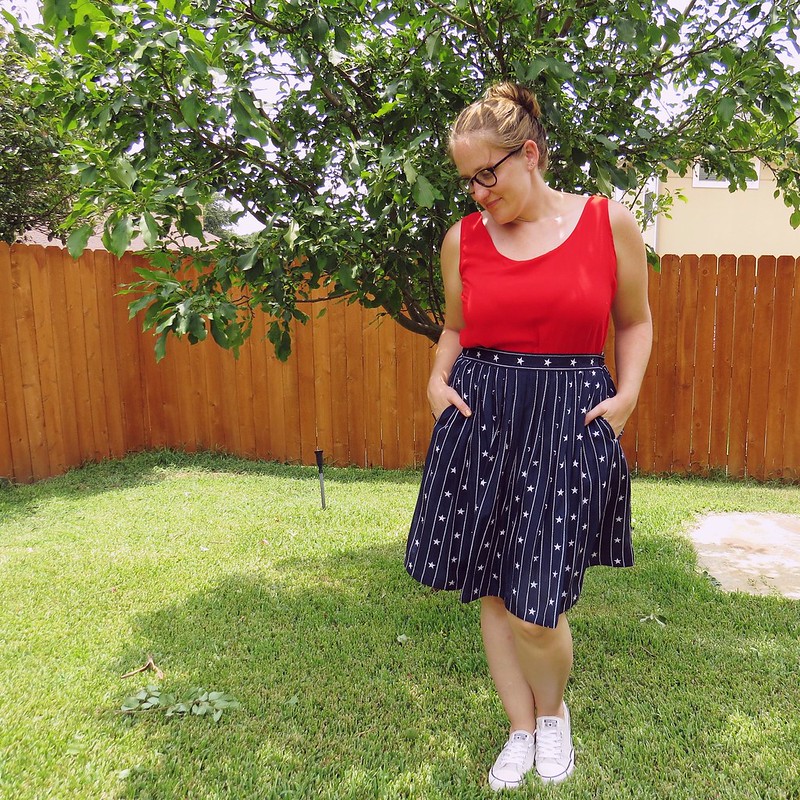
...and a starry skirt to complete the red, white, and blue ensemble.
Did I mention the skirt has pockets? Yep. It has awesome, deep pockets.


Fabulous...as usual!
ReplyDeleteThank you!
DeleteOh yes...Fabulous! I have this growing thing for stars. I now own two pairs of star print shorts and one star print top...I see now I need a skirt to complete my collection! :o)
ReplyDeleteJJ
I do feel my life is now complete, or at least closer to it, for having a starred skirt in closet. I highly recommend it. ;)
DeleteI am seeing that this project is from many years ago...Can I ask what you did with the sleeves and the embroidered neck piece? I am just starting to recycle clothing and I'm so impressed with your talent! thanks!
ReplyDeleteNice Post
ReplyDeleteWhat a creative refashion! I love how you turned a simple piece into something stylish and unique. Your step-by-step process is so inspiring—it's amazing to see how a little creativity can transform an old item. Great job, Carissa! Plus Size Clubwear
ReplyDelete