


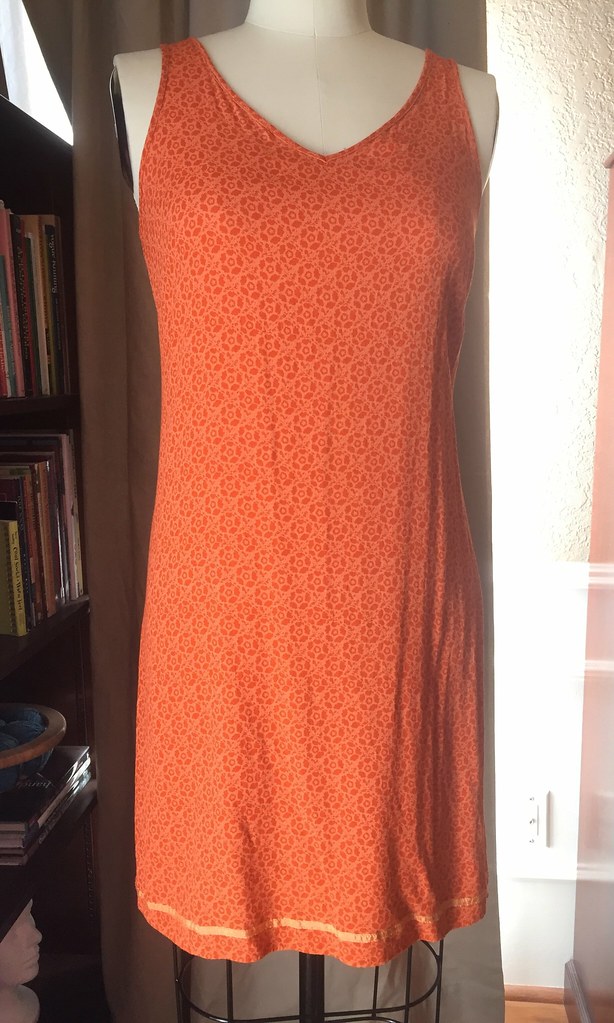
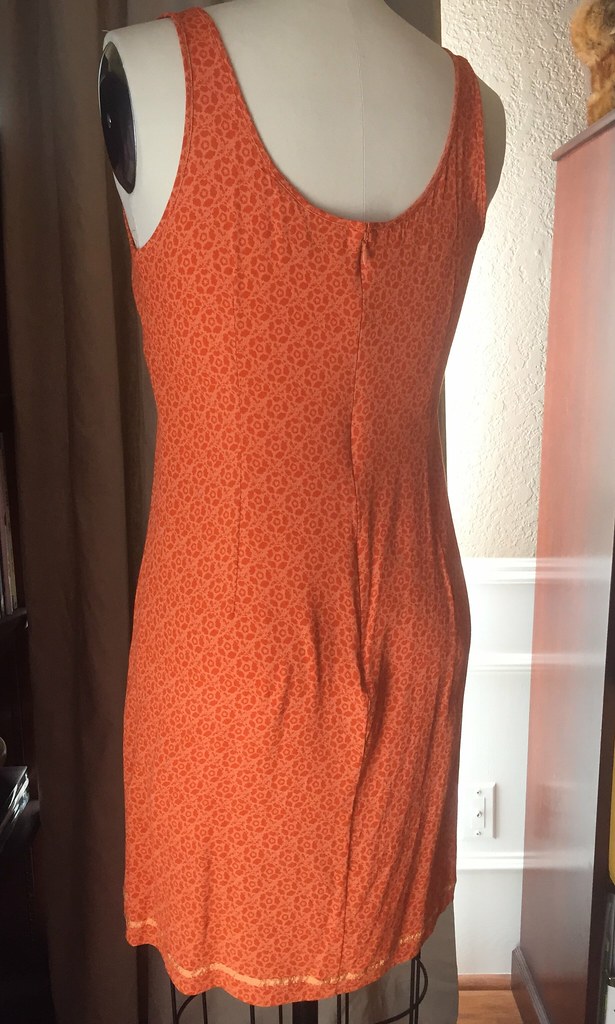
First, I removed the ribbon from the bottom edge. Then I cut off the skirt, about an inch below the bottom of the zipper.

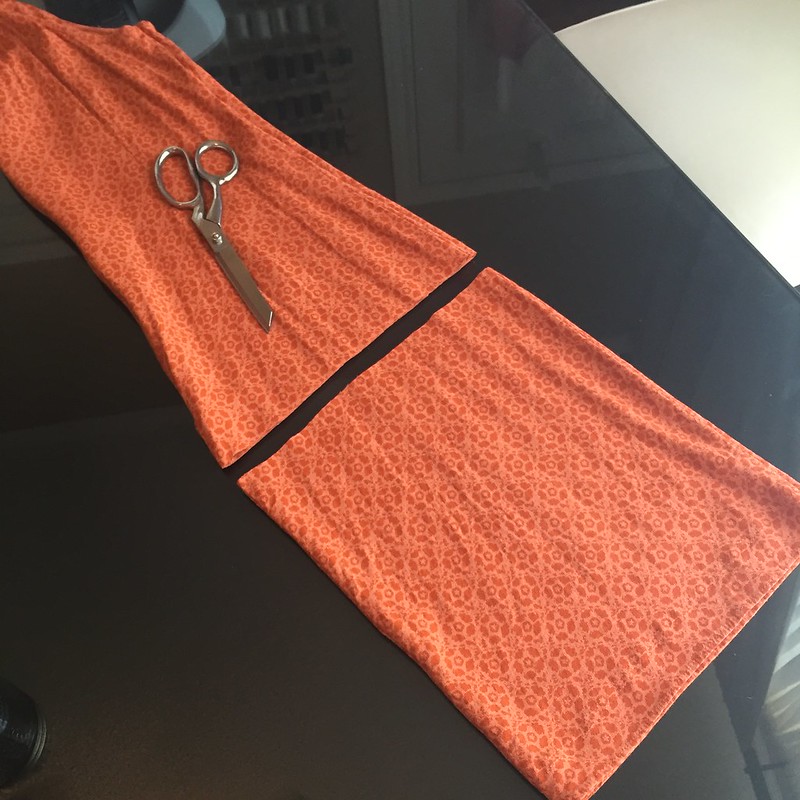
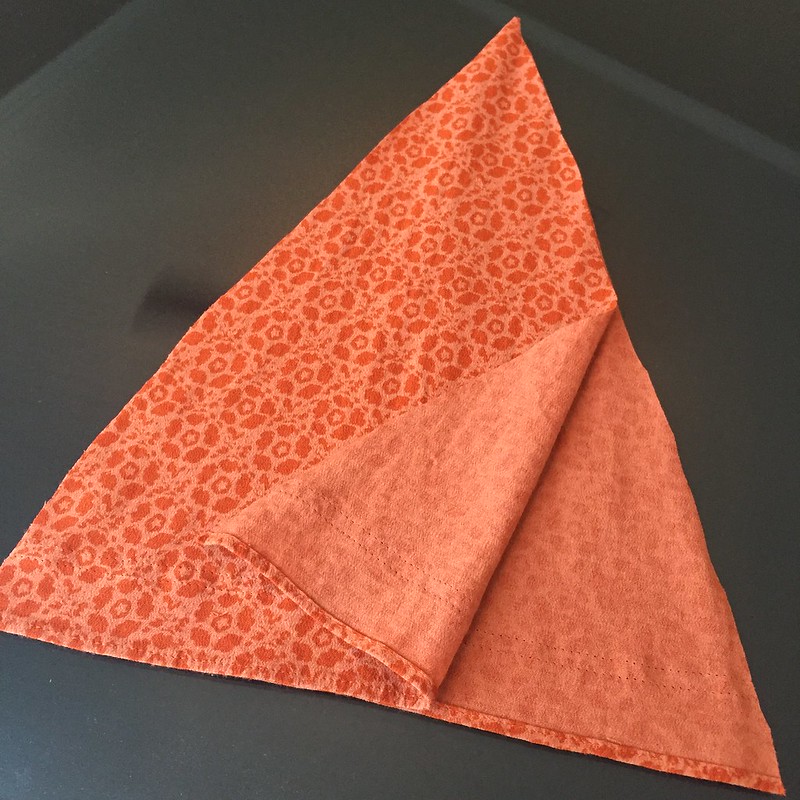
Next, I opened up the side seams up to where the bust darts started. Then I cut two triangles from the bottom portion of the dress.
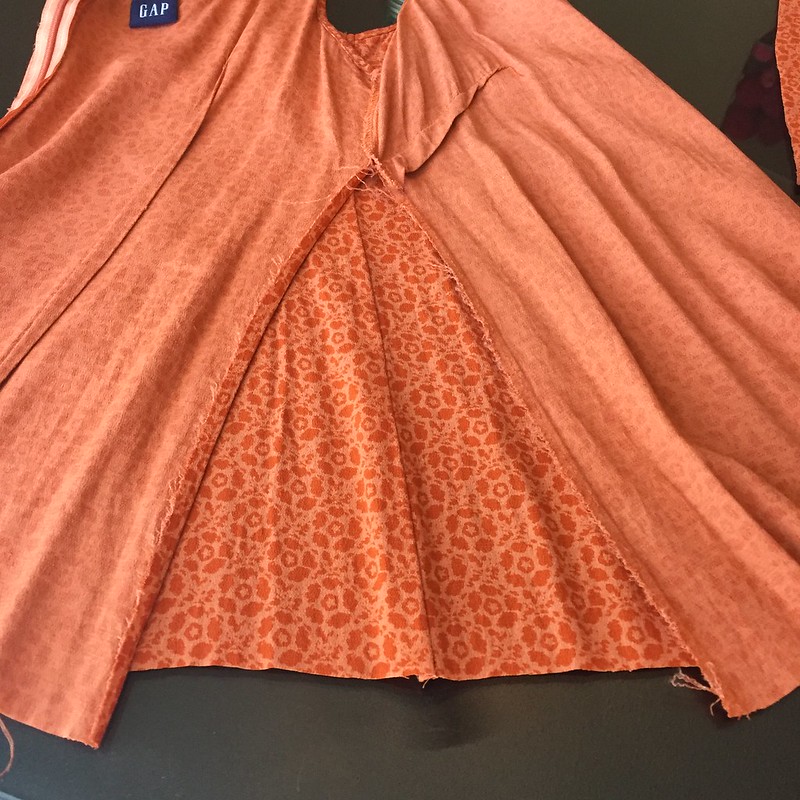
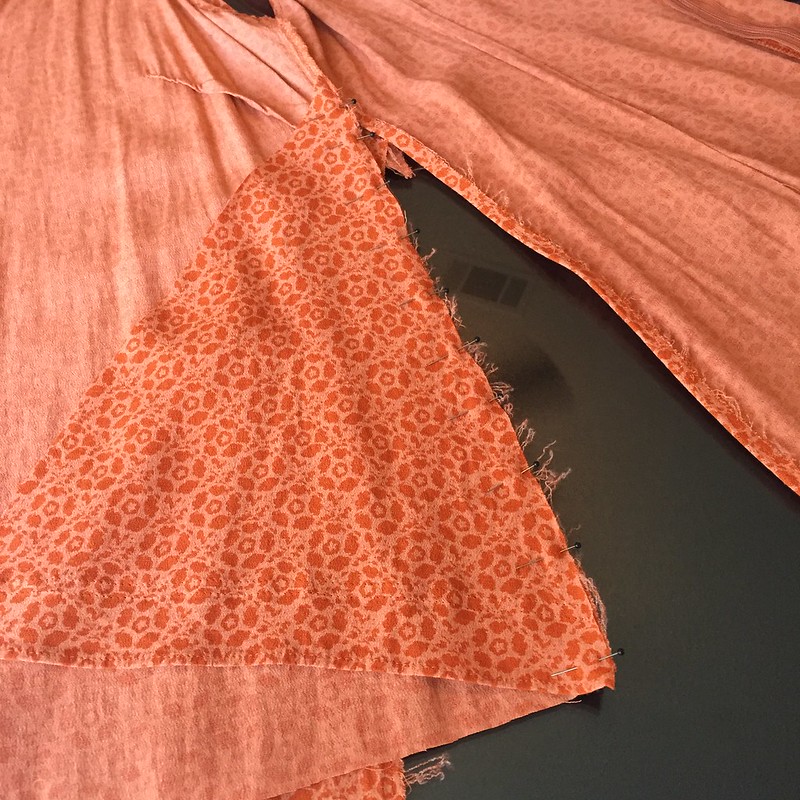
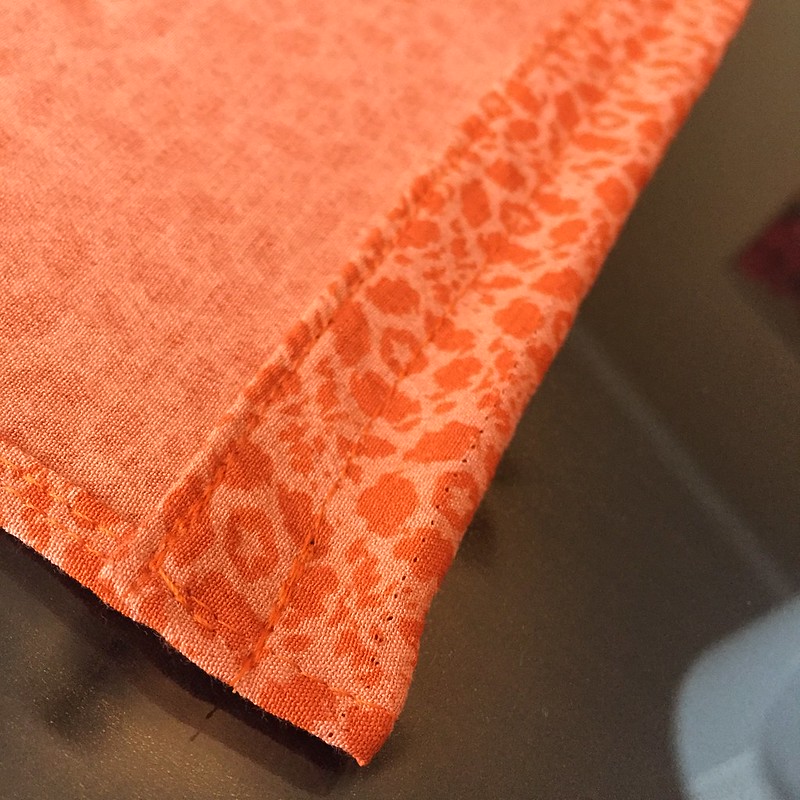
I attached each triangular insert with French seams - first sewing with wrong sides together, pressing the seams, then sewing again with right sides together to encase the raw edges, and pressing them once more.
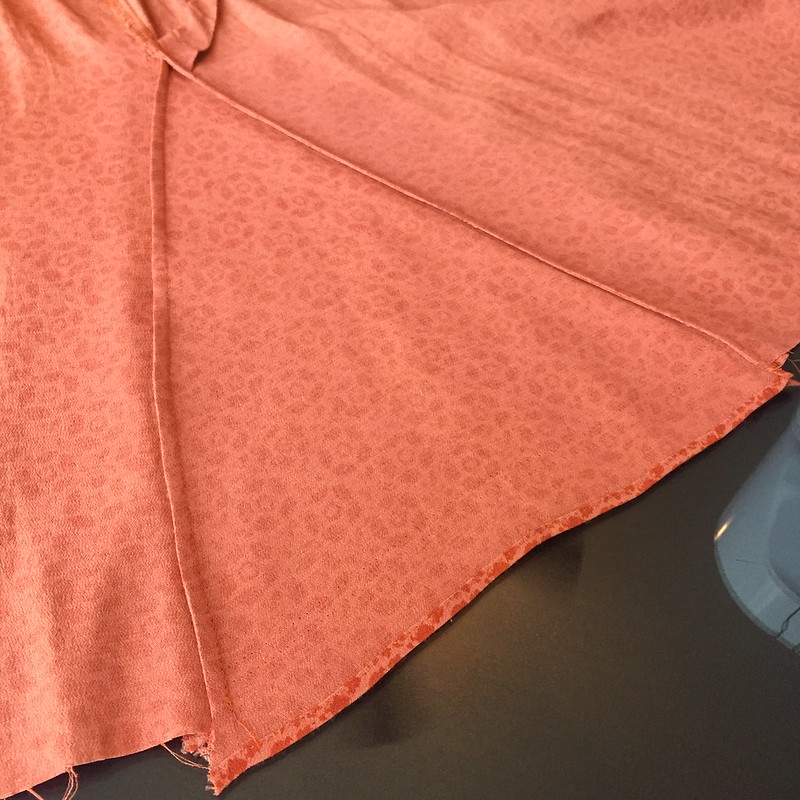
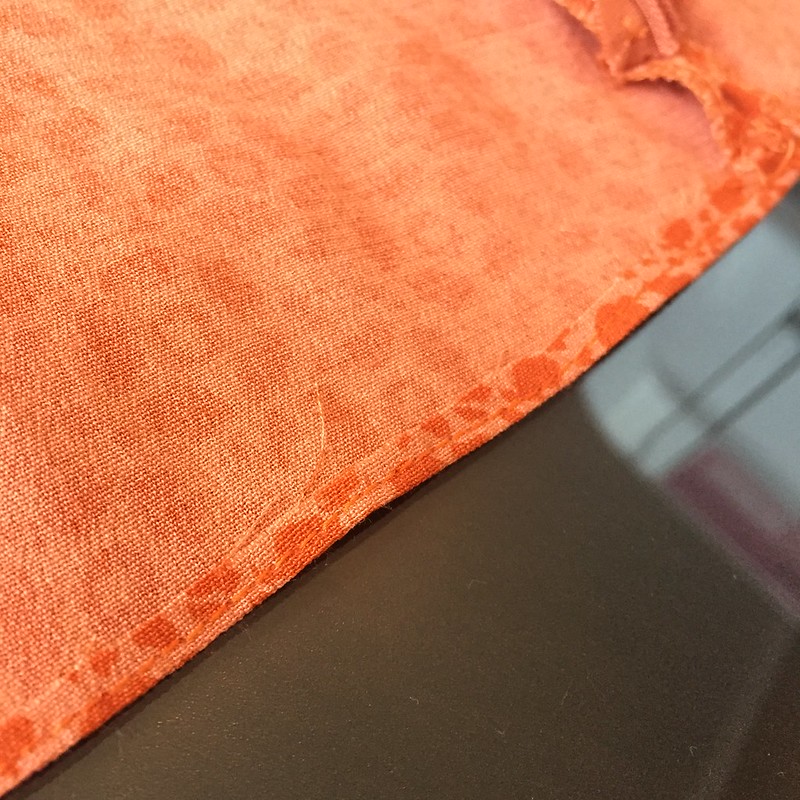
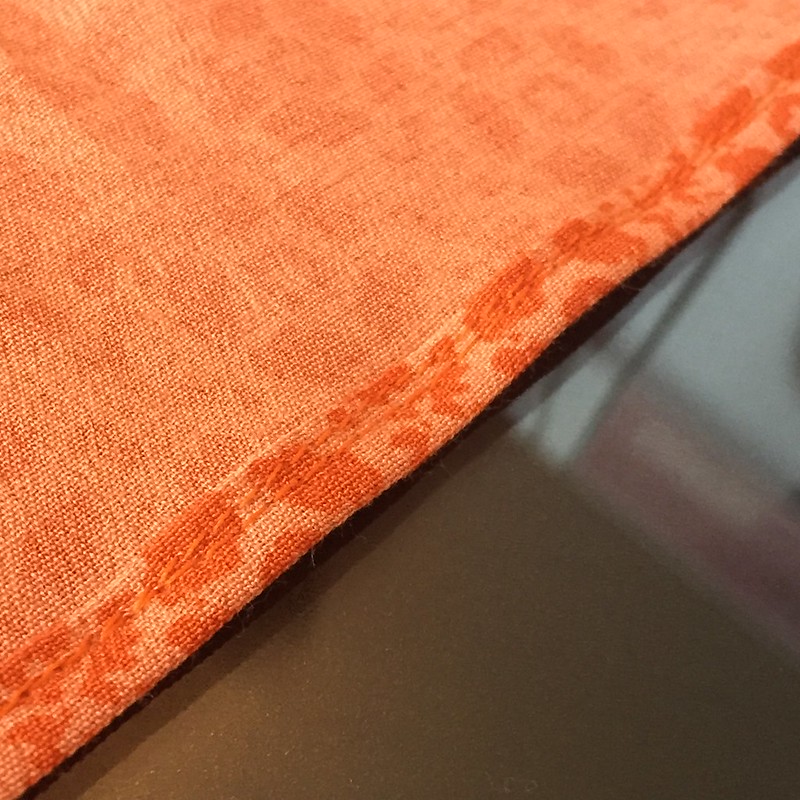
I trimmed the triangles to be even with the front and back edges. Then the whole thing got a new hem. Since this material was slightly slippery, I folded it up once and stitched it, then folded it up again and stitched again. It's easier to control that way.
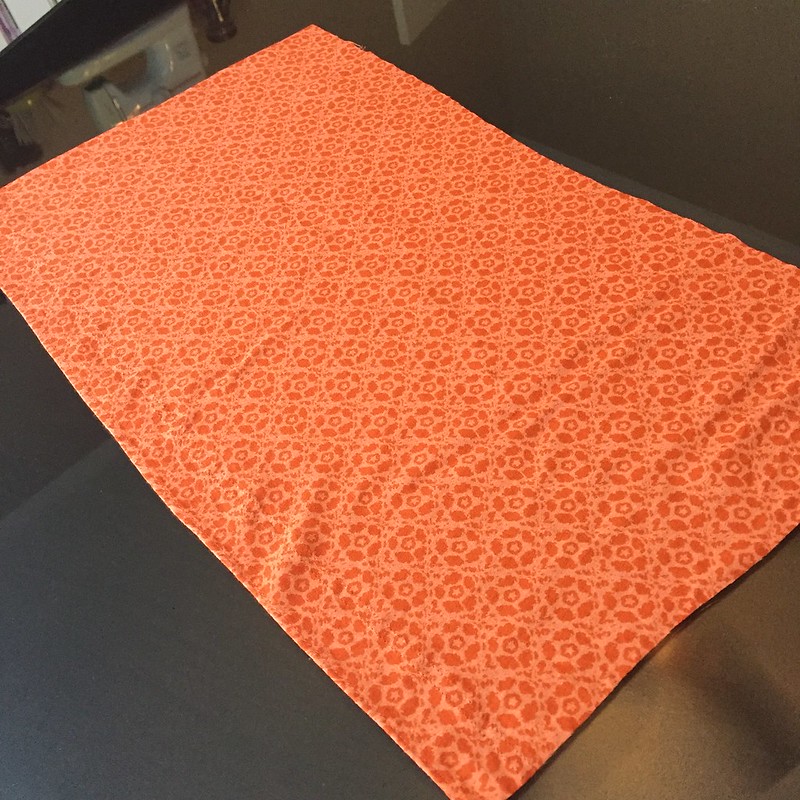
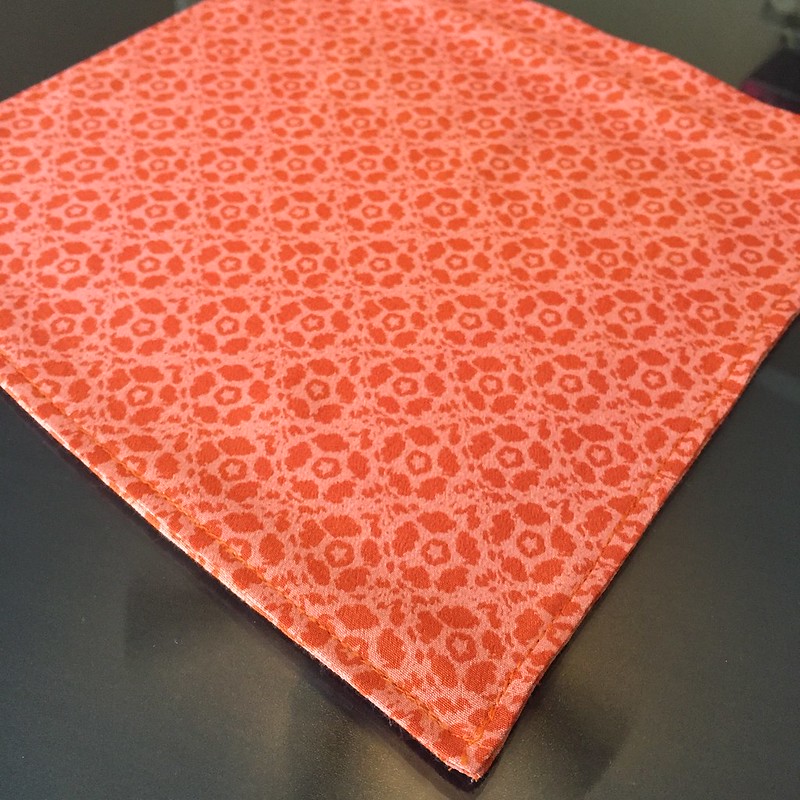
I was left with a decent sized bit of fabric, so I decided to make a quick drawstring bag for small knitting projects. I hemmed the three raw edges the same way I hemmed my new shirt.
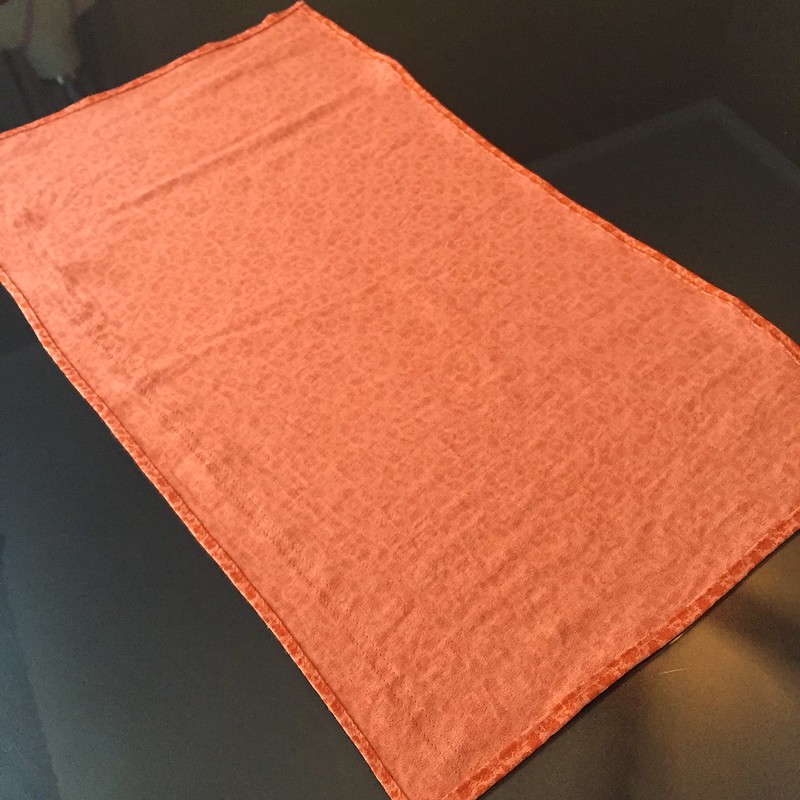
One of the long edges was folded down about an inch, and I sewed two parallel lines about 1/2-inch apart for the drawstring casing. Then the rectangle was folded in half, and I sewed the side and bottom to create a pouch. I made sure not to sew the ends of the casing closed though, so I'll still be able to add my drawstring.
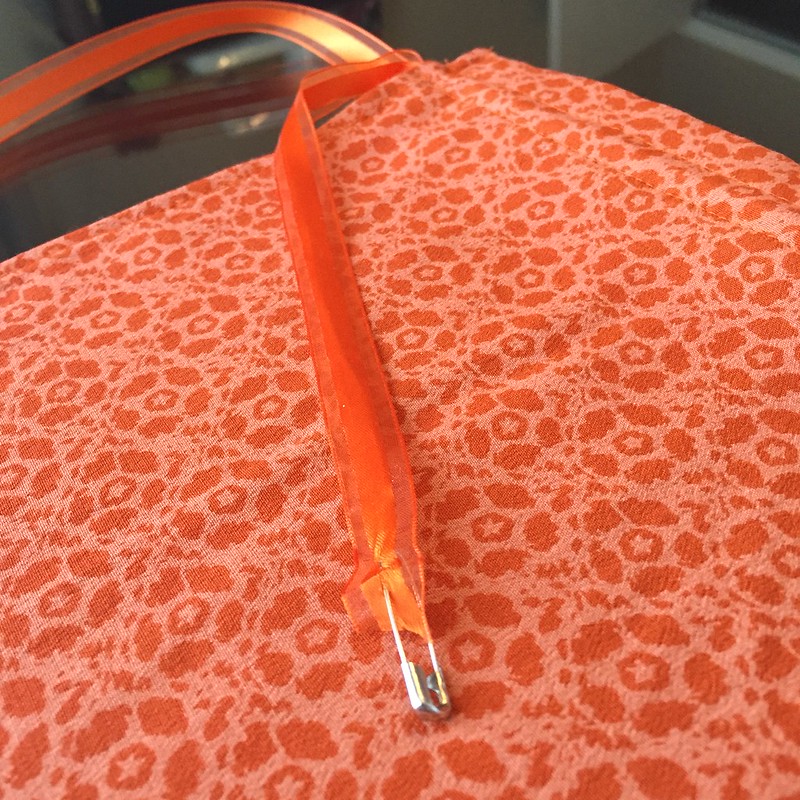
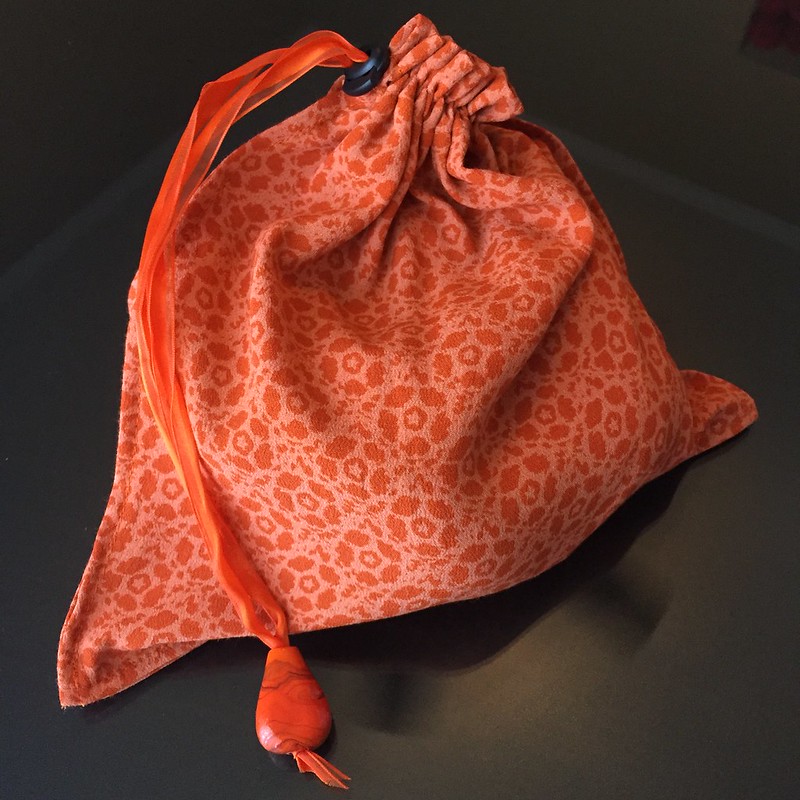
I grabbed a piece of matching ribbon from my stash (the original dress' ribbon was too flimsy to be re-used). I fed it through the casing with a safety pin, then added a toggle stopper and a big glass bead. I knotted the ribbon ends together to keep the bead on and trimmed them nice and even.

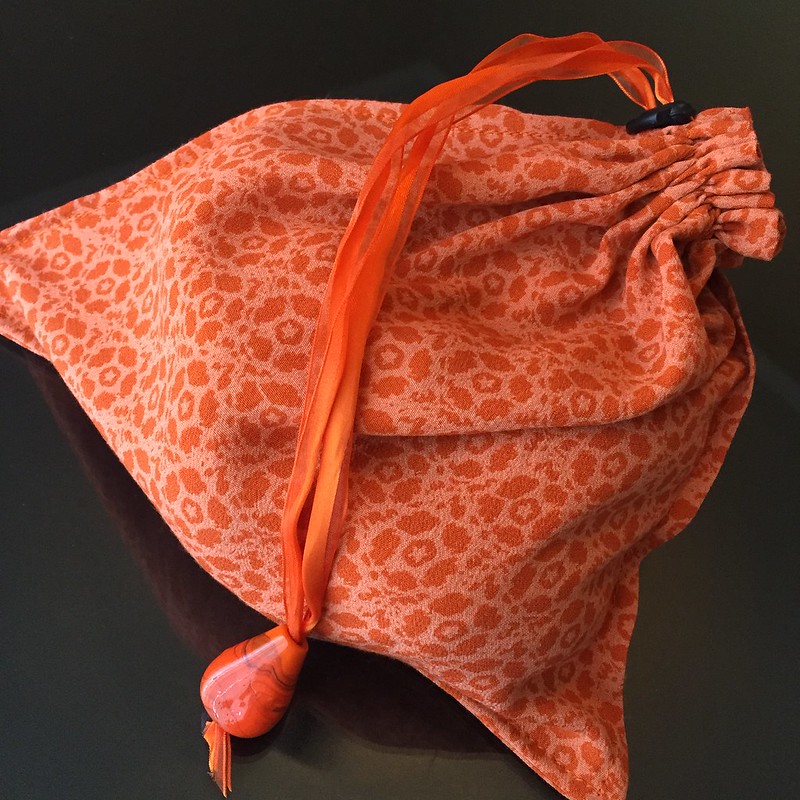
And now I've got a simple new project bag for my knitting!
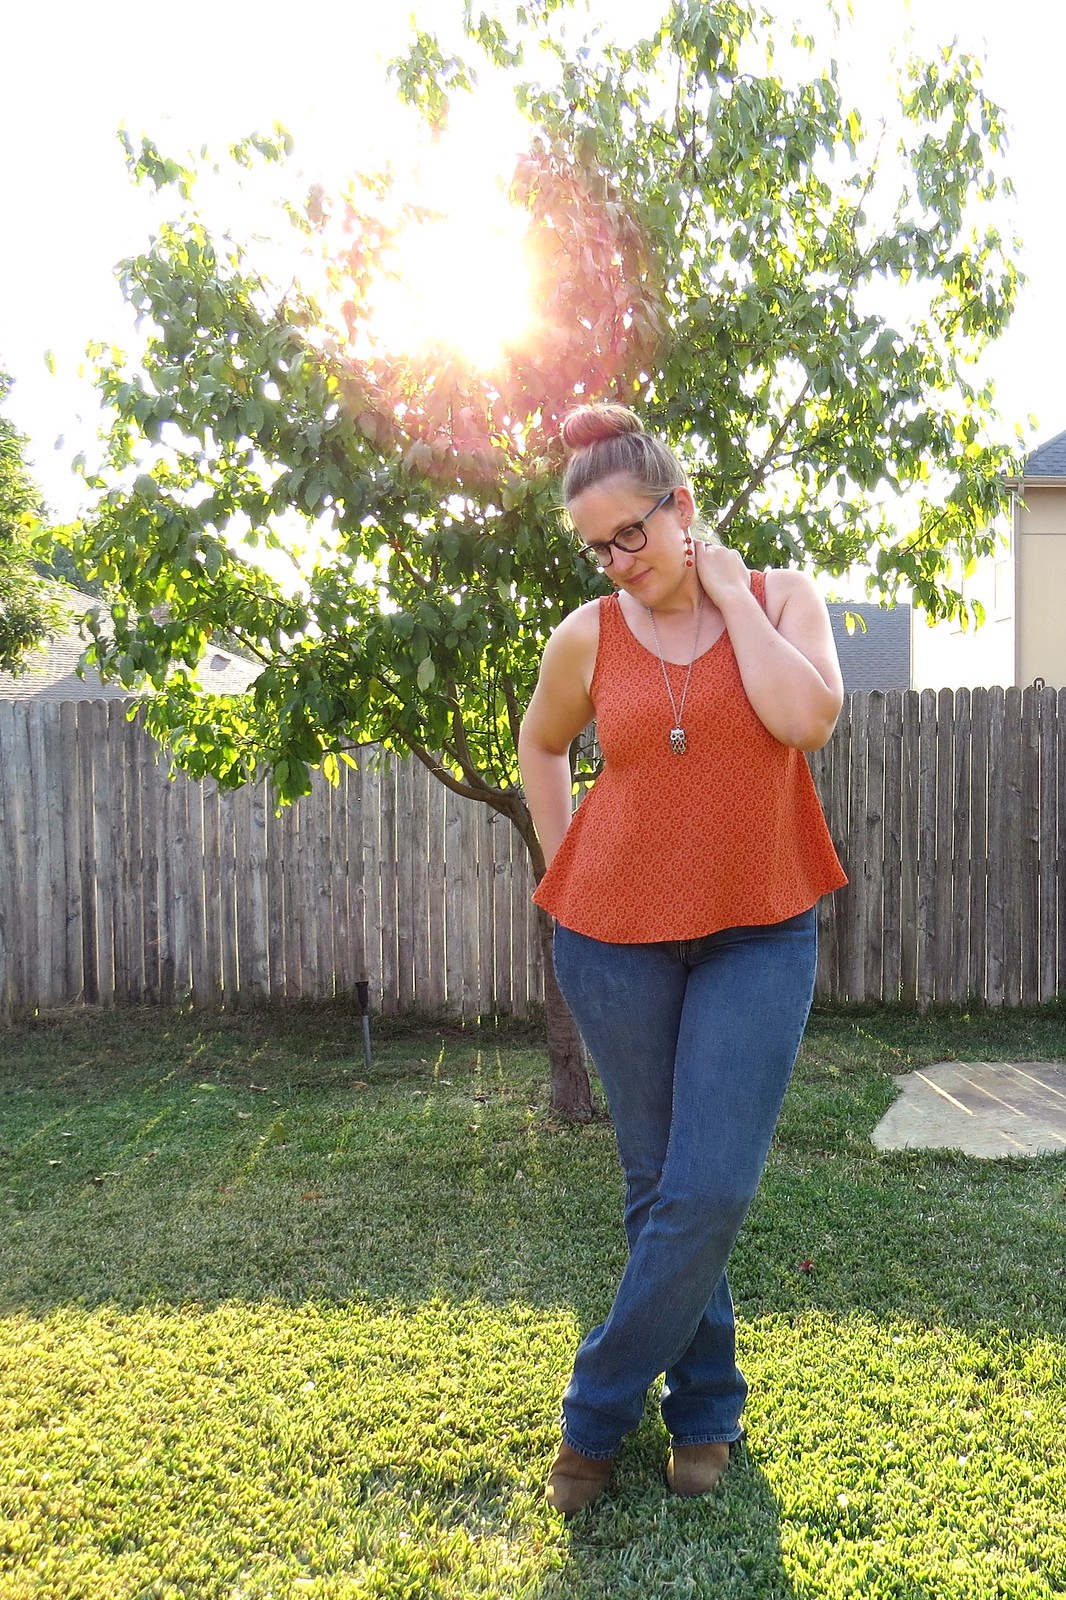
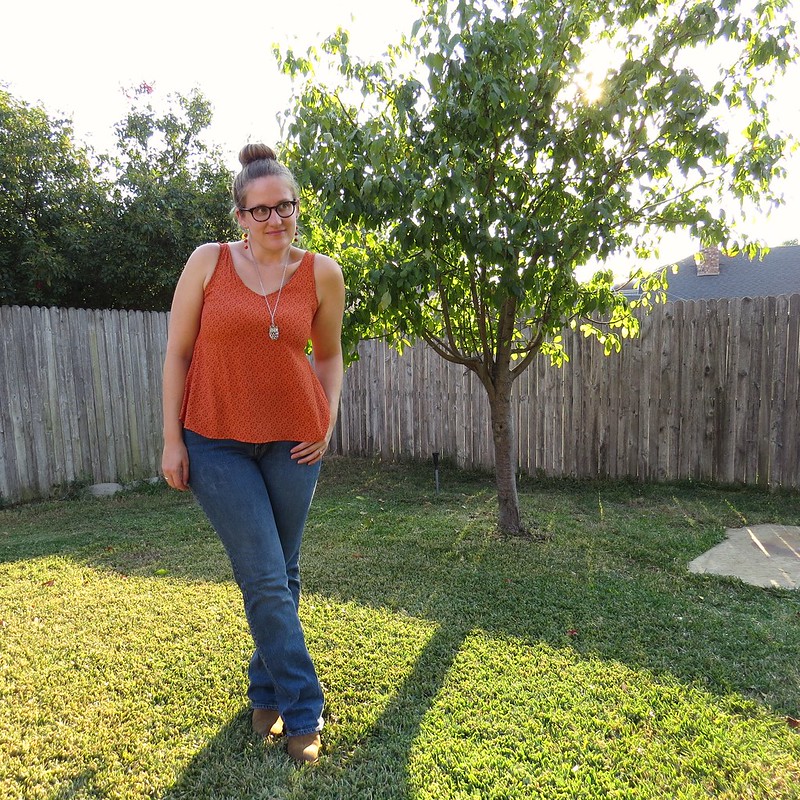
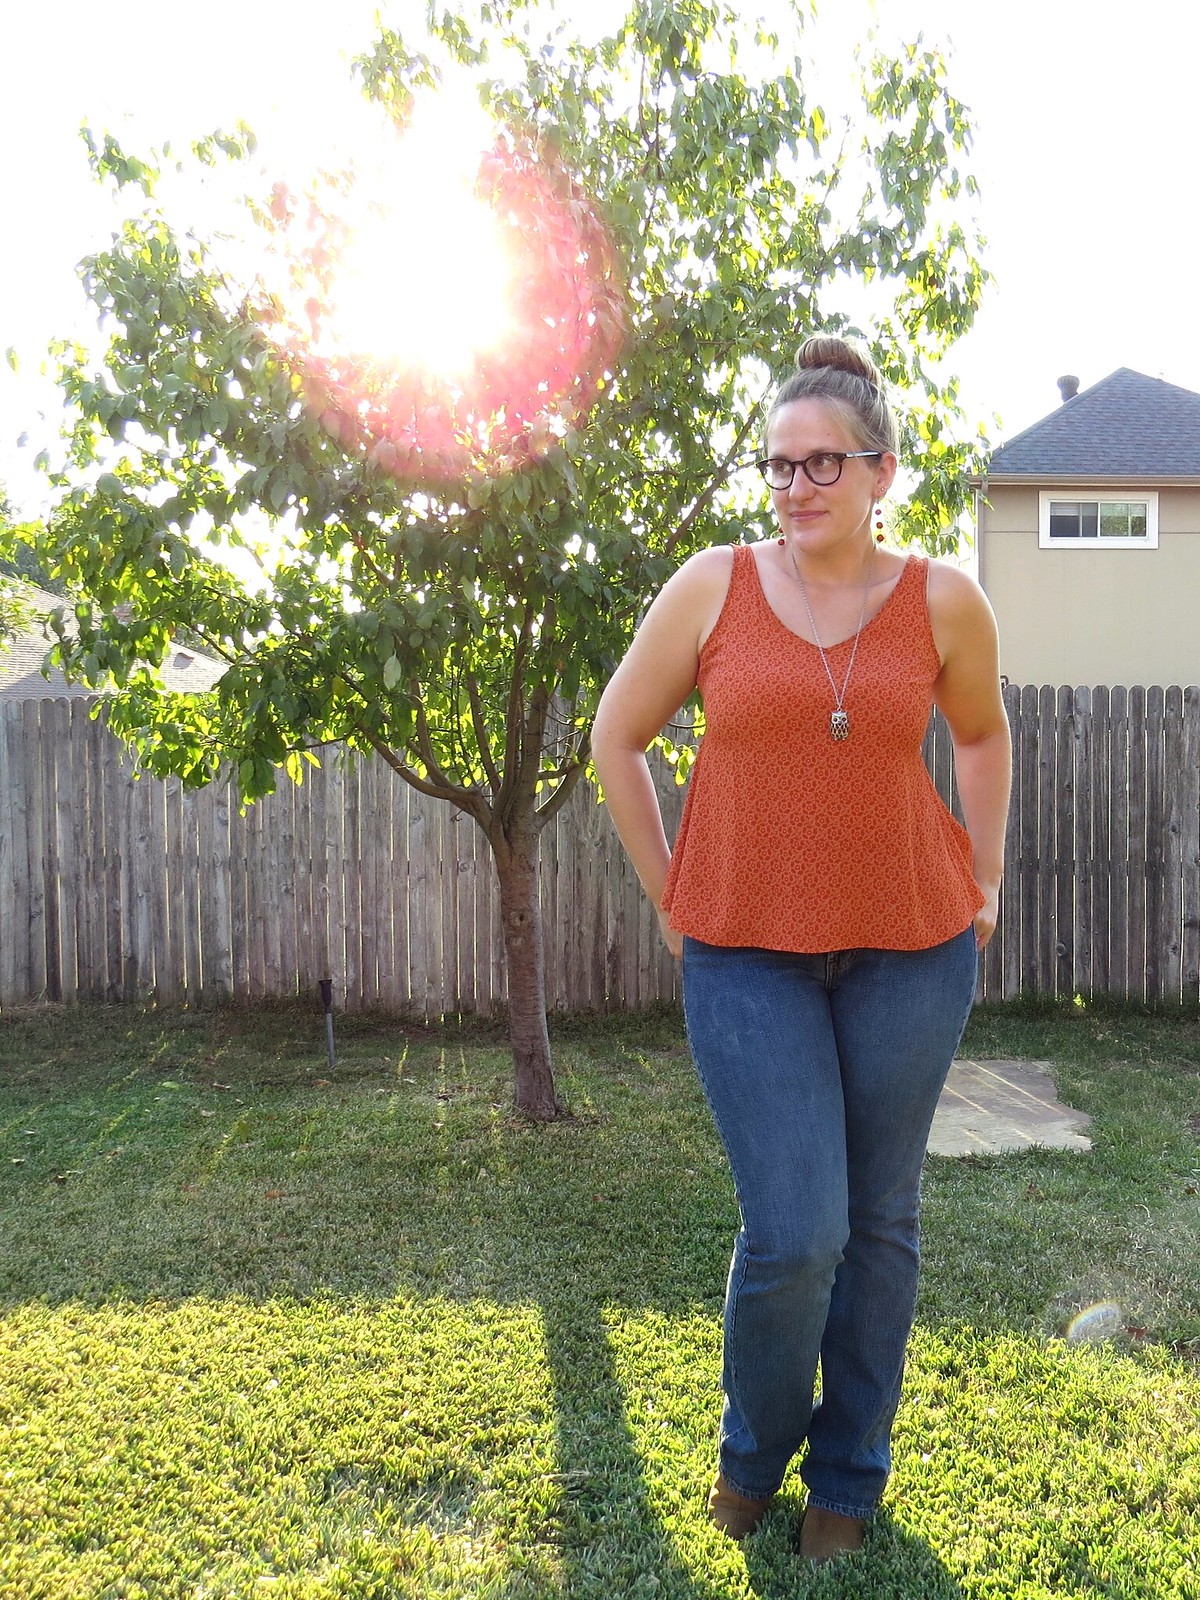
And of course, a new shirt too!
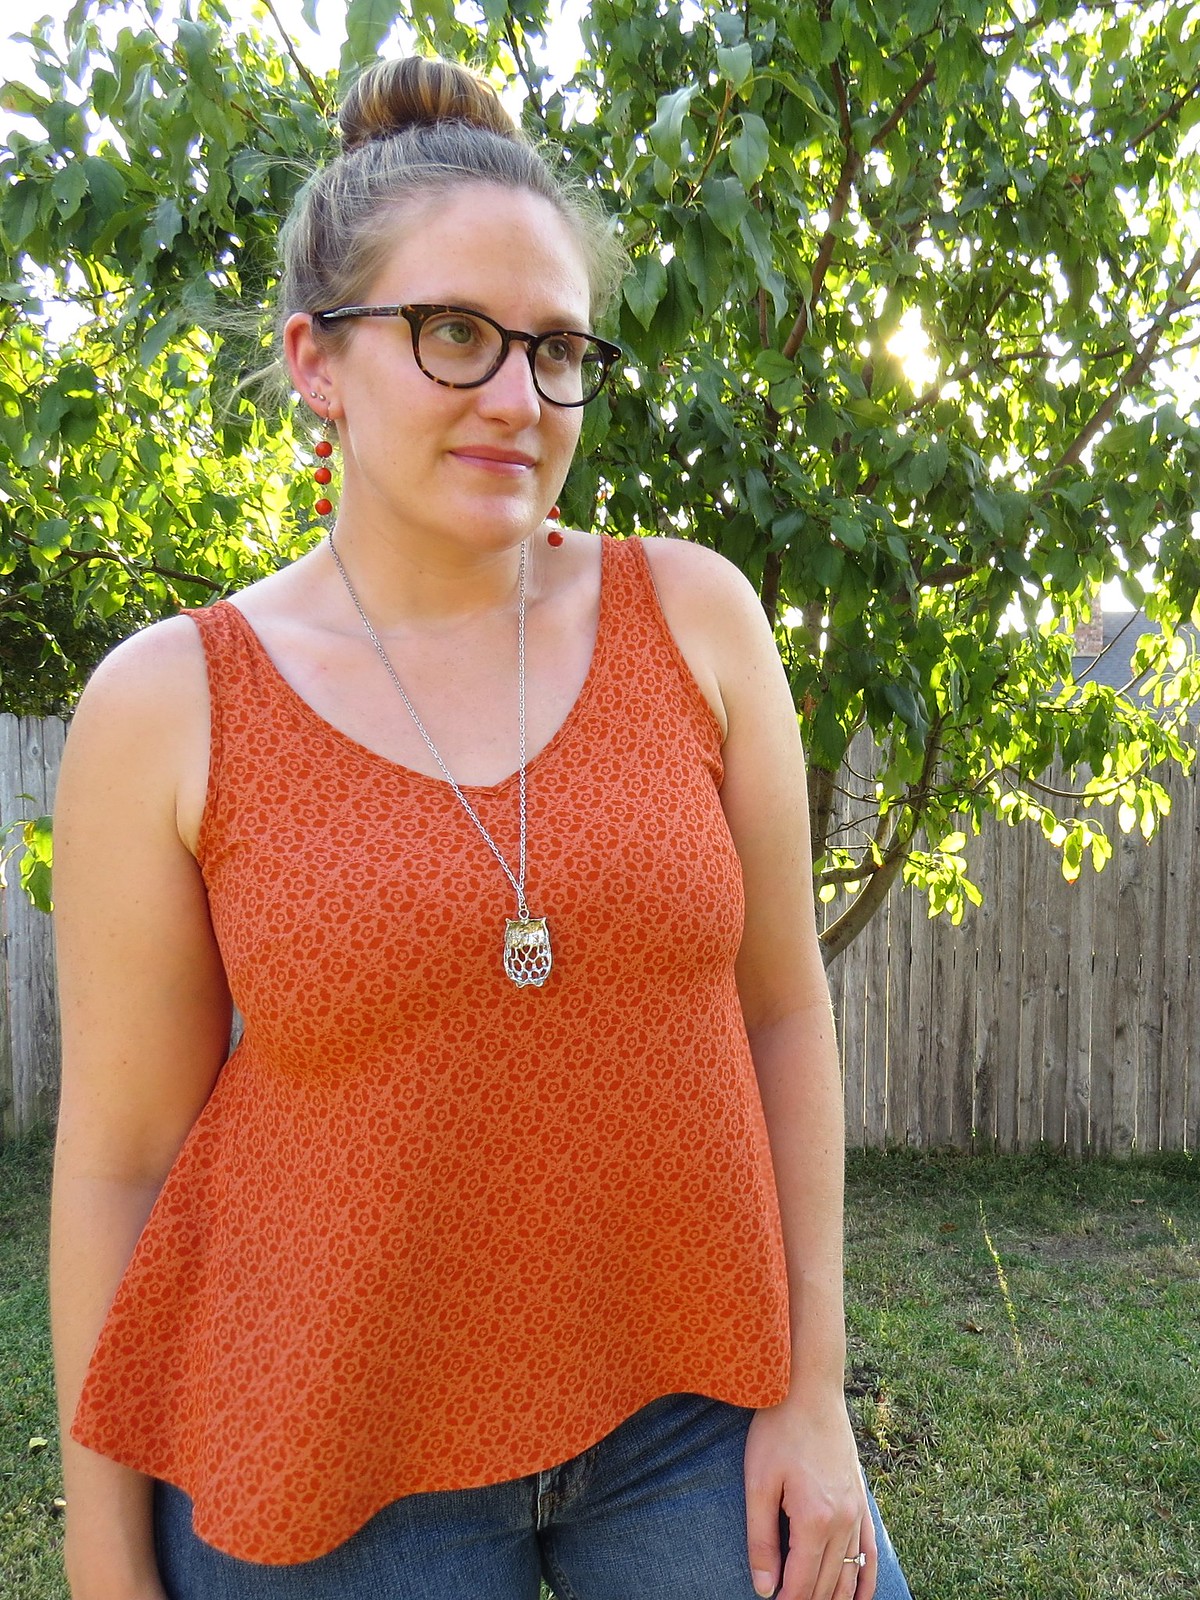
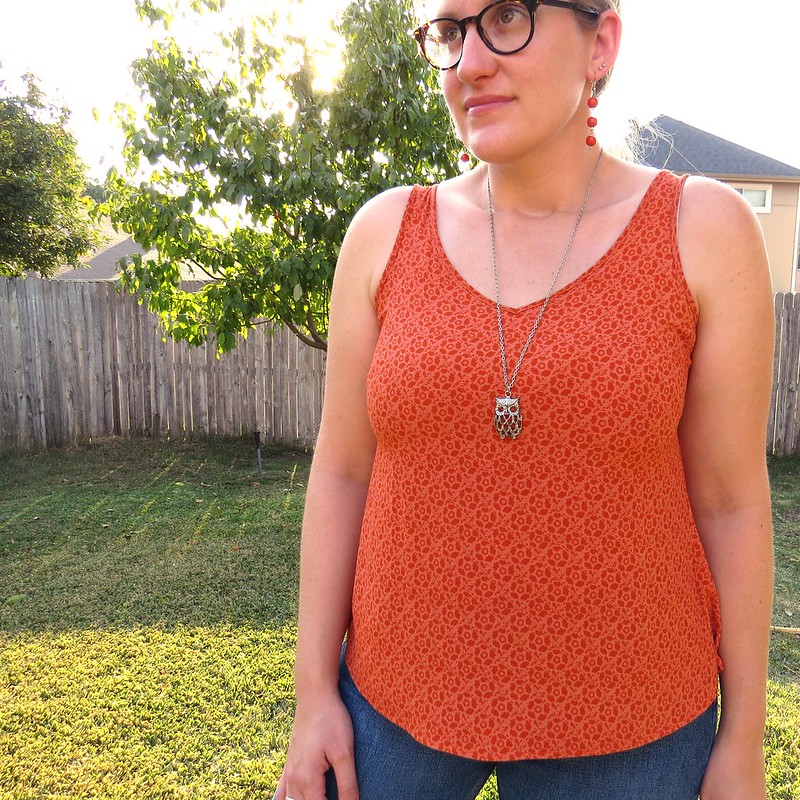
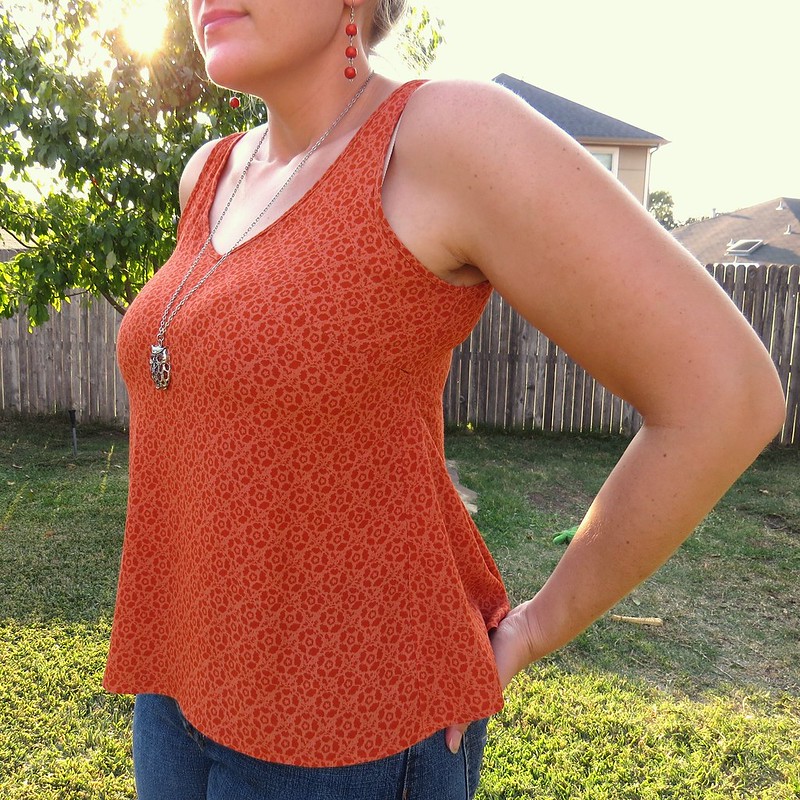


This top is perfect for our Fall! Way to get the Orange color in, but not melt in the stubborn, won't give in weather.
ReplyDeleteJJ
www.dressupnotdown.blogspot.com
Absolutely! In Texas, it's all about finding (or making) tank tops and sundresses in fall colors. ;)
DeleteGenius! I love it!! It would be fun to add the triangles in a contrasting fabric, too, if you were just working with a top instead of a dress! Great refashion!! :)
ReplyDeleteAbsolutely! I've seen some on Pinterest that use lace inserts on the sides - super cute!
DeleteAnother fun adventure ---the flow from the bust down is very attractive as the top is with jeans.
ReplyDeleteThanks, Linda!
DeleteOh --- PS -- I love your knitting project sack. Of course, your cute additions of bead and toggle really finish the project.
ReplyDeleteA girl can never have too many bags! ;)
Delete