


First, I found this tutorial. It explains everything very well and provides a template to create your own version in two sizes - adult and kid. And I love the comfy yoga-waist with no need for elastic or a drawstring.
Then, I discovered this tutorial. It shows you how to measure your body and create a customized pattern. It also takes into account the need for more space in the back for your booty than in the front. I also liked the contrasting waistband from a second t-shirt.
But here's the thing. I have thighs. And hips. More than either of these women do apparently. So though the shirts I wanted to use are an adult large (from my heavier days), they are not quite wide enough to accommodate my lower half. Now, some might say I should take that as a sign that I shouldn't be wearing yoga pants. BUT, I intend to only wear these to sleep or exercise; I will not be wearing them around town like they're normal pants. Plus, the more comfortable I am when I work out, the more I might want to do so, and the smaller those thighs could become.
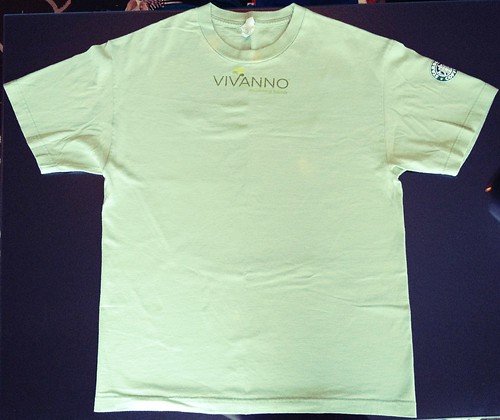
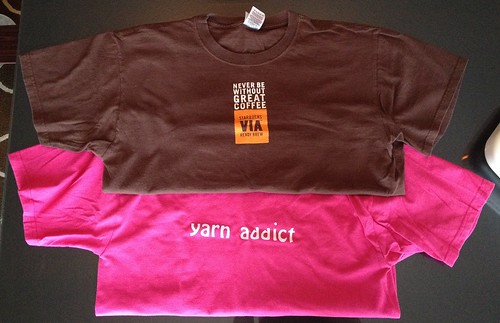
Anywho, I had these shirts from when I worked at Starbucks years ago, but they weren't going to be wide enough. Since I planned to use a second shirt for a contrasting waistband, I figured I could use more of that second shirt to create a panel to widen the legs. It would mean cutting up the center front and back of the shirt, but I wasn't that concerned with maintaining the original graphic on these shirts, so that was fine with me.
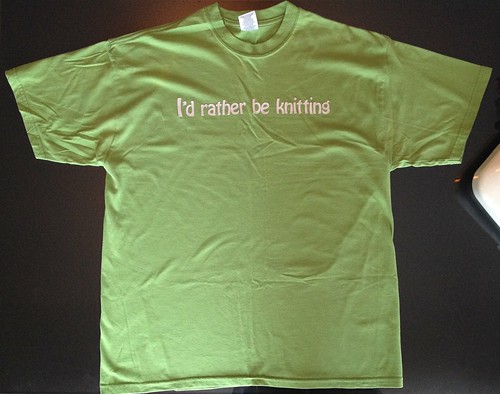
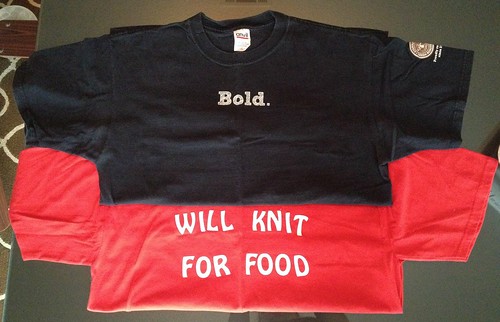
So with this plan in place, I set forth on my experiment. I grabbed my least favorite of the Starbucks tees (just in case things go awry) and a coordinating solid tee (a basic one from the craft store on which I had previously ironed iron-on letters).
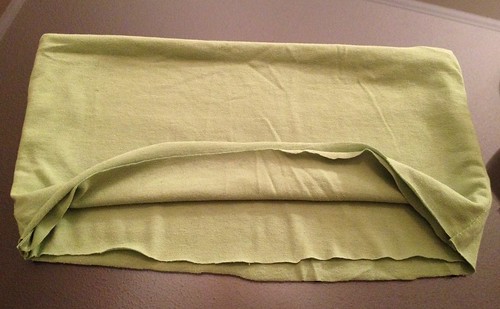
On the first tee, I cut up the sides, along the armholes, and straight across below the collar.

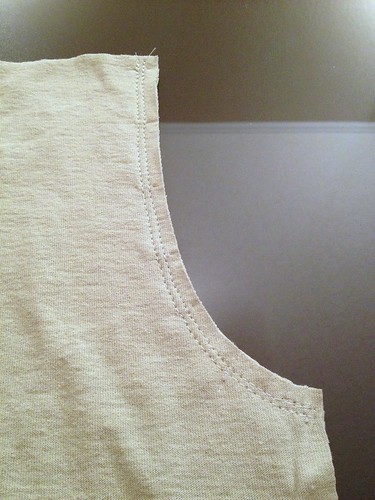
I measured around my upper thigh - 26 inches. My shirt is only 21 inches wide, so I'll need an extra 5 inches of contrasting fabric for the side panels. Following the second tutorial linked above, I measured the crotch seam on an existing pair of pants - 10 inches in the front and 12 inches in the back. Per the tutorial, I'll subtract 2.5 inches from each for the waistband - 7.5 and 9.5 inches. So I cut a 9.5-inch curve near each armhole, then cut the top at an angle down 2 inches (to 7.5 inches) on one side. What this shirt lacked in width, it made up for in length, and since I only wanted knee-length shorts, I was able to completely cut off the old logo (it was pretty high on the shirt to begin with). Only the bottom piece here (front and back) will be used in the final product.

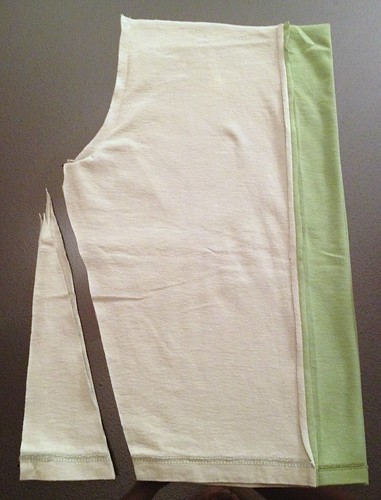
Here is where we start to deviate from that tutorial. I cut straight up the center of each panel and measured the height - 21 inches. From my second shirt, I cut two panels, 21 inches tall by 5 inches wide.
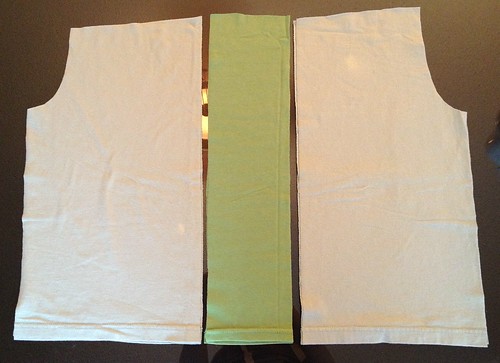
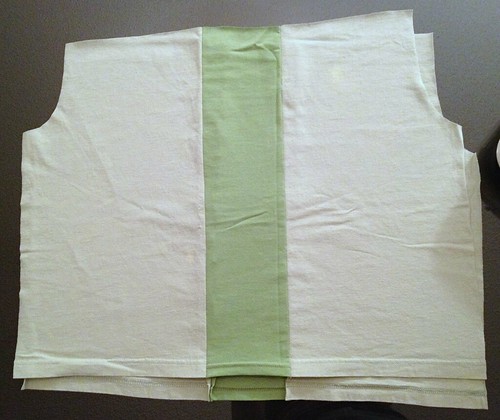
I attached each side panel to two of the large pieces, making sure to keep the angled top edge lined up.
With my two pieces right-sides-together, I sewed the curved seams for the crotch. I did two lines of stitching to make sure this seam is very secure. Wouldn't want any unfortunate wardrobe malfunctions.
I want my shorts to taper down to the knee, so I folded them in half and measured the inner leg edge from crotch to hem - 13 inches. Then I measured around my leg 13 inches down from my crotch - 17 inches. So I trimmed off triangles on the inside of the legs to take my 26-inch hem down to 17 inches (or 8.5 inches when folded in half like this).
Then I sewed the inner leg seams.

At this point, my pants were pants-like enough to try on. Aside from being too low-waisted (I mean really low-waisted - next time, I'm lengthening the crotch seam a bit), they fit great! While I still had them on, I measured my hips where the top of the pants were - 38 inches. Per the tutorial, I divided that in half and subtracted 4 inches - 15 inches. I trimmed the bottom hem from the second shirt, and cut two rectangles, 15 inches wide and as tall as I could get them, about 16 inches. I wanted a really beefy waistband to make up for the shorts being way too low right now.
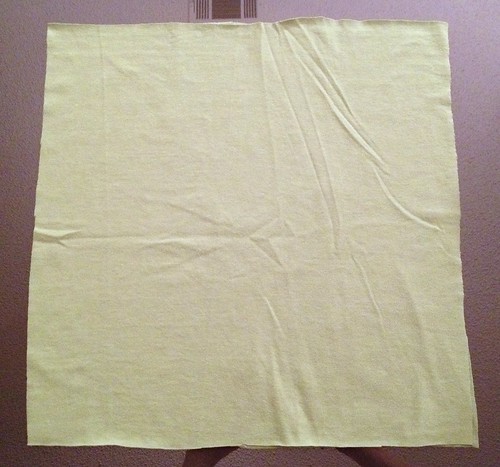
I joined these rectangles into a tube...
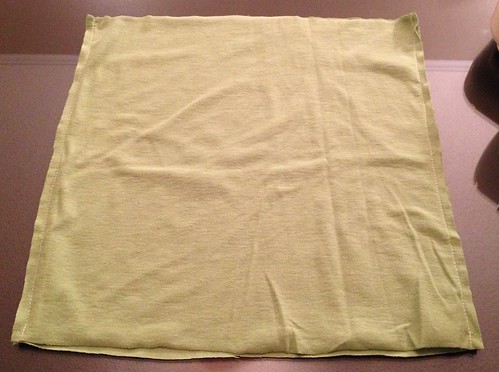
...and folded it in half for the waistband.
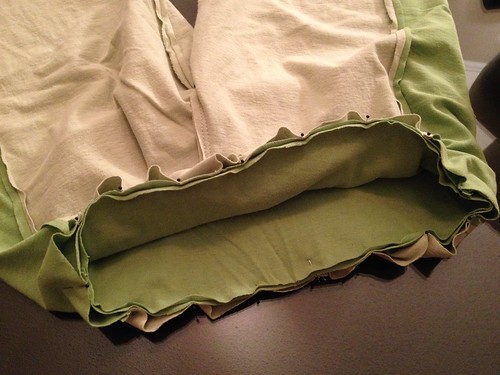
I pinned it to the pants, evening out the excess fabric. Since the waistband is smaller around than the shorts, you'll have to pull the fabric flat as you sew, but a zig-zag stitch keeps it stretchy.
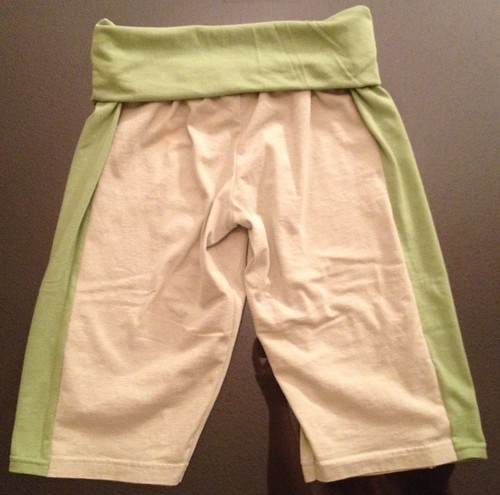
And now we've got a fold-down, yoga-style, elastic-less waistband.
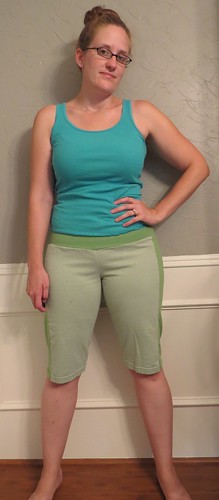
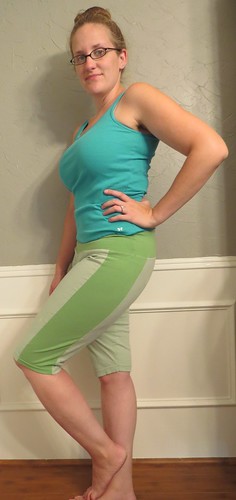
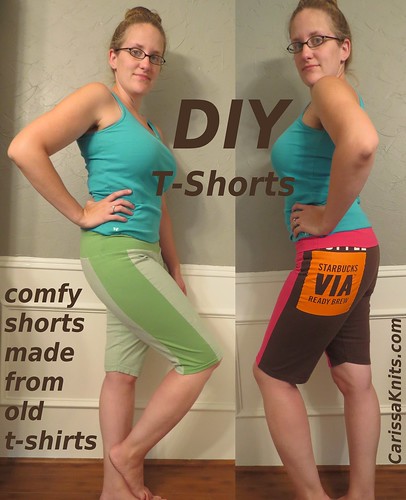
This experimental pair came out pretty good. As I said, the waist was a bit too low before adding the waistband, so I can't comfortably wear them with the waistband folded down, as it's intended. Plus, the pale green shirt already had some stains, so this pair will be primarily for sleeping. In fact, I slept in them the first night after I made them - they're so comfy!
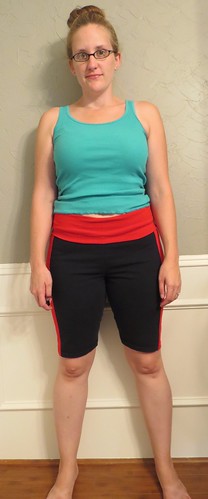
Over the course of the next few days, I made two more pair too. With the second pair, I sacrificed about 2 inches of leg length to make the crotch longer and, thus, the waist higher. I began with another Starbucks tee and another craft store tee.
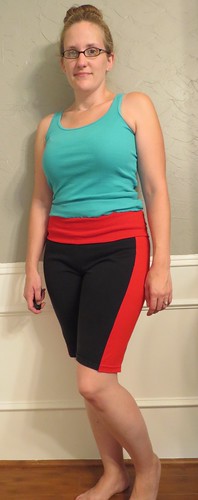
Again, the graphic was small enough and high enough that I just chopped the whole thing off, so my second pair of shorts is solid black and red. The waist on these sits high enough to be able to fold the waistband over.
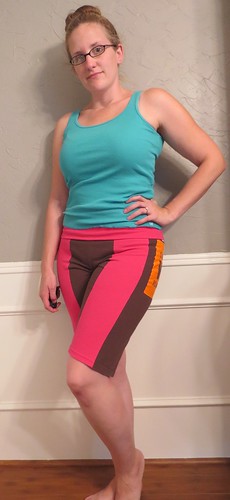
The third Starbucks tee had a lower logo on the front and a much larger graphic on the back. So instead of cutting straight up the center front and back, I cut just to the side of each graphic and inserted the pink panel there.
So the pink stripes are on the fronts of my thighs, and the graphics ended up on my bum.

I think I may have a new addiction. I'm fighting the urge to make more. Three pair should be a good start though. I plan to lose the 10 pounds I've re-gained in the past 8 or so months. Then maybe I can make more shorts without having to add a side panel. And of course, now I have something else to add to my BOLO (Be On the Look-Out) list when I go the thrift shop - extra large tees with cute graphics!

So cool! and as usual your description and pictures are easy to understand. You mentioned you had no training at all - how did you get started sewing? Or did I miss that post :)
ReplyDeleteI talked about it a little in my "About Me" page. My mom taught me the basics when I was little. I picked it back up in college and even did a little refashioning (though I don't believe that term was in use yet). It wasn't until I started losing weight a couple years ago that I got hardcore about it though. Probably 90% of what I know about sewing, I learned (i.e. figure out) over the past couple years.
DeleteThat is both surprising and inspiring; there's hope yet for those of us who haven't had instruction since home ec in the 70's :)
DeletePractice makes Perfect and Third Try is the Charm!!
ReplyDeleteThese shorts are really cute!
Thanks, Linda!
DeleteI LOOOOVE these! They would be perfect yoga shorts!! So fun. Thanks so much!
ReplyDeleteYou're very welcome!
DeleteYou are very beautiful!!! I love all your post, enjoy the pictures, and details. I pray God's grace, peace, light, and love to you and yours.
ReplyDeleteThanks!
DeleteI have made skirts from t-shirts but I never thought of making shorts! Thanks for the idea, and a very clear tutorial. You look great in yours!
ReplyDeleteThanks, KD! Once I got the fit right, the process is super easy. I would definitely recommend starting with a t-shirt you don't care about as much.
DeleteThey look lovely!!!
ReplyDelete