


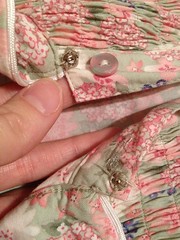
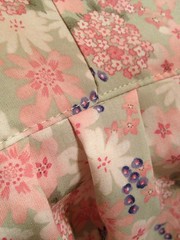
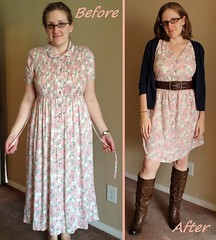
Perhaps my favorite part of this dress was the alteration the previous owner had made. Buttoning up to the clavicle is clearly not enough to retain one's modesty. Only a trollop would wear this dress in its originally-manufactured state.
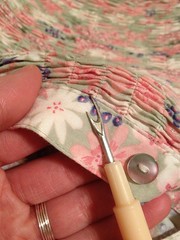
First off, let's get rid of that elastic bodice. I used my seam ripper to liberate the button band, which I plan to reuse, and then I cut around the waist, just below the seam.
Next, I chopped off the excess length, about an inch below the last button. I'm going to use the bottom portion to create the front of my new bodice.
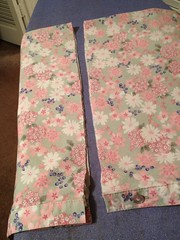
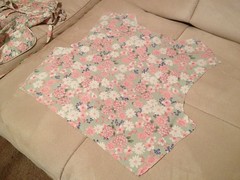
I salvaged the back panel from the bodice and used it as a guide to cut two pieces from the bottom of the skirt. These will be my front panels, so I left plenty of extra fabric to make sure they'll cover the girls.
I joined the fronts to the back at both side seams. Then I folded each front panel in half along a vertical line that will be my vertical bust shaping. I pinned these darts, taking in more at the top and bottom, and leaving room for my assets in the middle. Once this was complete, I trimmed a triangle off the center of each front panel to form a v-neck.

For an even better fit, I added bust darts on the sides as well. This will keep the armholes from gaping.
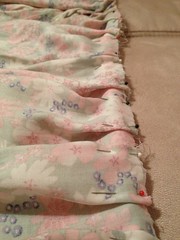
With my new bodice complete, I reattached the skirt, adding some simple pleats instead of just gathering the skirt fabric. Then I went back over it with a top-stitch for a nice, clean, finished look.
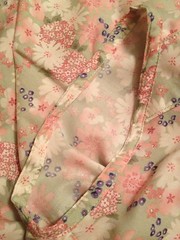
Then I reattached the front button band to my new front panels. I even used the portion of the button band from the excess skirt material (the part that was at the bottom below all the buttons) to finish my neck edge.
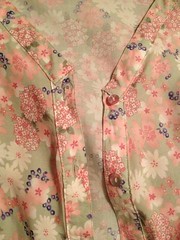
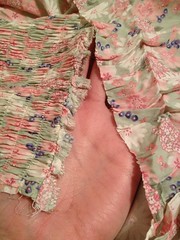
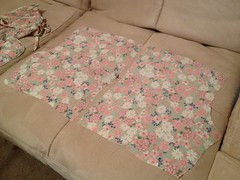
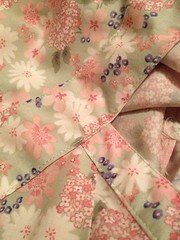
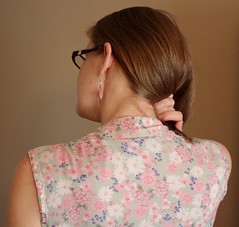
I cut a long strip from the original collar and sewed it straight across the top of the back panel. This will go across the back of my neck and wrap over my shoulders a bit (second picture, although it's kinda hard to tell).
I snipped off the original waist ties from my scraps and used those to finish off my armholes. My trusty seam ripper helped opened up the ties all down one side. Then I just wrapped that around the raw armhole edge and sewed it back together.
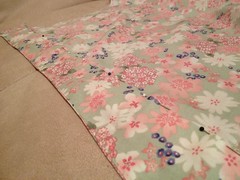
And last, but not least, I rehemmed the bottom of the skirt.

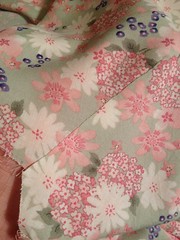
Here's a couple shots of how collar wraps over my shoulders and down onto the front panels. I thought this was an interesting detail.

I even preserved the original pockets because who doesn't love a dress with pockets?

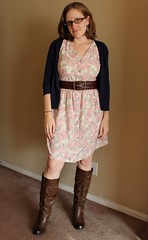
For now, since it's still a little nippy in the mornings, I paired it with my favorite boots, a brown woven belt, and a navy cardigan. But once summer is in full swing, I can see myself wearing this all the time with just some little flip-flops.

Simply Awesome!
ReplyDeleteHoneydews
This is a great refashion and that snap on the original dress made me chuckle.
ReplyDeleteWhat a fantastic job! That floral is lovely. And the back neck detail is really interesting too.
ReplyDeletewow, what a difference! but i love it! :) lisa
ReplyDeleteThis is incredible!!! I love it, super cute!
ReplyDeleteAll of these services are supplied to users using their unique customer ID, which is assigned when an account is created. Customer ID is a customer's unique identifier that may be used during a transaction or when accessing a service at any Canara location. what is customer id in canara bank To receive advantages from the bank, a client must have their Canara Bank customer ID documented, and when a check book is requested or provided, their ID is printed on it. Canara Bank has enough with a unique number for each customer.
ReplyDelete