


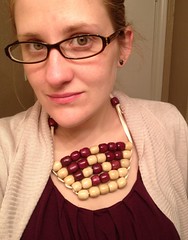
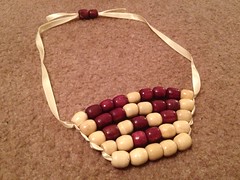
First off, a wooden bead bib necklace:
Wanna see how I did it?
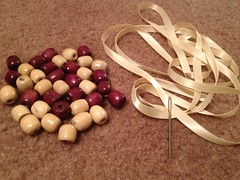
Let's gather our materials first. We'll need...
- A collection of wooden beads
- Some coordinating ribbon - I used about 3 yards, but depending on the size and number of your beads, you may need more or less
- A darning needle aka tapestry needle, large enough to thread the ribbon through the eye, but small enough to fit the needle through the beads
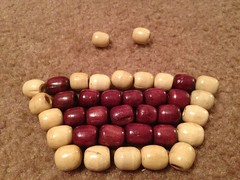
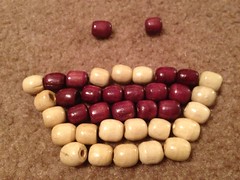
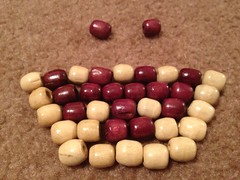
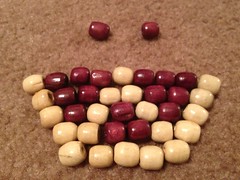
Now start rearranging your beads until you come up with a design you like. Some things to remember when determining your design:
- Reserve two beads to use for the necklace closure later.
- Each row should be either one bead longer or one bead shorter than the row before it.
- I found it helpful to snap a quick pic of each so I could flip through them on my phone and decide which one I liked best.
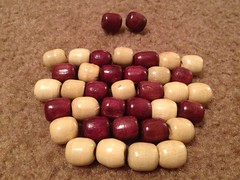
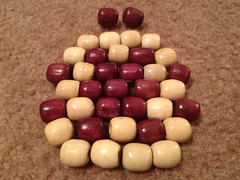
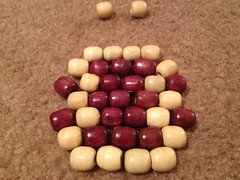
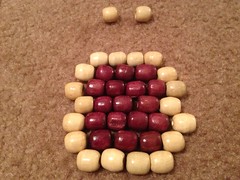
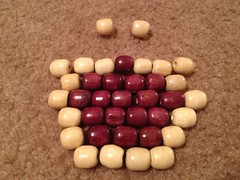

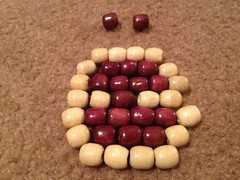
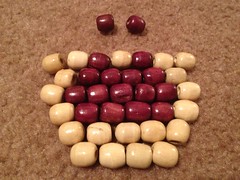

I think this one's a winner!
Step 1: Thread the bottom row of beads onto the ribbon and slide them to the center so half the ribbon is on either side.
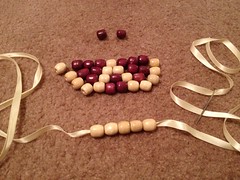
Step 2: Now thread each end of the ribbon through the second row of beads in opposite directions.
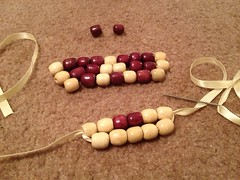
Step 3: Continue adding rows until the design is complete.
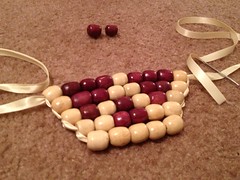
Step 4: Add the last two beads, but don't pull the ribbon all the way through.

Step 5: Put the necklace on to make sure it will fit over your head. Trim the ends of the ribbon a couple inches from the beads.
Step 6: Tie knots in the ends of the ribbon to keep it from sliding back through the beads.
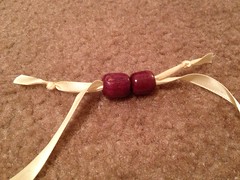
Now simply pull the two beads away from each other to tighten, or gently tug on the ribbon on the sides of the necklace to loosen again.

For an even quicker, easier project, try this necklace instead. Just thread some wooden beads onto a piece of wide ribbon, wide enough that it barely fits through the beads.
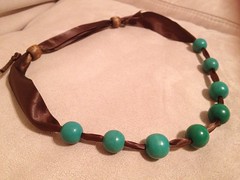
Top it off with two more closure beads and a couple knots, and you've got yourself a super-simple, fun piece of jewelry! It doesn't get any easier!

It even matches my new shirt!
Al Shaheen Graphics is a professional graphic design and printing company offering high-quality creative and printing solutions for businesses in Dubai and across the UAE. The company specializes in logo design, branding, business cards, brochure printing, flyer printing, banner printing, vehicle branding, signage, packaging design, and promotional materials tailored to meet modern business needs.
ReplyDeleteGraphic Designer in Dubai
Graphic Design Company in Dubai