


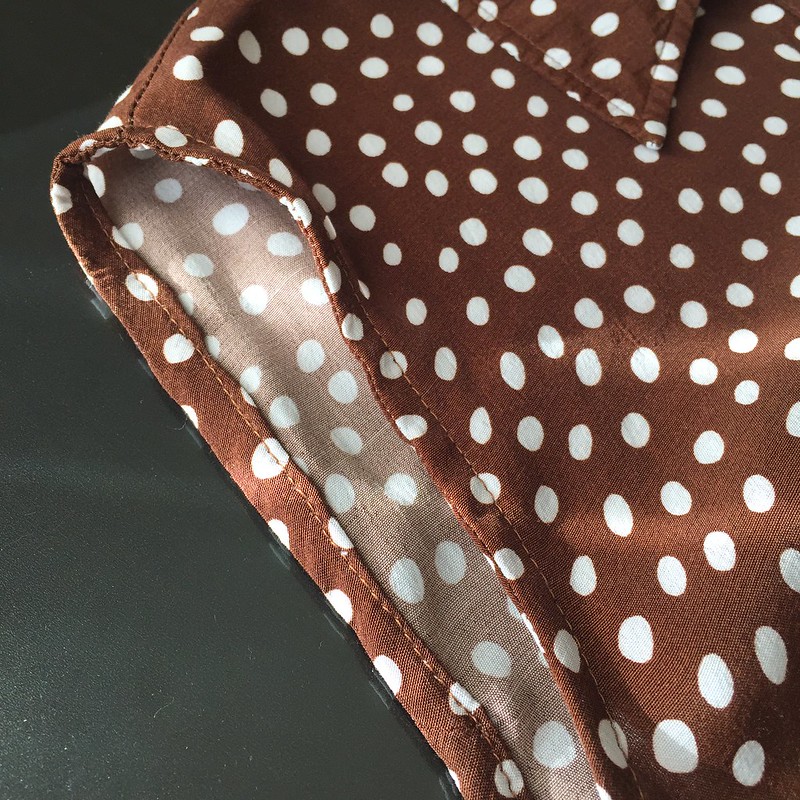
Step one was to cut off the sleeves, leaving about an inch of fabric attached to the dress. Then I folded that inch under as a facing to finish the armhole edges.

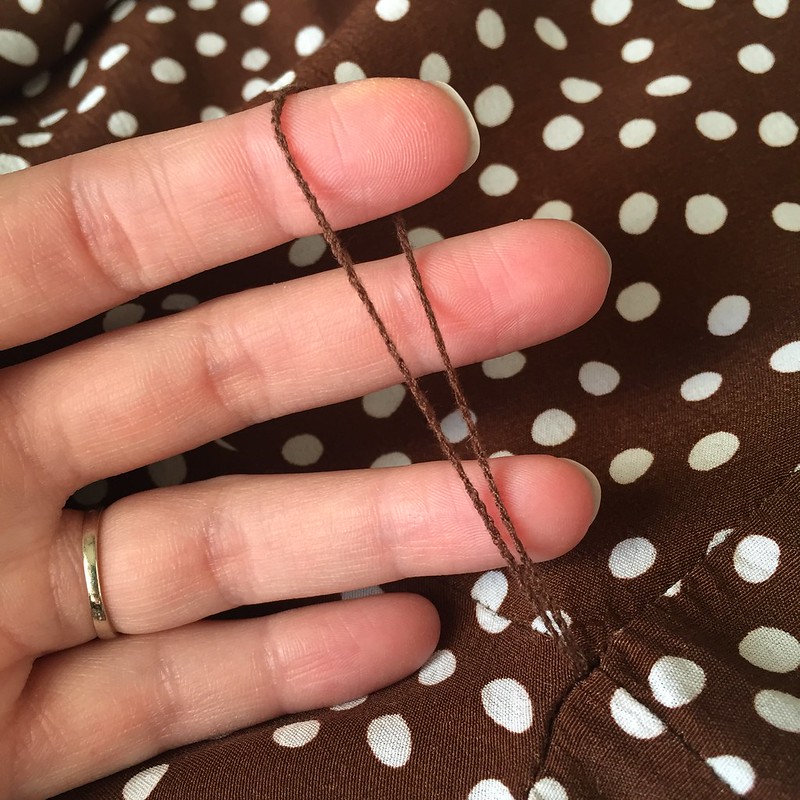
There was one remaining belt loop on one side of the dress, the other having been torn out of its seam at some point. I re-stitched the torn seam and snipped the remaining belt loop off as close to the dress as possible. There were also a few small holes around the skirt, but they were near enough to the bottom that they would all be removed when I trimmed the length.
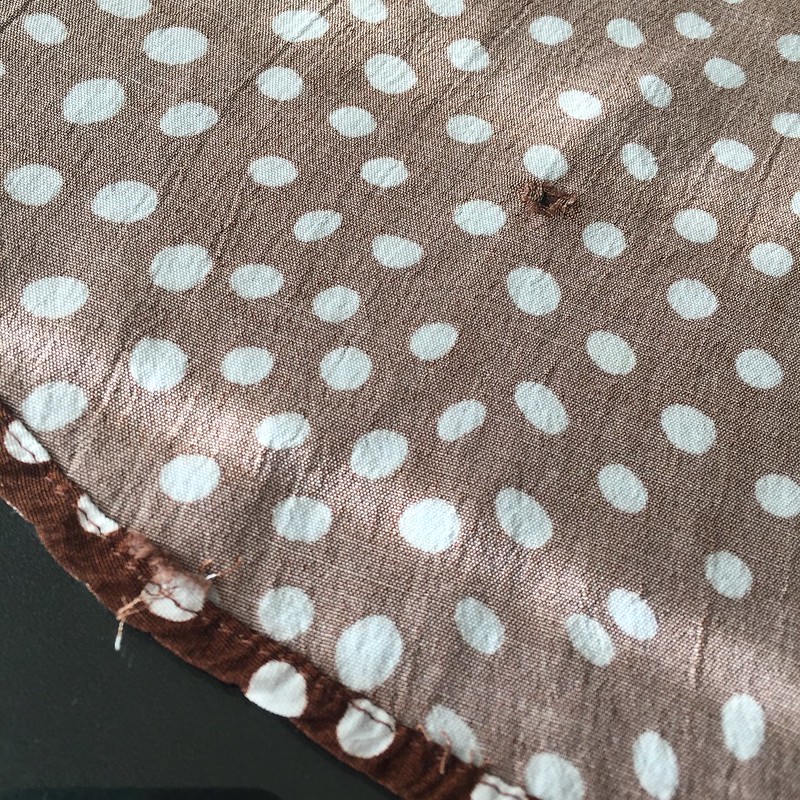
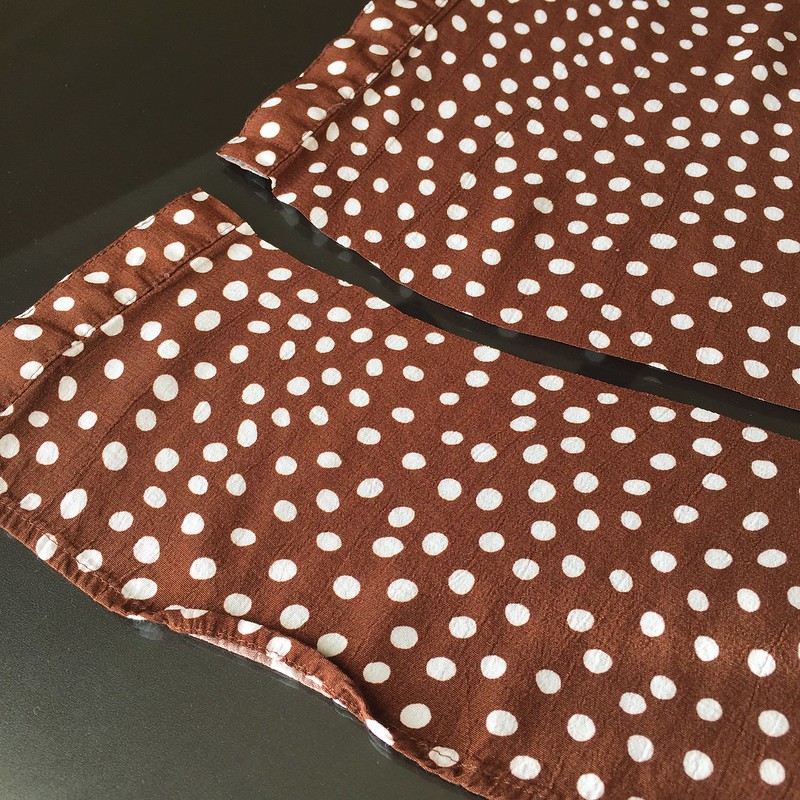
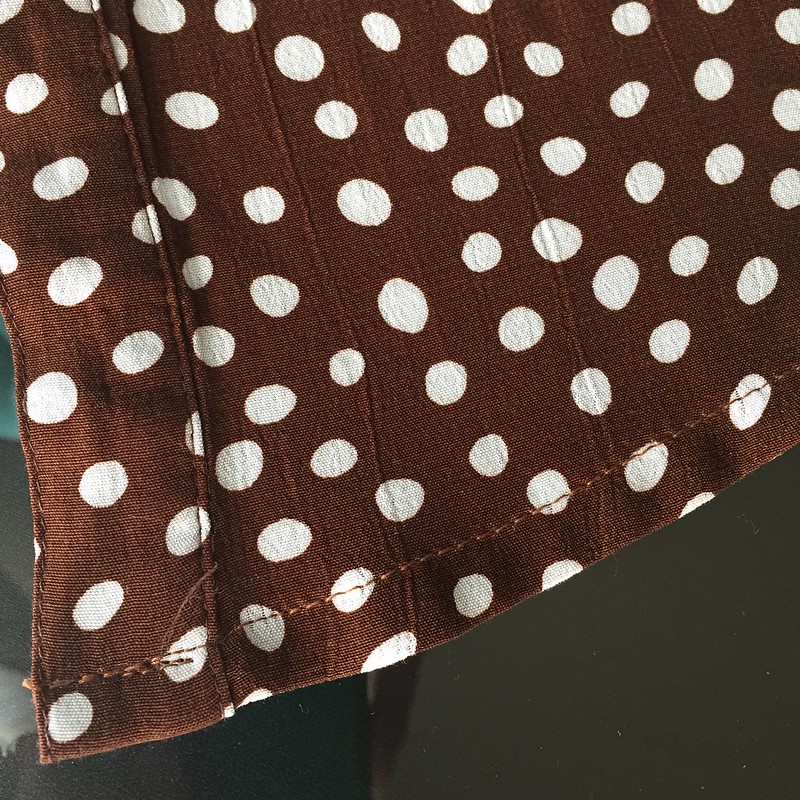
So away went the extra length and the skirt got a new hem.
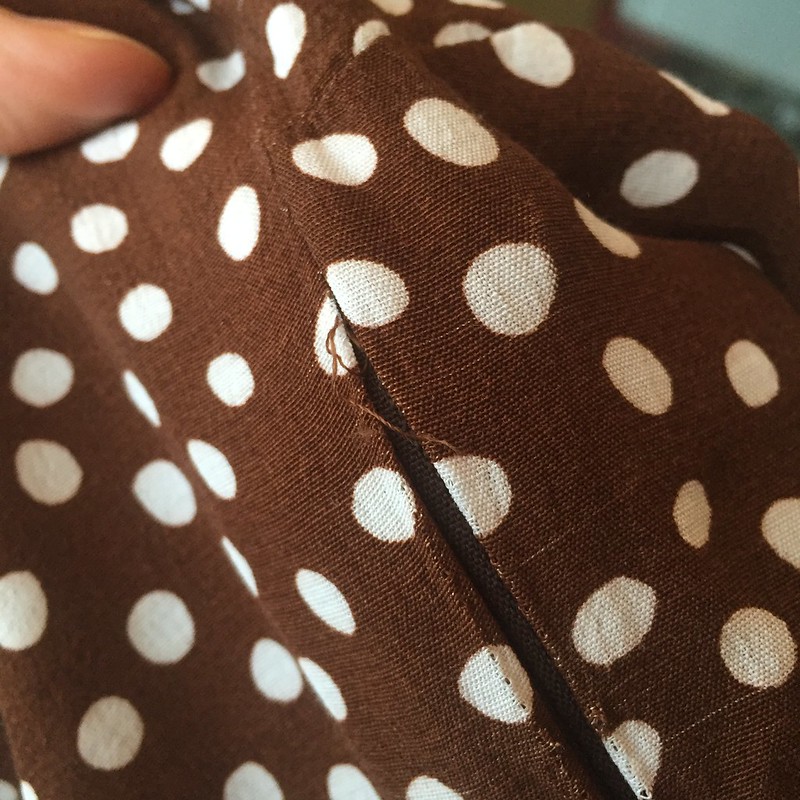
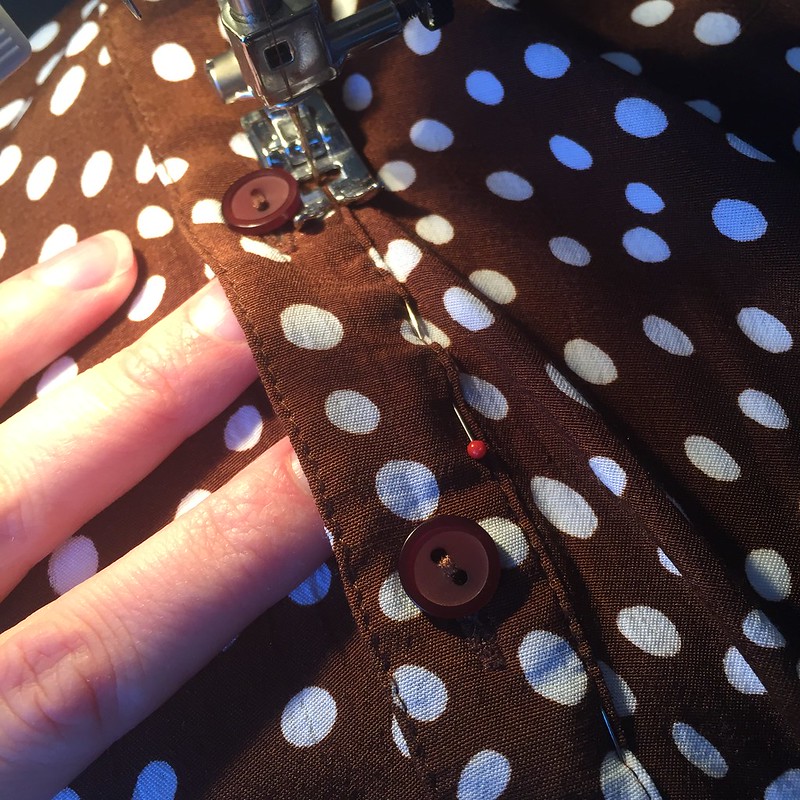
At this point, I thought I was finished. I even wore it once before realizing the buttons, especially those around my rather ample bosom, had a habit of popping open. Perhaps the buttons were a bit too small for their holes, or maybe the fabric was a little too slippery, or a combination of the two. Regardless, it was lucky I wore the dress with a sweater over it so there was no flashing of strangers. I decided to fix this by sewing the button band closed and adding a zipper in one side seam. I didn't have a brown zipper on hand, so I took a quick trip to the fabric store. Then I ripped out the serging in the side seam for the length of the zipper. Once I could open up the seam allowances, I attached the zipper.

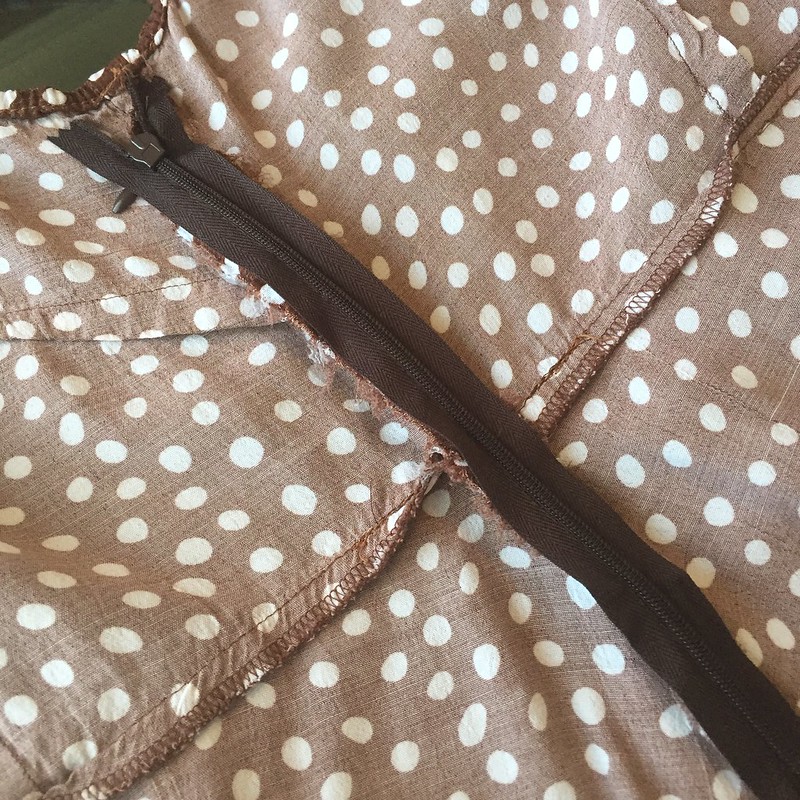
Next, from the outside, I carefully seam ripped the original side seam to expose the zipper and added some reinforcing stitches at the top and bottom of the zipper, just in case. I buttoned up the dress, unzipped the zipper, and tried it on to make sure I could get it on and off without the use of the buttons. The experiment was successful, so I stitched closed the button band along the inner edge. Leaving the outer edge of the button band un-attached will give the illusion that it's still functional.
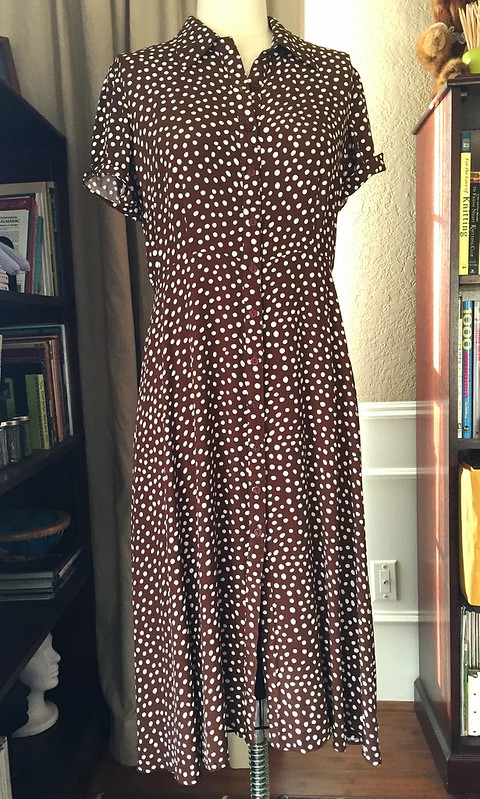
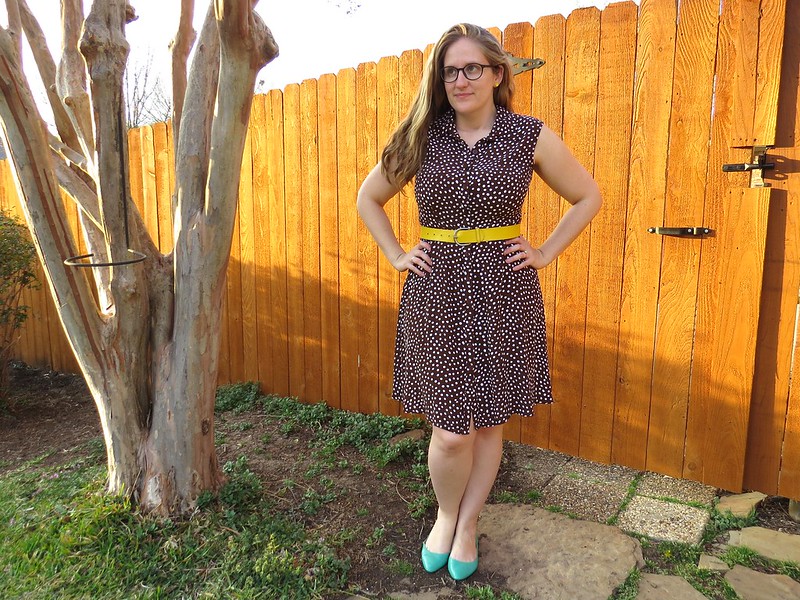
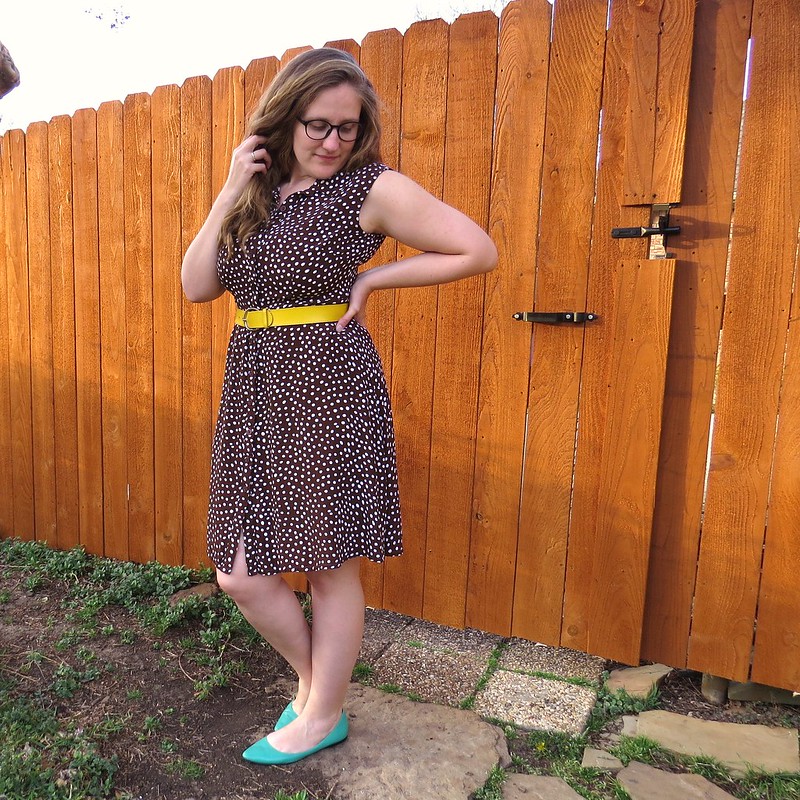
And done! One more polka dot garment to add to my collection!
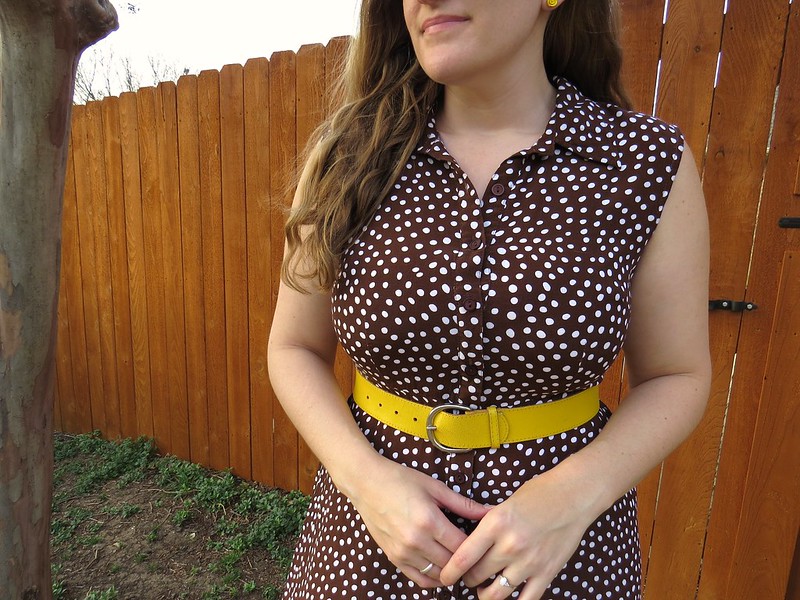
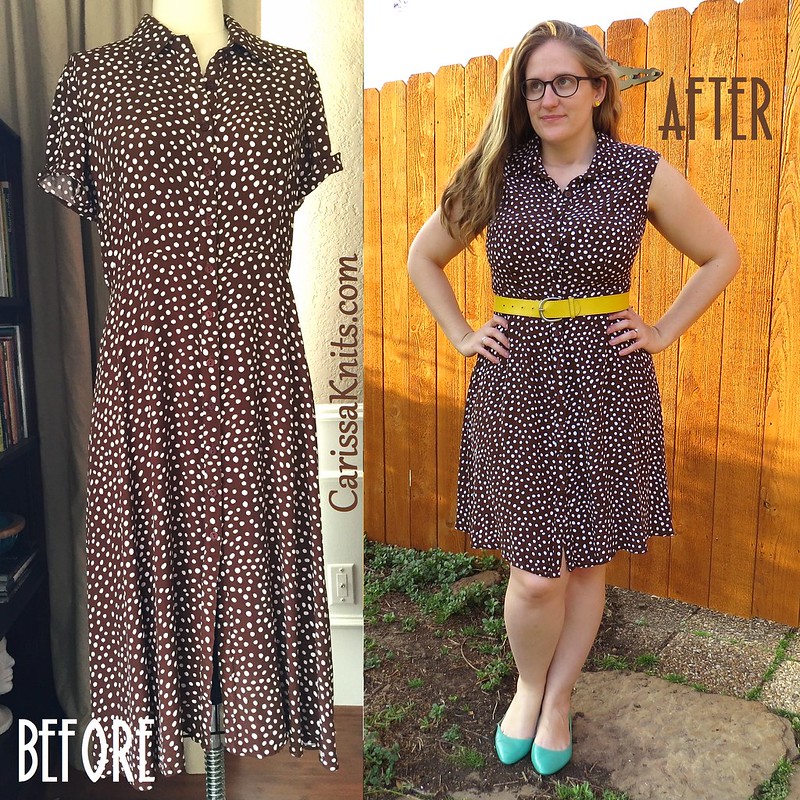

This looks EXCELLENT on you! Yay polkadots! (The yellow belt is perfect, too.) Good tips about the zipper and button band.
ReplyDeleteThanks, Jenny! You know, a button-down front can be a busty gal's worst enemy, so I often sew them closed. Sometimes a zipper is necessary, sometimes not.
DeleteGreat refashion !
ReplyDeleteSuch a basic color - think of how many belts you could wear with this dress !
I know! I had at least four different belts in my hands trying to figure out which one to wear for the photos. :)
Delete