


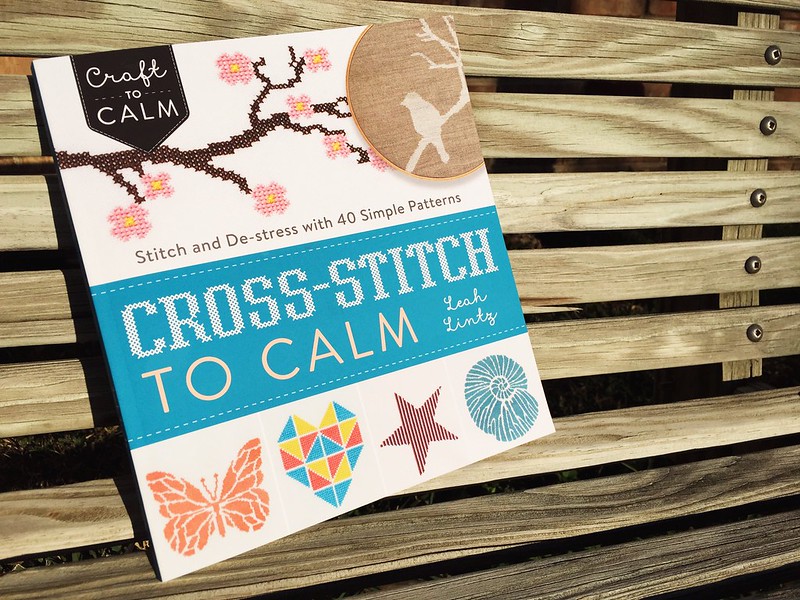
Inspired to try something new, I ventured out to the craft store last weekend to procure the necessary supplies. Embroidery hoop - check. Needles - check. Embroidery floss - check. Cross-stitch fabric? Nah, I have oodles of fabric at home. There's gotta be something in my stash that will do. Mistake #1. Anything I'm likely to sew with will almost certainly be too fine a weave for cross-stitch. Unless you have perfect vision and the sun is always shining in your living room. I should have read the book's section on choosing the right fabric before I left the house. But I didn't. So I muddled through this first project, squinting all the way, and vowed to acquire something more suitable for next time.
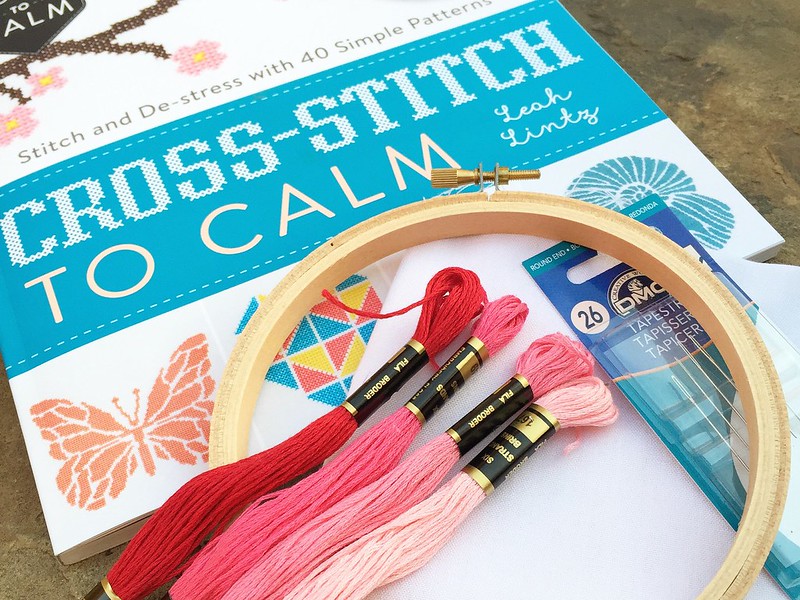
In addition to the need for proper fabric, I learned a few more lessons along the way. For instance, it's better to cut shorter lengths of thread than longer ones. As a knitter, my desire to use the scissors as little as possible actually came back to bite me. A thread too long increases the likelihood of knots and tangles, slowing down the entire process each time you have to pick one of those apart. Furthermore, pulling the same piece of thread through the fabric over and over again can damage the individual fibers and eventually lead to breakage. After some trial and error, I found about 12 inches to be a decent length of floss to work with.
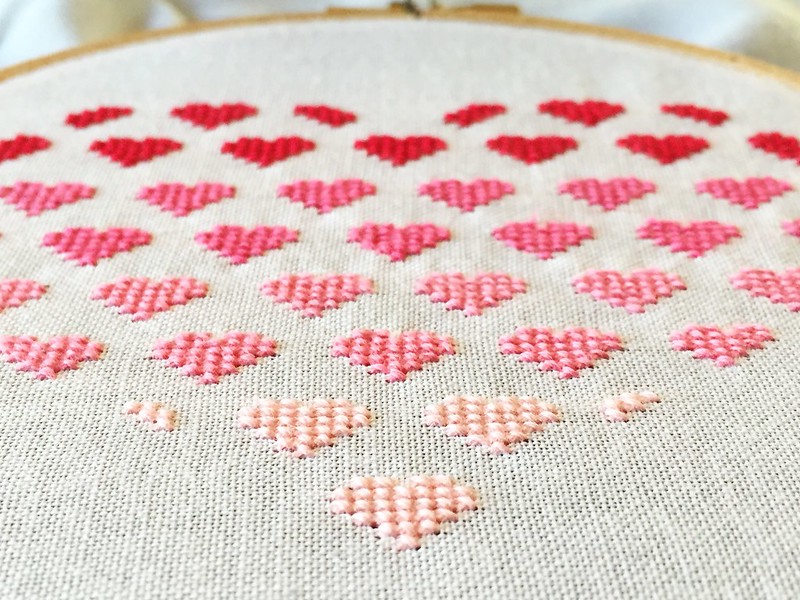
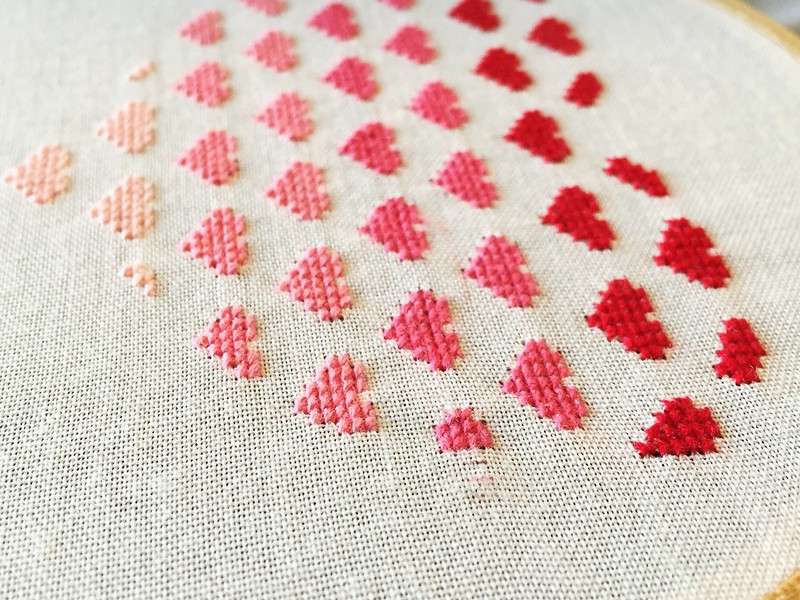
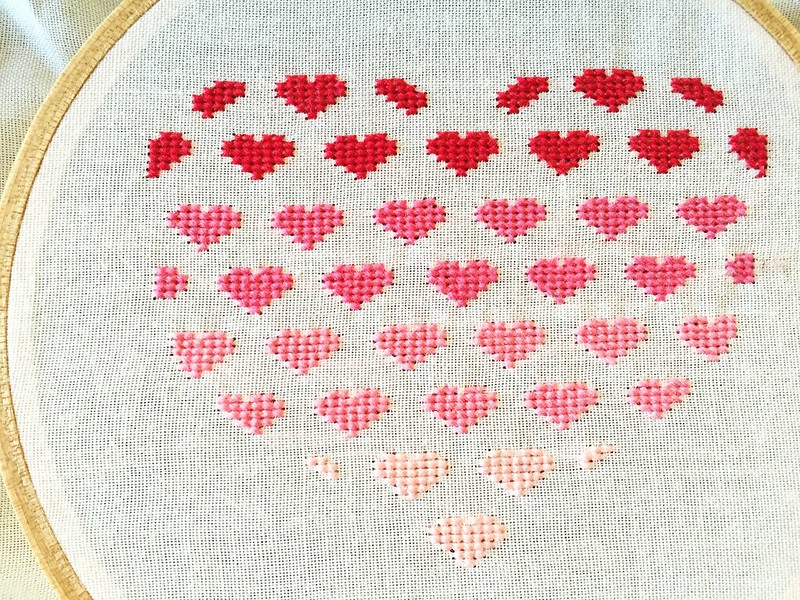
According to Ms. Lintz, you should always start in the center of your design. So I began with the dark pink hearts, and you can see I had lots of knots and ickiness there. The red hearts are a little better, but still not great. Then I moved on to the medium pink, and finally the palest pink is looking pretty darn good. By that time, I had also learned the best way to secure my ends under the nearby stitches on the back side and the fact that tension plays an important role in many needlecrafts, not just knitting. It turns out pulling your thread too tightly can make your hearts shorter, fatter than you might like.
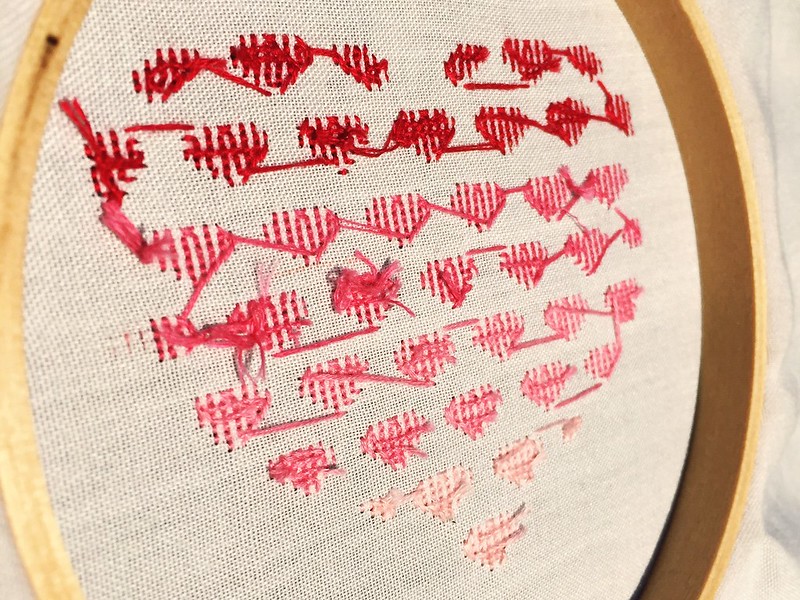
Another thing I learned: pay attention! I got so caught up making adorable little hearts that I lost track of my pattern and made a whole heart where there should have only been half of a heart. See that dark pink half-heart right in front there? Yeah, I had to pick out the other half after I realized what I'd done, but the fabric underneath was left distorted from the stitches. The "pay attention" lesson can also be applied to where one places one's needle at the end of a stitch session, especially if one has a dog (or cat or kid or any other critters) with a history of eating dangerous objects. At least twice I had to get down on my hands and knees and search the carpet for the blasted thing so Laika didn't find it first.
Though there were plenty of mistakes and lots of lessons learned, I thoroughly enjoyed the entire process and will definitely stitch up some more of the designs in this book. Like that cute little bird on the cover maybe. For now, I just need to figure out how and where I want to display my heart of hearts.
In the meantime, I've already charted up a few ideas of my own and have started stitching one of them. Details to come!
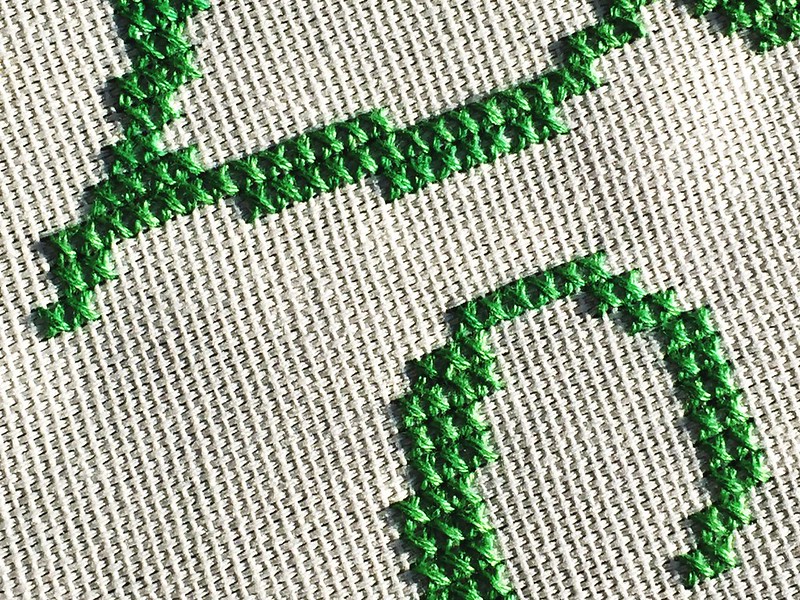
I see green! Perhaps something for St Patty's Day?
ReplyDeleteNope! Something much sillier... :D
DeleteLooking good! A tip from a fellow cross stitcher - there are two ways I've found easier to start your thread. Either tie a knot in the end, put the needle into the top of the fabric so the knot is on the top close to where your first stitch is, sew over the thread on the back and then cut the knot off. Or my preferred method, but only works if you use two strands of thread, is to cut one strand of thread twice the usual length, fold in half, thread the needle so the loop is at the opposite end to the needle, come up from the bottom of the fabric with your needle, go back down and put the needle through the loop and pull tight. Also try and avoid taking threads across the back of your fabric from one area to another as it can show through on the front with darker colours. I hope that makes sense and you keep going as it's very therapeutic! Kim Anderson has some fab cross stitch patterns (I have the elephant) once you've tackled half stitches x
ReplyDeleteThanks for all the advice! I did discover that about not carrying the thread from one heart to the next. I can definitely see a bit of the red and darker pink strands from the front side. I'm already doing better about that on my second project. :)
DeleteYou need a needle minder! They are easy to diy! Look them up on Etsy...that's where I first saw them.
ReplyDeleteJJ
Very cool! I will definitely be getting/making one of those!
DeleteIt does not surprise me that you have already beat this craft into partial submission and have set out to capture more of its kind :) Looking forward to seeing where it takes you!
ReplyDeleteThanks for the vote of confidence, Jenny!
DeleteHi Carissa--Welcome to my favorite needlework - the world of counted X-Stitch ! I am working on a picture called the Ugly Duckling - three ducklings and a frog. This form of cross-stitch is like painting a picture as you go and after outlining the features, it all comes into focus.
ReplyDeleteYou can apply counted cross-stitch to the fabric of your choice by using "waste canvas" in the count ( the number of squares to an inch) you like to work with. After you are finished stitching then you can remove the strings of the waste canvas with tweezers. So on you go for hours of enjoyment. Another tip - when you are much older and are losing the ability of sharp vision for these interesting activities, a pair of readers on top of your glasses will give you the magnification that is needed in cross-stitch and bead stitching.
Thanks, Linda! So far, I only need glasses for distance vision, and they're a fairly mild prescription at that, but I imagine some day, I'll likely need a bit of help close up too.
DeleteLinda, thank you so much for that tip about two pairs of glasses. I've had to scale back my sewing and other handwork because I can't see as well now that I am "much older" :) I can't wait to try this.
DeleteYou did an awesome job! And a wonderful suggestion from Linda to use waste canvas. Fantastic for pillow cases. (and anything else you want to cross stitch on!) Lovely idea to graduate the colors. :)
ReplyDeleteThat means so much coming from the author herself. Thank you! And thanks for the beautiful book too! :)
Delete