


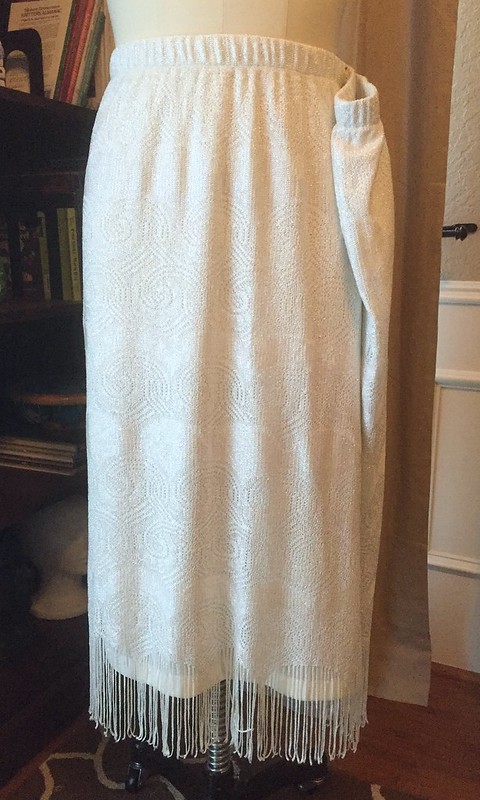
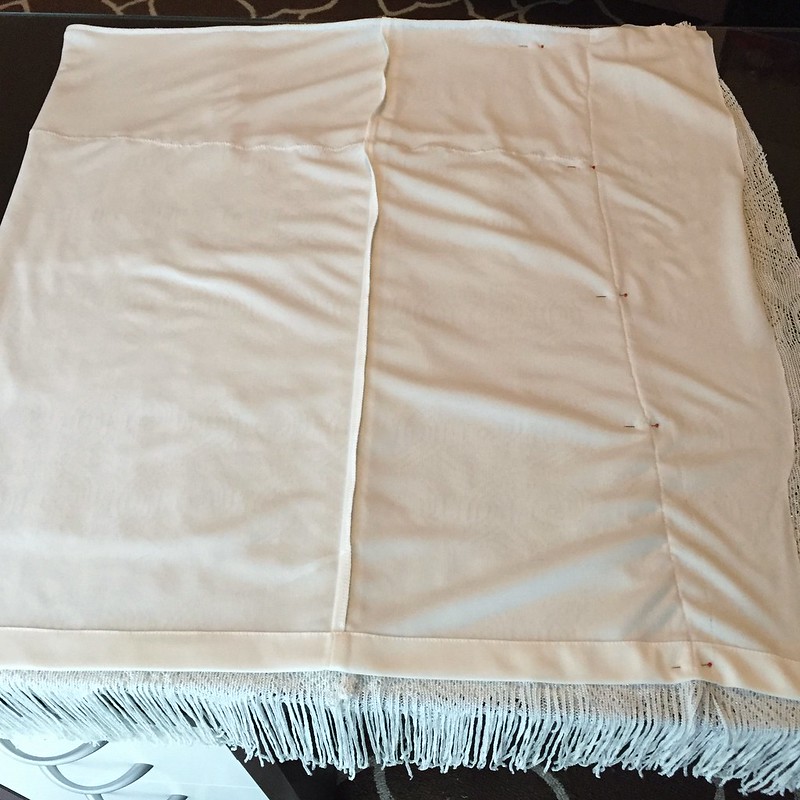
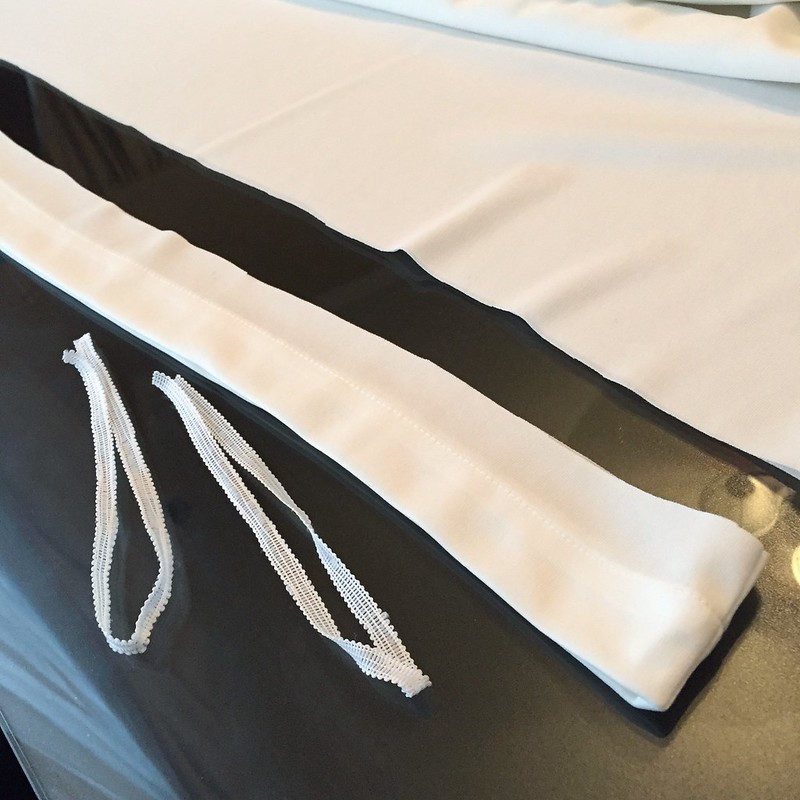
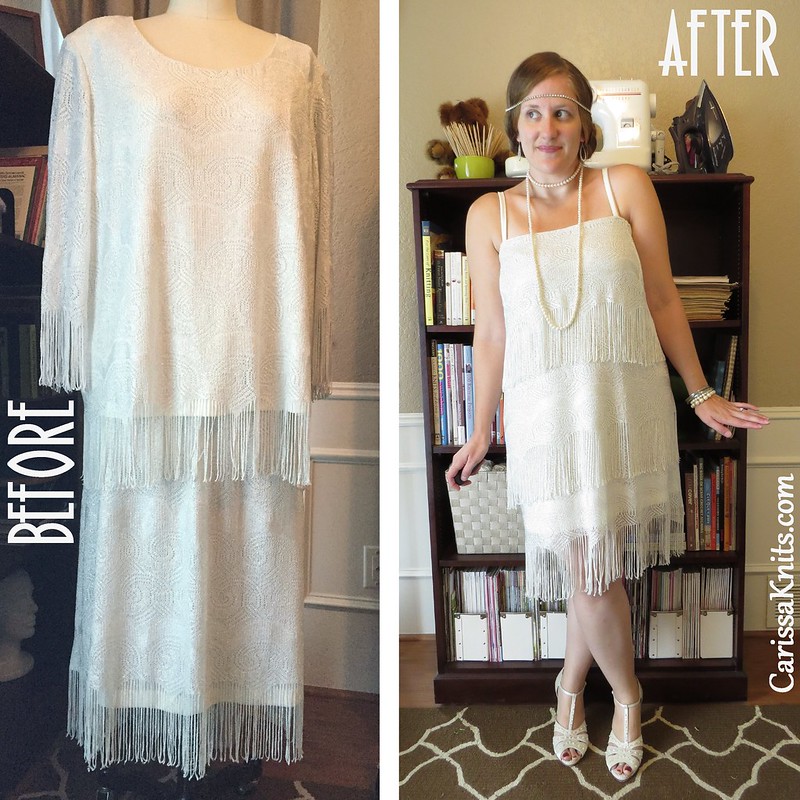
Step one was to pick out the waistband of the skirt and trim off the elastic that was serged at the top edge. Then I cut up the back seam so I could lay the skirt out flat.
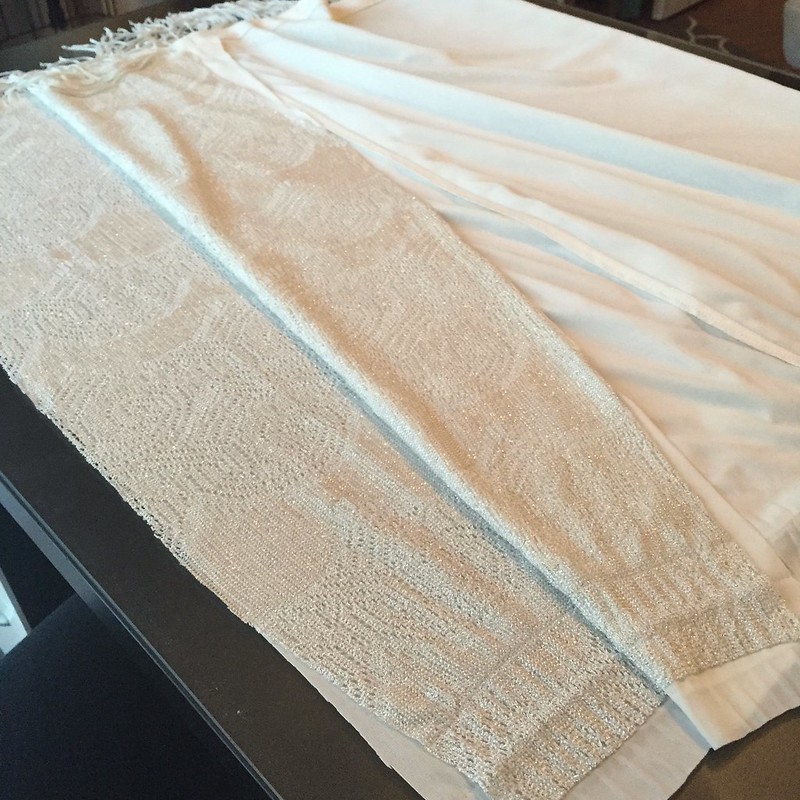
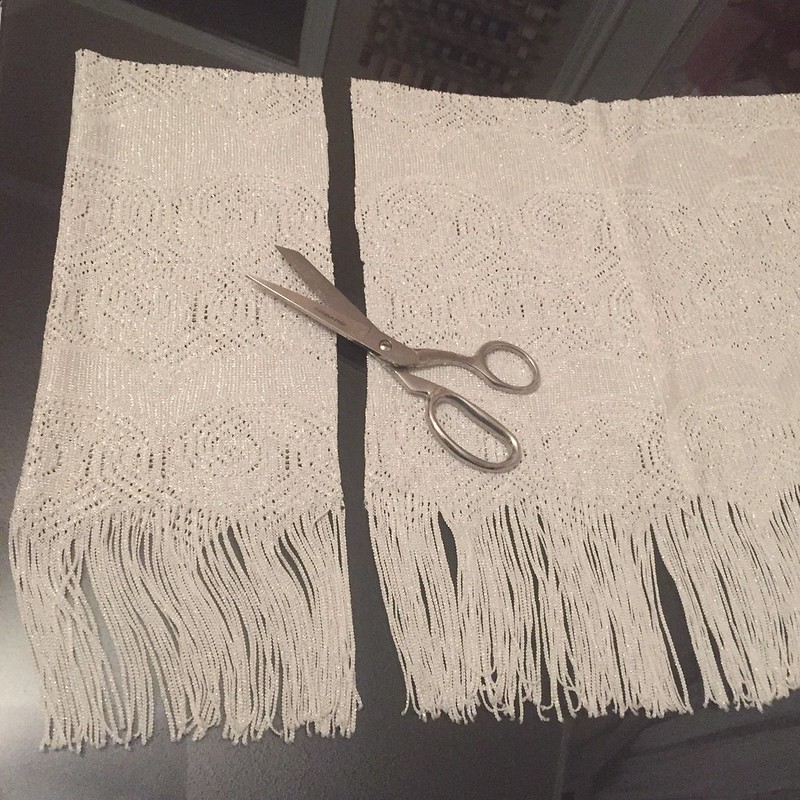
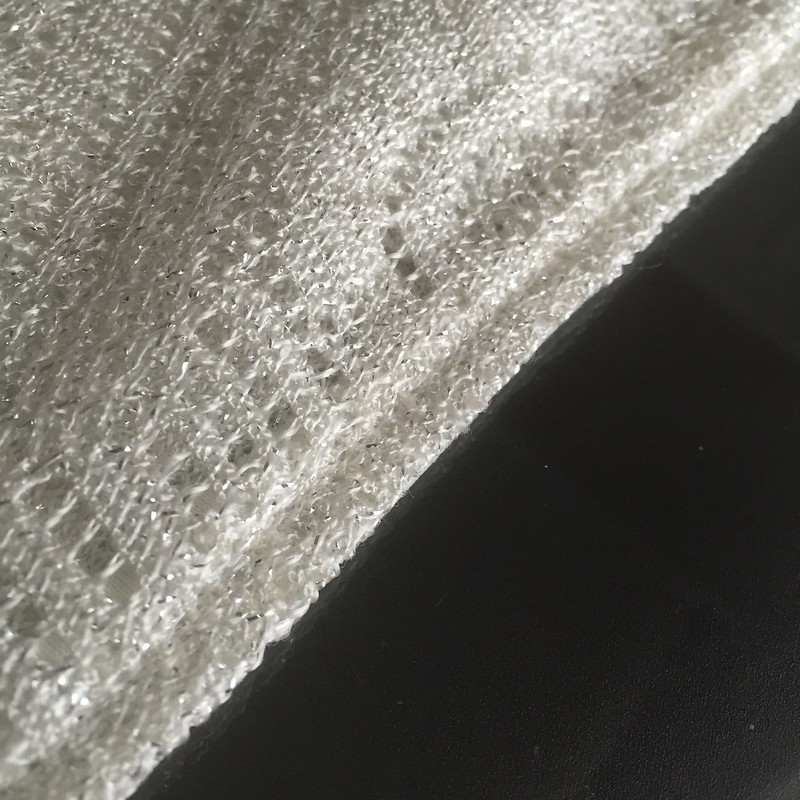
I cut the bottom 16 inches of lace from the shirt, and I chopped off the sleeves right at the underarm. Then I folded the shirt portion with the side seams together and cut 7 inches from the fold in the back, removing 14 inches of unnecessary fabric from what will be the middle tier of fringe for my new dress.
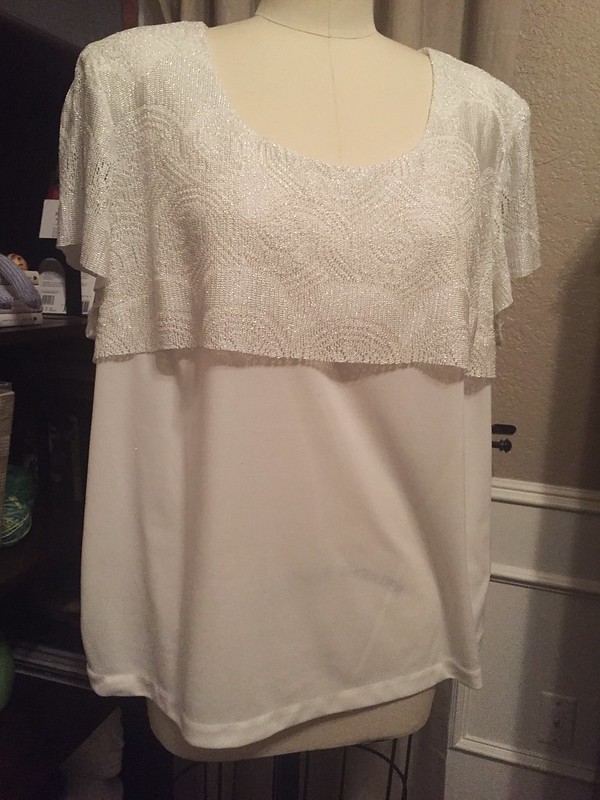
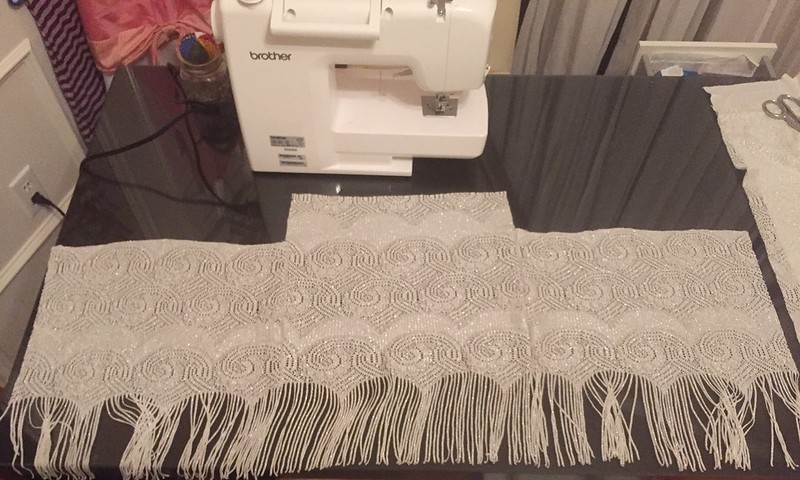
Then I joined the 14-inch scrap with the two sleeves to form the top tier. Since the sleeve fabric wasn't as tall, I had to trim the center portion (from the torso of the shirt) to match their height.
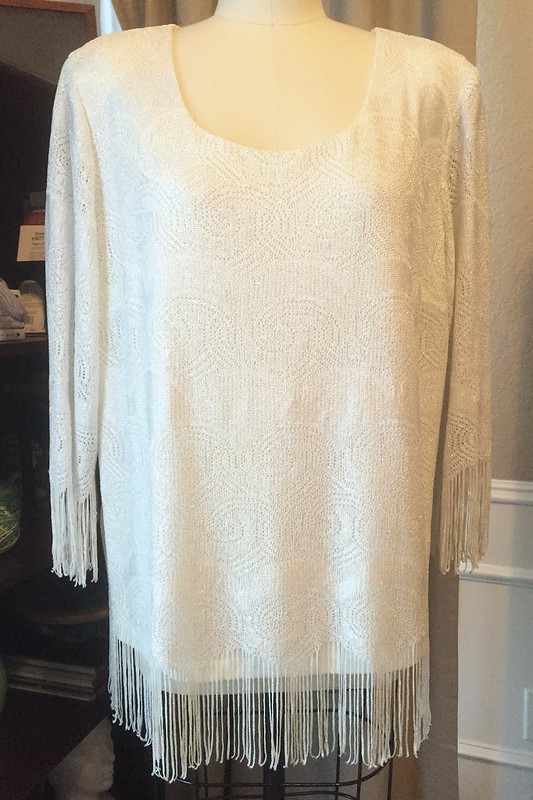
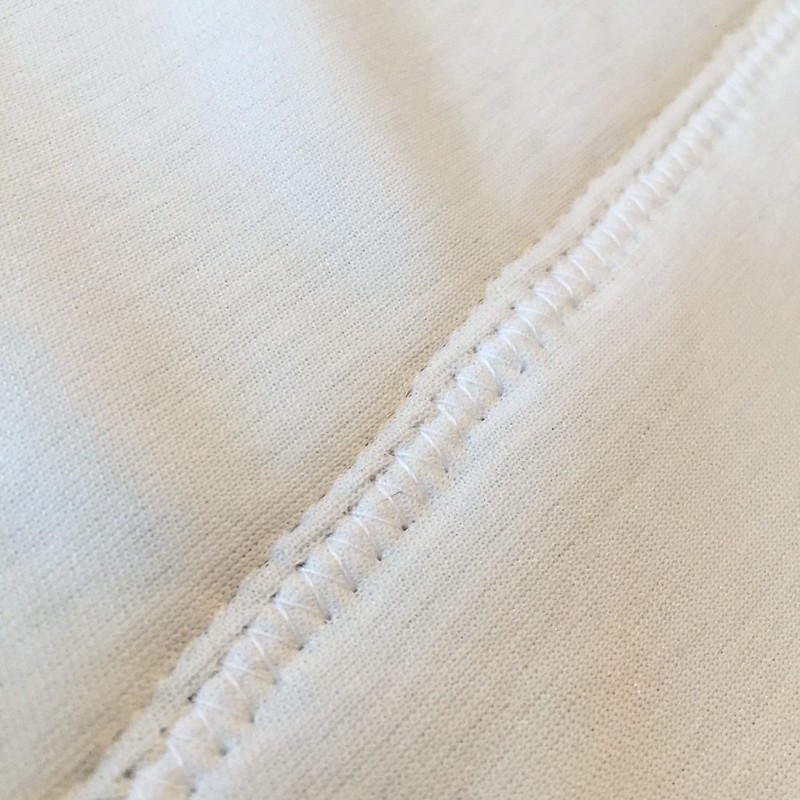
I attached the middle tier to the skirt fabric by laying it face down with the fringe pointing upward and zig-zagging the edge, so that when it was folded down again its fringe was about 10 inches higher than the bottom fringe. Then I stitched the top tier to the top edge of the skirt fabric with the right side of the top tier facing the wrong side of the skirt. Once it was folded down, I top-stitched for a nice finished edge.
I sewed down the ends of each tier to keep them in place for the next step, which was to close up the back seam again, smaller than the original skirt of course. Keeping the fringe out of the way while stitching this seam may have been the most challenging part of the entire project.

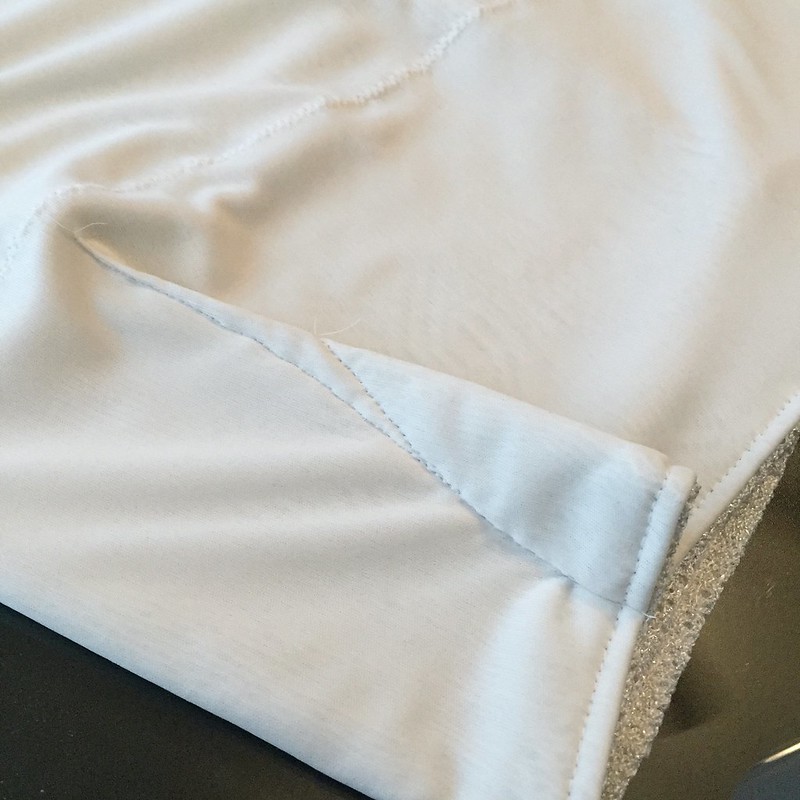
I sewed a straight line and a zig-zag before trimming off the excess fabric. Then I added a couple bust darts to the front, coming straight down from the top edge. As you can see, I had to try a couple times before I got them tapered just right so the lace wouldn't pucker too much on the outside.
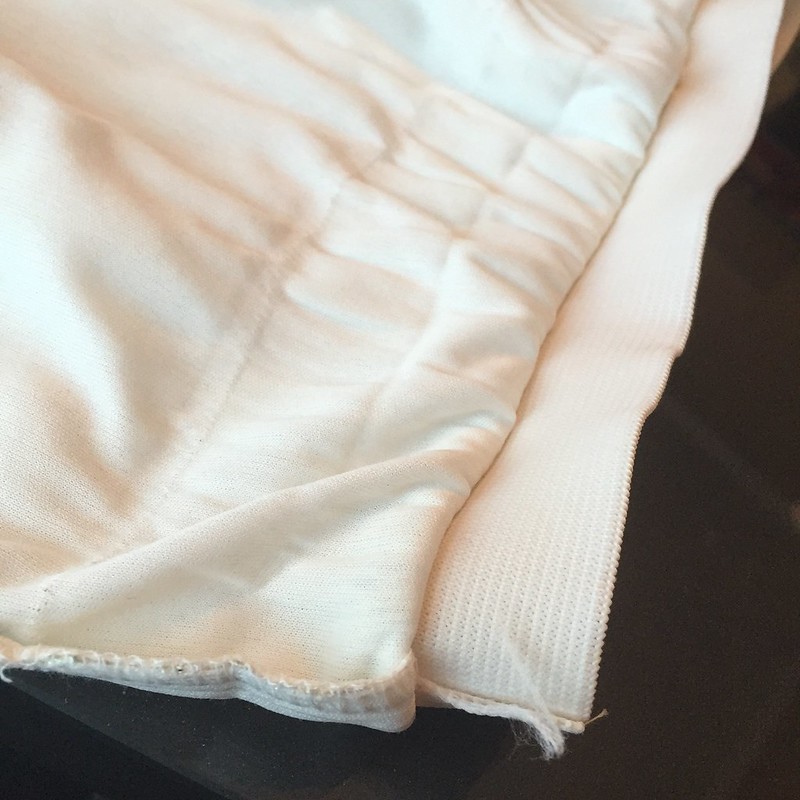
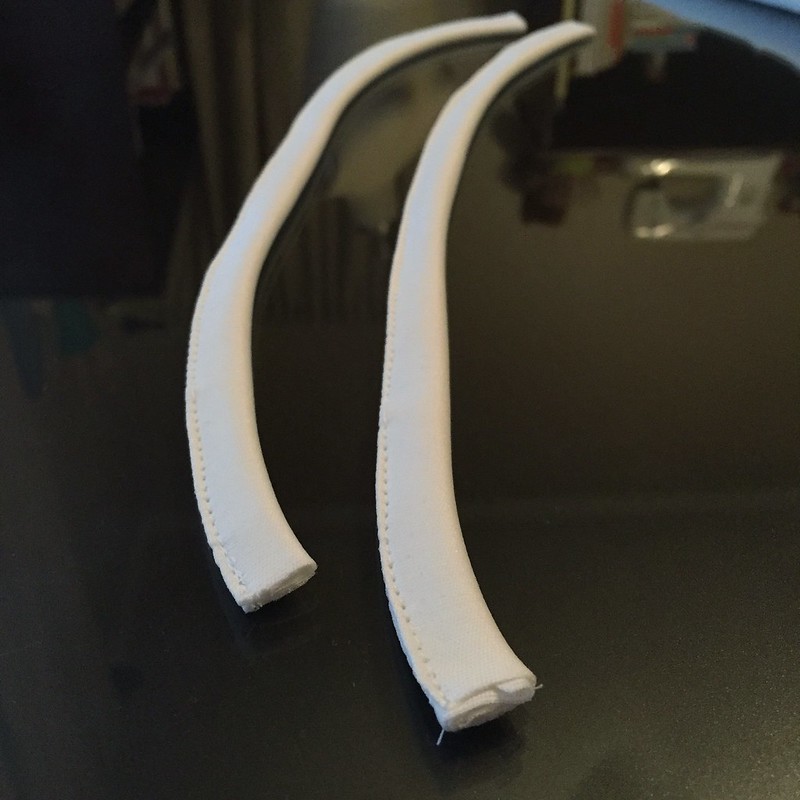
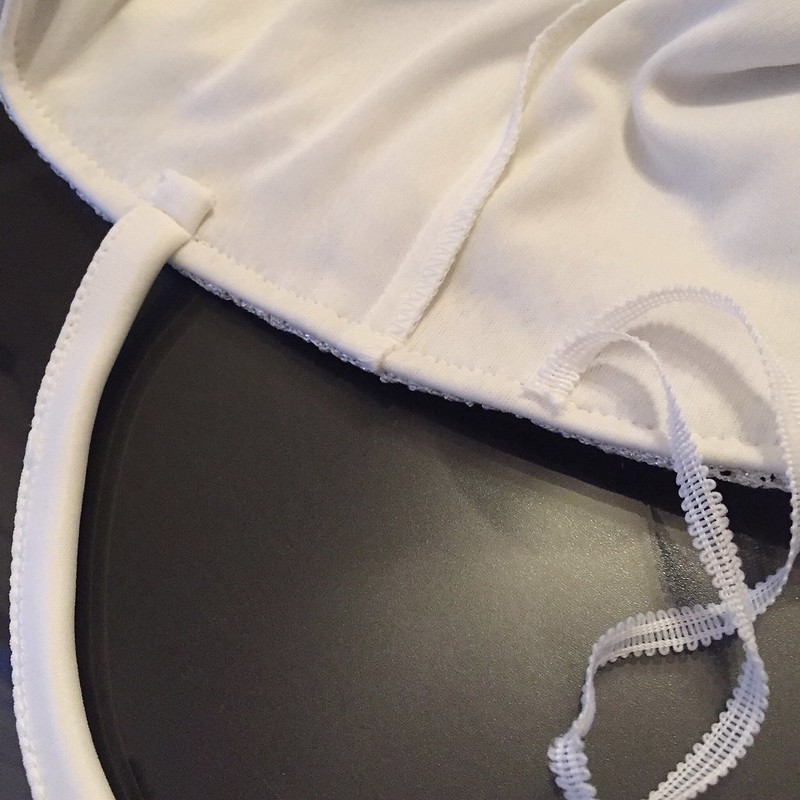
I salvaged the bottom hem of the shirt lining and the hanging straps from inside the shoulder seams. I cut the hem into two 14-inch strips (which would stretch to the 16 inches I needed), then folded them over and sewed them to create my shoulder straps. Finally, I attached my shoulder straps and hanging straps to the dress.
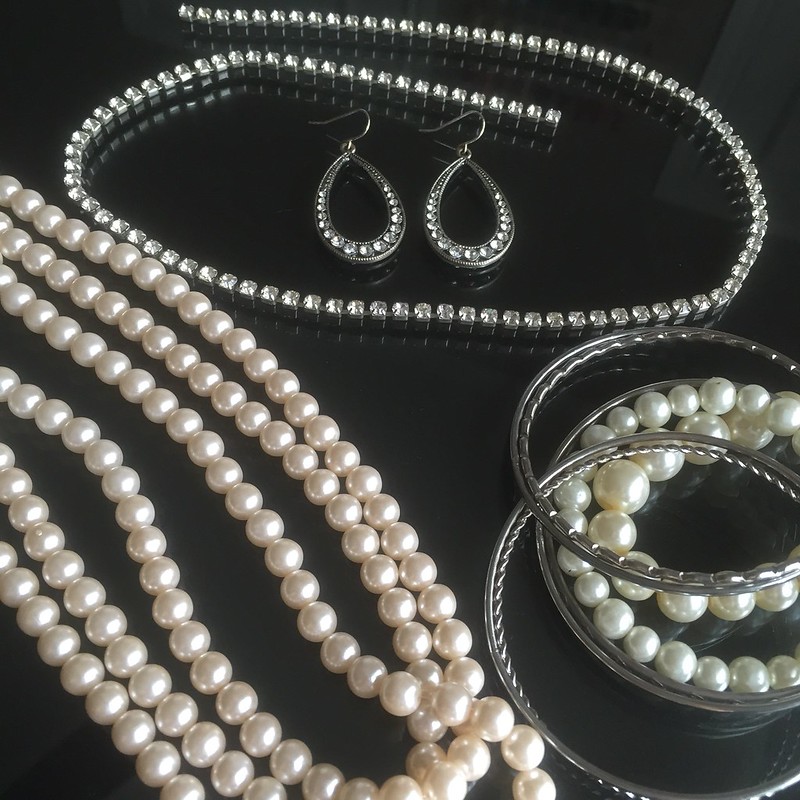
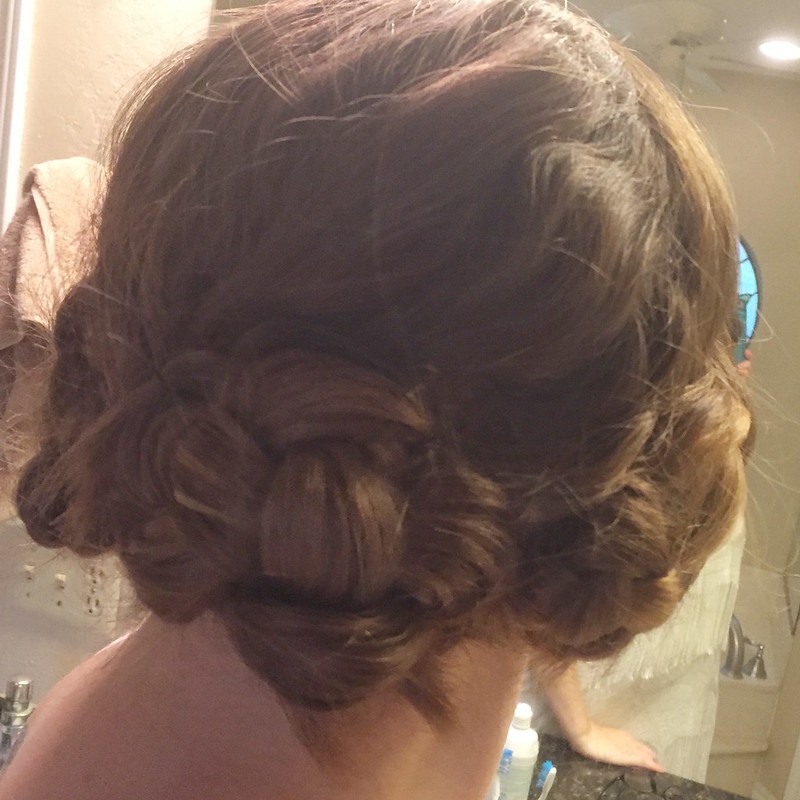
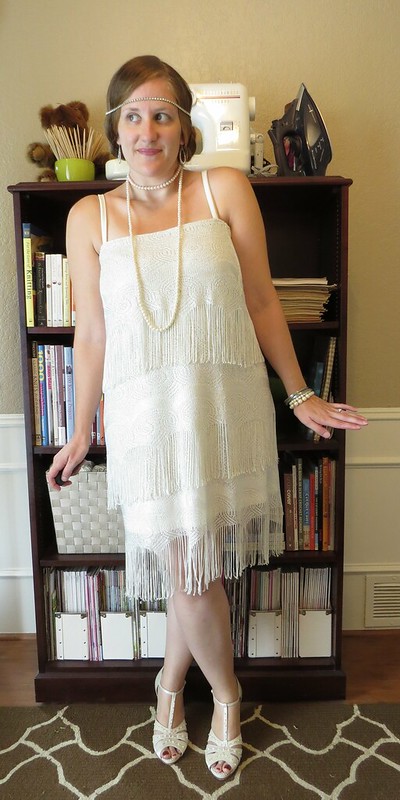
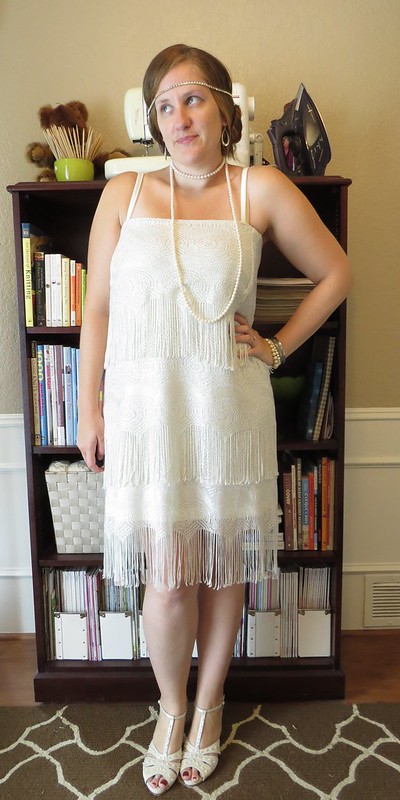
For the finishing touches, I gathered all the bling and pearls I could find, plus my thrifted inlaid-pearl t-strap heels, and whipped my hair up into a 20s-inspired 'do with the help of 2 million bobby pins and 3 cans of industrial strength hair spray. I found this tutorial on Pinterest, but instead of tucking the braids under themselves, I twisted them up into little buns and pinned them in place. The string of rhinestones (top of first pic) from my craft stash was simply wrapped around my forehead and pinned into my hair in the back.
And with that, I was all set to hand out candy to the kiddies!
I'm already looking for an excuse to wear this dress again!

This dress would have been perfect in New Orleans. Love the fringe and, of course, who can forget the shoes!
ReplyDeleteDefinitely! Not that I could've kept up with the professional swing dancers we saw, but I would at least look the part. :)
DeleteIt's a lovely dress and looks authentically flapper! I hope you can wear this to a holiday party this season. You will be the belle of the ball!
ReplyDeleteI fully intend to do so!
DeleteOh yes it should definitely be worn again! I'm thinking a dinner date should be in your (it's) near future! I think cowboy boots would be fun with it.
ReplyDeleteJJ
www.dressupnotdown.blogspot.com
Ooohhh, cowboy boots! I love that idea!
DeleteCarissa ! Dress Awesome ! Shoes Perfect ! Tutorial Great !
ReplyDeleteThanks, Linda!
DeleteHi Carissa!
ReplyDeleteWhat a great refashion!!!!! Love the whole outfit! Lovely shoes, where did you get them???
I think you should gave a costume party so you can use that dress again! :D
Kisses from Portugal!
Thanks, Helena! I found the shoes for just 6USD at the thrift shop right down the street from me. They have quality leather soles and genuine fresh water pearls, not only stitched to the top but also inlaid around the edges of the sole! I love them!
DeleteCarissa? How are you? You have posted nothing for a long time and it's so not like you! I'm starting to seriously worry.
ReplyDeleteI'm okay! Don't panic! I really appreciate your concern though. I've been busy, sick, and then out of town for the past three weekends. I did finish up a refashion during the evenings last week, but haven't had time during daylight hours to take photos yet. I promise to get back to blogging soon though. Life just got a little crazy for a bit!
DeleteOuf! Me voilà rassurée. Welcome back! I truly enjoy your blog. You are an inspiration and never cease to impress me. Merci de partager tes merveilleuses idées, si talentueusement réalisées.
ReplyDeleteMerci, Sevigne! Glad to be back!
DeleteSuper impressive! Love your vision!
ReplyDeleteThanks!
Delete