


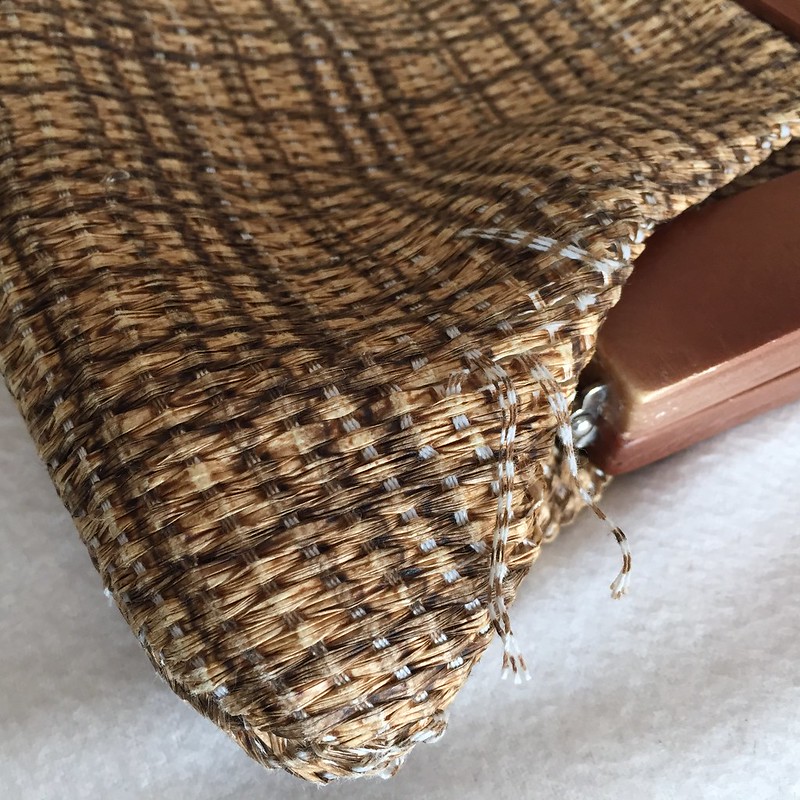
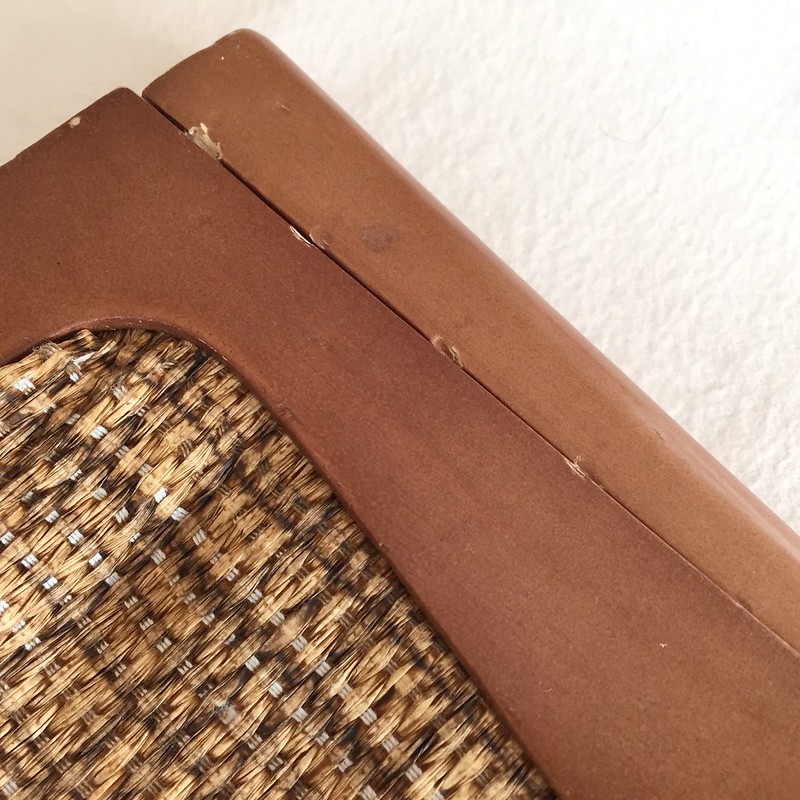
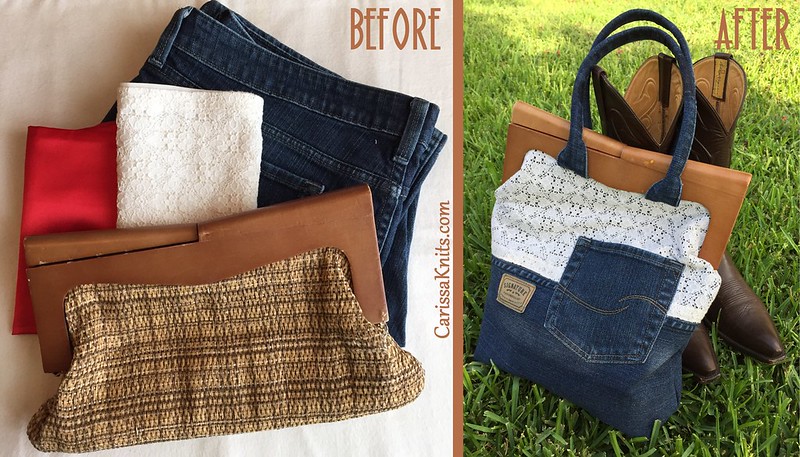
I had grabbed this clutch at a clothes swap a while back because of its nifty wooden closure/handle, but its woven fabric was coming undone in several places, and the wood had a few nicks as well.
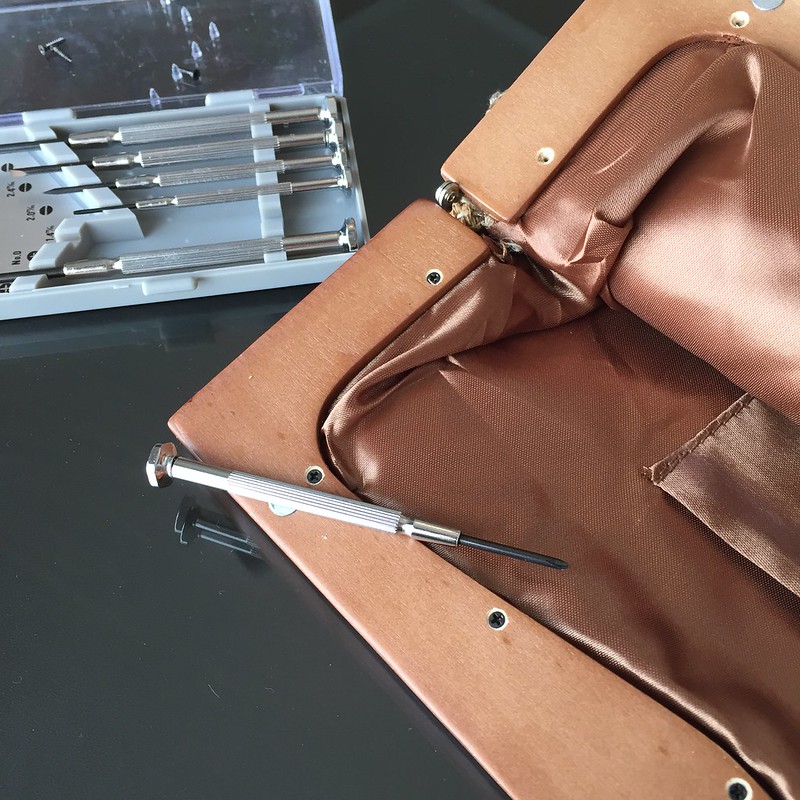
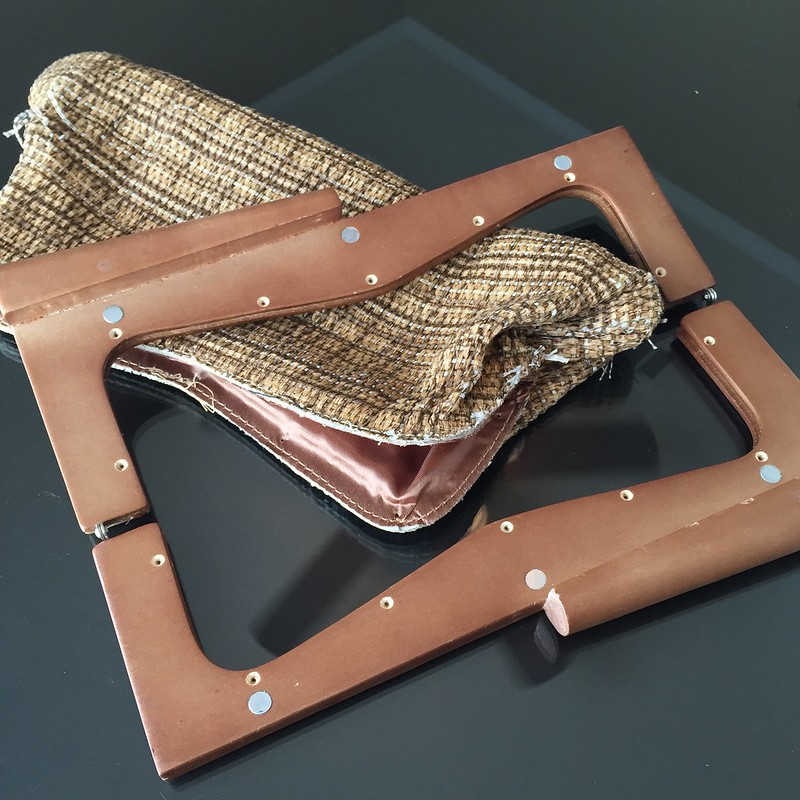
First I liberated the wooden purse handle from the woven fabric.
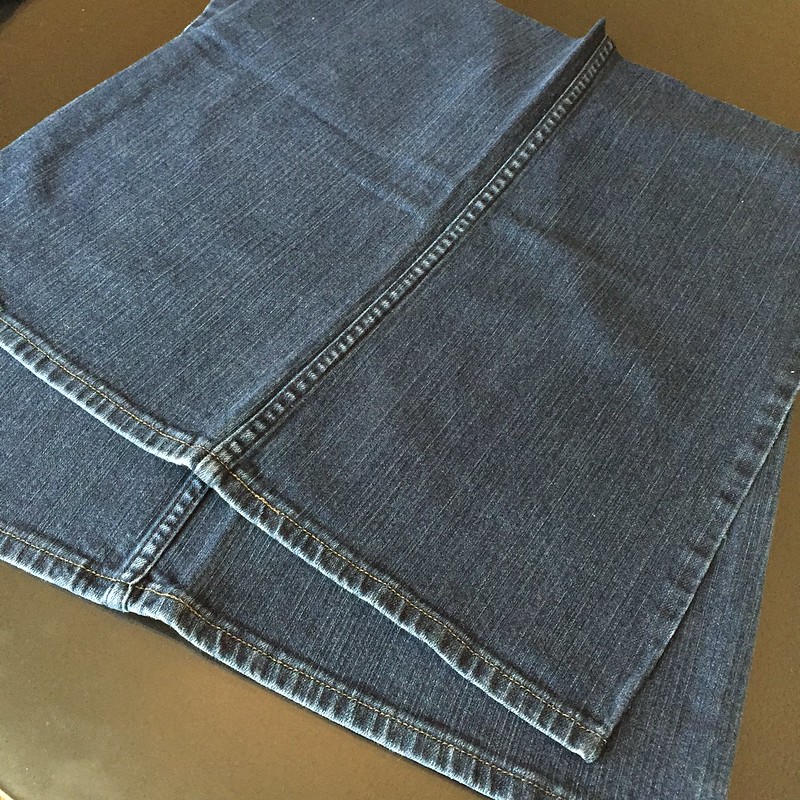
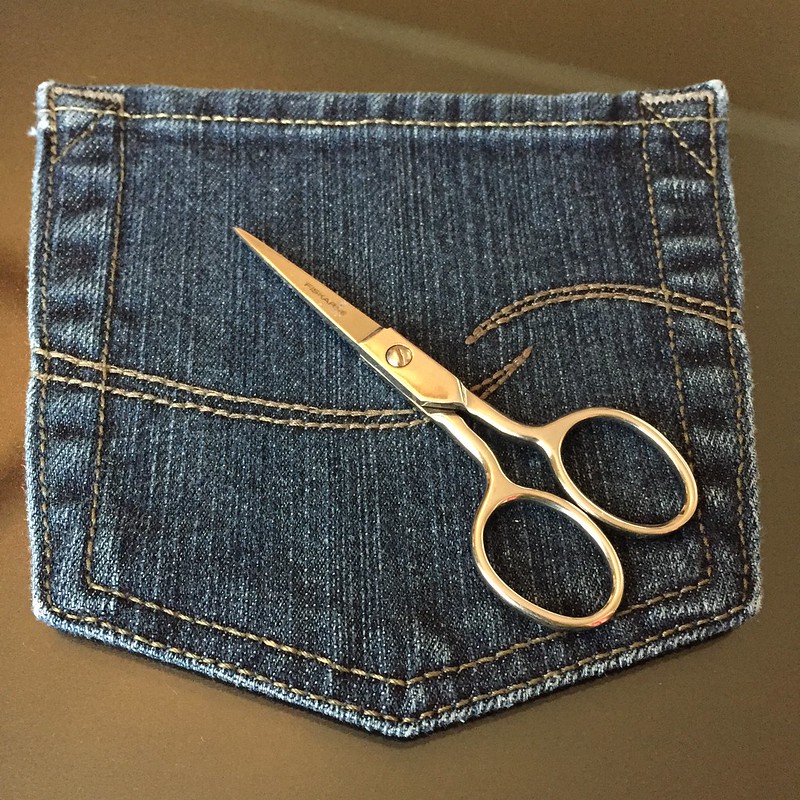
Next I began to disassemble the jeans, starting with the legs. Then I used my tiniest, sharpest scissors to cut out the back pockets as close to the stitching as possible.
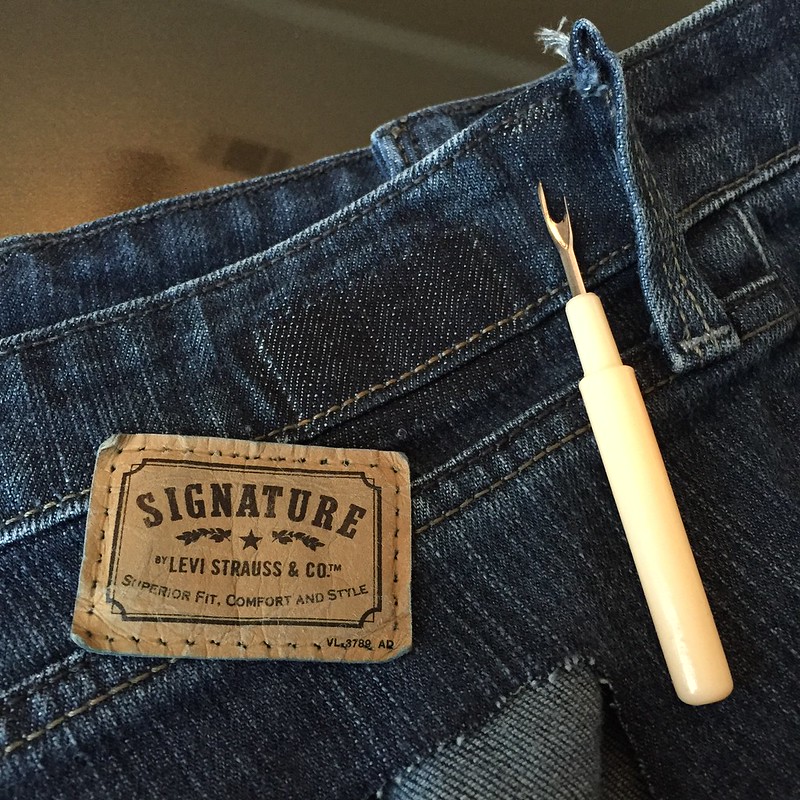
My seam ripper came in handy in removing the leather Levi's label and the top of the belt loops, and then the entire waistband.
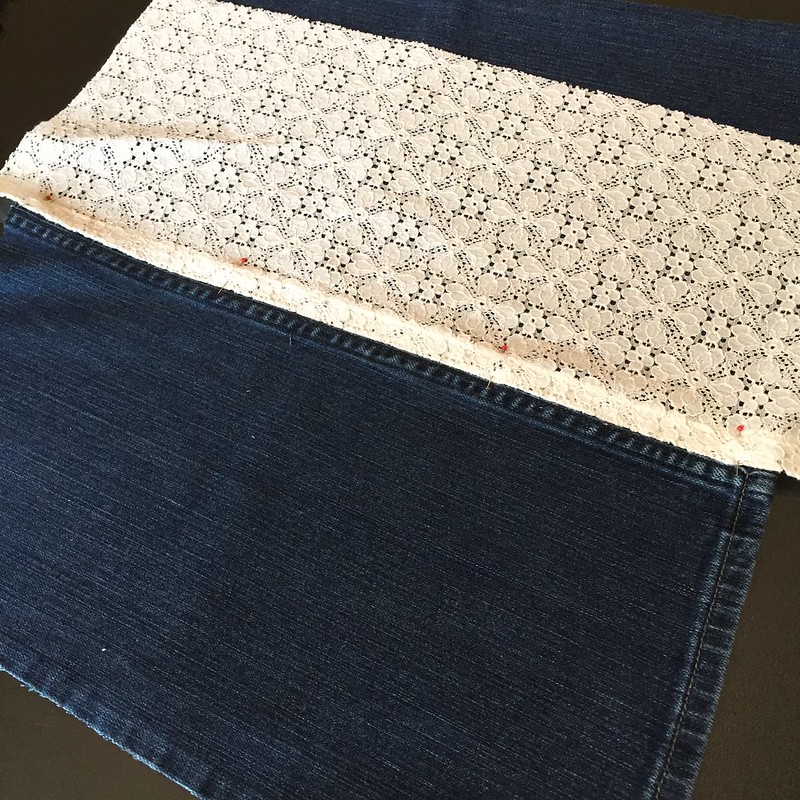
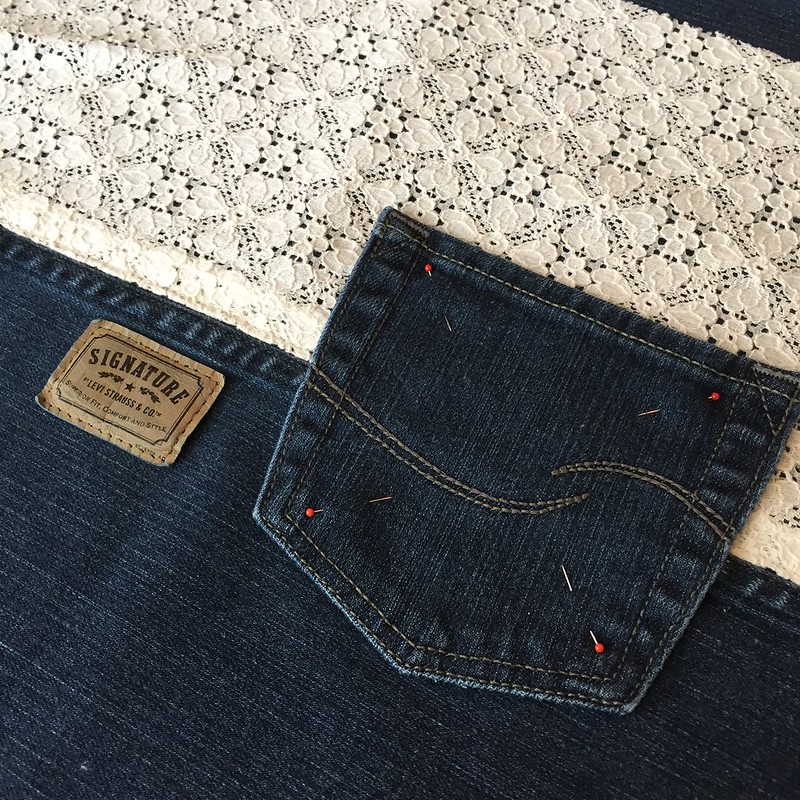
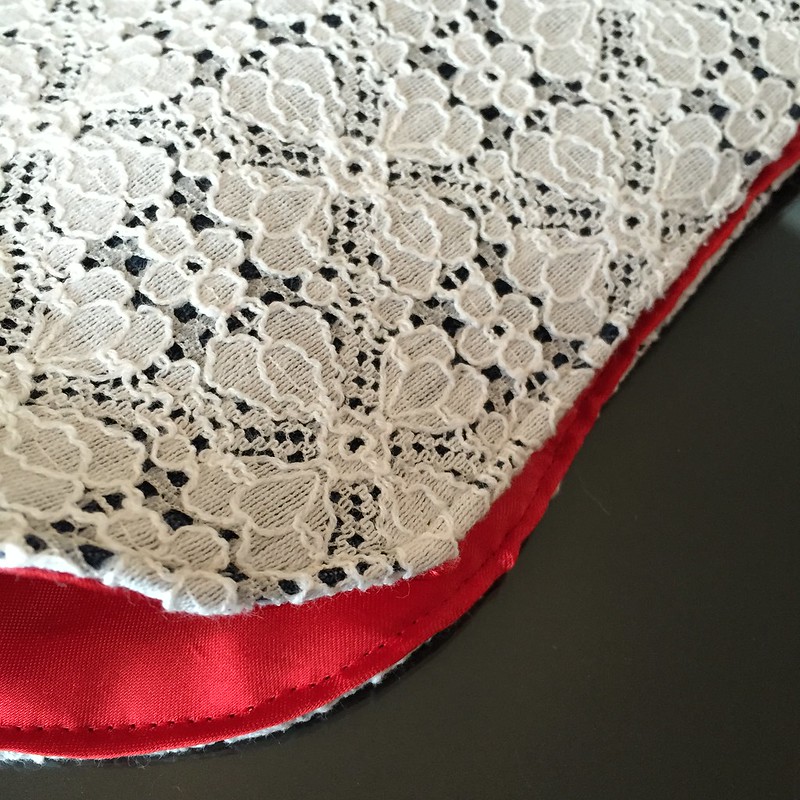
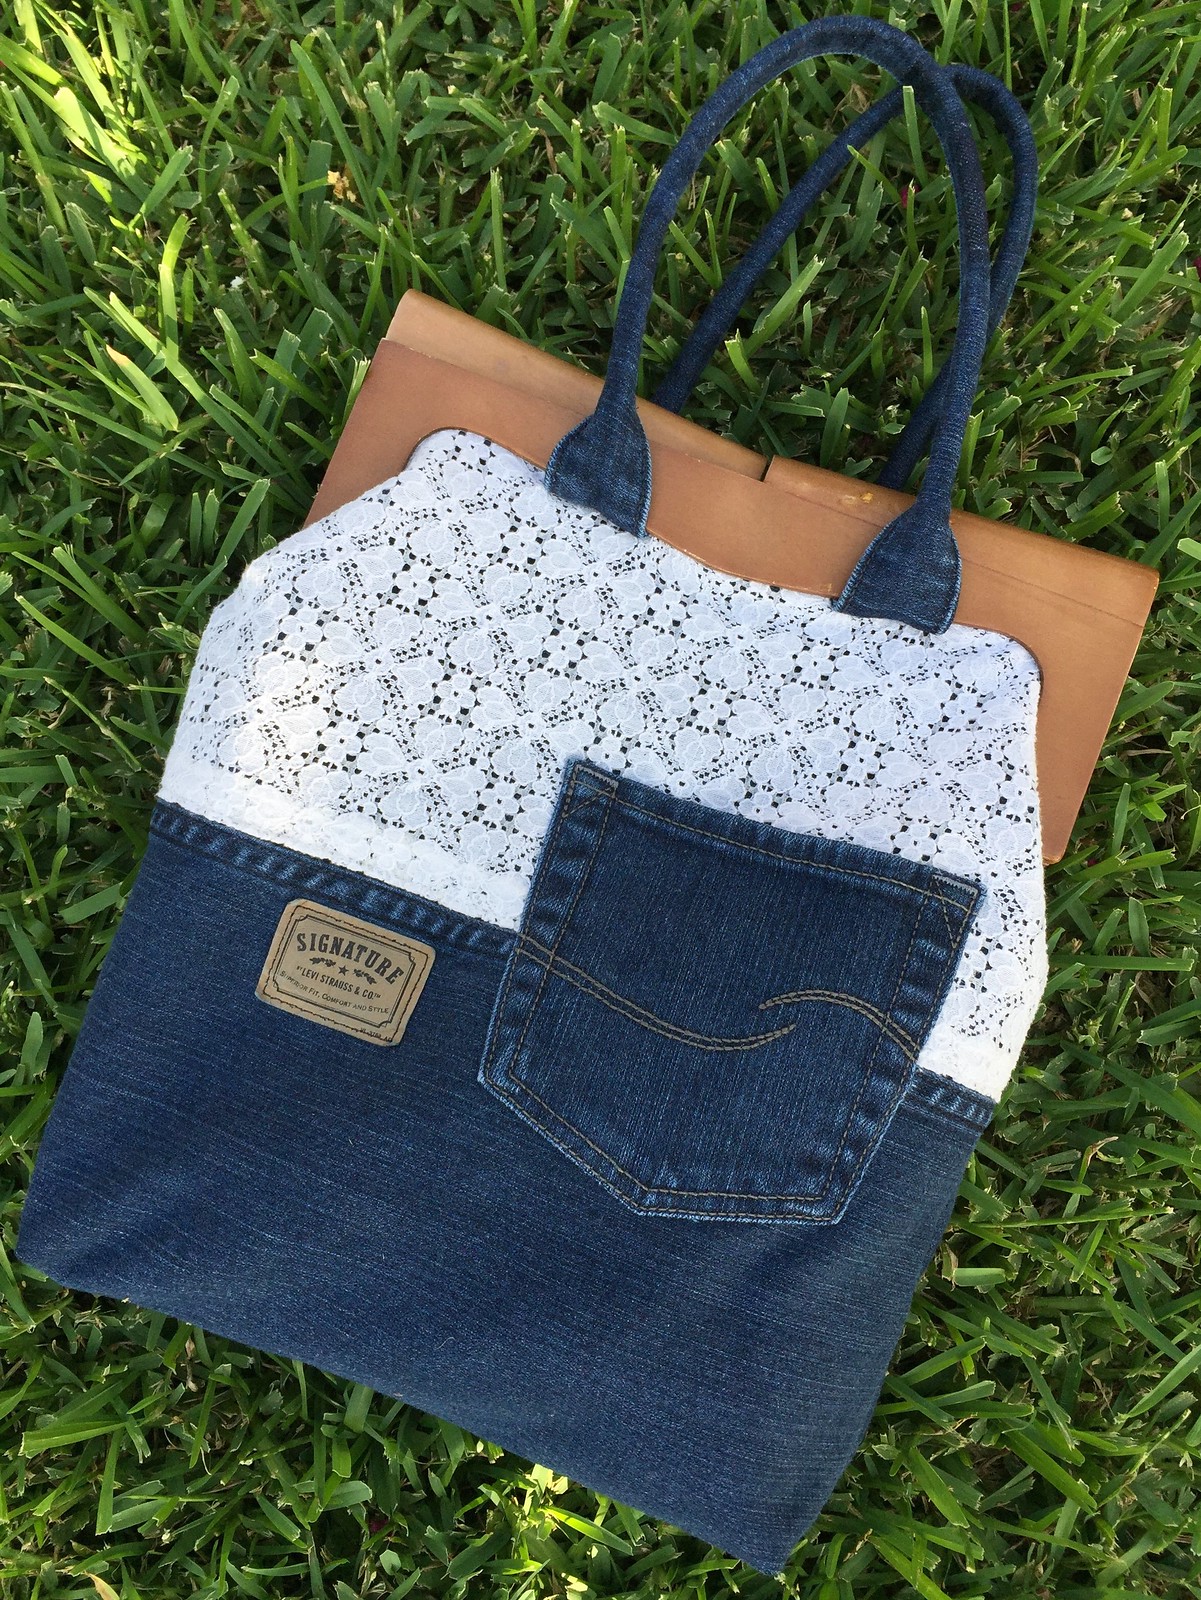
I cut the lace in half at the original side seams, and attached each piece to one of the denim legs, lining up the hem of the lace shirt with the welted seam on the jeans. For the front panel of my new bag, I added one of the denim pockets and the Levi's label.
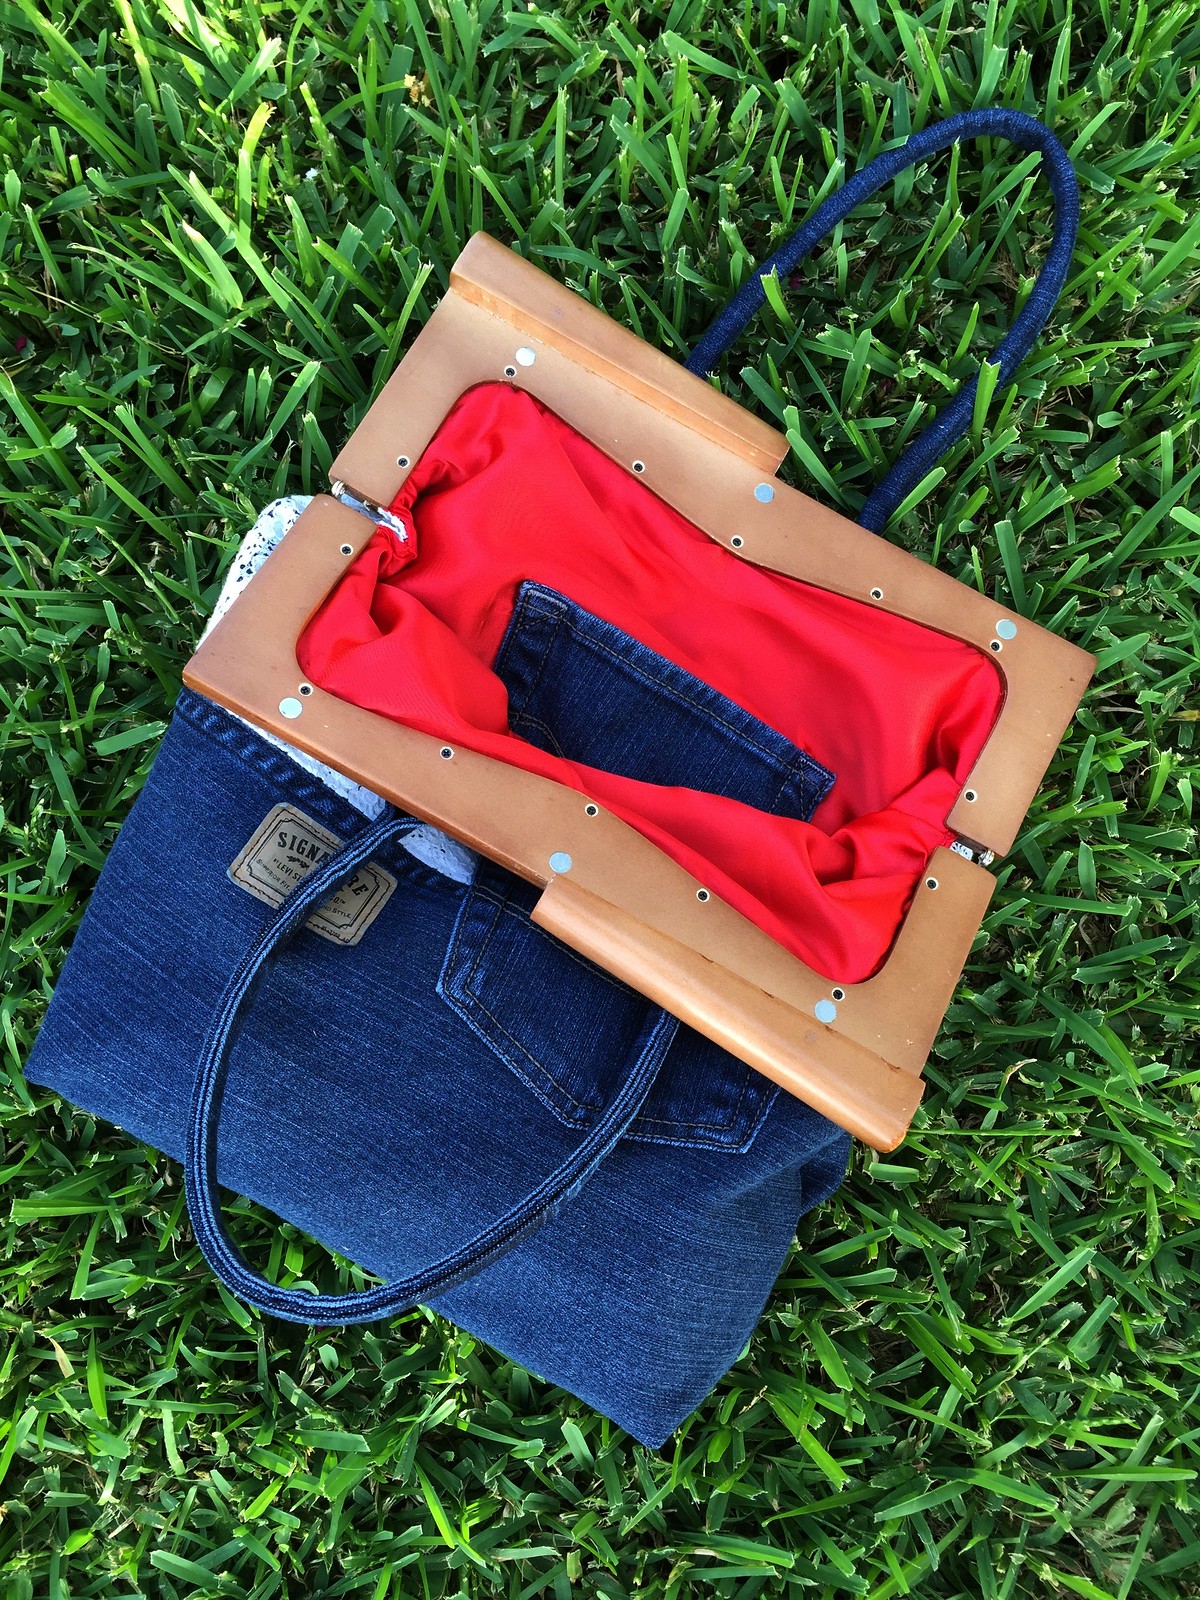
I used the woven fabric as a template to cut my front and back panels. I wanted a deeper purse though, so I added several inches at the bottom.
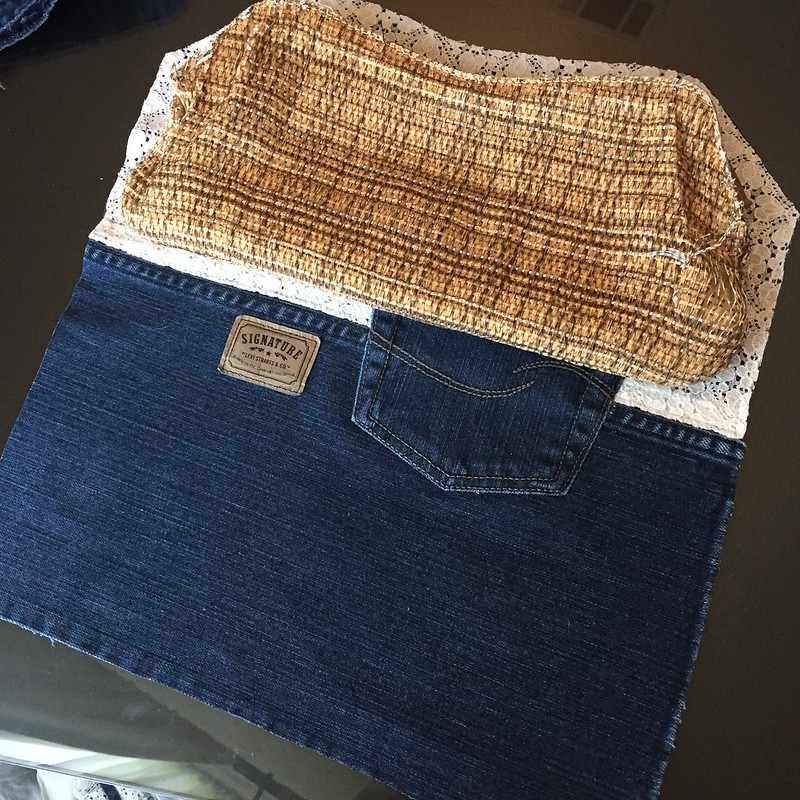
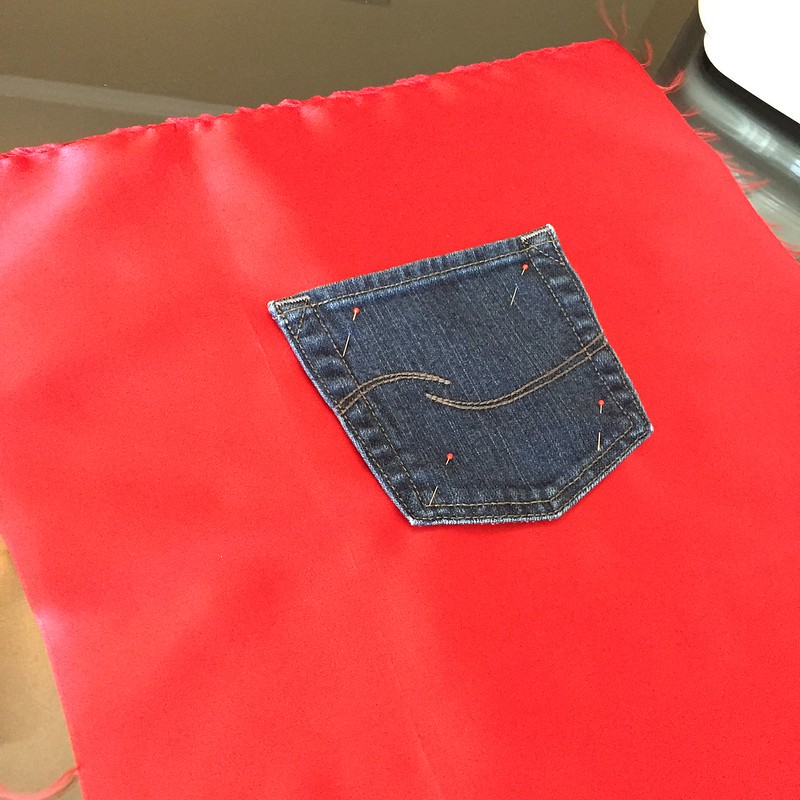
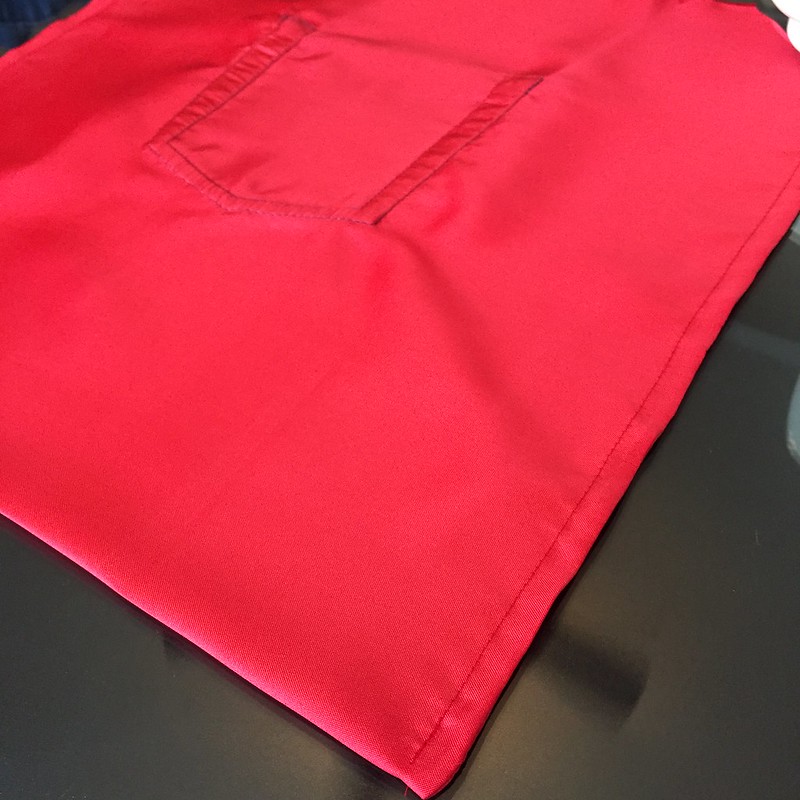
Then I added the second denim pocket to one side of my lining and used one of the denim panels as a template to cut it to size.
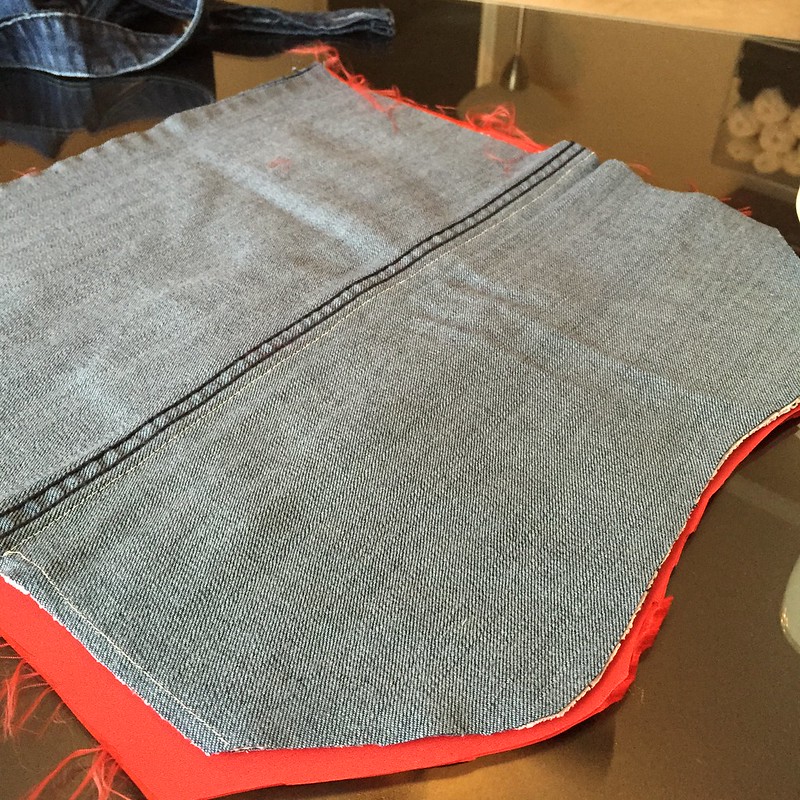
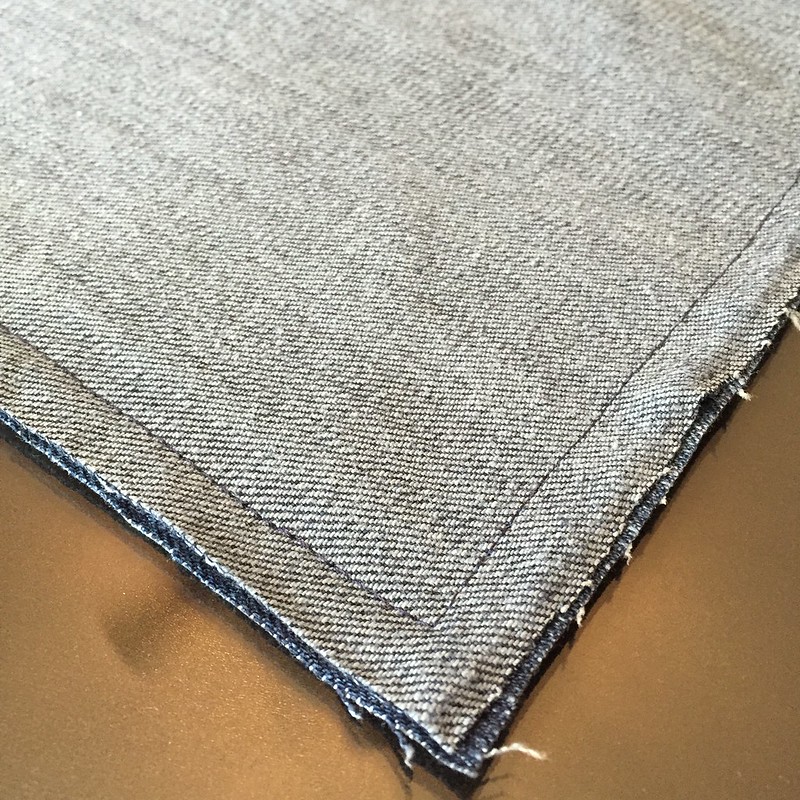
Next I put my two denim panels together and sewed around the sides and bottom.
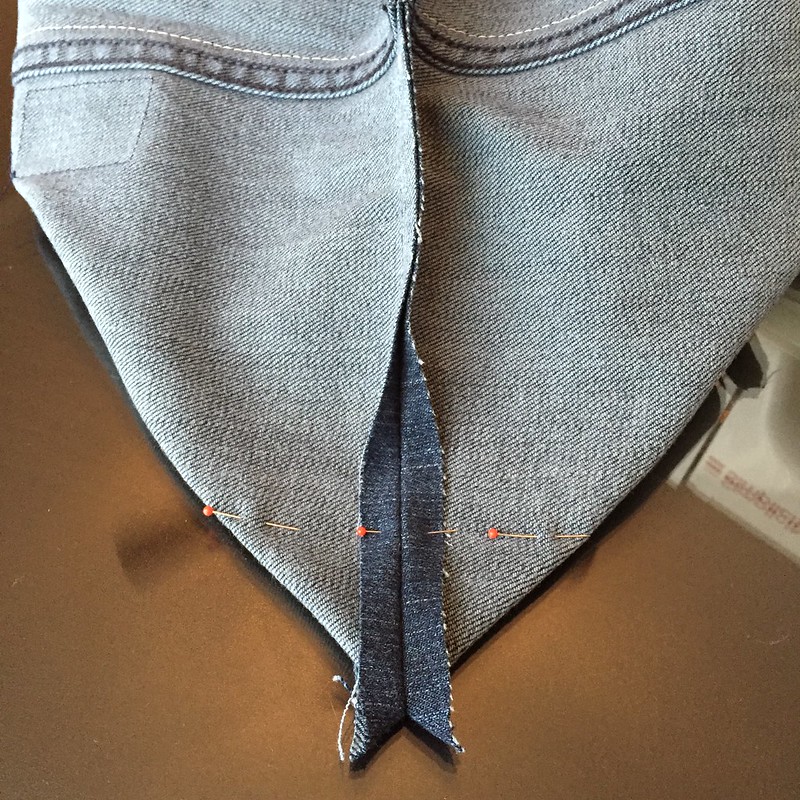
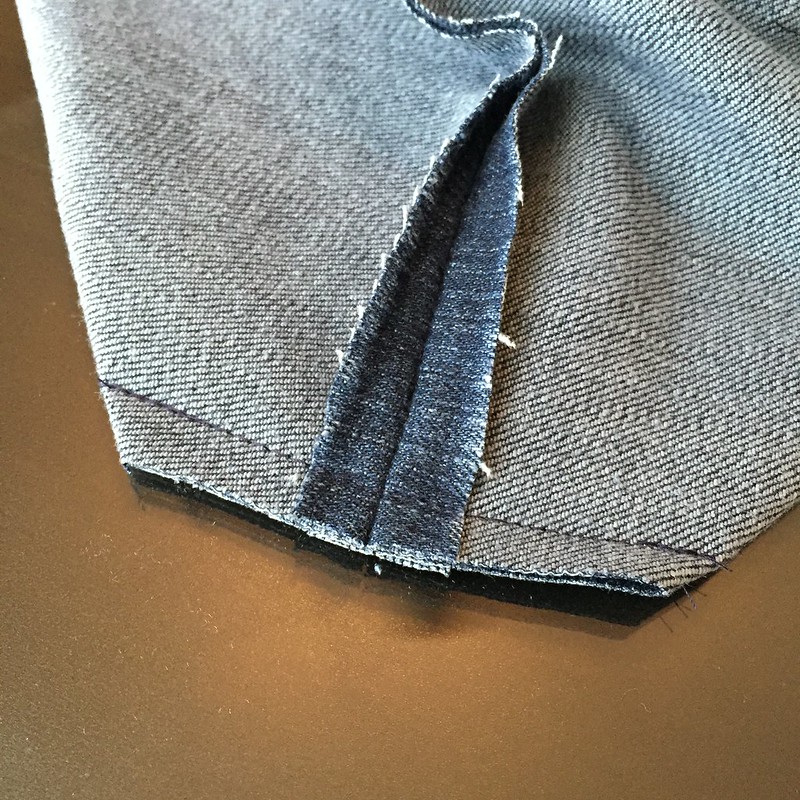
To give my new bag a bit more shape and stability, I boxed the corners at the bottom.
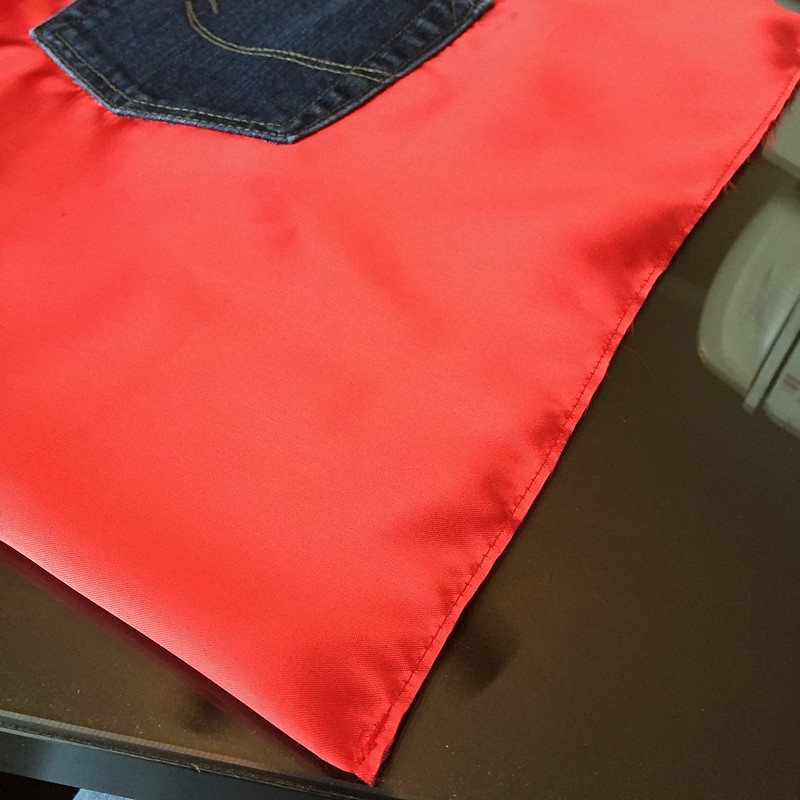
Since the satin fabric was quite prone to fraying, I gave it French seams.
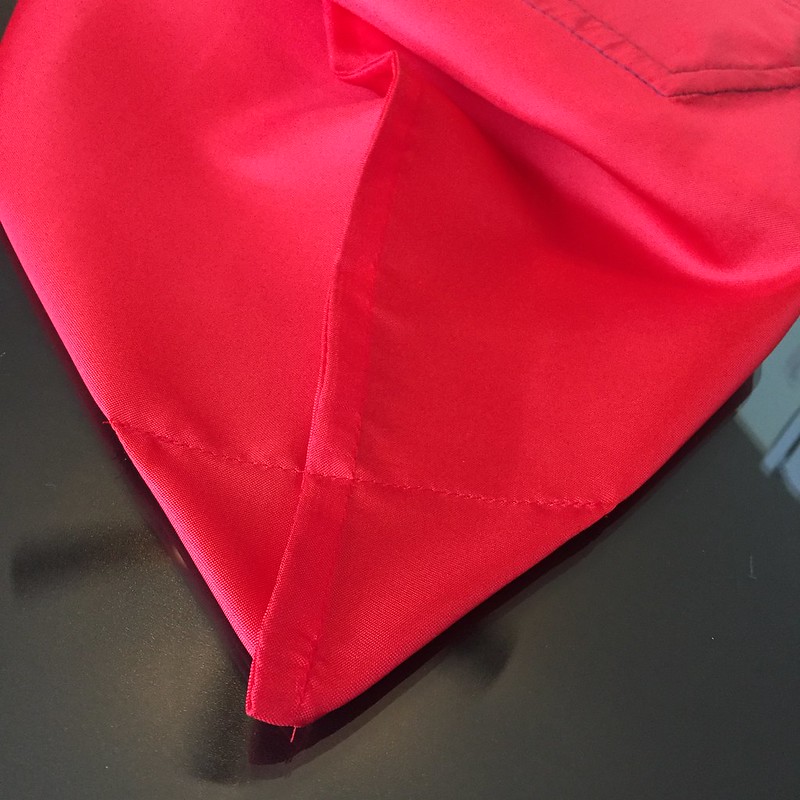
Then I boxed its corners as well, but I didn't bother to trim the excess. The thin fabric isn't really going to add any bulk, but this will prevent any more fraying.
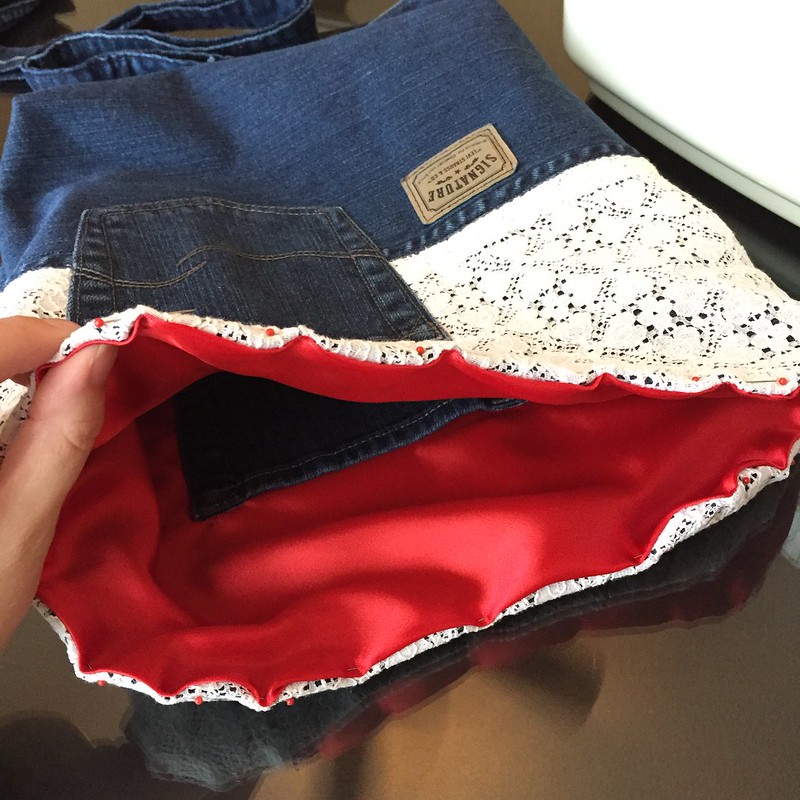
After that I was able to insert my lining into the outer fabric and top-stitch them together around the edge. It didn't have to be too pretty since this edge would be hidden inside the wooden handle.
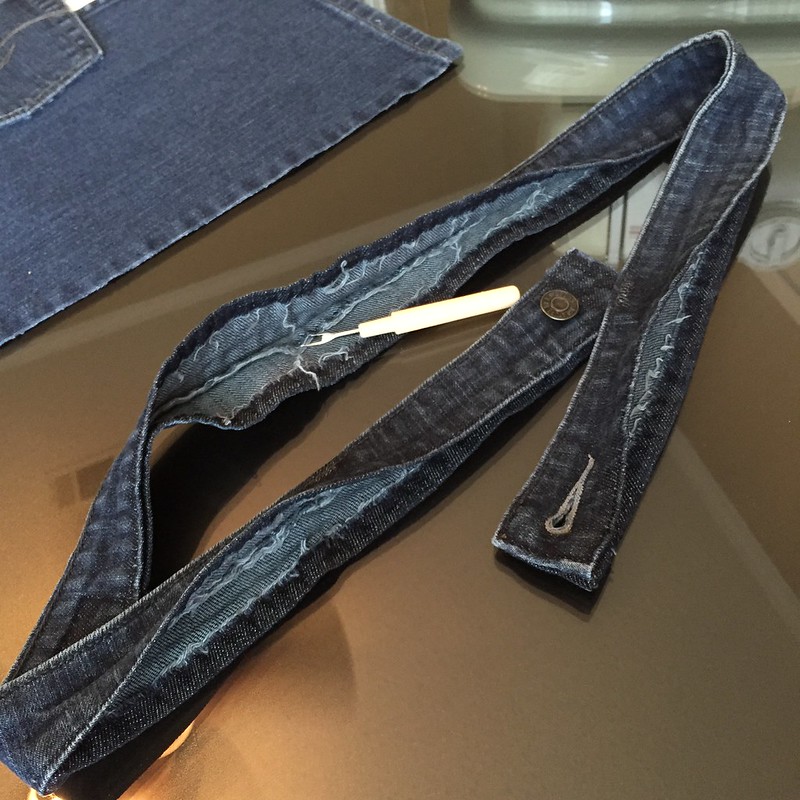
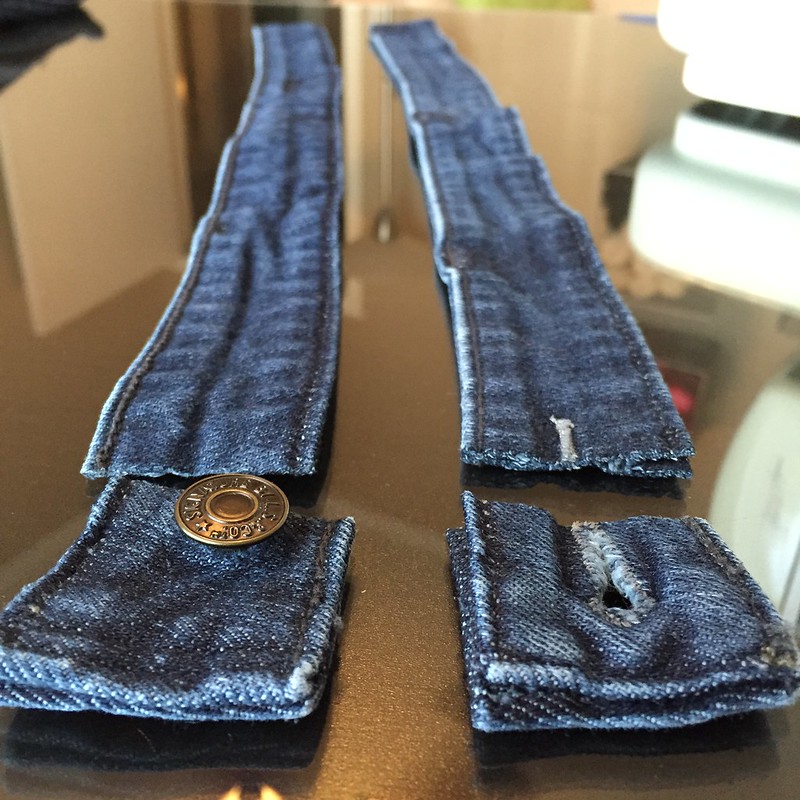
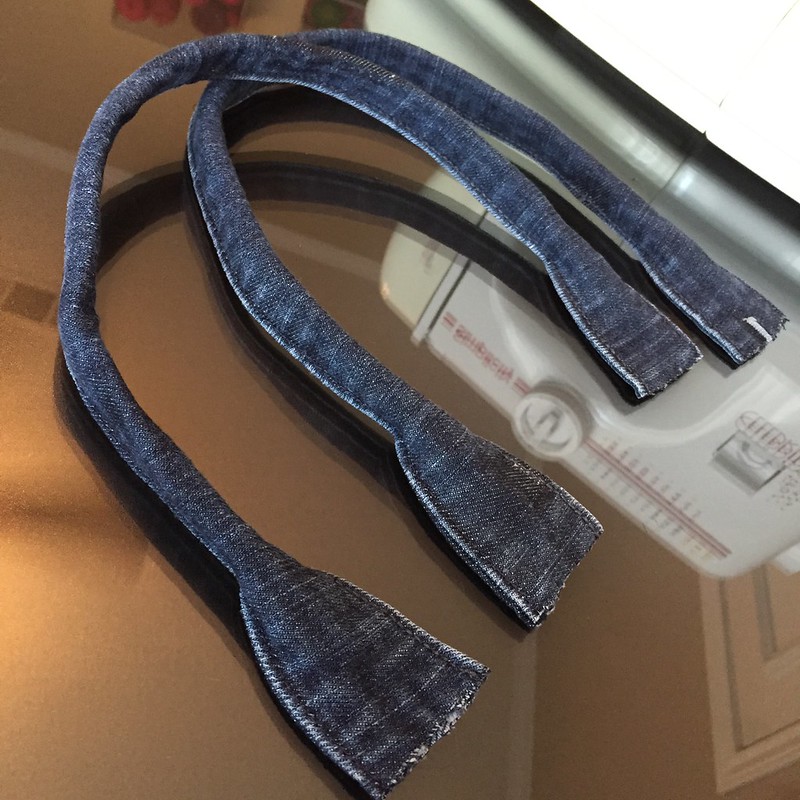
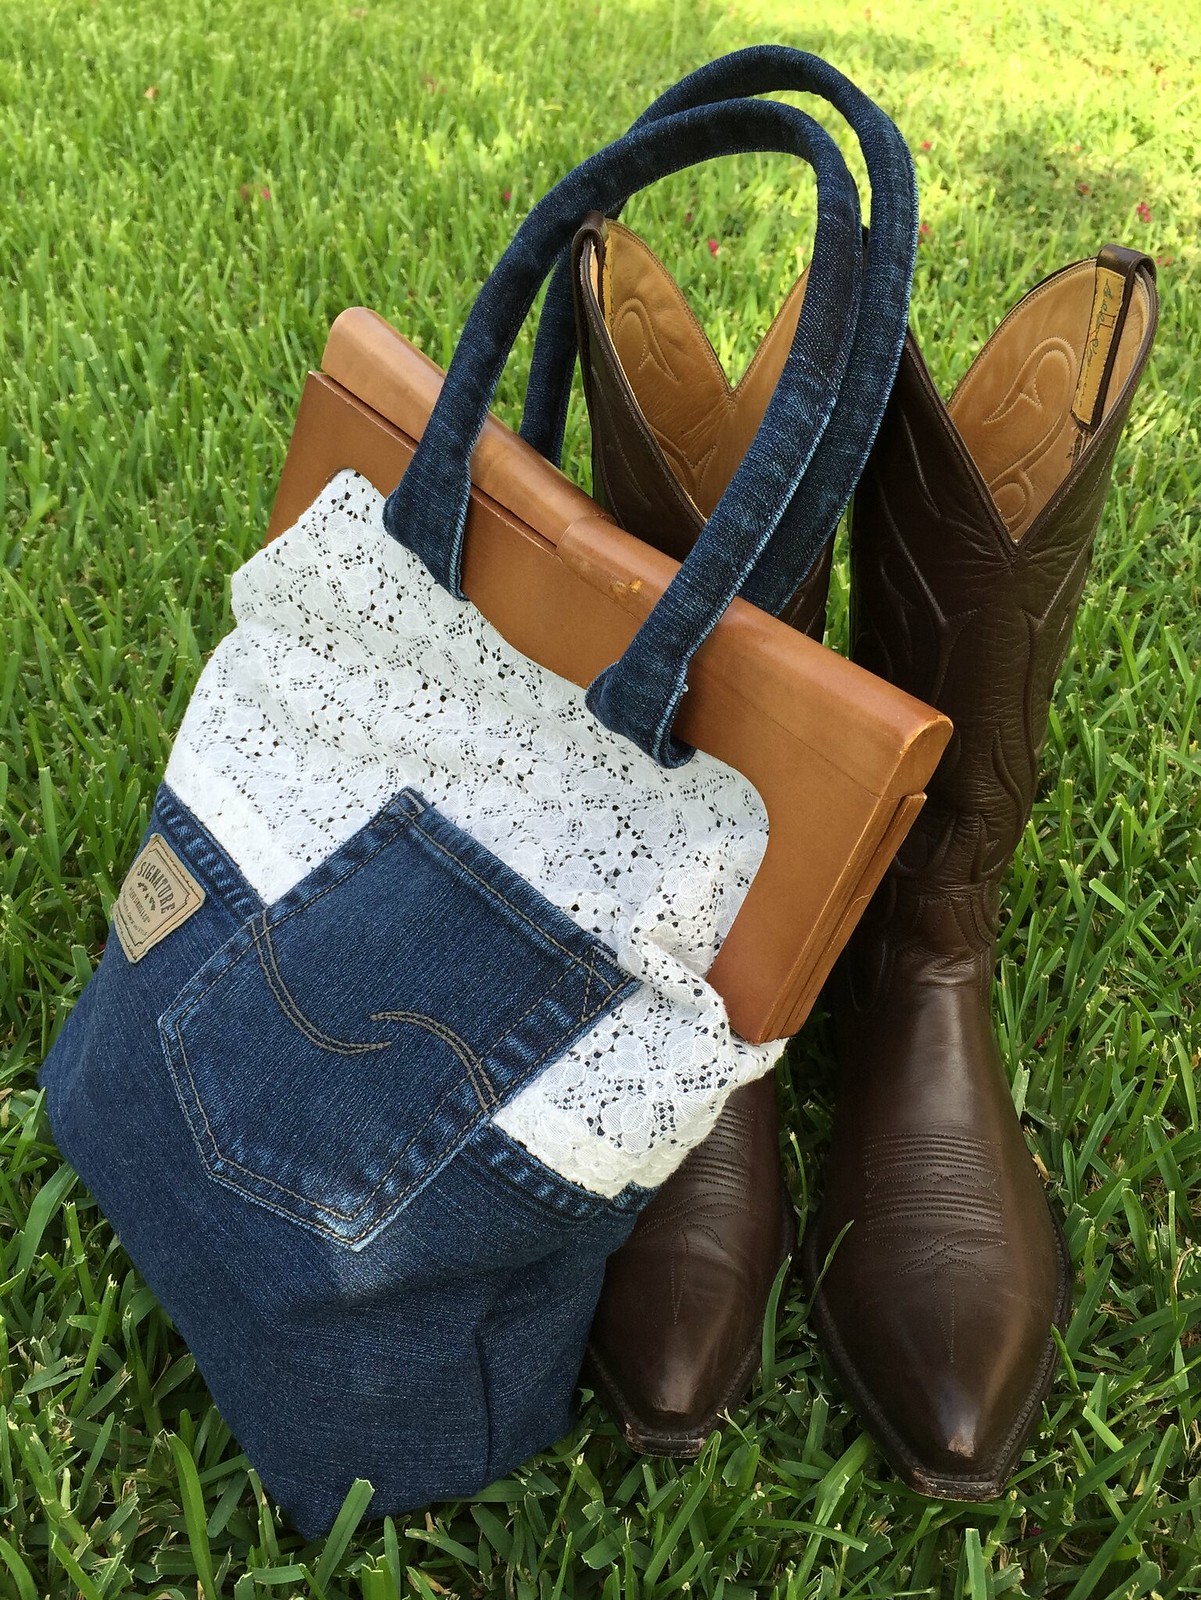
I wanted my new bag to have straps so I don't have to rely on the wooden handle alone. So I cut the button and buttonhole off the waistband and then cut it in half. Then I sewed the bottom edge (that had been attached to the jeans) closed again. To strengthen my straps, I folded them each in half and stitched the edges together, except for about 2.5 inches on each end.
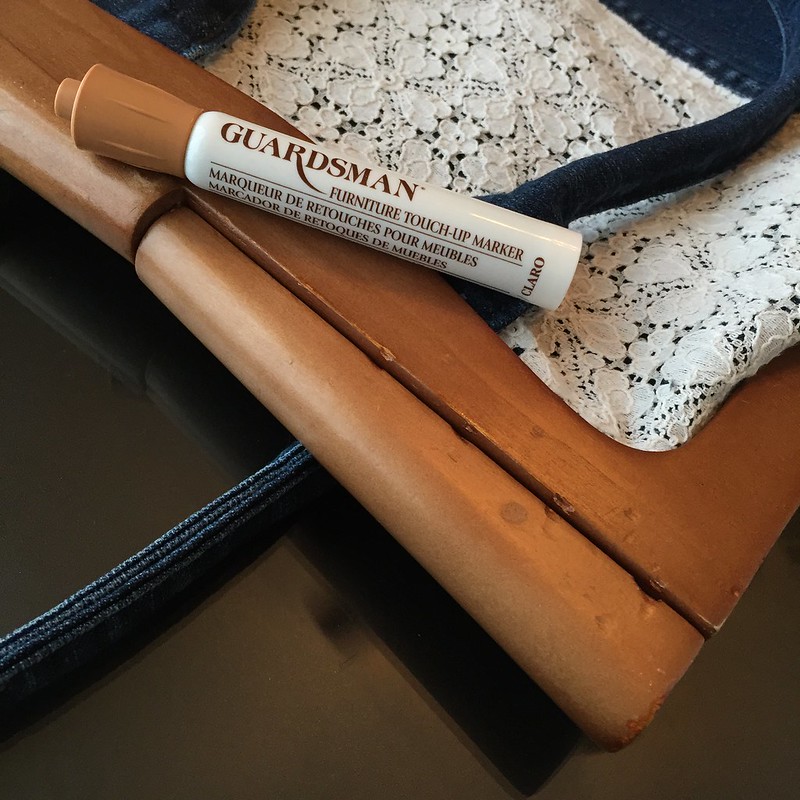
I forgot to take a photo, but I also stitched each end of the straps to the body of the bag. Then I reattached the wooden handle with my tiny, tiny screwdriver. Lastly, I touched up the handle with a wood stain marker. It's not perfect, but the scratches are less noticeable than they were.
I'm so happy with how this turned out. It's the perfect size to carry everything I need, even a small knitting project, but not so large that I'll spend hours digging around to find things.


How cute! I love how your new bag turned out! And the use of all the different textures is terrific!
ReplyDeleteI thought about making the straps from an old leather belt too, adding to the textures, but it was just too thick to fit into the groove in the wooden handle. Oh well, I'm still pretty pleased with the results as is.
DeleteOMG!! So awesome and cute, luv this bag. New to your blog, great refashions galore. Wow very creative Carissa.
ReplyDeleteThanks and welcome, Joy! Glad to have you!
DeleteSo funny !!! I love it !
ReplyDeleteThis bag turned out totally cute. I especially love the addition of the denim straps. Another option for the wood frame handles would be to rough them up even more with sandpaper, then spray them with clear sealer.
ReplyDeleteJJ
www.dressupnotdown.blogspot.com
That's a great idea! I had thought about painting the handle, but I wasn't feeling patient enough for that this weekend. ;)
DeleteCarissa, you have so much talent - I love this. Especially like how you made the denim handles. I've been looking for a good idea for bag handles ... ta da! you just provided it ... thank you :)
ReplyDeleteAlways glad to help!
DeleteCarissa ----- you have nailed.....Ah ...I mean "screwed" this one, for sure !
ReplyDeleteThe denim handles are a perfect execution and the pocket and label seal up this creation !
Thanks, Linda! Pockets are a clear choice, especially for a purse, but I just knew I had to work in that original leather label somehow!
DeleteLove it! It's not just a great refashion, it's a great looking bag! :) If I saw it in a store, would def. grab. Great job Carissa!
ReplyDeleteThank you, Lena! Being a perfectionist, hearing something I made looks like you might find it in a store is one of my favorite compliments!
Delete